
DIY CAMPERVAN BUILD
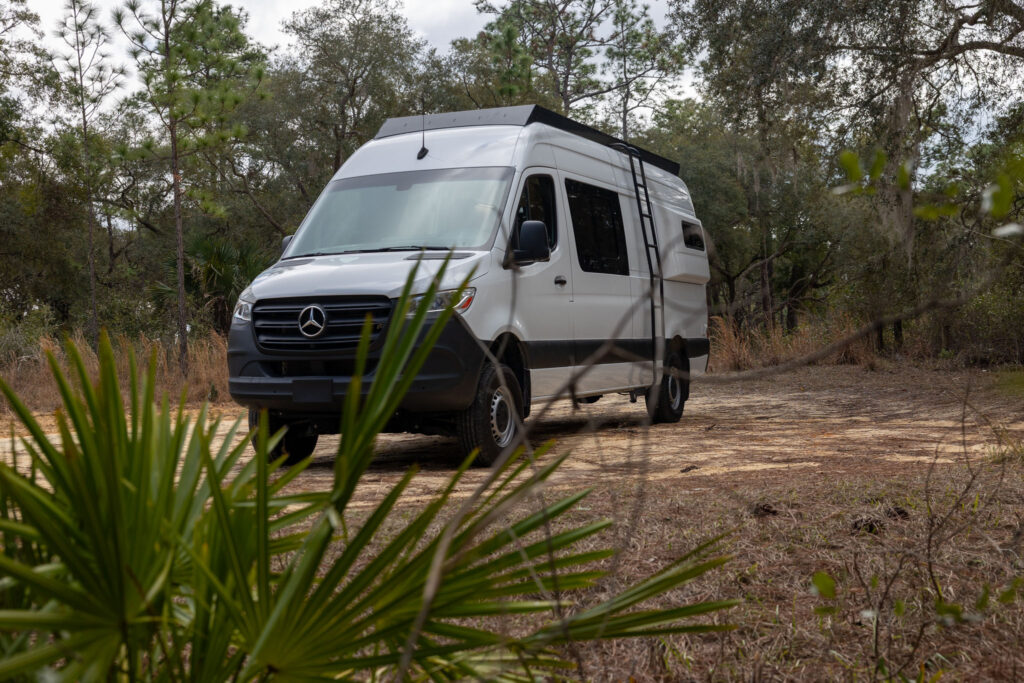
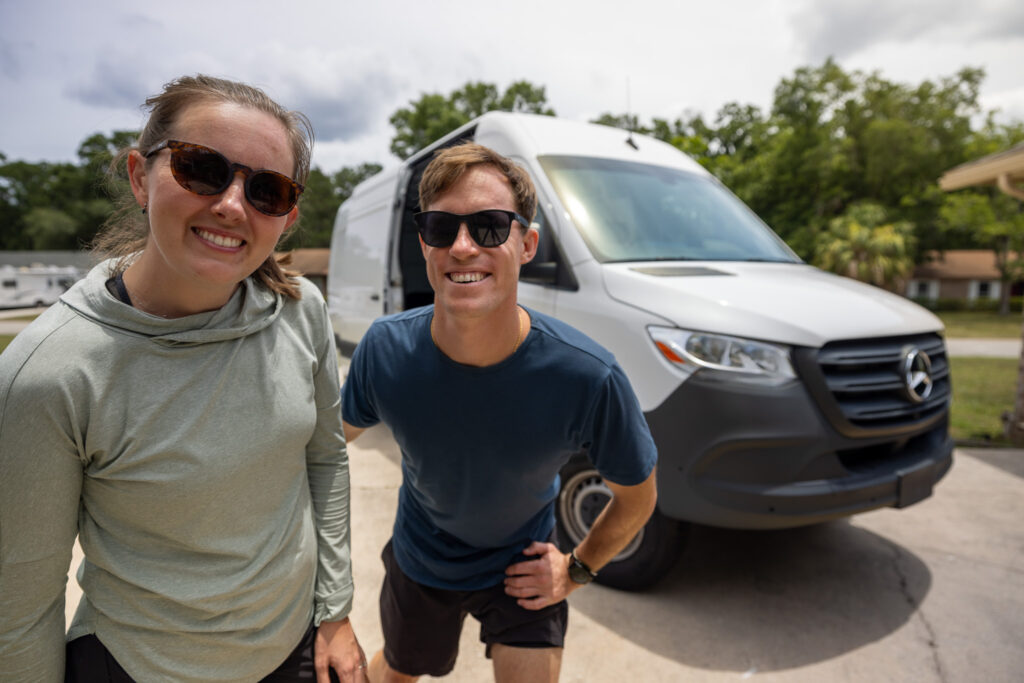
We self-converted a 2023 AWD 170WB Mercedes Sprinter that we are building to be our full-time home. We aren’t professional van builders, but we have high standards. We documented our entire process on YouTube and here to help you figure out your dream van.
VAN BUILD STEPS
Purchasing a Van | Designing the Layout | Installing Flares | Roof Components | Solar Power | Van Windows | Flooring | Insulation | Framing | Electrical | Diesel Heater and Swivel Seat | Cabinets | Bathroom | Plumbing | Kitchen | Final Trim | Mattress | Build Timelapse | Van Tour | Tips
Van Build Expenses
How much does it cost to build a van? We recorded our expenses and shared project-by-project expense reports and the final cost. Read our van build expense breakdown!
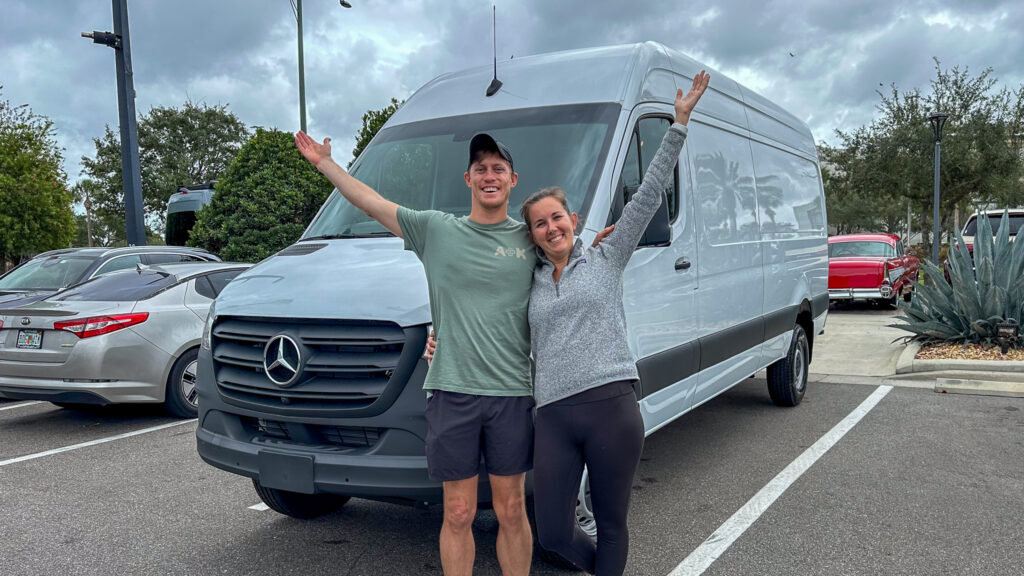
Step 1: Purchasing a Van
The first step to van life is purchasing the van. We weighed the pros and cons of several van options before making our final decision. Read why we chose a Mercedez Sprinter Van.
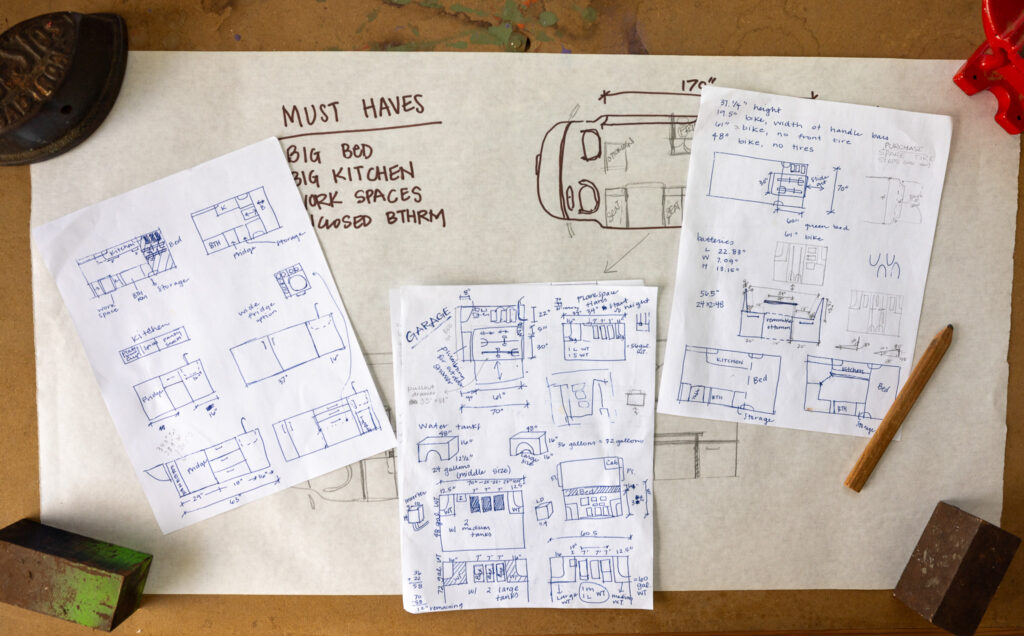
Step 2: The Layout
What makes the perfect van? The perfect van is the van that meets your unique needs. As an architect and engineer, we share our design process with you so you can make the van of your dreams.
Step 3: Installing Flares
The third step in our van build was installing flares so we could sleep sideways. To optimize our interior space, we installed Flarespace flares, sliding windows, and trim rings on our van.
Step 4: Installing Roof Components
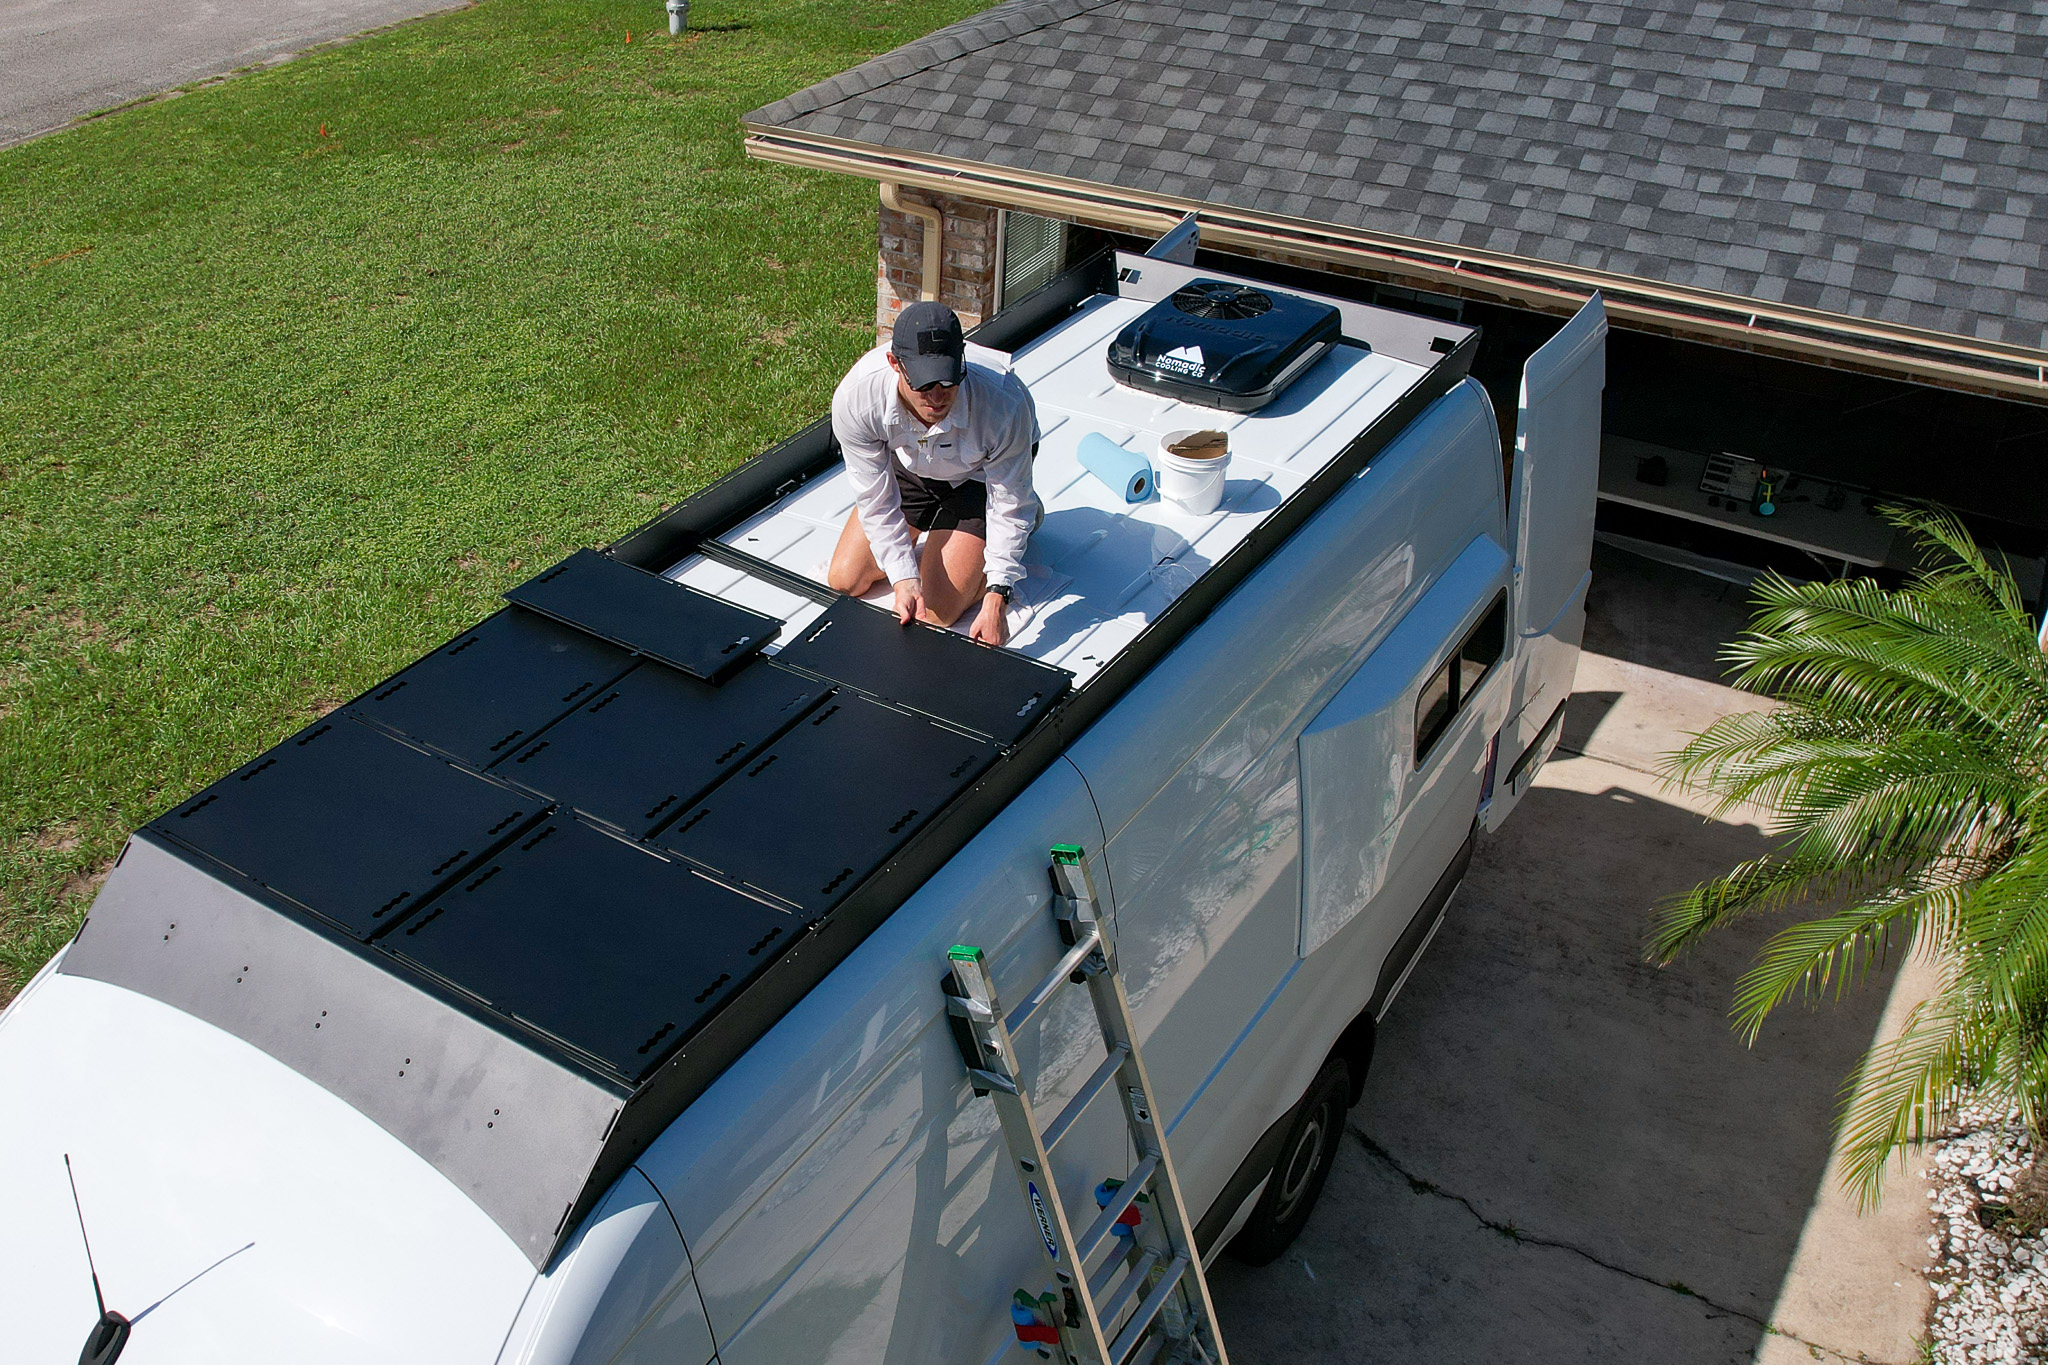
A big part of our van design was to maximize our solar power! We worked with Orion Van Gear on installing a Pre-Fab DIY roof rack with a low-profile fan and 12v AC.
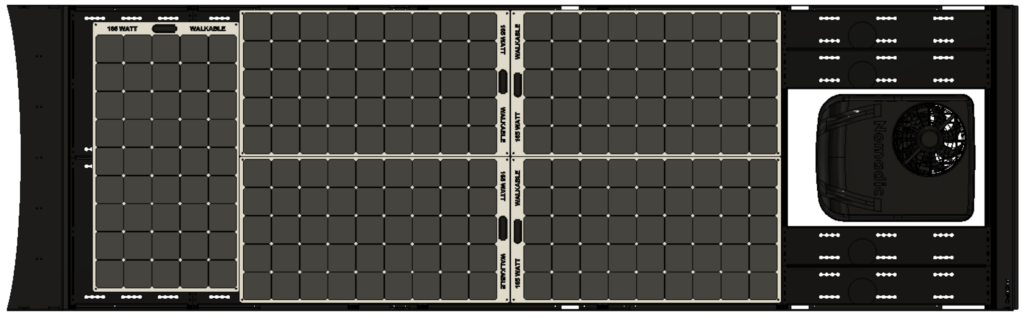
Step 5: Solar Power
The fifth step in our van build was installing 825w of walkable solar to power our home on wheels and allow us to use our roof rack as a deck.
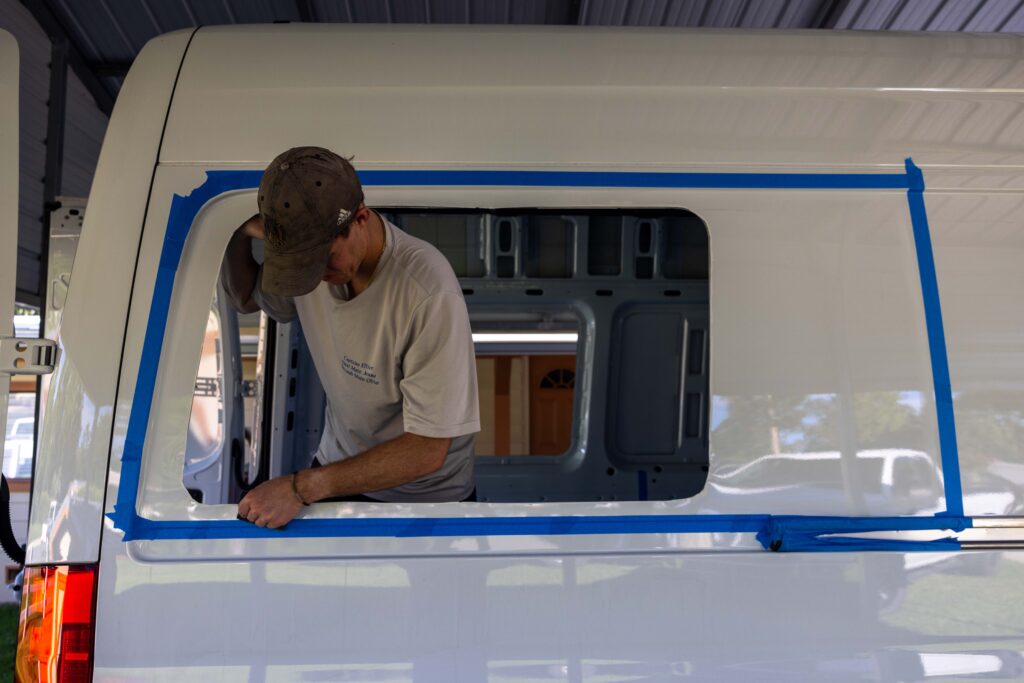
Step 6: Van Windows

Windows are crucial to transforming our camper van into our full-time tiny home. Here is what we learned and how to best install them.
Step 7: Flooring
We went with a simple approach to flooring and chose Lonseal pre-cut flooring as our finished look. We share tips and tricks that we learned throughout the process.

Step 8: Van Insulation
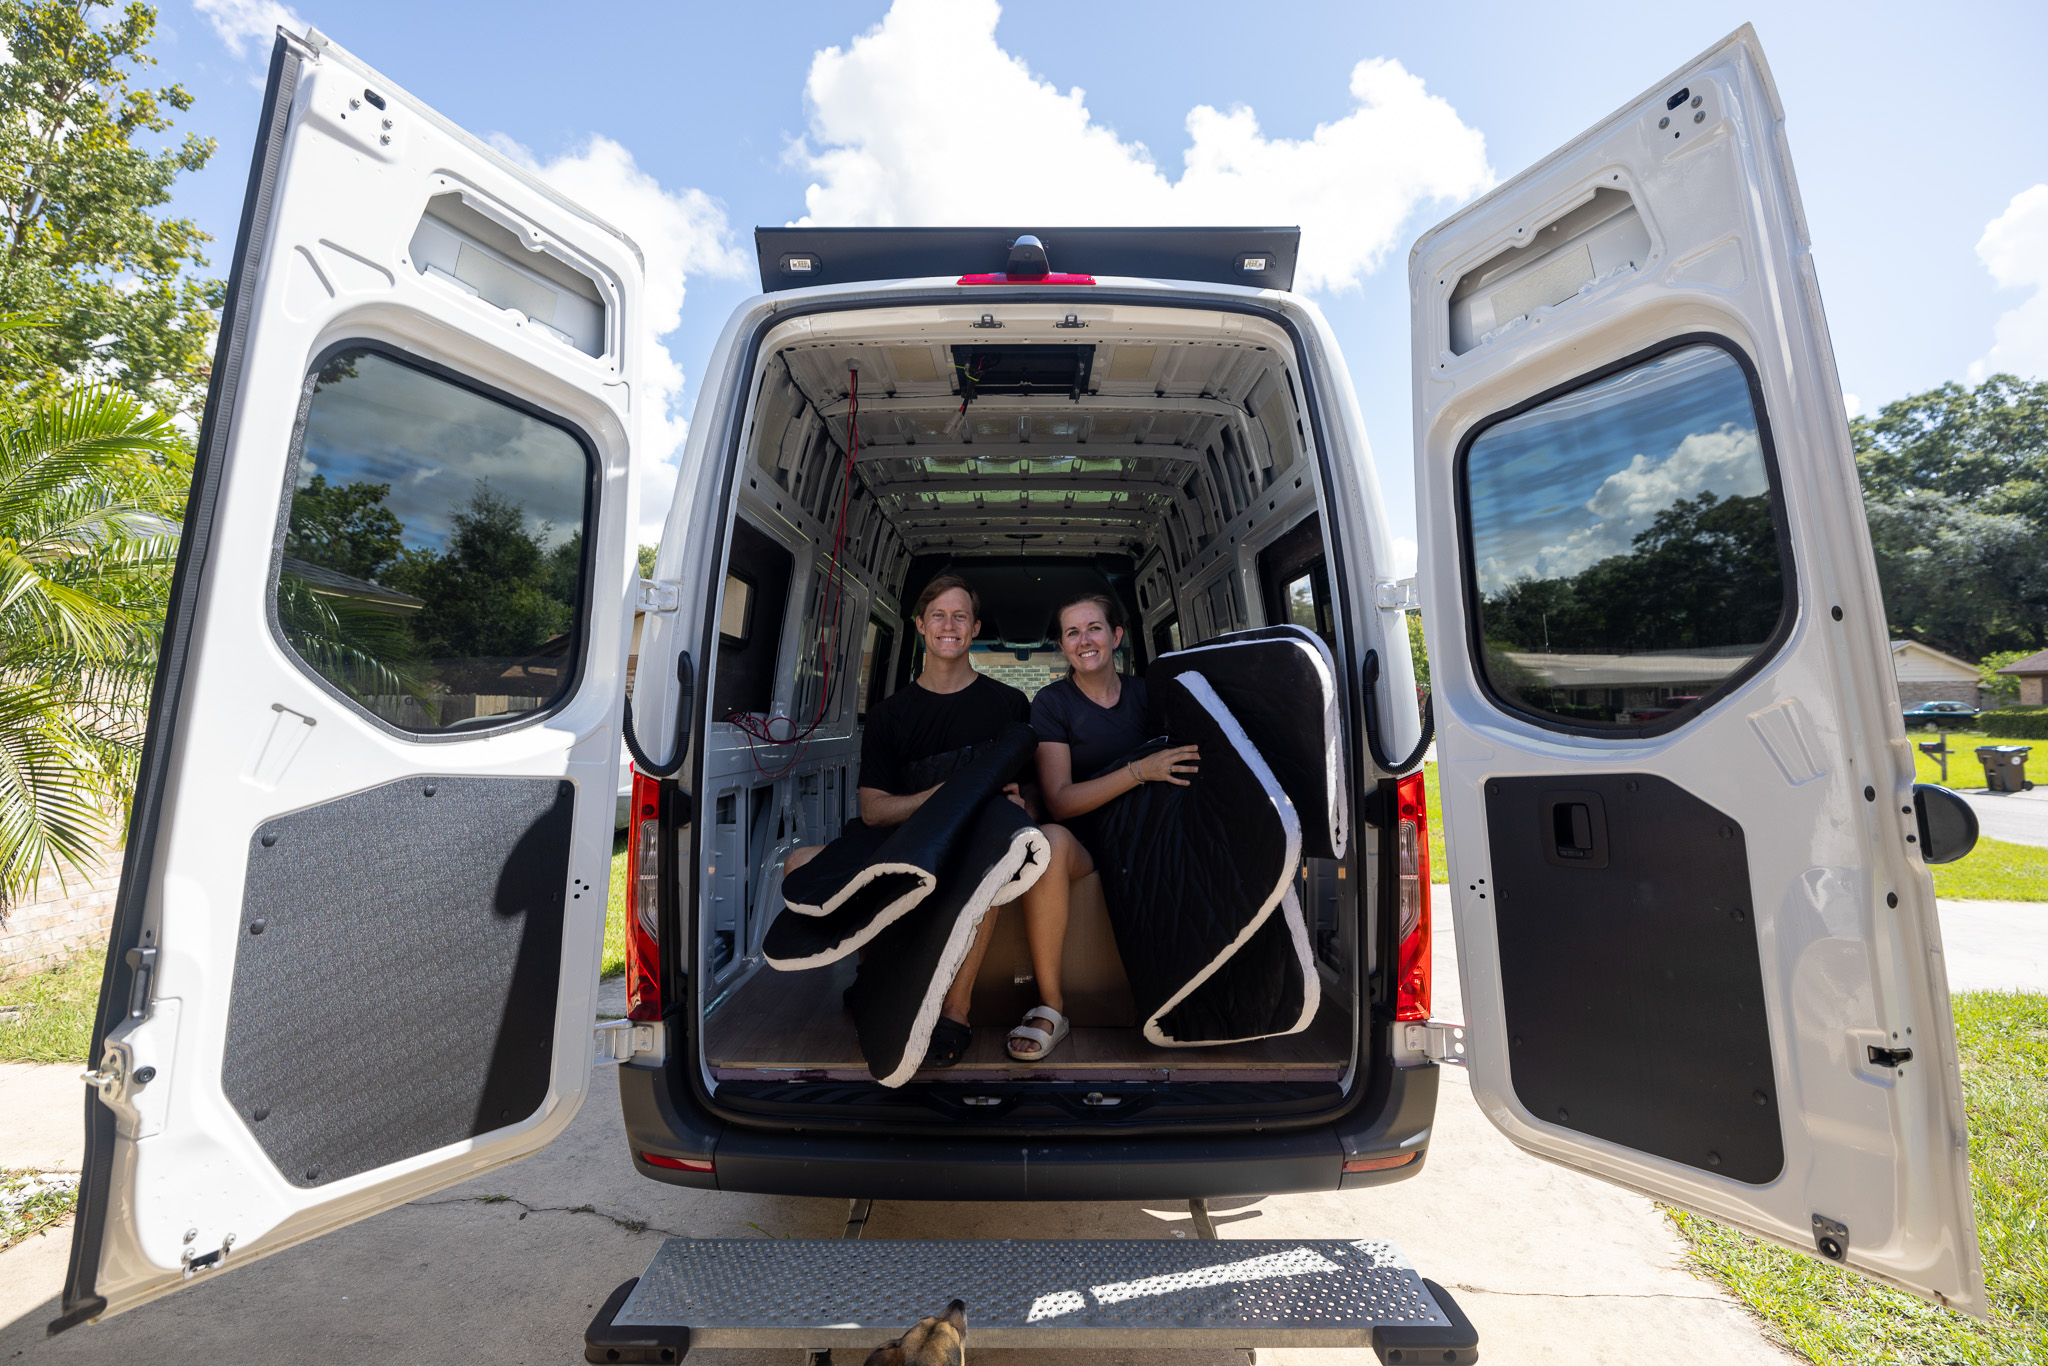
Insulation is what keeps our van temperate, and more like a home instead of a metal can! Here’s our quick start on van insulation.
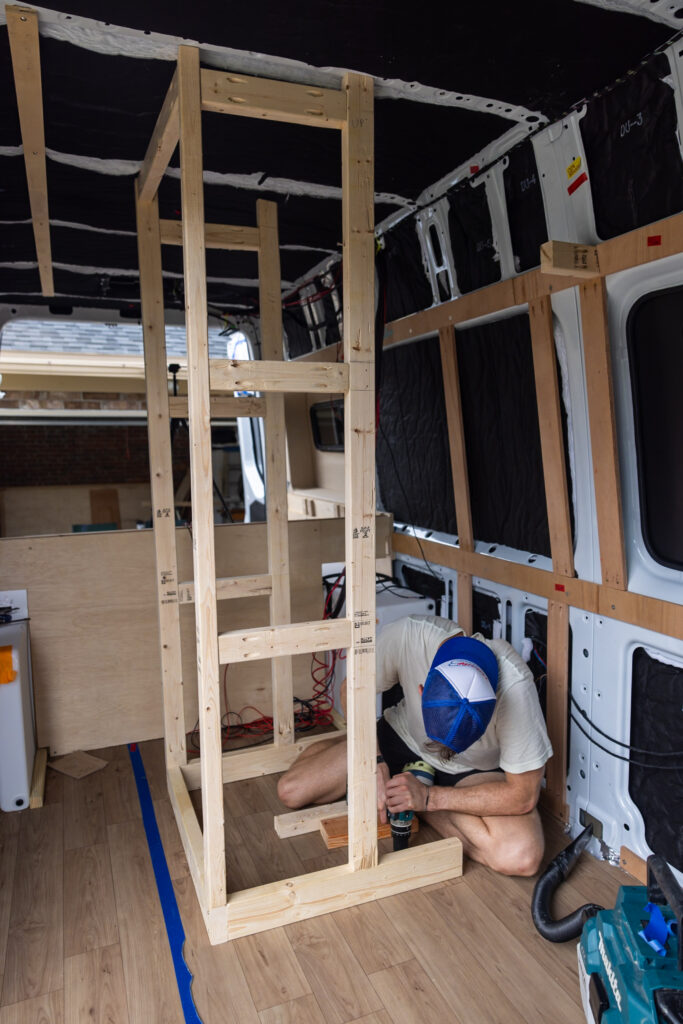
Step 9: Framing
Framing is the first step of van building without formal instructions, as it’s completely custom to your van’s layout and design.
Step 10: Electrical
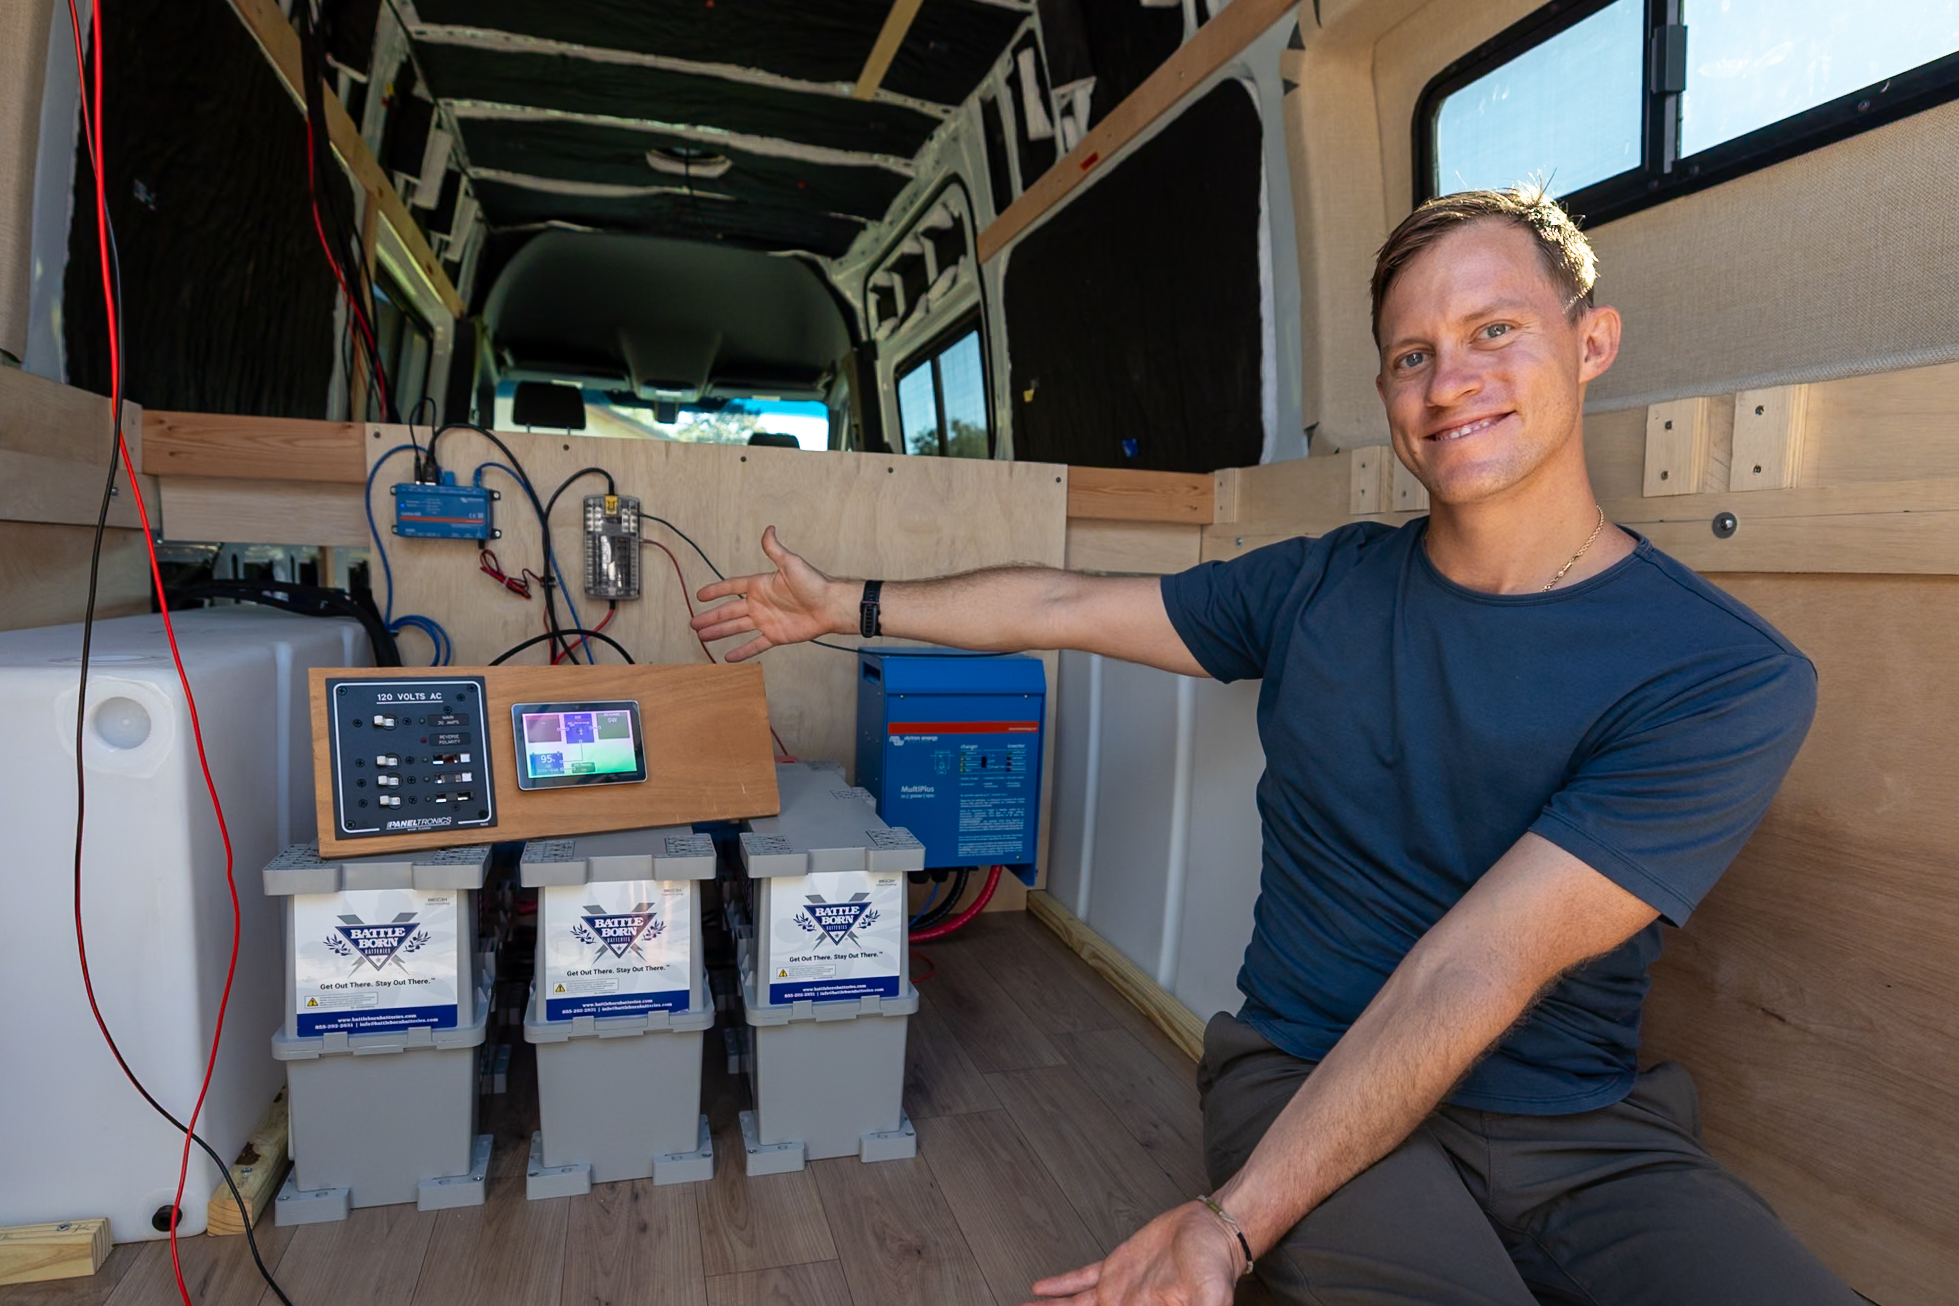
Our electrical system is broken into three main parts: 825 watts of walkable solar, 810 ah Battleborn Batteries, and our secondary alternator by Nations with our Wakespeed Alternator Regulator.
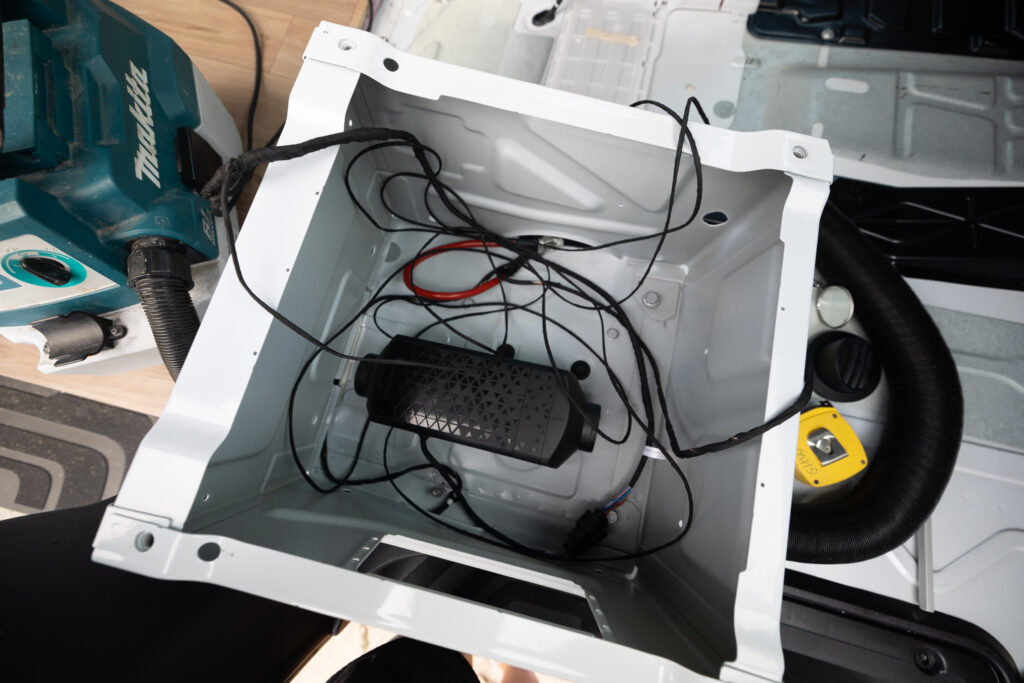
Step 11: Diesel Heater and Swivel Seat
We installed the 12-volt Diesel Heater from Espar and the Mercedes Swivel from the Swivel Shop. Use code SCHOANDJO for a 5% discount!
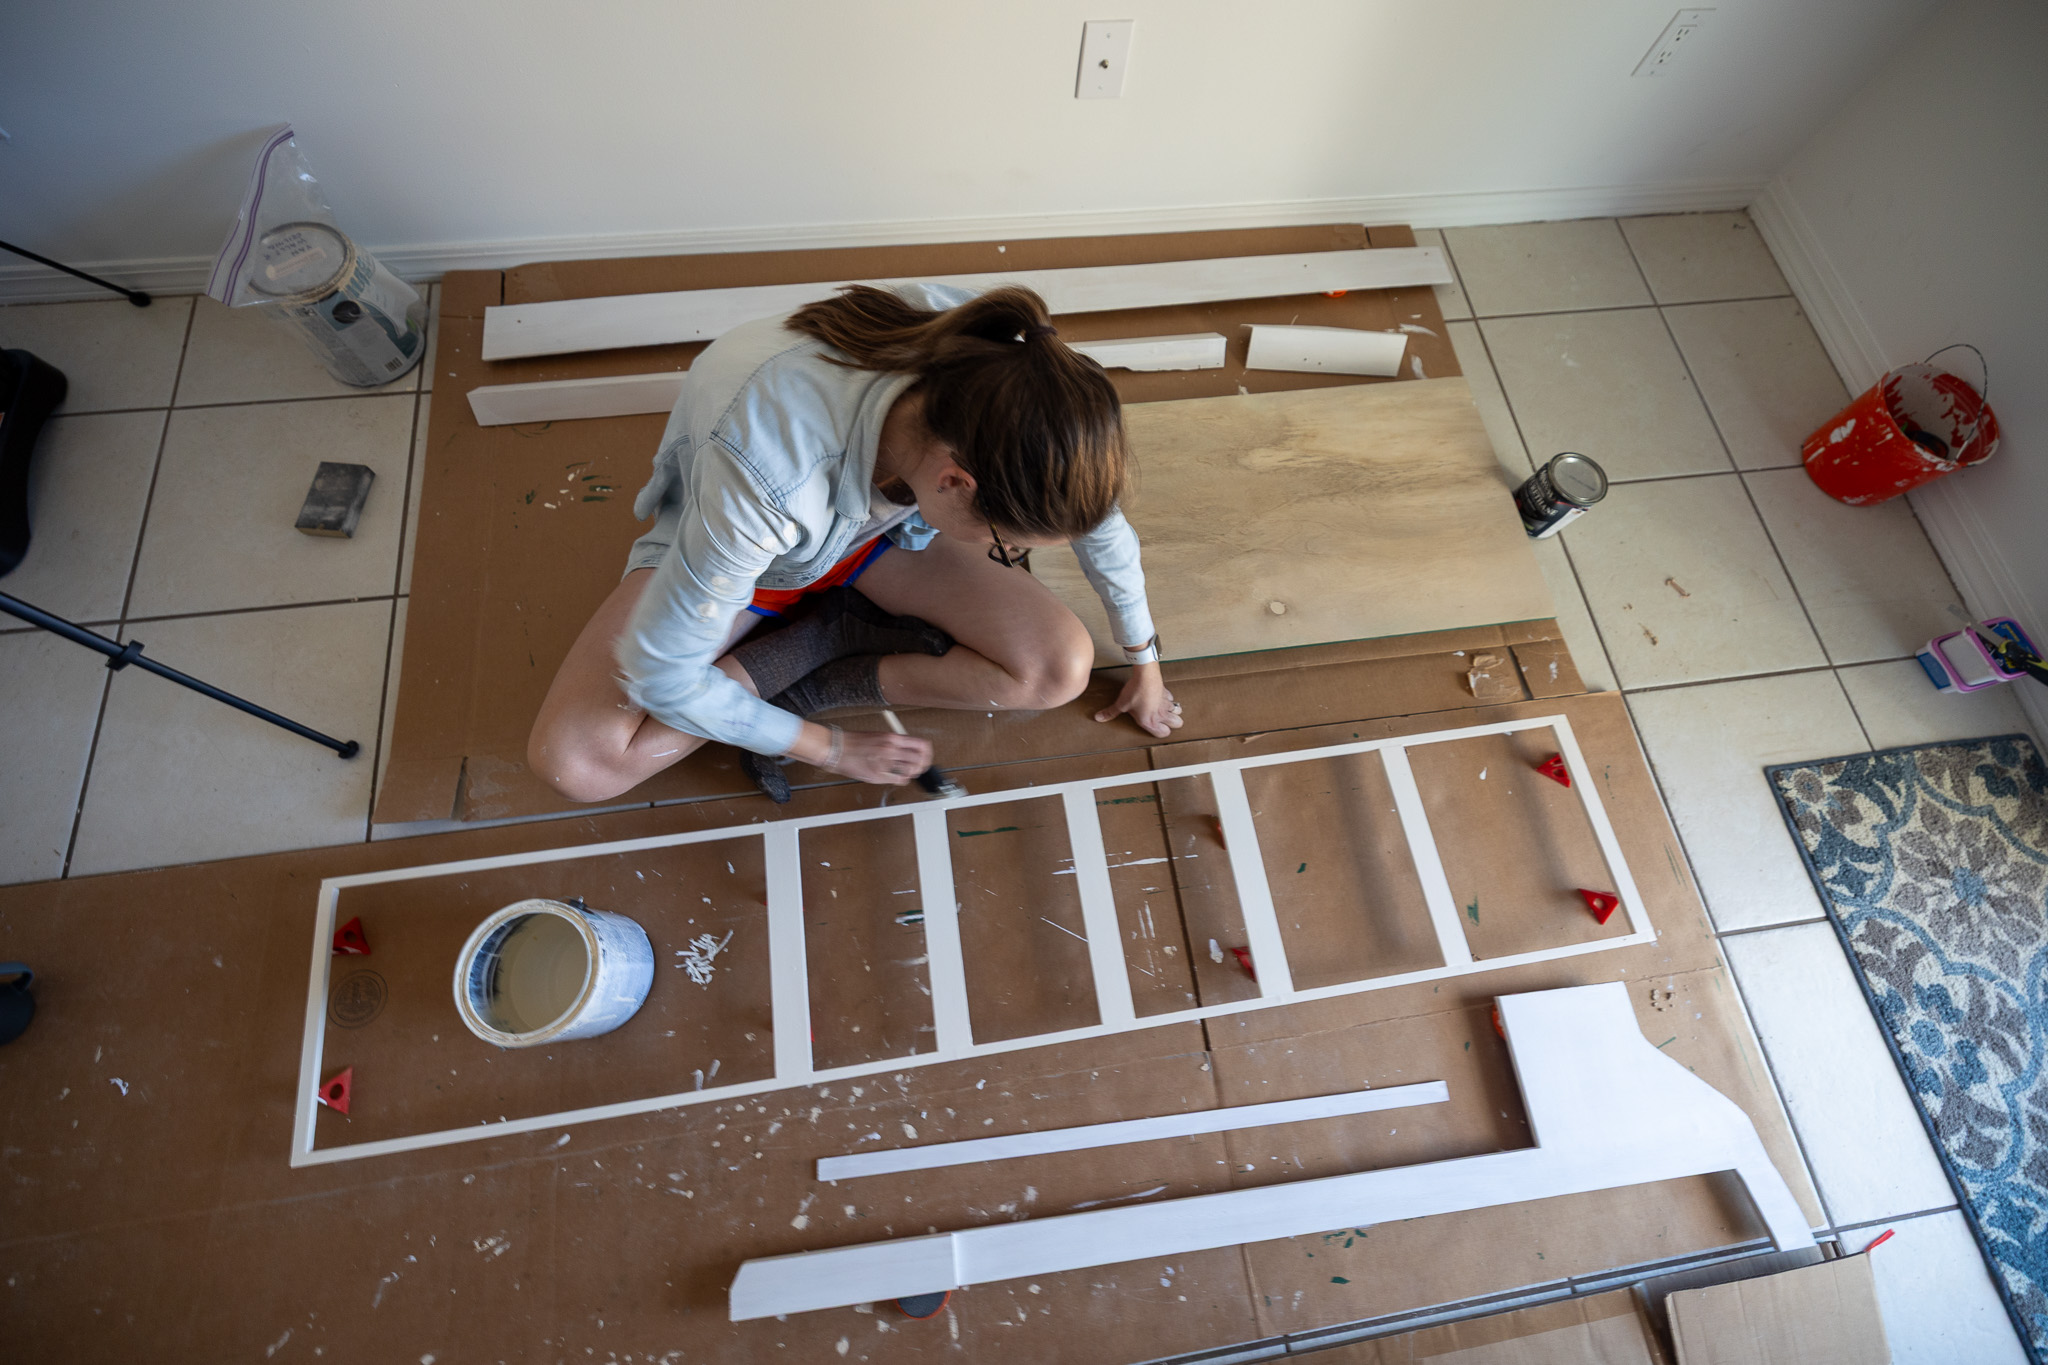
Step 12: Cabinets
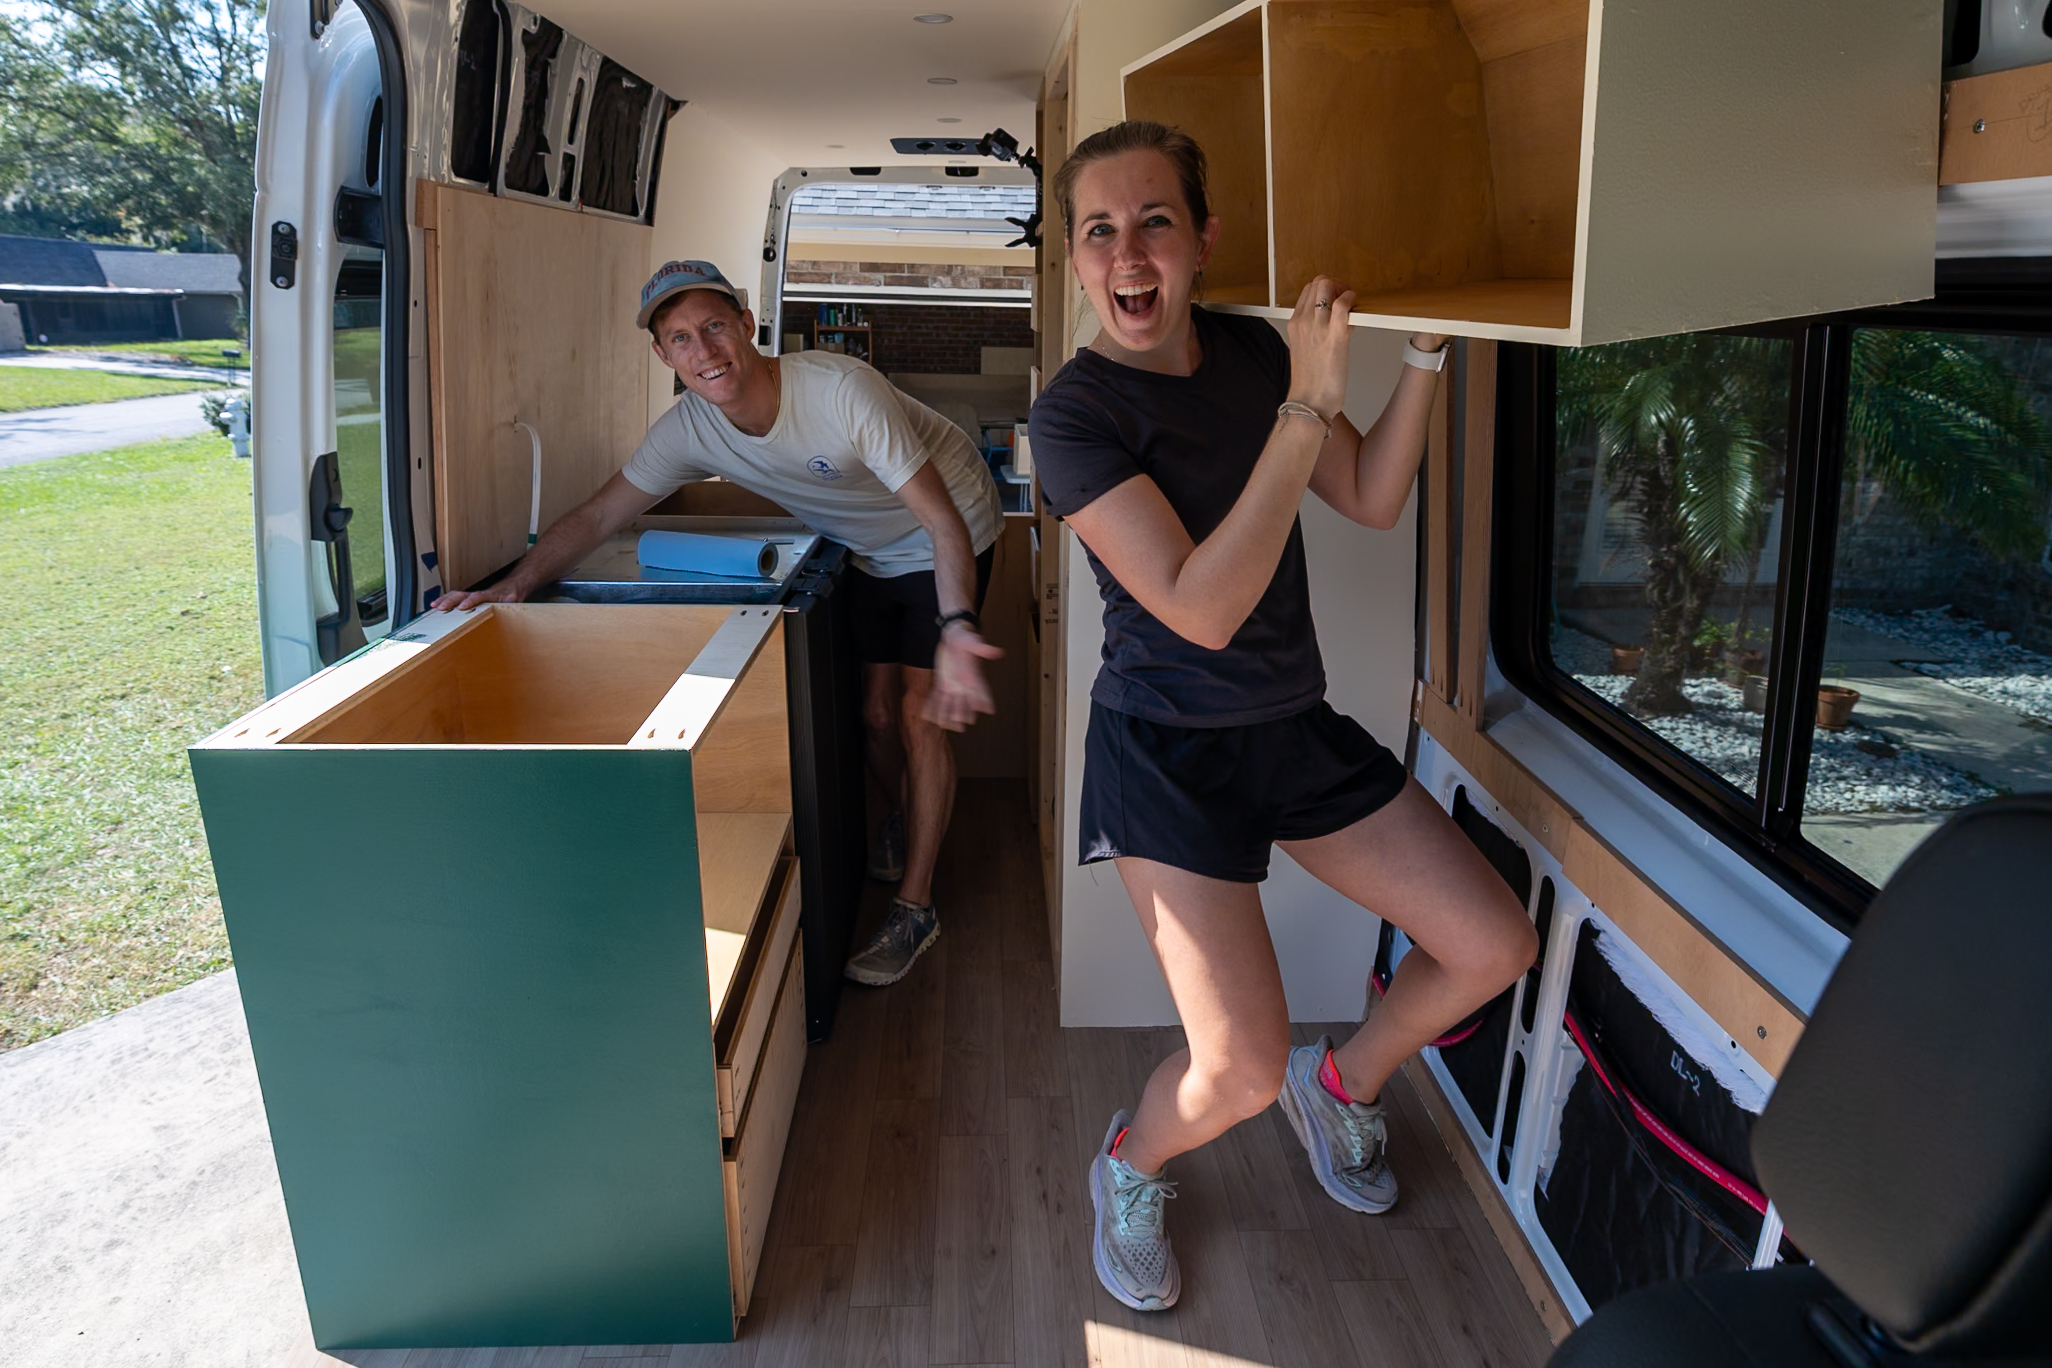
Cabinets are tough! Thankfully, our friend Chris taught us the basics of woodworking and cabinetry while we built our cabinets!
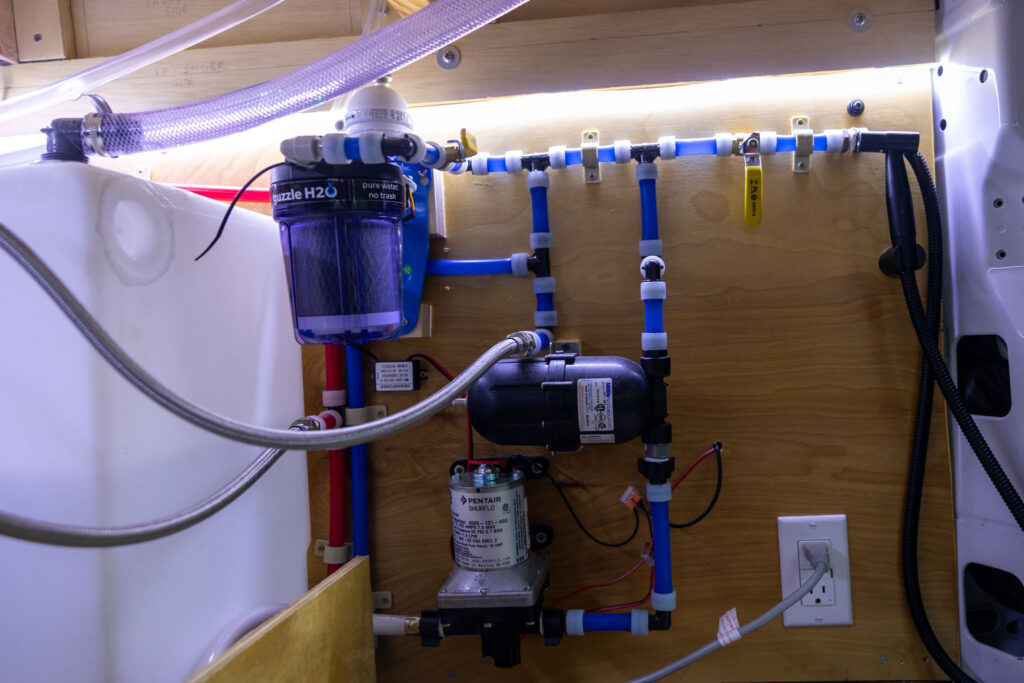
Step 13: Plumbing
We plumbed cold, filtered water, and hot water throughout our van. Our system includes a hot water heater, outdoor washdown pump, and a two-stage water purifier.
Step 14: Kitchen
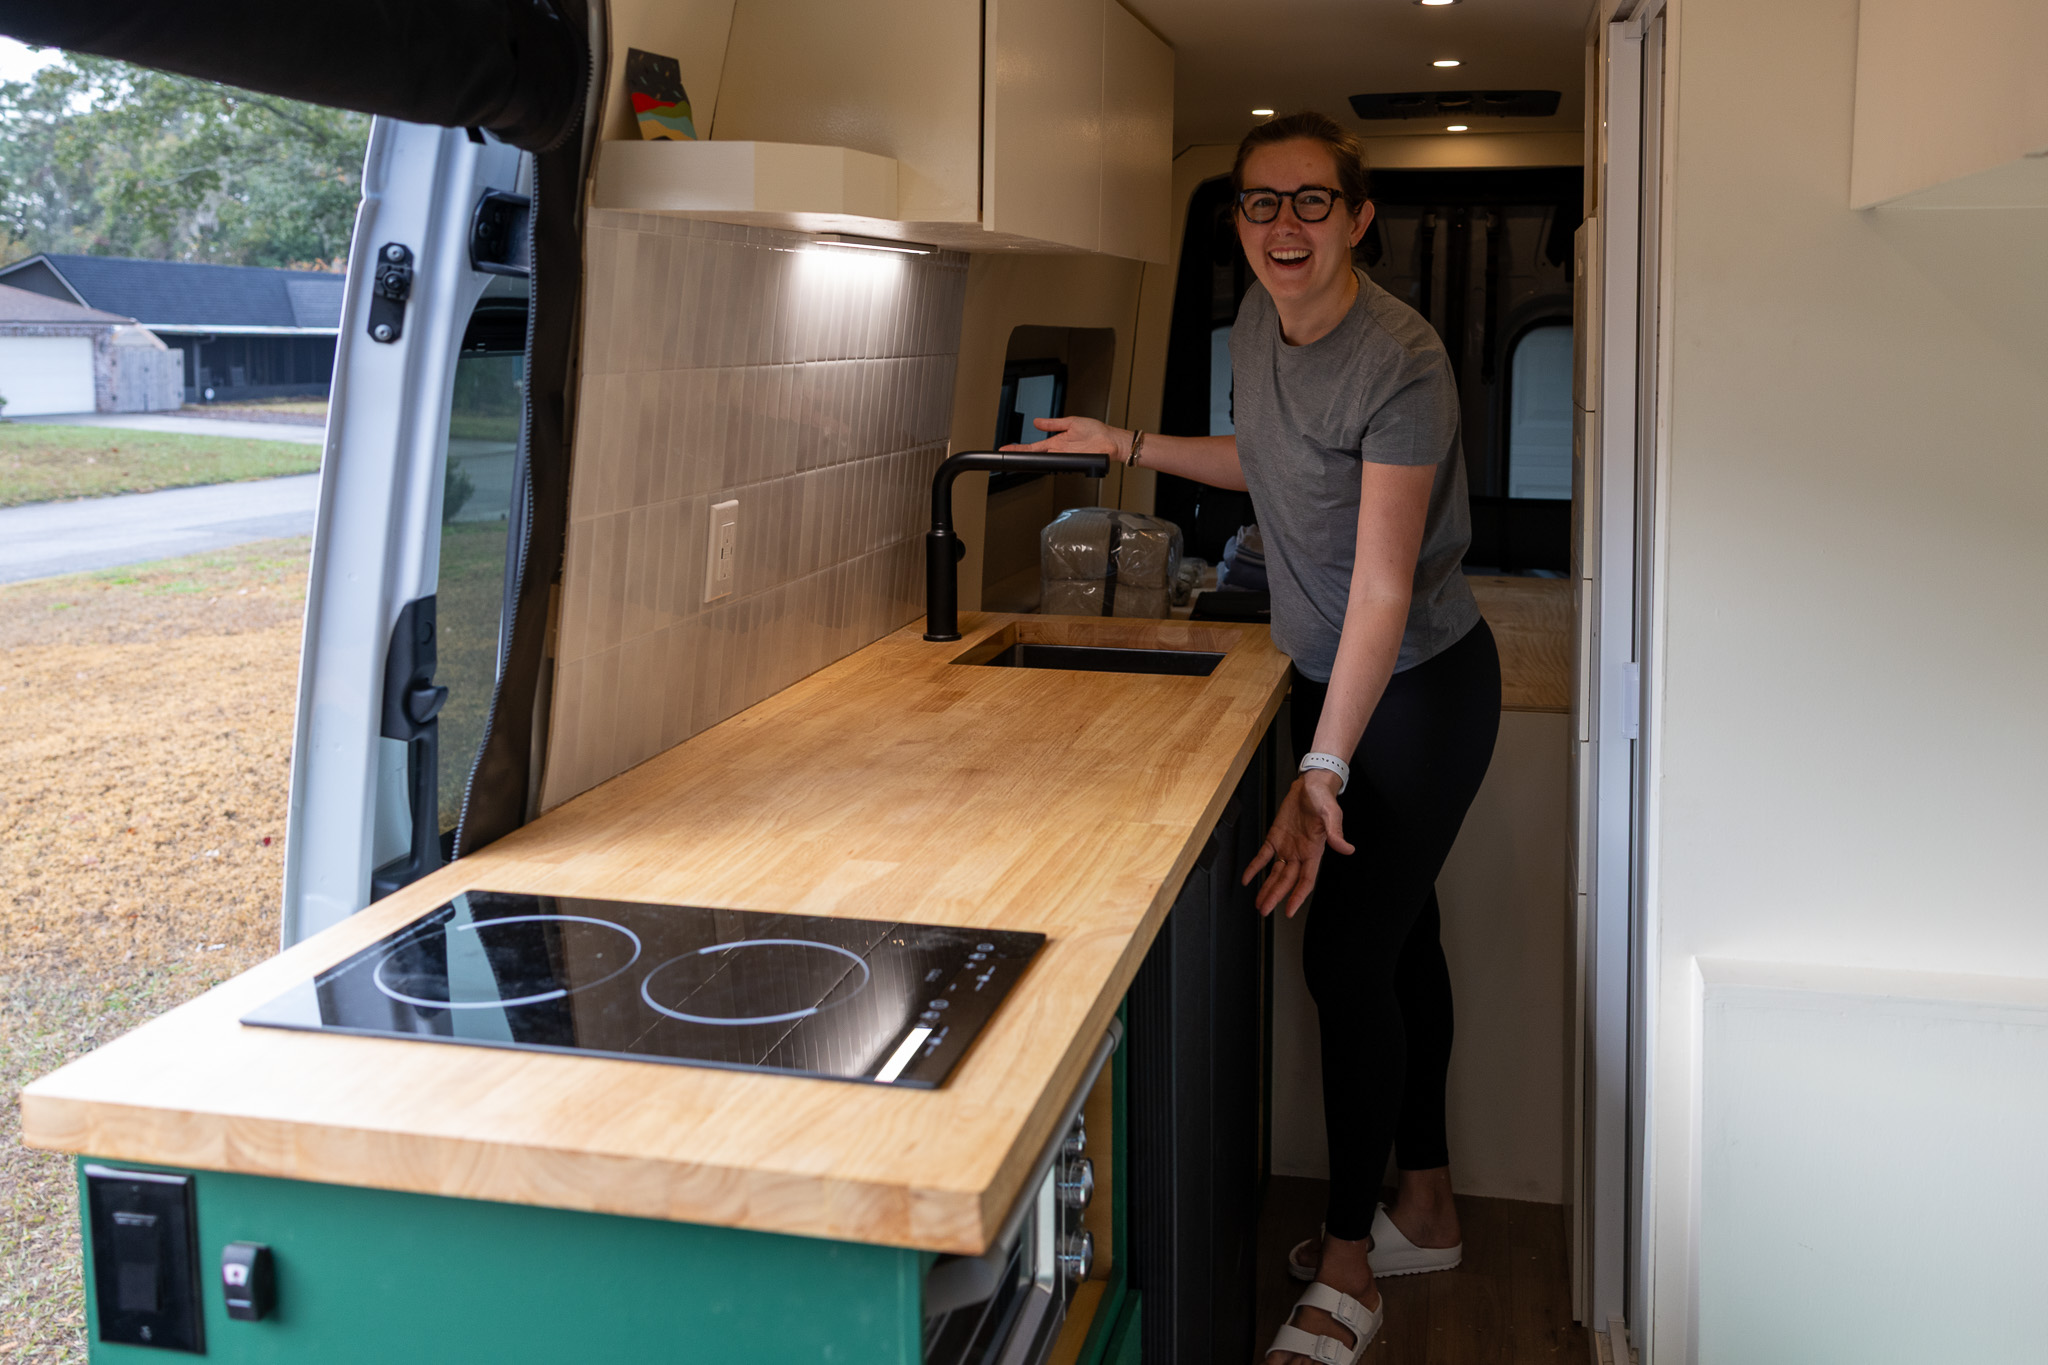
We built our dream kitchen. It has an 8-foot butcher block countertop, a massive fridge, a two-burner induction stovetop, and a smart oven.
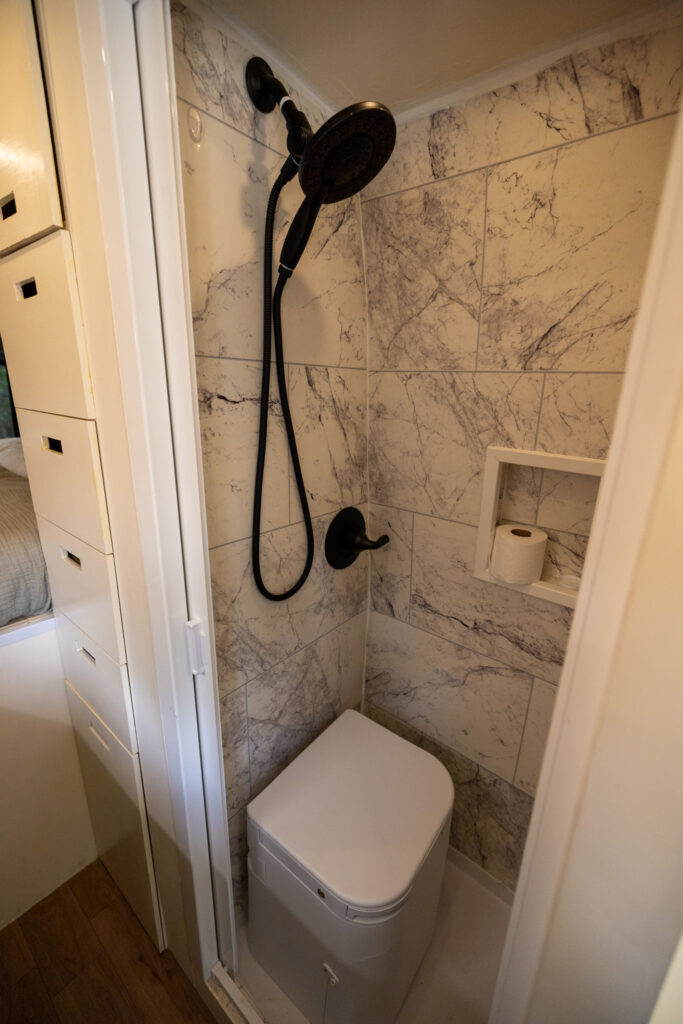
Step 15: Bathroom
Installing a bathroom and shower is one of the most controversial topics in van life. We’re choosing an OGO Composting toilet as our campervan toilet. Use our code Scho&Jo50 for $50 off your OGO Origin composting toilet.
Step 16: Bug Net, Headliner Shelf, Trim
For the finishing work on our van, we need to install our Bug Nets from The Bug Wall, Headliner Shelf from Vancillary, the cabinet faces, and trim.
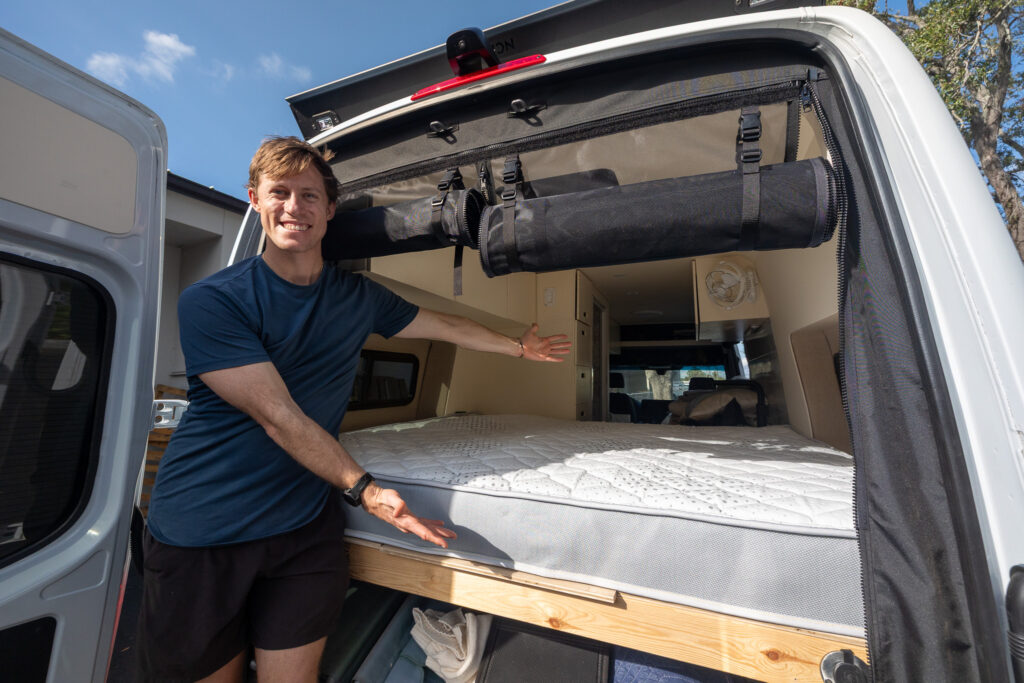
Step 17: Custom Mattress
For the final portion of our van build we pick up our custom Queen Mattress from Custom Mattress Makers.
Van Build Timelapse
Van Tour
Van Build Tips
Our Partners
A big thank you to our partners who are helping us build Pivot II. These brands make incredible products and believe in our mission; we are proud to be associated with them!


Van Build Videos
We’re documenting our van build on YouTube! You can watch our van build in order from our Van Build playlist or start with the first one here.