

Keeping your van comfortable is as much an art as a science. When we built our 2023 Mercedes Sprinter Van, we spent many hours analyzing airflow and how we would stay comfortable in all the different environments while living full-time in it. In this article, we share the most popular fans to install in your camper van, the fans we installed, how to install our rooftop Le Mans fan, AND our thoughts after living in our van!
Note: We use affiliate links which provide us a little kickback each time you use one of our links and make a purchase, without any additional cost to you. We do not recommend products that we don’t already love or have heard great things about, so you can trust we’re only suggesting great products to you.
The Different Categories of Van Fans
When you are thinking about installing a fan for your campervan, you need to keep in mind your primary objective and location. There is a lot more to staying cool in a van than simply a fan, however choosing the correct fan is important.
🧠 While airflow is crucial in staying cool, insulation is the essential factor!
Rooftop Fan
The most common fans for campervans are the rooftop versions. These typically install to a 14” x 14” opening and are placed wherever you may need airflow. Directly above the bed, above the shower for condensation, or above the kitchen are all popular locations.
💡 You’ll want to ensure the rooftop fan can blow air in both directions, removing hot air from your van and bringing cool air inside!
In some van layouts, you’ll incorporate two roof-top fans. This way, you can have one bring in air and the other remove it, allowing for good air flow in your vehicle.
Pros and Cons of a Rooftop Fan
| Area of Interest | Pro/Con | Reasoning |
|---|---|---|
| Cost | Neutral | Rooftop fans can range between $100-$500. This is significantly less than an RV AC unit but more than an interior fan. |
| Air Flow | Pro | Rooftop fans are the best for airflow as they interface with the outside of your van. Since hot air rises, it’s a great way to cool down your van. |
| Flexibility | Con | These fans are fixed, so once they are installed, that is where they will live forever. |
| Power | Pro | Fans use very low power! |
Using an Air Conditioner as a Fan
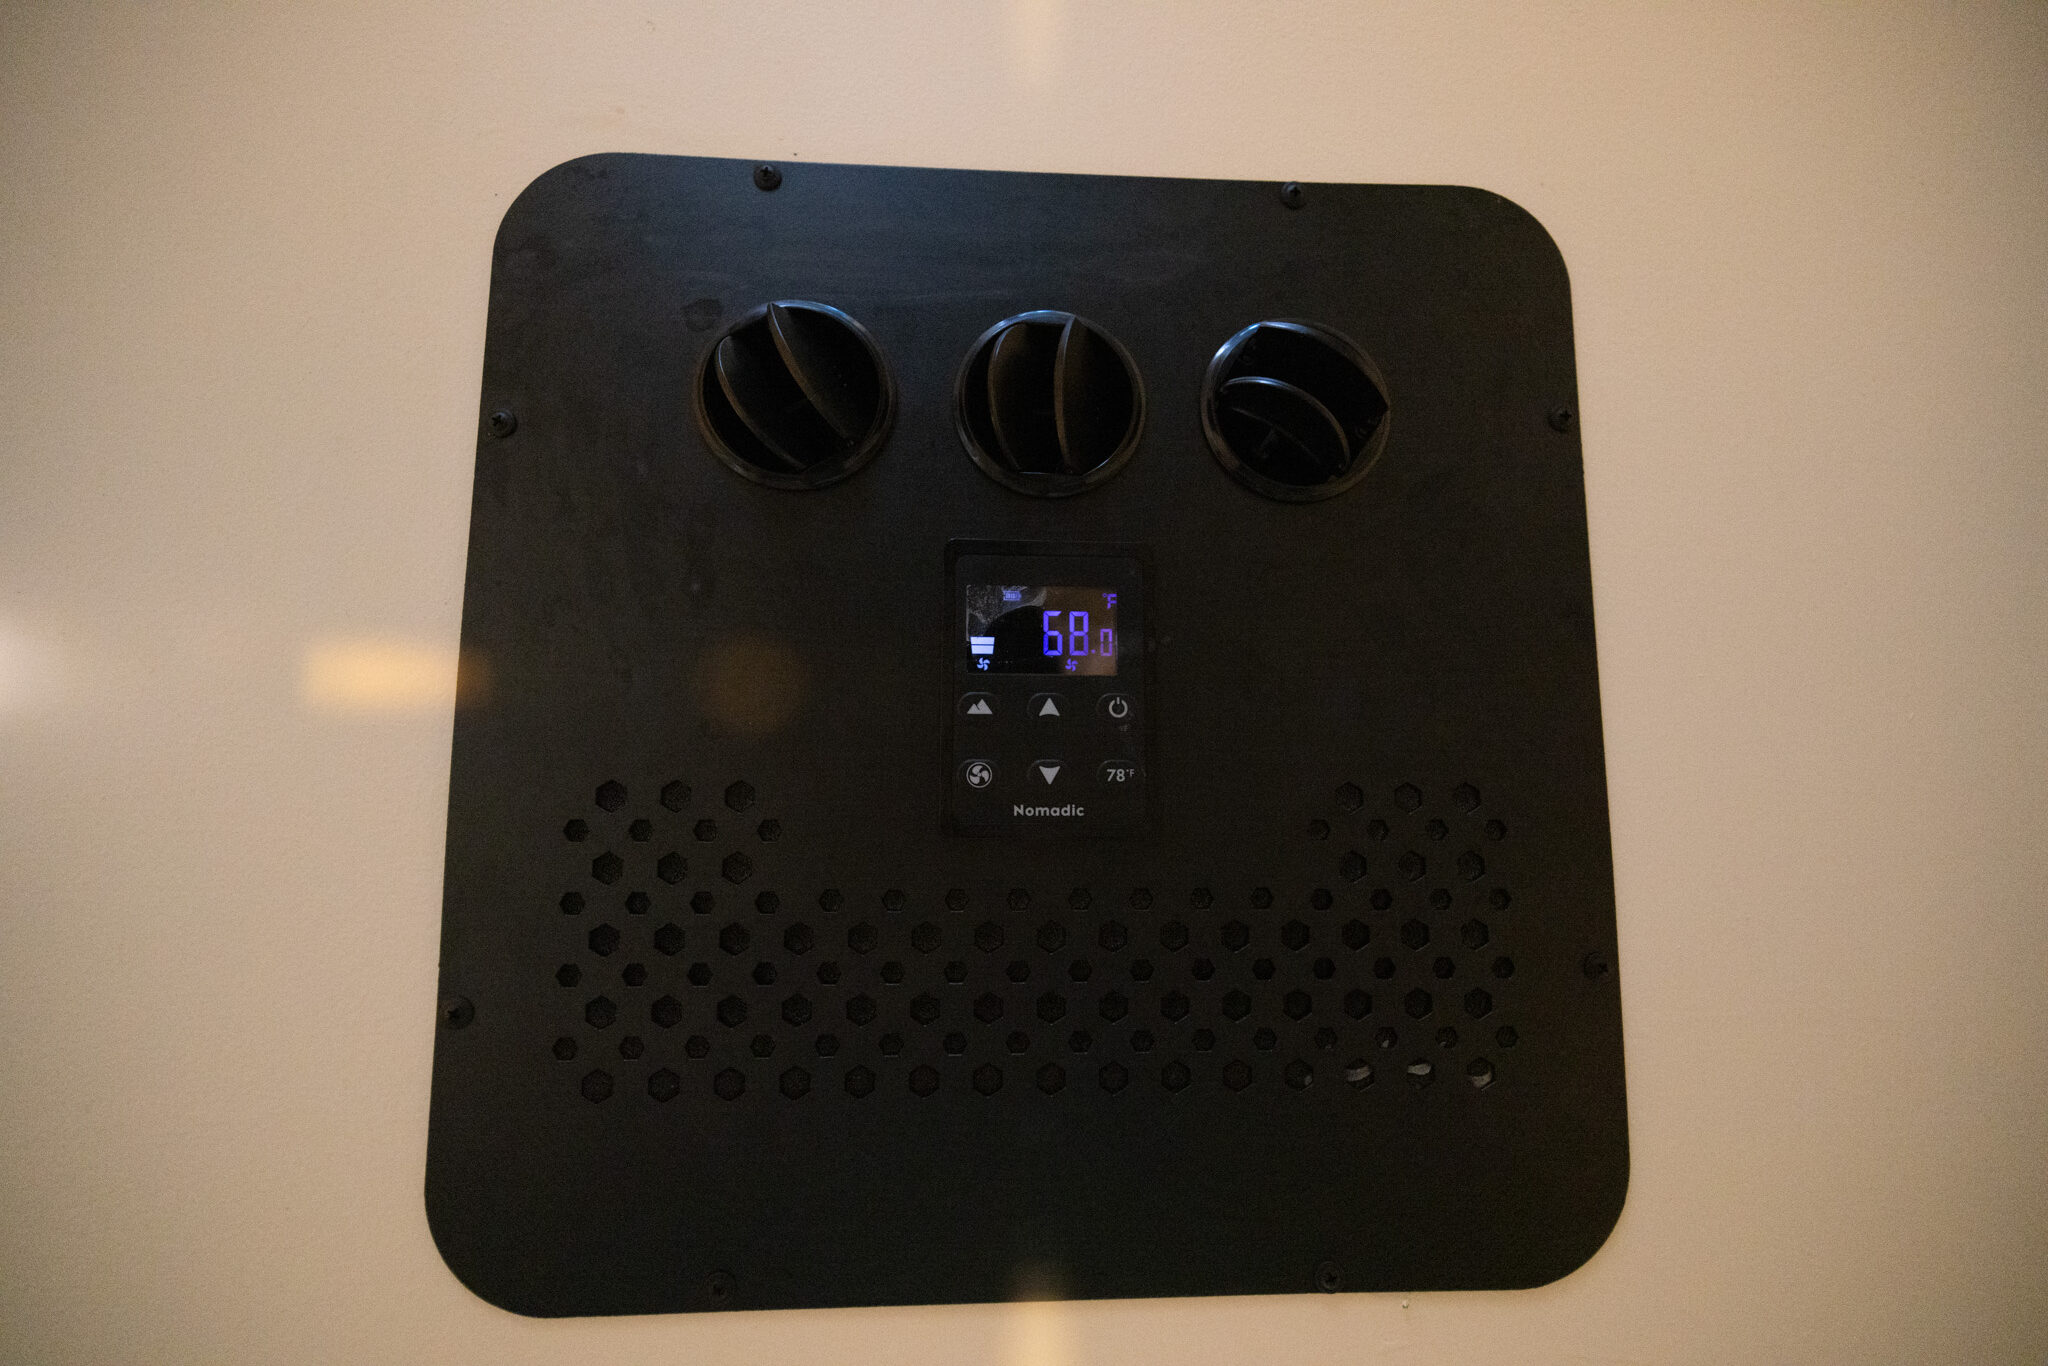
The other option for a van in your van is simply using your air conditioner as a fan! Most people overlook this as an option because it is a great way to kill two birds with one stone. You have the air conditioner for those hot days when a fan won’t be enough, but you can also use it in fan mode for everyday occasions.
Pros and Cons of Using an Air Conditioner as a Fan
| Area of Interest | Pro/Con | Reasoning |
|---|---|---|
| Cost | Con | Air conditioners (especially 12V are VERY EXPENSIVE. |
| Air Flow | Pro | Air conditioners won’t just help move air around, but will also cool the air. |
| Flexibility | Con | Air conditioners are fixed, so once they are installed, that is where they will live forever. |
| Power | Con | An AC fan will be less efficient than a dedicated fan, so you’ll need to make sure you have a beefy battery bank. However, if you have an AC, you’ll already have that! |
Interior Fan
Finally, we’d be remiss if we didn’t discuss the interior fan options! You can mount or run off battery power and place these options throughout your vehicle. The main benefit of these is that they are typically low cost, and since they can be moved around or focused on a specific area, you can optimize your gains from your fan.
🔥 By focusing a small fan directly on you while sleeping, you can feel cooler in warmer weather.
Pros and Cons of Using an Interior Camper Van Fan
| Area of Interest | Pro/Con | Reasoning |
|---|---|---|
| Cost | Pro | You won’t get much van circulation, hence the con, but since it’s more directed, you can have more impactful airflow! |
| Air Flow | Con | You won’t get much van circulation, hence the con, but since its more directed you can have more impactful air flow! |
| Flexibility | Pro | These fans are small and mounted or non-mounted you can put them wherever you want! |
| Power | Pro | These fans will use only a small amount of power. |
🤔 While small fans dominate the Pro Con list, they won’t give you the total airflow you need in a van. Consider them as part of your overall air flow solution.
The Best Rooftop Fans
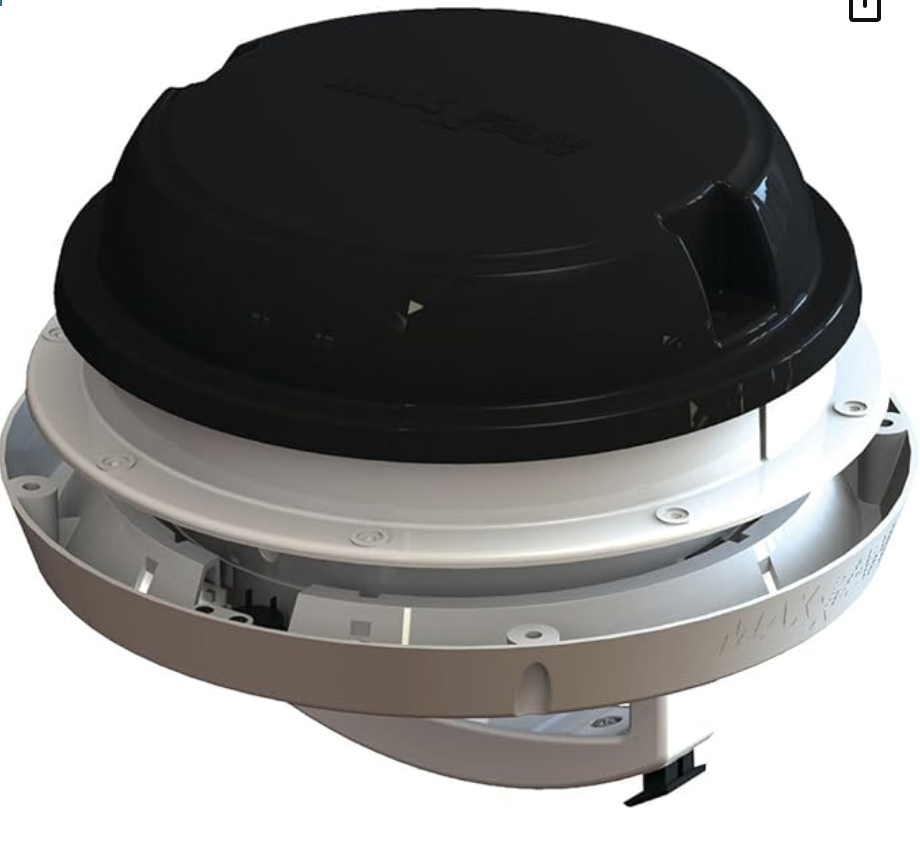
Picking a rooftop camper van fan can be a bit daunting (or its simple, depending on how you look at it) because it seems that the vast majority of van builds you see, use the Maxxair MaxxFan! There are many good reasons why this van is the standard, but we chose to go with a different, newer option!
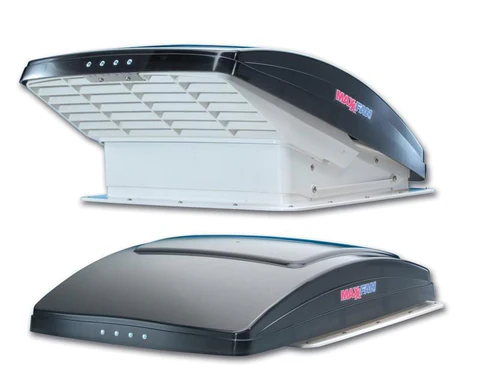
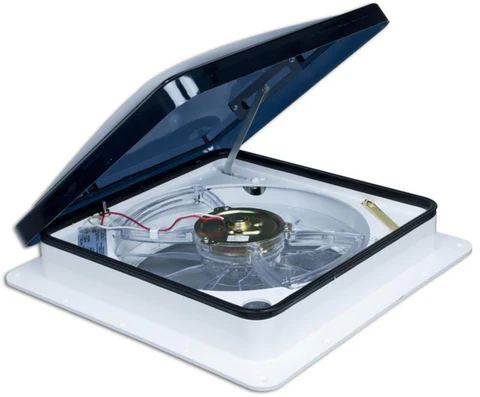
Maxxair MaxxFan
The kings of rooftop campervan fans are the Maxxair fans, and for good reason! They are powerful, widely available, and come with all the functions you need:
- Variable fan speeds.
- Bi-Directional airflow.
- Rain and Bug Covers.
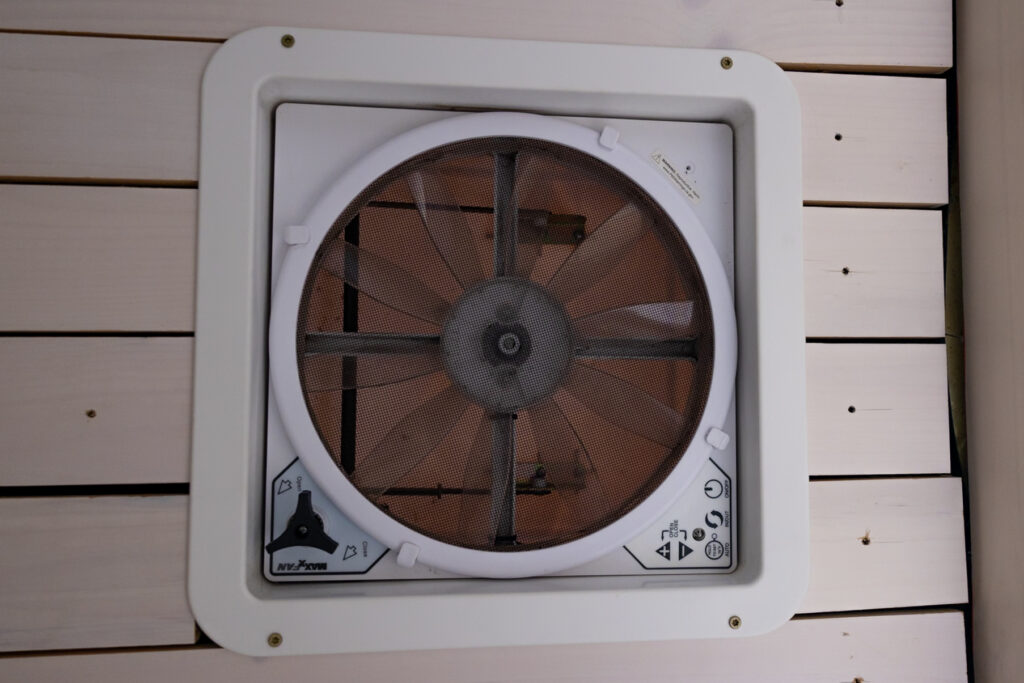
These will be the most expensive fan options, but well worth it on those hot days! If you do not have an air conditioner, or even if you plan to be in warmer climates, the Maxxair fan is an excellent addition to your build. All this being said, we did not choose the Maxx Air Fan. We’ll mention why we went with the Le Mans fan below!
🛠️ If you are DIY’ing your Van (like us) – going with the Maxxair is a great option because you’ll have plenty of tutorials out there, ensuring you have a professional like installation!
Dometic Fan-Tastic Vent Fan
The Dometic Fan-Tastic fan is another high-quality fan comparable to the MaxxFan. There are many different types, but their premium version has a rain sensor and automatic lid opening and closing. If we were choosing a van, we would probably still buy the MaxxFan unless Dometic was having a sale. The Dometic brand name is well-known for van life and outdoor living, and that is factored into the cost.
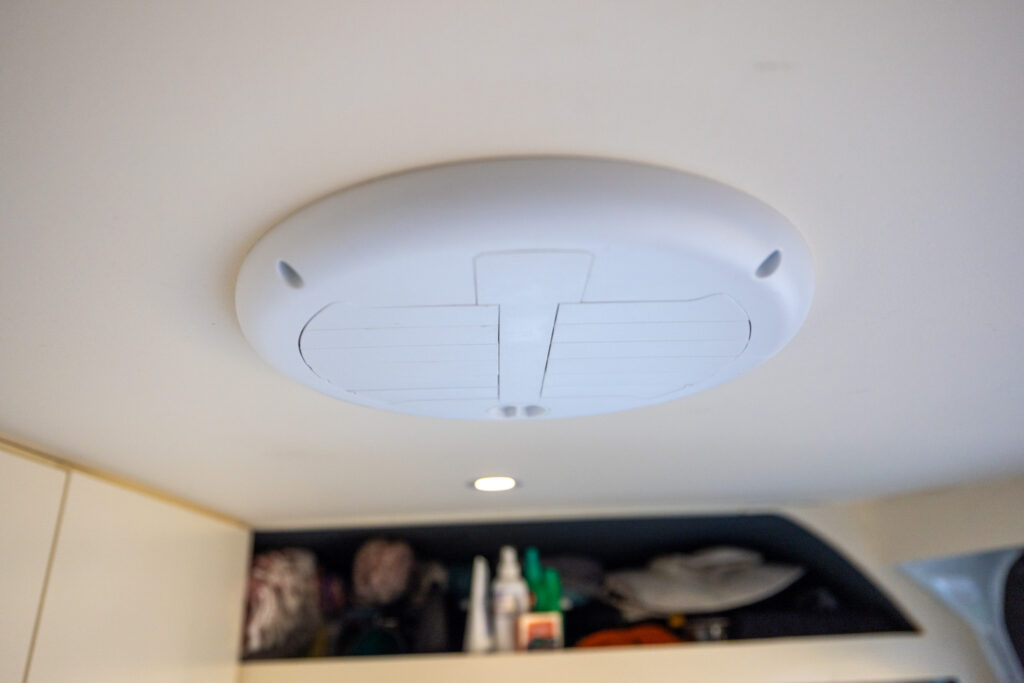
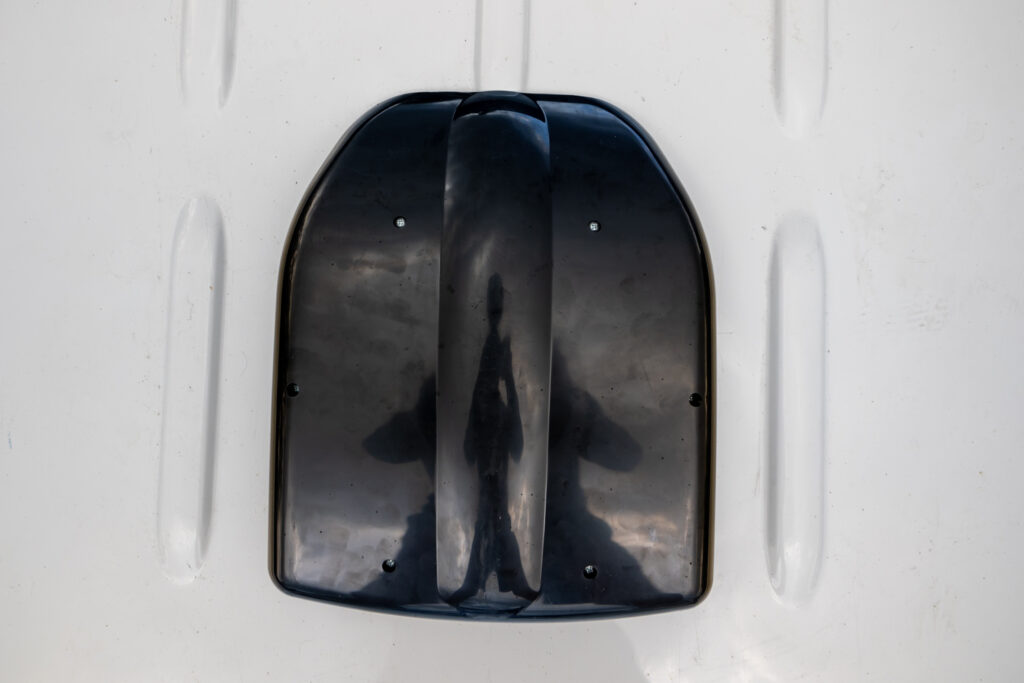
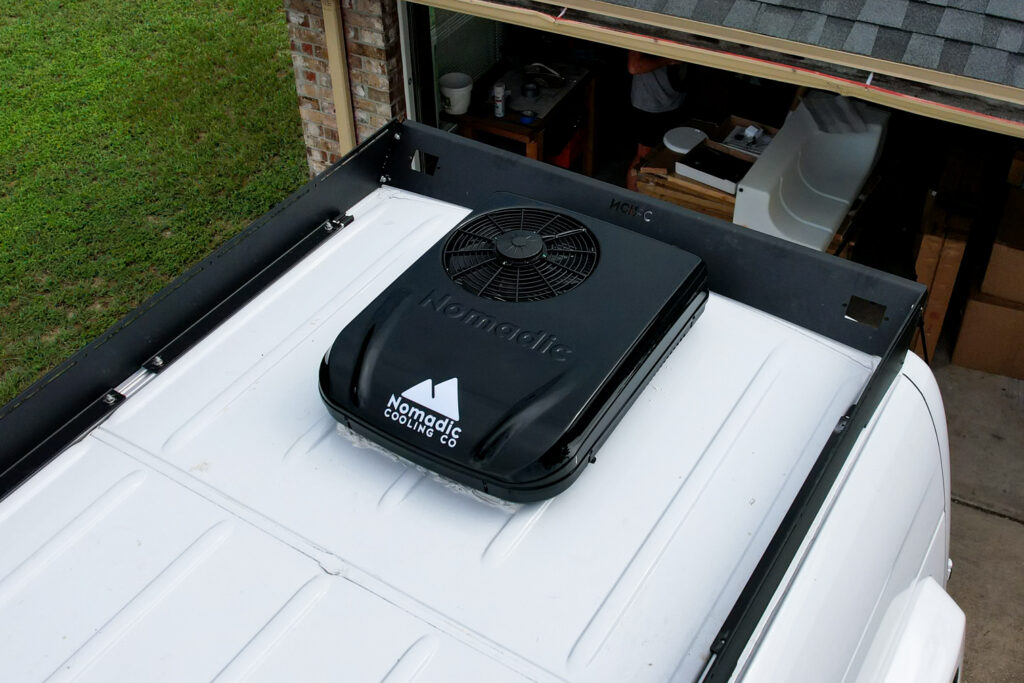
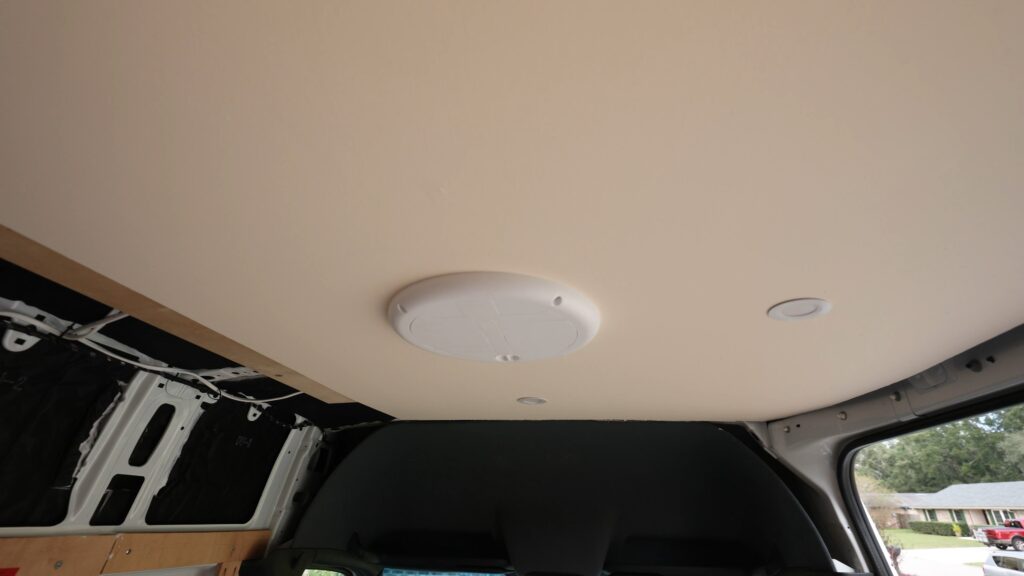
Le Mans Low Profile 12v Fan – Our Choice
We chose a newer fan on the block, the Le Mans low-profile fan, for a few reasons. Firstly, since we included Air Conditioning in our build, we knew we didn’t need the power of other rooftop fans. So, to include a fan and not disrupt our rooftop layout with our solar panels, we opted for the Le Mans Fan. Variable speed and bi-directional airflow add airflow to our van, but it is only a few inches high, giving plenty of room for our roof rack on top!
⬇️ Keep scrolling to see how we installed our Le Mans Fan 🎥
Maxx Air Fan Dome, 6″ Fan
The Maxx Air Fan Dome is a smaller 6″ fan, great for bathrooms to get rid of the extra moisture.
Check out our post about Campervan Air Conditioners and the one we choose!
The Best Interior Fans
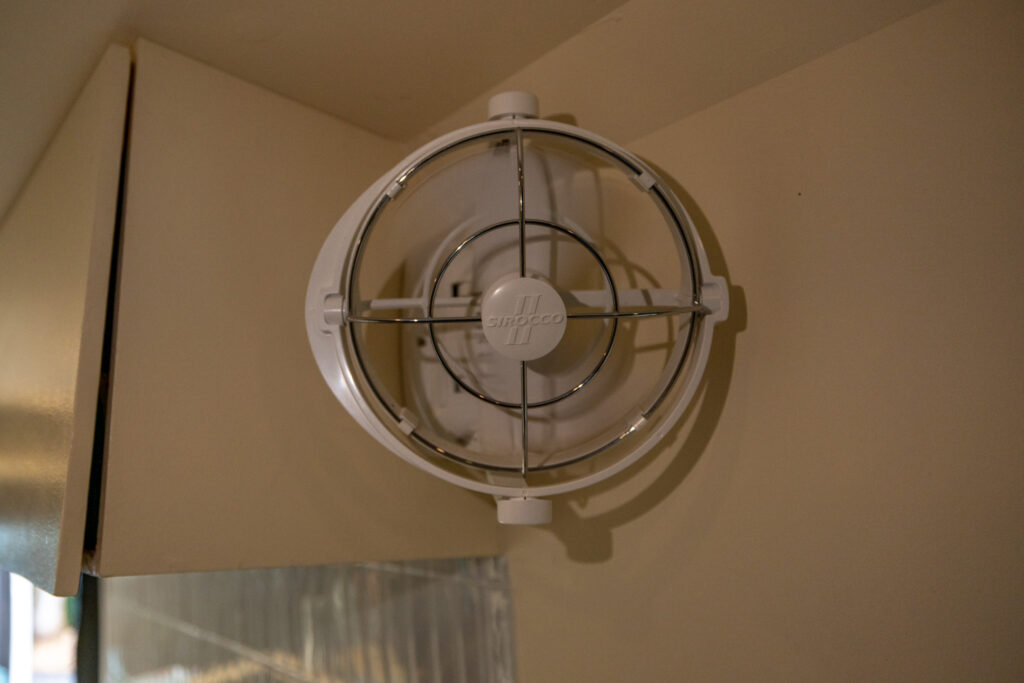
Caframo Sirrocco II – Our Choice
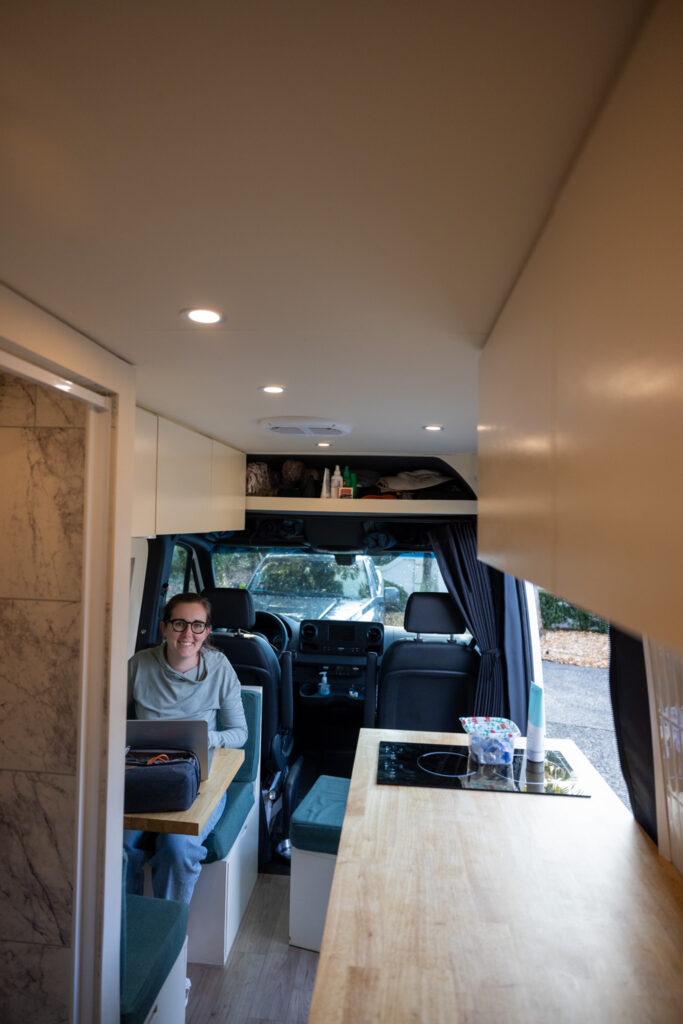
There are many options for interior van fans, and we chose the Sirocco II Fan. These fans have 360-degree rotation and a timer, allowing you to point them directly where you want them to go. Plus, these fans have a three-year warranty, giving us the of mind that they’ll last.
We placed our fixed fan near our bed area so we could have targeted airflow while sleeping. We can use the timer so it only runs while we fall asleep and won’t waste power all night, but it’s so low power that we just keep it on!
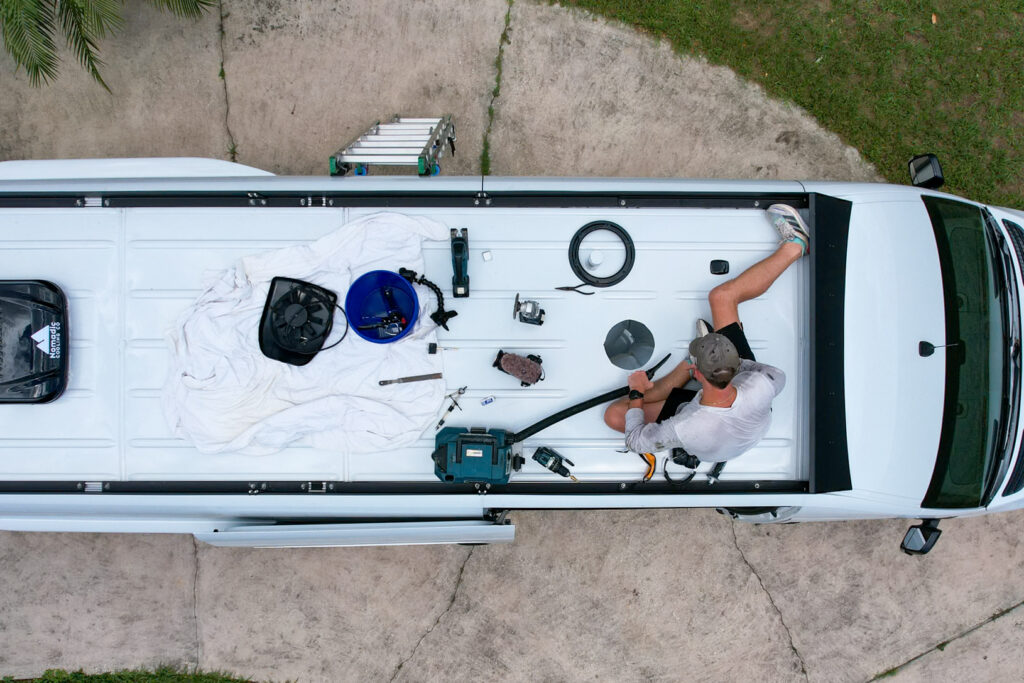
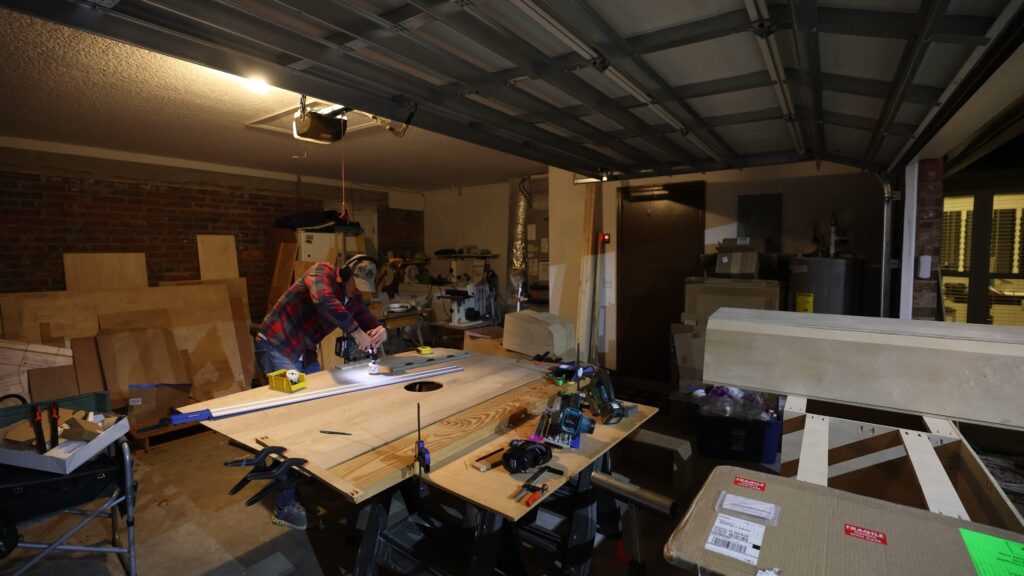
How to Install the Le Mans Fan
The Le Mans low profile rooftop fan was a quick and easy installation! Here are the steps we used to install our camper van fan.
⚠️ Follow the manufacturer’s directions first and foremost and use this guide as an auxiliary ⚠️
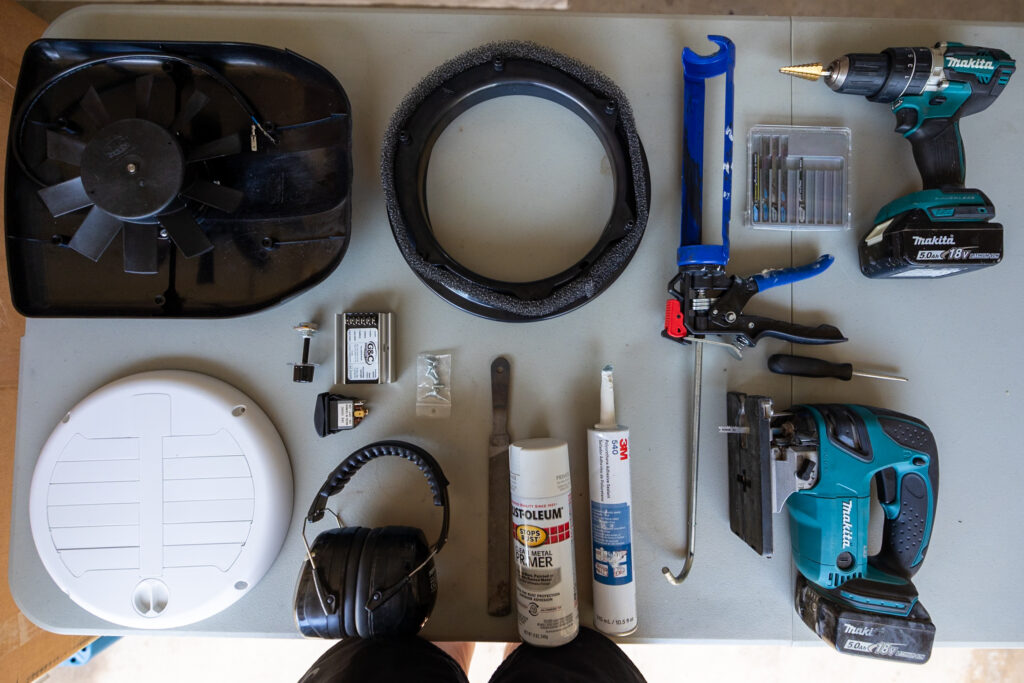
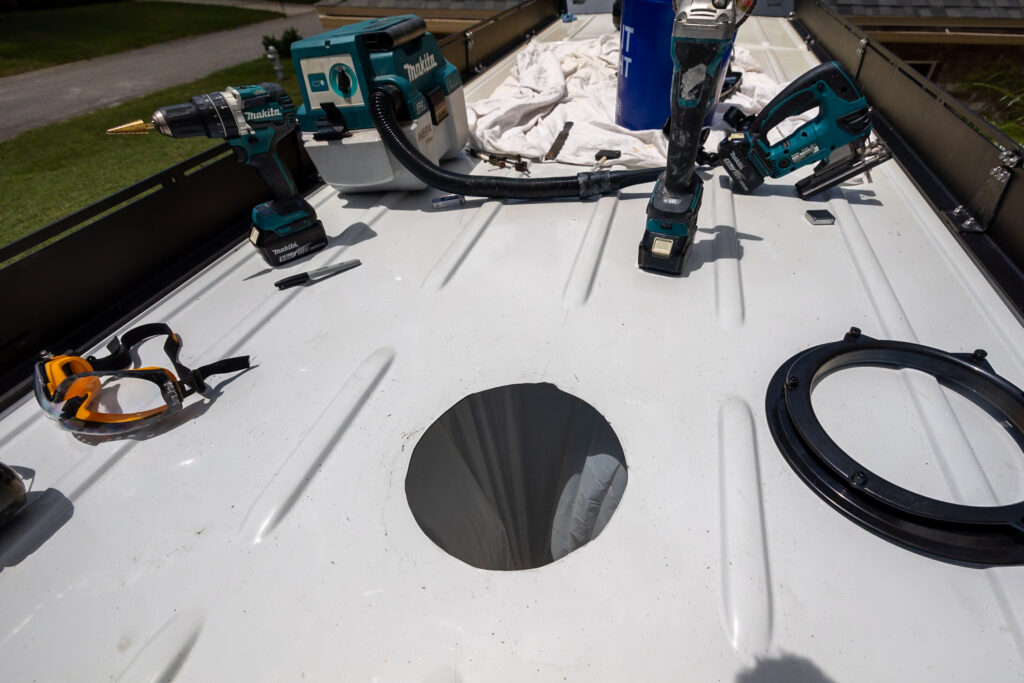
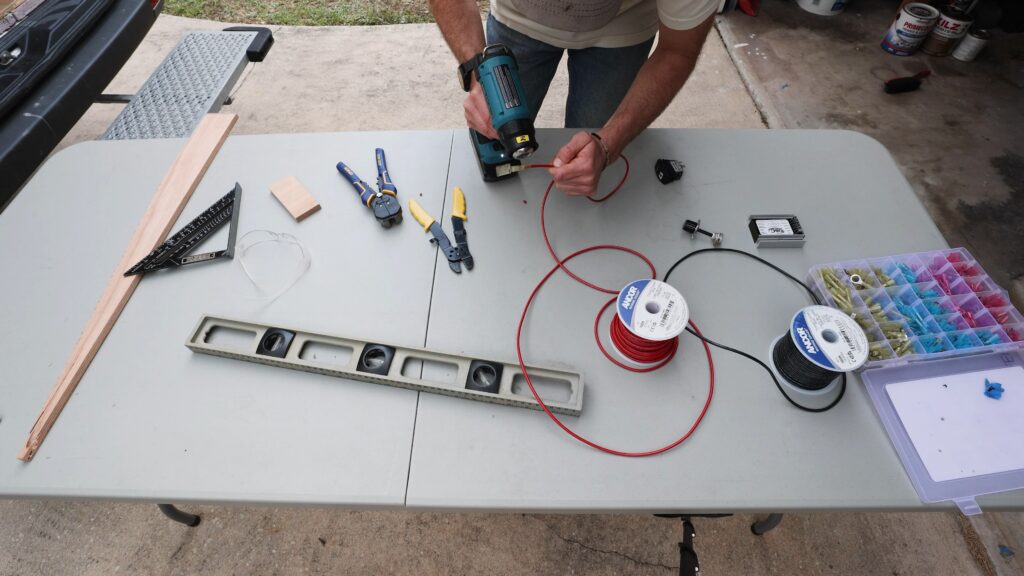
Required Tools
First off, you’ll need to make sure you have all the required tools. We list here what we used each tool for, so if you have a slight variation but it serves the same purpose, then you shouldn’t need to buy a new tool!
| Tool | What we used it for |
|---|---|
| Power Drill | Creates the pilot holes for cutting into the van |
| Jigsaw with metal blades | Cuts the panel out of the van |
| Step Bit | Used with the power drill for the initial holes |
| Deburring tool | For cleaning up metal points |
| Anti-rust paint | Used for all your newly cut exposed rust |
| Paintbrush | For applying the anti-rust paint |
| Mineral Spirits | A cleaning solvent that won’t damage your van |
| PPE: Googles, ear protection, and gloves | Safety first! |
| Caulking Gun | For cleaning up metal shavings it is not hard to get to locations |
| Shop Vacuum | For cleaning up metal shavings, it is not hard to get to locations |
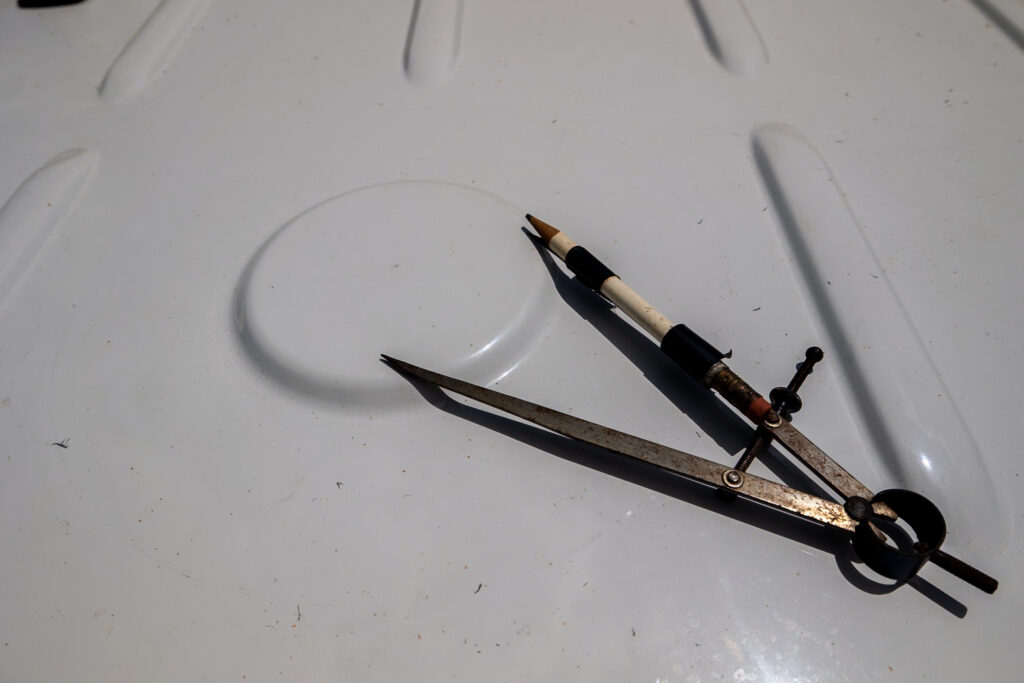
| Compass | We used a compass for ensuring the roof top cut out was the correct diameter |
| Sealant | For securing the fan to the roof. |
Determining the correct place for your fan
The Le Mans fan needs a flat surface to install onto. Included in the fan is a small gasket that can handle a few mm of uneven surface, however, our van only had a couple of areas we could easily install it, and we chose to put it pretty far forward since we had our air conditioner in the back of the van.
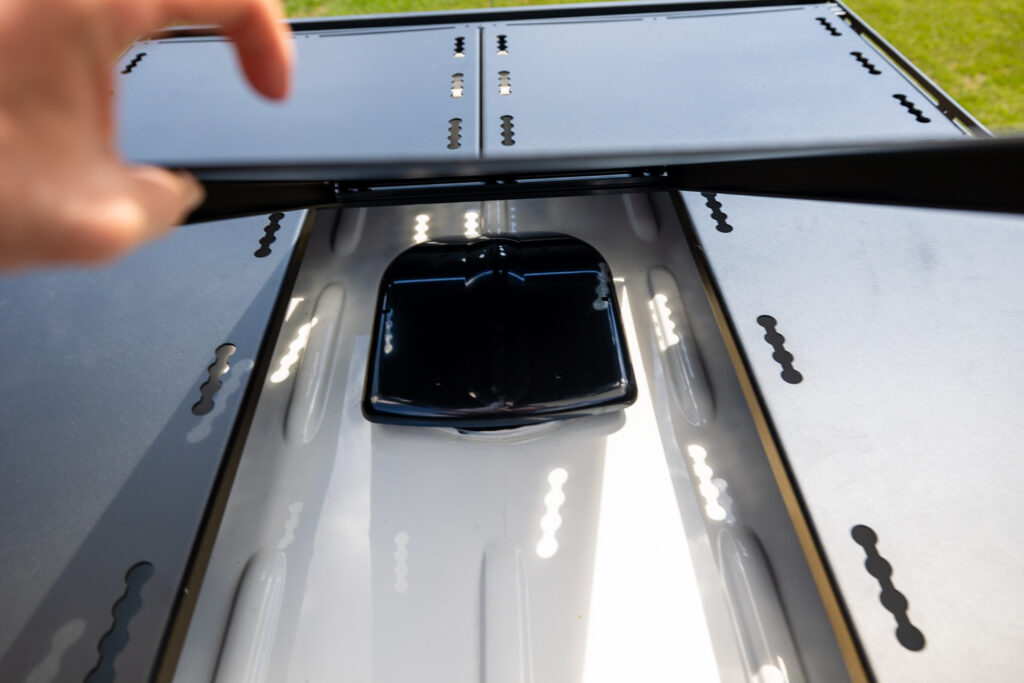
Cut out the Fan Hole
The fan needs a 230 mm circular hole, so we used the raised piece of circular metal in our roof to find our center point. We used a compass measuring 115mm to trace a circle. Unfortunately it was so hot in July that I had to draw multiple circles as I kept making small mistakes.
After you have your hole traced, use the drill to add a pilot hole for your jigsaw. We used the bottom most point for this hole, as that area is where the wires will go through in the next step.
Increase the Opening for the Wire
The fan’s wire into the cab is at the back of the fan, so ensure you follow the manufacturer’s guidance to allow it to enter the van.
Seal the Fan onto the Roof
We used 3M 540, but Sikaflex or any other applicable adhesive sealent will work here. Ensure you have a good seal to remove any chances for leaks. Considering this fan is installed underneath our solar panels, it may be more difficult to service in the future. Keep that in mind when installing it!
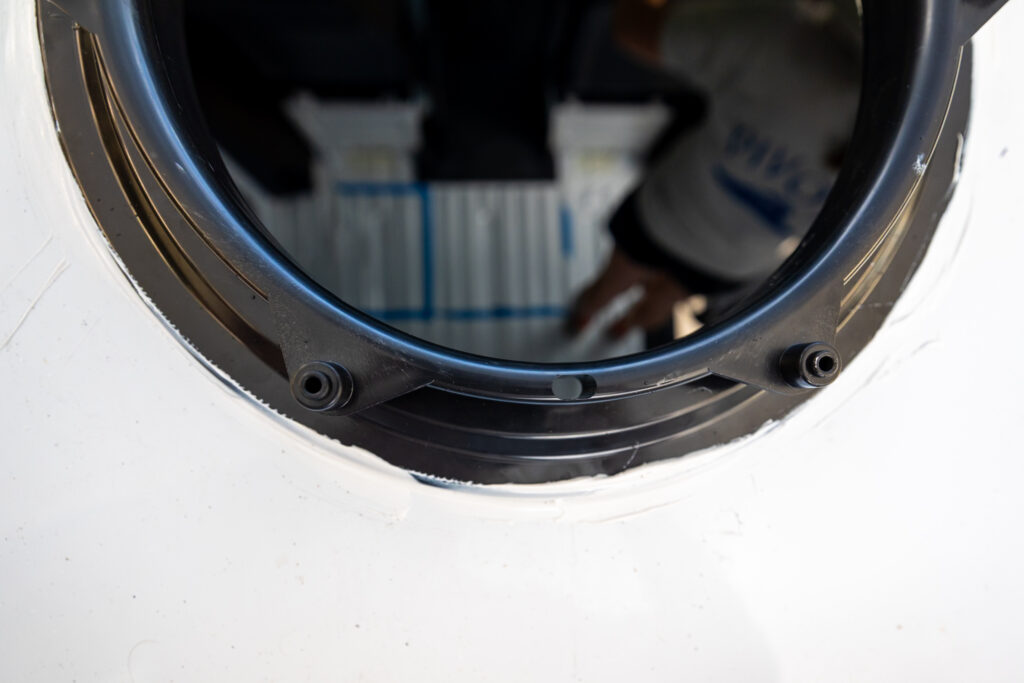
Screw the Cover onto the Roof
The last step on the roof is installing the cover of the van onto the base!
Interior Finishes
To finish the installation of your fan, you have to connect the electrical and install the inside vent.
Electrical
You’ll route your battery positive and negative wires to the fan controller and then the output of the fan controller goes to your two-way switch.
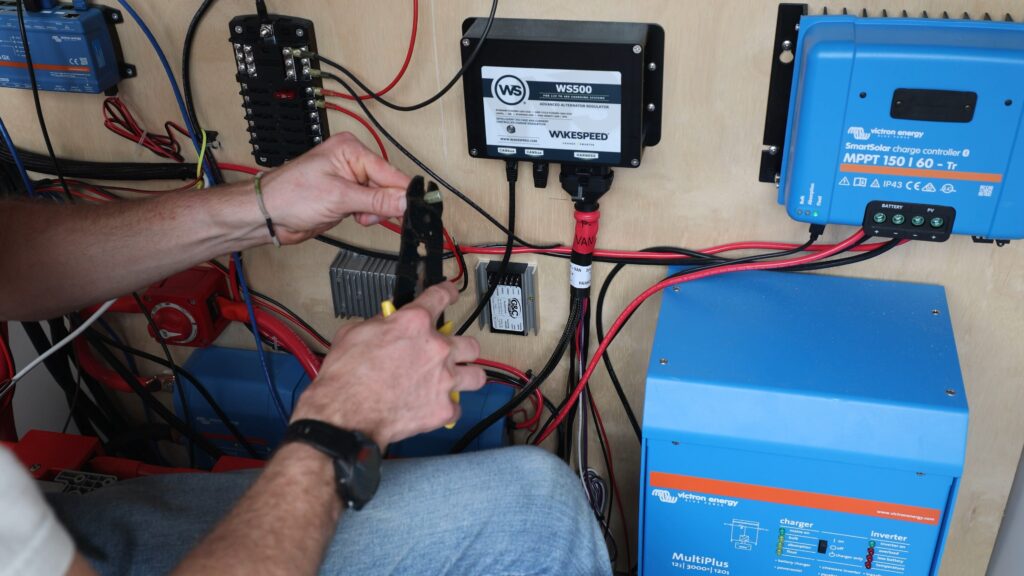
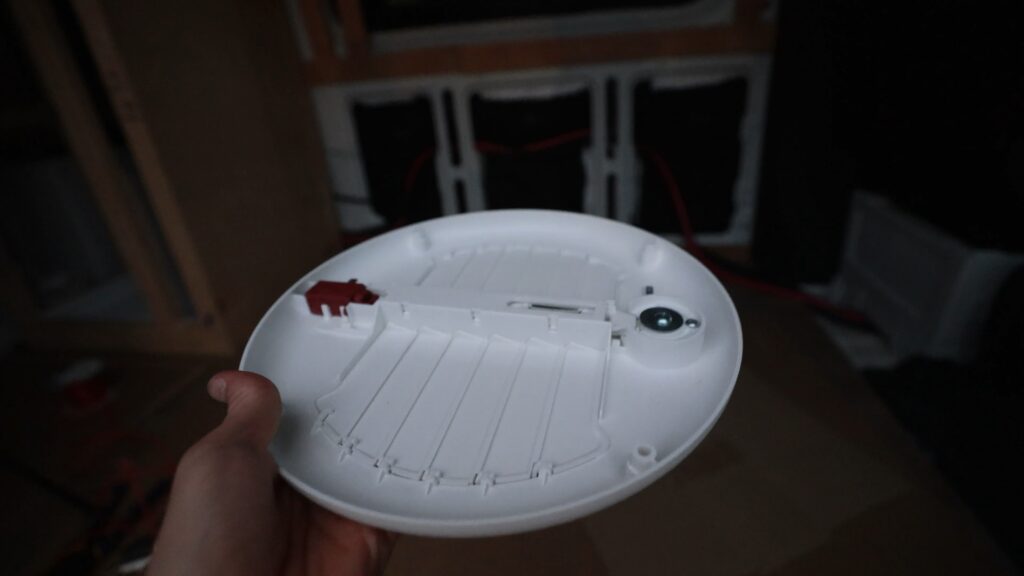
Next, you’ll need to route two wires to the fan from your two-way switch. The positive and negative wires will switch polarity depending on the fan direction, and then you’ll branch each wire into the fan solenoid. This solenoid built into the fan’s cover will automatically open and close, irrespective of the polarity!
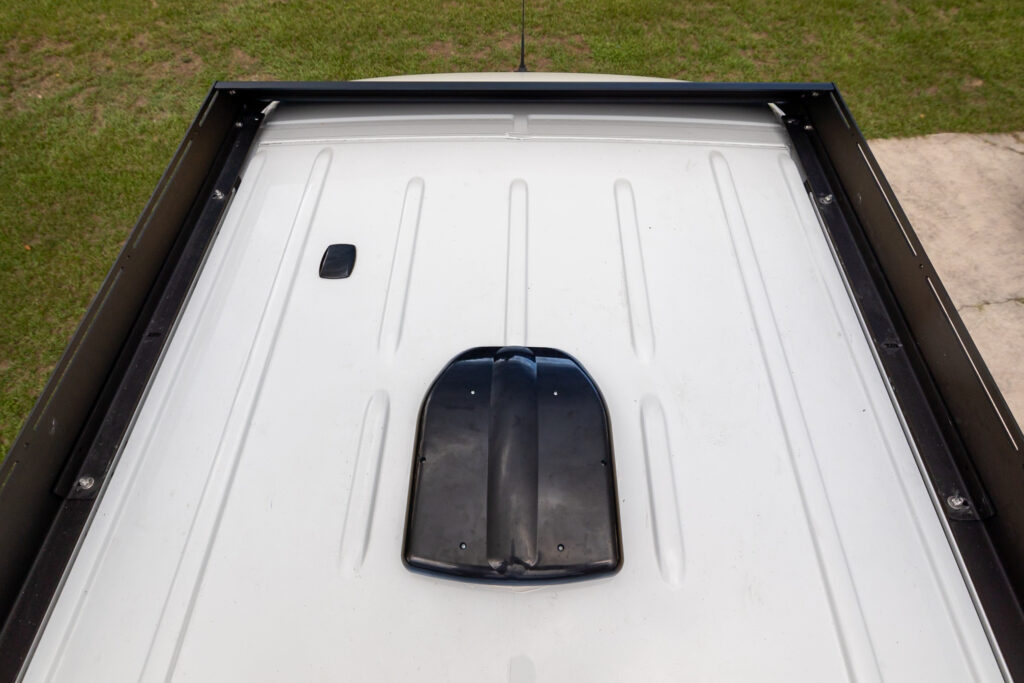
Installing the Vent Fan Cover
After cutting the hole where the fan is installed in the roof, you’ll need to install the cover. Fortunately, with just a few screws, it is the easiest portion of the process!
Final Thoughts on Our Fan Choices after Living in our Van
We took a gamble on the LeMans low-profile fan since we hadn’t heard of many reviews. While the Maxx-Air is reputable, the LeMans was relatively unknown. Now that we’ve been on the road for a month, we’ve learned quite a bit!
- The Sirocco II fan is amazing. It couldn’t be in a better spot as it’s right next to our heads as we sleep. It’s the trifecta of quiet, low-power, and powerful (since it’s positioned closely).
- We should have installed a second Sirocco II fan. We don’t have a dedicated fan for our work area, and this fan would have been perfect!
- Since the Le Man’s fan can’t be directed, we primarily use it to bring in the air or take some heat out of the van. It’s great while cooking, but we don’t run it often!
Overall, we find our DC air conditioner to be the key piece in sleeping well in warm weather. We wouldn’t change our fan situation other than adding another Sirocco II fan dedicated to our workspace.
Watch on YouTube
Part One: Installing the fan body
Part Two: Connecting Electrical and Finishing
Save for Later
Save this to Pinterest to read again later!


Leave a Reply
You must be logged in to post a comment.