

Interested in going backpacking in Tombstone Territorial Park? You’re in for a treat. This remote wilderness area in Canada’s northwestern Yukon territory features dramatic granite peaks, pristine tundra, and diverse wildlife, making it the perfect destination for backpackers. In this article, we’ll cover how to get to the park, what to pack, our experience backpacking for 5 days, and more! Let’s dive in!
Note: We use affiliate links which provide us a little kickback each time you use one of our links and make a purchase, without any additional cost to you. We do not recommend products that we don’t already love or have heard great things about, so you can trust we’re only suggesting great products to you.
ℹ️ About Tombstone Territorial Park
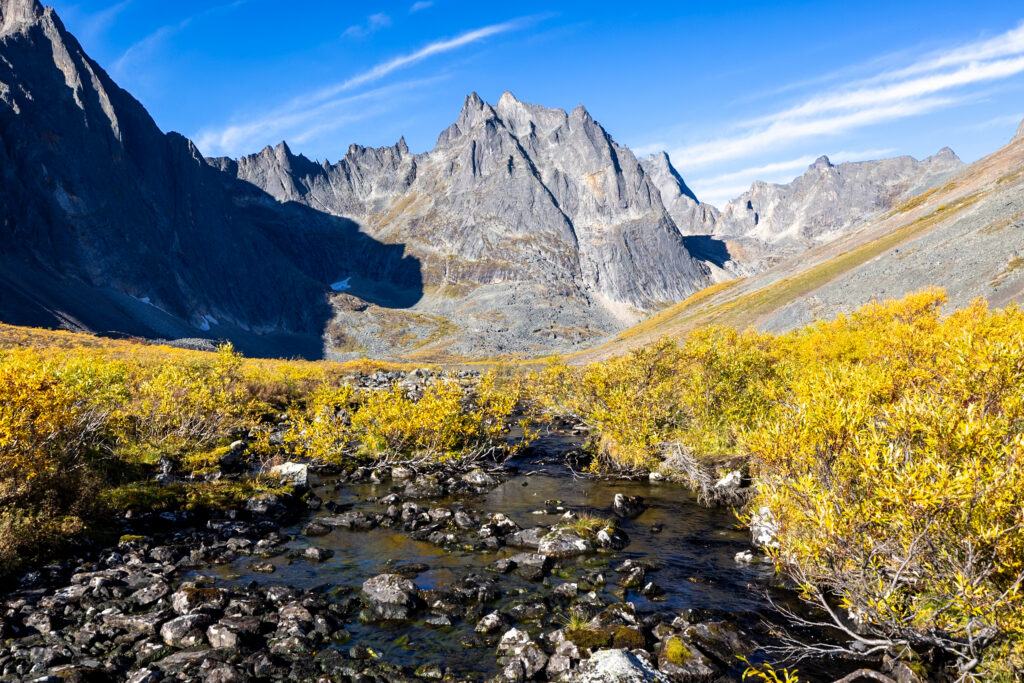
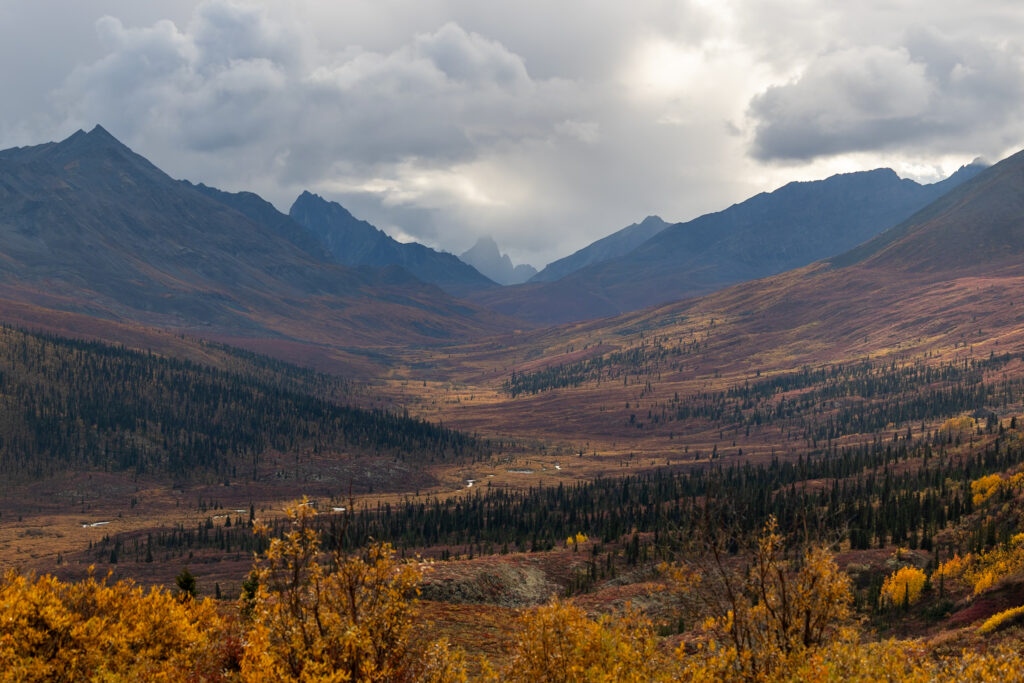
Tombstone Territorial Park, often called the “Patagonia of the North,” is celebrated for its jagged mountain peaks and vast tundra landscapes, reminiscent of the iconic South American range. The First Nations call this place Ddhäl Ch’el Cha Nän, which means “rugged mountain land.” This Canadian park is free to explore, with no entrance fee, though a camping fee applies if you decide to stay at any of the park-run campgrounds (frontcountry or backcountry).
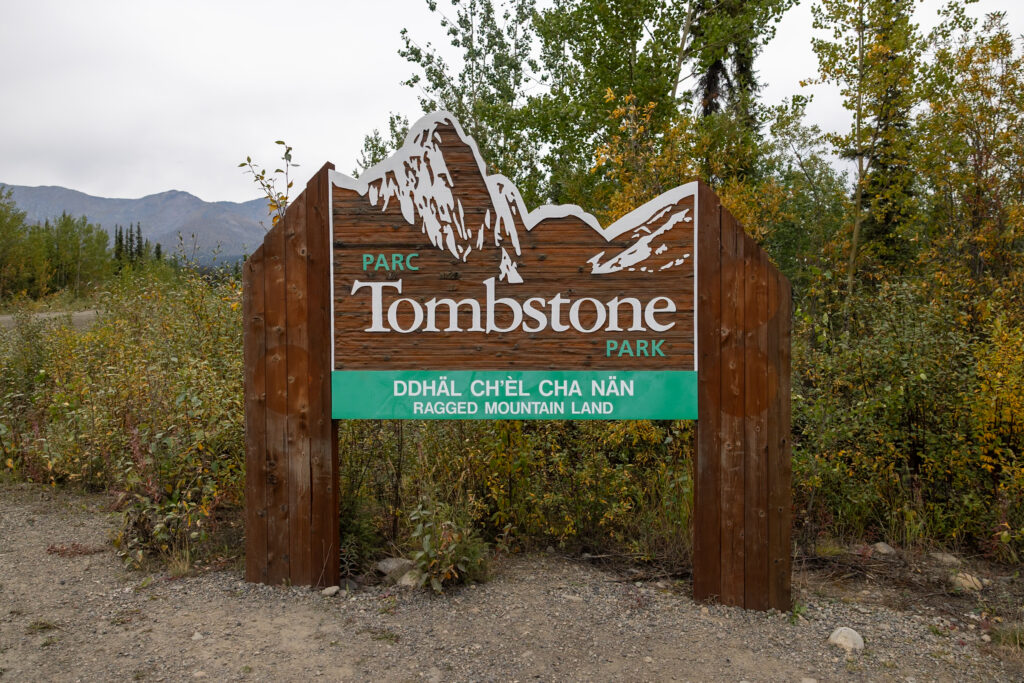
This park’s stunning landscapes draw backpackers from far and wide. Although there are a few easier day trails near the Visitor Center, backpacking trails here are far from a walk in the park, so proper gear and preparation are essential for a safe trip.
If you’re interested in backpacking, you’ll need to get a permit and follow rules like using bear-proof food storage and practicing Leave No Trace. We’ll cover all the nitty-gritty about backpacking in Tombstone in this article, as well as offer a few other things to do if you want easier alternatives.
Whether you’re visiting for a day or embarking on a multi-day backpacking trip as we did, Tombstone is sure to captivate you. It quickly became one of our favorite highlights on the entire Dempster Highway road trip!
💚 The park is located within the Traditional Territory of the Tr’ondëk Hwëch’in First Nation. Along with the Yukon government, they help manage the land to this day.
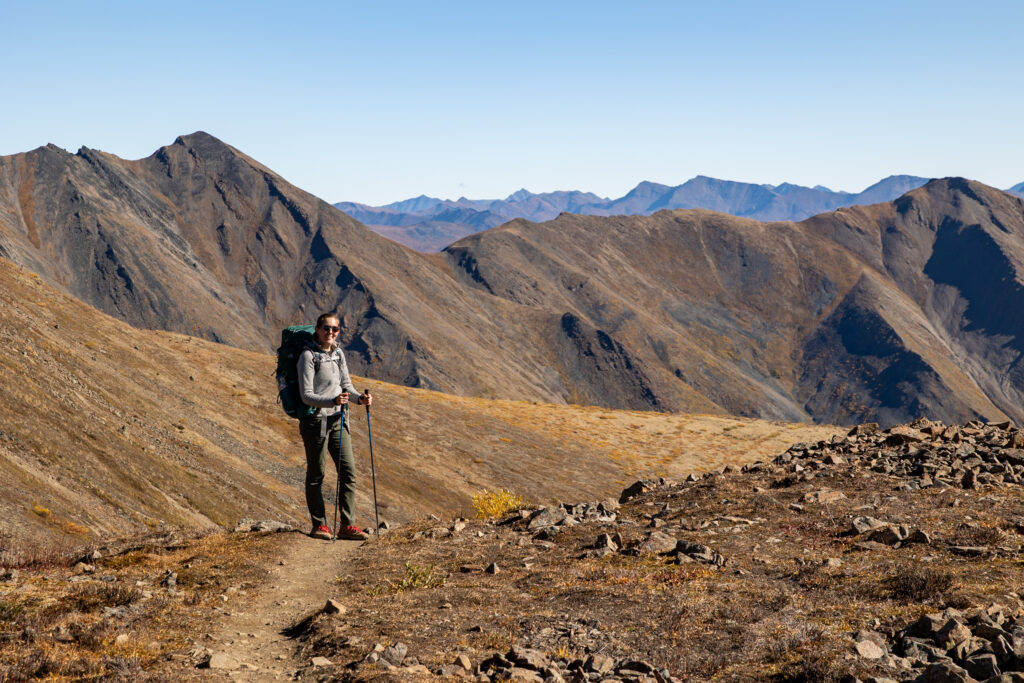
🚗 How to Get to Tombstone Territorial Park
Tombstone Territorial Park is located just off the Dempster Highway, about a 1.5-hour drive north of Dawson City. We recommend preparing for your visit in Dawson City, where you’ll find a variety of stores and supermarkets to stock up on supplies before heading into the park.
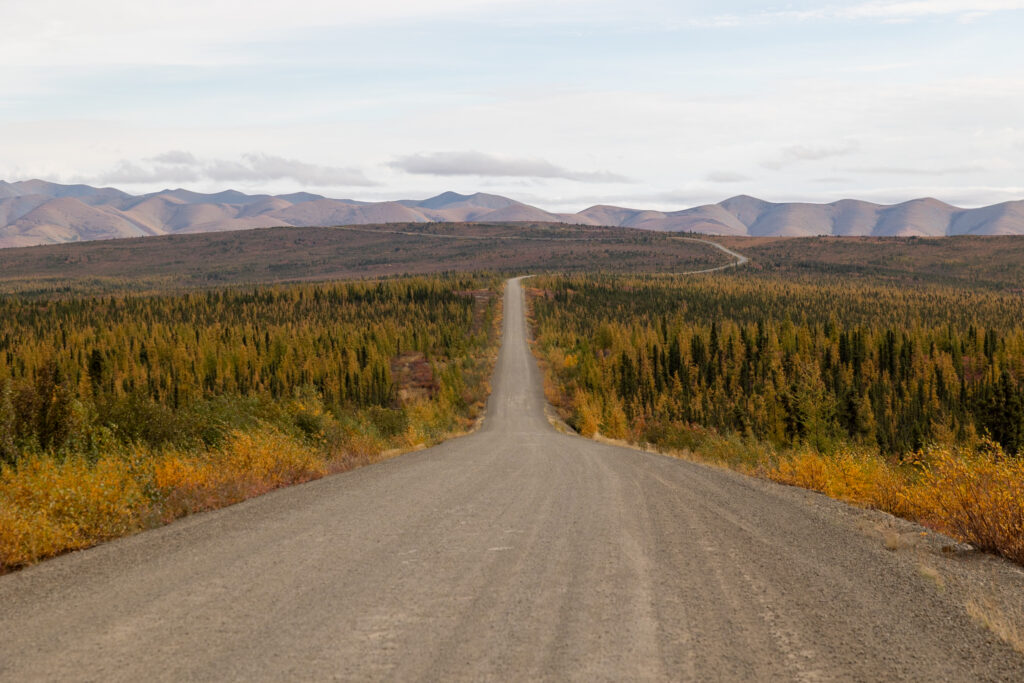
- By car: The most common way to reach Tombstone is by driving to Dawson City before turning onto the Dempster Highway. The Dempster is mostly gravel and is known for being rough.
- By plane: The nearest airport is Dawson City Airport (YDA), which has regular flights from larger cities like Whitehorse (YXY). From Dawson City, or from a farther-away airport, you can rent a vehicle to make your way to the park. Just make sure to inform the company that you plan on taking it onto the Dempster Highway.
- By public transport: Public transportation options that take you all the way to Tombstone are limited. Some tour operators offer guided trips or even scenic flight tours from Dawson City during the summer season, but these need to be booked in advance.
Love finding cheap flights?
Going (formerly Scott’s Cheap Flights) is one of our favorite tools for discovering insane airfare deals.
We’ve been members since 2015 and it has saved us thousands! The membership practically pays for itself if you use it once a year.
🗺️ Tombstone Territorial Park Map
We’ve highlighted both day hikes, viewpoints from the Dempster Highway, nearest gas stations, and camping locations for backpacking in Tombstone Territorial Park.
How to use this map: We have saved the locations from this guide on this map. You can save this map to your Google Maps by pressing the star icon. In your Google Maps, click the menu icon and then Saved Maps, where this map will appear.
Tombstone Territorial Park Day Hikes
If an overnight backpacking trip doesn’t pique your interest, you might consider exploring the park’s many day hikes. There are a variety of shorter trails that provide incredible views of the park’s jagged peaks, alpine lakes, and tundra. The most popular day hike is the Grizzly Trail to Monolith viewpoint, which takes hikers up to a viewpoint with views of Grizzly Lake. Some popular day hikes include:
| Trail Name | Start point on Dempster Highway | Hiking time (one-way) | Distance (one-way) | Level |
|---|---|---|---|---|
| Beaver Pond | Km 71.5 | 1 hour | 1 km (0.6 miles) | Easy |
| Grizzly Trail to Monolith viewpoint | Km 58.5 | 2-4 hours | 3 km (1.8 miles) | Moderate to Difficult |
| Edge of the Arctic Interpretive Trail | Km 72 | 0.5 hour | 0.5 km (0.3 mile) | Easy |
| North Klondike River Trail | Km 72 | 1-2 hours | 1.6 km (1 mile) | Easy to Moderate |
| Goldensides Mountain Trail | Km 74.5 | 2-3 hours | 2.5 km (1.5 miles) | Moderate |

With offline maps, wrong-turn alerts, and extra planning features, make the most of every outside adventure with AllTrails Plus. Get 7 days of AllTrails Plus for free!
🎒 How to Go Backpacking in Tombstone Territorial Park
Tombstone Park’s most popular, and only designated, backcountry route takes you to Grizzly Lake, Divide Lake, Talus Lake, and then back to the trailhead. This 48-km (30-mile) route can be completed in as little as 3 to 4 days, though we backpacked it over 5 days.
This trip includes an optional side trip from Grizzly Lake to Twin Lakes with a viewpoint of the highest point in the park, Mount Monolith at 2,165 meters (7,103 feet). Below, we’ve detailed our experience day by day to give you an idea of what you’re up against if you decide to tackle this rigorous route.
📌 Pin this post
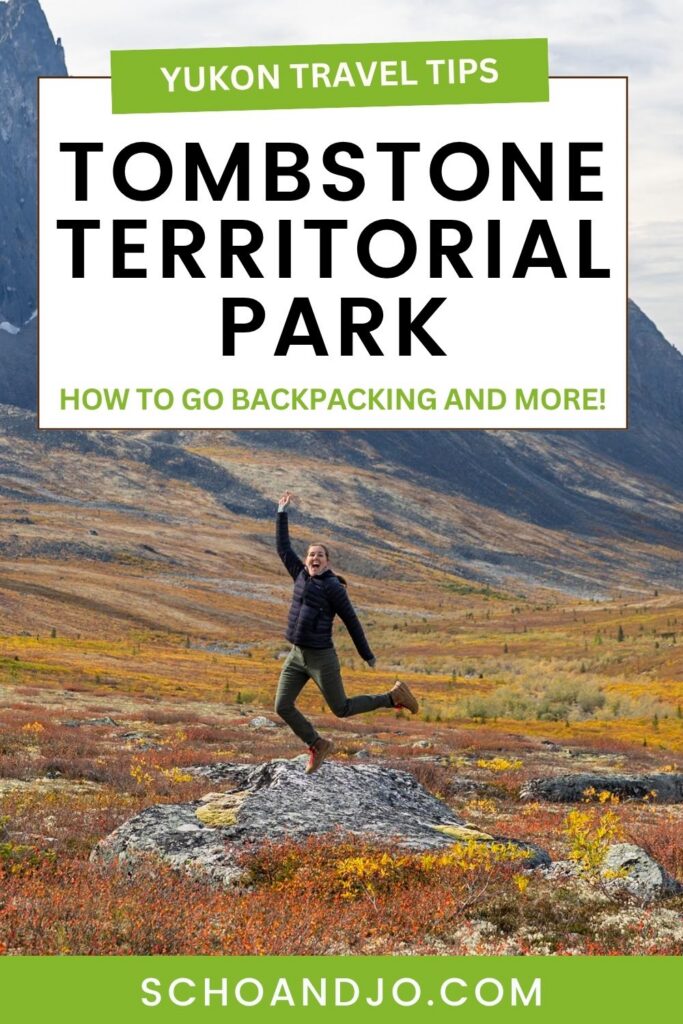
Pin this guide to the Dempster Highway to make your upcoming trip a breeze to plan!
Beyond this backpacking route, there are many more places to go backcountry exploring in Tombstone, though they might not have designated trails. You’ll still need to register your trip with the park rangers before setting out, and complete all the requirements that this other trip requires for your safety.
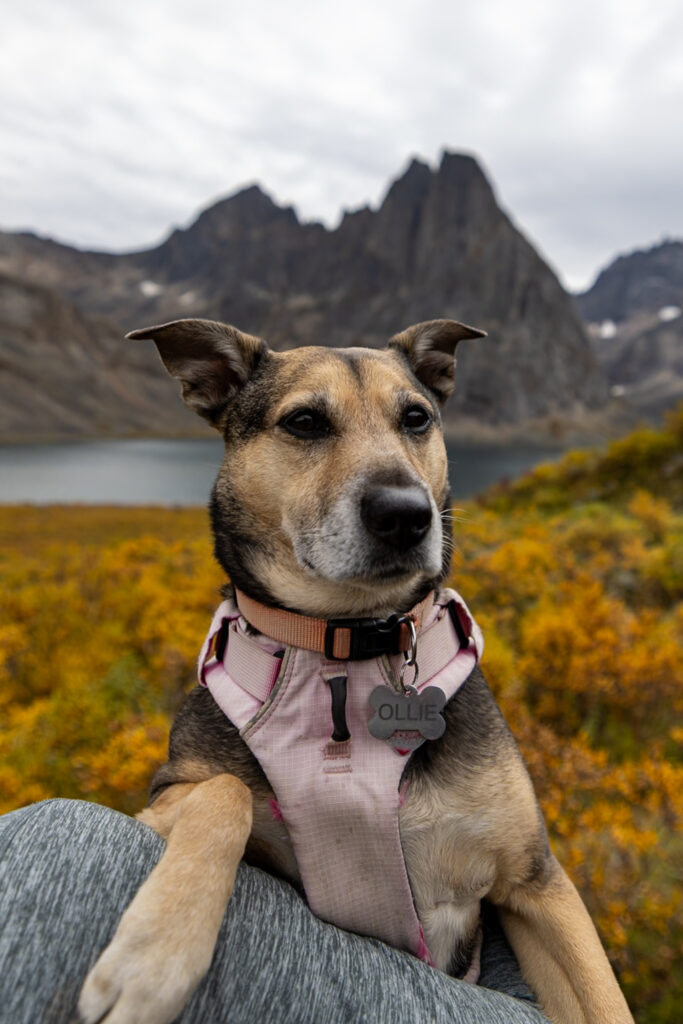
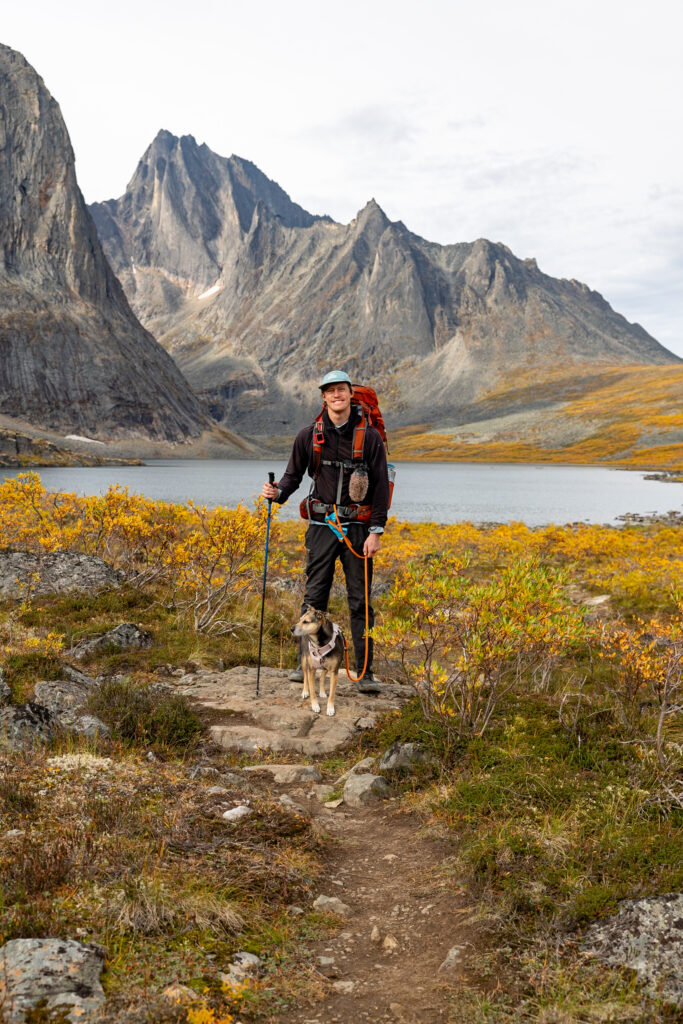
🐶 Although not explicitly encouraged, dogs are allowed on backpacking routes. If you decide to bring your dog with you, they must remain on a leash at all times.
1. Book Your Campgrounds
If you plan on camping at the established backcountry campgrounds, you’ll need to reserve your campsites in advance on this website. There are only a limited number of sites per campground.
There is an option to wild camp away from these campgrounds, but you’ll need to get the okay from rangers before setting out. Keep in mind that if you decide to wild camp, you lose out on services like pit toilets, protected eating areas, lockers for food, and easy water access.
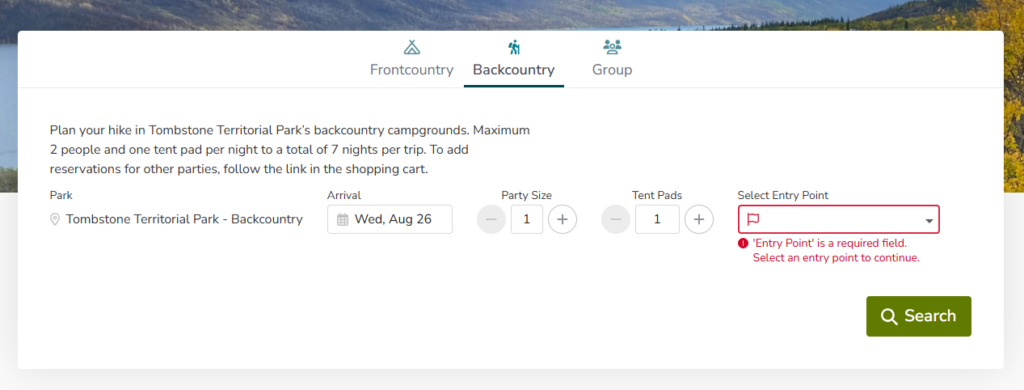
Reserving your campgrounds is a bit confusing, but essentially, you must book each campsite individually, booking Grizzly Lake “in” on the way in, and Grizzly Lake “out” on the way out.
We booked our reservations in August, about 3 weeks out from our trip, and were refreshing and refreshing the Yukon Booking site to try and get any available dates for the hike. After a few days of looking, we were able to book a complete trip:
- 1st night Grizzly Lake In
- 2nd night Divide Lake
- 3rd night Talus Lake
- 4th night Grizzly Lake Out
We were thrilled with this at first because we not only were happy to get a spot, but we were also able to stay at each campground, which sounds good in theory. You’ll soon find out that we wish we had reserved spots in a different order.
The camping season in Tombstone is short (July-early September), and with climate change causing milder conditions later in the year, booking your stay as late in the season as your schedule allows can offer more temperate weather. As of 2026, the latest camping date is September 7th.
🚁 Want to skip Grizzly Lake? We learned that Fireweed Helicopters offers camper drop-offs and pick-ups at Talus Lake, skipping Grizzly Lake, if you are interested.
2. Plan Your Itinerary
There are many ways to shape your backpacking itinerary. It’s important to plan out your camping locations so you can book them in advance. We opted for a 5 day/4 night backpacking trip, but we’ll also share a few other options that would be appealing:
| Camping Location | Option 1: 4d/3n | Option 2: 5d/4n | Option 3: 6d/5n | Option 4: 7d/6n |
|---|---|---|---|---|
| 1st Night | Grizzly Lake | Grizzly Lake | Grizzly Lake | Grizzly Lake |
| 2nd Night | Divide or Talus Lake | Divide or Talus Lake | Divide Lake | Divide Lake |
| 3rd Night | Grizzly Lake | Divide or Talus Lake | Talus Lake | Talus Lake |
| 4th Night | Grizzly Lake | Divide Lake | Divide Lake | |
| 5th Night | Grizzly Lake | Grizzly Lake | ||
| 6th Night | Grizzly Lake – day trip to Twin Lakes |
The exact itinerary we followed was:
- 1st Night: Camp at Grizzly Lake
- 2nd Night: Camp at Divide Lake
- 3rd Night: Camp again at Divide Lake with a day hike to Talus Lake
- 4th Night: Camp at Grizzly Lake
This plan allowed us not to pack up our tent and carry our food canisters during our day hike to Talus Lake. Another option would be to camp at Talus Lake for one night and then stop at Divide Lake before having to attempt Glissade Pass the following day. We also learned about a possible day hike from Grizzly Lake to Twin Lakes, ending at a viewpoint of the park’s highest point, Mount Monolith, at 2,165 meters (7,103 feet). Doing a day hike to Twin Lakes is best done by reserving another day at Grizzly Lake, either on your way in or out.
3. Pack For Your Trip
The next order of business is to pack everything you’ll need for your trip. One of the most important things you’ll need is bear canisters, which are required to go on this hike. For a complete packing list, jump down to our Tombstone packing section, where we’ve detailed everything you need to buy, rent, and bring with you for a comfortable and safe journey.
🍔 Keep in mind that how much food you need to pack depends on how many days you plan on being out backpacking. That’s why it’s important to plan your itinerary ahead of time.
4. Check In at the Interpretive Center
The day before you set out, you are required to watch some informational videos (like this video) about Tombstone’s backcountry as well as check in at the Interpretive Centre. This is not an easy backpacking trip, so they want to be sure you’re aware of what you’re getting yourself into.
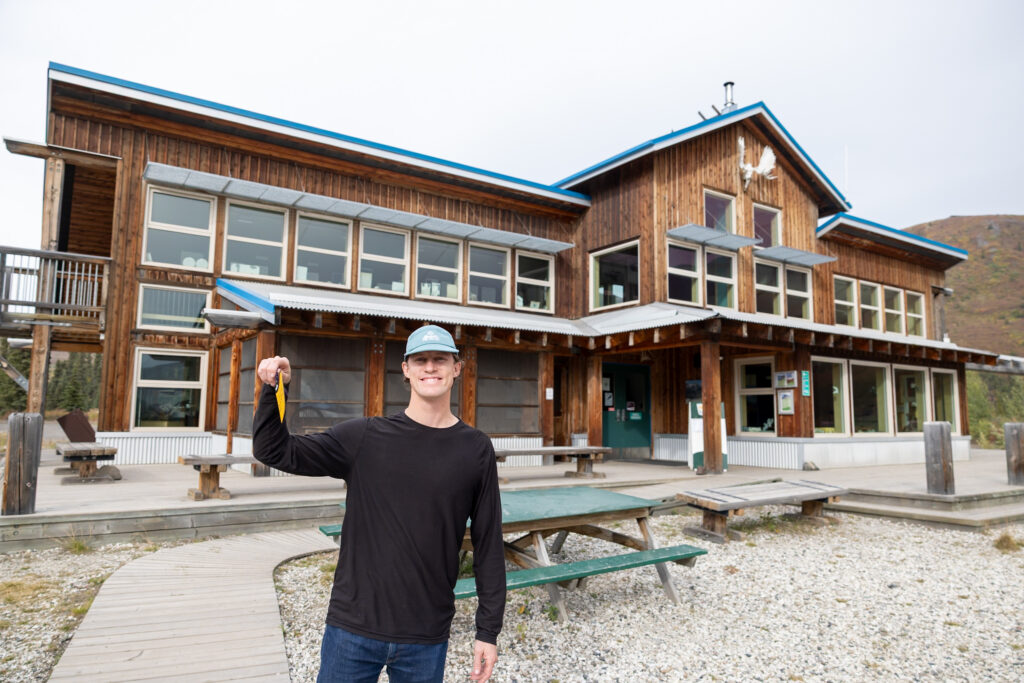
At the office, the ranger brought out some documents showing the elevation pitch of Glissade Pass and gave us some general tips. She said, “You’ll get to the top, then laugh and cry as you wonder how anyone travels down.” She also checked that we had our bear canisters and gave us our backpacking pass, which shows which location (Grizzly, Divide, or Talus) we were supposed to stay at each night.
The ranger was very clear that we were hiking in difficult territory at our own risk. The weather is tough and the terrain unforgiving, so if you find yourselves uncertain or in danger, you don’t have to hike to your reserved spot. It’s better to be safe than require an airlift.
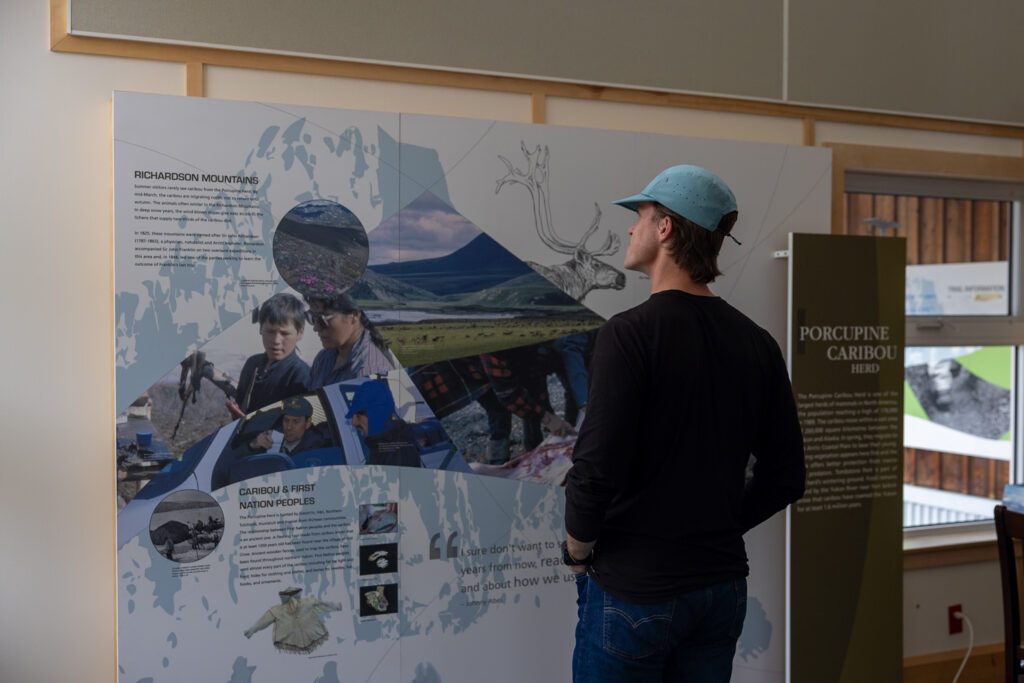
After we finished up at the Interpretive Centre, we camped in our van in the parking lot as we prepared our bags for the next day! Below, we’ve detailed our experience hiking this challenging trail day-by-day.
🏕️ Backpacking in Tombstone Territorial Park
In the following sections, we’ll take you through our five-day backpacking journey in Tombstone Territorial Park, breaking down each day’s hike, challenges, and highlights. Below, you’ll see the full hiking route of the Grizzly Lake, Divide Lake, and Talus Lake Trail, which we downloaded to our phones in advance using AllTrails+.
Day 1 – Hiking from the Grizzly Lake Trailhead to Grizzly Lake
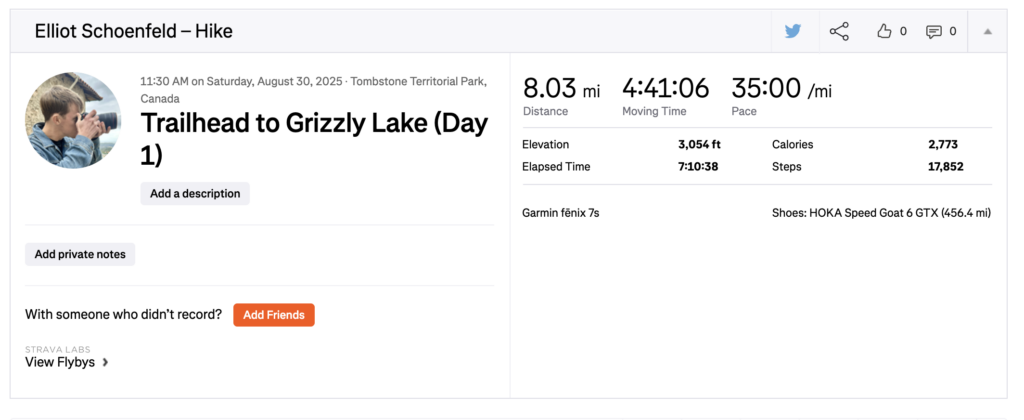
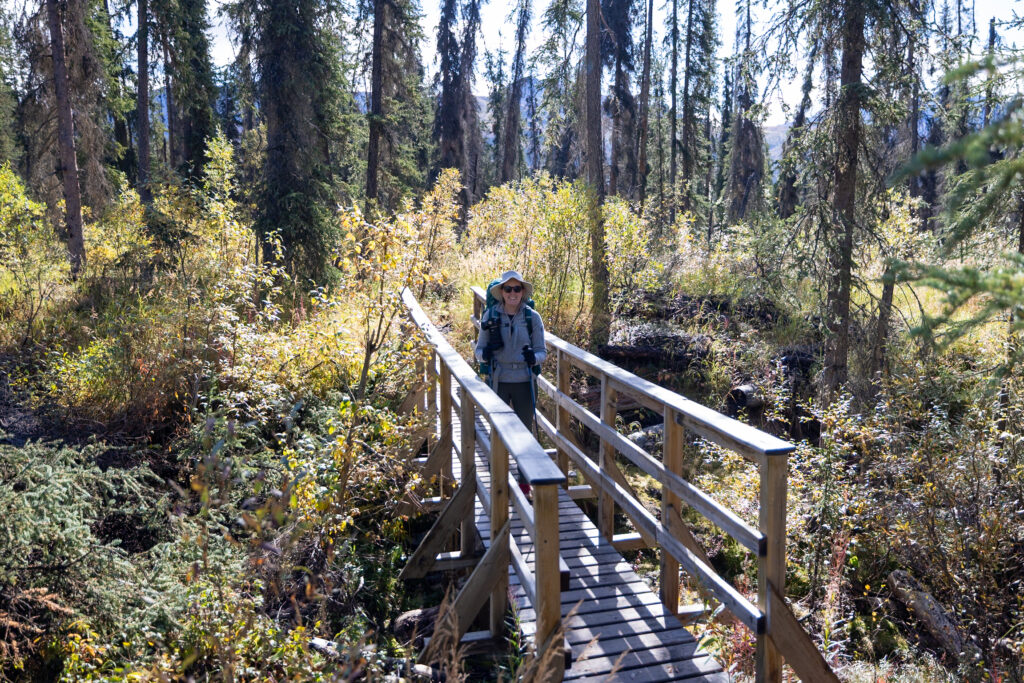
Our first day started sunny but cool. This was our longest and most challenging day as we were carrying our packs at their heaviest (all our food for the week and a full day’s water was inside). The trail quickly proved tougher than expected—not just in distance, but in terrain.
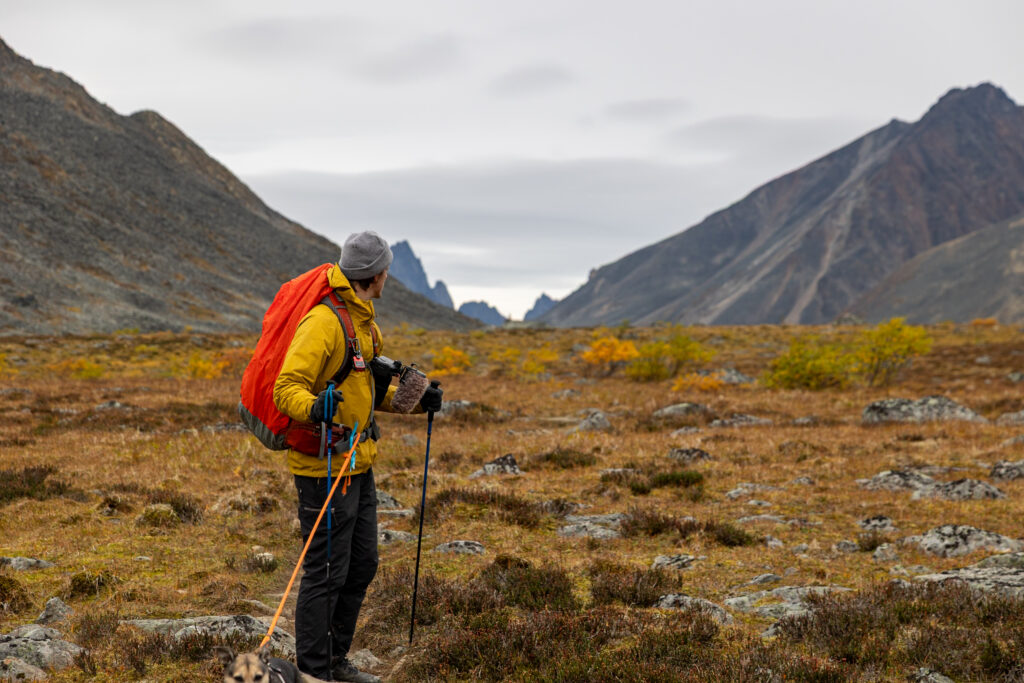
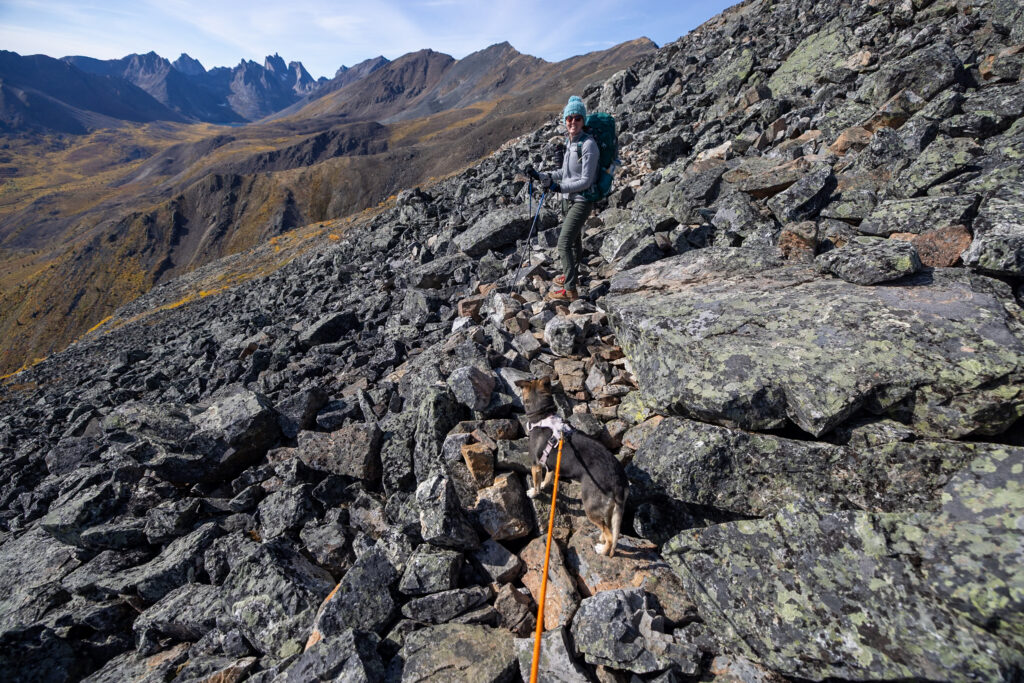
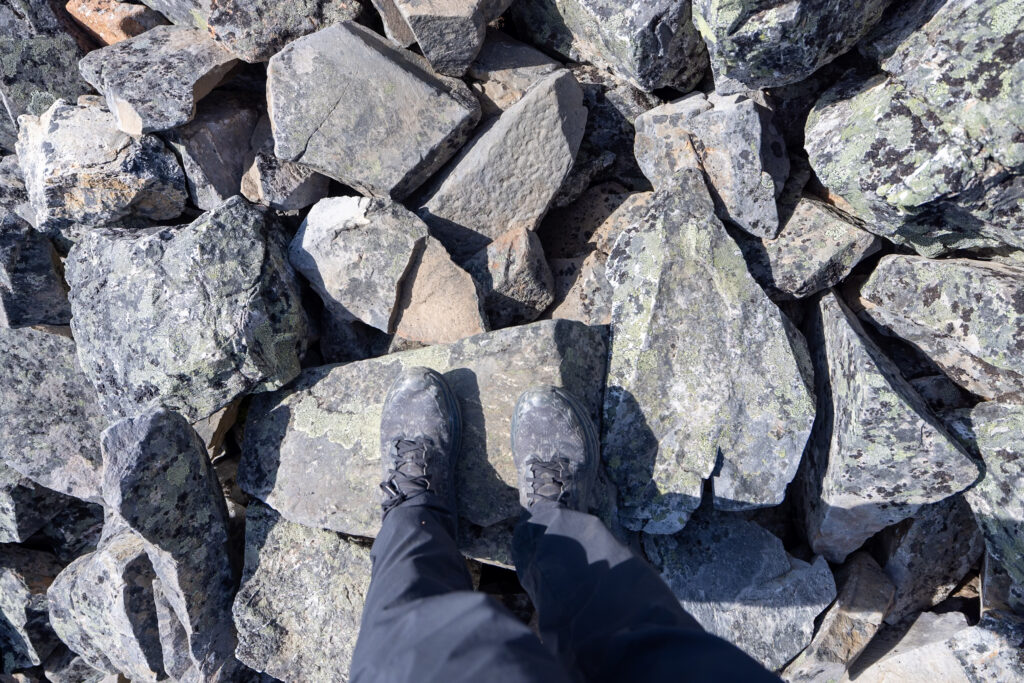
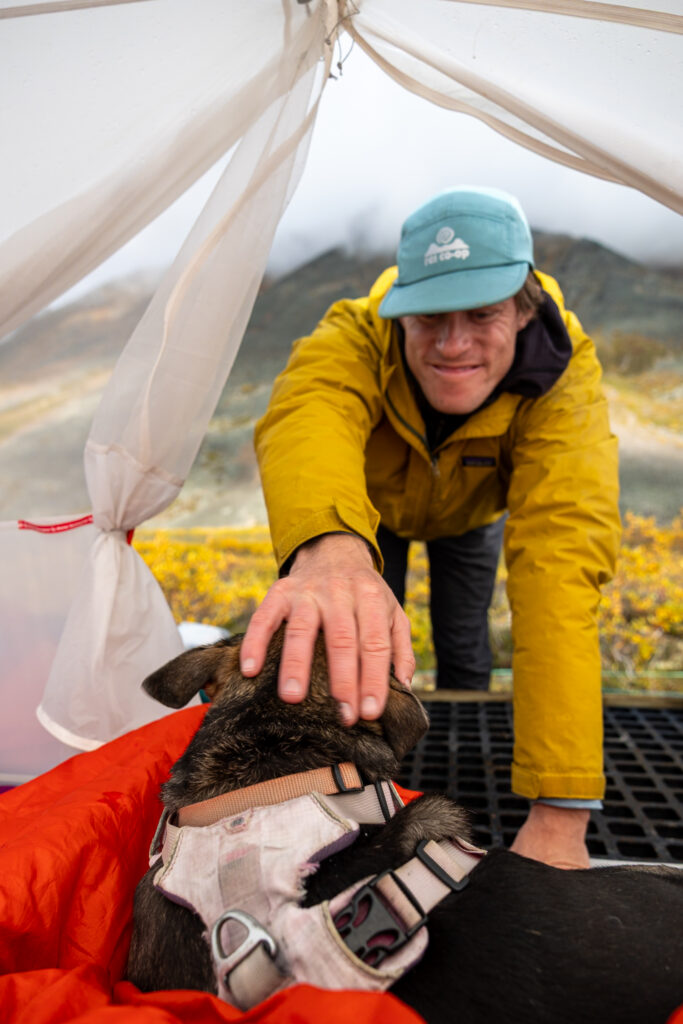
Much of the path was talus: medium to large boulders that required careful, deliberate steps and hands-on scrambling. Keeping our balance on large rocks is challenging. Elliot had the extra challenge of balancing our dog, Ollie, as we kept her leash tied to his waist strap. Overall, this was fine since Ollie listens to our commands and does really well on hikes, but if something had distracted her, it could have ended poorly.
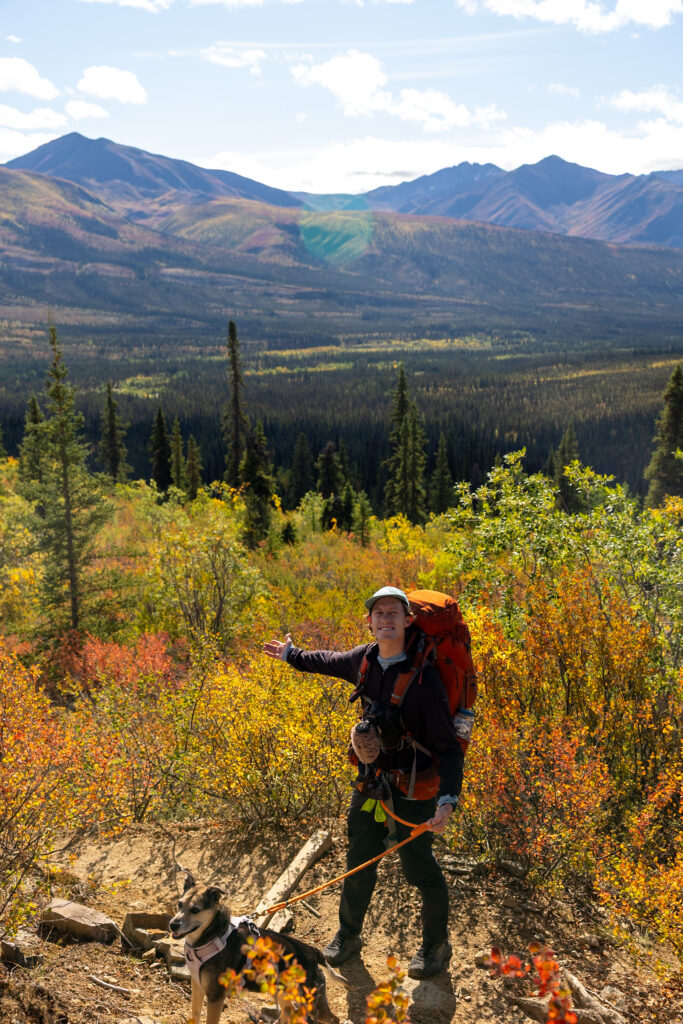
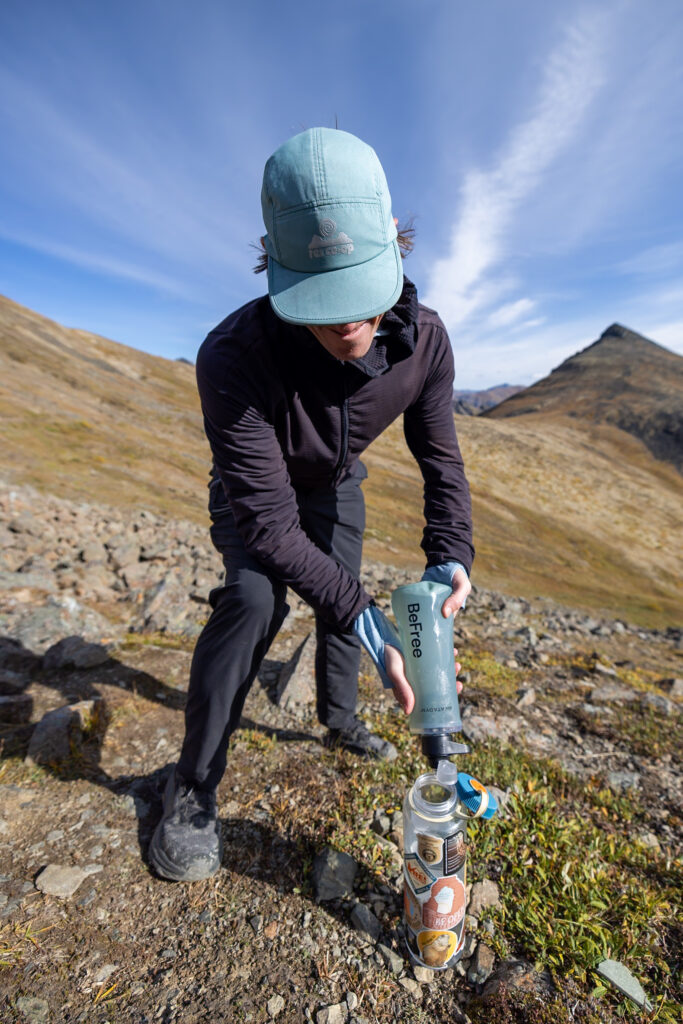
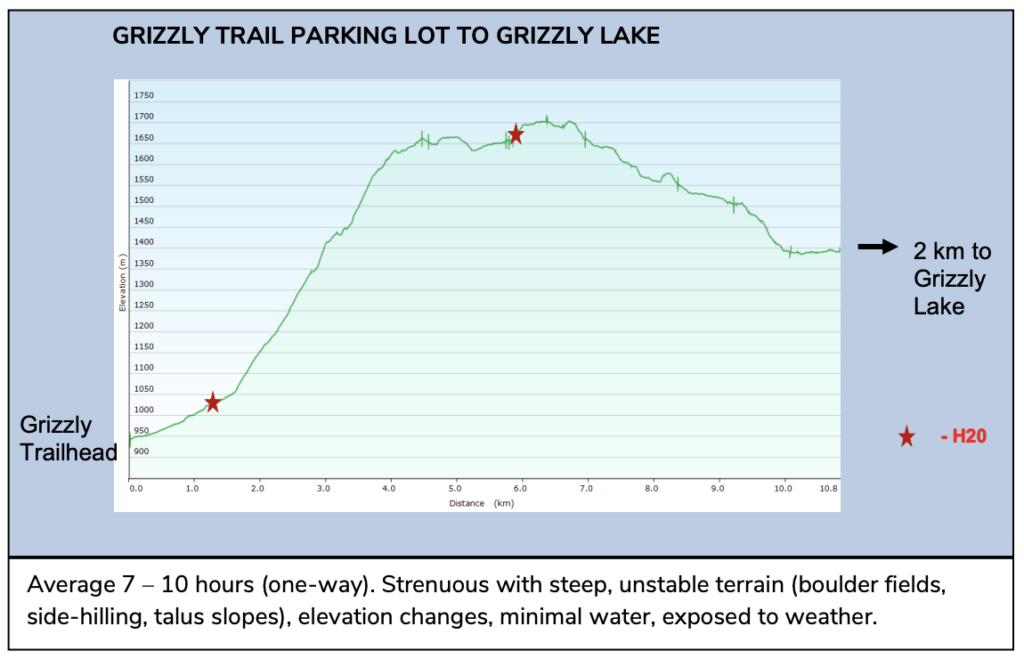
We crossed paths with our first park ranger during lunch, who checked our permit and reminded us of the rules, like keeping Ollie leashed. Like all Canadians, he was super kind and friendly. There are two water sources on the Grizzly Lake Trail, the first at 1.25 km (0.78 miles) and the second at 6 km (3.7 miles) from the trailhead.
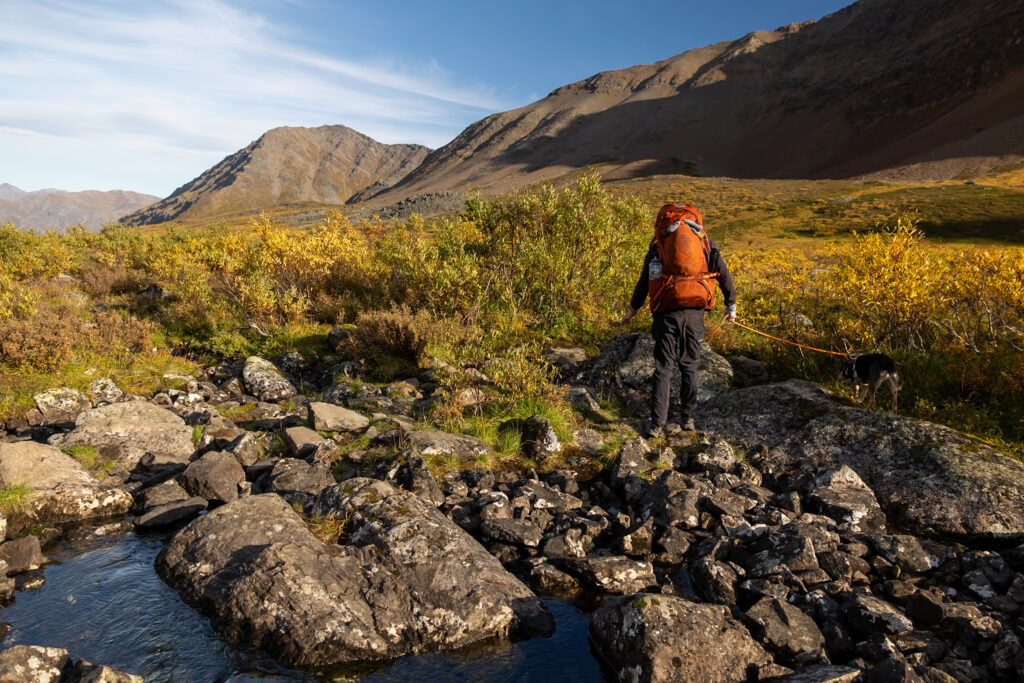
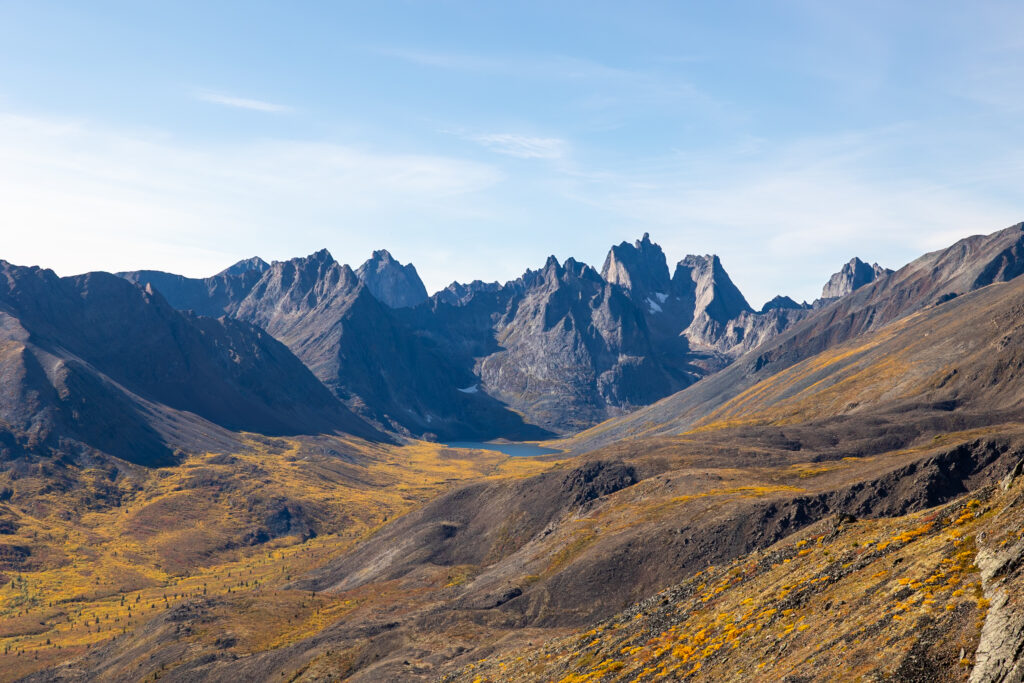
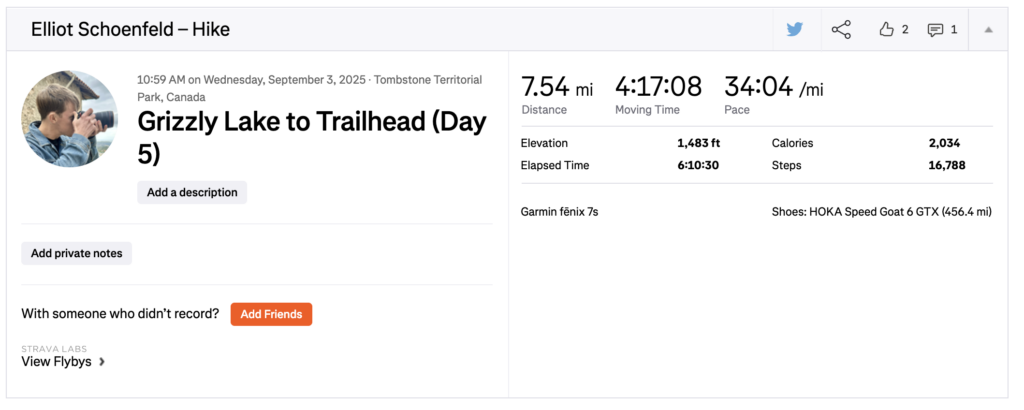
After a grueling 8 miles (~13 km) and over 7 hours on the trail, we finally reached Grizzly Lake Camp just as temperatures were starting to drop sharply. The park ranger told us ahead of time that the first day is the hardest individual day of the entire trip because of the elevation you tackle, and we completely agree! By the time we reached camp, we were exhausted!
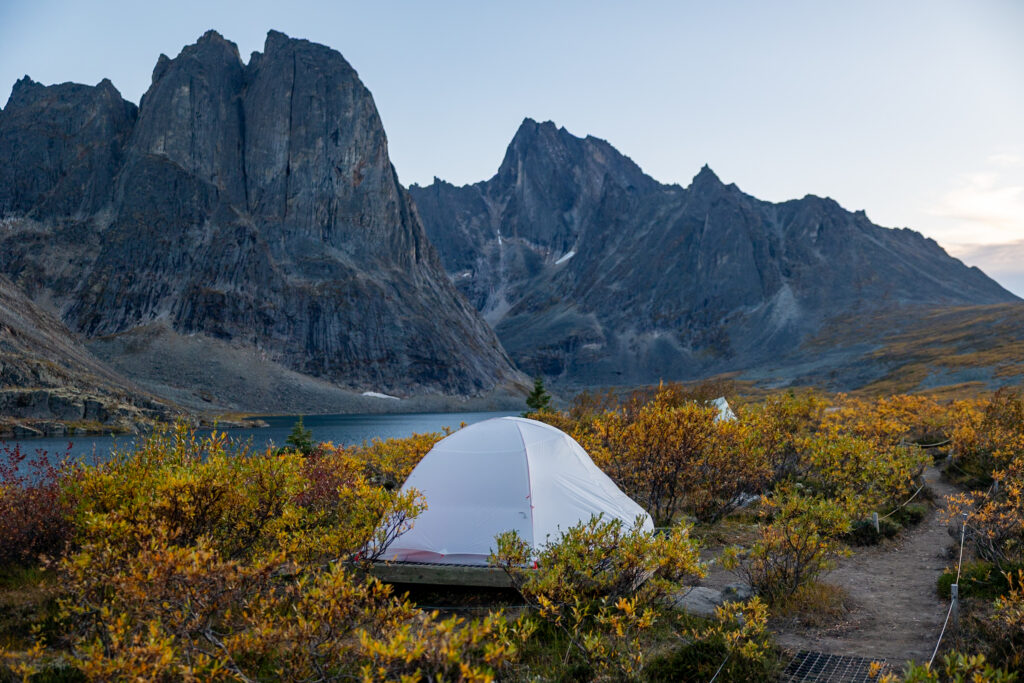
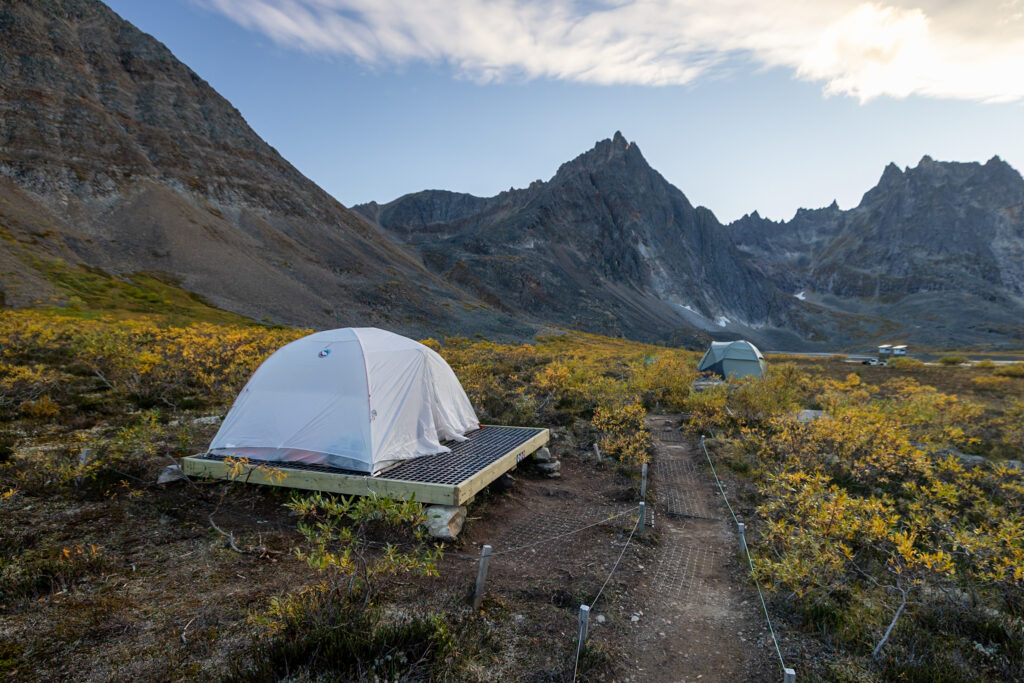
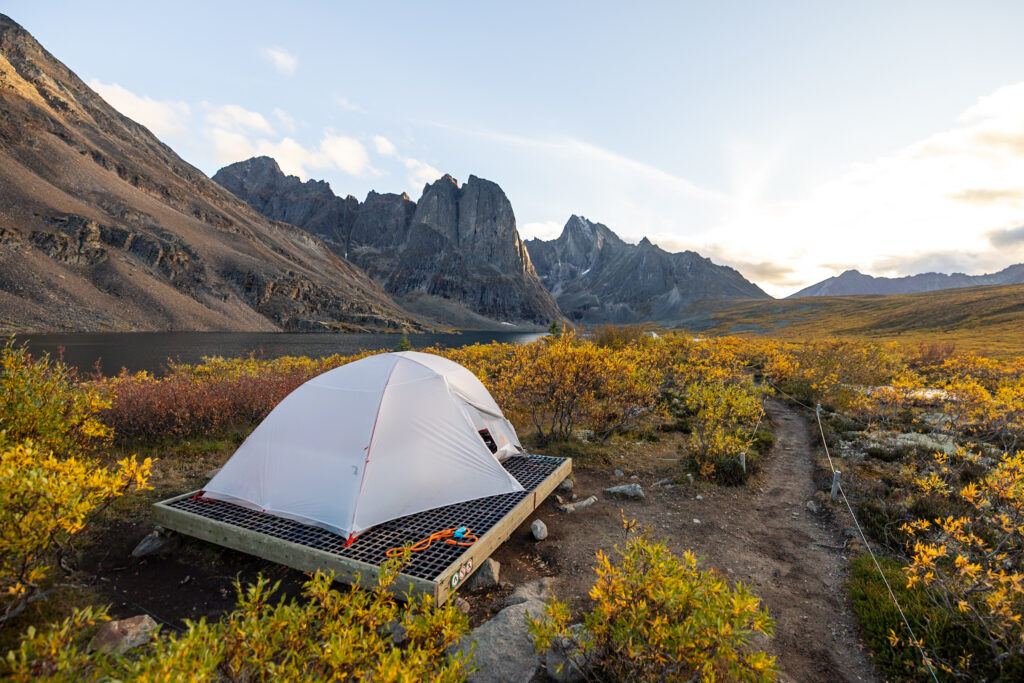
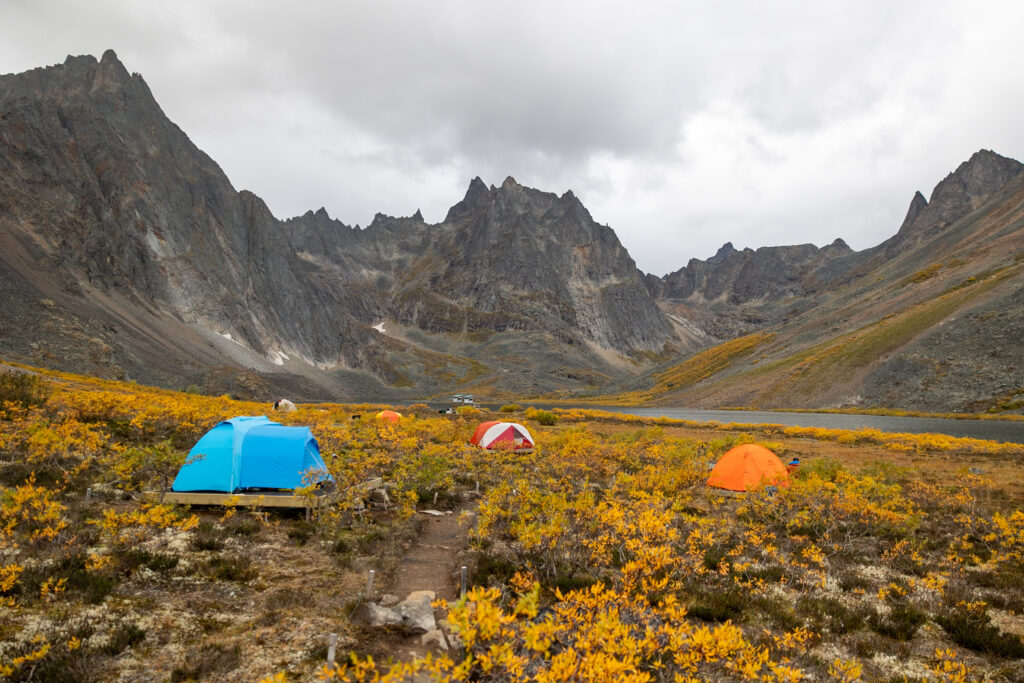
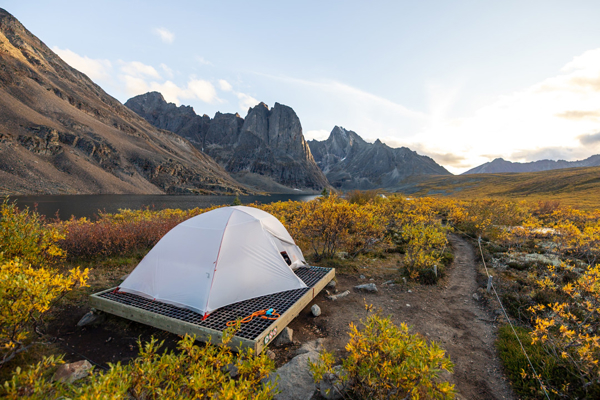
Each camper reservation has one tent pad to call their own. The specific tent pads are available on a first-come, first-served basis among campers. Campers are not supposed to set up their tent off the tent pads to help minimize impact on the tundra environment. Once you set up your tent, you’re supposed to attach your backpacking permit to your tent so the park rangers can ensure the campers are where they’re supposed to be.
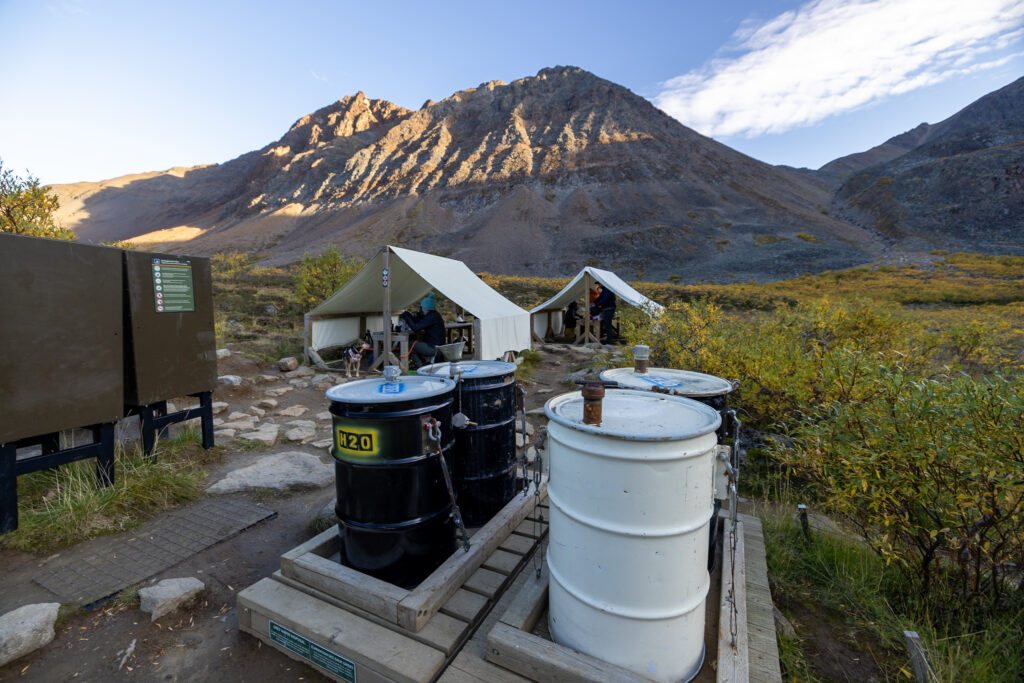
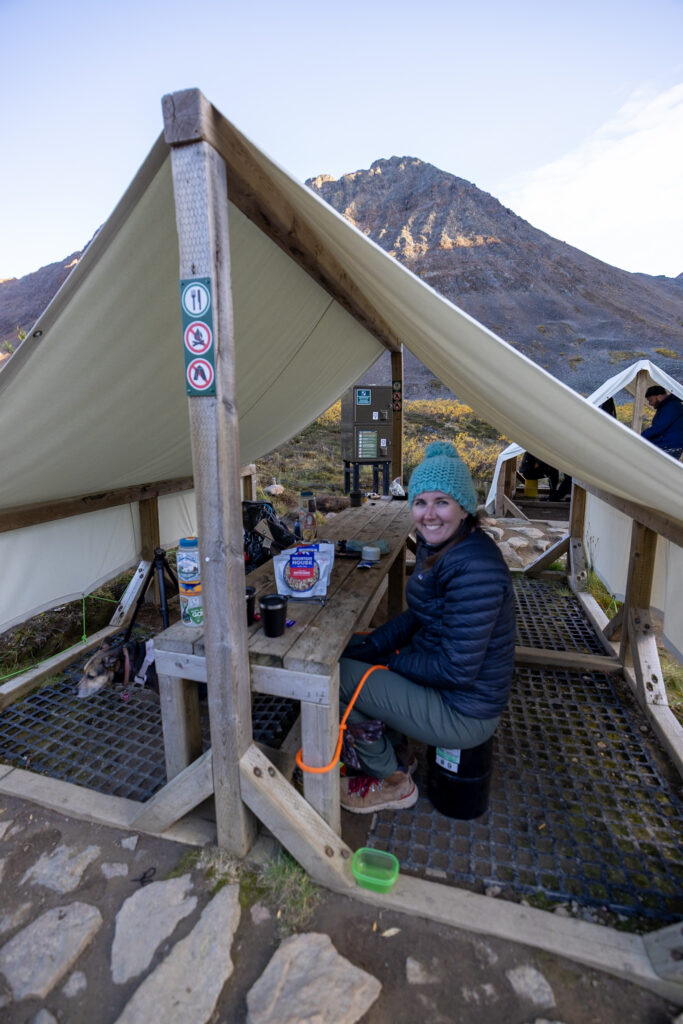
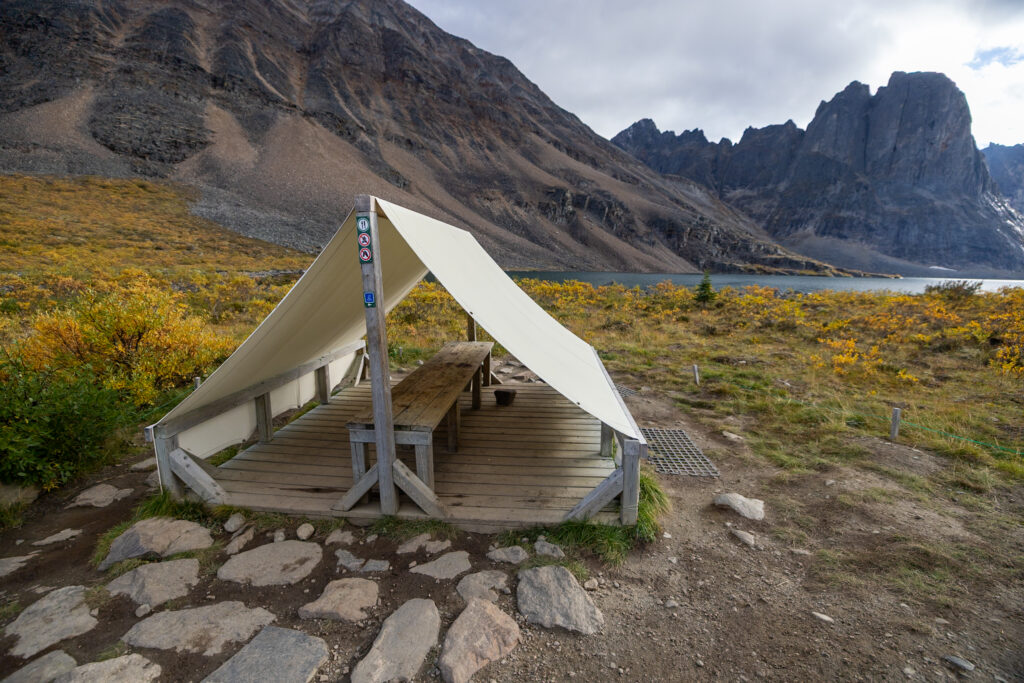
We quickly set up our tent as the light was fading and stored our bear can in the bear-proof lockers. This included our food, cooking gear, and all of our scented items (deodorant, toothpaste, lip balm, etc). Eating and cooking are only permitted in the covered tent area to protect local wildlife and minimize impact.
Day 2 – Grizzly Lake to Divide Lake
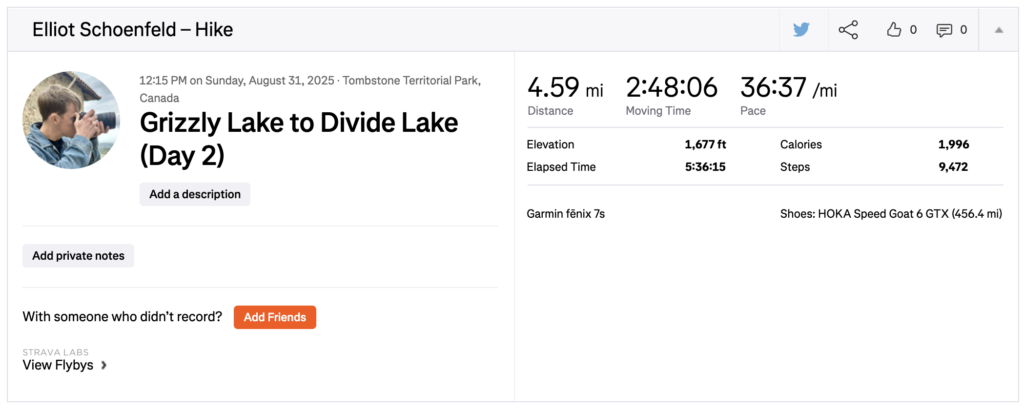
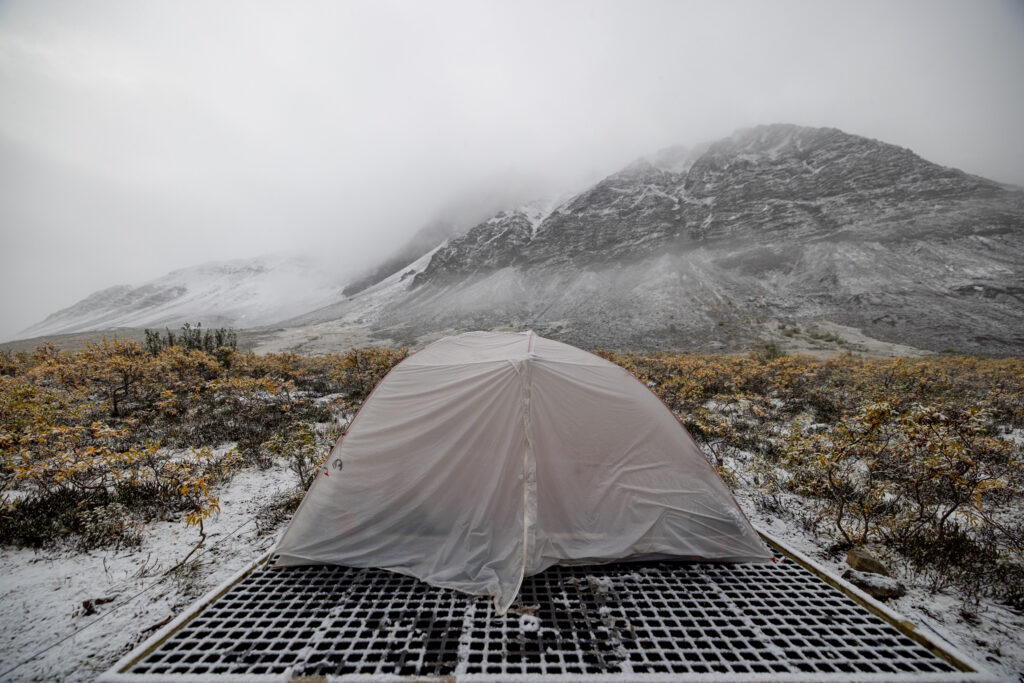
Day two, we awoke to snow covering the tent and the campground! It was beautiful, yet a little worrisome, as today we would have to cross Glissade Pass, the steepest trail we would have ever attempted. Adding snow and possibly ice to the mix was very intimidating with our current hiking capacity.
We were also incredibly cold. We wore every layer of warm clothing we brought, and it was still not quite enough. I was particularly worried about getting hypothermia from being wet from the snow or potential rain and the freezing temperatures. Next time, we’d invest in rain pants (women’s | men’s), upgrade our lightweight base layers to warmer ones (women’s | men’s), invest in warmer hiking mitts, and, most importantly, we’d bring a jacket for Ollie.
However, we had an important decision to make. Do we carry on or turn around with the knowledge that we just simply weren’t prepared? We tossed it up all morning, but after the sun came out and the snow melted, our Garmin inReach’s weather forecast (which a park ranger told us isn’t the most accurate) mentioned the coldest time of our entire trip had passed, so we decided to keep hiking.
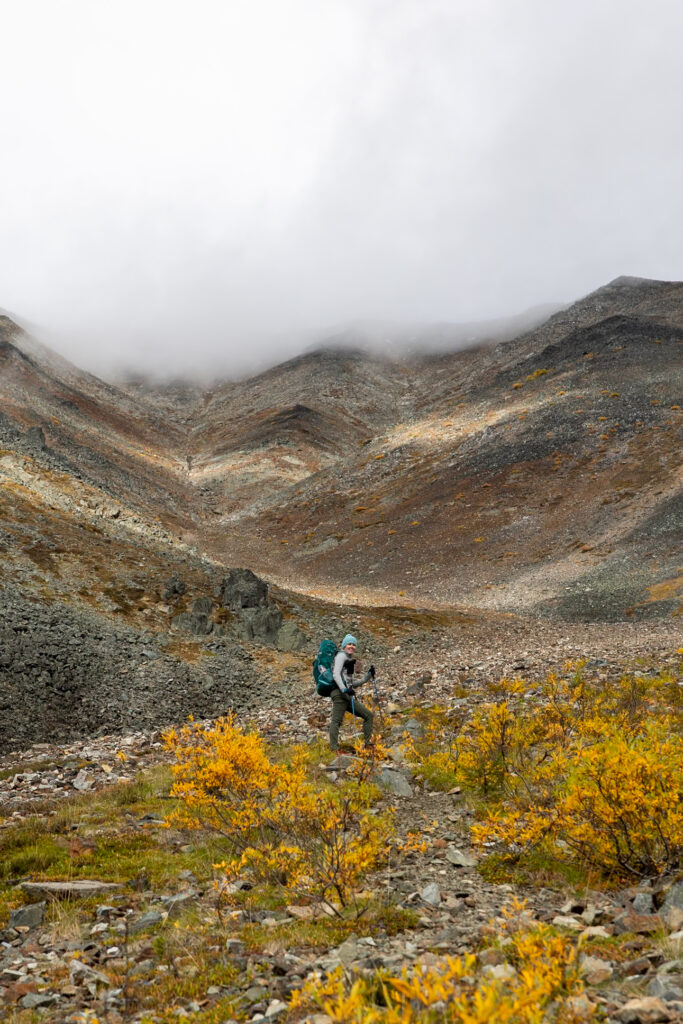
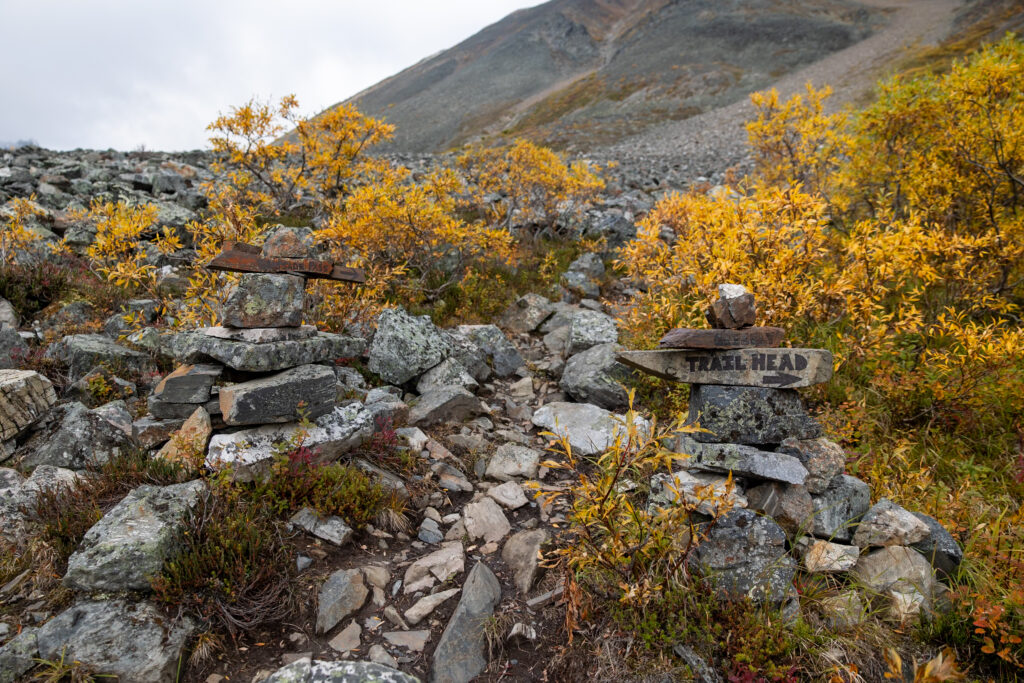
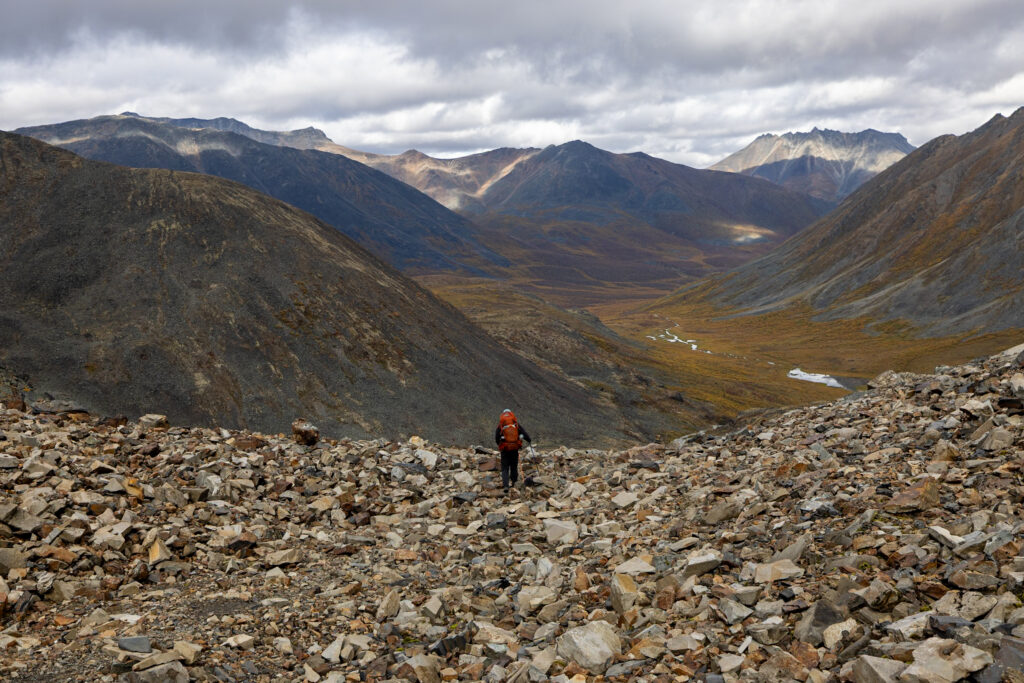
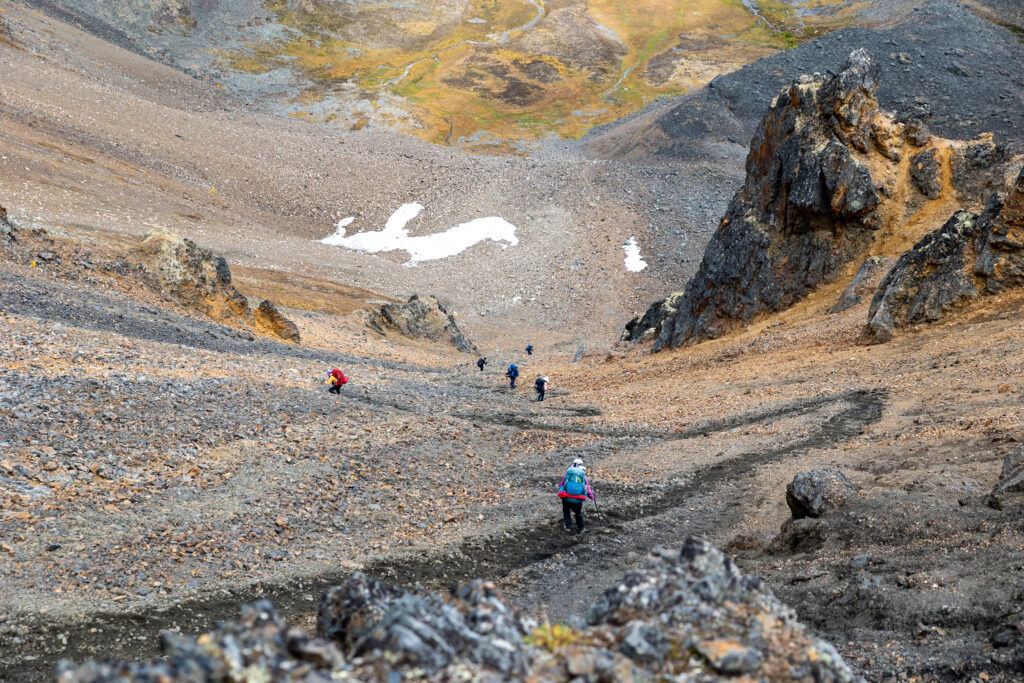
Hiking up Glissade Pass was a slog—between the incline and the loose rock called scree; we were hiking very slowly. A few areas were so steep that we were on our hands and knees! Keep in mind that we hiked hundreds of miles this year, and we still had a challenging time on this trail—it isn’t for the faint of heart.
However, getting to the top was actually not the worst part; once we saw over the edge, we seriously considered, for the second time, turning around. The steepness of Glissade Pass was the section the park ranger warned us about when giving us our backcountry permit.
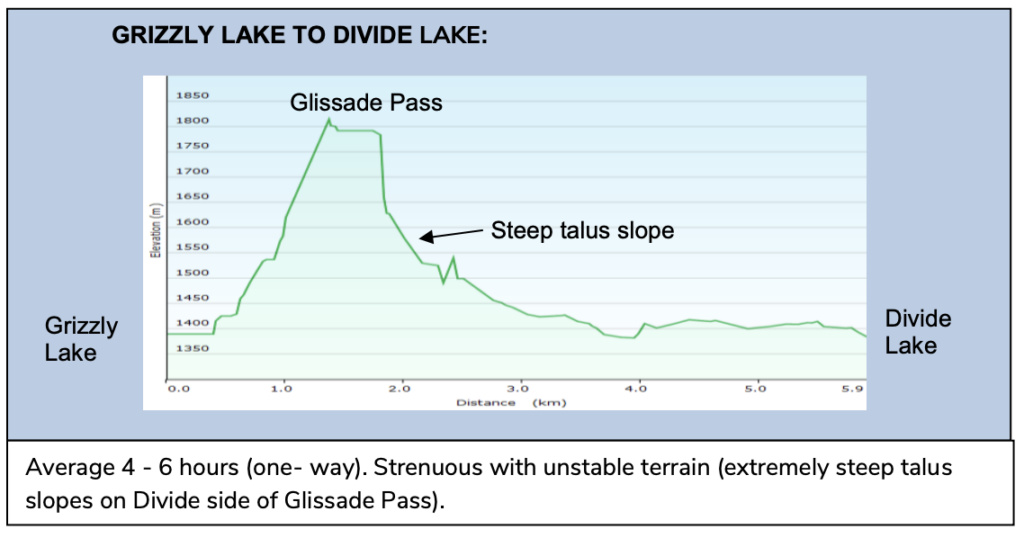
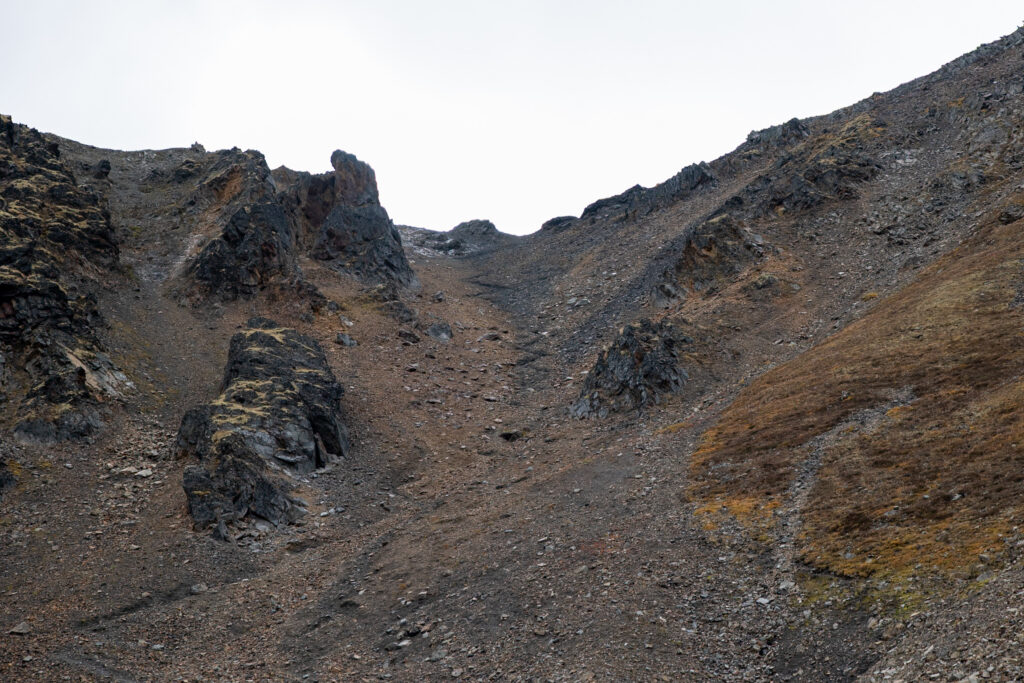
It was such a steep ledge, we thought it wasn’t possible. If it weren’t for the people already hiking ahead of us, we probably wouldn’t have attempted it. On top of everything, it was extremely loose rock. We thought that we’d just slip and slide down the mountain with our heavy packs and that would be it.
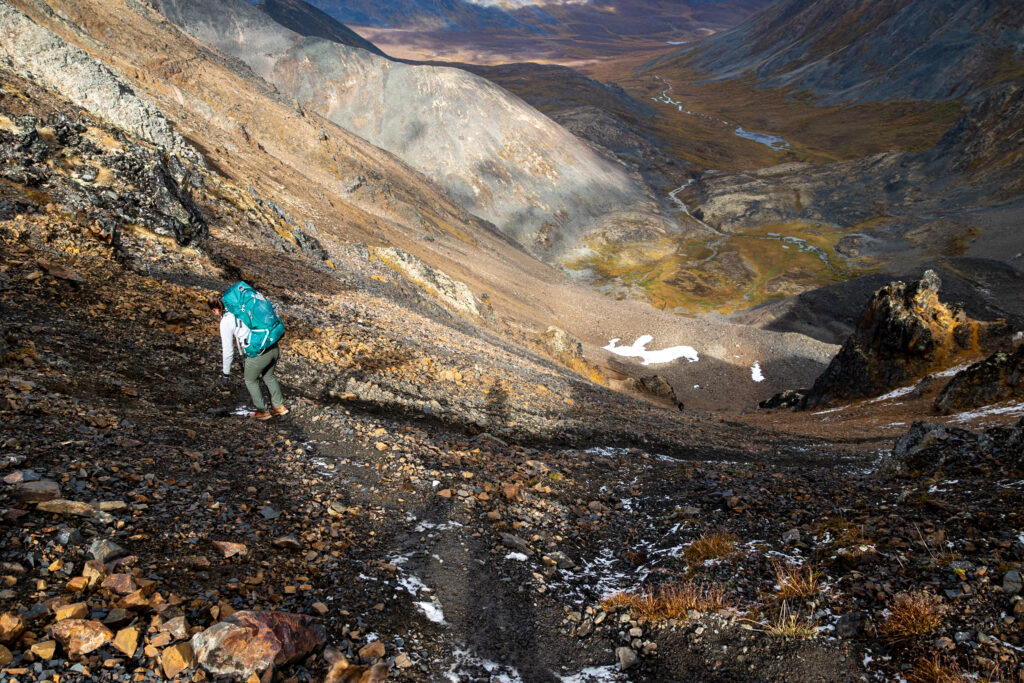
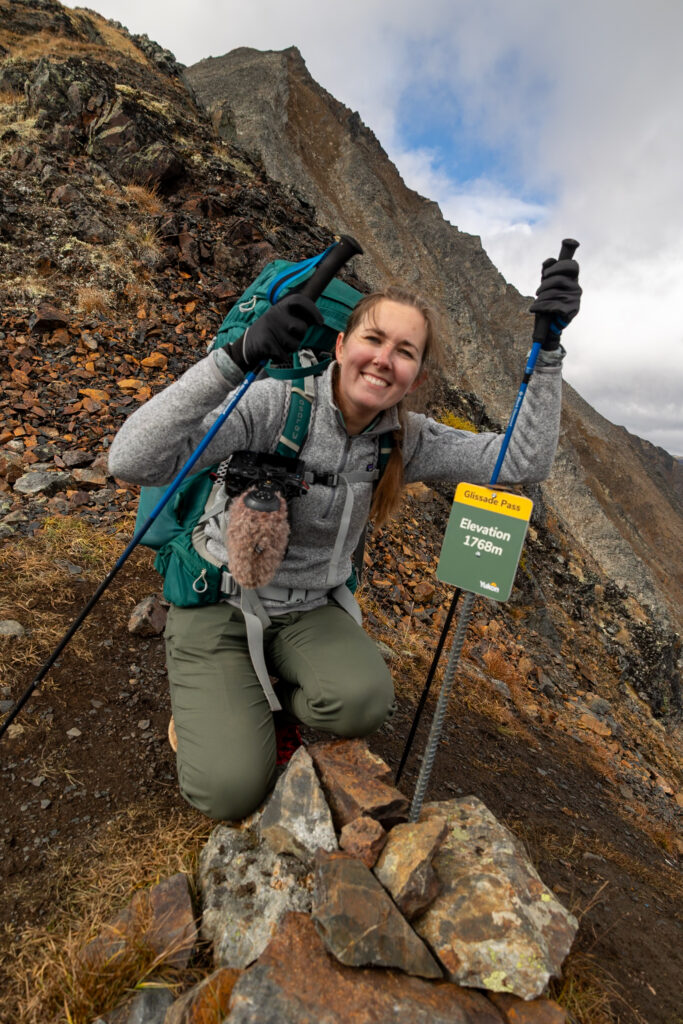
Heading down Glissade Pass, we took short, careful steps as each step turned into a few more feet as we would slide down. We ended up splitting our hiking poles between the two of us. It would have been better for us to each have our own pair, but we can not recommend having hiking poles enough for this section. They were incredibly helpful!
Unfortunately, we hadn’t had the experience to know that this was actually very normal, and a type of rock called “scree”. Later, some other hikers would explain to lean into the scree instead of fighting it, which really helped us enjoy it.
💡 Note that earlier in the season, this scree side of the mountain is covered with snow, so be prepared for that alternative here. You might consider bringing microspikes.
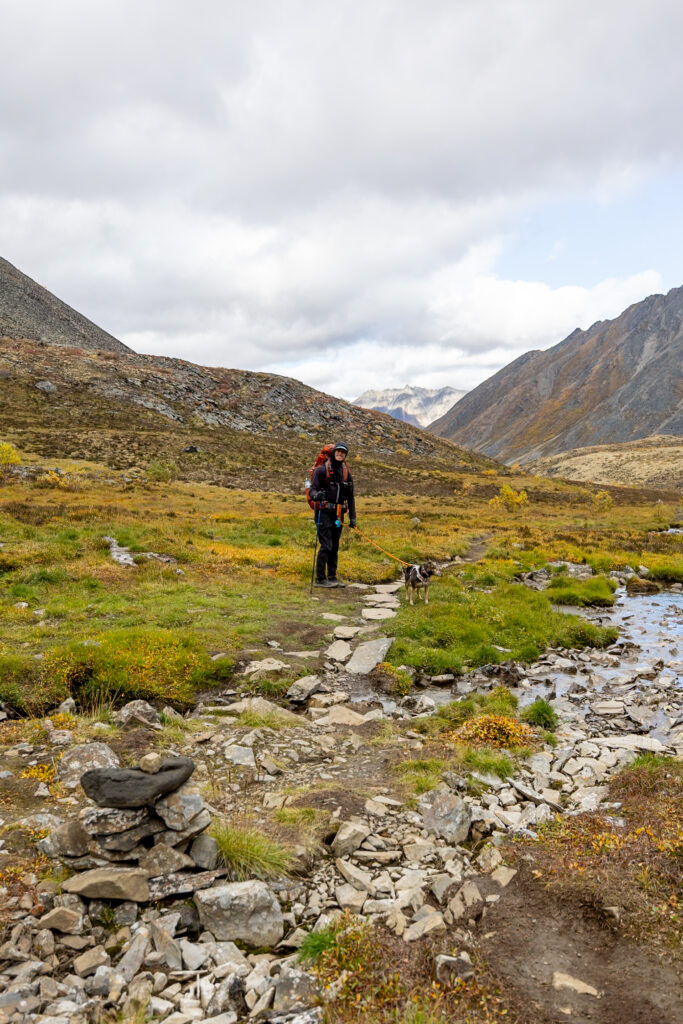
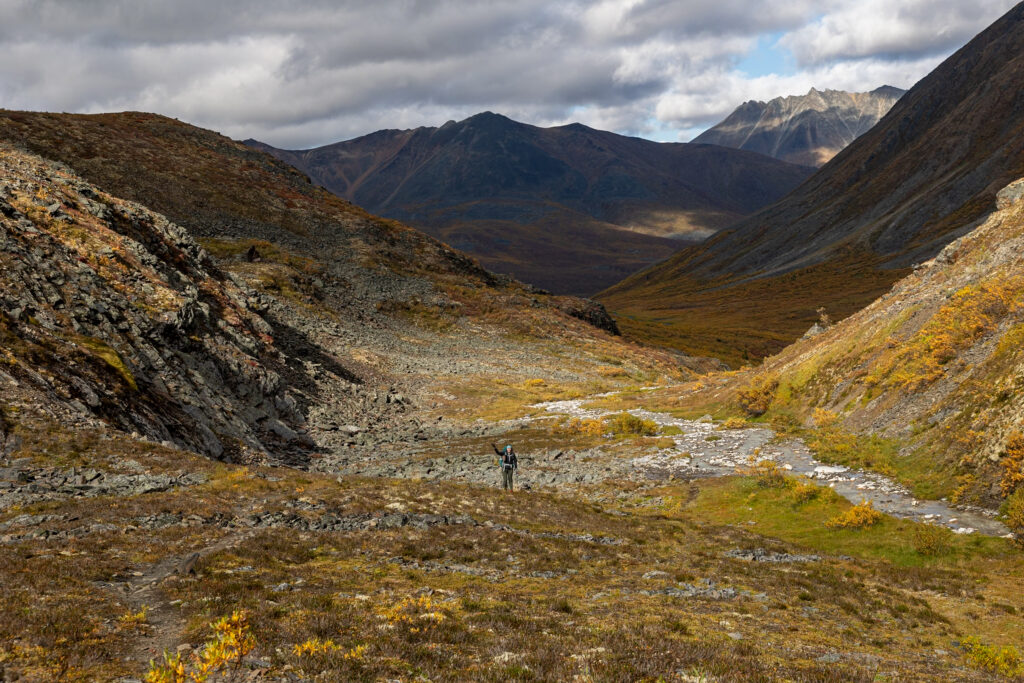
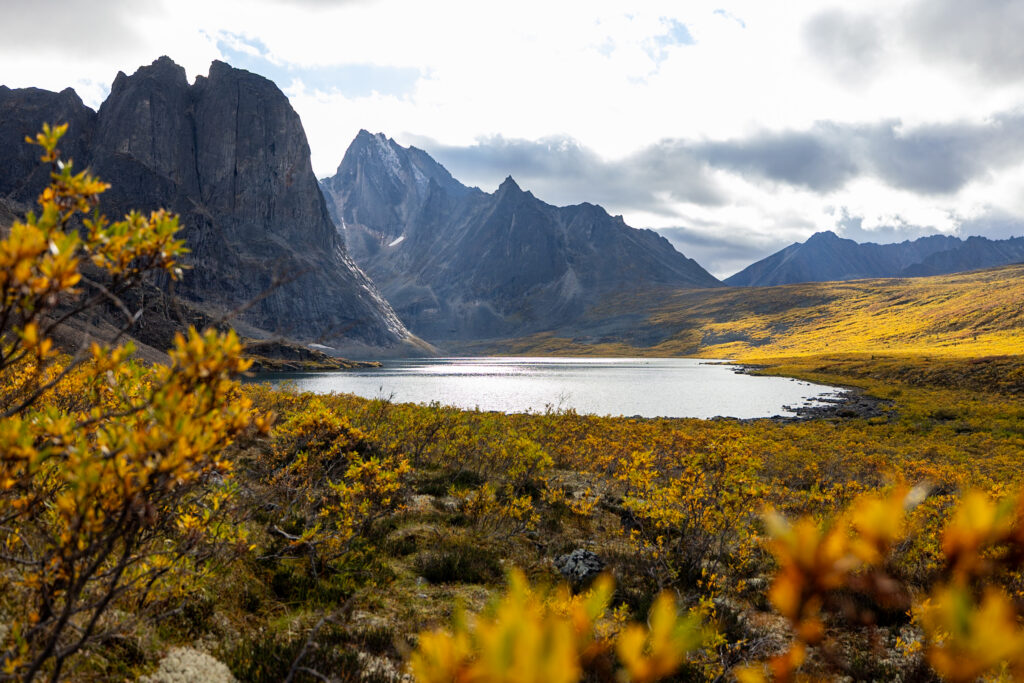
After the long and grueling hike down (for us), it’s a relatively “flat” few miles until Divide Lake. It was here that we made some fantastic friends on the trail—Rhonda and Luis, from Alberta, who kindly took us under their wing. They explained what scree was, ate dinner with us, and we ended up spending quite a few hours together over the course of the trip.
Because the campgrounds are small and have communal eating areas, you actually meet quite a few people. Since you all are going through the trials and tribulations of Tombstone together, no matter the hiker’s background, it’s quite easy to bond with everyone you meet.
Day 3 – Talus Lake Day Hike from Divide Lake
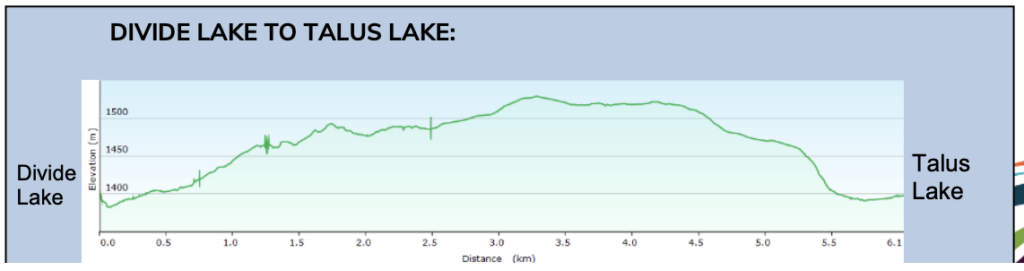
On day 3, we opted for a day hike to Talus Lake from Divide Lake for a total of 9.3 miles round trip. Originally, our reservation had us at Talus Lake, but we were worried about rainy weather the following day when we had to cross Glissade Pass again.
I was particularly worried since we didn’t have rain pants, that we would get cold. A day trip is a nice option to still get the opportunity to see Talus Lake, but not have to take down and set up our tent and carry our backpacks for that hike.
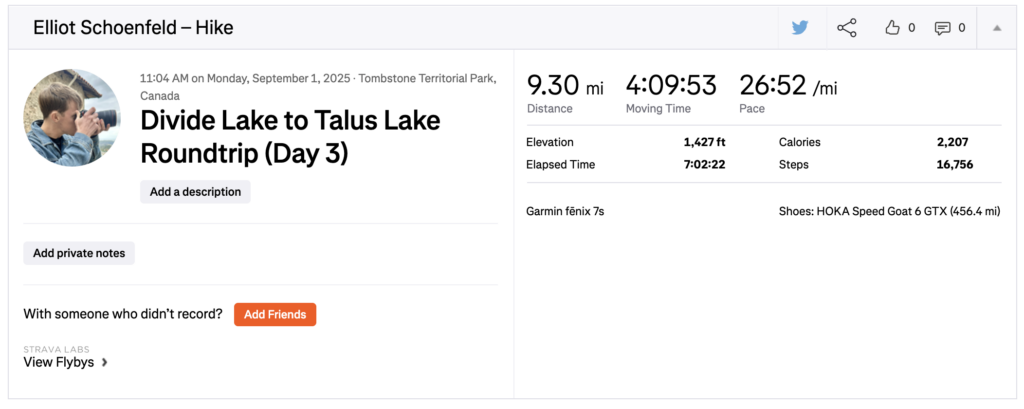
As we didn’t need to move our pack, we took a long day hike today out to Talus Lake and back, which was gorgeous. There was a bit of rain in the morning, but overall it was an incredibly beautiful day.
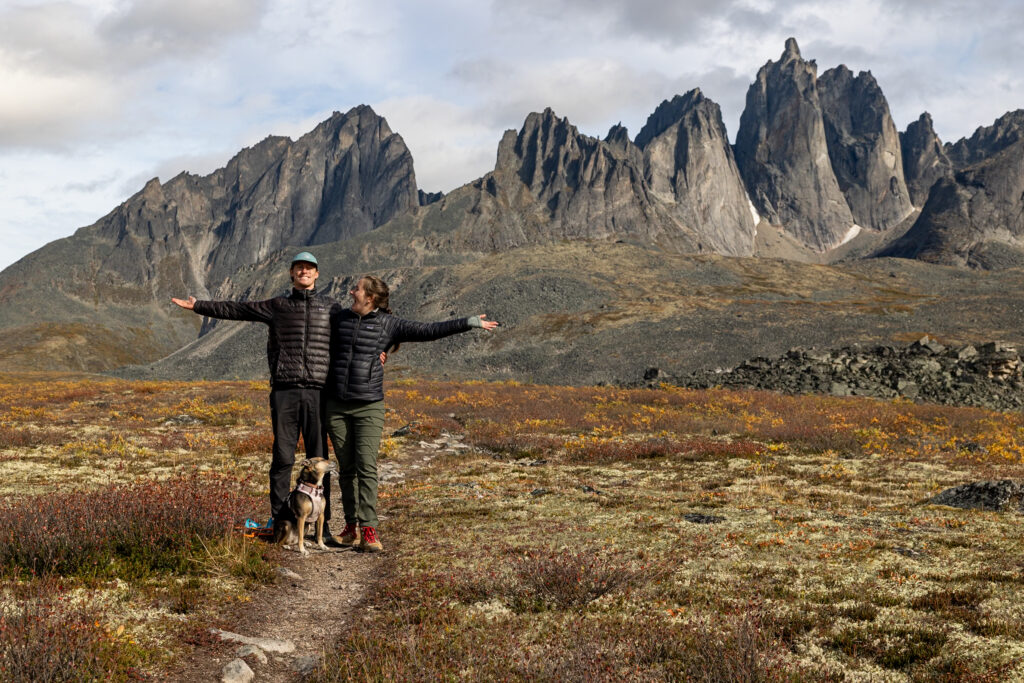
On our way back, we crossed paths with a second park ranger of the trip. We brought it up to him that we had changed our plans, and he said that if the campsites became full with hikers, we would need to move our tent off the tent pad onto an area outside the campground where a helicopter typically lands. Luckily there were some free tent sites, which meant we didn’t need to move our tent.
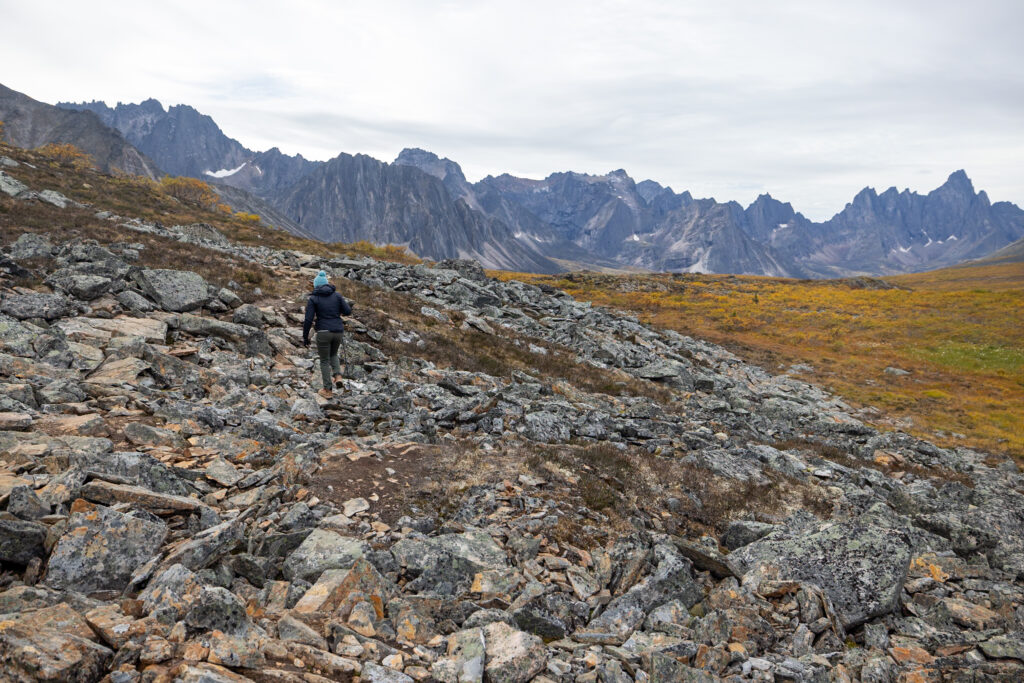
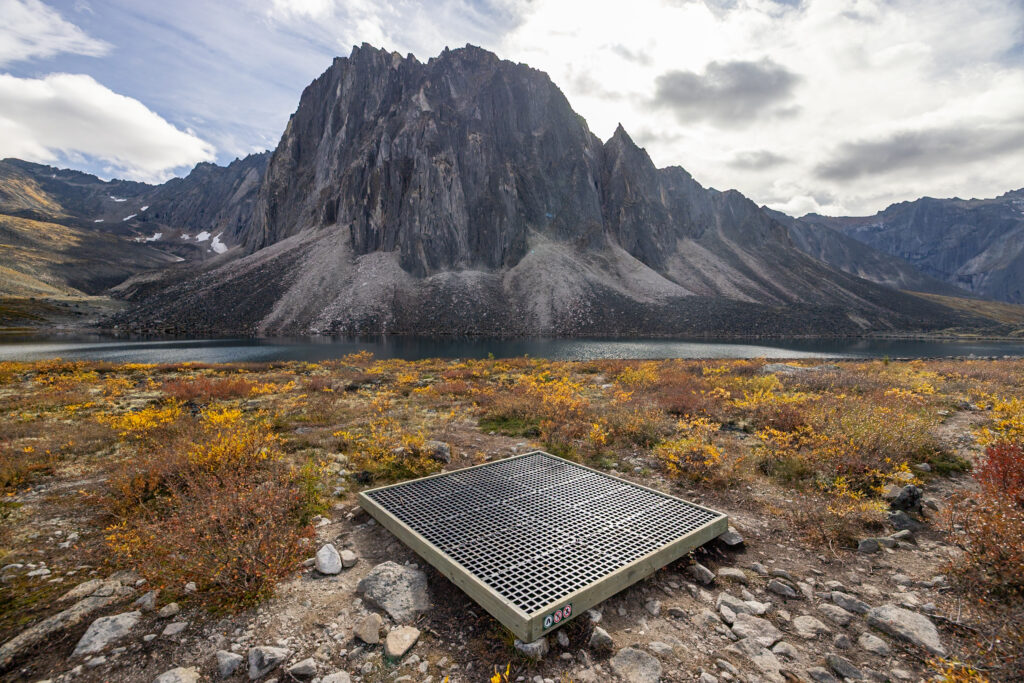
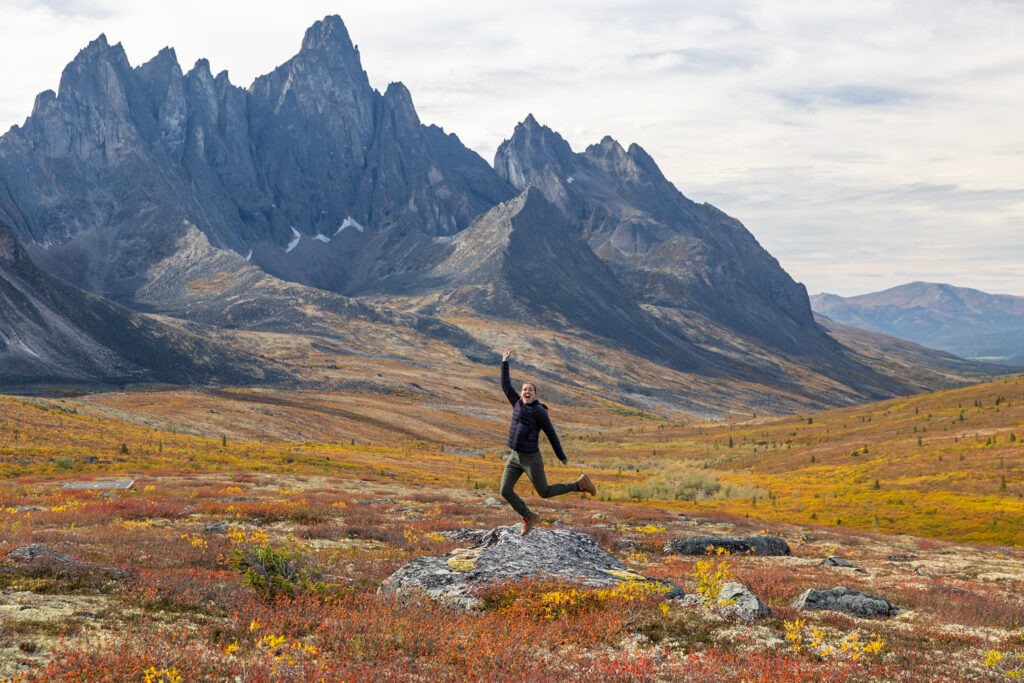
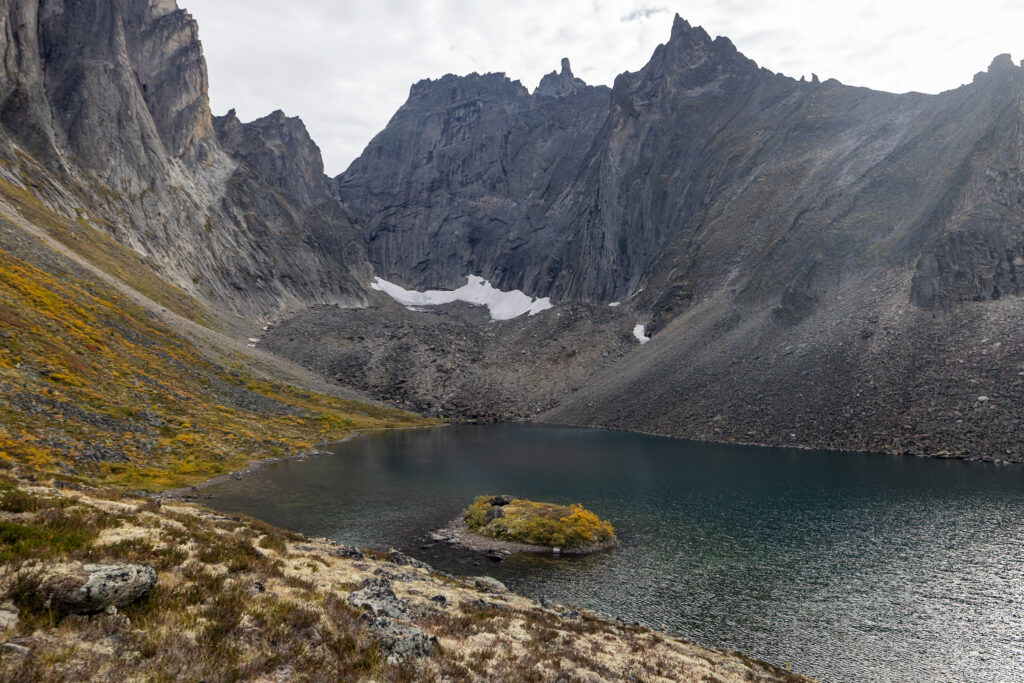
This is by far the easiest day of the trip with the least amount of elevation change. So not only is it beautiful, but the ease of the hike makes it incredibly enjoyable on all fronts.
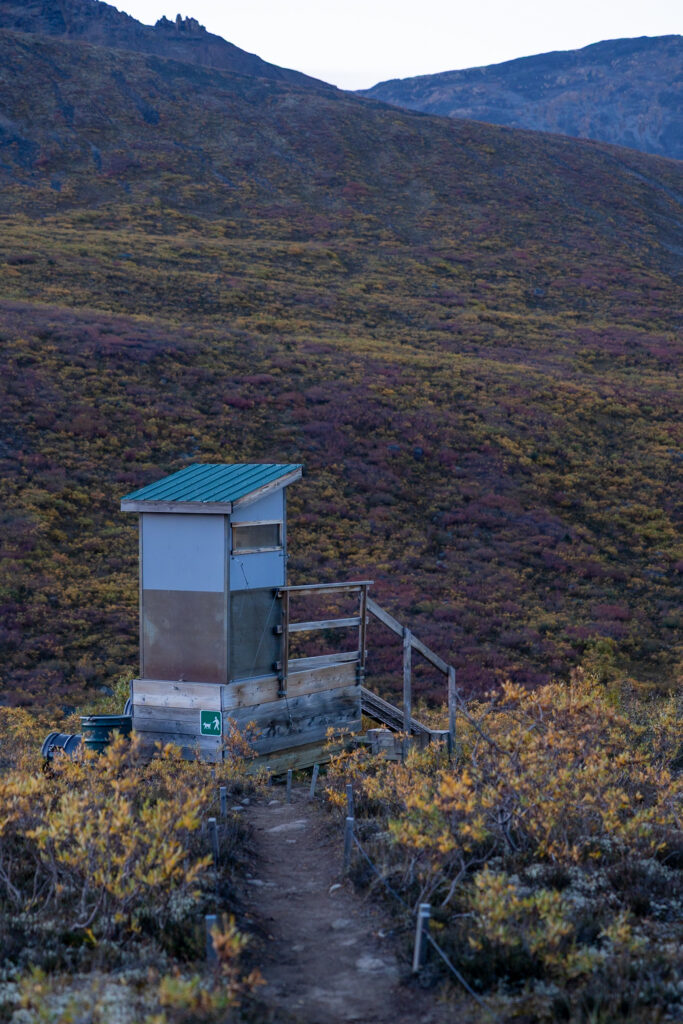
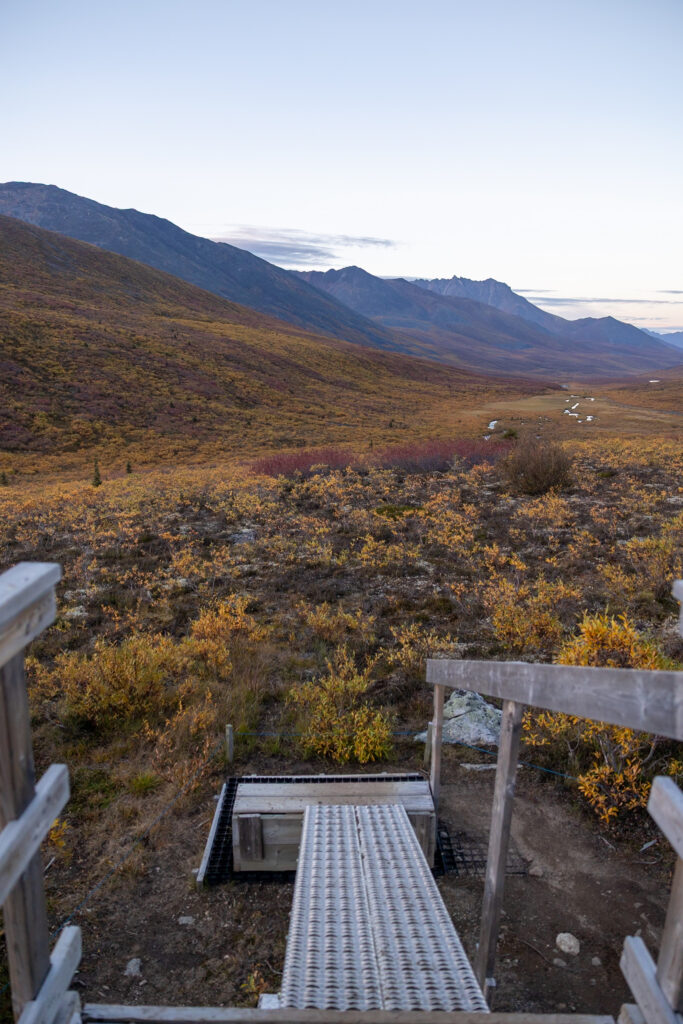
Each campground has an outhouse, and this one was our favorite. The views were incredible as they overlooked a valley.
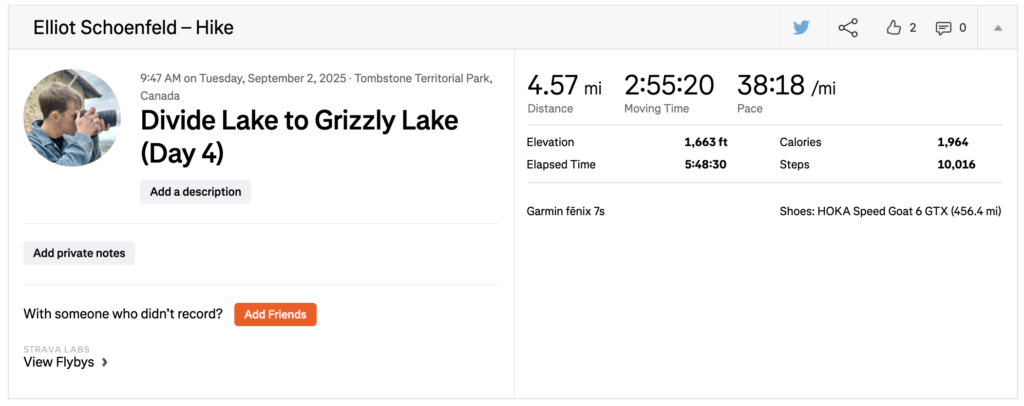
Day 4 – Divide Lake to Grizzly Lake
With a clearer forecast on the morning of Day 4, we made our way back over Glissade Pass. This time we were hiking up the scree! As we had already done it once, we felt more prepared and secure in our footing thanks to the advice by Rhonda and Louis. We made sure to head out early to miss the inclement weather expected later in the day.
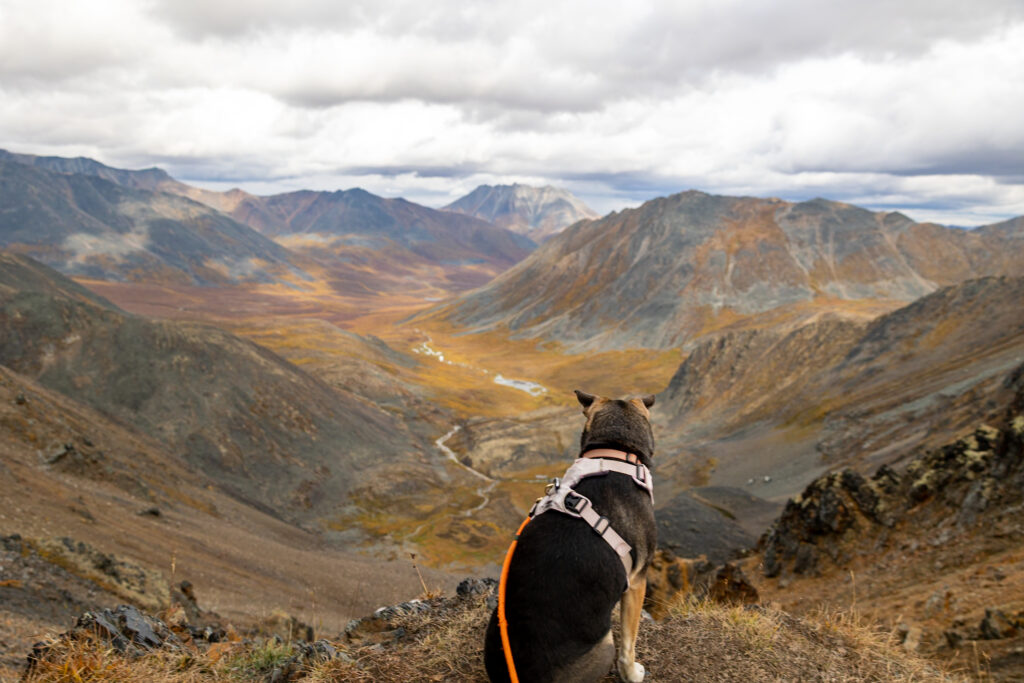
We slowly made our way up, with many stops along the way to catch our breath, and made it back to Grizzly Lake camp just as the rain was starting to fall. This would be our last cold night, but eating and chatting with our friends made the night so much more enjoyable.
It was at this point that we realized just how swollen Elliot’s knee was. We always make sure to carry our first aid kit and his knee brace for situations like these. Elliot ended up wearing his knee brace every day on this hike, and it’s what allowed him to keep going.
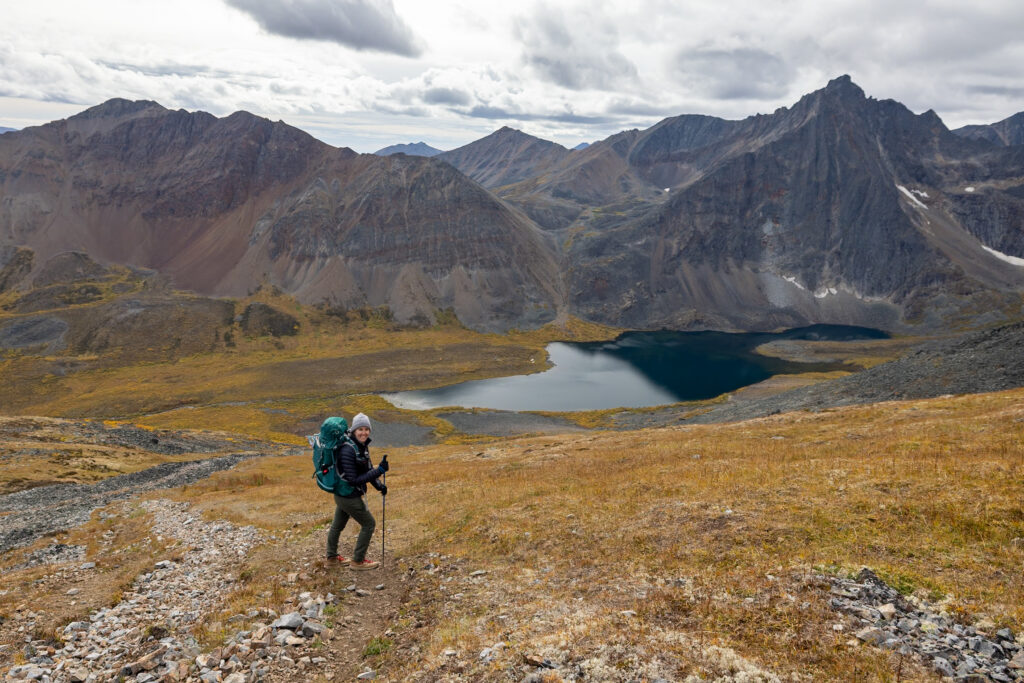
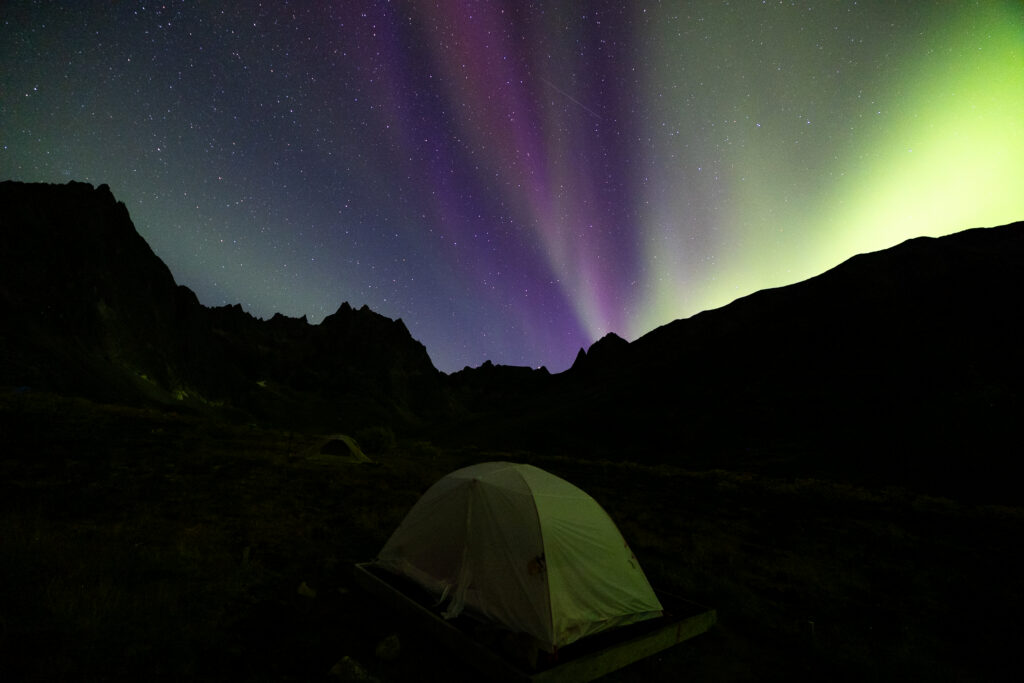
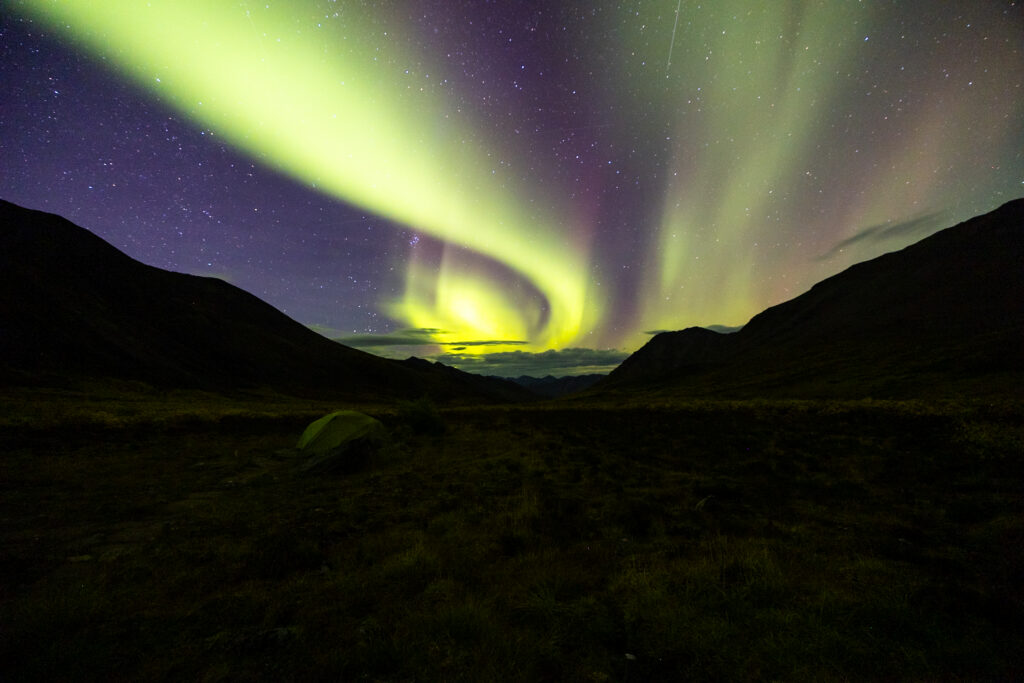
On our final night, we were graced with an incredible sighting of the northern lights!
Day 5 – Grizzly Lake to Grizzly Lake Trailhead
With the lightest our packs had ever been, we packed up camp and hiked out of Tombstone Territorial Park. This was our easiest hiking day yet. Looking back on it, we felt days 1 and 2 were the most difficult—meaning the trip more-or-less gets easier as it progresses.
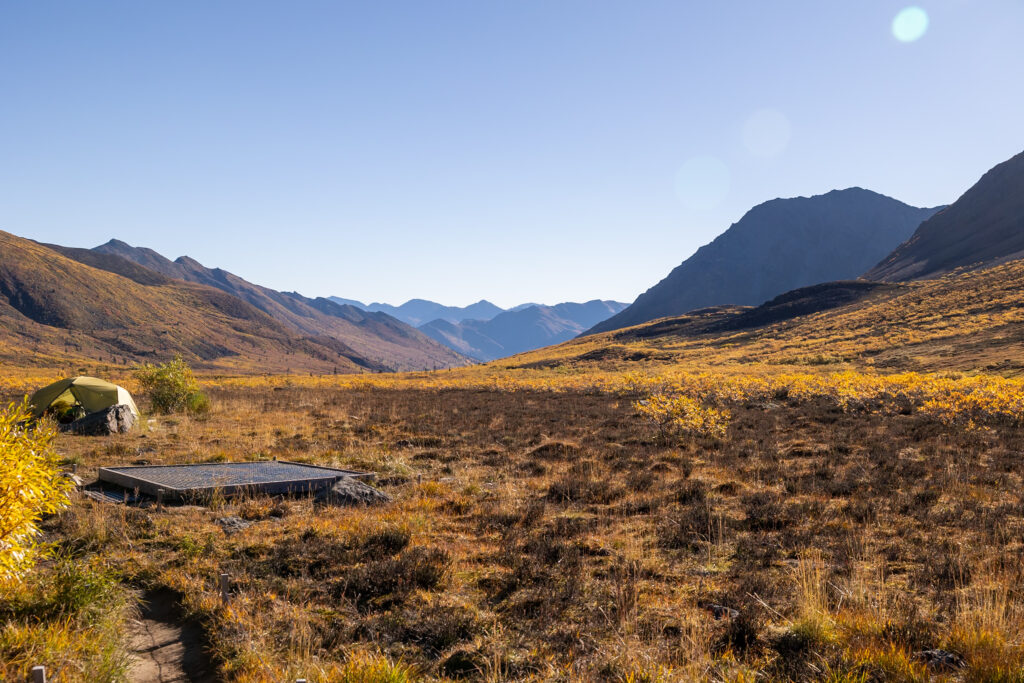
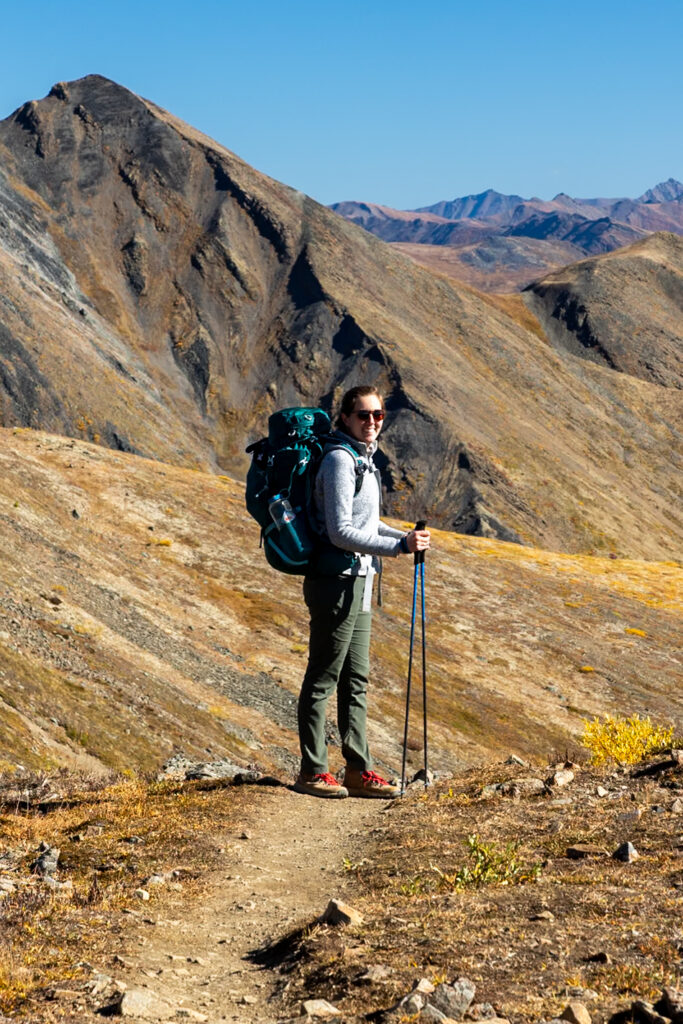
Upon arriving back, we immediately took hot showers and enjoyed some well-deserved rest days before driving the entire Dempster Highway up to Tuktoyaktuk the following week!
This trip really hooked us on backpacking. Between being outside of cell service, experiencing the challenge of hiking with everything we needed for 5 days, actually living in the raw beauty of Tombstone National Park, and the rewarding feeling of having completed something so challenging, we couldn’t wait for our next trip!
Leave any comments or questions about this multi-day backpacking trip below this article. We’d be happy to answer anything we can. And if you have a backpacking trip you think we should do next, let us know!
🌤️ Tombstone Territorial Park Weather
If Tombstone Territorial Park is known for one thing, it’s fickle weather. Summer months can often have snow still on the ground, and the mountains can create their own microclimate that changes very quickly. Even in the dead of summer, you can experience sun, rain, and snow all in one trip—this is what happened to us. That being said, the summer is still going to be the most popular time to visit the park. Here are the exact months we recommend going to Tombstone:
- Summer (mid-July to mid-August): Although it is summer, there may still be snow or ice on the trails in early to mid July. August is the peak summer season.
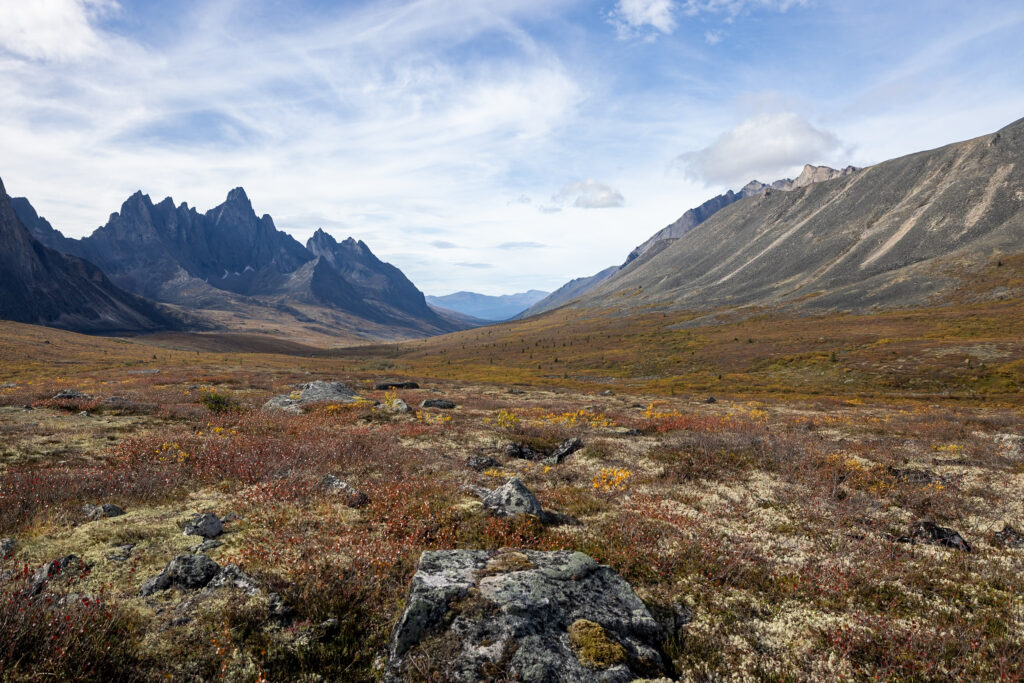
- Fall (mid-August to early-September): During the fall, Tombstone transforms into a display of gold, orange, and red tones as fall foliage sets in. There is also a heightened chance for you to catch the Northern Lights starting this season. We recommend downloading the My Aurora Forecast & Alerts app to check the forecast before visiting.
🎒Tombstone Backpacking Packing List
We’ve broken down everything we packed (and missed) on our 5-day backpacking trip in Tombstone. One of the main things we regretted not packing was more warm clothes—we actually considered turning back because of how cold we were on the first night—so don’t be fooled by the daytime temps! Tombstone’s weather is known to change on a dime, so being prepared for a variety of weather conditions is essential.
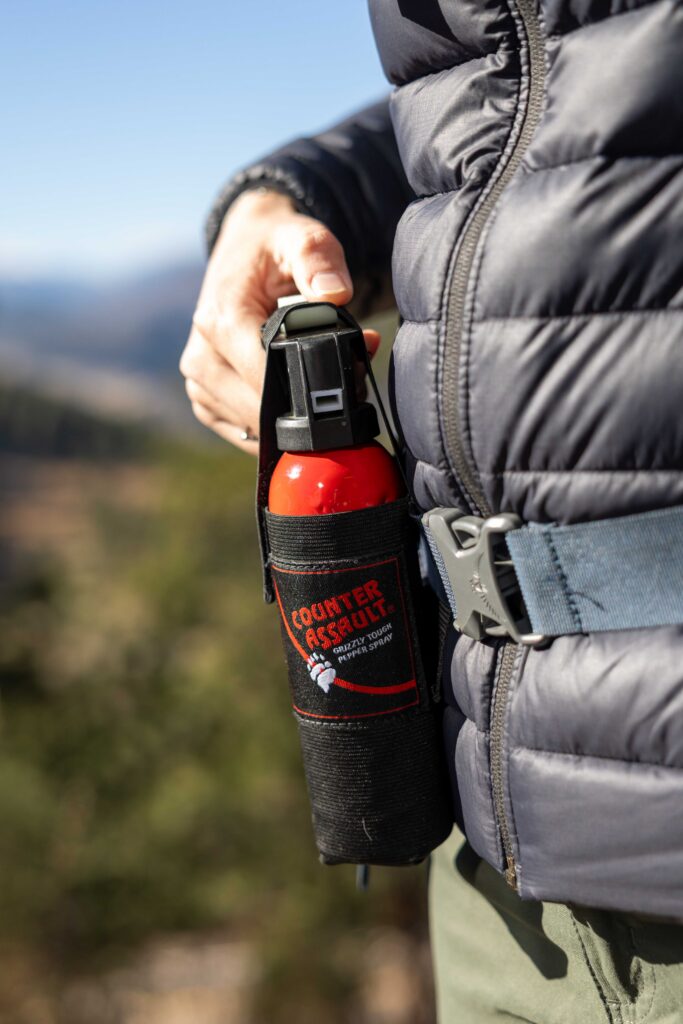
Backpacking & Safety Gear
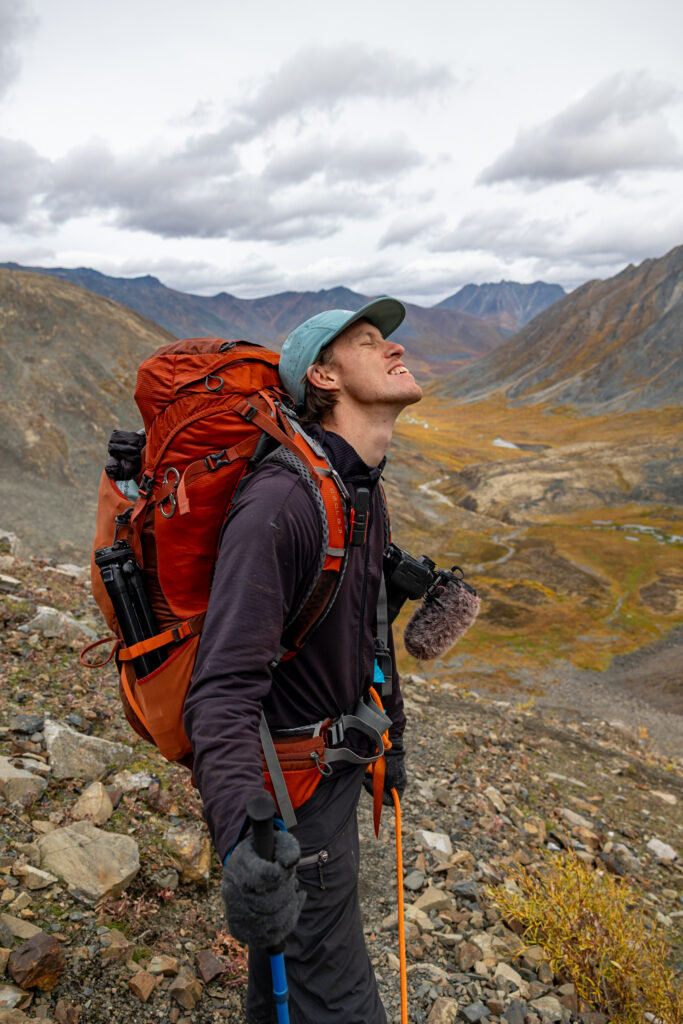
- Backpacking Bag: We carried these bags (Elliot’s 50L bag and Jen’s 50L bag), but wish we had 65L bags (women’s | men’s) instead, since our 5-day trip carrying a bear canister each was a lot of stuff. Our 50L bags had difficulty fully closing.
- Bear Canister/s: You’ll need to fit everything that has a scent into bear canisters during the entirety of your backpacking trip. This not only includes food but also toothpaste, deodorant, and anything else that could attract animals. As we were hiking with 5 days/4 nights of food, plus our dog Ollie’s food, we needed to get a second bear canister. Fortunately, we found a second bear canister for rent in Dawson City. It cost us $21 CA or about $15.30 USD for 4 nights. To make sure everything you plan on taking fits, pack your bear canister a day before your trip. The ranger will check your canister before they issue you a permit.
- Bear Spray: Buy here or rent from a place in Dawson City.
- Rain Cover: We always carry a rain cover to protect our pack if it rains and we’re glad we did because we used our rain covers when it snowed.
- Hiking Poles: We brought just one set of hiking poles, although we should have brought a second. They came in super handy navigating the Talus rock and scree on Glissade Pass.
- Headlamps: Don’t forget a reliable headlamp for hands-free light after dark and before first light.
- First Aid Kit: A first aid kit is always good to have just in case, even if for others on the trail.
- Multitool: We carry this multitool with us as part of our 10 essentials.
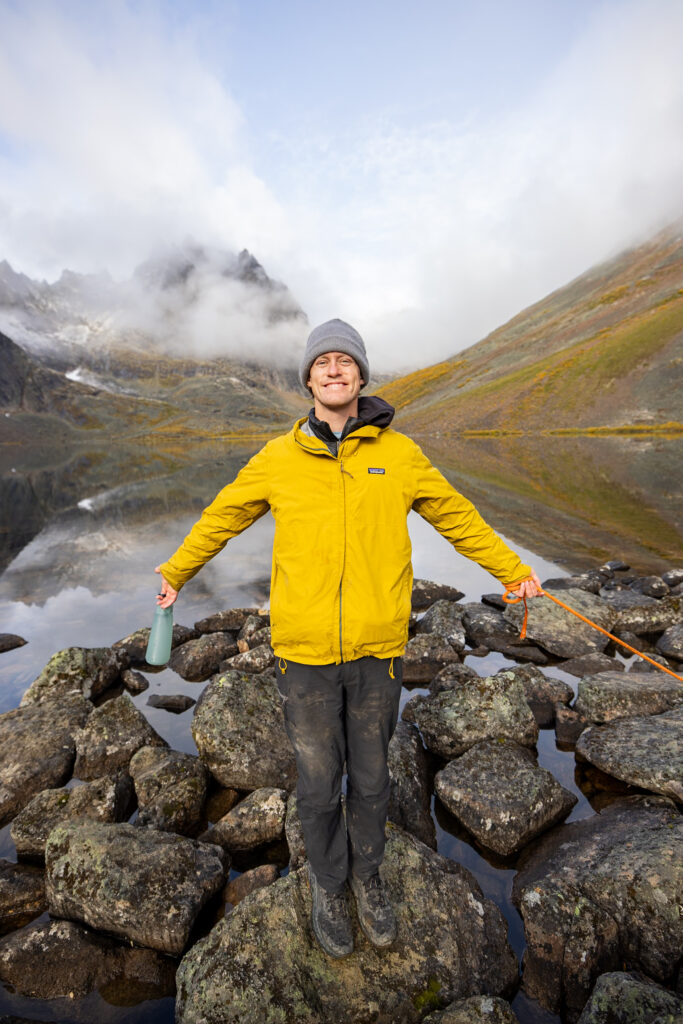
Clothing
- Sunglasses: Protect your eyes with a reliable pair of sunglasses.
- Hats: A good sun hat is essential; we recommend this REI Sunday Afternoons hat and a beanie for when it gets cool at night.
- Merino Wool Long-Sleeve: Comfortable and moisture-wicking, this men’s Smartwool merino long sleeve is a great base layer; here’s the women’s version.
- Fleece Pullover: Jen has been wearing this fleece for 8 years and still loves it, whereas Elliot loves this fleece pullover.
- Down Jackets: Stay warm during chilly nights with a quality down jacket.
- Rain Jacket: Stay dry with a dependable rain jacket, such as this REI men’s Patagonia rain jacket or this REI women’s Patagonia rain jacket.
- Hiking Pants: Jen loves these hiking pants because they’re super flexible and Elliot loves these hiking pants for their durability.
- Rain Pants: We wish we’d brought rain pants to hike in addition to hiking pants—these REI men’s Trailmade rain pants are a solid choice. Here’s the women’s version. It rained one afternoon on our hike, and thankfully, we made it to camp in time. If we had gotten wet from the rain, our clothes would have been soaked for the night in temperatures below freezing.
- Undergarments: Bring your most comfortable undergarments, i.e., sports bras, Smartwool socks, underwear, etc. We also recommend a warm base layer to wear under your pants at night, like these thermal leggings for women. Here’s the version for men.
- Hiking Shoes: Jen wore these sturdy REI women’s Danner hiking boots for support and durability, while Elliot preferred lightweight trail runners like these Altra Lone Peak 9 shoes.
- Camp Shoes: We didn’t bring camp shoes, but we highly recommend these comfortable camp shoes for relaxing at camp.
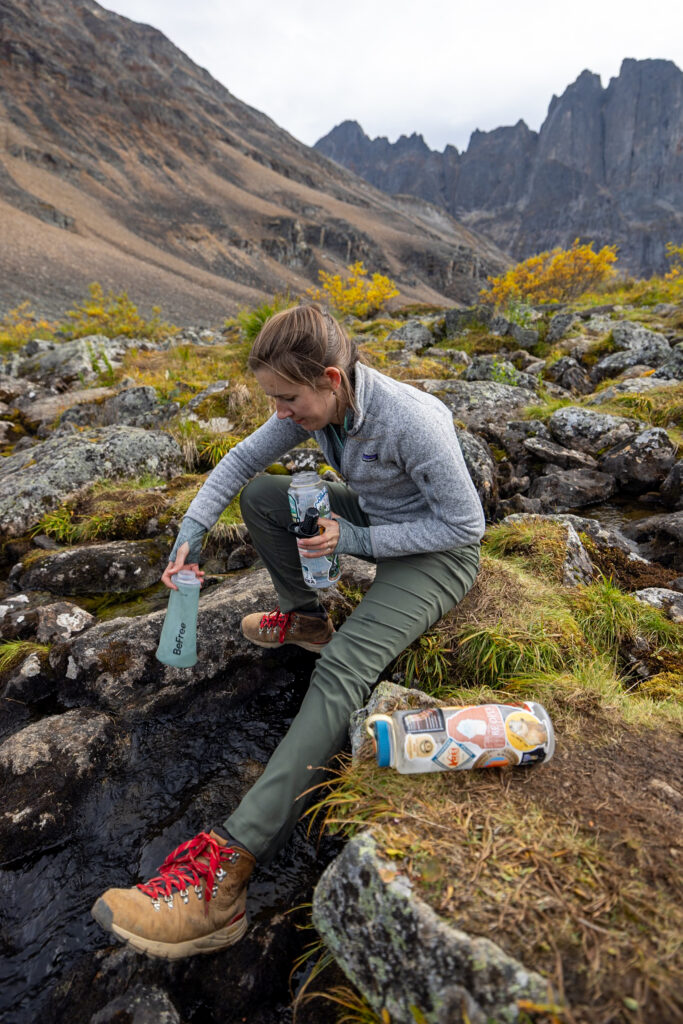
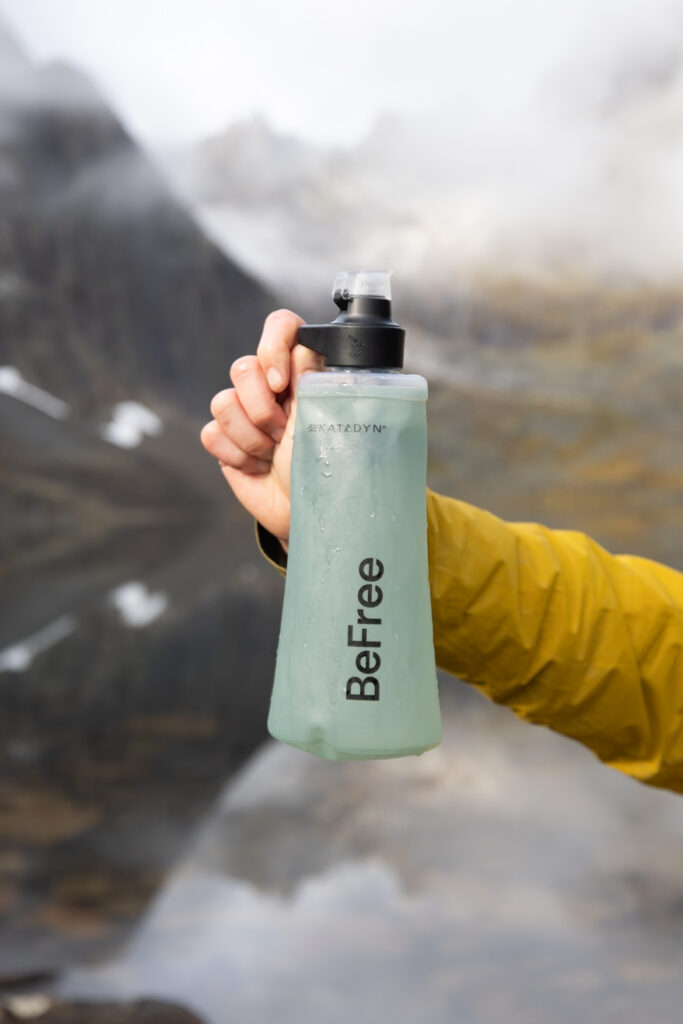
Camping & Cooking Materials
- Backpacking Tent: Our reliable shelter was this lightweight backpacking tent.
- Sleeping Pads: For a comfortable night’s rest, we used these cushioned sleeping pads.
- Sleeping Bags: Staying warm was easier with our insulated sleeping bags.
- Camping Pillows: Small but adds extra comfort, we brought along these compact camping pillows.
- Jetboil Stove: Quick and efficient cooking was possible thanks to our Jetboil stove. Dont’ forget to bring sufficient fuel.
- Long Sporks: This lightweight titanium spork is long so it can scoop up food in the dehydration bags without getting your hands covered with food.
- Camp Suds: This is what we used to clean our hands using soap.
- Water Bottles: For hydration, we brought durable 48oz Nalgene water bottles. Typically, on day hikes, we love using water bladders for their convenience, but for backpacking, we prefer a water bottle in our side pocket.
- Water Filters: We used two water filters—one primary and one backup—to refill at key points on the trail (KM 1.5 and 6.1). Our main filter was the Katadyn BeFree AC-1 bottle, with a backup Sawyer Squeeze system.
- Toiletries
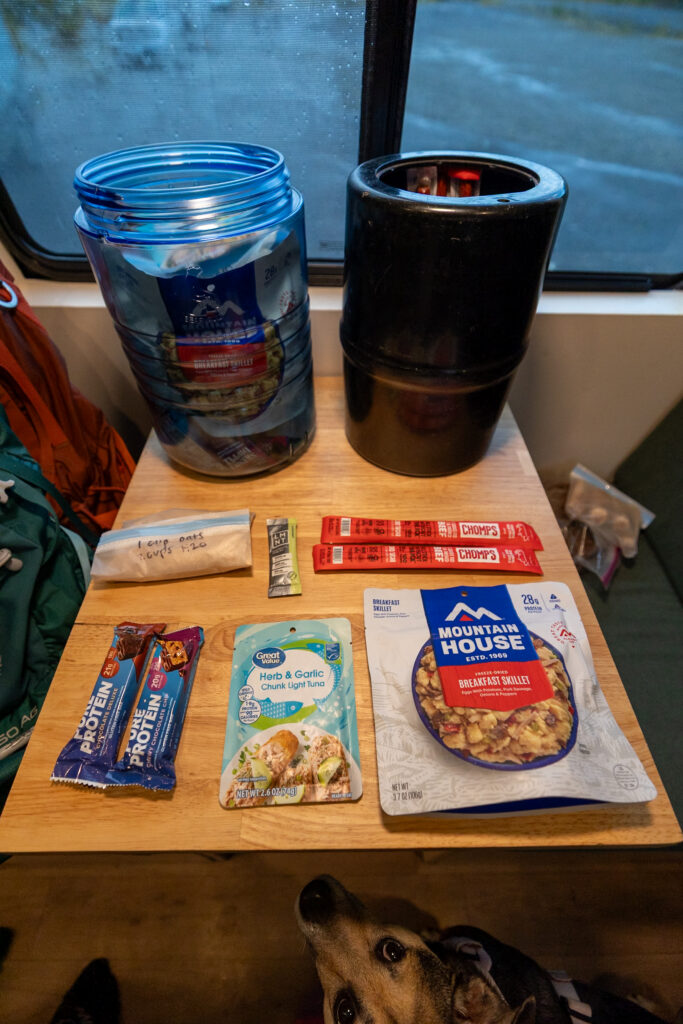
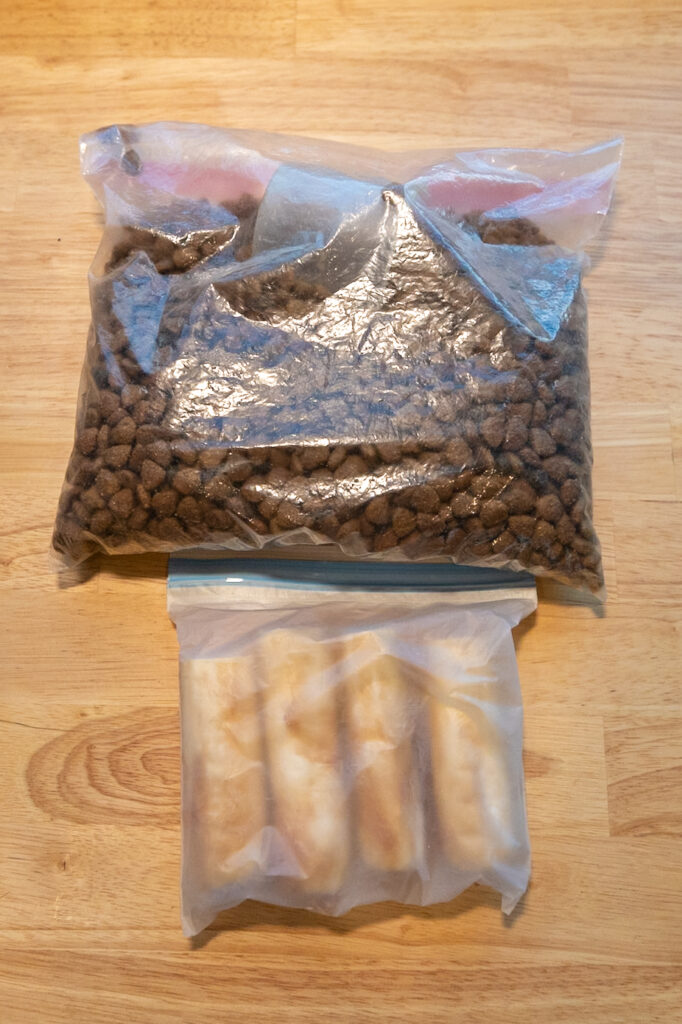
Backpacking Food
This is everything we packed for food! You can tailor it to your personal preferences, but to give you an idea of what we ate. Keep in mind that you want lighter-weight options (no cans) as you’re carrying it all.
- Chomp Meat Sticks: We packed 10 of these high-protein Chomp meat sticks for quick snacks.
- Dark Chocolate Peanut Butter Cups: A sweet treat on the trail—10 dark chocolate peanut butter cups.
- Protein Bars: We carried 10 protein-packed Cliff Bars for energy boosts.
- PBJ Sandwiches: Two peanut butter and jelly sandwiches for our first lunch on the trail.
- Backpacking Dinners: We brought 10 freeze-dried backpacking meals (plus 2 extras) for easy dinners—check them out here.
- Backpacking Breakfasts: Four freeze-dried breakfasts (we shared one to save costs)—similar options available here (look for the breakfast version).
- Homemade Oatmeal Packets: We made four homemade oatmeal packets using bulk oats, sugar, and protein powder, packed in plastic bags. We cooked these in our empty backpacking breakfast containers after we finished that.
- Electrolytes: We love these electrolytes!
Dog Backpacking Gear
- Pet Food: For Ollie, we packed five days’ worth of meals plus one extra and a large chicken treat per day to keep her happy on the trail!
- Cold-weather jacket: We completely forgot to bring Ollie’s dog jacket with us. It would have kept her warmer in the colder temperatures and given me a better piece of mind.
- Dog Booties: With the snow and freezing temperatures, we should have packed dog booties for Ollie. I think it would have made the cold temperatures on the rocks, scree, and boulders a lot more enjoyable for her.
- Collapsible Dog Bowl: We brought Ollie’s collapsible dog bowl for her to drink water and eat her meals from. We bought ours from a thrift store, but this one would also work great and is super lightweight!
- Emergency Dog Carrier: One thing that crossed our mind when we were on the trail was if Ollie got hurt, we would have to carry her out, which would be extremely difficult while also carrying our packs. While we didn’t have this emergency dog carrier on the trail, we invested in it afterward since we have an older dog and want to be prepared.
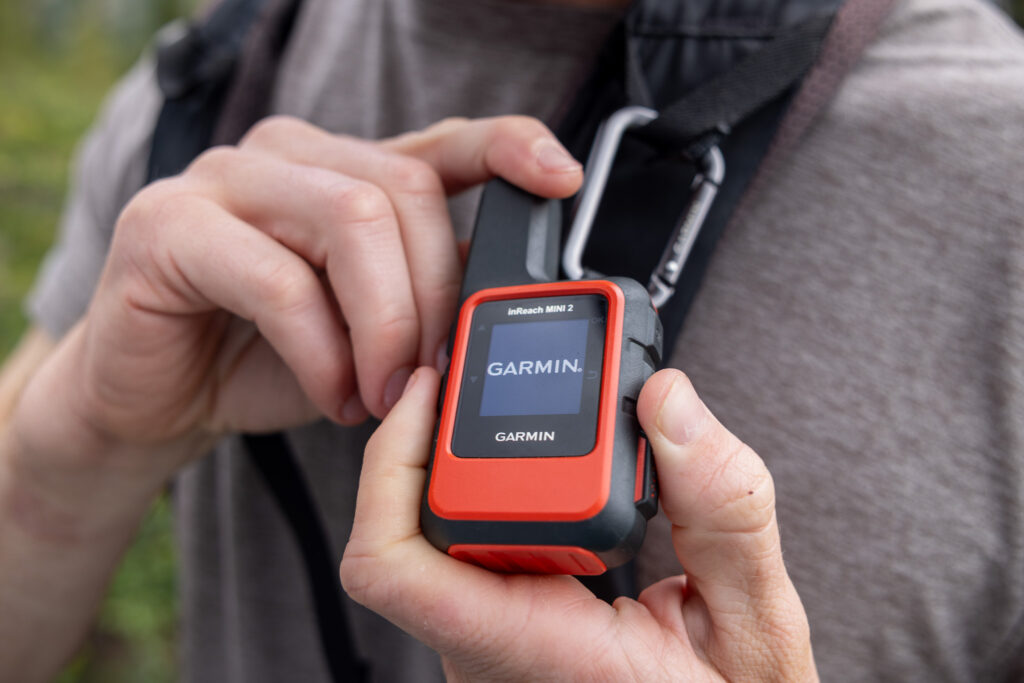
Backpacking Tech
- Garmin inReach: For safety and weather updates, even when outside of cell service, we relied on the Garmin inReach Mini 2. We highly recommend investing in one of these if you are going backpacking in Tombstone.
- Offline Maps: We preloaded our route on our phones using AllTrails Pro to access the trail map offline.
- Cameras: To capture the stunning scenery, we brought our Canon R5 and Canon R6 with RF 15-35mm and RF 24-70mm lenses.
- Battery Banks: Keeping devices charged on the trail was easy with two reliable Anker portable battery banks.



🥾 More Things to Do in Tombstone Territorial Park
Tombstone Territorial Park has so much more to offer for anyone who loves the outdoors. Whether you’re up for some day hikes, wildlife spotting, or learning about the area’s culture, there’s plenty to keep you busy. Here are the main things to do other than backpacking in Tombstone:
- Tombstone Range Viewpoint: A quick stop for breathtaking views of the park’s jagged peaks, a quick photo, and to stretch your legs.
- Drive the Dempster Highway: Continue your journey north on this scenic highway all the way to the Arctic Ocean for more wild Yukon landscapes. Read all about it in our Dempster Highway Guide!
- Visit the Interpretive Centre: The Tombstone Interpretive Centre is a great starting point for your visit. It offers informative exhibits on the park’s geology, flora, fauna, and Indigenous heritage. The friendly staff and rangers can provide you with valuable tips, trail updates, and safety information to help you make the most of your trip.
- Wildlife Viewing: Tombstone is home to Dall sheep, moose, caribou, and a variety of bird species. Early mornings and evenings are going to be your best chance to spot wildlife in their natural habitat.
- Photography: With dramatic mountain spires, vast tundra, and an explosion of fall colors in late summer, Tombstone is a photographer’s paradise. Bring your best camera if you enjoy photography!
- Camping: Besides the backcountry campgrounds, you can reserve a campsite at the frontcountry Tombstone Mountain Campground, right by the Interpretive Centre, for around $18 a night. Reservations seem to open in early April for the summer season.
- Special Programs: You can check for any special talks, walks, or workshops going on in Tombstone on their Facebook page or at the Interpretive Center.
Related Articles
- How to Drive the Dempster Highway: Ultimate Road Trip Itinerary
- Anchorage to Denali National Park: The Perfect Alaskan Road Trip
- Alaska Highway Roadtrip: Where to Camp, What to See, & More!
- The 3 Routes for Driving to Alaska in Your Car
Watch on YouTube
📌 Pin this post
Pin this guide to the Dempster Highway to make your upcoming trip a breeze to plan!

Leave a Reply
You must be logged in to post a comment.