

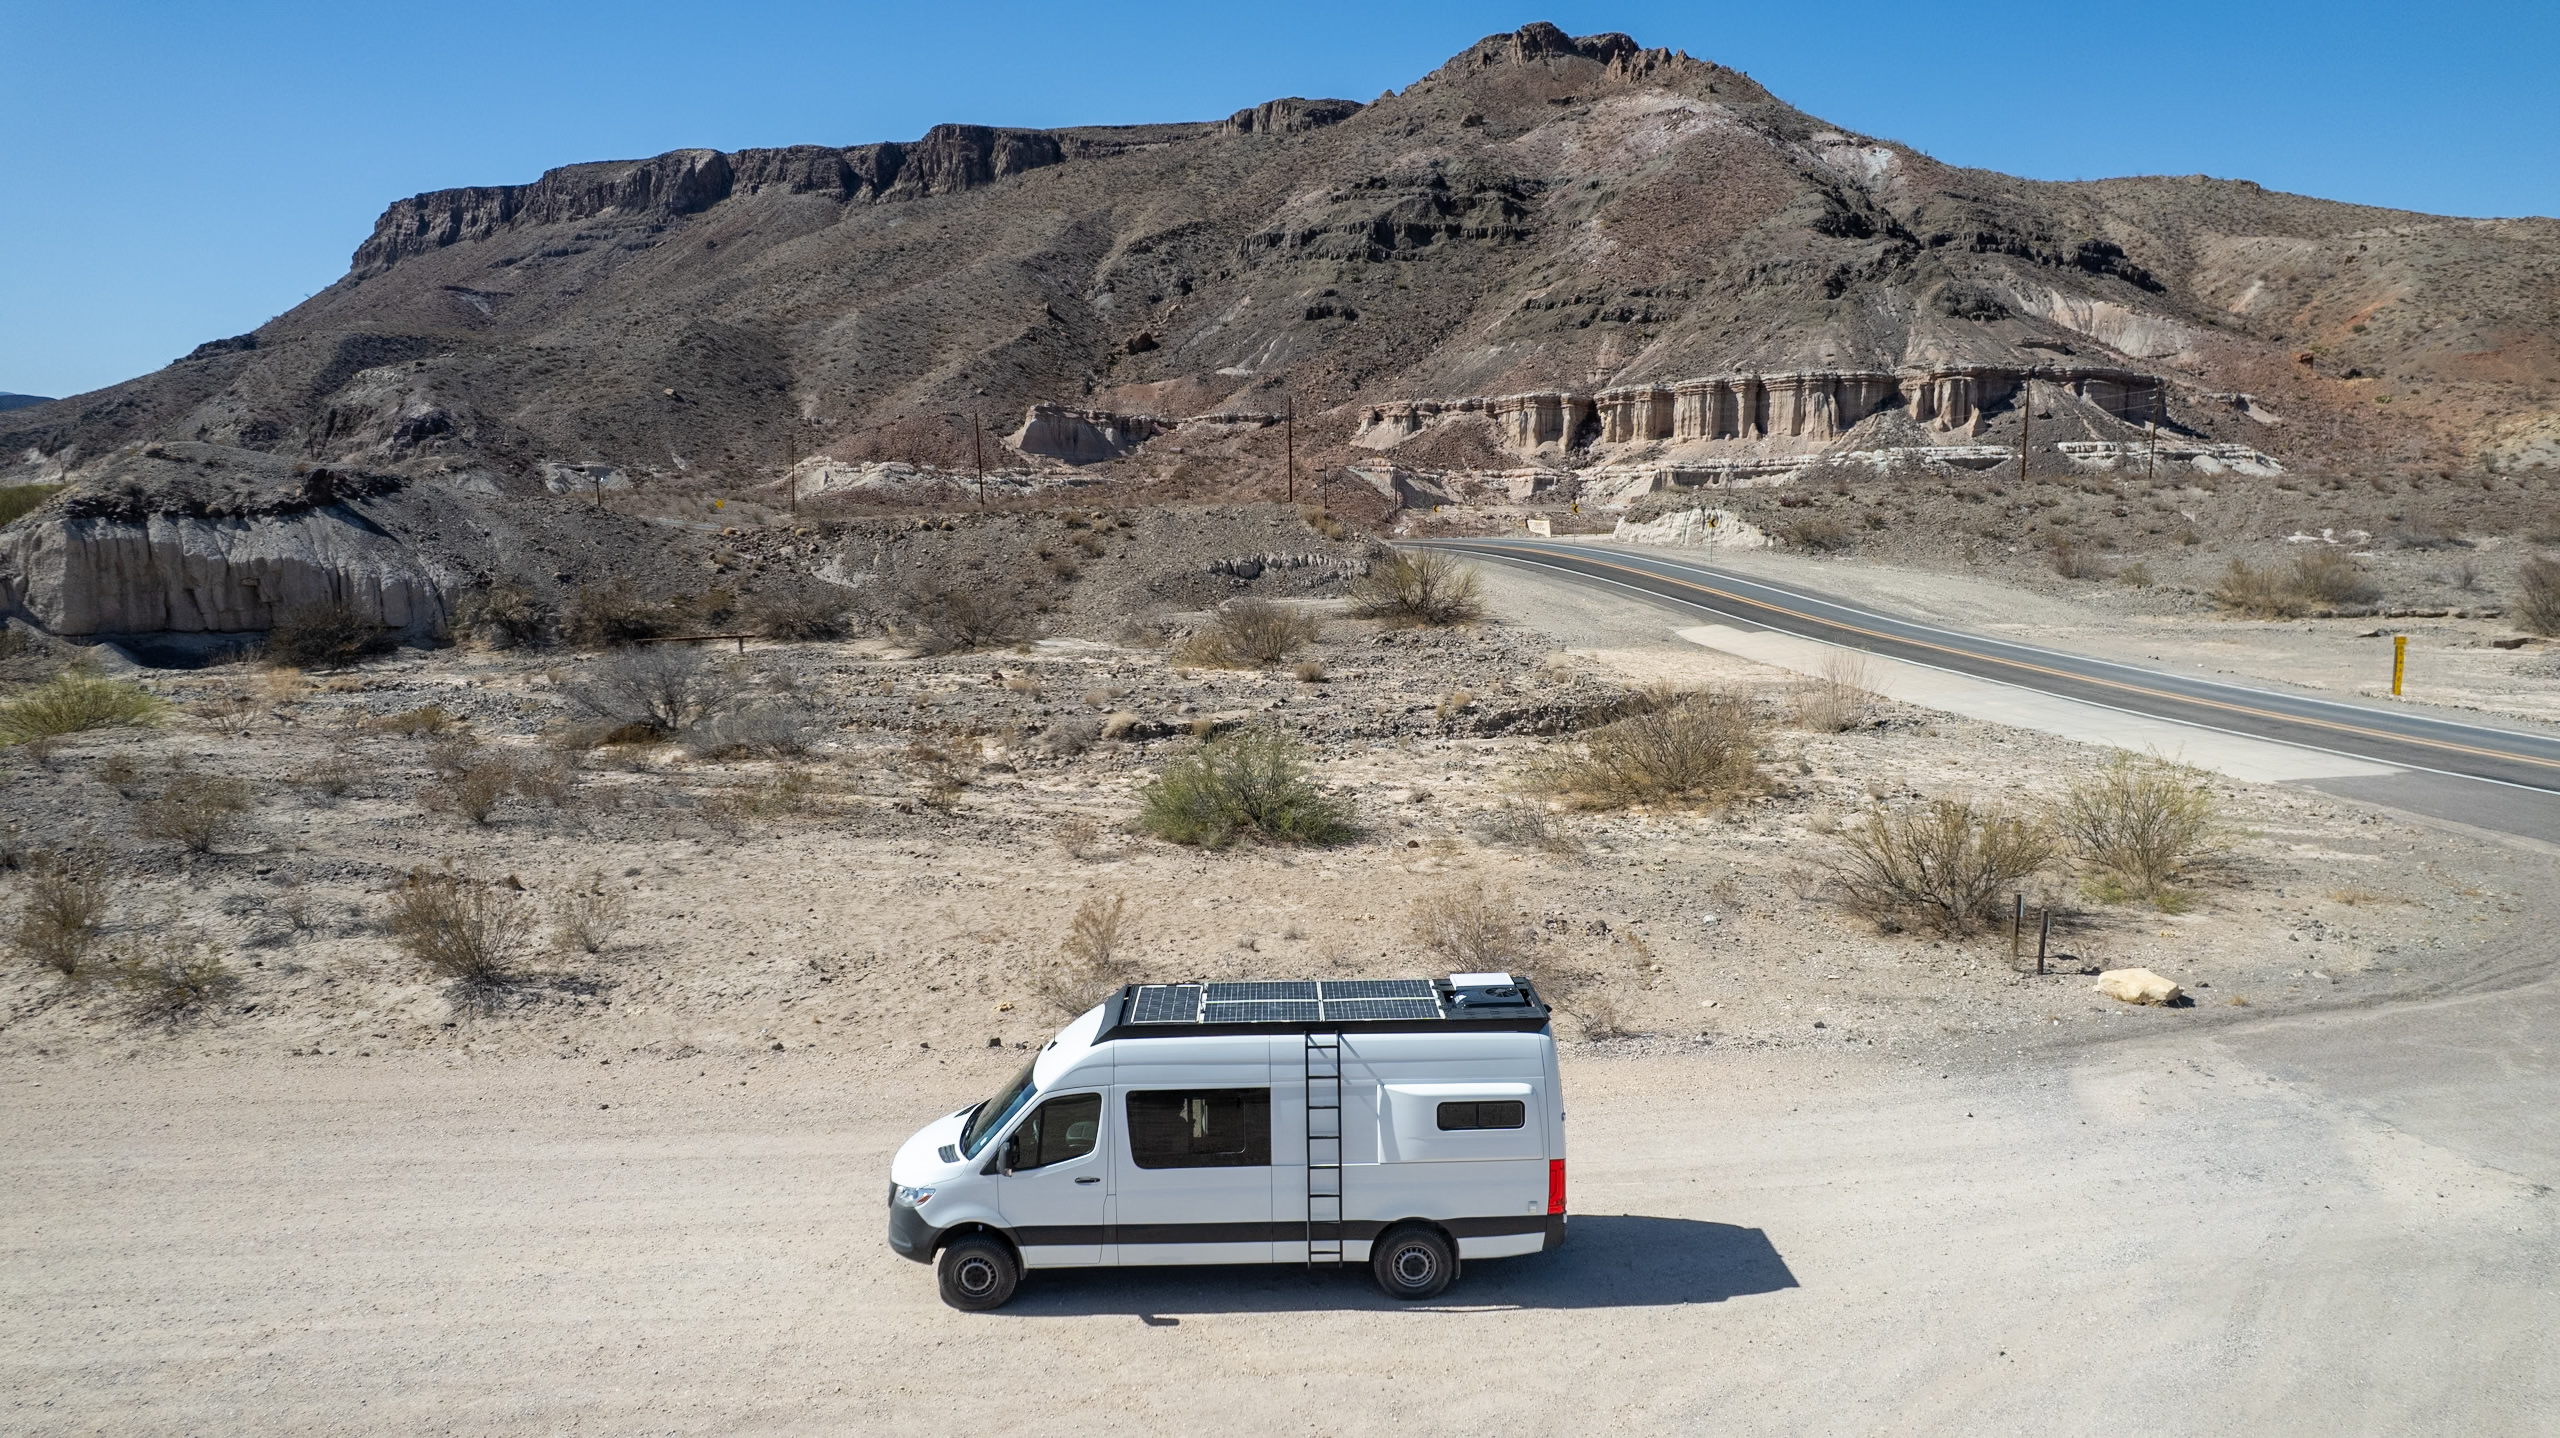
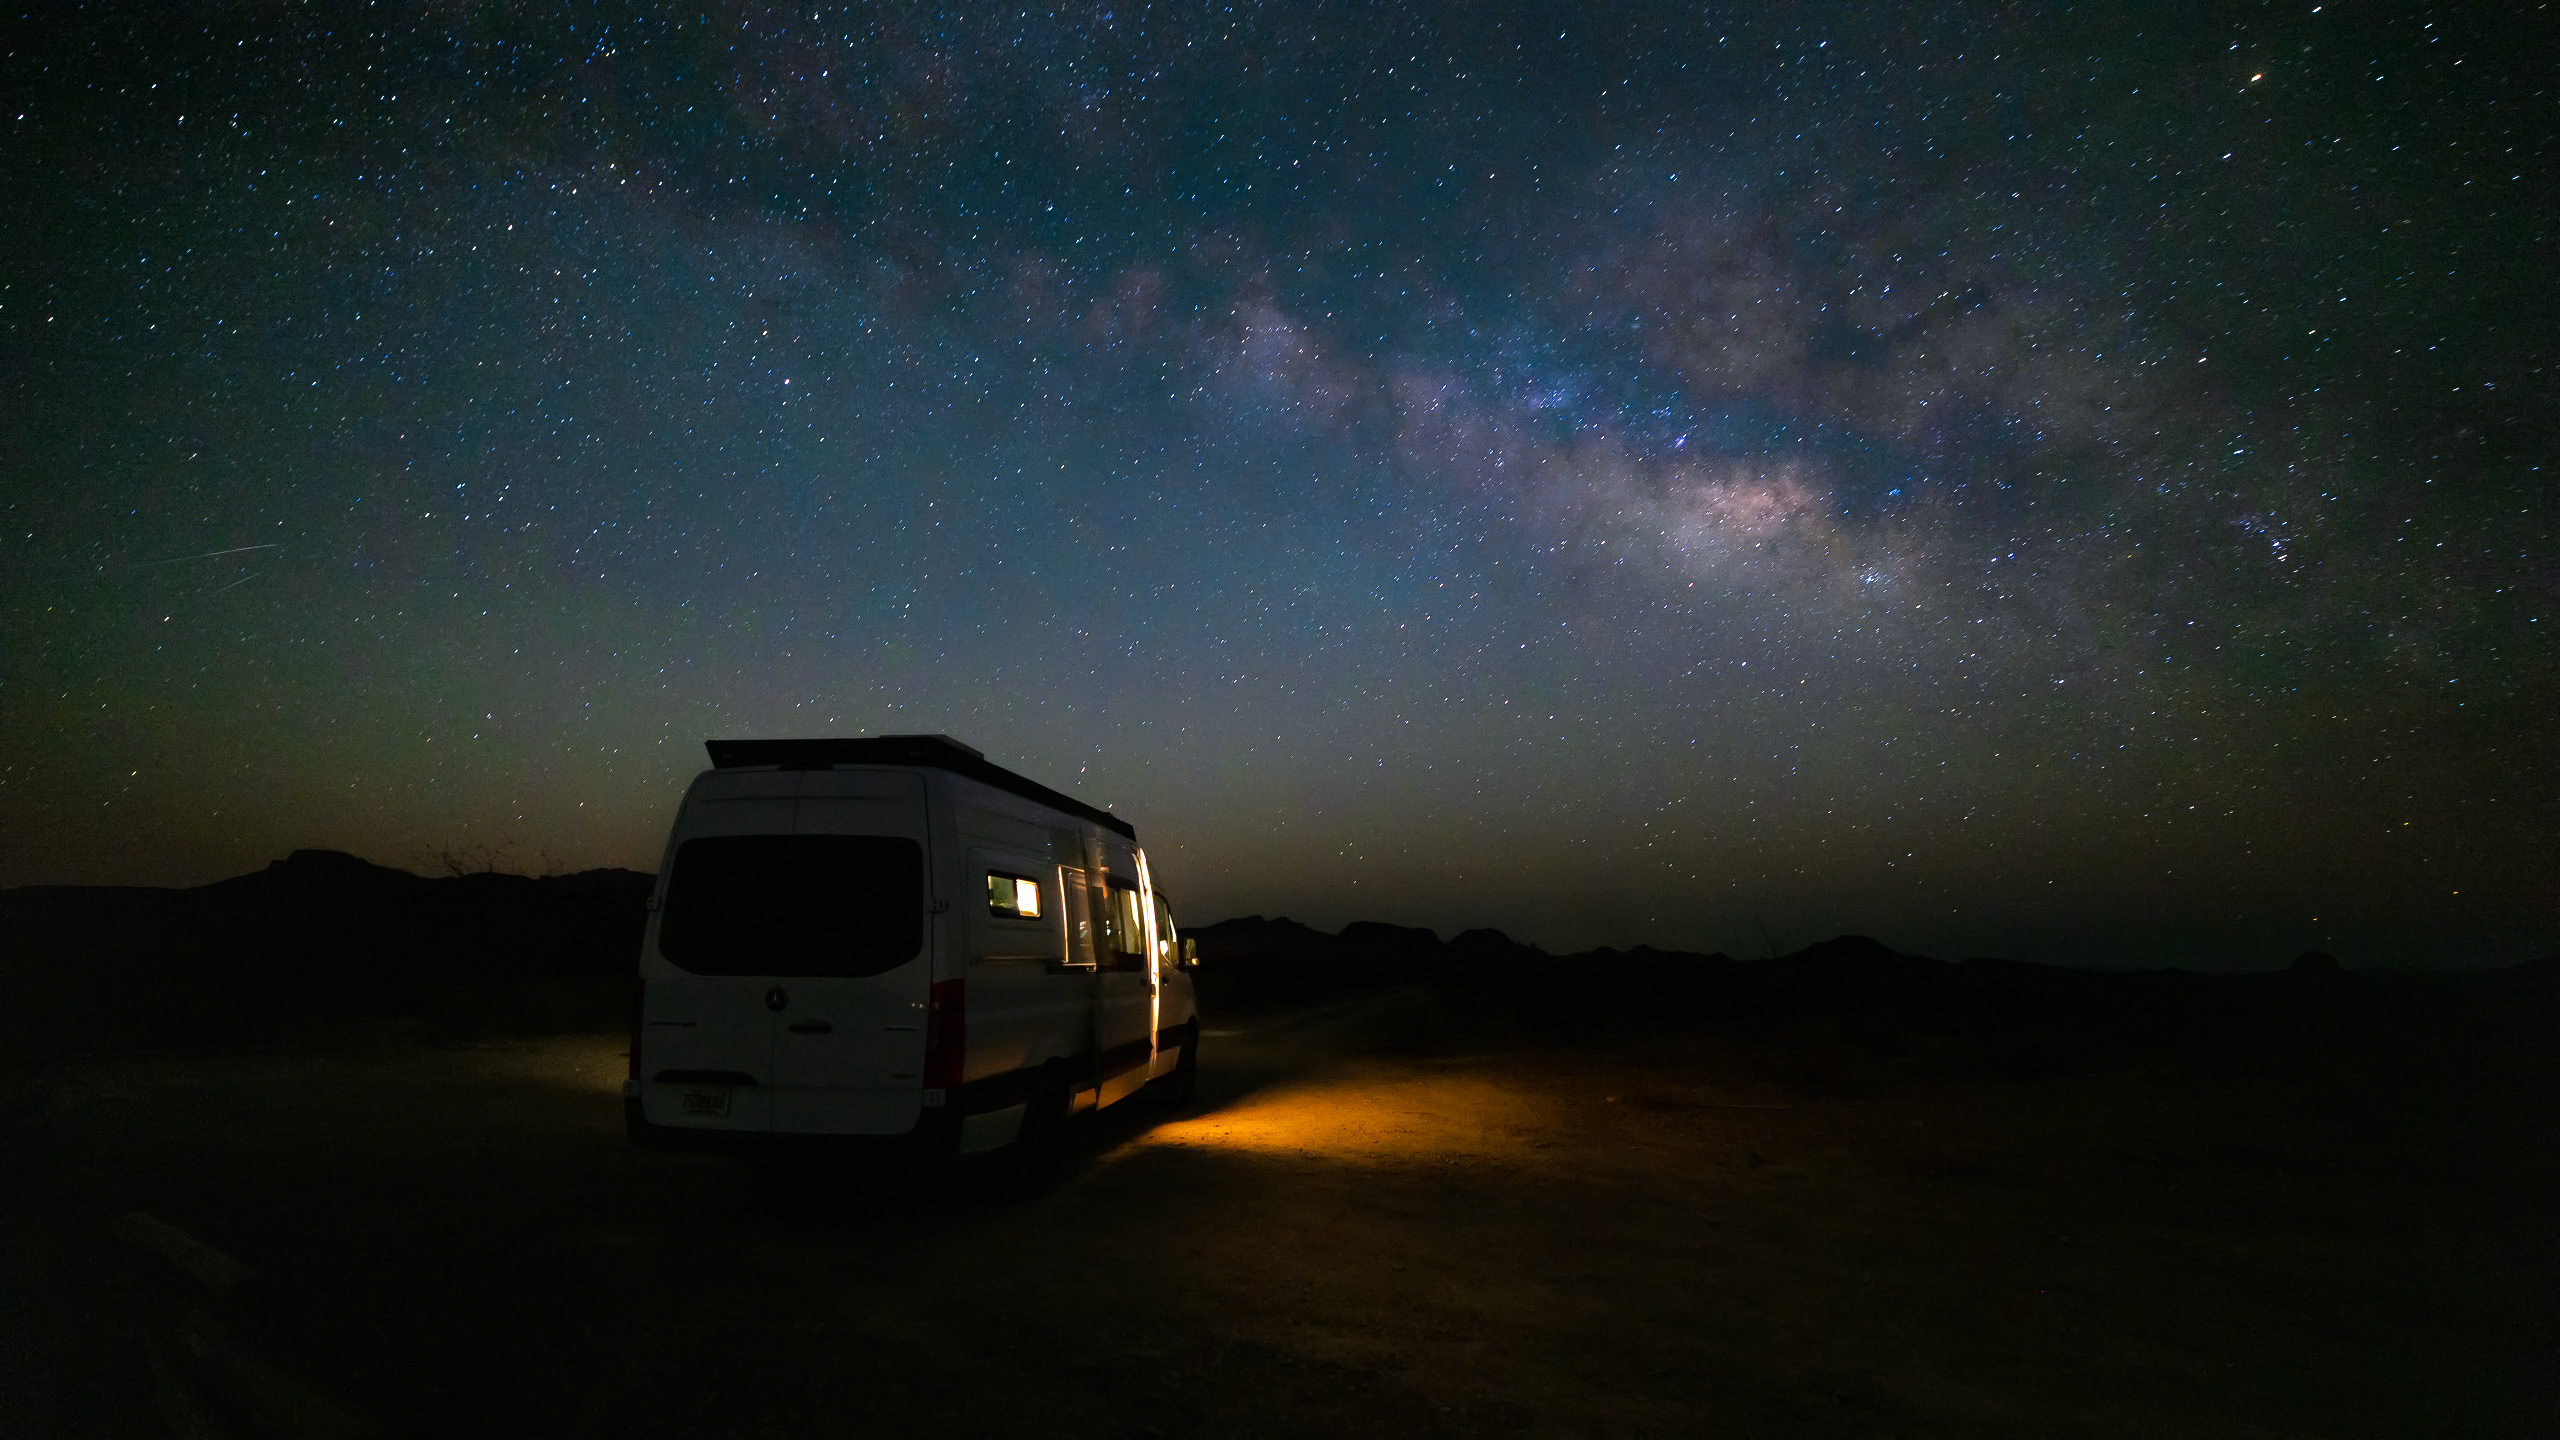
We live and work full time out of our sprinter van, Summit, and before that we lived and worked on our boat, Pivot. In each situation we had Starlink, and in this article we are going to share the best starlink for van life. Starlink is one of those features that makes you wonder, “How did I live without it?”? It functions so well, that, honestly, you forget about it! However, you need to get the right Starlink and mount it correctly.
💡 TL;DR: The Mini is a great choice, and it’s currently on sale for almost 60% off.
Note: We use affiliate links which provide us a little kickback each time you use one of our links and make a purchase, without any additional cost to you. We do not recommend products that we don’t already love or have heard great things about, so you can trust we’re only suggesting great products to you.
Different Types of Starlink
There are a few different Starlink models, and at their core, all serve high-speed internet from Space (it’s pretty incredible). Let me give a quick description of each Starlink, so we’re on the same page.
| Type | Dish Cost | Monthly Cost | Release Date | Primary Purpose |
|---|---|---|---|---|
| Starlink Residential (Gen 2 – Standard Dish) | $599 | $165 | Late 2021 | Residential |
| Starlink Roam – Standard (Gen 3) | $599 | $165 | 2023 | Traveling in a Van or Boat |
| Starlink Roam – High Performance (Gen 3) | $2,500 | $165 | 2023 | Higher performance ROAM |
| Starlink Mini | $499 ($229 on sale) | $50 or $165 | 2024 | Portability |
What is the Best Starlink for Van Life
From the chart above, we can tell that either the Starlink Roam Standard Gen 3 or the Starlink Mini are the the best Starlink for van life, but let me break it down and help you determine which is best for your particular situation. First off, here’s why we excluded the other two options:
- The Starlink Residential Gen 2 is the older model, meaning it’ll be less performant, although you may be able to find a good used deal on Facebook Marketplace or the like. The big drawback of this model is that it needs to rotate (without some serious DIY surgery). Since it has to rotate, it means mounting is much more difficult and it takes more space, two big negatives for van life.
- The Starlink Roam – High Performance (Gen 3) is simply too expensive to be considered for van life. The other drawback is that with the high performance it also takes more power, which is way more impactful rather then the speed improvements you have.
Why you should choose the Starlink Gen 3 for Van Life
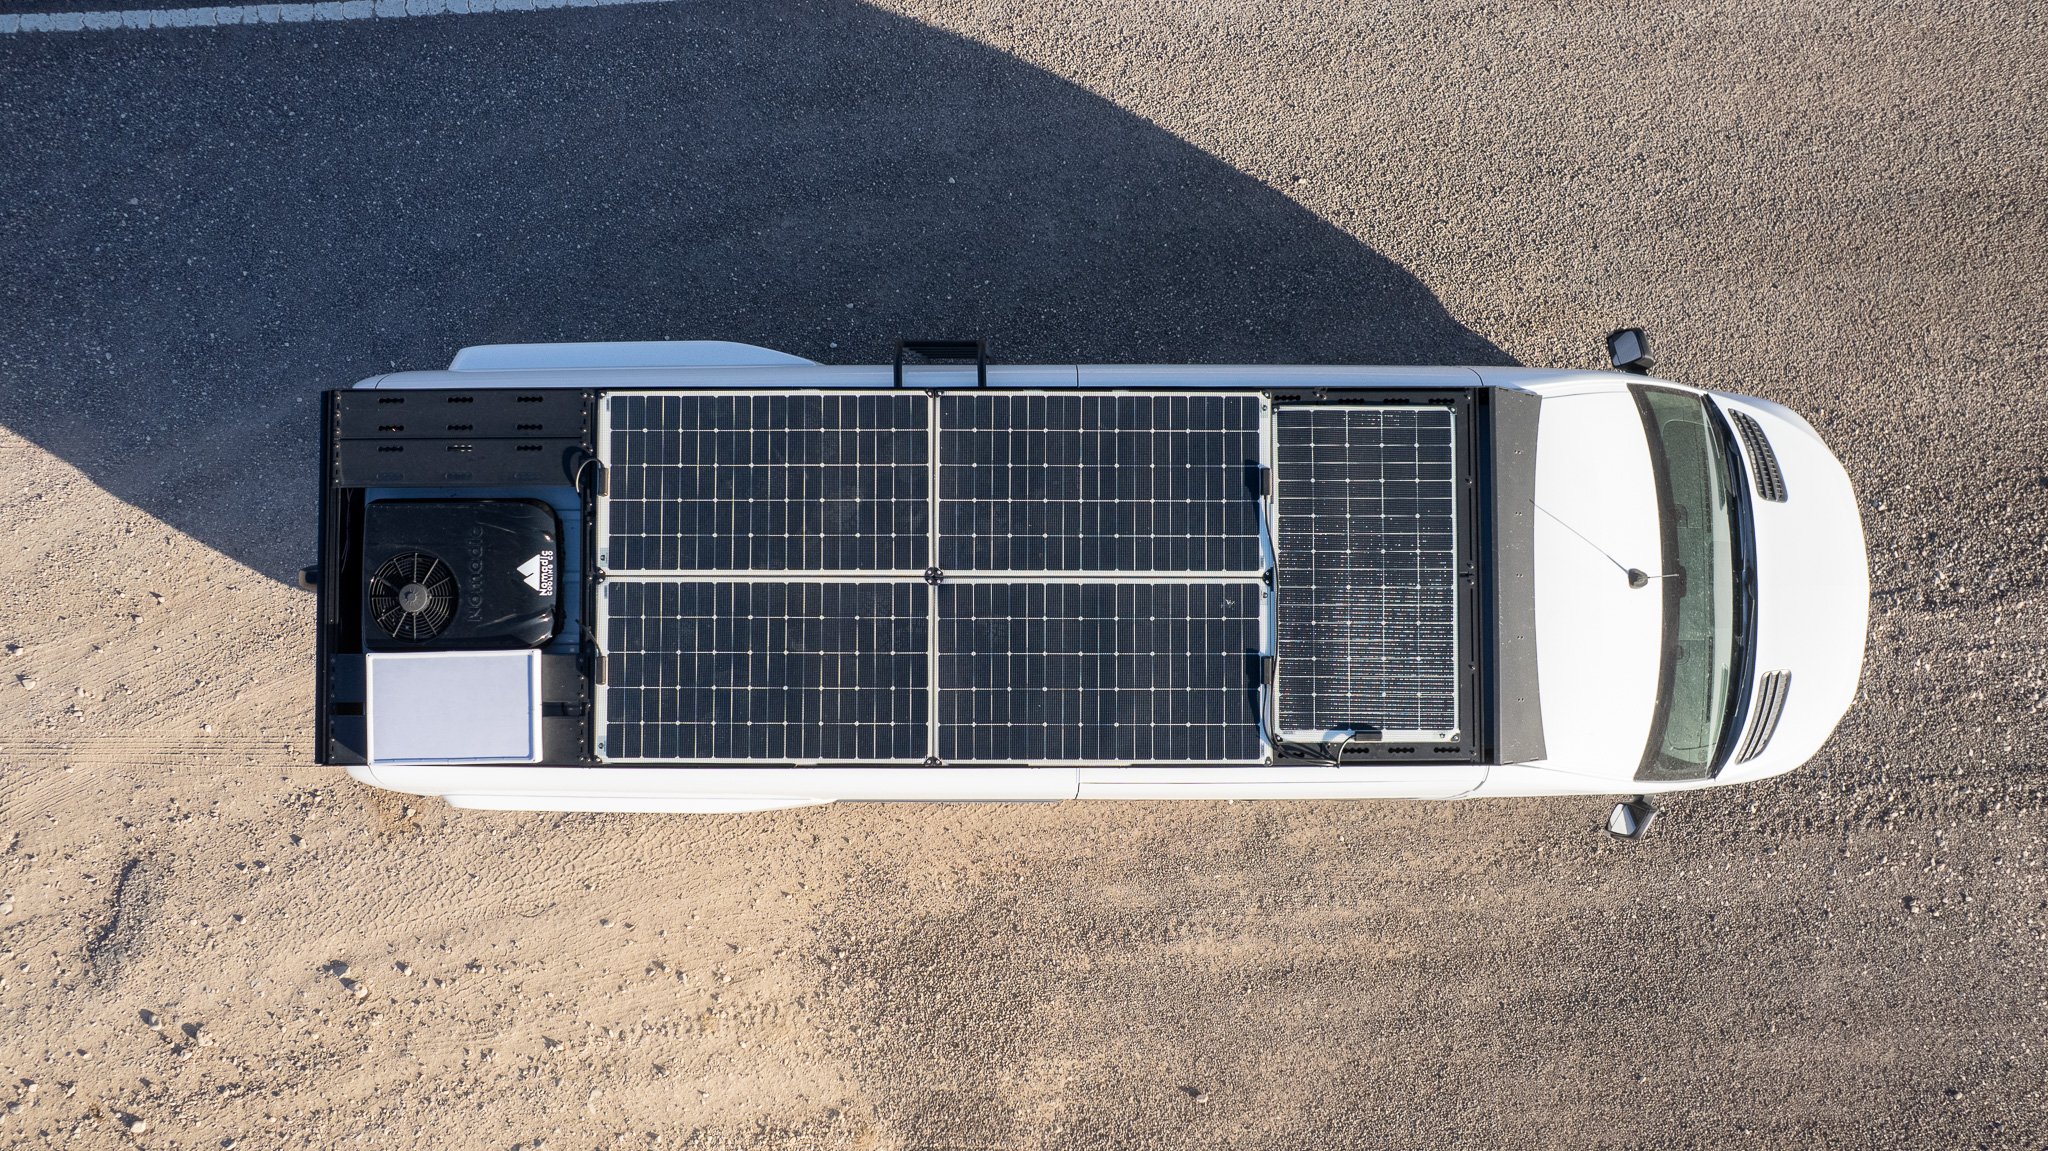
The Starlink Gen 3 strikes a balance between performance and a low-power solution that’s ideal for van life. It’s designed to be your full-time internet solution and is perfect for working on the road. If you need the most performant option available and don’t mind a solution that requires rooftop mounting or setup and teardown daily, then this is the option for you. Since we operate our businesses on the road, this Starlink provided us with sufficient throughput to support high-quality video calls, as well as reasonable upload times. This was our only Starlink for the first 11 months of van life, and with our 12V conversion and mount from Trio Flat Mount, it was seamlessly integrated into our van.
Why you should choose the Mini for Van Life
The Starlink Mini wasn’t out when we outfitted our van, but we recently purchased one for our “low-power” adventures. Specifically, when we plan to be in Baja this winter, we’ll run our Mini instead of our Gen 3, just because it operates at about 60% less power. This is significant for our off-grid van, and we’ll need to test to see if we notice any performance implications from using the smaller dish. Besides the lesser power requirement, we love the Starlink Mini because the wifi router is built in, meaning just one 12V cord is all thats needed to run it. If you don’t want to mount the mini, you can even just put it on your dashboard, and it’ll still work perfectly.
Pro-Cons for the Best Starlink for Van Life
| Starlink | Pro | Con |
|---|---|---|
| Gen 3 | High performance, easy to install with 12V conversion kit | Higher power draw and must be mounted. |
| Mini | Low power, easy to install, can run inside your vehicle | Less performance |
How to Configure the Best Starlink for Van Life
If you choose the Gen3, here’s our preferred setup! You could easily take your Starlink out of the box, plug it into an AC outlet, run the cord out your window, place your Starlink in the dirt, and call it a day! But doing that every day and being unable to use it while moving or in urban areas isn’t a great long-term solution. Introducing the Speedmount 12V conversion—the ultimate way to set up your Starlink for van life!
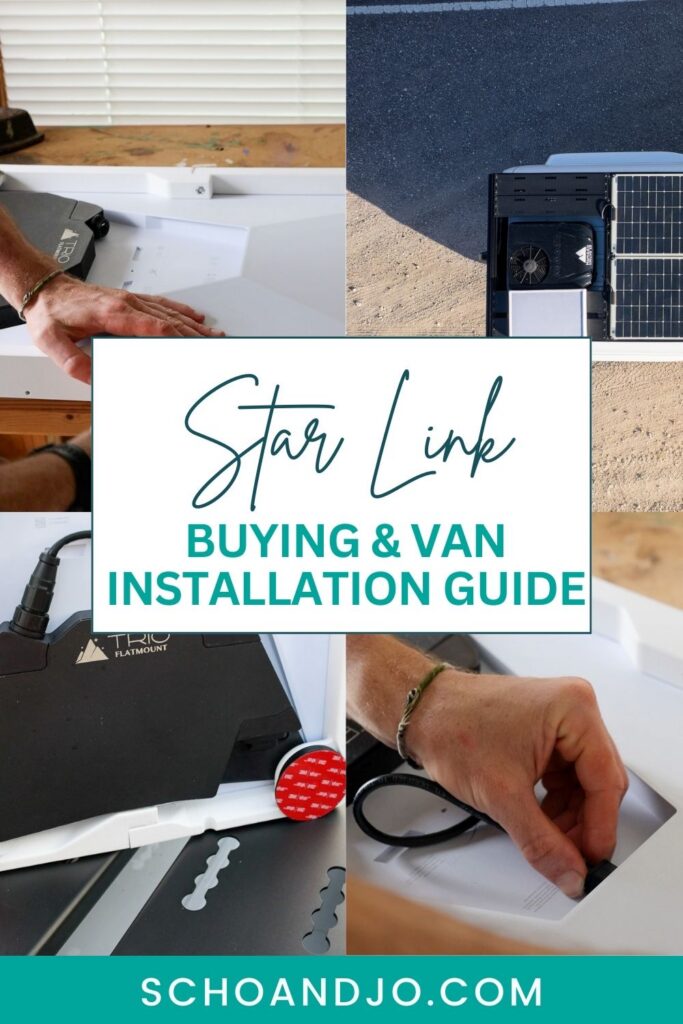
The Best Starlink Mount for Van Life
The first, most obvious, part of the Speedmount is the mount portion. A high-quality mount is crucial because a) we don’t want to be setting up and tearing down our Starlink every day, multiple times a day, and b) we’ll be driving upwards of 70mph, so we do not want our expensive Starlink careening off on the highway.
💡 If you want to mount the Mini then here’s the speedmount for this model.
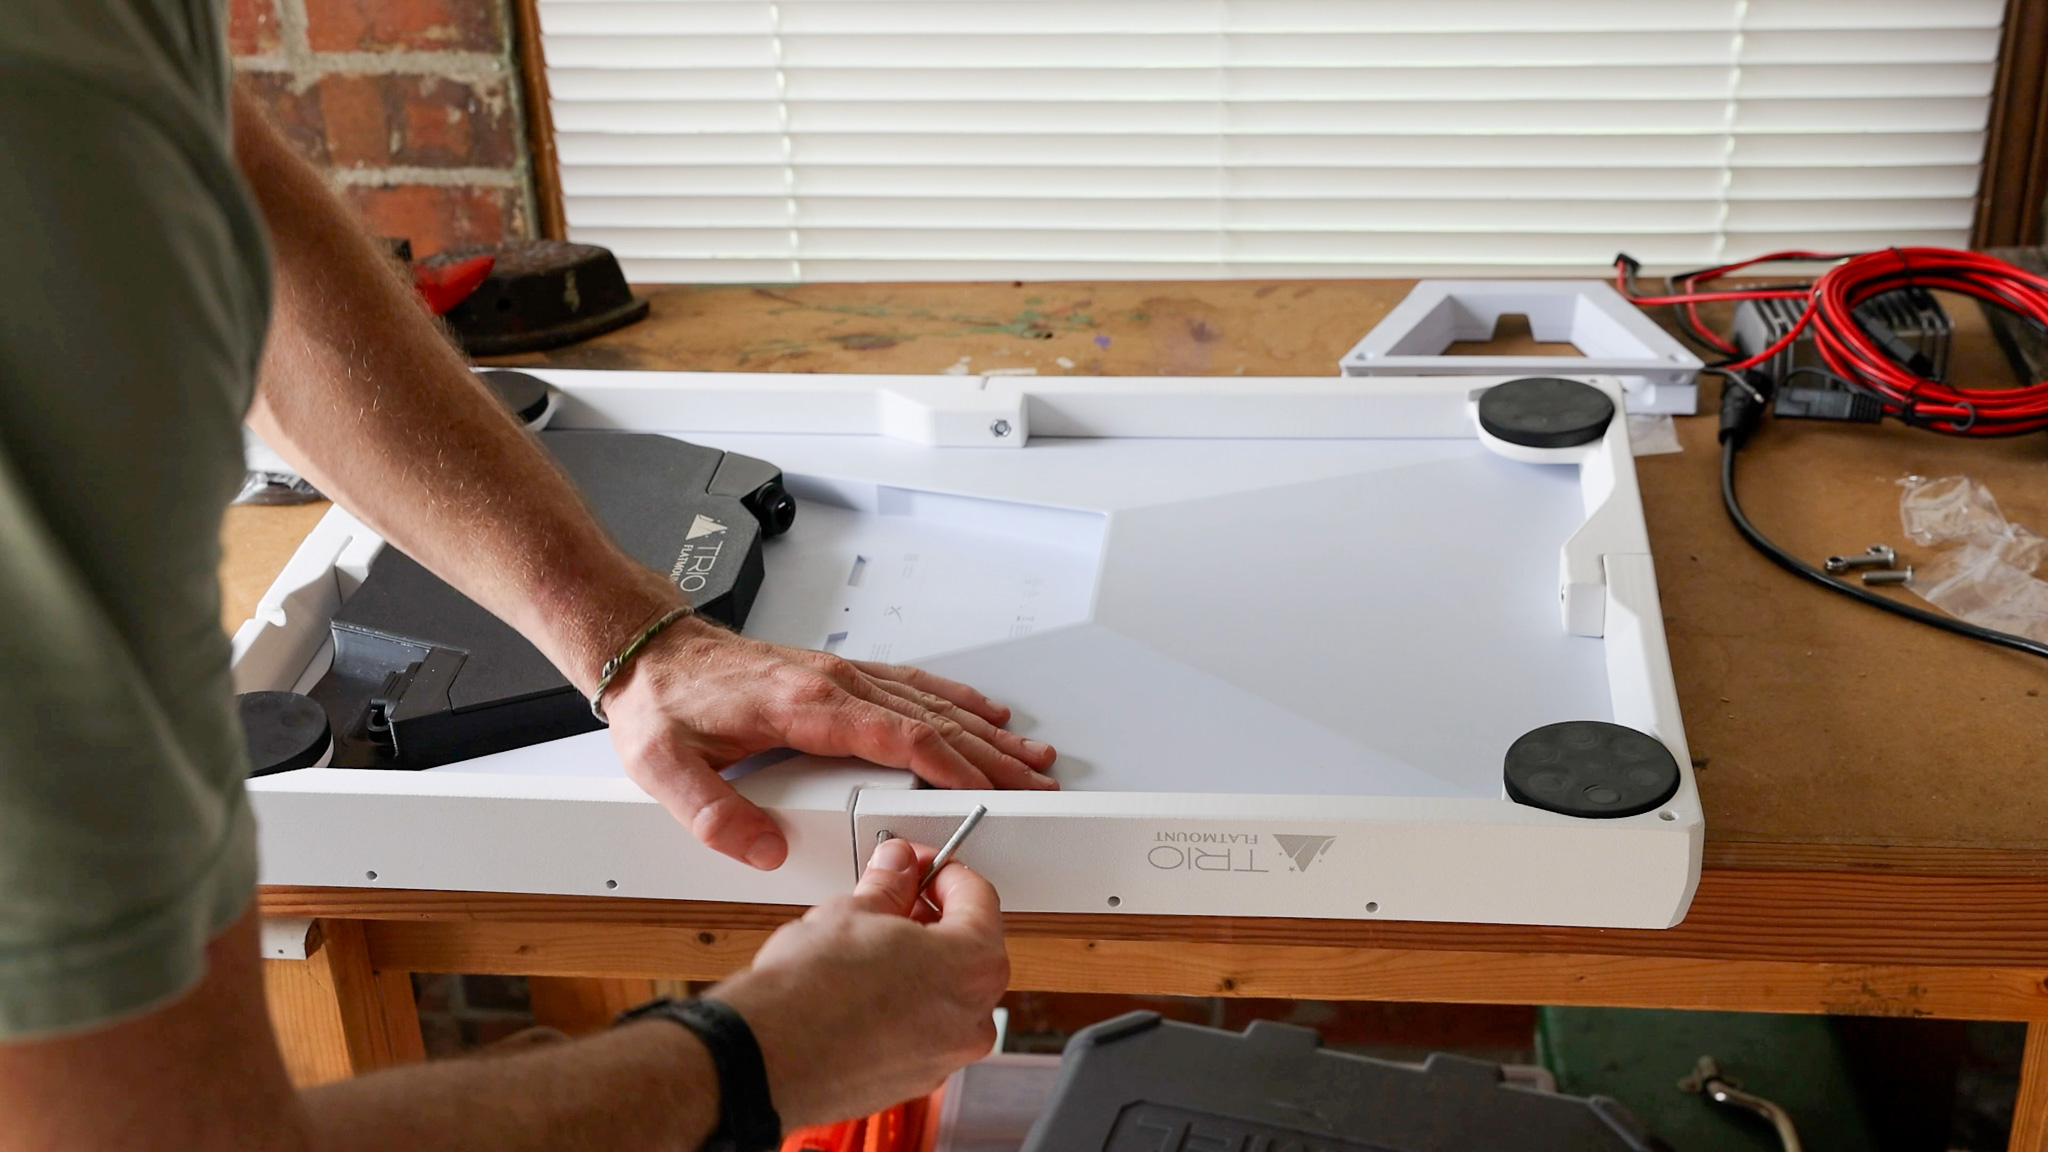
The Speedmount has two major features, primarily it is precisely machined housing for the Starlink. Ours fit extremely snug and it didn’t add much to the foot print. Since it makes the curves into edges, it removes any lift the base Starlink might have had, giving it more staying power.
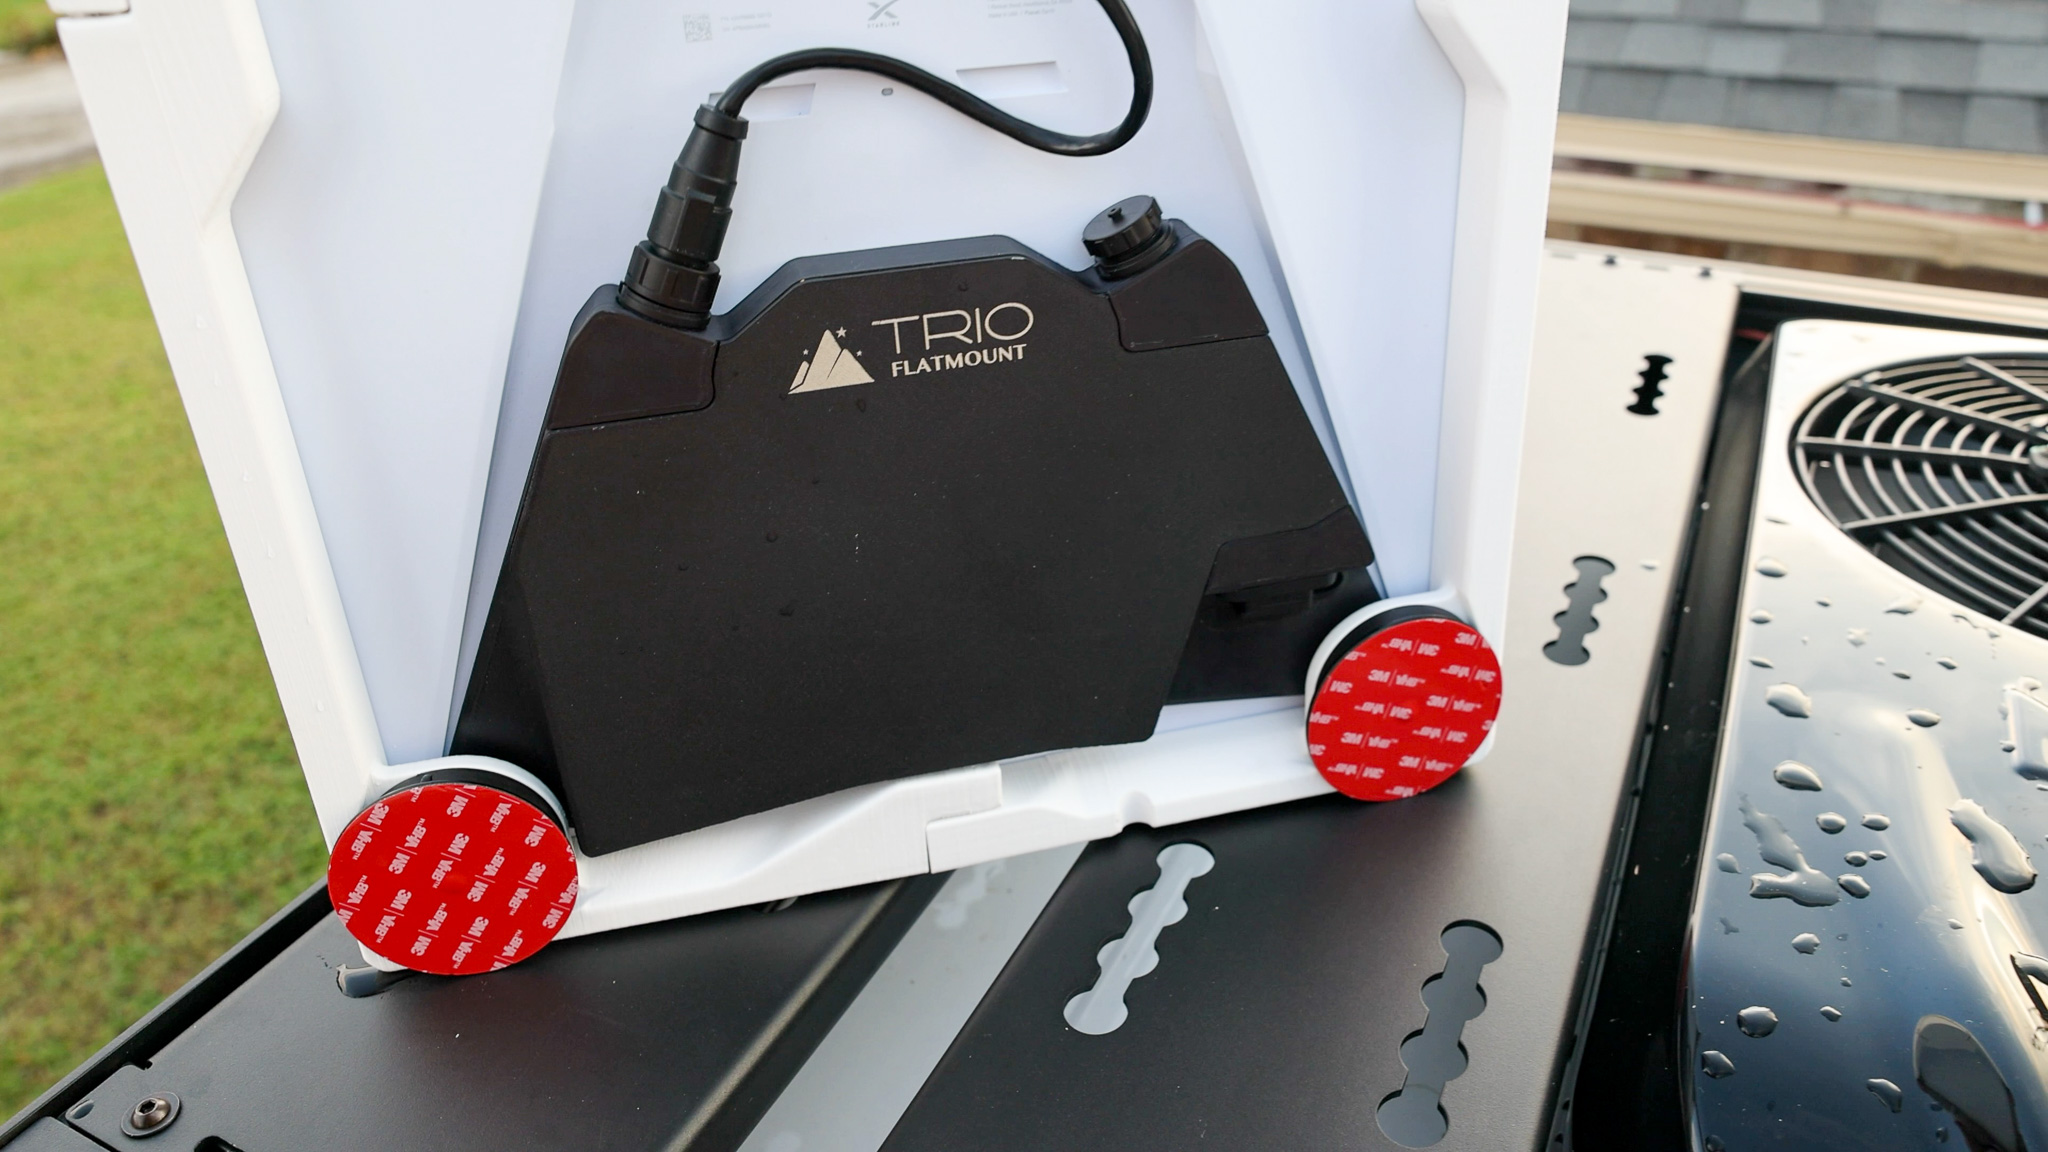
The second major feature is how the Speedmount attaches to your roof, and while there are a few different options, we recommend the magnetic attachment. Yes, you heard that right -magnets. With the metal half attaching via 3M VHB tape, the four-leg magnets securely affix your Starlink to your roof. The best thing about this attachment method is that you can lift and move your Starlink if you park under a tree for example. It’s a game-changer!
The Best Starlink Kit for Van Life
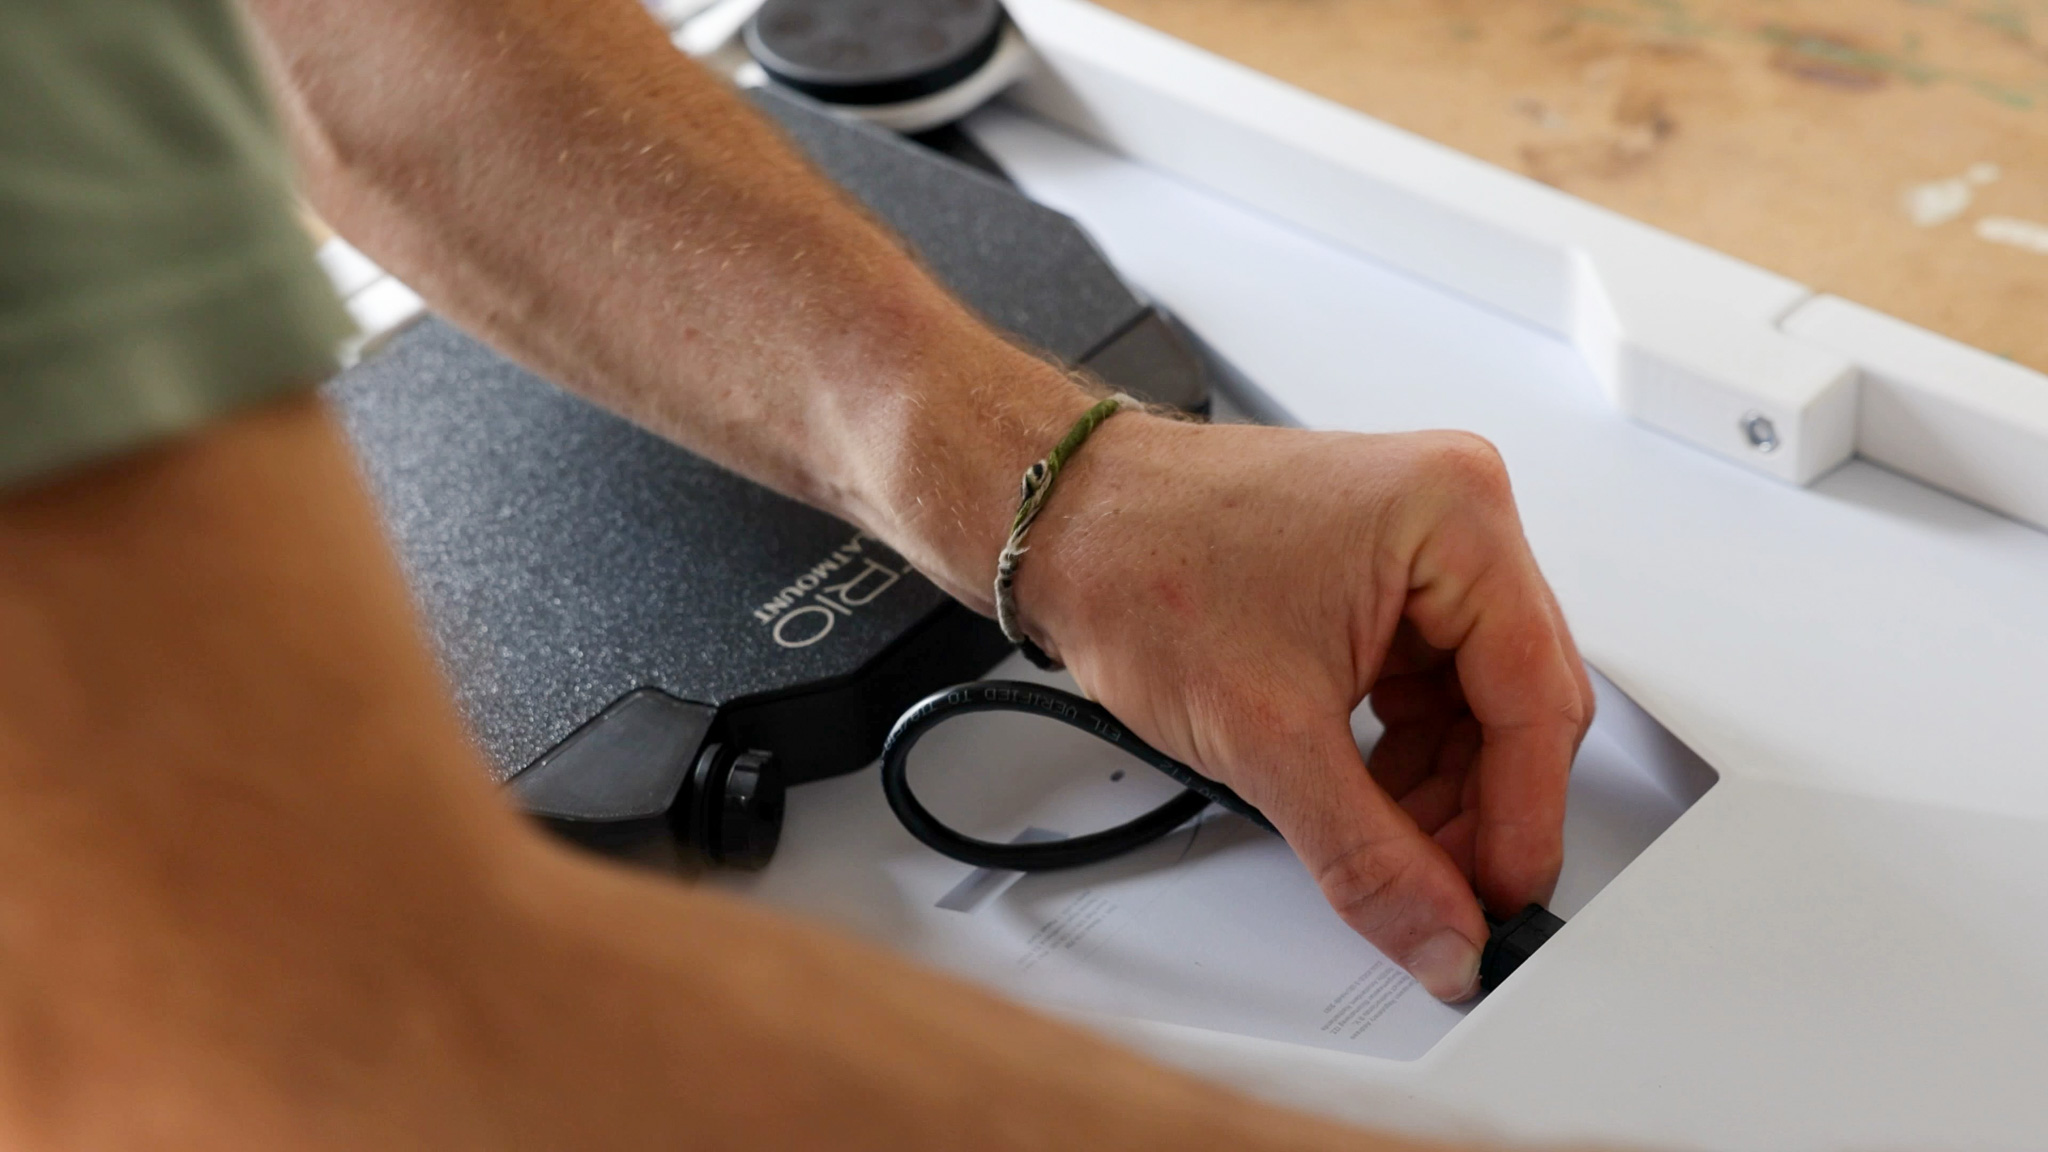
The second reason we recommend the Trio Flatmount kit is that it comes with a 12V DC conversion kit with built-in Wifi. Essentially, you can get rid of the bulky router that comes with your Starlink and run it all day long since now it runs at 12V instead of using your Inverter off of 120V. There really isn’t a better system available. You have high-speed internet wherever you drive, and you don’t have to worry about it eating into your battery system or trying to find a good place for that bulky router.
Watch our YouTube video on our Starlink Set-Up
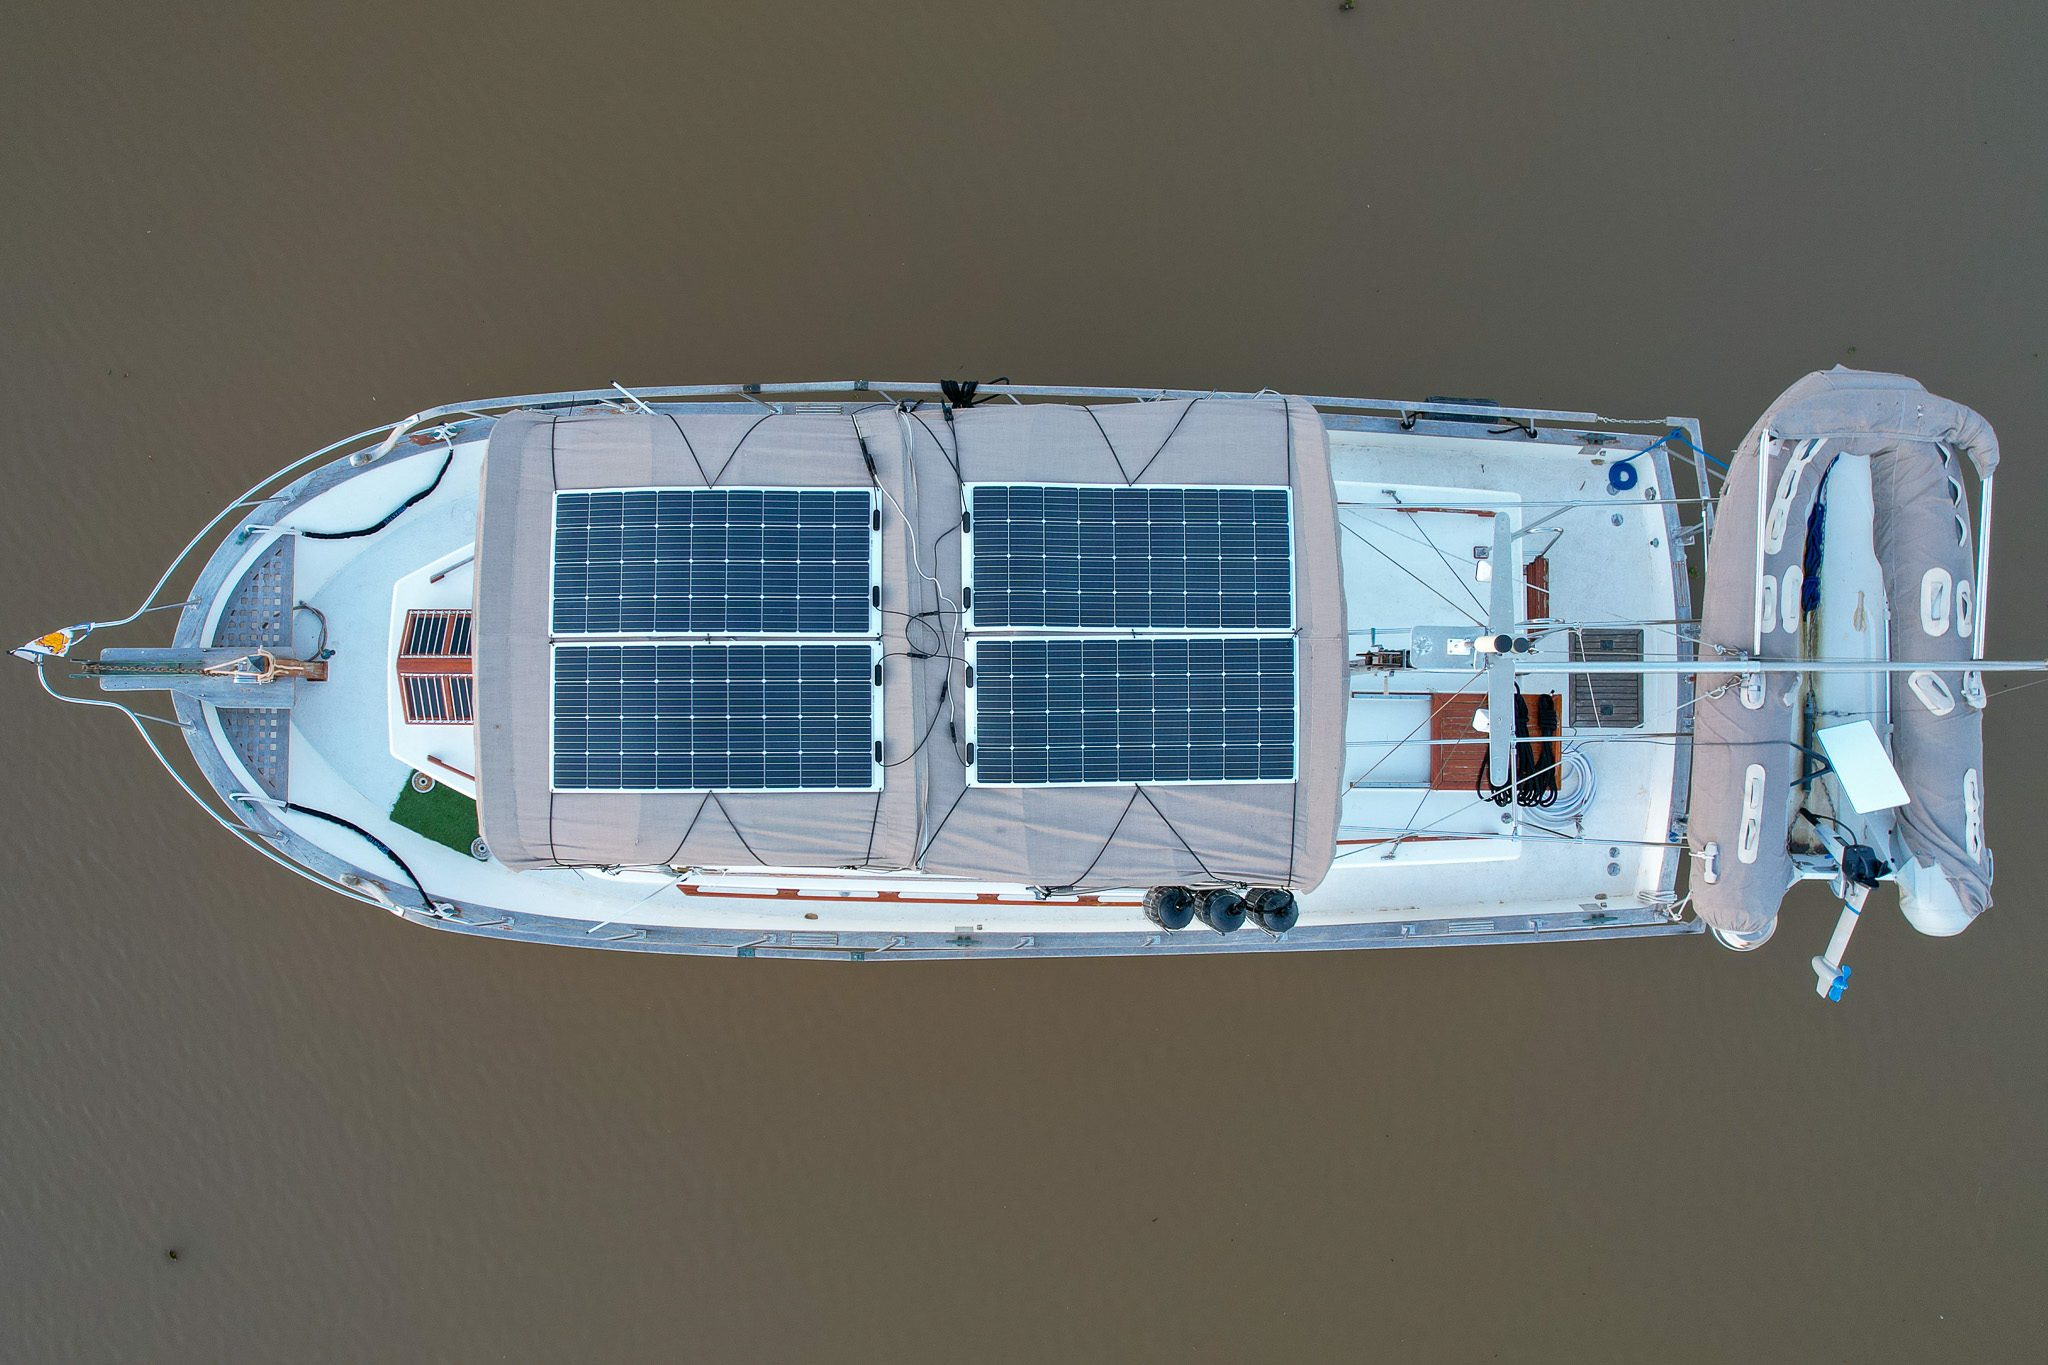
Check out our Starlink Review of our Gen 2 on our Boat
The 2nd generation powered our business while we were on our boat. Read that Starlink review here.
FAQ
Let us know if you have any questions in the comments below, and we’ll populate this with them!
Ready to Install Starlink in Your Van?
Pin this guide to the best Starlink for van life to make your van renovation a breeze!


Leave a Reply
You must be logged in to post a comment.