We bought our used 2023 Mercedes Sprinter Van and decided to make it our full-time home. In this post, we will share our steps for designing our campervan layout to fit our needs, as well as tips for making your perfect campervan layout. Every campervan layout is slightly different because everyone’s needs are slightly different. With only 80 square feet, first, we must determine our primary van use case!
Note: We use affiliate links which provide us a little kickback each time you use one of our links and make a purchase, without any additional cost to you. We do not recommend products that we don’t already love or have heard great things about, so you can trust we’re only suggesting great products to you.

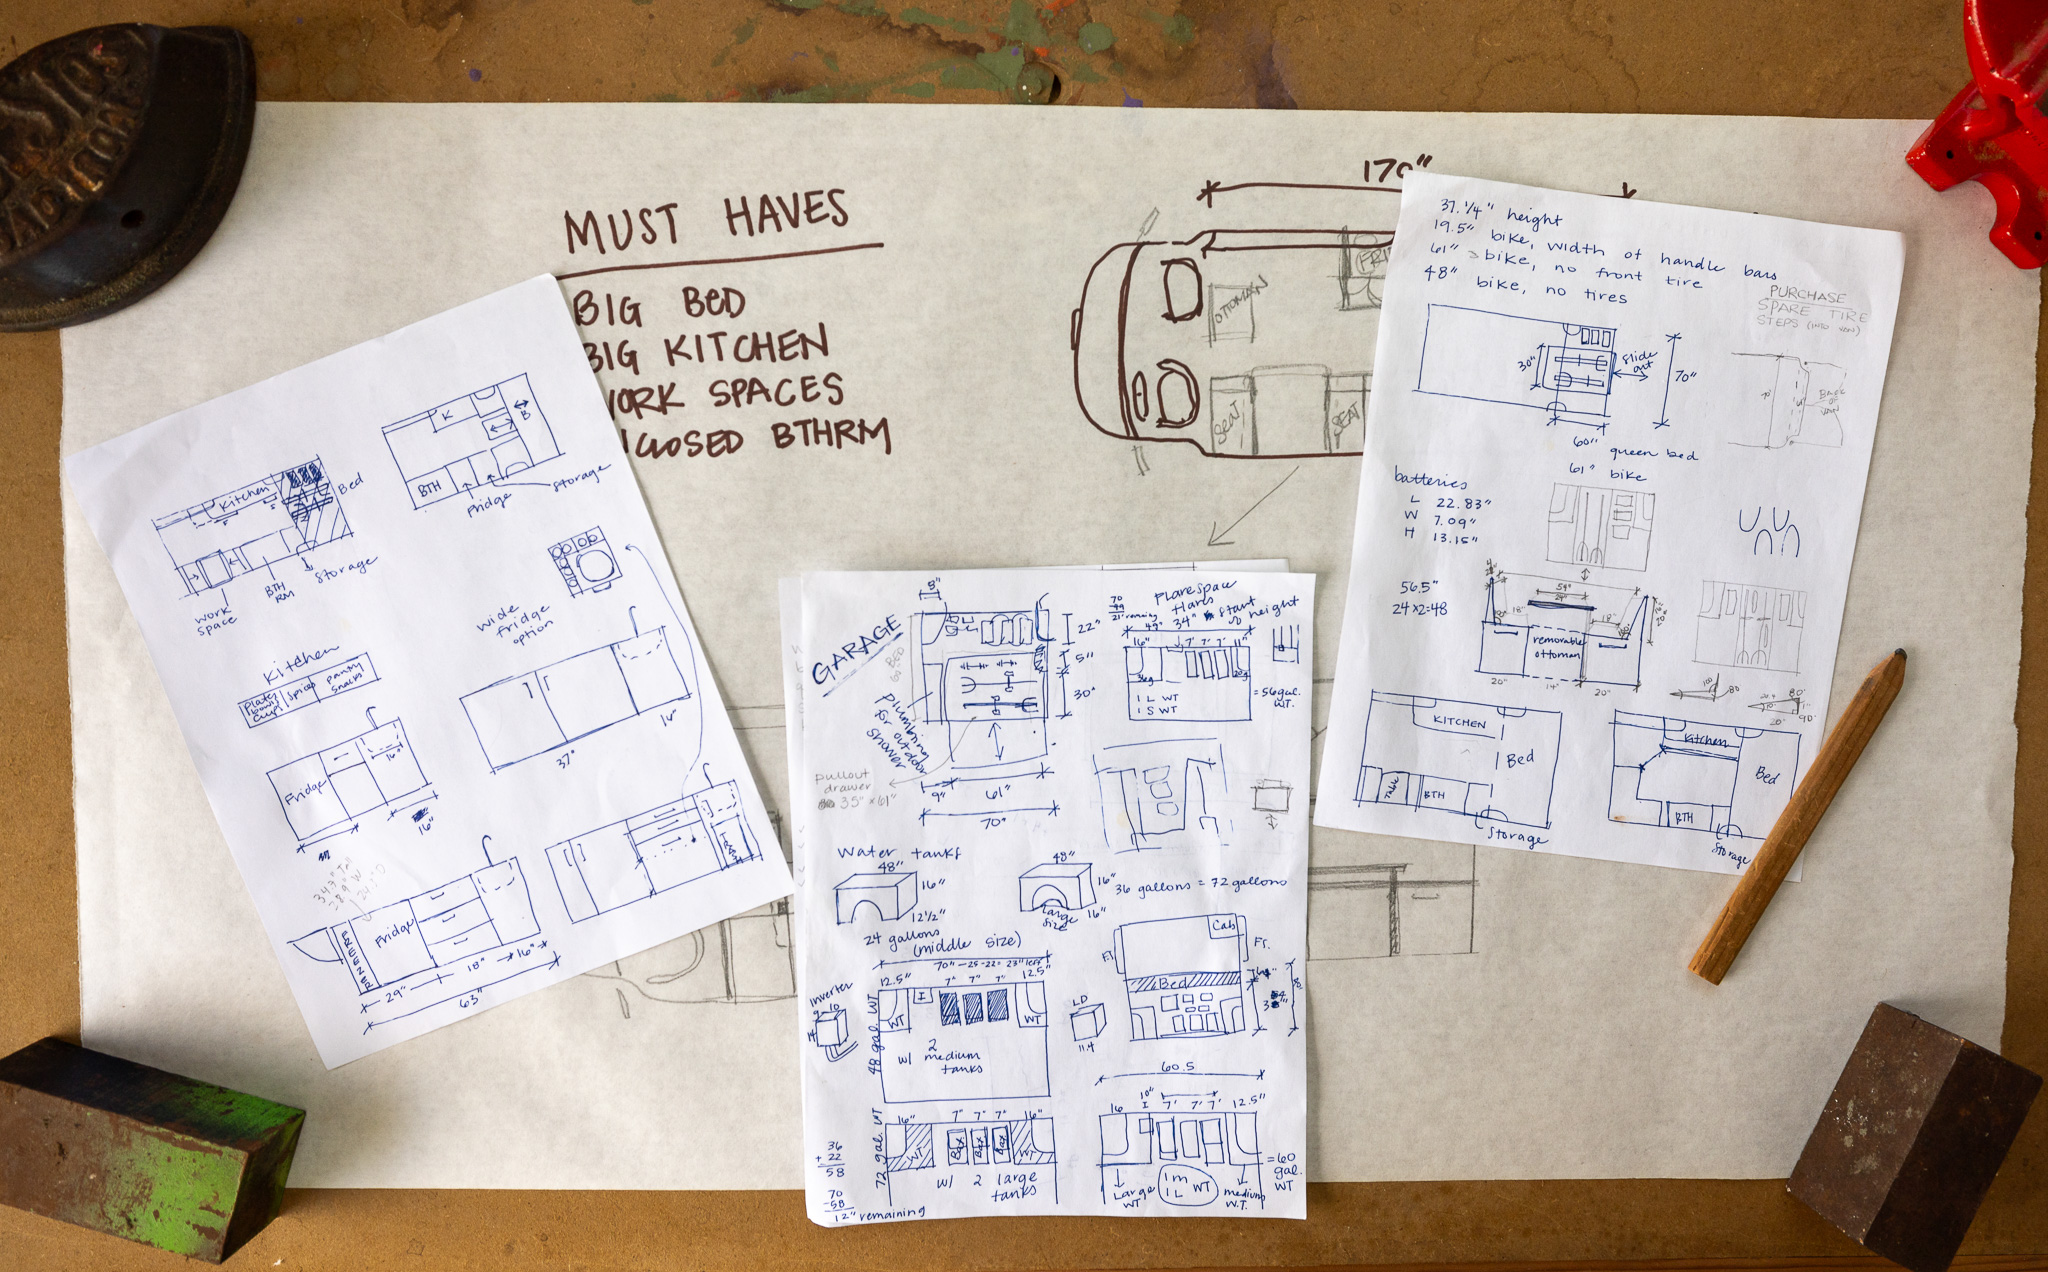
Starting with our Non-Negotiables
Since we are living full-time in our sprinter van, there are a few things we cannot live without, which we are calling our non-negotiables.
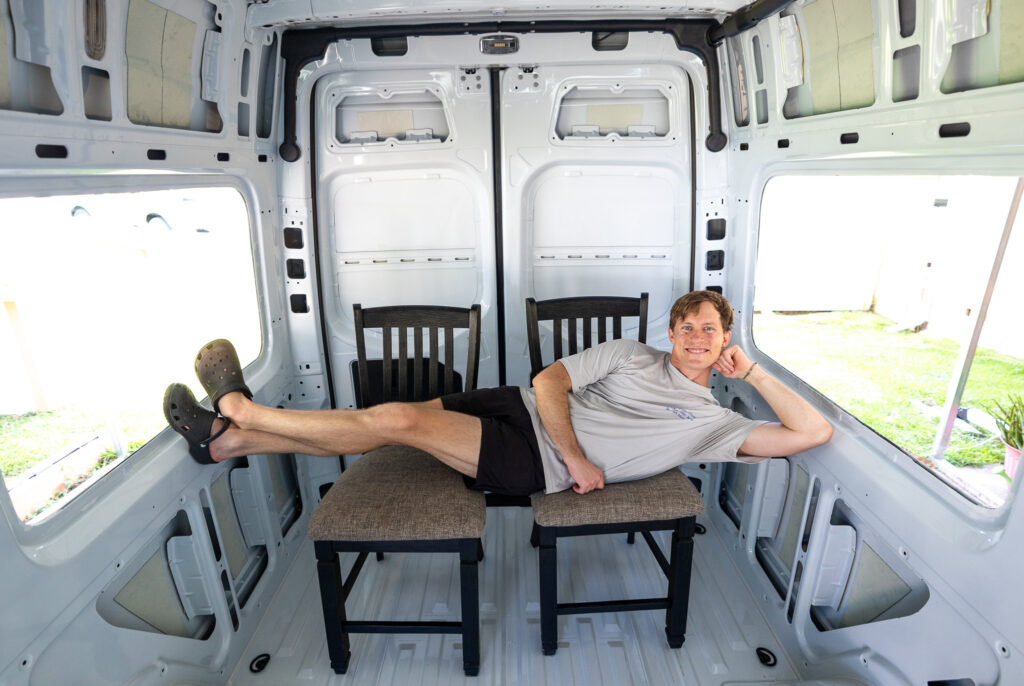
Sleeping.
A queen-sized bed is our minimum bed size. We spend a third of our lives sleeping, so making sure we both fit comfortably is essential.
Cooking.
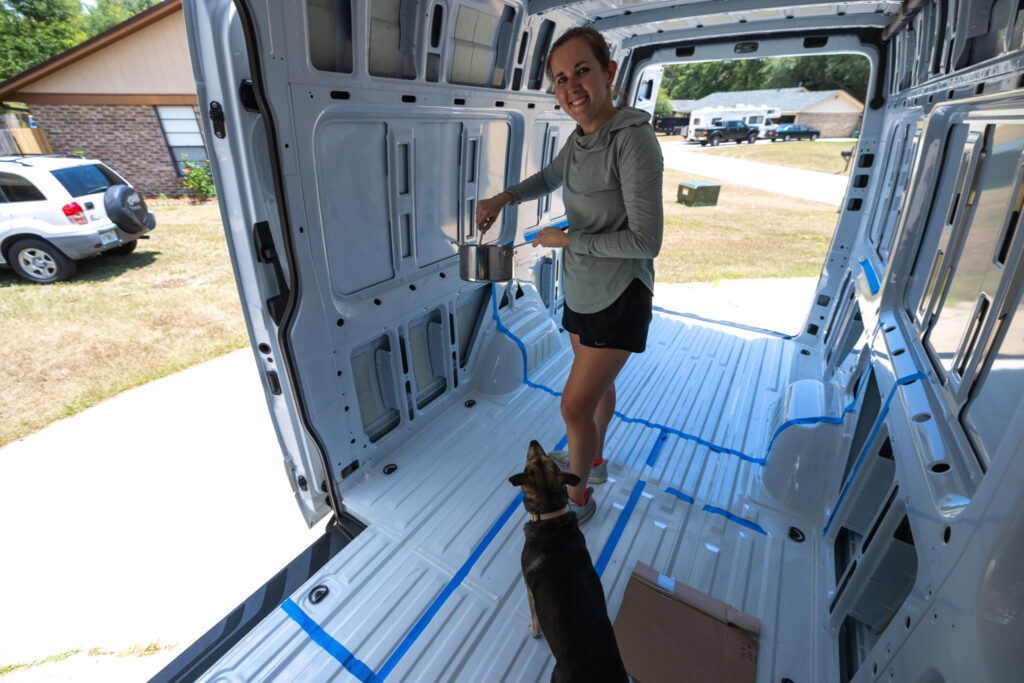
We both enjoy cooking, both as a way to eat healthy and on a budget but also as a way to spend quality time together. Having a galley set up we don’t need to tear down and set up in between meals is the goal.
Working.
Jen and I both need a comfortable workspace because while the van will give us the freedom to work anywhere, we still spend most of our week behind a computer screen. Working and sleeping will be most of our hours living in our van.
Bathroom.
Finally, the last non-negotiable is having a fixed bathroom and shower. Some van lifers don’t mind doing their business in front of their partners; that’s great for them, but Jennifer and I would like to try to stay classy or at least as “klassy” as possible while living in a van. This means a closed bathroom is required! This is our home, so having a shower is very important. While living on a boat prepared us for reduced showers, a shower is a must-have for us.
Determining our Bed Location
Determining our bed location is the next step in narrowing down our dream van. There are quite a few options, each with sets of trade-offs!
Fixed Bed vs Convertible Bed
Firstly, we must decide between a convertible bed and a fixed bed. You set up a convertible bed each evening and tear it down each morning. With this approach, you get a large bed and work area with the trade-off of putting it up and down daily.
A fixed bed is one that remains in position all the time and will give you more dedicated storage underneath the bed but eats up some precious space in your cab.
We chose a fixed bed because, while we really need storage for our bicycles, Jennifer and I’s schedules are not always the same. I am an early bird, while Jen is more of a night owl. If we had to convert the bed every day, we’d have to move our workspace so Jennifer could work late, and I’d have to work in a temporary space in the morning. Both of these are fine, but we are designing our dream van. So, not having to spend time setting up and tearing down our bed is a time saver that will compound daily!
How Big of a Bed is Required?
Jennifer and I are both on the tall side; I’m 6’1”, and Jen is 5’9”. We need a bed that we can sleep comfortably in, and that is a Queen size minimum. A king would be ideal, but designing a tiny home is all about compromises.
A Fixed, Perpendicular Bed Pro-Con
Answering these two questions led us to design a fixed bed perpendicular to the van. With this approach, Jen and I can sleep in a queen bed, allowing for both late-night work sessions and early-morning quiet time. Here are our pros and cons as we see them:
| Name | Pro / Con | Description |
|---|---|---|
| Space Management | Neutral | With bump-outs, we add space to the van, but with a fixed bed some portion of the van will be mainly unused during the day. |
| Storage | Pro | We can fit a queen, our bare minimum, but nothing more. |
| Size | Neutral | With bump-outs, we add space to the van, but with a fixed bed, some of the van will be mainly unused during the day. |
| Easy of Use | Con | Sleeping perpendicular means one person must crawl over the other to leave. |
As with anything, there are various places to put your bed in the van. Some people move it forward and drop it from the ceiling, which is an option for those less concerned with height. Other people prefer to put the bed in the back so they have easier access to the bathroom, kitchen, and seating area of the van from the cab. Don’t necessarily try and fit the mold with what is “normal” when building out a van; if it works for you, that’s all that matters!
Deciding the Campervan Layout from Back to Front
Now that we have determined our bed arrangement, there’s only one place for it to go: farthest aft. In order to fit in the bed perpendicularly, we’ll have to bump out the sides of our van with flares, giving us 18 inches of extra livable space. Since the flares are elevated, we will have the garage space underneath.
Now, moving forward, we have to decide where to put the other components: the bathroom, work and dining area, galley, and storage.
As an engineer, I solve problems by removing variables! To avoid getting overwhelmed, we suggest starting by determining the minimum sizes.
- The minimum traditional RV shower pan is 24” x 27”, and the standard size is 24”x32”. Keep in mind the size of your toilet, and how much room you want here!
- A typical seat is 27”x19”.
- The traditional sink is around 15”x17”.
Now that we have a starting point, let’s continue narrowing down our build:
- How large is your refrigerator? Do you want a tall one or a short one?
- How much power do you consume? Will you require a large battery bank or a large solar array?
- Will you have an oven? If so, where will it go?
- How big of a table and work area do you want? Do you need space for laptops or just a tablet and eating?
- Will you use the factory seats with a swivel or bench seating?
- Will you close off the cab or keep the way open?
These questions will hopefully allow you to narrow down the locations for your build.
A few key points to consider:
- Adding windows will make your van feel more like a home than a tin can. Unless you’re going for stealth, windows allow more natural light and give you some incredible views!
- You most likely will not want a window outside your bathroom.
- Remember that your sliding door is the biggest natural “window” you can have. If you can optimize your space around that door, your van will feel much larger when you are parked at a beautiful spot where it can be open.
- Keep your non-negotiables at the forefront of your plans. As long as you keep them centered, your van build will be a success!
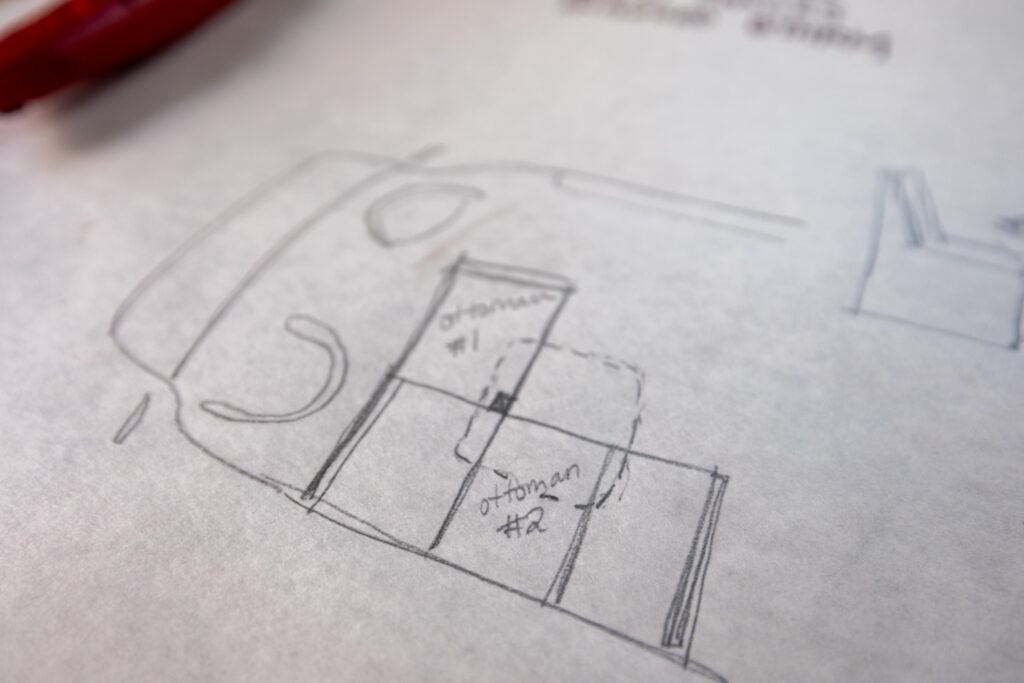
Marking it out on the Floor
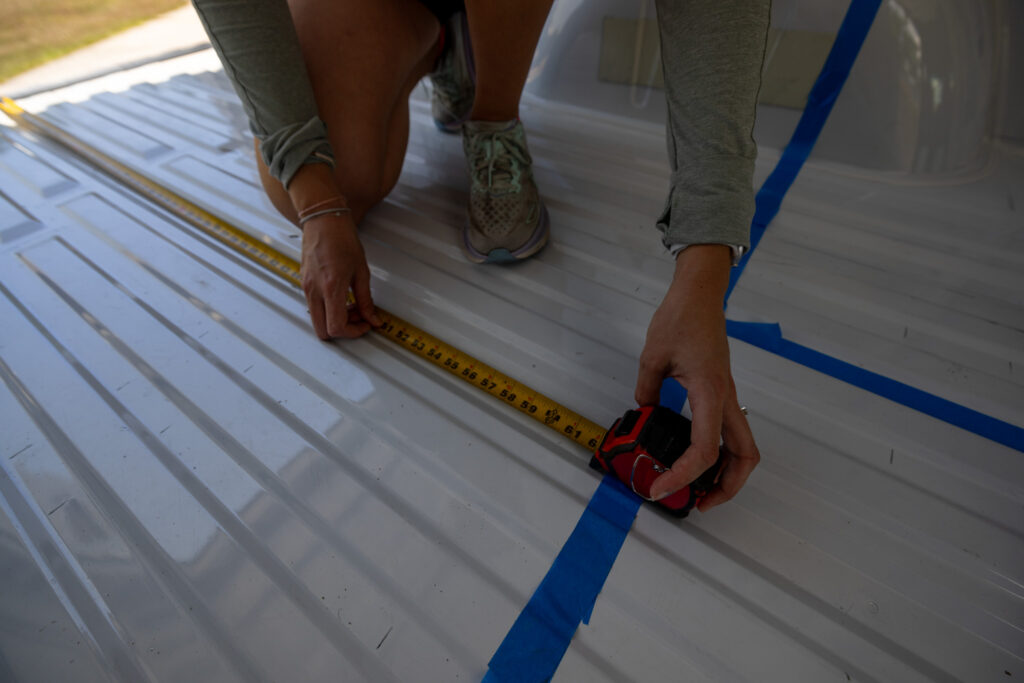
Now that you have a general idea of your layout, and how large certain components need to be, you’ll want to tape it out on the floor.
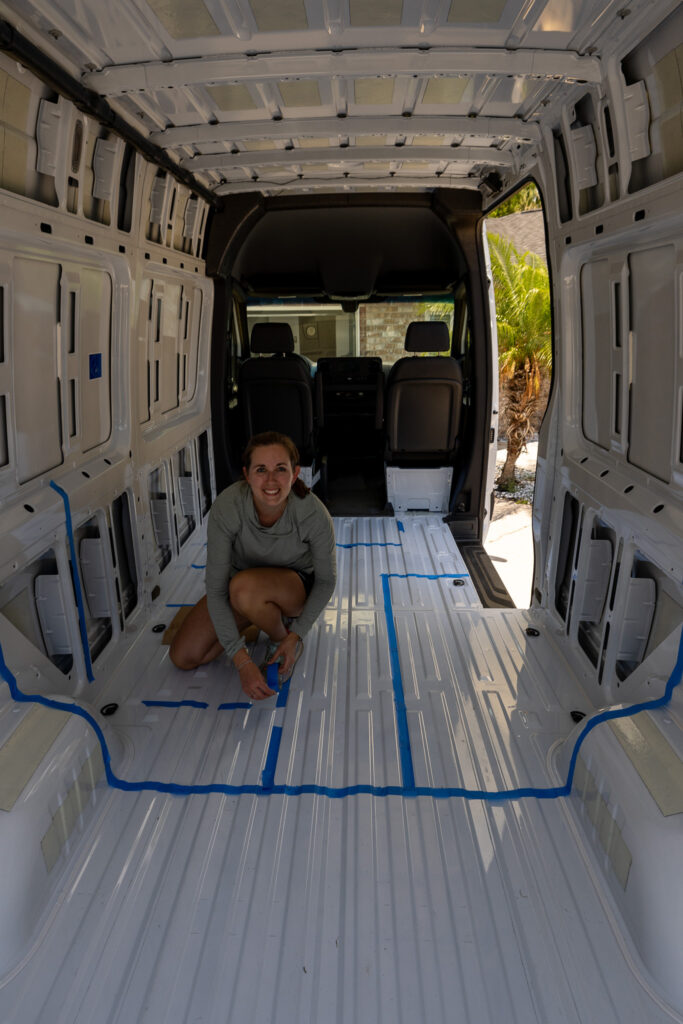
Taping is an easy way to help you visualize your van! Using the minimum sizes, check and see if your layout is even possible. Keep in mind that you don’t want to barely fit. You’ll have walls, hardware, and possibly pipes that extend width slightly longer than you are planning.
When you have everything laid out in tape, walk through your van. Consider the following:
- Is there enough room to walk through your van?
- Is there enough room for any doors and cabinets to open?
- Does this layout excite you? Be upfront about what you’re giving up and what you’re gaining.
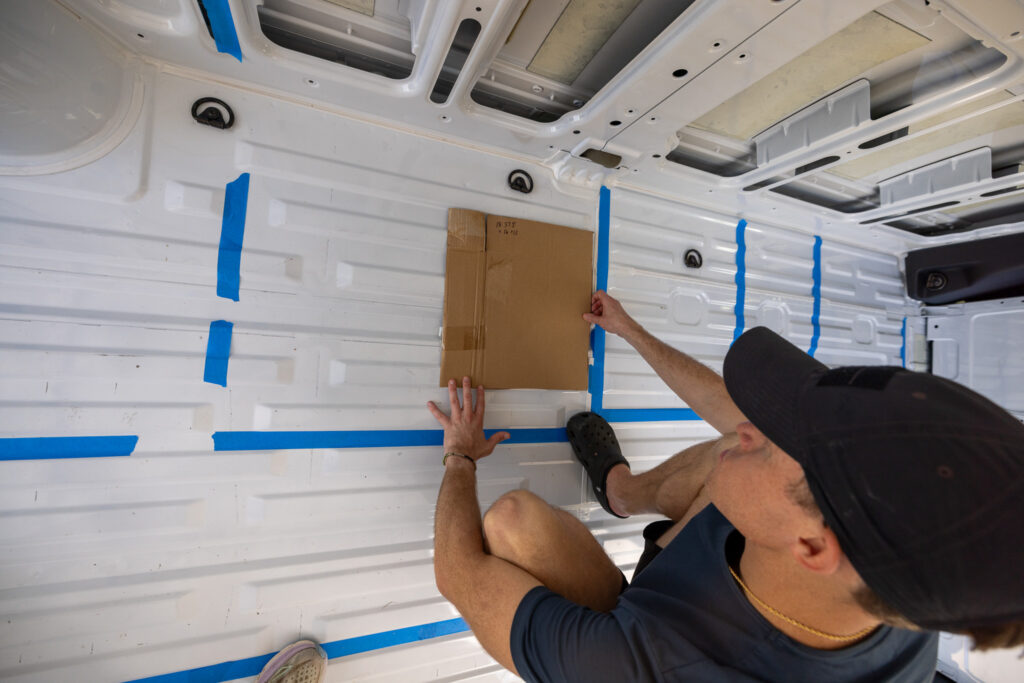
You can also use cardboard boxes to mimic the dimensions of various components to help visualize the space even more.
Modeling our Campervan Layout
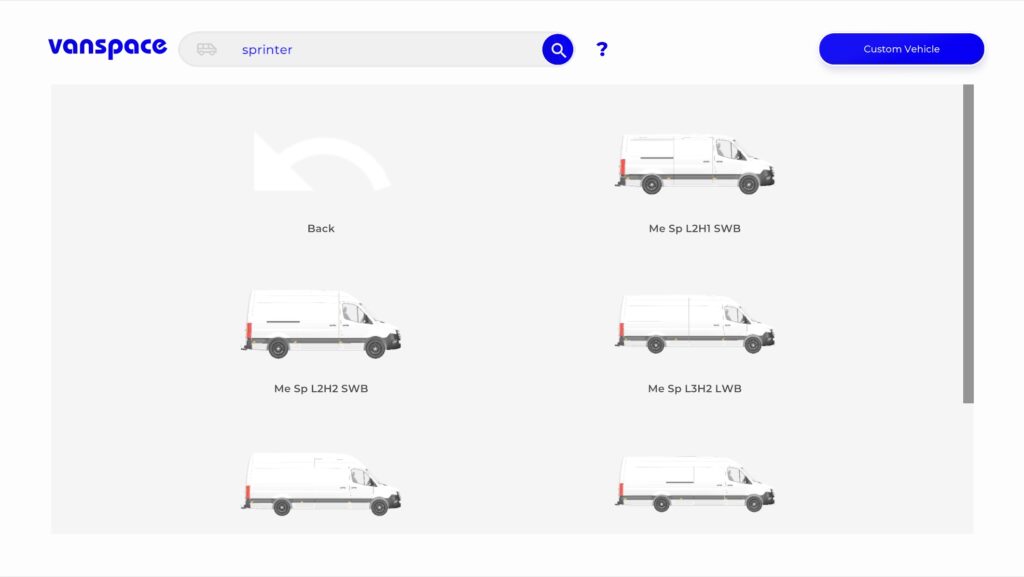
After taping your proposed layout on the floor, you’ll want to make a higher-fidelity version. This is where 3d modeling tools come into play. There are many different options, such as Sketch-Up, CAD, etc., but we used an easier off-the-shelf option called VanSpace 3D. While the upfront cost isn’t too bad (currently, it’s $29/year), it is optimized for sketching van ideas out in software. It has quite a few “pre-built” layouts as well as components to make your dream visible. We were able to model our layout in just a few hours without prior experience. There isn’t as much customizability as there is in Sketch-Up or other tools, so if you are planning on building out vans as a living, you may want to invest in learning a more complete tool.
The Best Campervan Layout for Us
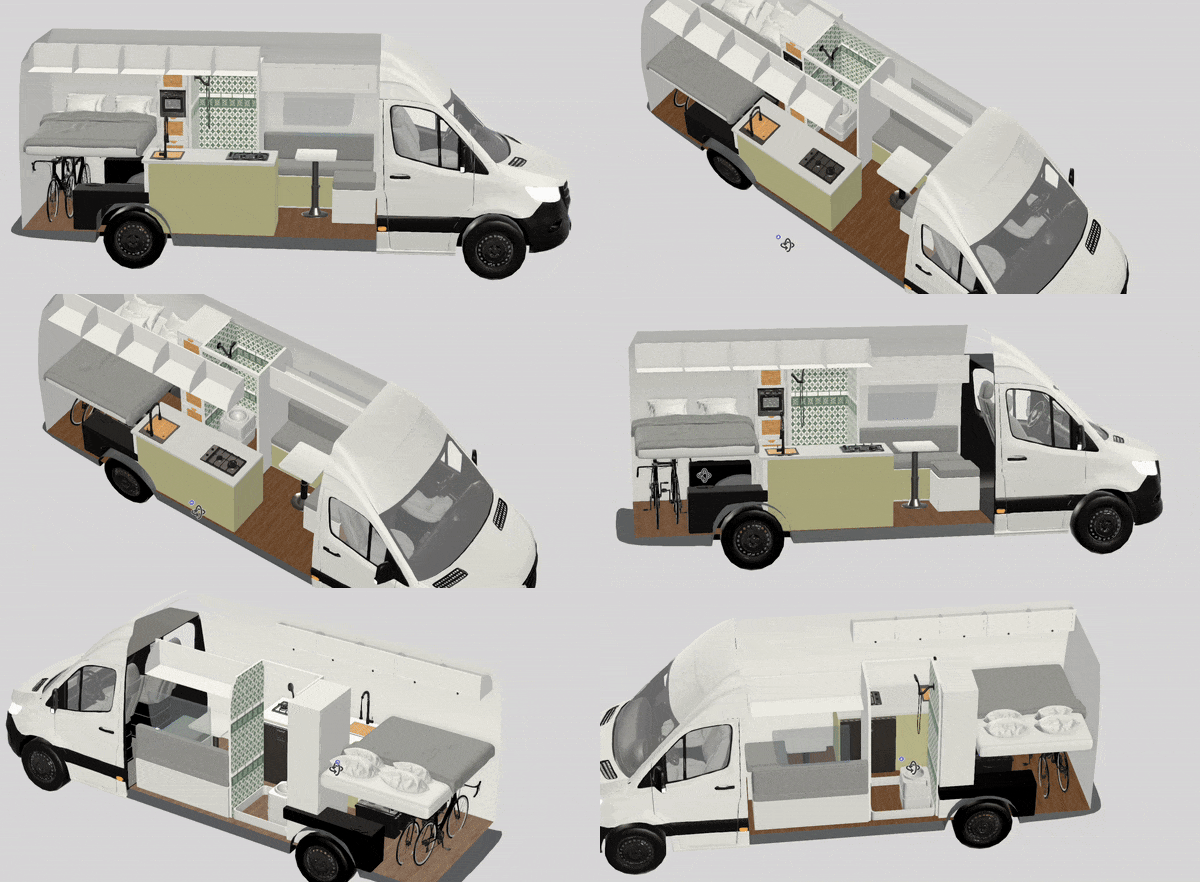
Without further ado, here is the dream layout for our sprinter van. It has all our non-negotiables and even has some capabilities for our DREAM components!
- Fixed, Queen sized bed in the aft of the Van
- Garage Space with room for two bikes, batteries, and various equipment.
- Large Galley with a refrigerator of 7 cu ft of storage.
- Small, but contained Bathroom and Toilet
- 70 gallons of Freshwater
- Comfortable work area
It’s All About Compromise
To make this all happen, we had to make a few tradeoffs. Living in a tiny home means you can’t have your cake and eat it, too. Here’s the list of things we gave up.
- Storage. While we have our garage space and upper cabinet storage, we don’t have much other storage for clothes, pantry items, or appliances.
- Bathroom Size. Our shower pan is just big enough to sit on the toilet, not much extra room so shower’s will be tight.
- Not Great for Guests. Since the bed is fixed, we don’t have a large table to entertain.
- Bed Size. While we have our minimum checked, a larger bed would be nicer.
Watch on YouTube
Overall, we are ecstatic about our van build! Let us know what your non-negotiables would be below.
Save for Later
Save this to Pinterest to read again later!






Leave a Reply
You must be logged in to post a comment.