

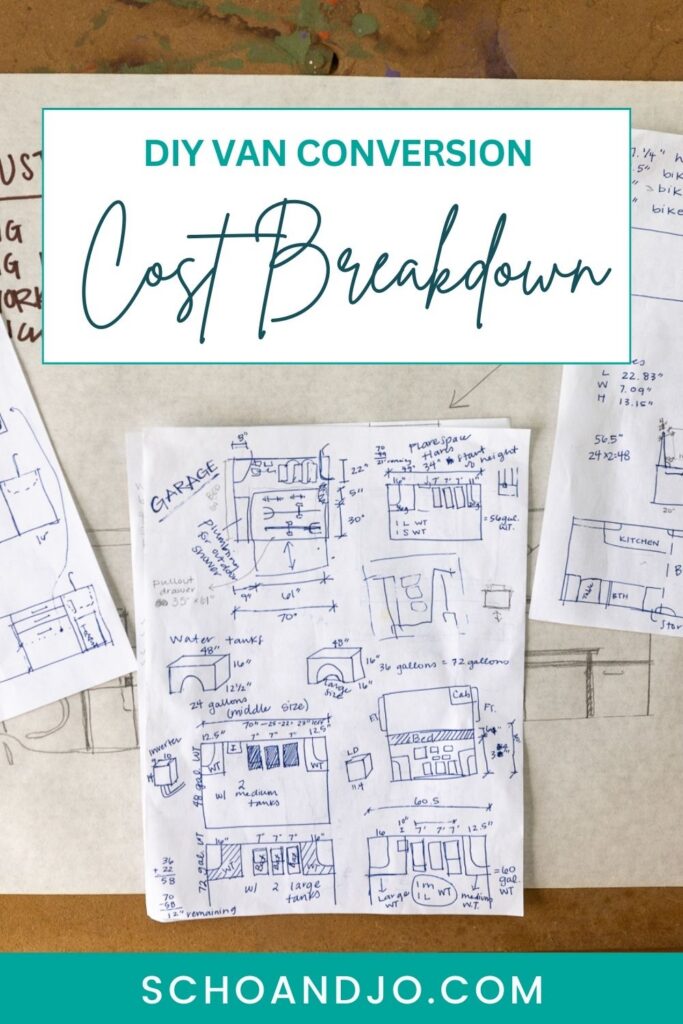
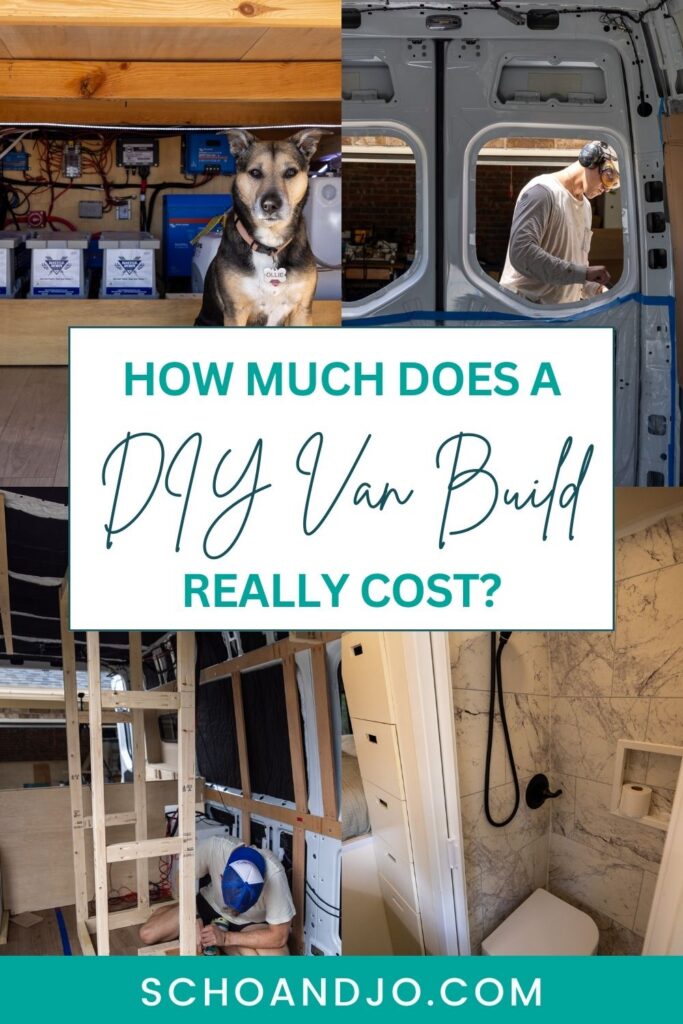
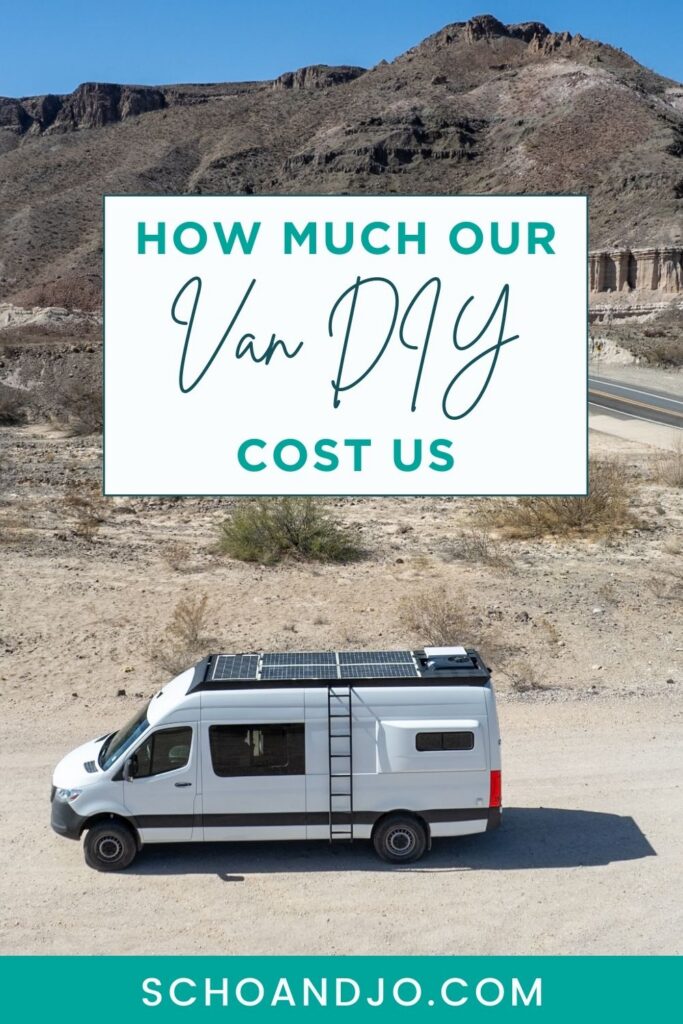
One of the biggest questions, and deciding factors, that comes with building a campervan is, “How much does it actually cost?” We love financial transparency so we can know what exactly we’re getting ourselves into before we dive headfirst into something. With rising material costs, tariffs on imported cars, and so much more, campervan build costs are constantly rising. Plus, you can build a campervan to be as basic or luxurious as you want, making the campervan conversion cost vary based on the individual van build. In this article, we’re breaking down the exact cost of our campervan build and explaining the upgrades that made our campervan build a luxury van build during 2024. We share the full details of our van here.
Note: We use affiliate links which provide us a little kickback each time you use one of our links and make a purchase, without any additional cost to you. We do not recommend products that we don’t already love or have heard great things about, so you can trust we’re only suggesting great products to you.
How much did our van conversion cost?
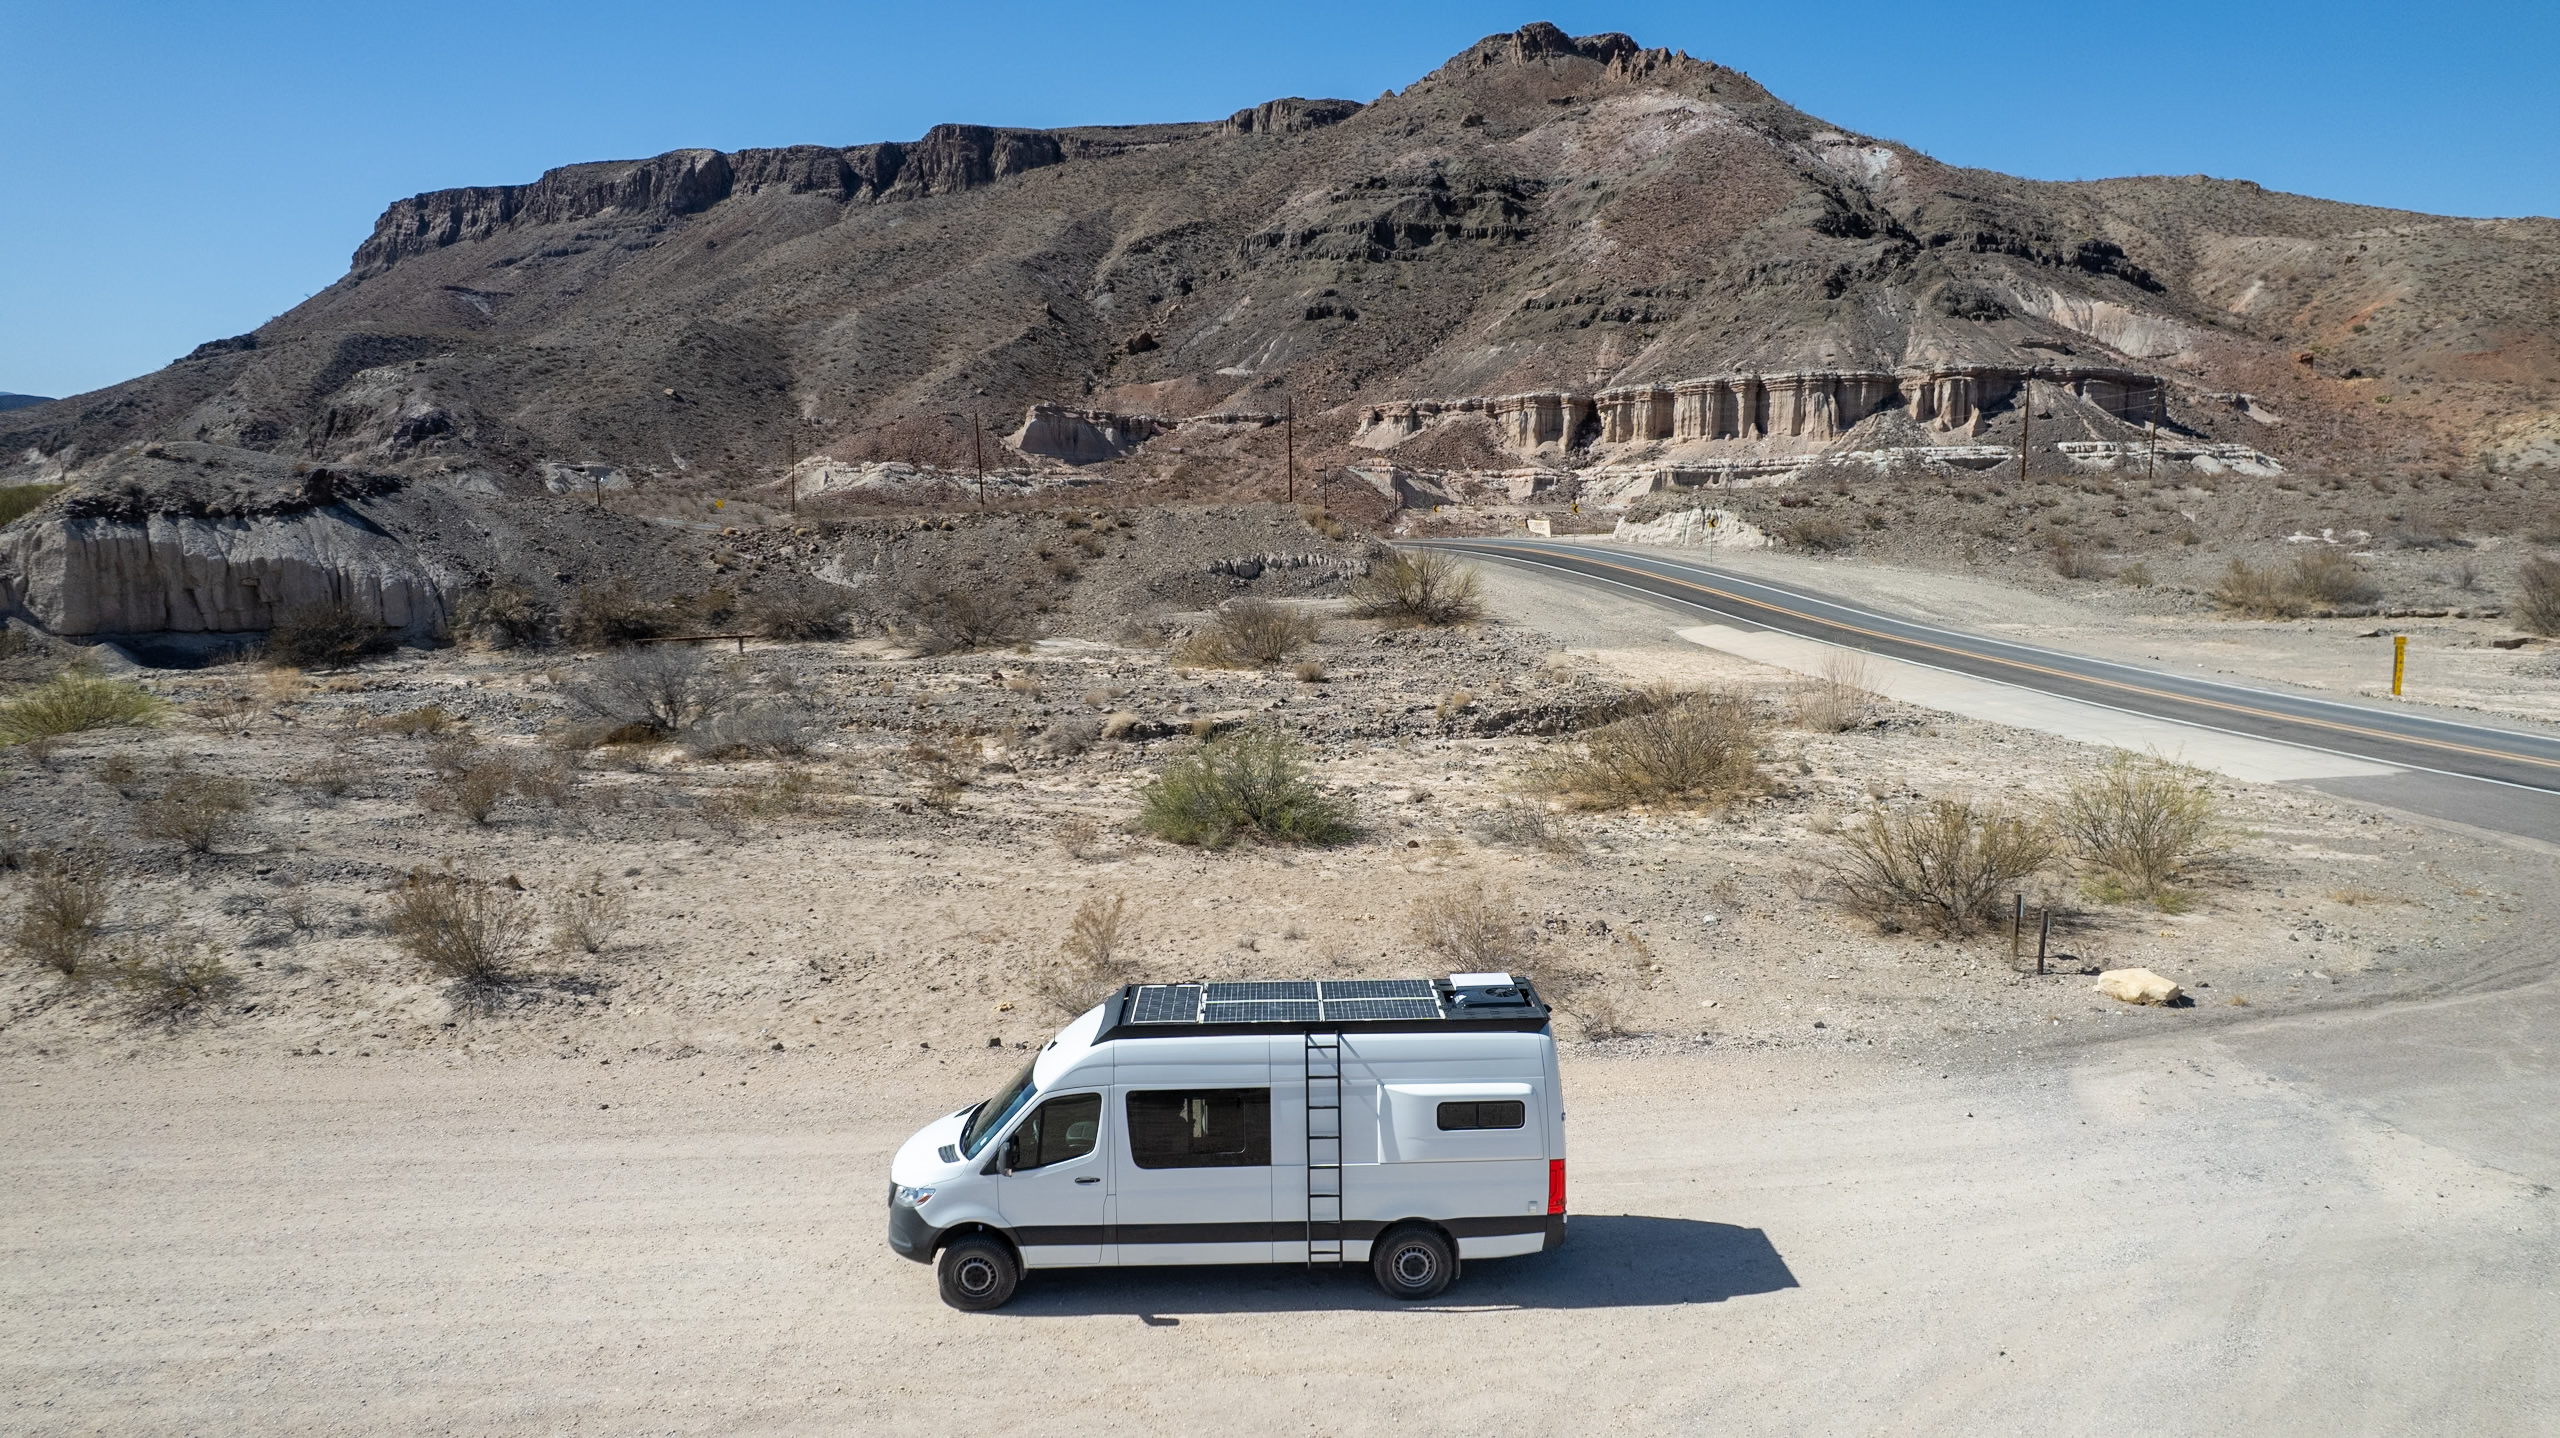
We prioritized a lot more luxury items like a DC air conditioner, a large refrigerator, a roof rack with walkable solar, multiple operable windows, flares so we could sleep sideways, a higher-end composting toilet, an indoor shower, an actual mattress, and a substantial electrical system. Each of these things add up and put our van build in a luxury DIY van build category.
💰 We spent $64,269.81 for our luxury DIY van build.
Van Conversion Cost Variables: Van, Features, Materials
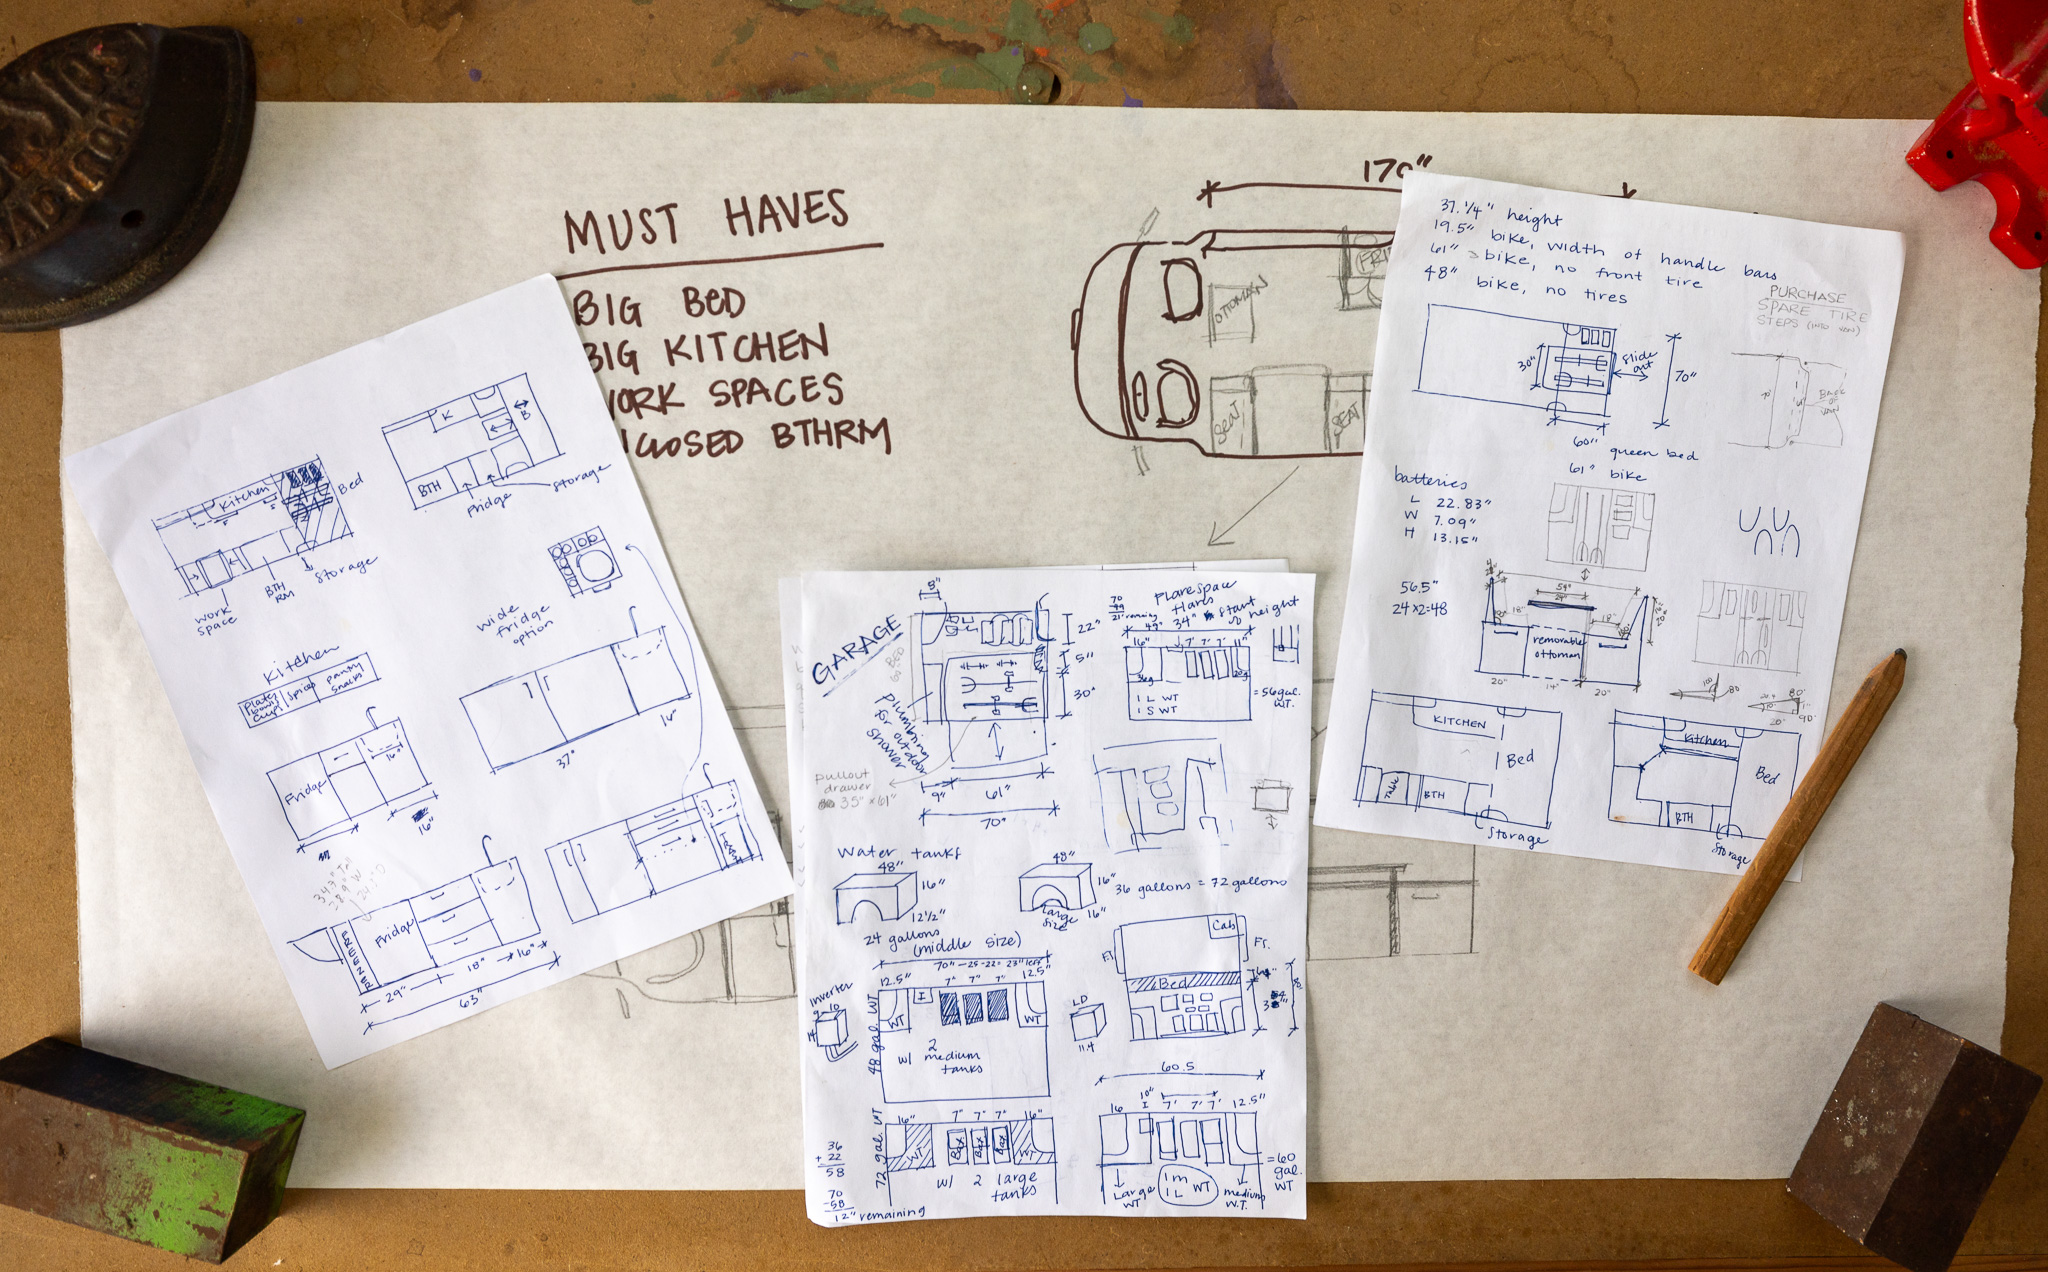
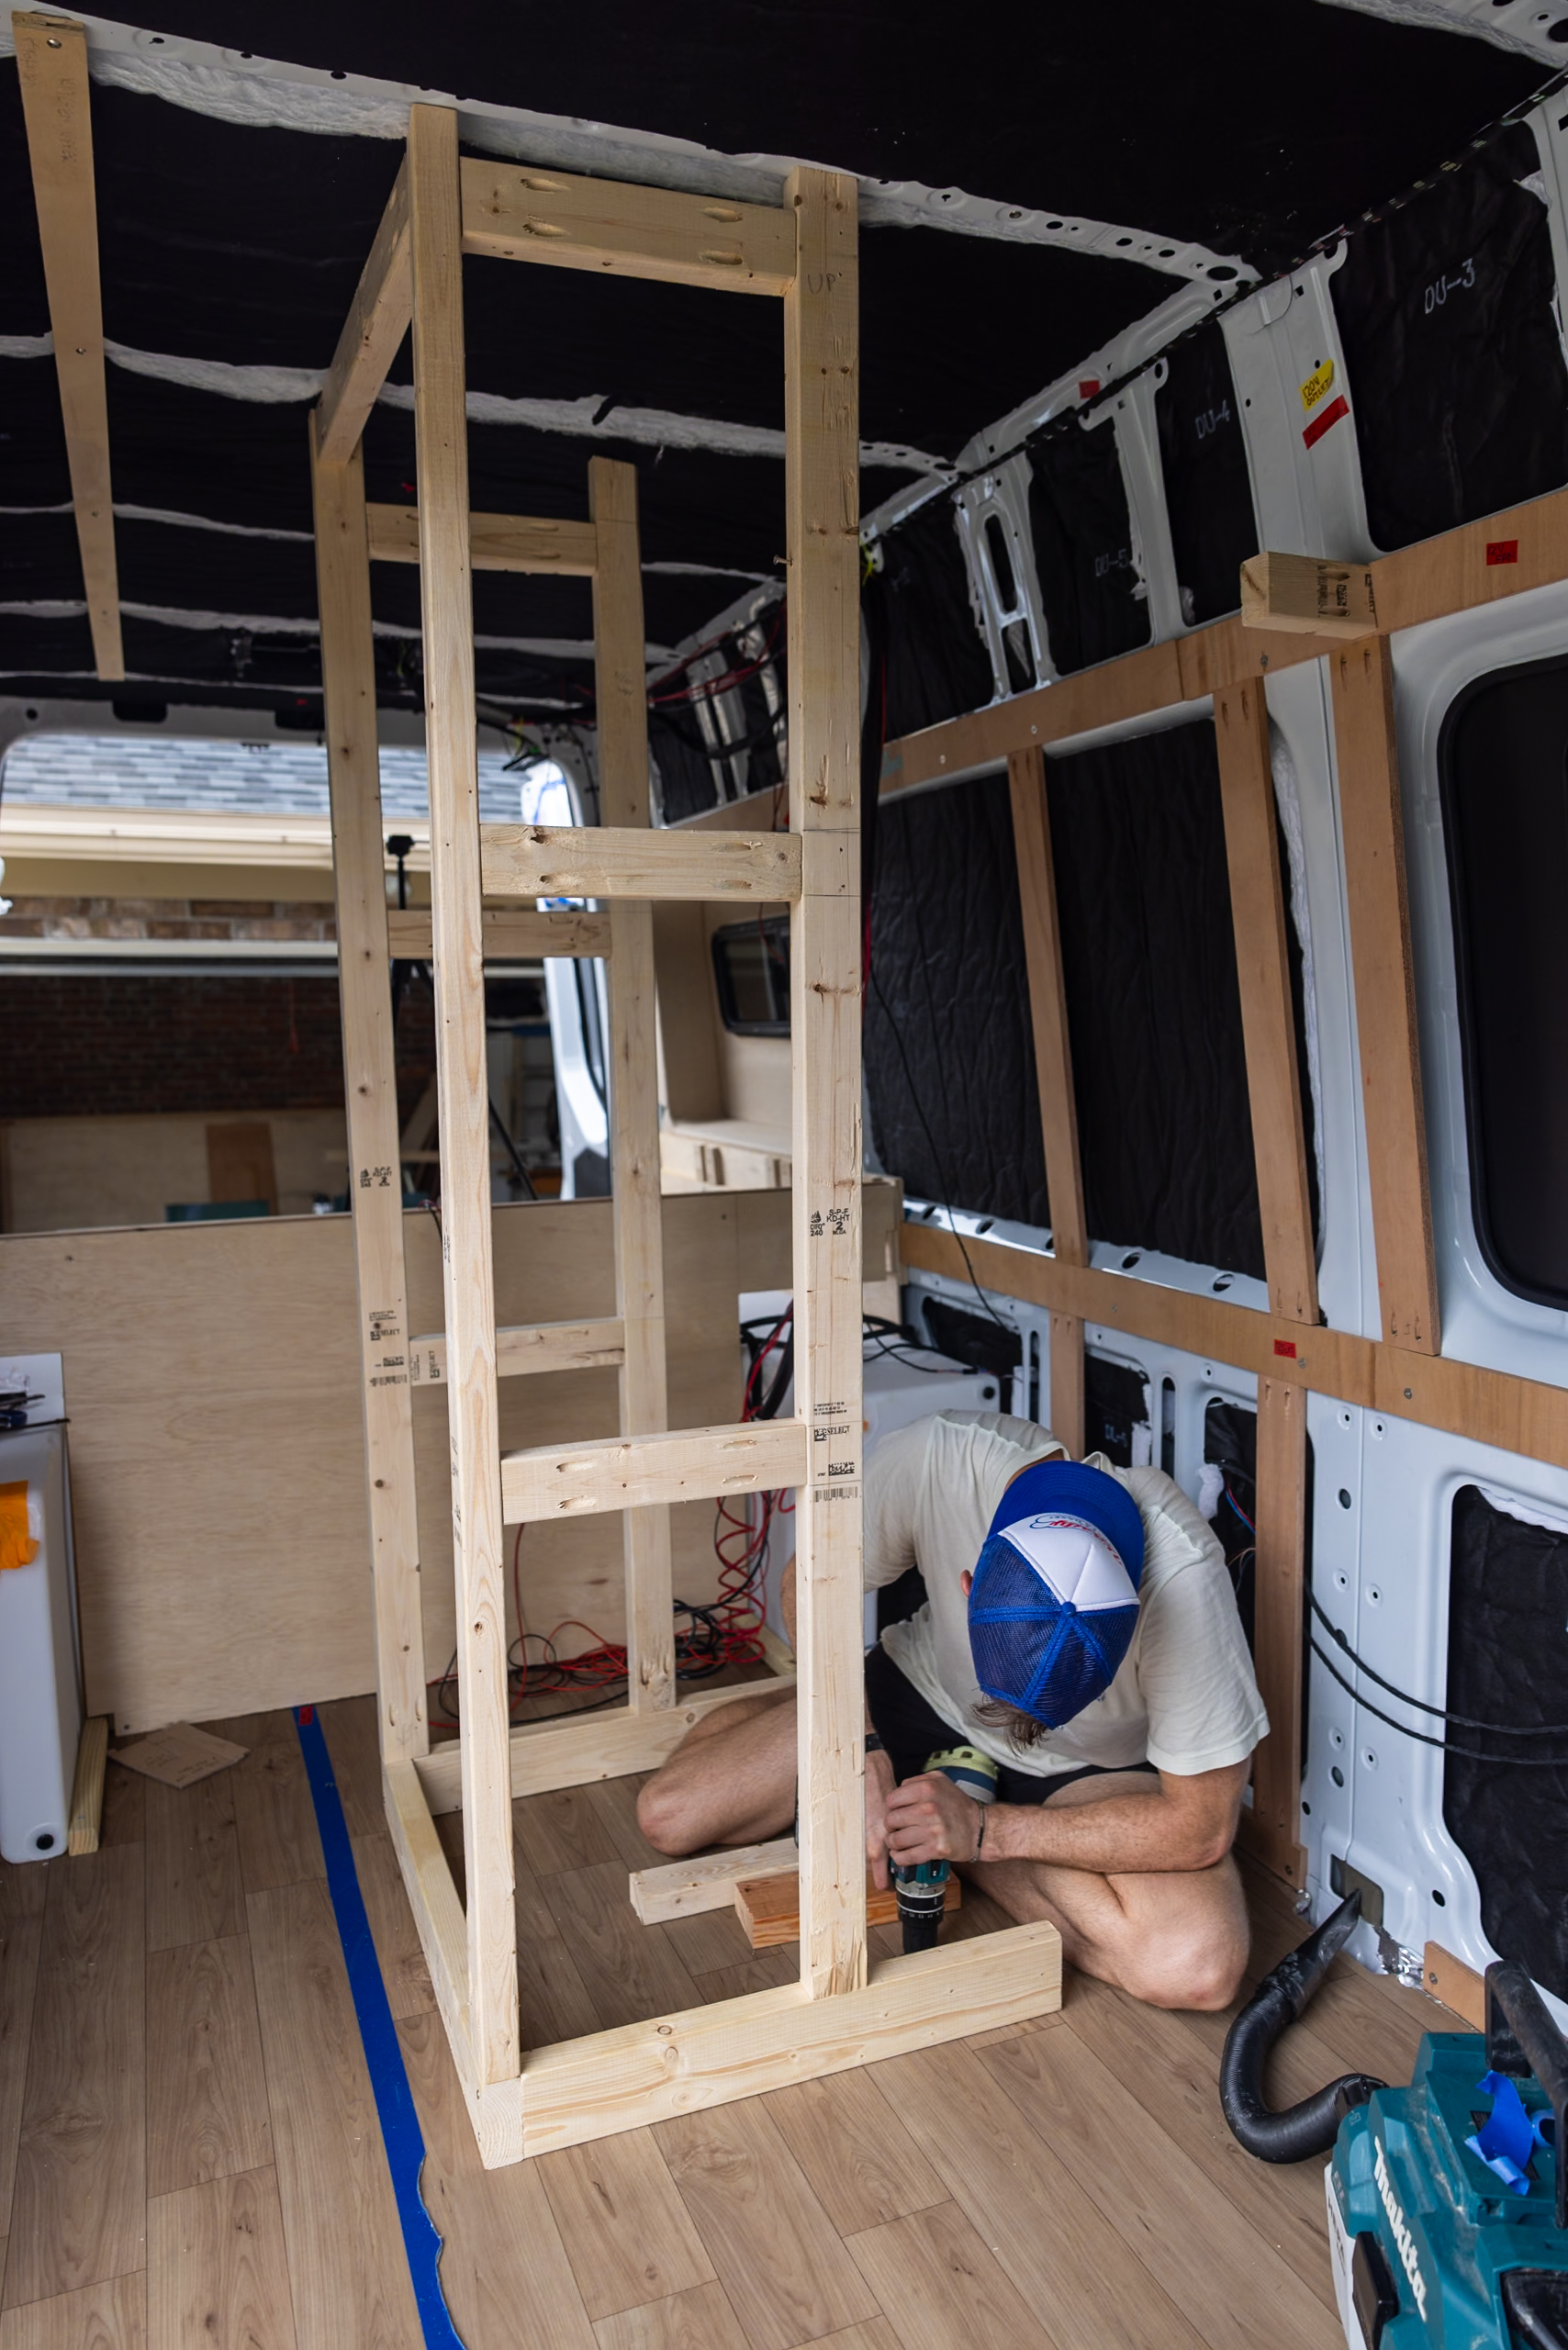
Van builds can be customizable with all different accessories based on your own needs, which was one of the reasons that we were attracted to building our own campervan in the first place. There are a variety of factors that will affect how much your van conversion will cost. From which van you choose to do your build-out in, the age and size of the van, the customization level, which materials you choose, the complexity of your systems, and the appliances and accessories you choose – they all add up to how basic or luxurious your van build is, which directly affects your total cost. The accessories we chose for our van conversion cost us a pretty penny, but we knew this wasn’t going to be a weekend or summer adventure mobile. This is our full-time home for the next 2-3 years, and although we would love to enjoy the beautiful outdoors as much as possible, we know much of our time is spent on our computers inside the van. So, making the van comfortable year-round was important to us.
Van Conversion Cost Breakdown
Breaking down our van conversion cost was tough! There were several hardware store runs for items that fell under plumbing and framing or electrical and bathroom. So while I had the intention of categorizing everything, it was an impossible task. I’ve broken down the big categories below with an estimate of their cost and have the last remaining category as the “Hardware, Amazon, Miscellaneous” since it’s everything in between! It’s important to note some of our Hardware, Amazon, or Miscellaneous purchases might have had electrical, solar, or bathroom components in them, so these numbers are estimates. If you are interested in how these sections were built, we have everything recorded on our YouTube channel here.
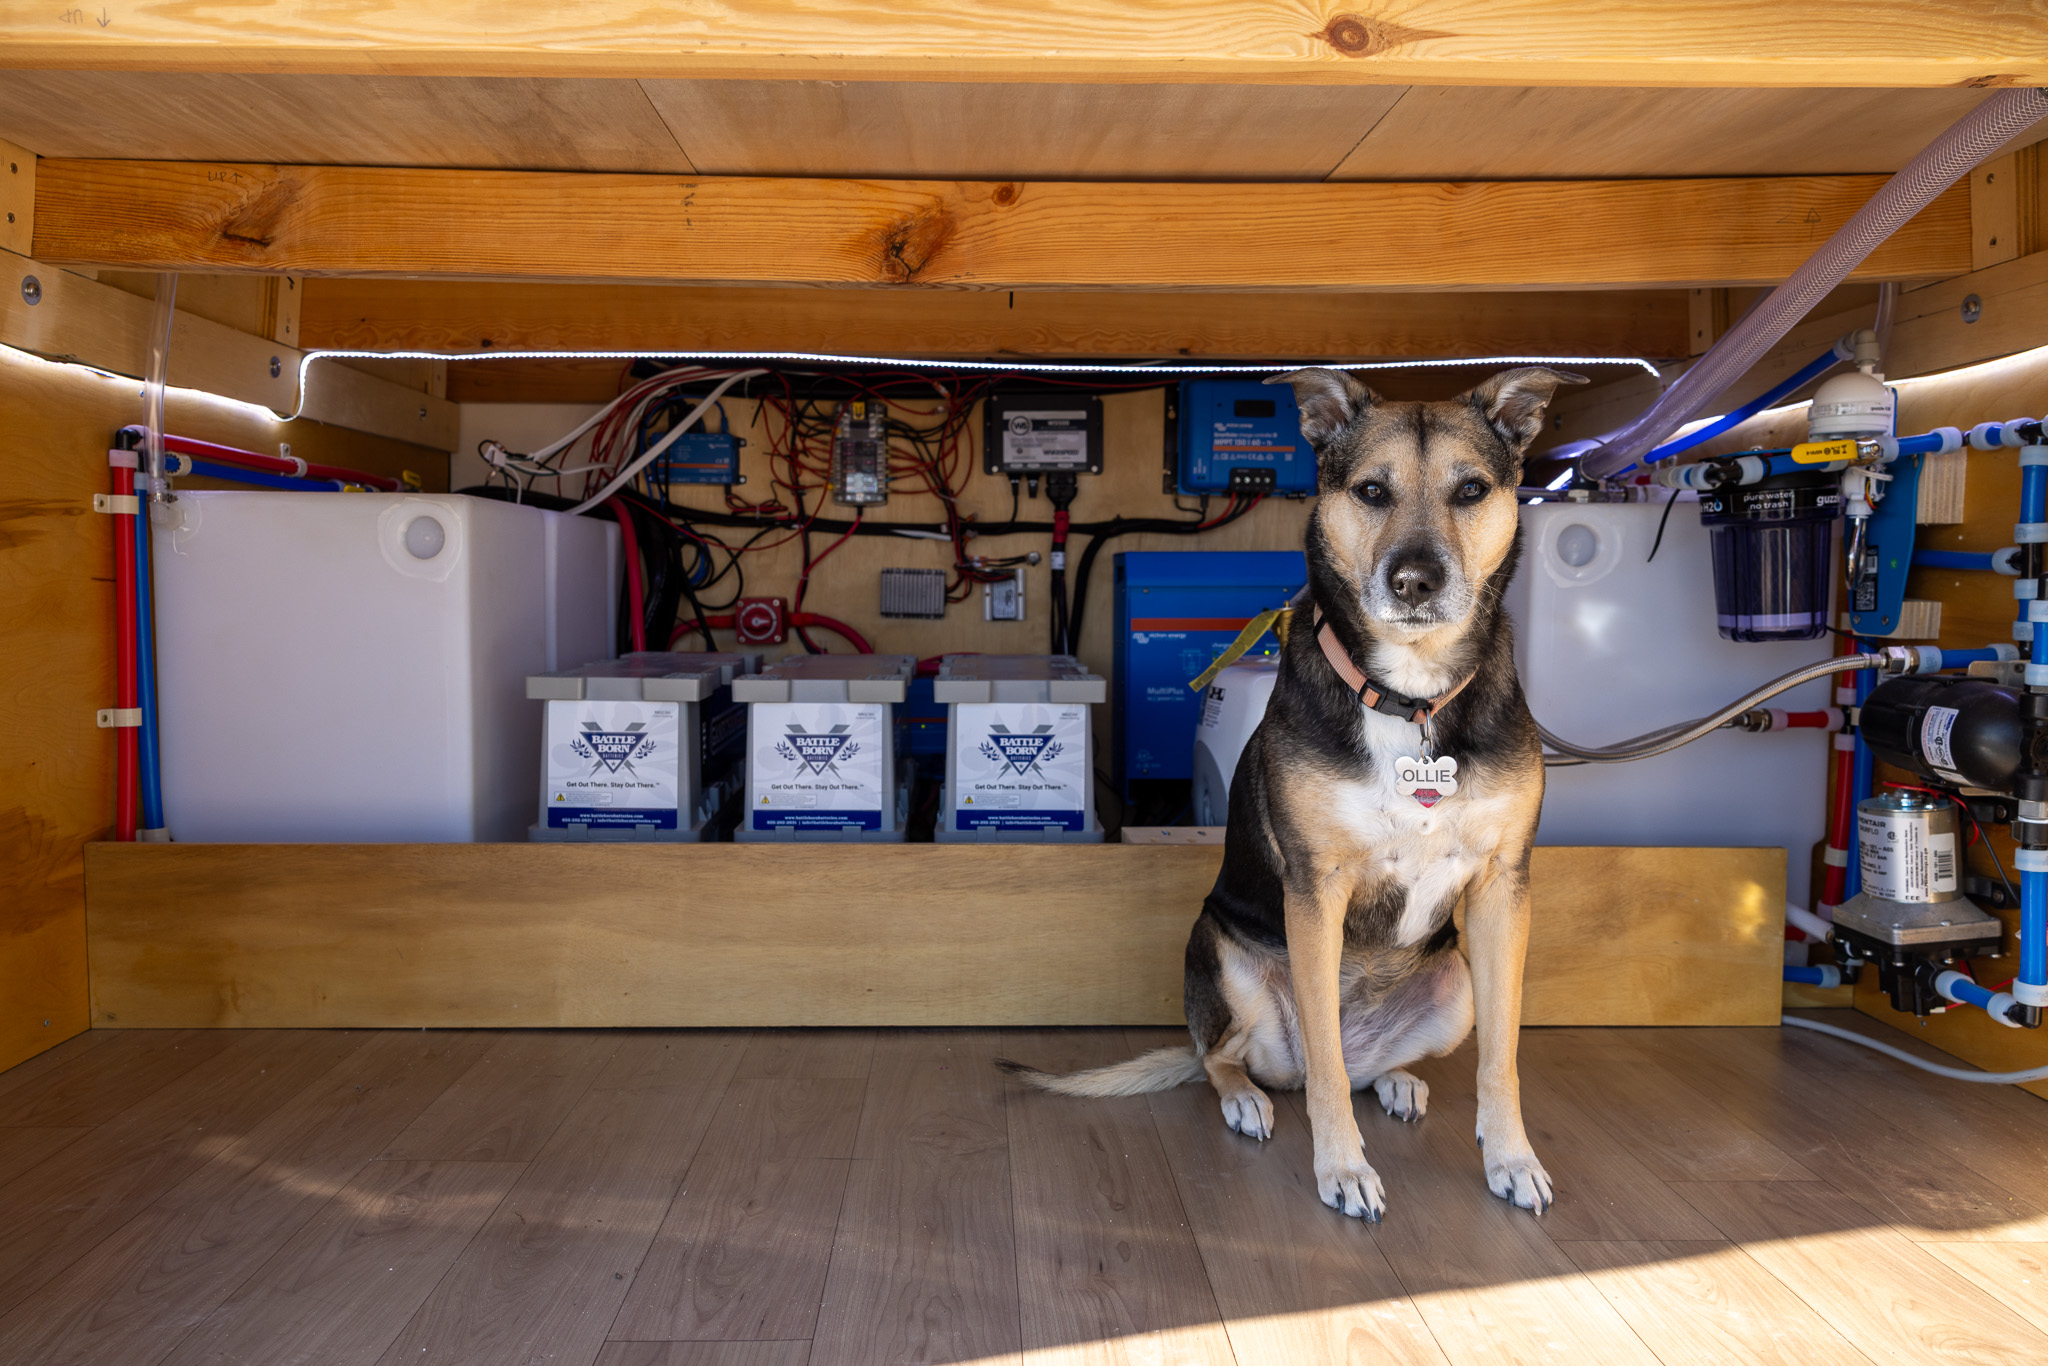
Electrical and Solar Power
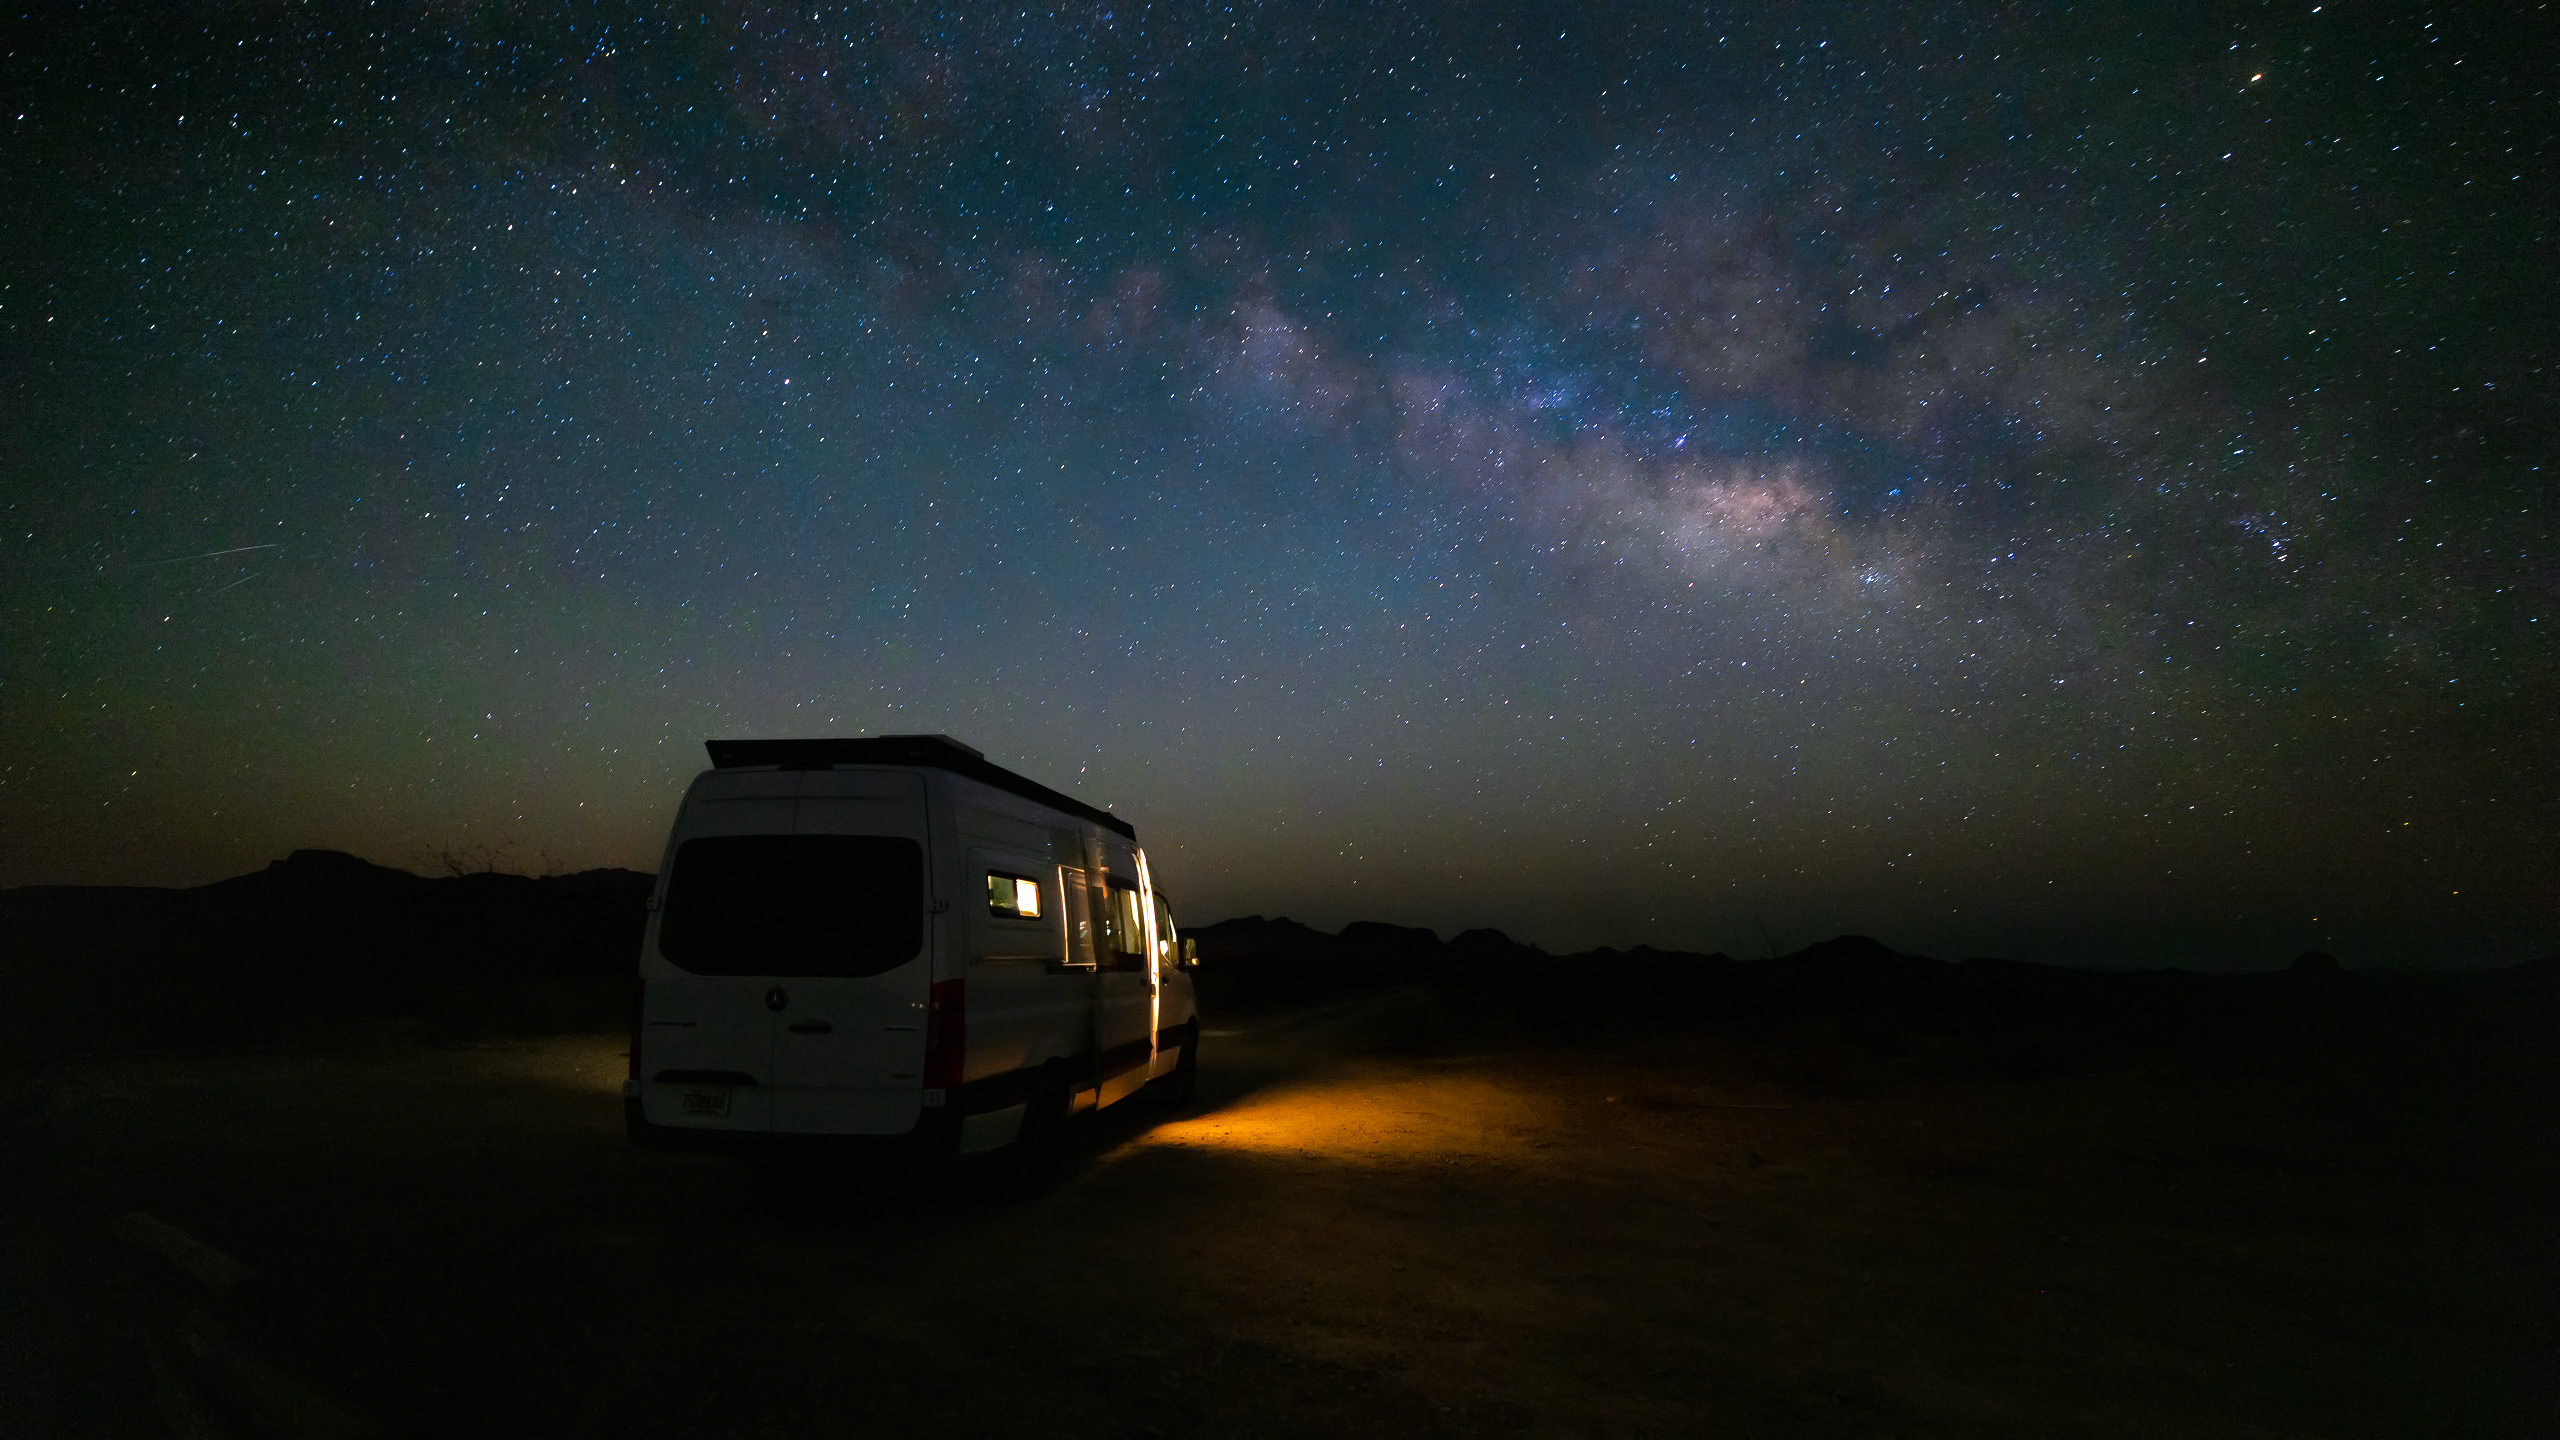
The electrical system can easily be the most expensive part of a van build, and for us, it was! Our electrical system is a customized Victron and Battleborn system and is broken into three main parts: 825 watts of walkable solar, 810 ah Battleborn Batteries, and our secondary alternator by Nations with our Wakespeed Alternator Regulator. The walkable solar allow us to turn our roof rack into a deck to enjoy this extra living space. We included three ways to charge our Lithium Batteries: solar power, smart plug (shore power), and our secondary alternator. After living in our van for 3 months, I can confidently say I would not do a campervan, boat, RV, or truck camper without a Wakespeed and high-output secondary alternator. It’s such a game changer on rainy days, short winter days, or in environments that are not super sunny.
- Battleborn 12V GC3 LiFePO4 Heated Battery Kit x3 – $7,797
- Wakespeed w/ Positive Harnes – $679
- Multiplus 12/3000/120-50 120V UL – $1168.75
- Cerbo GX – $275.40
- GX Touch 50 – $220.15
- Victron Lynx Distributor – $201.45
- Lynx Shunt VE.Can – $355.3
- Fuse CNN 325A/80V for Lynx Shunt – $55.25
- SmartSolar MPPT 100/50 Charge Controller with Bluetooth – $184.45
- RJ45 UTP Cable 1.8m – $11.05
- VE.Direct Cable 1.8m – $13.60
- WSVECROSSDT – $32.77
- Smart Plug outlet (shore power) – $117.92
- Smart Plug 30amp 30’ cord – $225.23
- Nations Alternator – 280XP $1,300
- Walkable Solar Panels x5 – $5,070
- Walkable Solar Mounting (J and H channels and mounting washers) – $430.00
Electrical and Solar Estimated Total Cost $18,137.32
Watch our full electrical overview here!
Read More: Beginners Guide to Powering Your Camper with Solar
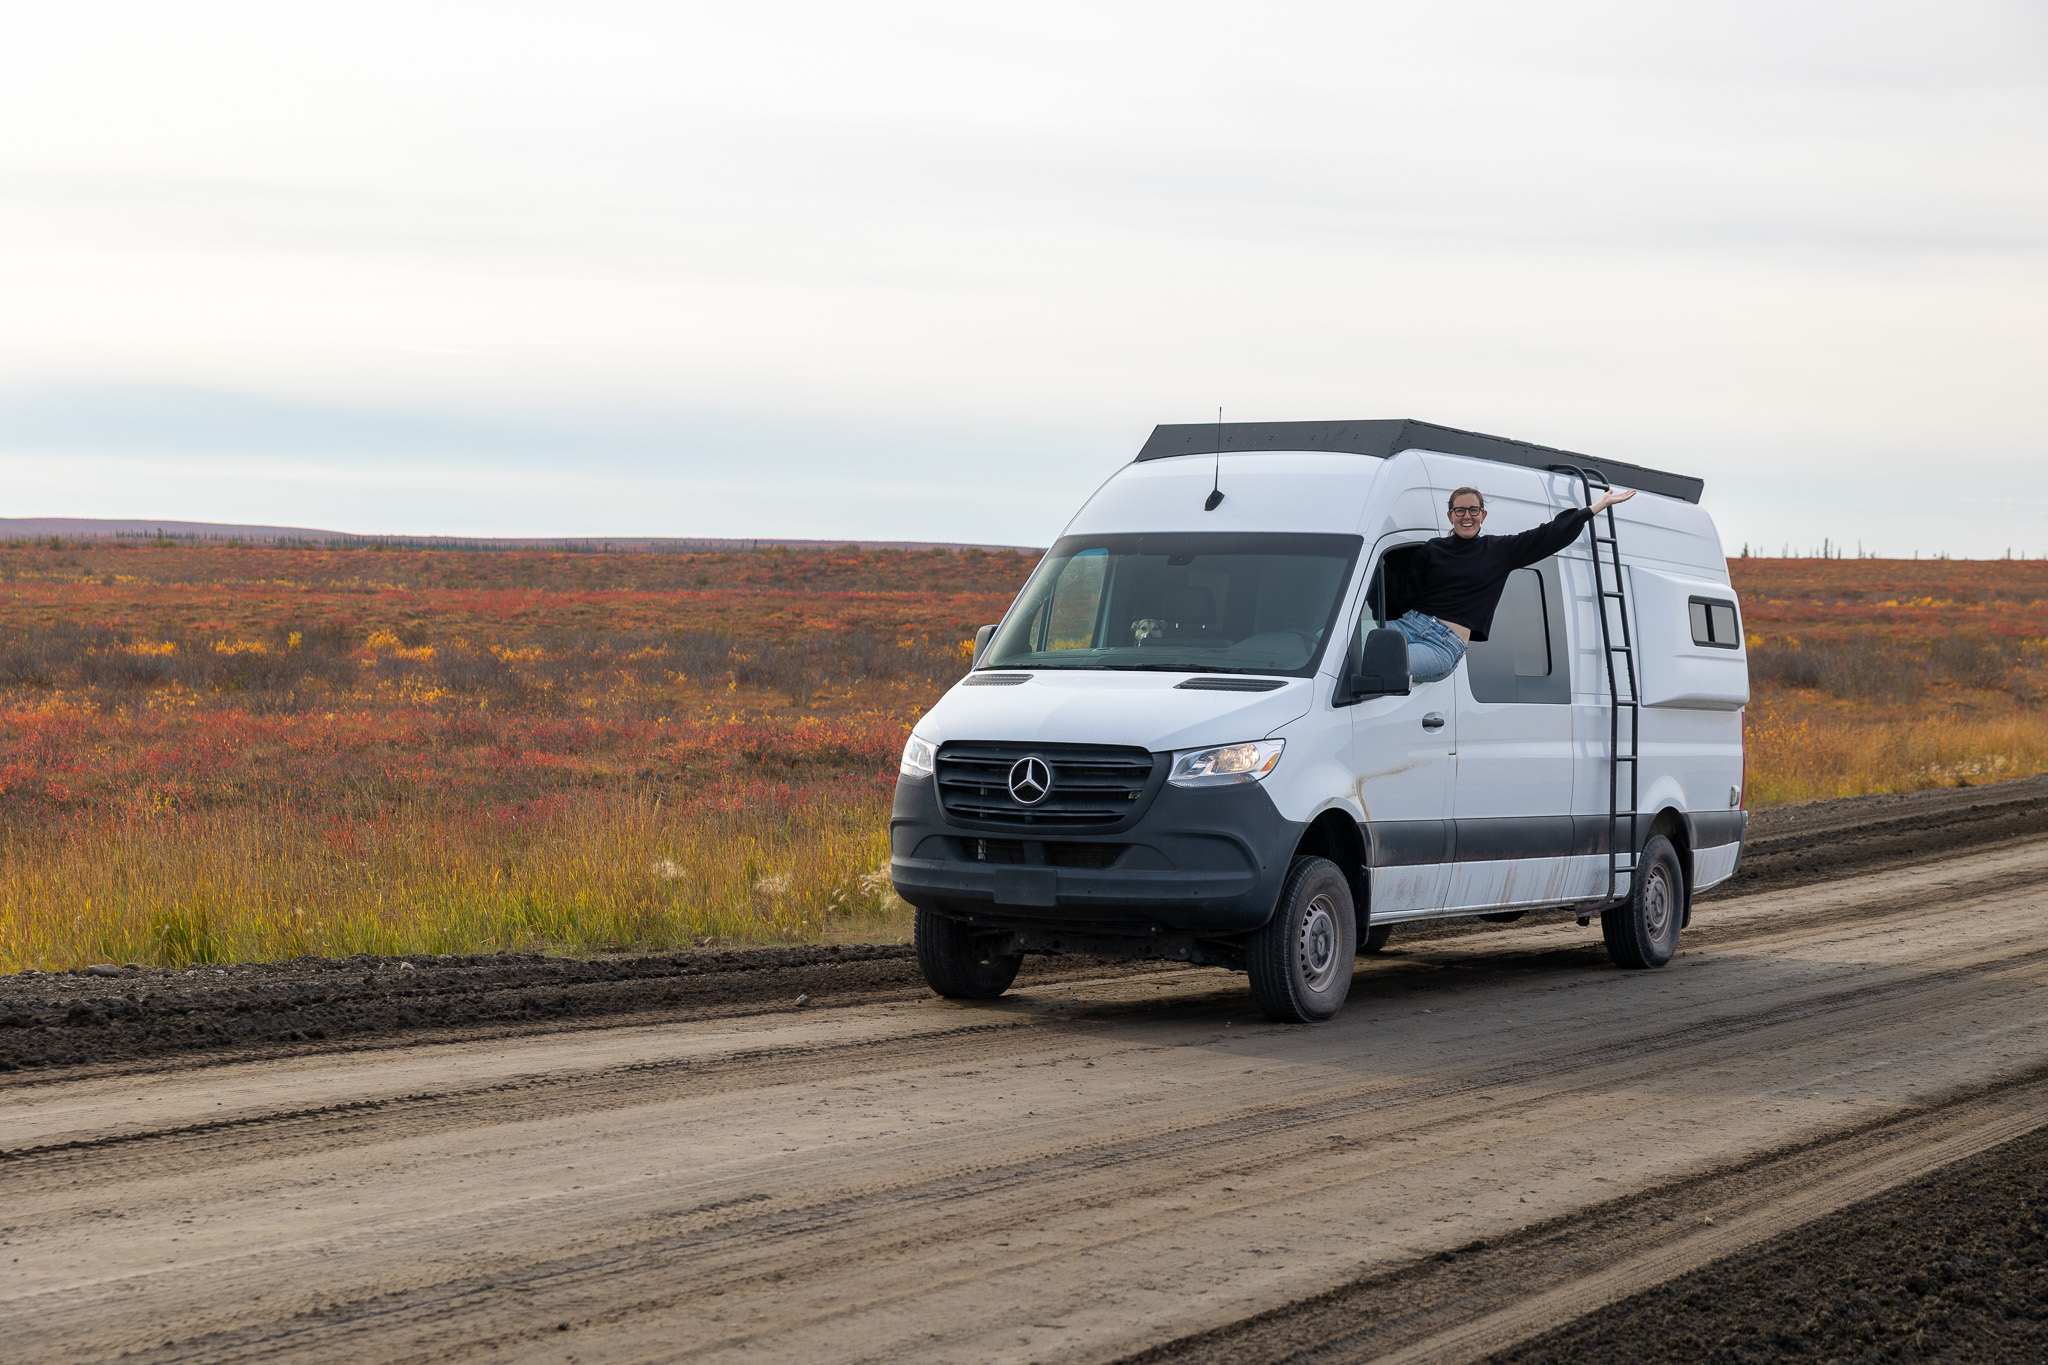
Flares
Although flares are not necessarily luxurious, they were crucial to our van layout as they allowed us to “sleep sideways” and gave us 18” of extra space to work with!
- Mercedes Sprinter Van 170″ Flares with half slider windows – $2,497.00
- Trim Rings for Sprinter 170″ × 2 – $749
- Driver Side Half Slider Windows with window covers – $698
- Painting 2 flares white to match van color from local auto shop – $600
Flares Estimated Total Cost: $4,544
Read More: EVERYTHING you need to know about CAMPERVAN FLARES
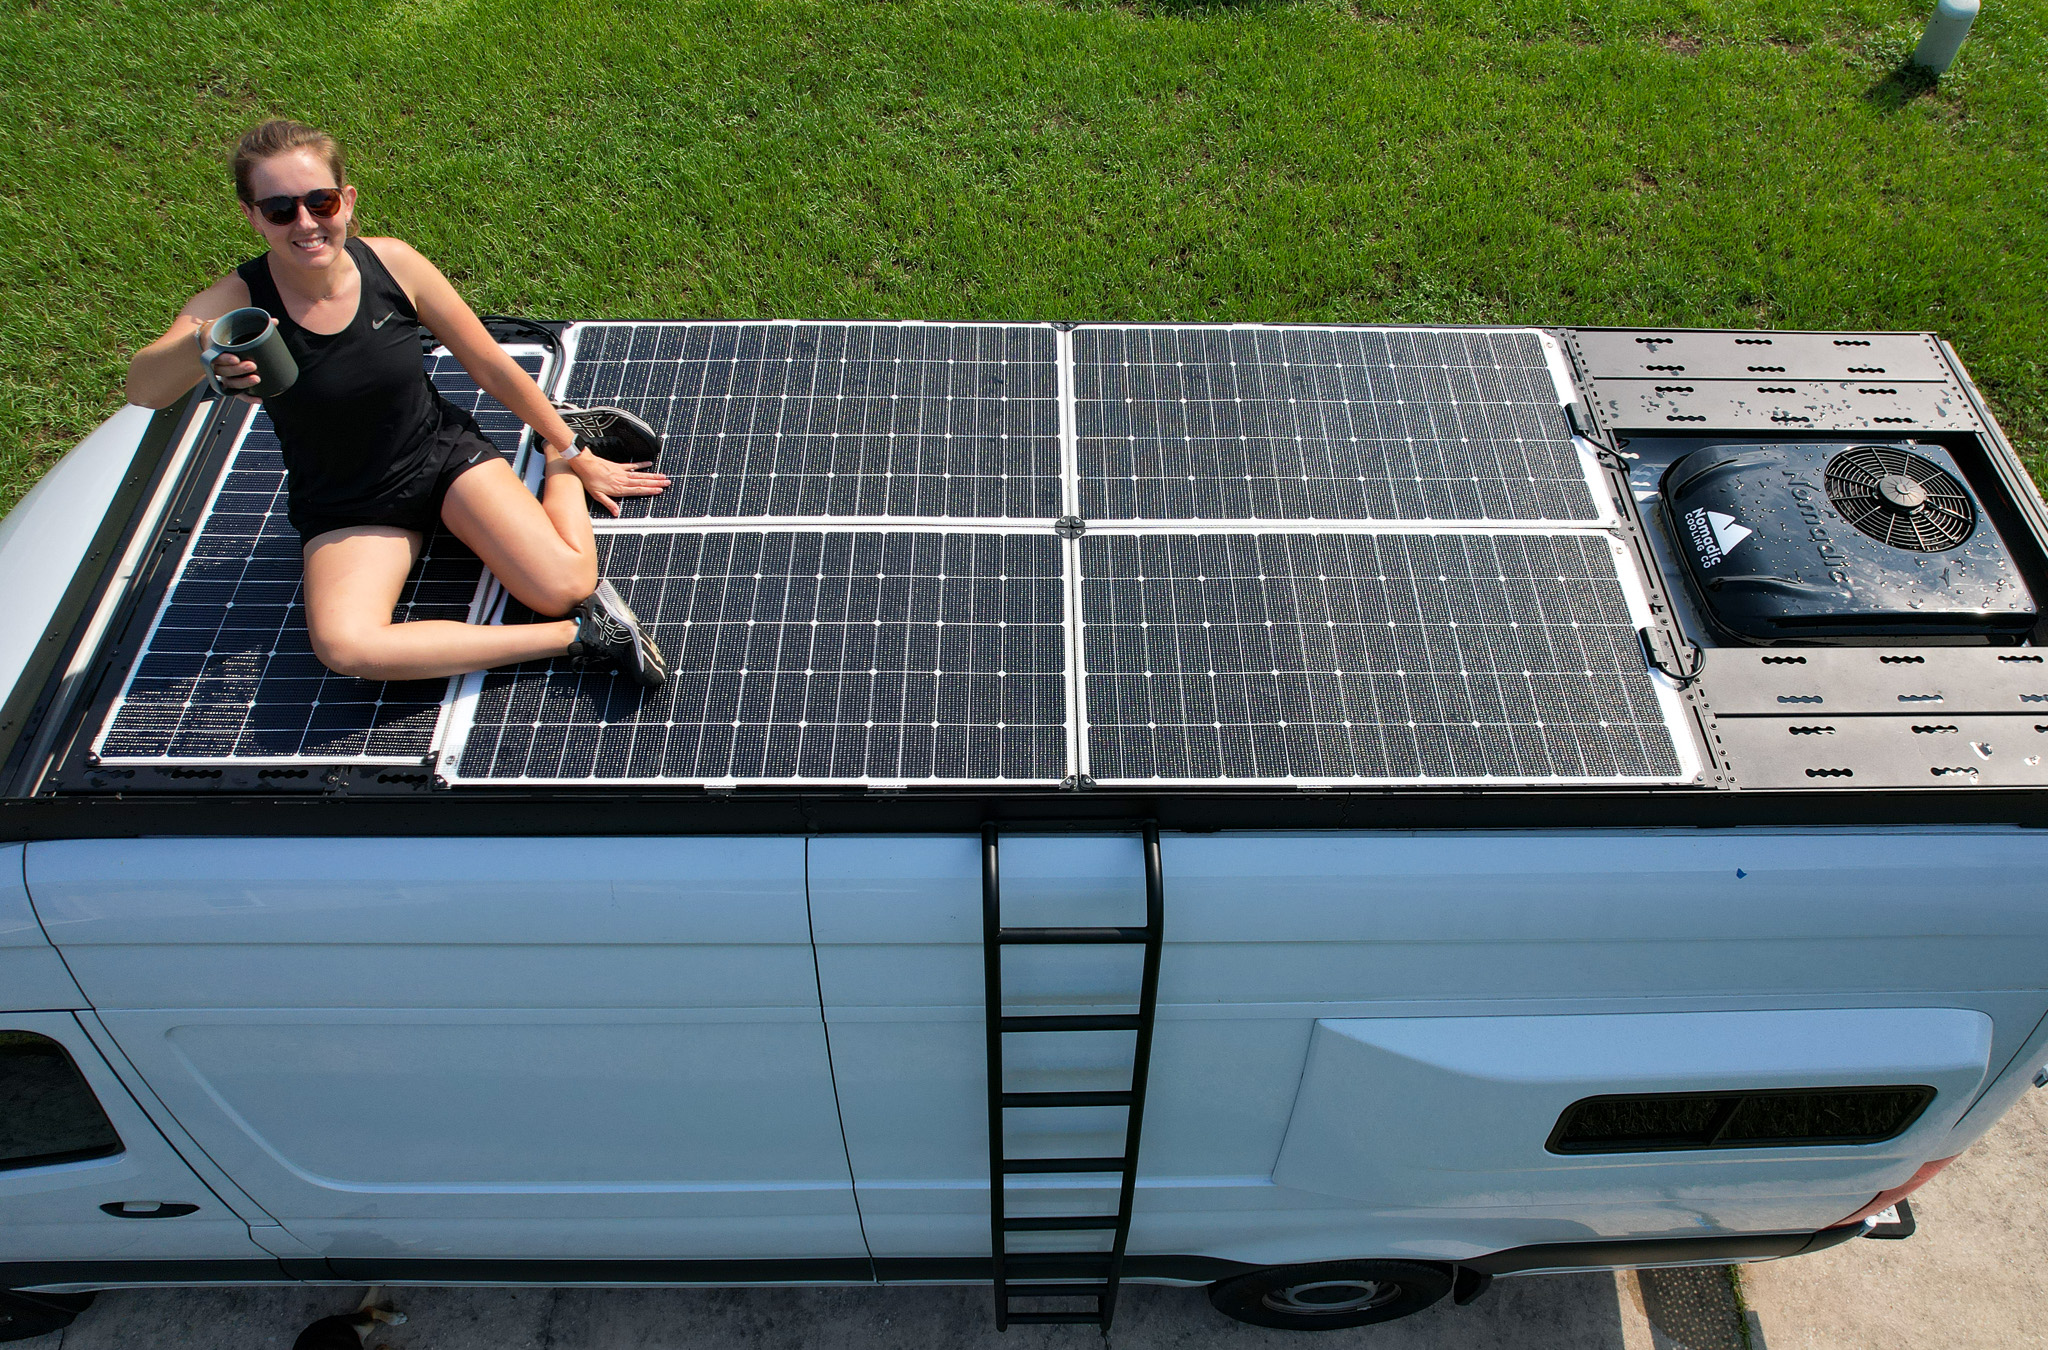
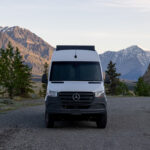
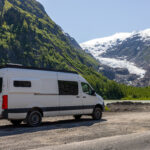
Roof Rack
Roof Racks, like most external van accessories, are not cheap! They’re definitely a luxury item. We wanted to have an area on our van to watch some epic sunsets, so a roof rack was the perfect addition! Our DIY-installed roof rack includes two rear scene lights and a side ladder to access our roof deck!
- Sprinter Stealth+ Roof Rack (includes two rear scene lights) – $3,049
- Sprinter Roof Deck Panels × 2 (panel A) – $320
- Sprinter Roof Deck Panels × 3 (panel B) – $480
- Sprinter Roof Deck Panels × 6 (panel C) – $960
- Sprinter Roof Deck Panels × 4 (panel D2) – $600
- Sprinter Roof Deck Panels × 2 (panel E) – $260
- Sprinter Stealth+ Crossbars (2 Pack) × 1 – $155
- Sprinter Side Ladder – $799
Roof Rack Estimated Total Cost $6,623
Read More: Everything you need to know abut Van Roof Racks

Cooling and Heating
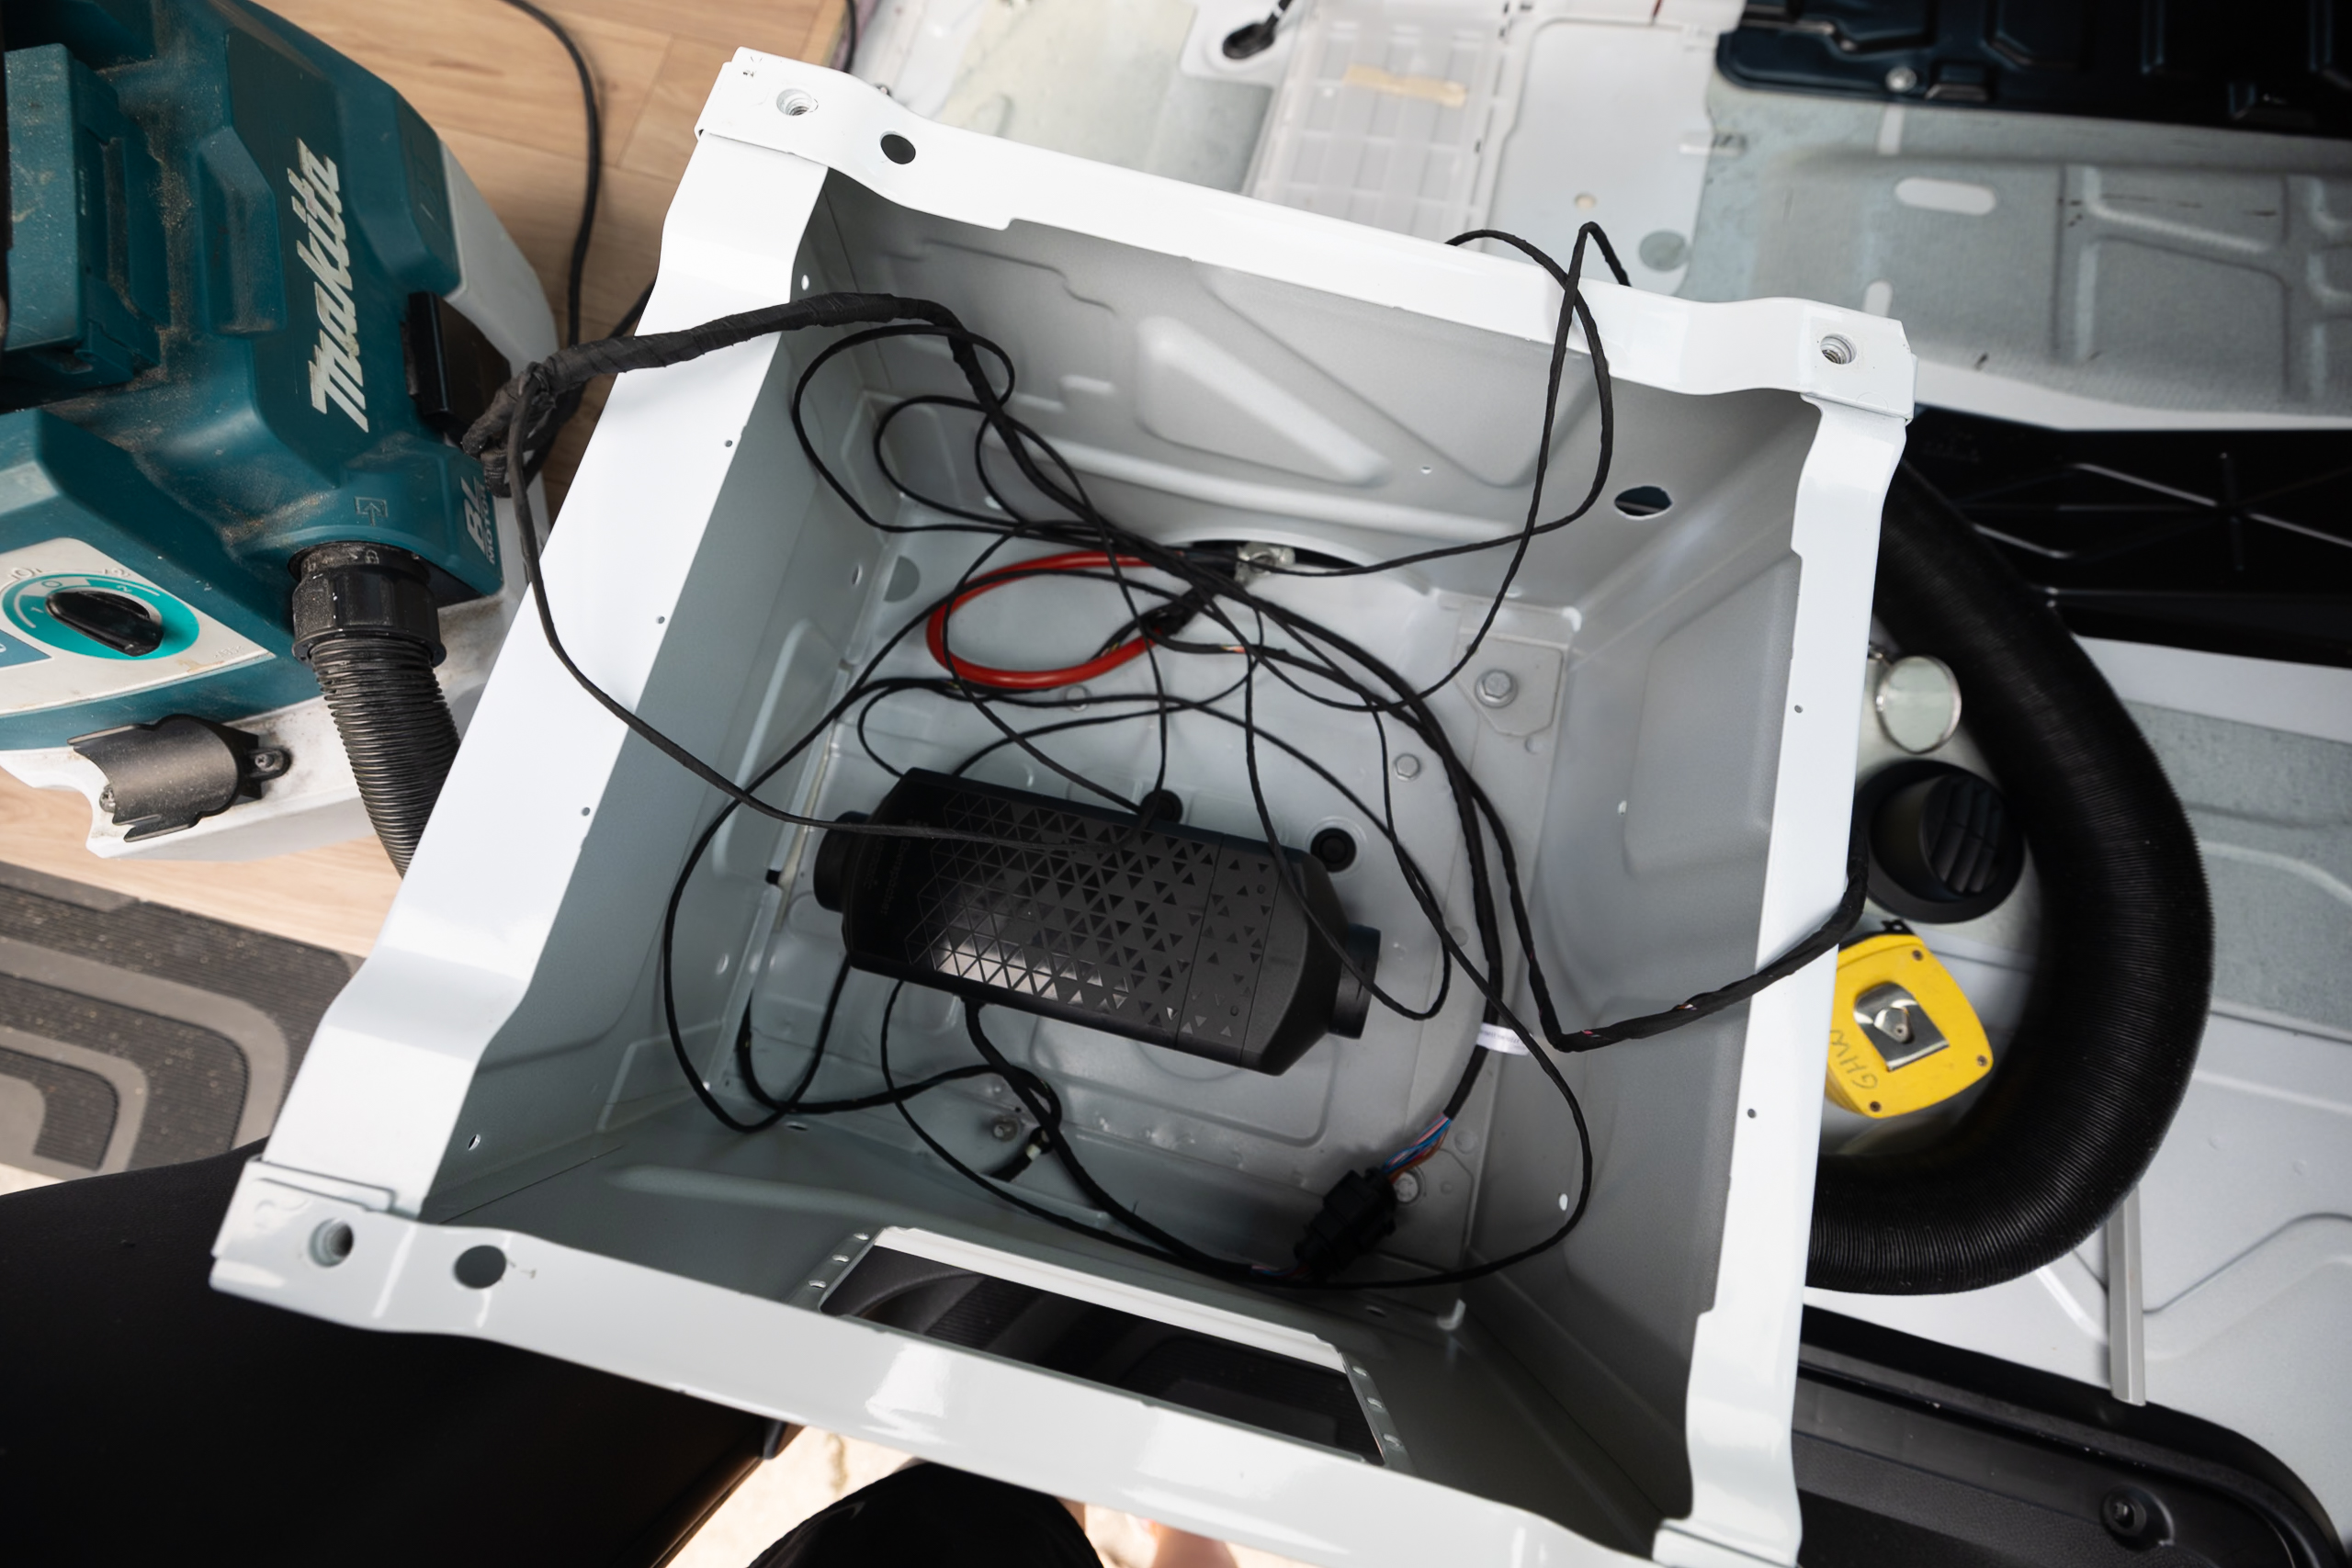
Heating and cooling a van are essential if you plan to live in it year-round. It was important to us to be able to use our van in all four seasons and leave our dog Ollie in it while we were away, so installing heaters, air conditioners, and fans was a no-brainer. We included insulation and window covers in this category since they’re such crucial parts to keeping the van comfortable. Although there are several ways to heat a cool a van, we opted for more luxurious items like an air conditioner, a German diesel heater, multiple fans, and premium window covers.
- Espar 12-volt Diesel Heater – $1,560.00
- Nomadic X2 12v Air Conditioner – $3,597.95
- LeMan’s Low Profile 12v Fan – $269.00
- Caframo Sirocco II 12v White Fans – $140.00
- 3M™ Thinsulate™ Van Insulation Kit for Mercedes Sprinter – $632.33
- Wanderful Window Covers – $1,090.00
- Wanderful Stealth Privacy Curtain – $450.00
Cooling and Heating Estimated Total Cost $7,739.28
Read More: Campervan Insulation
Read More: Camper Van Fans: How to STAY COOL in your DIY Van
Read More: Van Air Conditioning
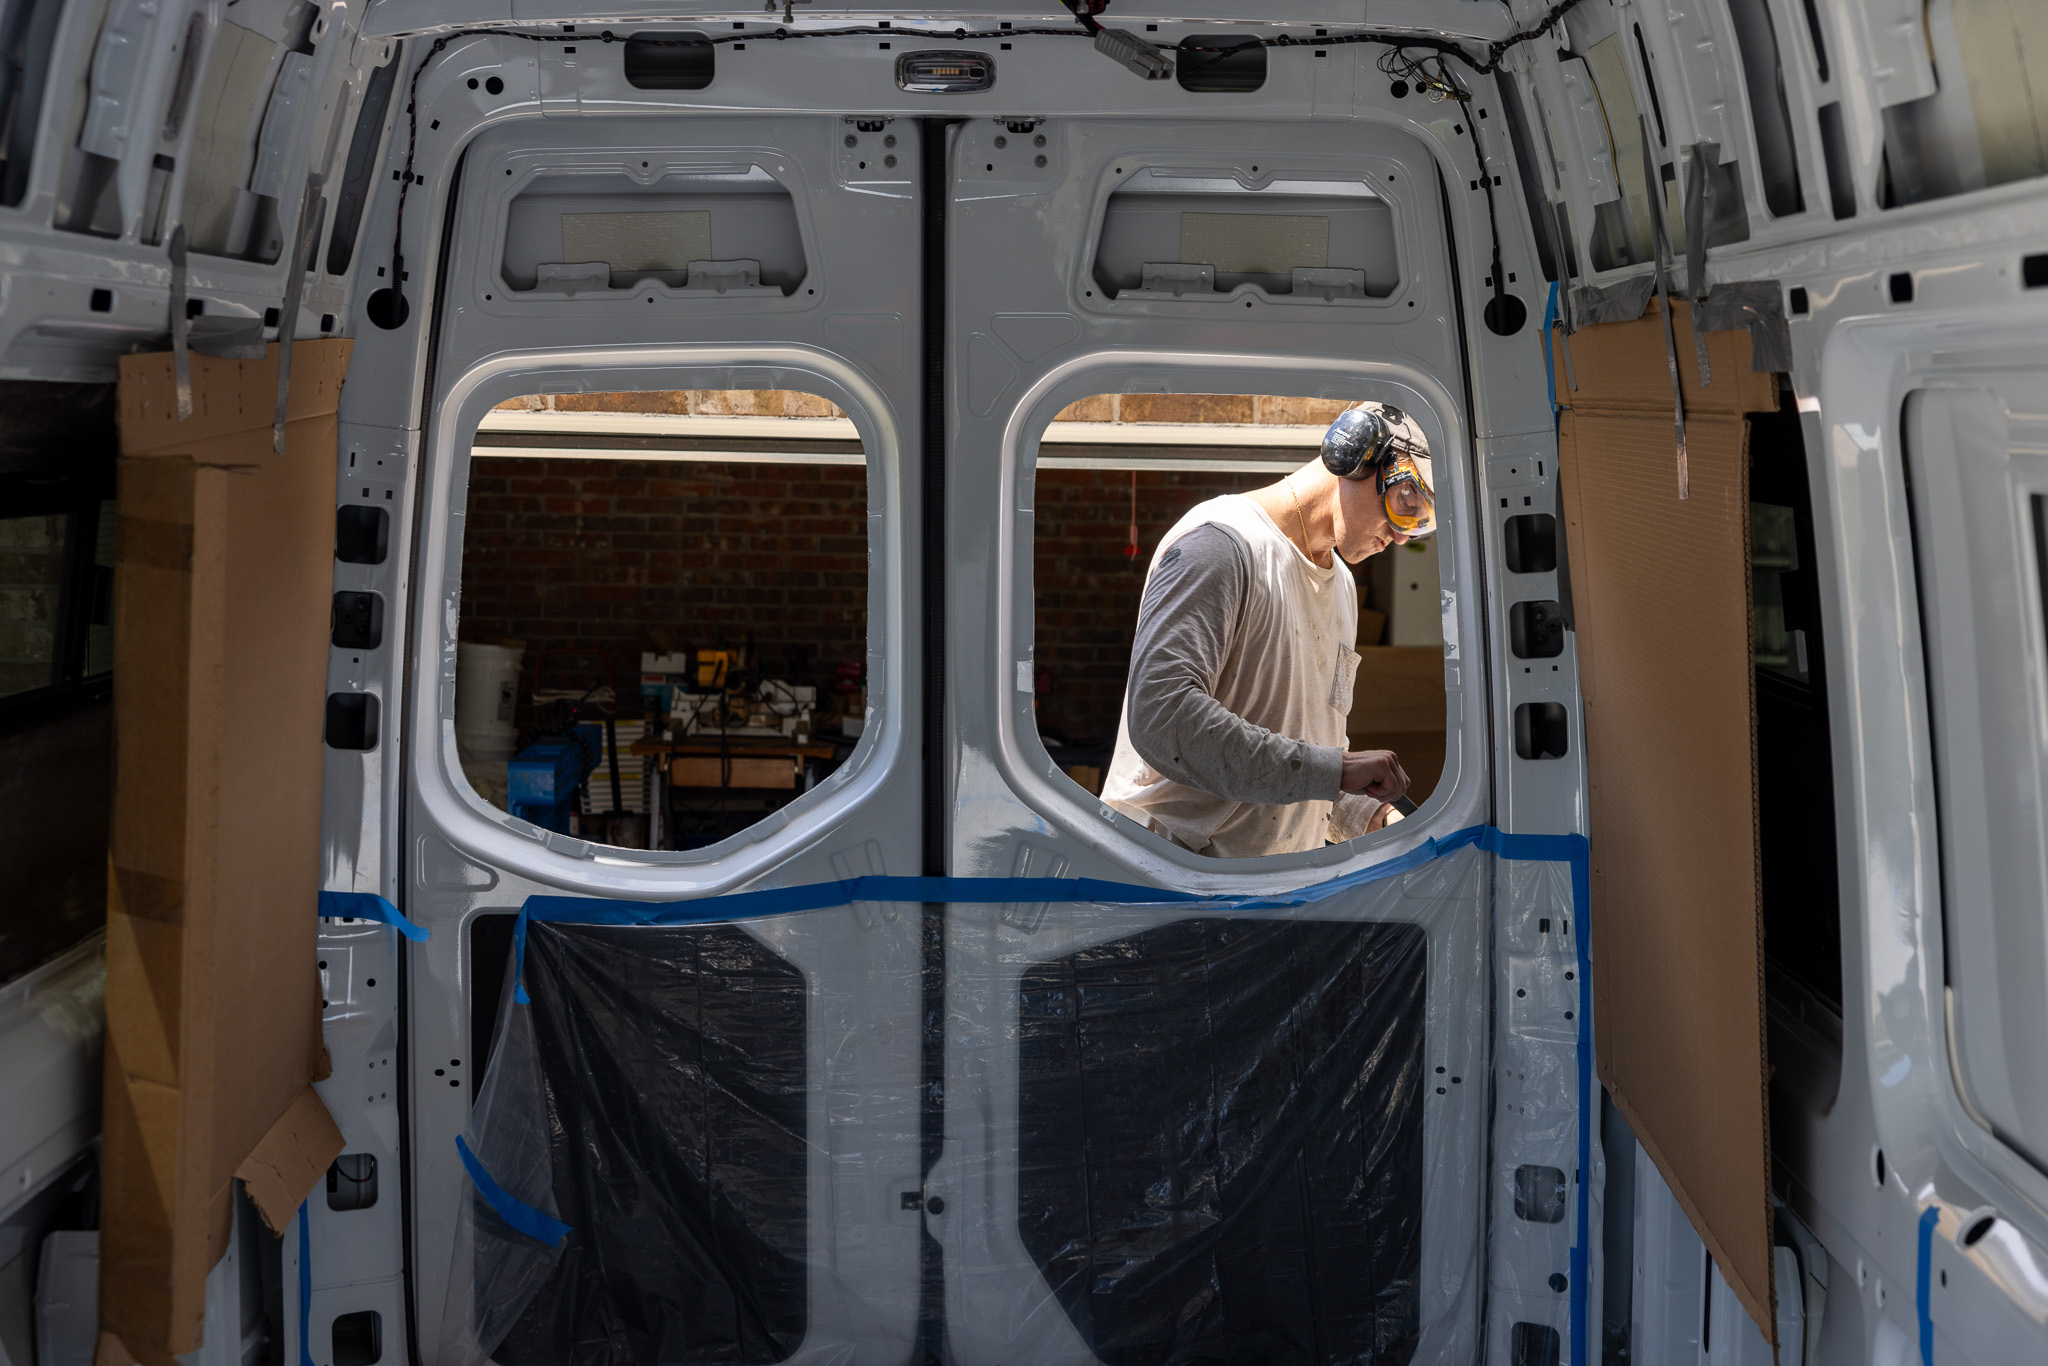
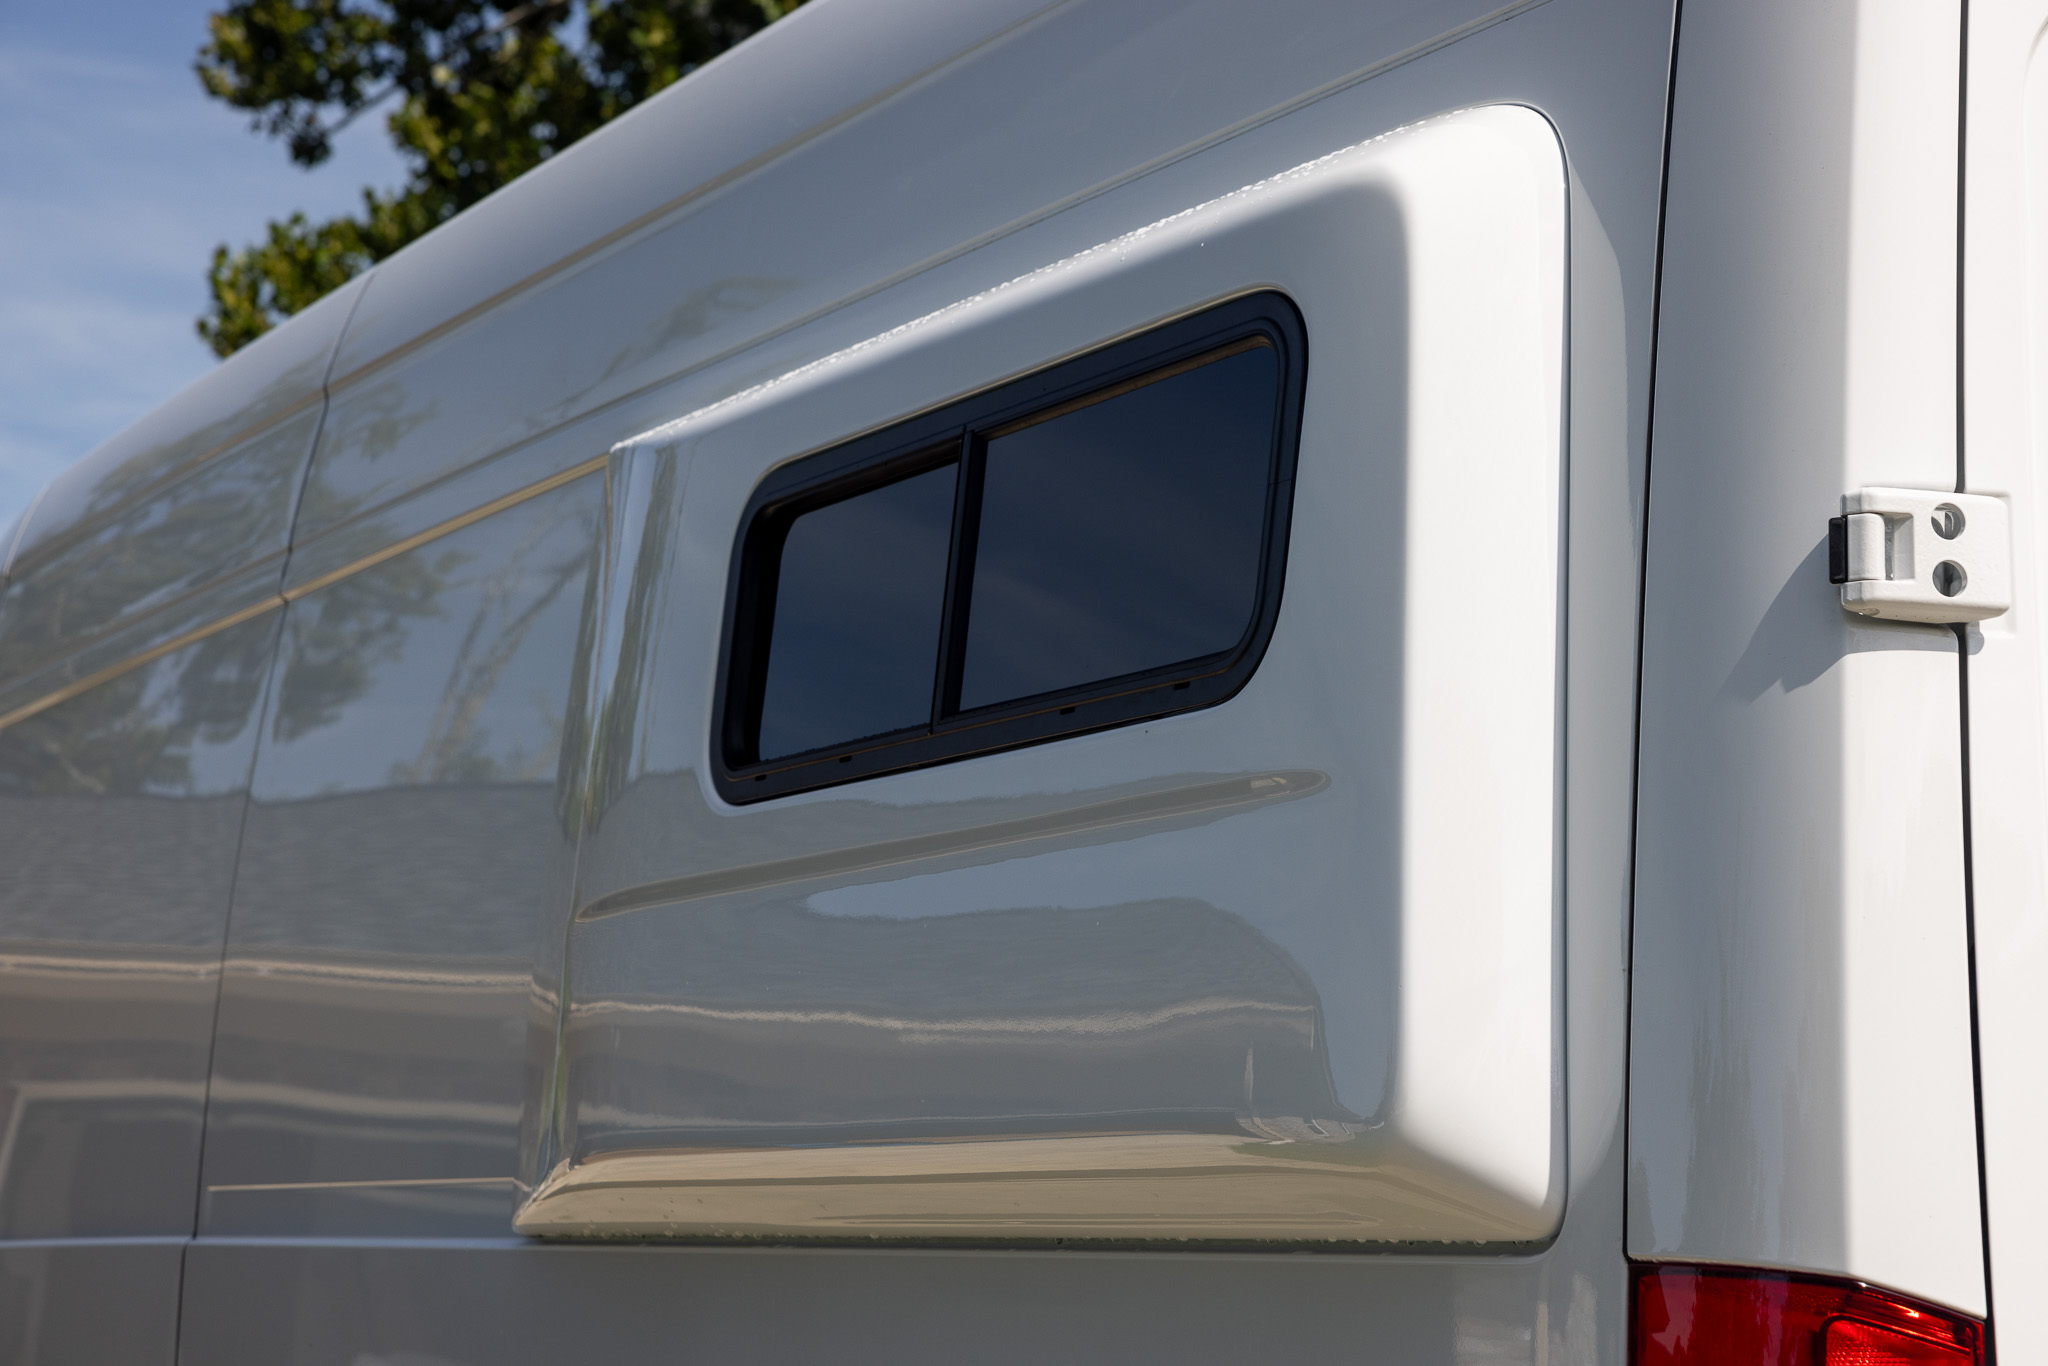
Windows
The indirect way to keep a campervan comfortable is by having operable windows! We choose to install 6 windows in our campervan and four of them are operable with bug screens, which allow us to have natural air flow and keep us cool on warm days. It’s a game changer to have operable windows, but it’s also a luxury item! One way to save money on a campervan build is to limit the windows or to not upgrade windows to operable windows.
❗️ Important note, we purchased our two flare windows with Flarespace, so you don’t see them in this list. The price is above 👆
- VWD Mercedes Sprinter Van Fixed Window 2019+ Driver Side Rear Cargo Door – $199.95
- VWD Mercedes Sprinter Van Fixed Window 2019+ Passenger Side Rear Cargo Door – $199.95
- VWD Trim Lock Mercedes Sprinter Van Solid/Slider Window 2007+ Rear Cargo Door x2 – $31.84
- DOW Black BetaPrime 5504G Single Application Primer (10ml tube) x4 – $35.88
- SikaFlex P2G Automotive Urethane Adhesive x4 – $43.80
- AM Auto Mercedes Sprinter Passenger Side Sliding Door Half-Slider Window – $629
- AM Auto Mercedes Sprinter Driver Side Forward Half-Slider Window – $629
- AM Auto Window Gasket Edge Trim 12 feet (Large) x2 – $48
- Shipping costs – $849.95
Windows Estimated Total Cost $2,667.7
Read More: Everything you need to know about Camper Van Windows
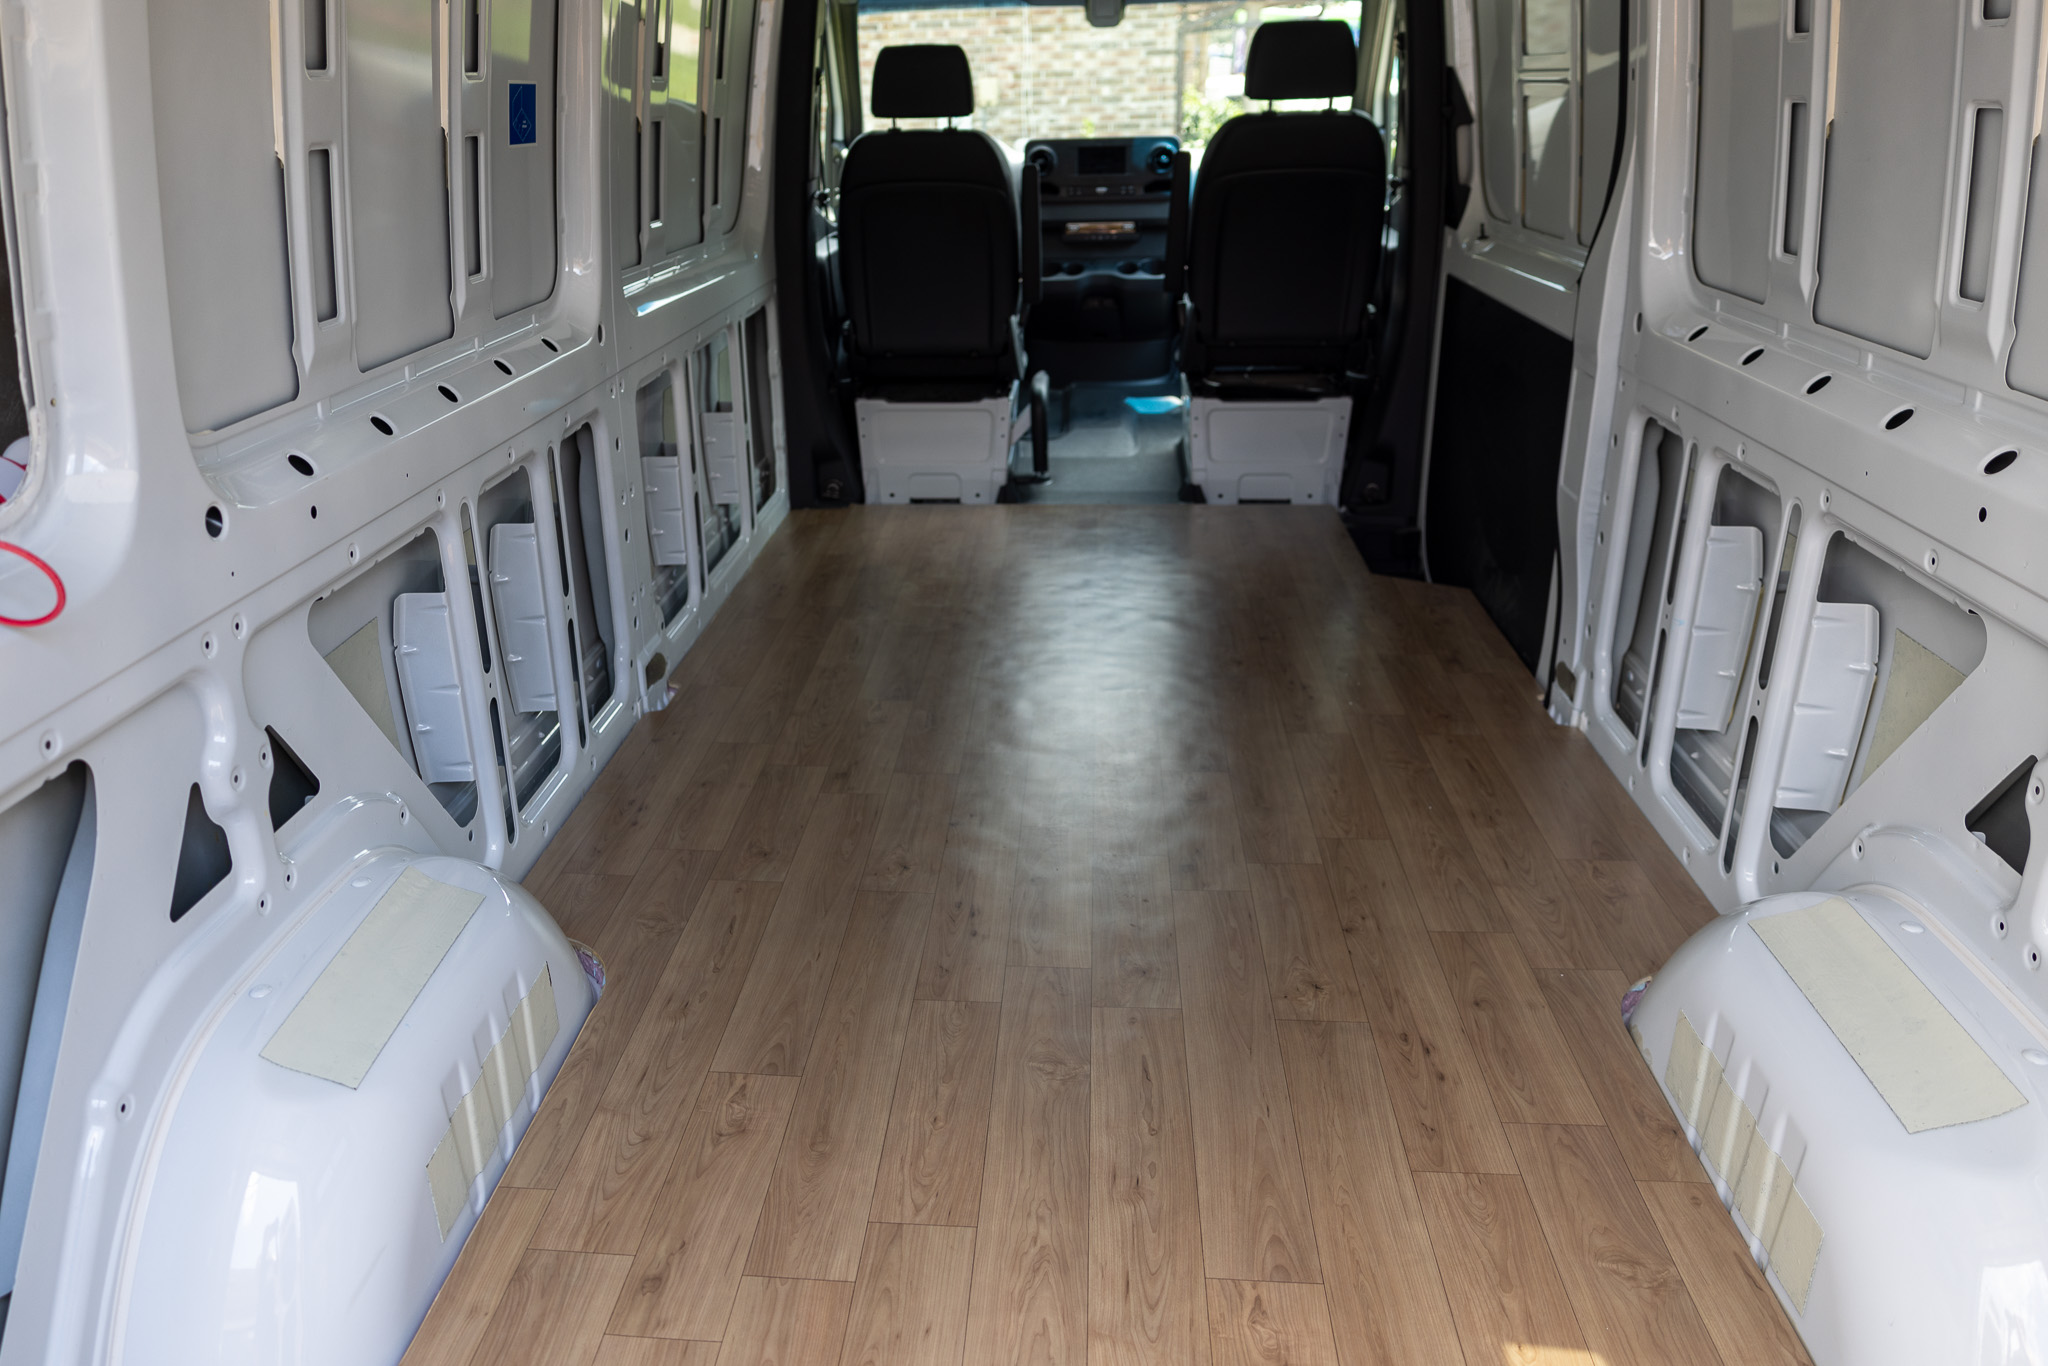
Flooring
There are countless ways to do a campervan floor, but we ultimately choose to install Lonseal flooring. It was super simple to install and has been great to incorporate a natural looking element into our van.
- Lonseal Precut Flooring – Lonseal Madera Topseal in Portobello $581.28
- Lonseal ZZ800 U-Notch Trowel – $22
- Lonseal #650 Two-Part Epoxy for Flooring – $123.35
- 4 sheets of 1/2″ sanded plywood ($45.55/each) – $195.87
- 3 sheets of 1″ R-5 NGX Foam board – $99.87
- 11 Loctite PL300 (XPS foam to wood) – $65.98
- Sika Flex 221 (metal van to XPS foam) – $5.48
Flooring Estimated Total Cost $1,093.83
Read More: Campervan Floorings
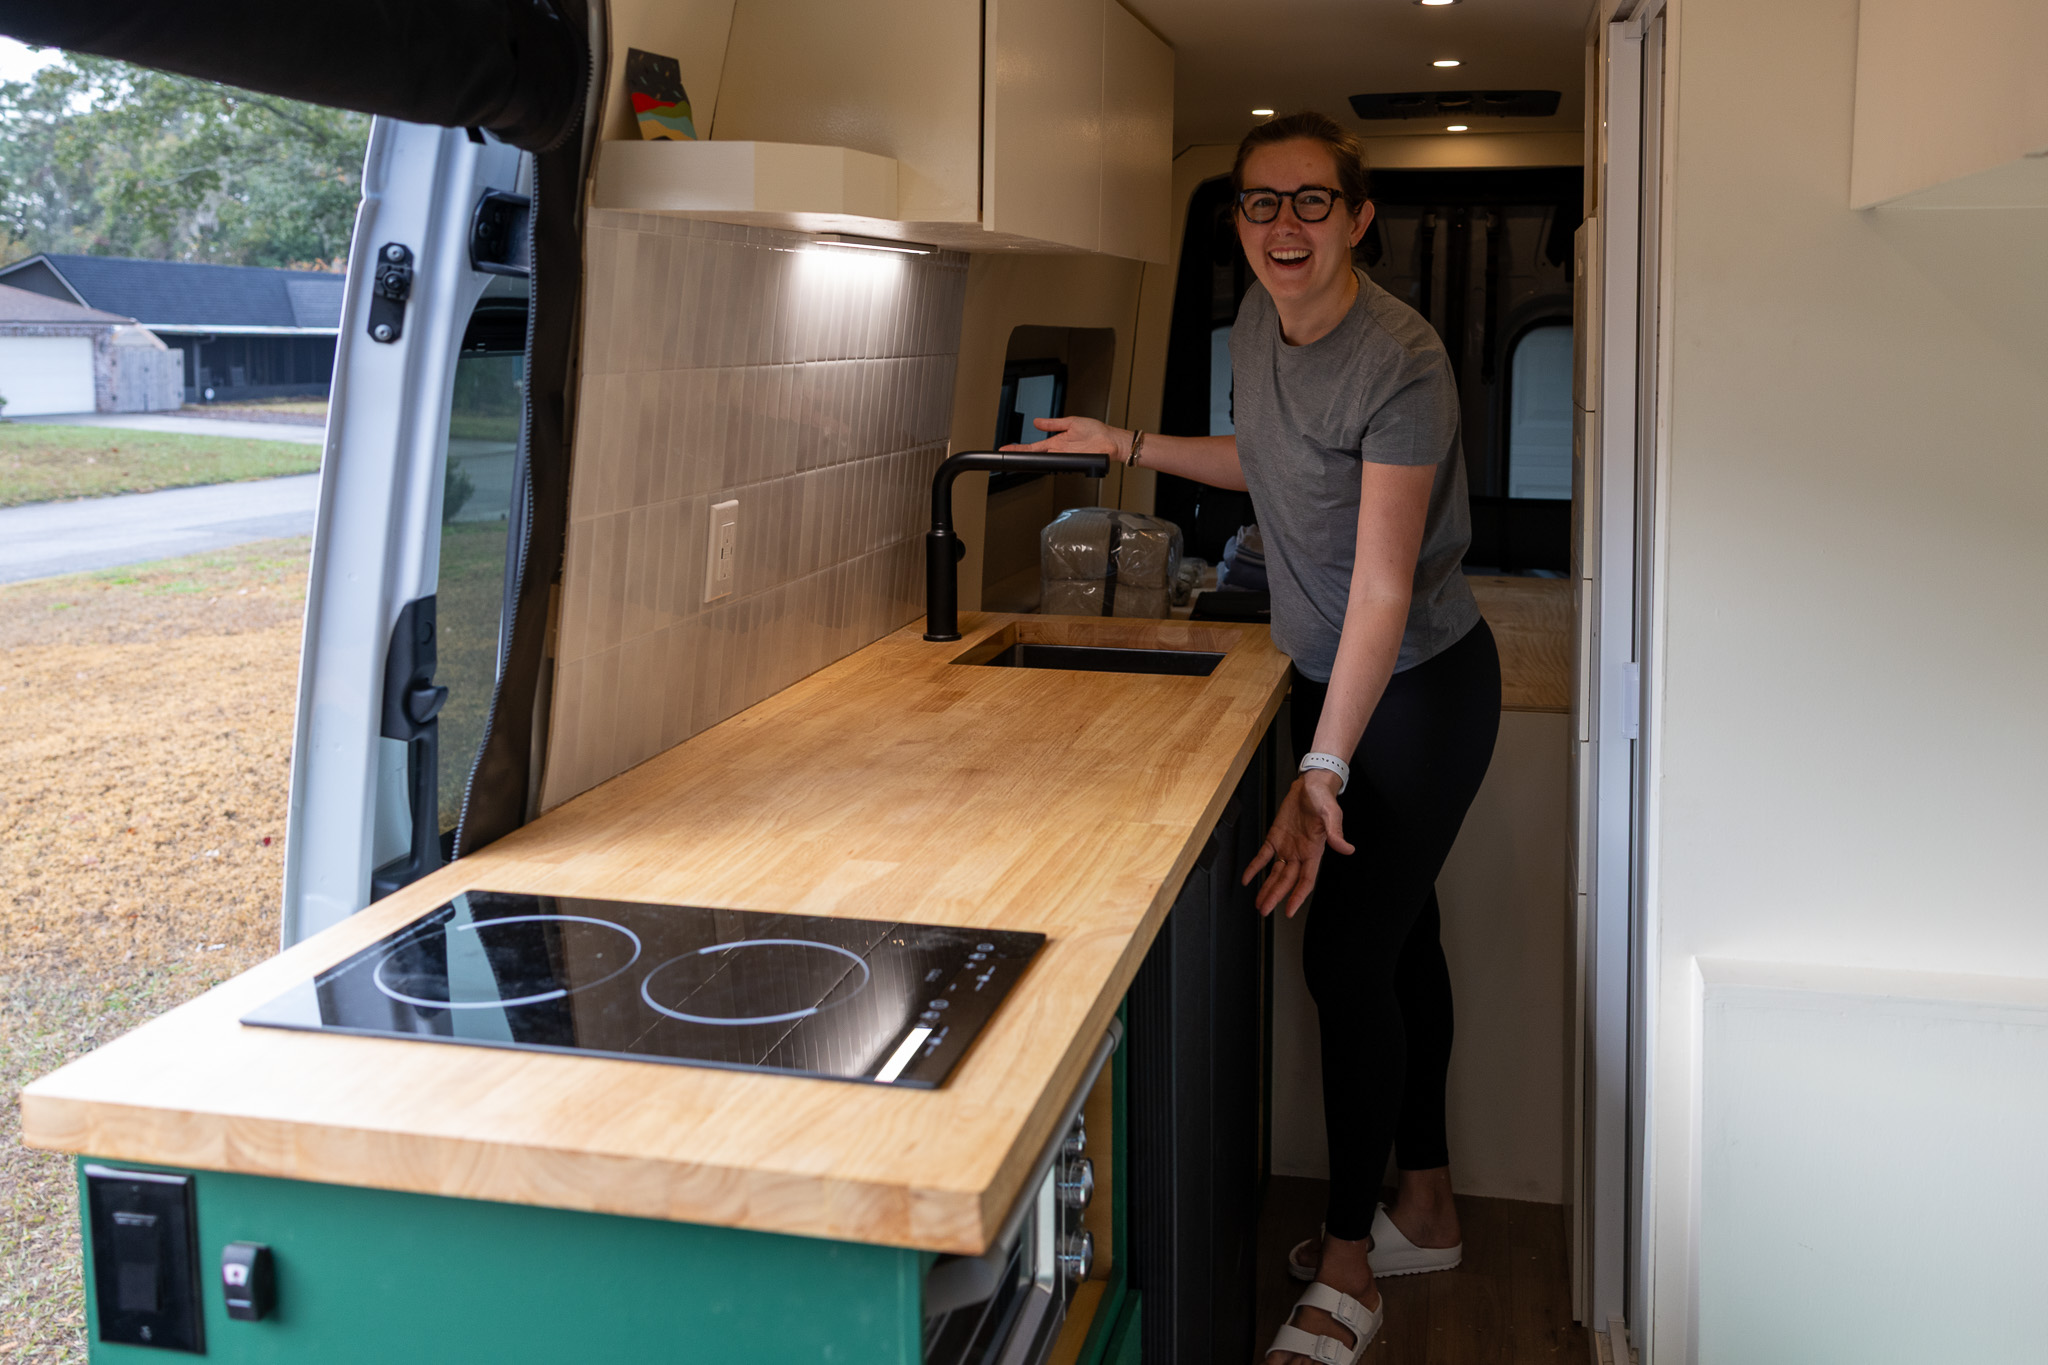
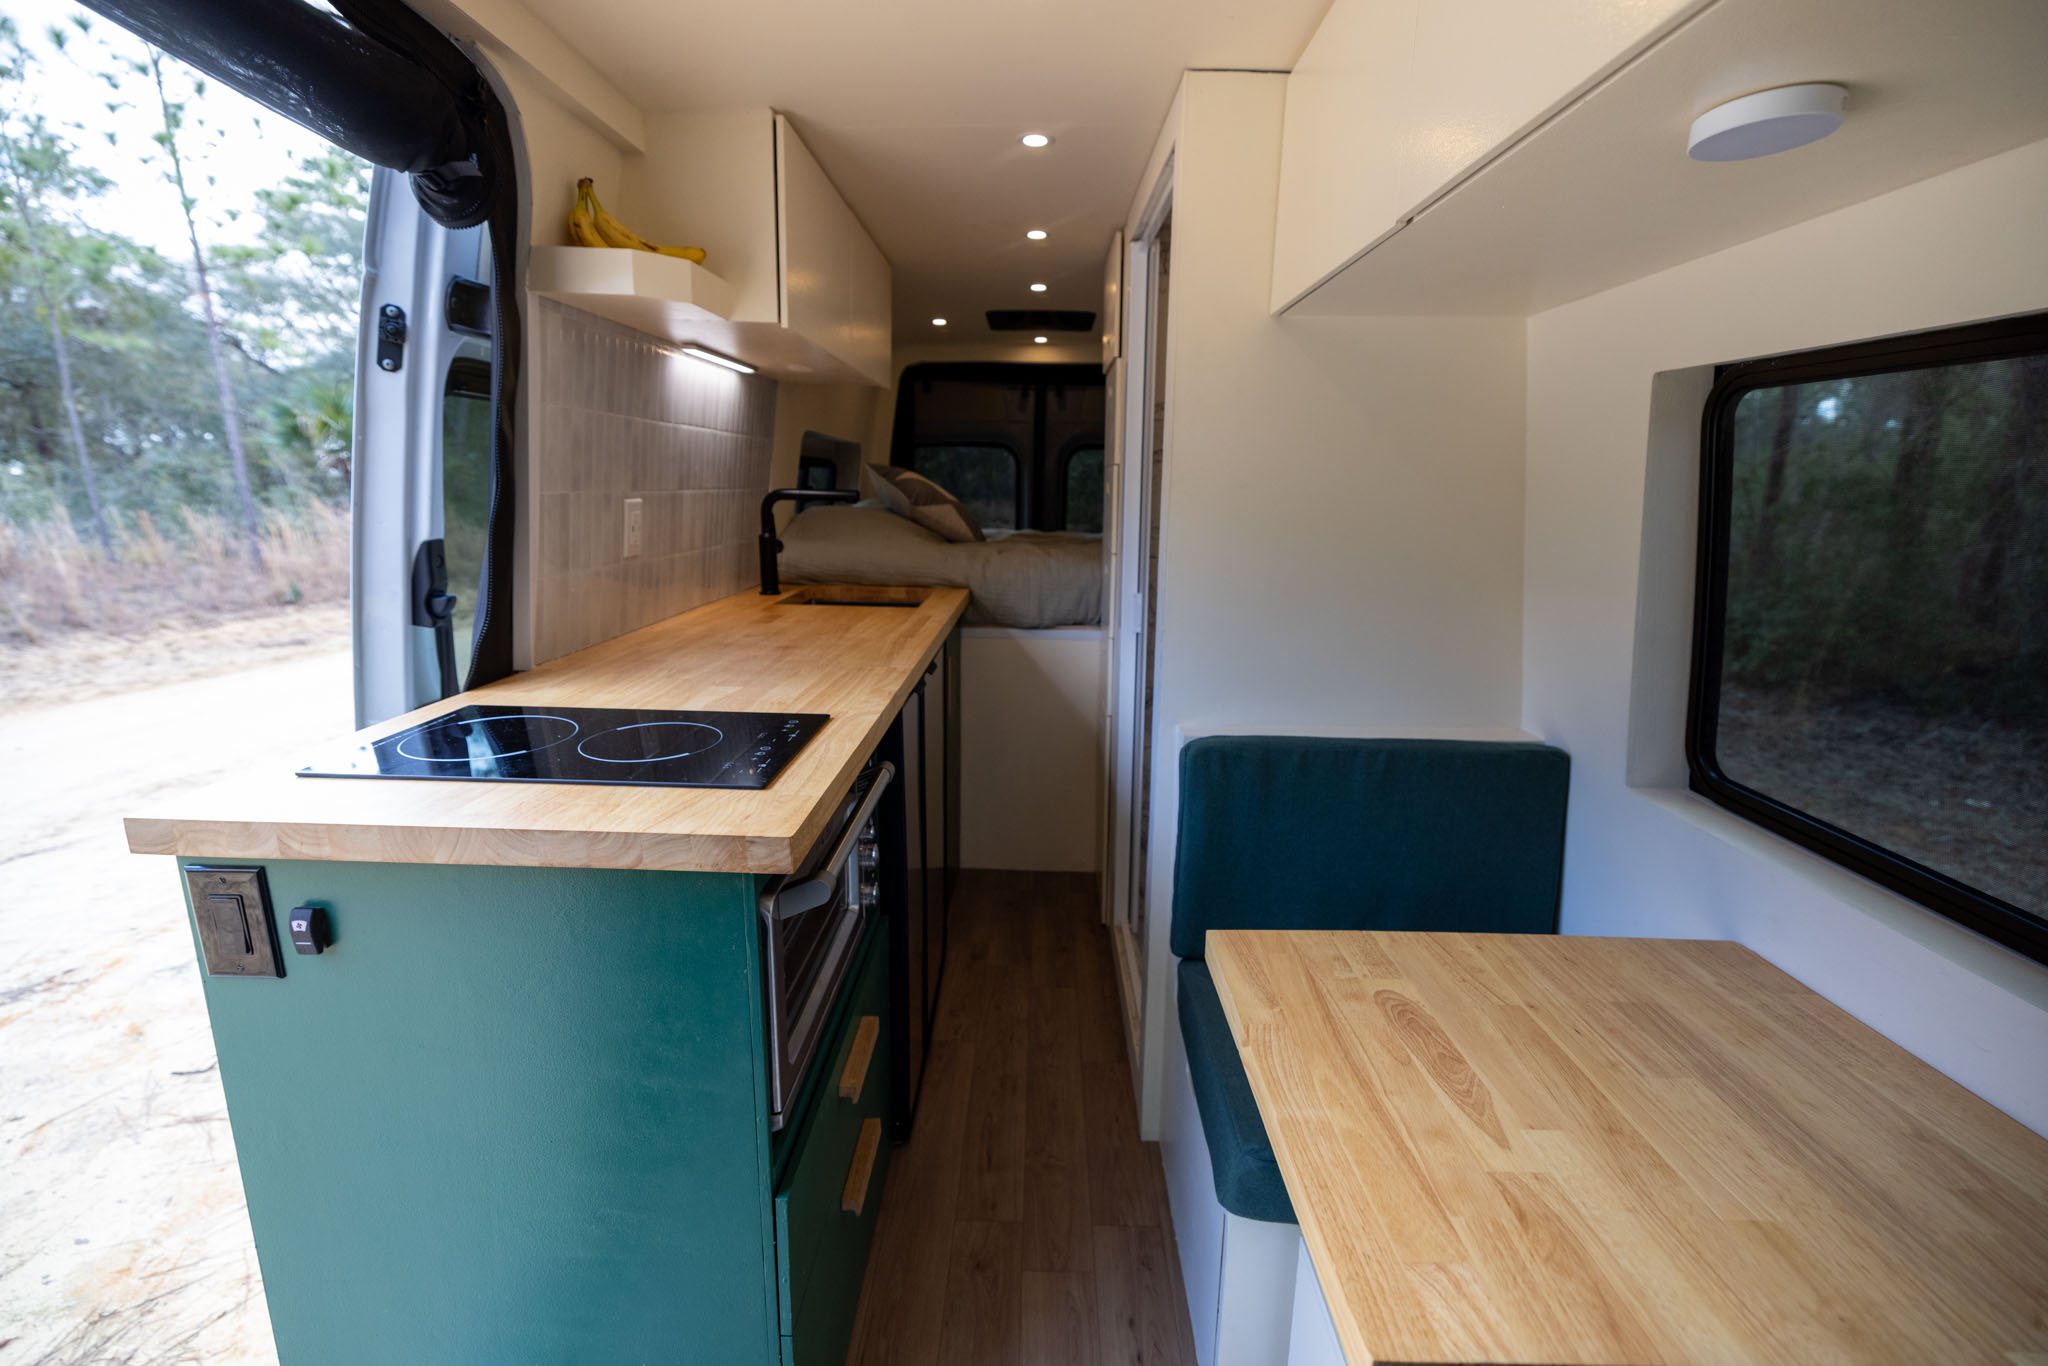
Kitchen
It’s no surprise that Jen likes to cook, so building a kitchen that was functional in 80 sq. ft. and enjoyable to cook in was essential. After living on a boat for 2.5 years, we knew what we wanted to prioritize in our van’s kitchen: a large refrigerator and freezer, an oven, a two-burner induction stovetop, and a deep sink. These items may not seem like they would be necessary for a campervan, but after living on the boat and playing countless Fridge Tetris, these items were important to us. Some ways to reduce the cost of a campervan kitchen include purchasing a smaller fridge, using a more miniature/removable stove, and not purchasing an oven.
- Nova Kool Fridge and Freezer – $2,020.85
- Breville Smart Oven – $269.95
- Two Burner Induction Stove Top – $169.99
- Deep Sink – $197.84
- Kitchen Faucet – $122.16
Kitchen Estimated Total Cost $2,780.79
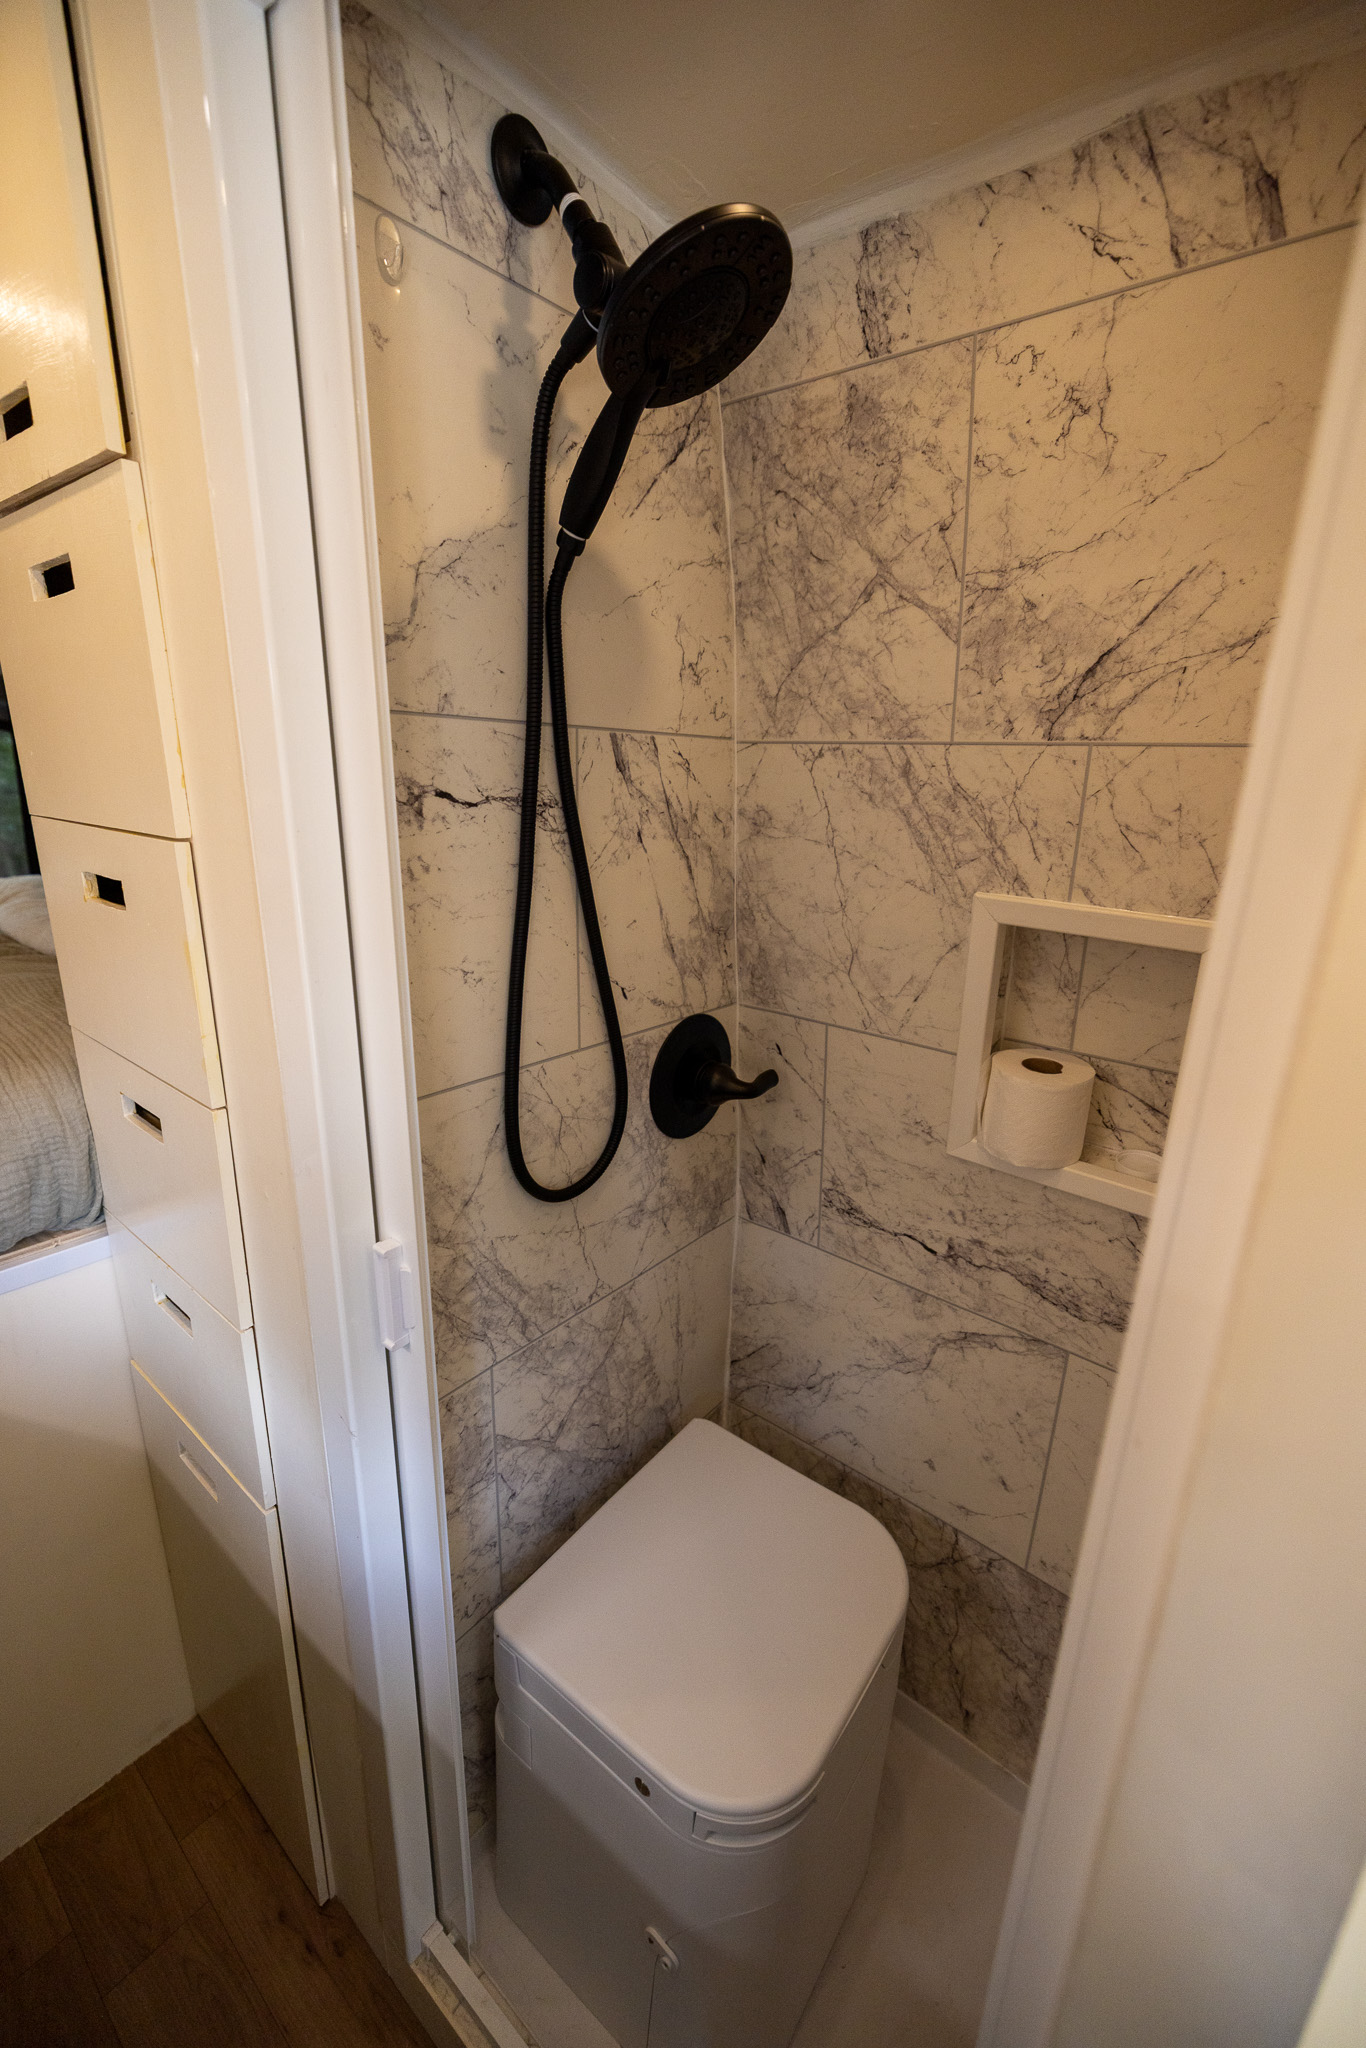
Bathroom and Shower
Installing a bathroom and shower is one of the most controversial topics in van life. They take up quite a bit of space, which is not used for the majority of the days in van life. However, we opted for an enclosed bathroom with a composting toilet since this is our full-time home. While there are multiple composting toilets, we choose the OGO Origin as our toilet of choice.
- OGO Origin Composting Toilet – $984.99
- Delta Faucet – $156.60
- Nautilus Shower Door – $261.19
- RecPro RV Shower Pan (the smallest shower pan we could find) – $129.95
- Vinyl Flooring used for our shower walls (19.08/ Sq. Ft.) – $133.56
- Adhesive Toilet Roll Holder Stand – $7.10
Bathroom Estimated Total Cost $1673.39
Read More: The BEST Composting Toilet is the OGO Origin, and here’s why
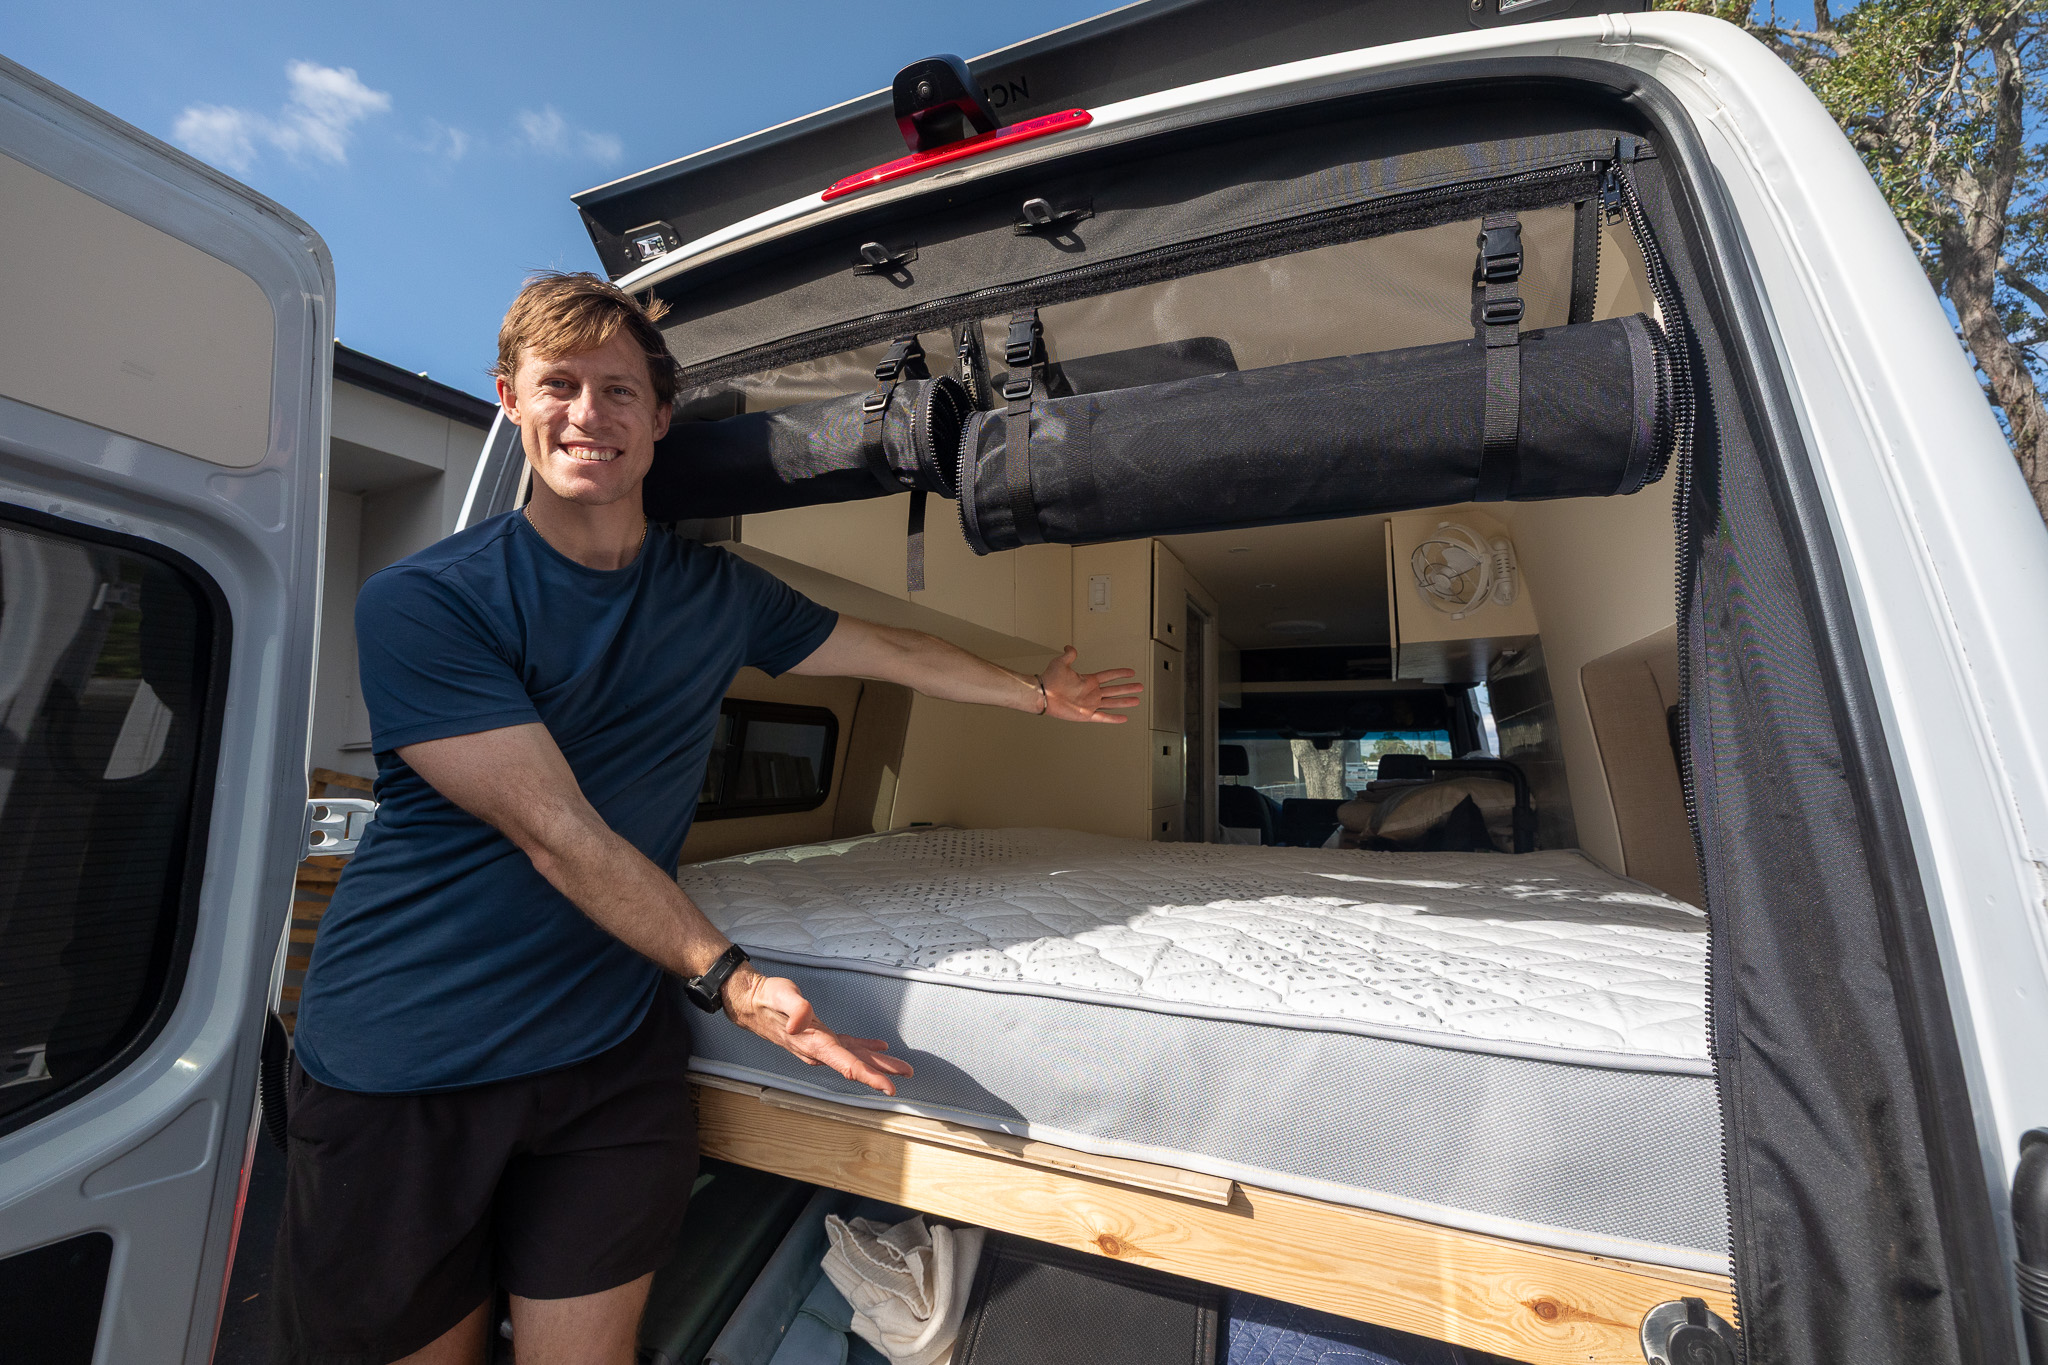
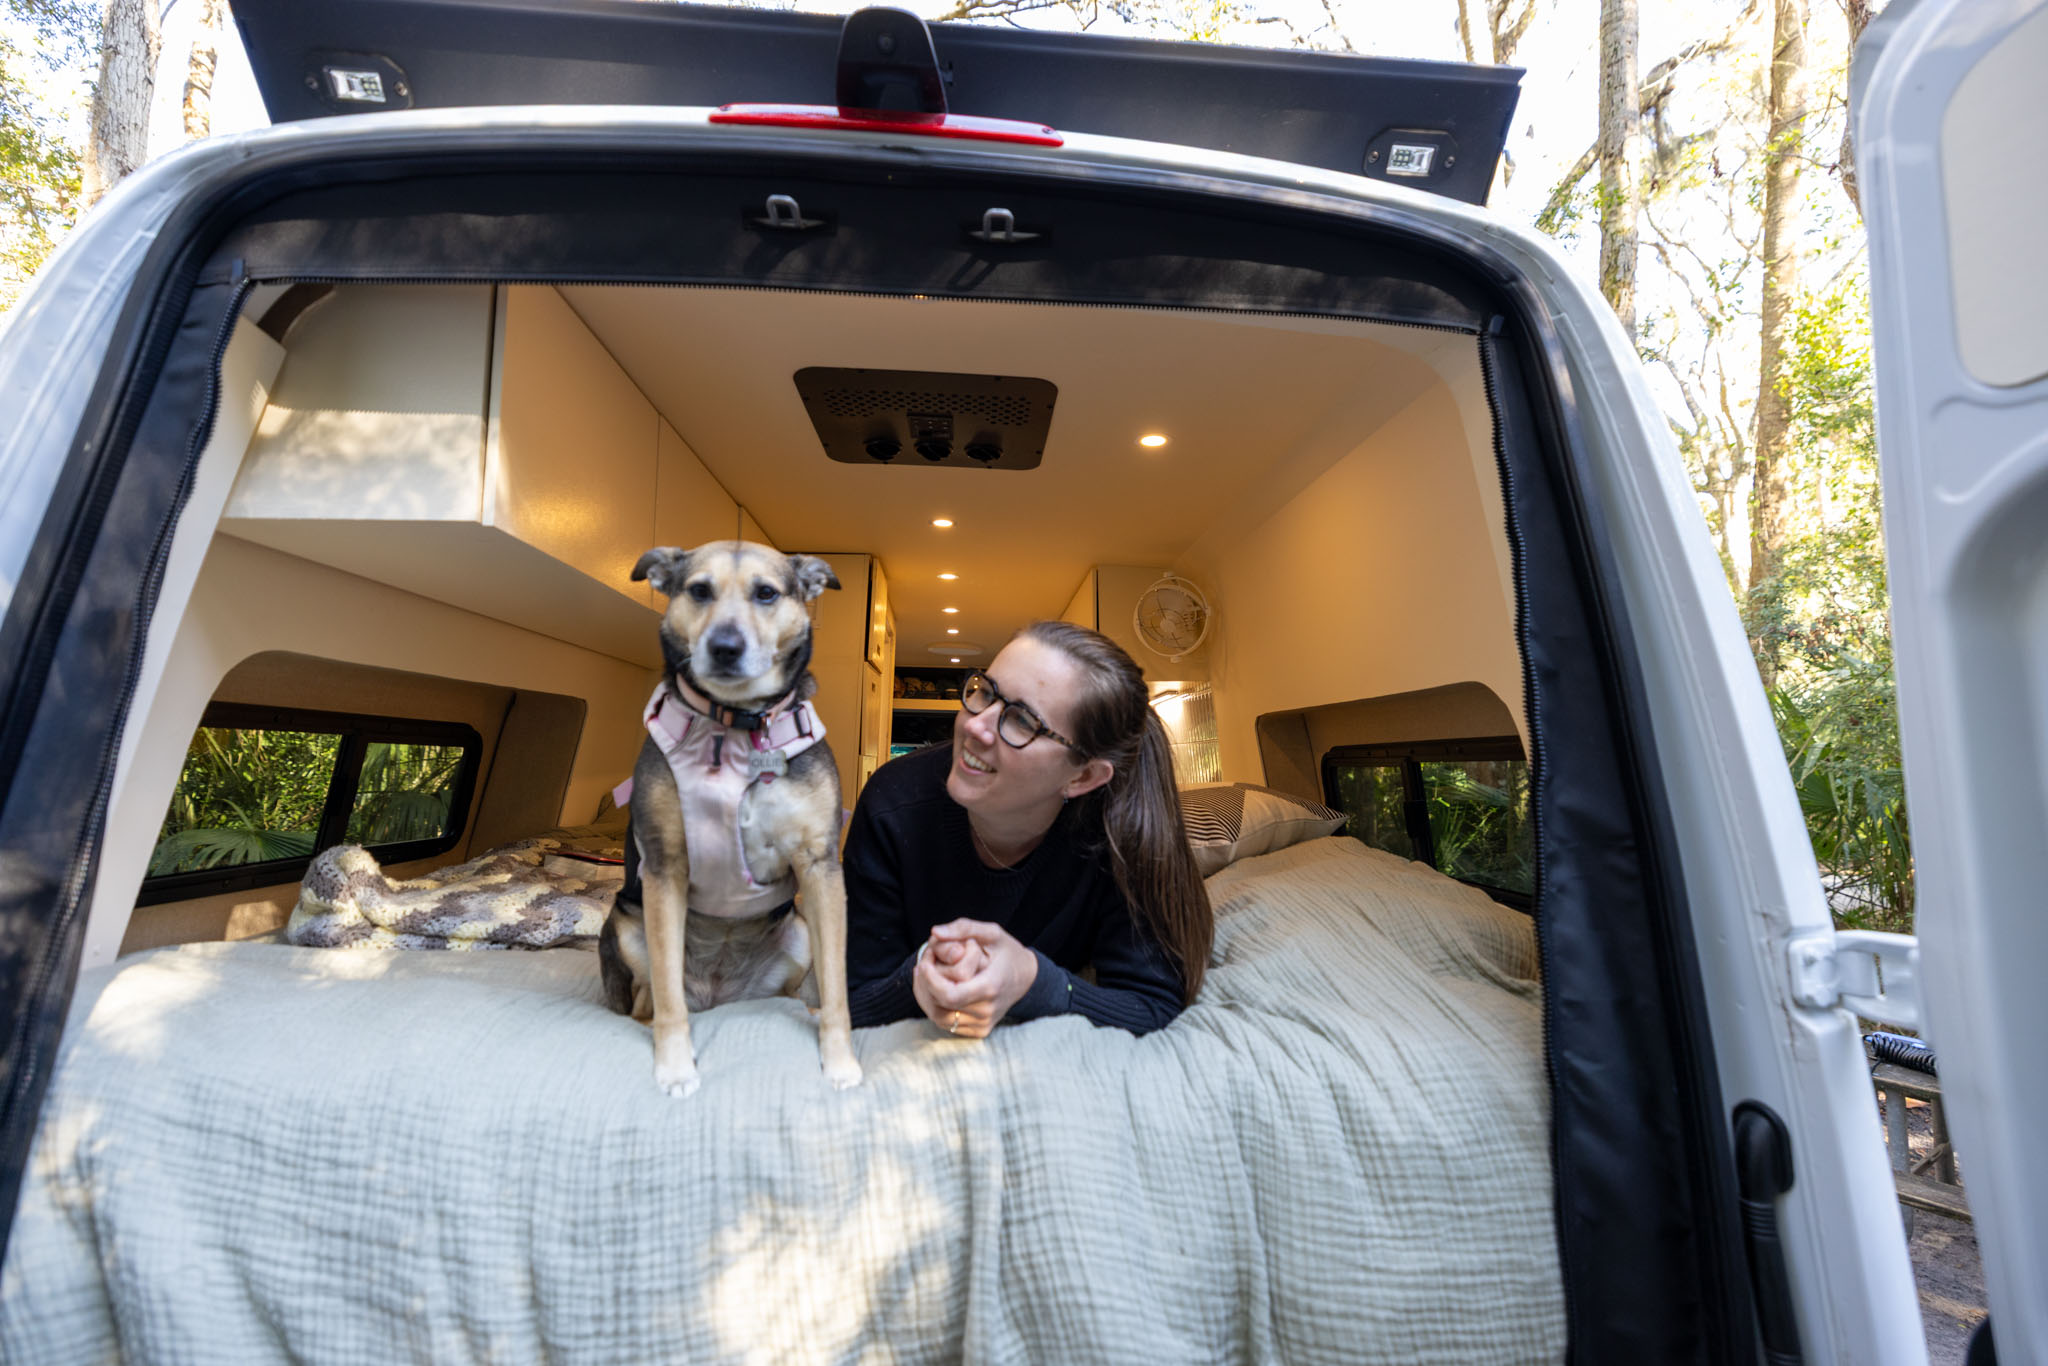
Bedroom
There are a few different options for van beds. The cheapest and easiest options are IKEA mattresses, and the next option is foam cushions. While foam cushions can range in comfort and durability, we opted for a custom Queen Mattress from Custom Mattress Makers. We’re in our 30’s and value a good night’s sleep more than our 20’s. Since living in our van for 3 months, our mattress is easily one of our favorite ‘luxury’ items we splurged on!
- Custom Queen Mattress – $799
- Sheets and Blankets (already purchased) $0
Bedroom Estimated Total Cost $799
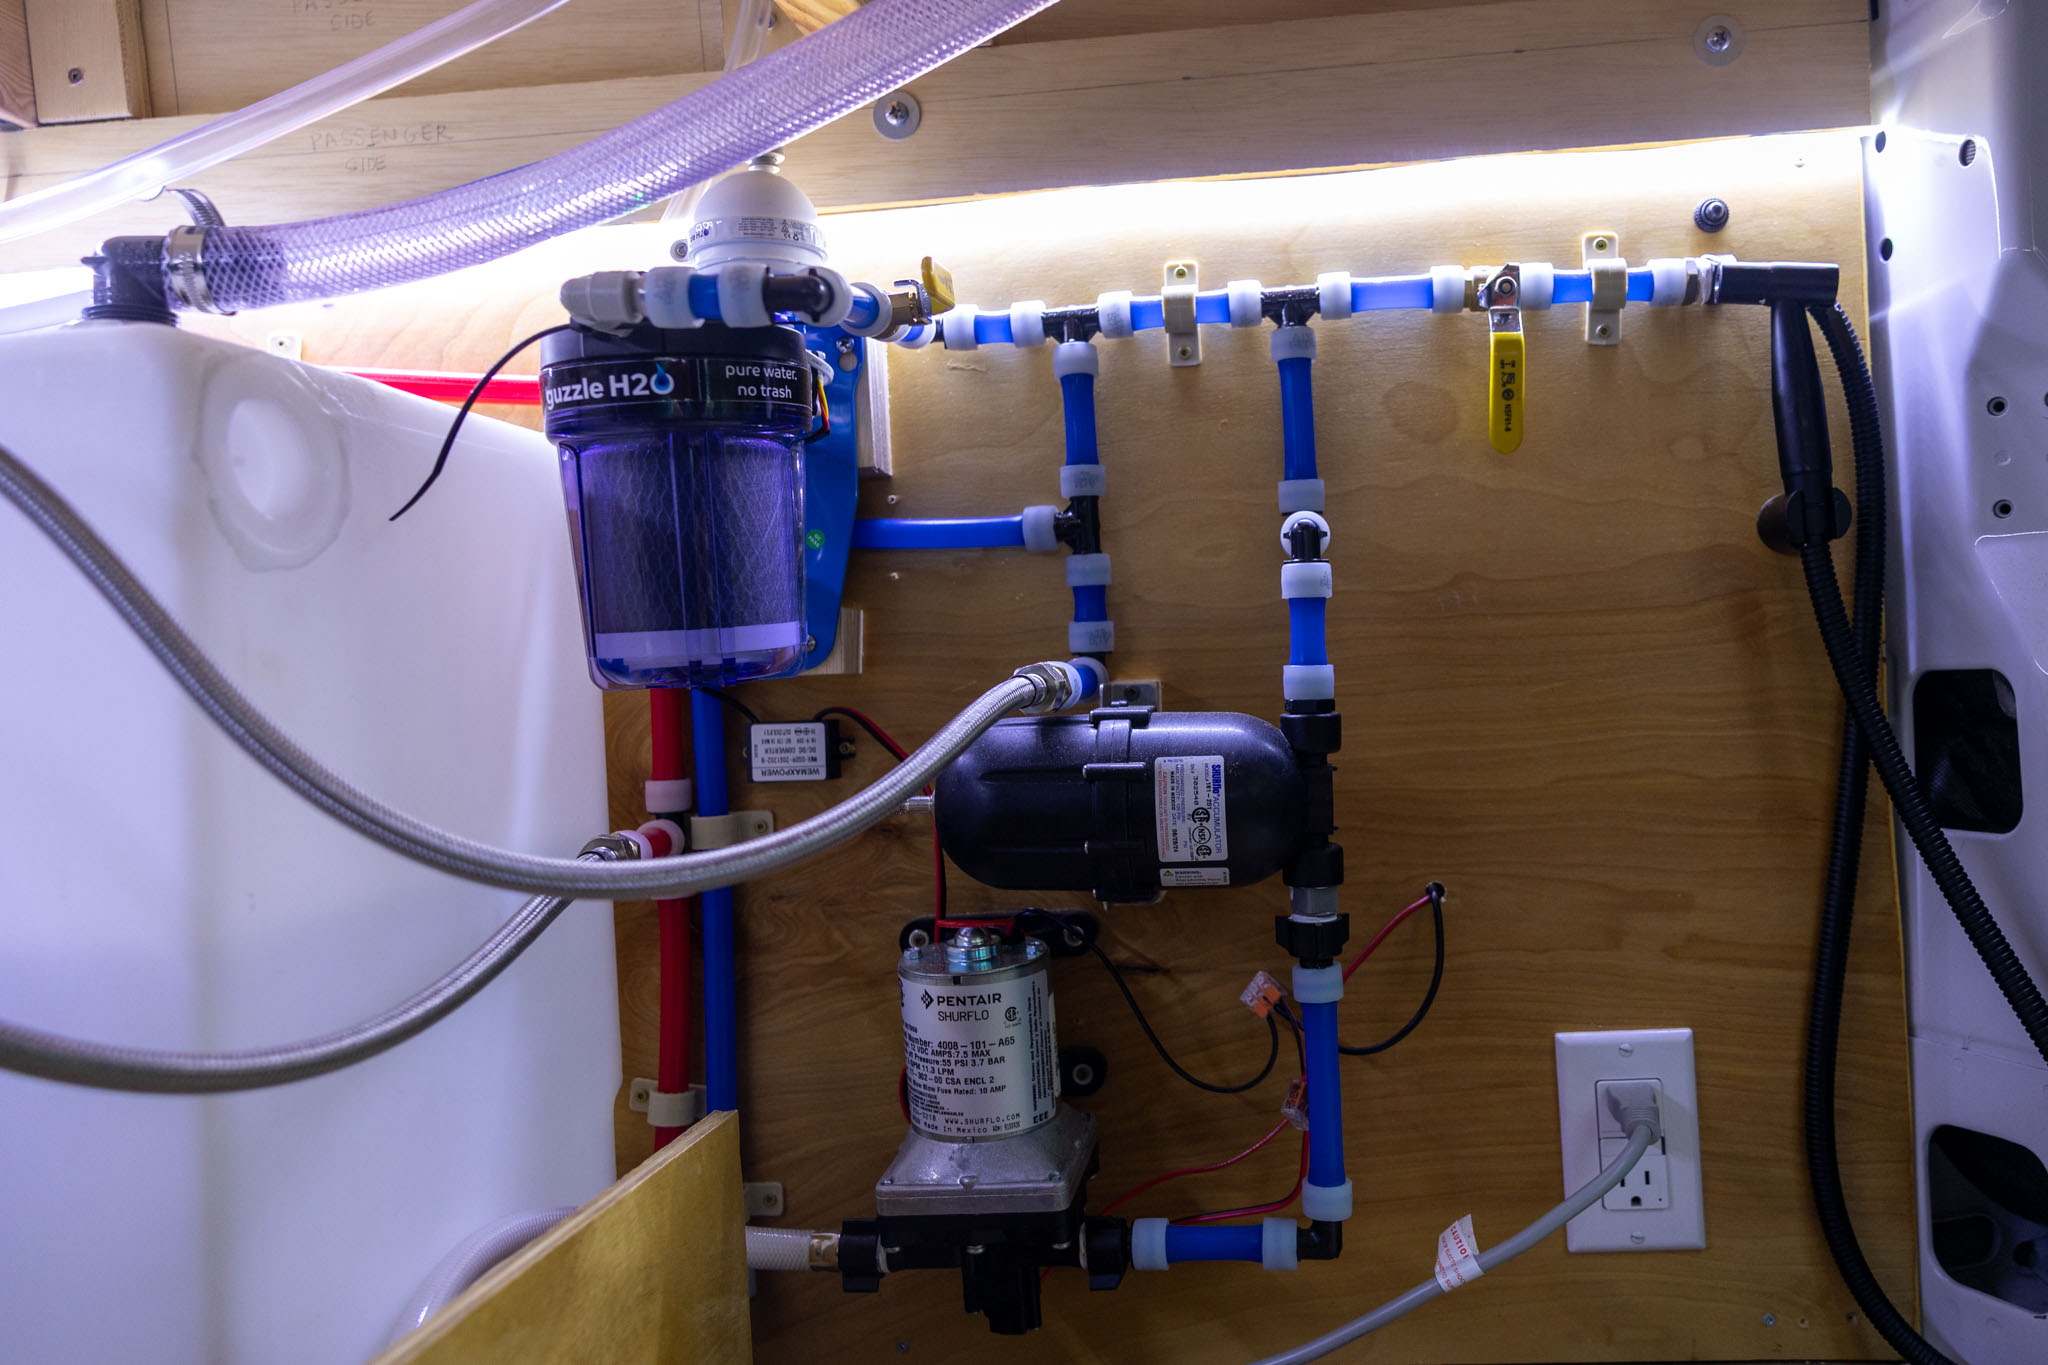
Plumbing
We wanted our van to feel like a home, so having a plumbing system was important to us. We installed a full plumbing system for our kitchen sink and shower, including hot water. This category doesn’t include several plumbing items like pipes, connector pieces, drains, and more, which are all included in the Hardware Store, Amazon, and Miscellaneous category.
- Northwest Conversions 33 Gallon Water Tank x2 – $598.00
- 11-gallon Gray Water Tank – $289.00
- BOSCH Hot Water Heater – $204.95
- Shurflo Water Pump – $71.99
- Shurflo Accumulator Tank – $52.83
- Guzzle H20 Water Filter – $680.00
- Mopeka Pro Check Universal Sensor x2 – $129.98
Plumbing Estimated Total Cost $2,026.75
Salon
We have a small seating area for two, which includes a removable table, cushions, and an ottoman. Although this section doesn’t include the wood and hardware to create the seating area, it includes several of the other components.
- Sunbrella Fabric for seating area – $129.70
- Foam for Cushions – $51.24
- Zippers for Cushions – $12.86
- Lagun Table Mount – $211.00
Salon Estimated Total Cost $404.80

Accessories
There are plenty of small accessories that we added to our campervan build that are not necessary, but were important for us to add as full-time van living.
- Scopema Swivel Seat – $399
- Vancillary Door Stop – $39.95
- Marathon Fabric (used for our flares and headliner shelf) – $318.92
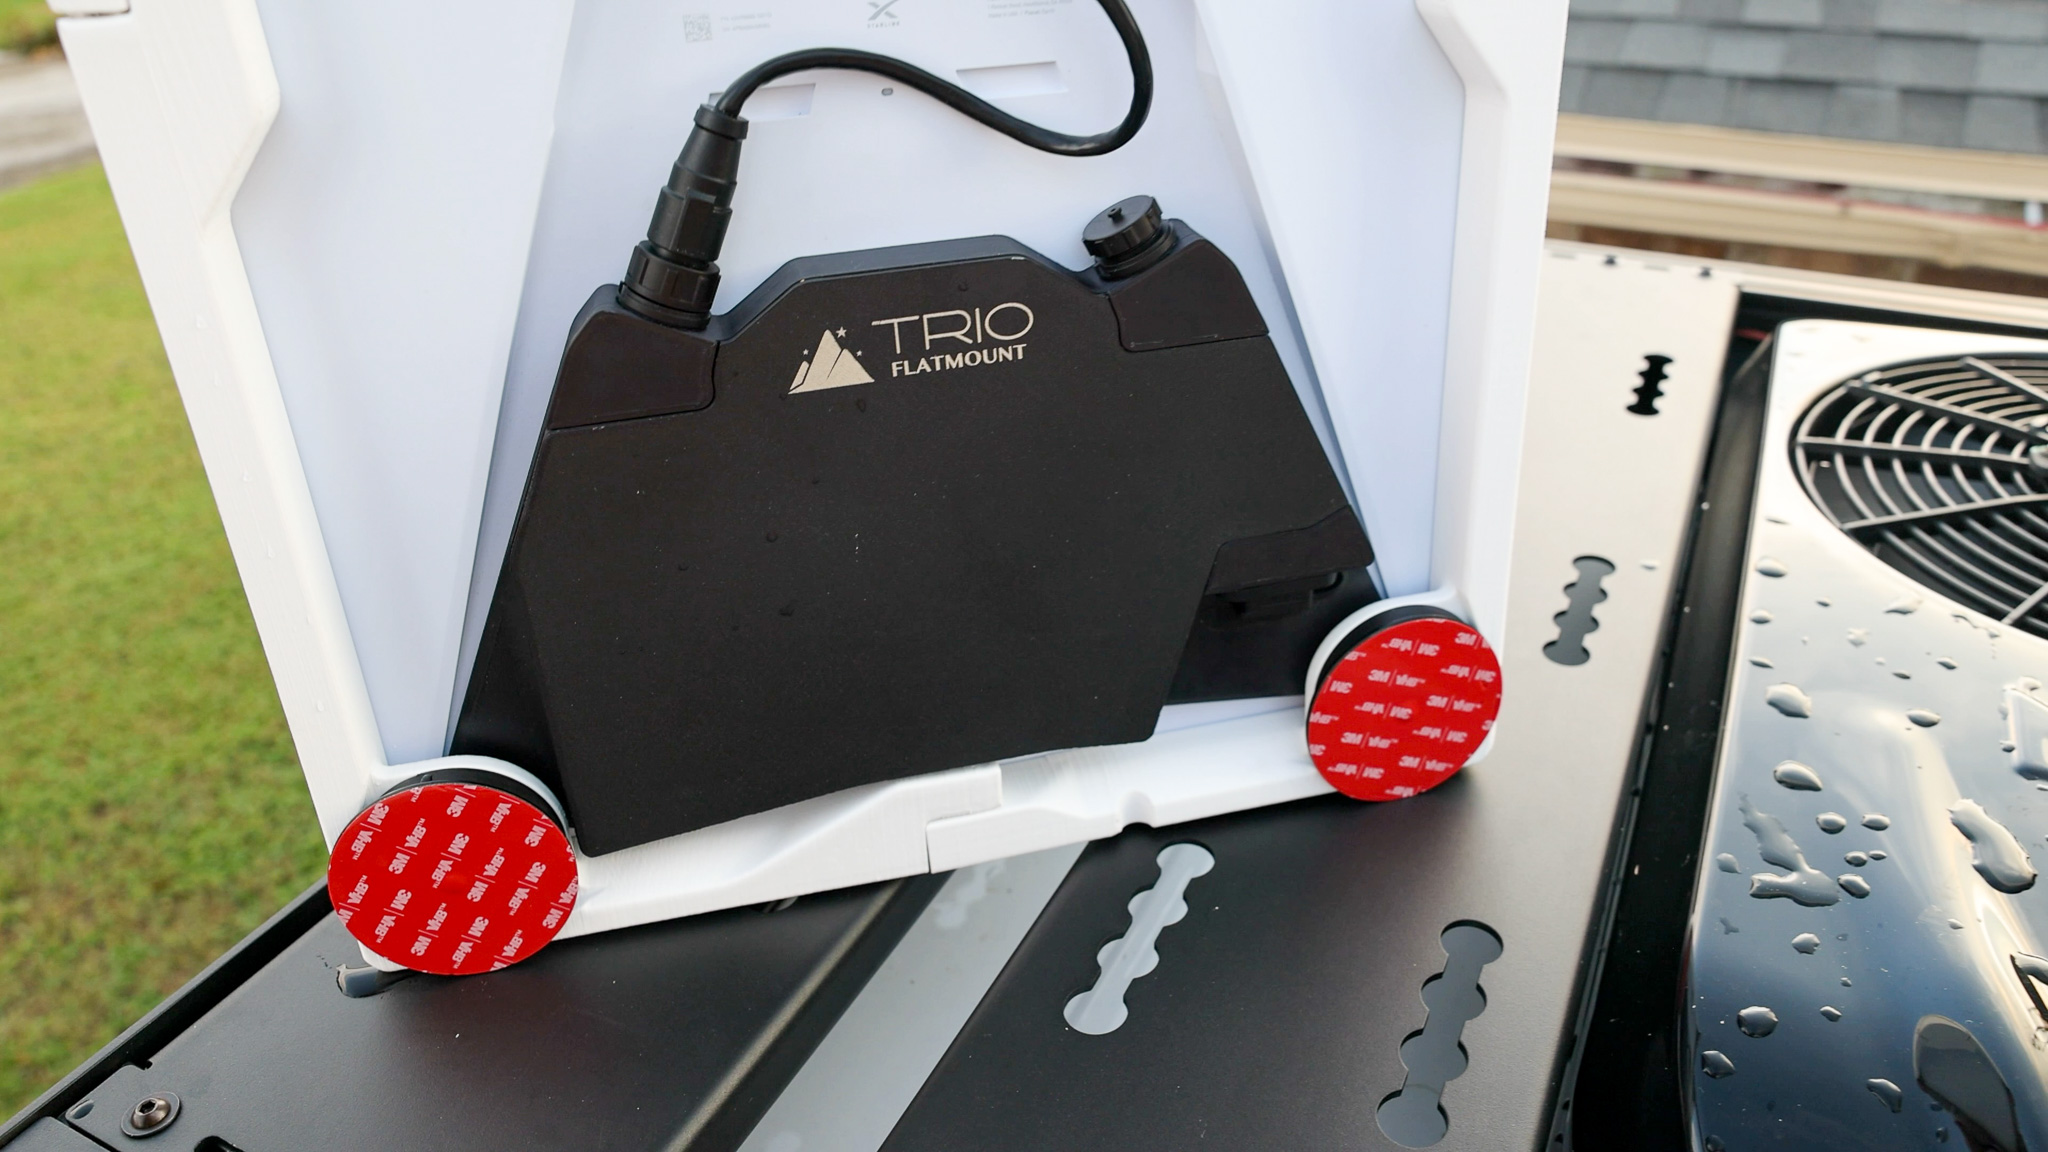
- Starlink – $599.00
- Starlink Gen 3 Standard Speedmount – $355.00
- Starlink Gen 3 All in one 12v Conversion Attachment – $575.00
- Mercedes Sprinter Side Sliding Door Insect Screen – $349.00
- Mercedes Sprinter Rear Garage Insect Bug Screen – $599.00
Accessories Estimated Total Cost $3,234.87
Read More: Top Five Components for Sprinter Van Build
Hardware Store, Amazon, Miscellaneous
This group includes a lot of things! From our lighting and electrical like wires and hardware to wood to build everything, cabinet latches and hardware, butcher block countertops, tools and more!
Hardware Store, Amazon, Miscellaneous Estimated Total Cost $12,545.08
Our Van Conversion Cost by Category
Let’s break down these expenses by category!
| Category | Cost |
|---|---|
| Electrical and Solar Power | $18,137.32 |
| Flares | $4,544.00 |
| Roof Rack | $6,623.00 |
| Cooling and Heating | $7,739.28 |
| Windows | $2,667.70 |
| Flooring | $1,093.83 |
| Kitchen | $2,780.79 |
| Bathroom and Shower | $1,673.39 |
| Bedroom | $799.00 |
| Plumbing | $2,026.75 |
| Salon | $404.80 |
| Accessories | $3,234.87 |
| Hardware, Amazon, Miscellaneous | $12,545.08 |
| TOTAL VAN BUILD COST | $64,269.81 |
Discover your next adventure, start here at schoandjo.com/destinations
Cost of the Van in a Campervan Conversion
There are three main vans used in campervan conversions: RAM ProMaster, Ford Transit, and Mercedes Sprinter. We bought our used Mercedes Sprinter van with an RV Package (alternator bracket, lifted, and 360 degree camera) for $72,005.65, which brings our van build total plus the cost of the van build to $136,275.46. If you’re shocked by seeing this number, know you’re not the only one! We initially decided to build our own campervan because we knew we wanted a luxury build with certain amenities and to save money, we knew we had to build it ourselves. While our budget was much lower, we did go over budget and we’ll have to see if the amenities and accessories we splurged on make sense over the long run.
Read More: The Best Van for Van Life: Why we Bought a Mercedes Sprinter Van
Watch our Full Van Tour on YouTube
If you’re wondering what our van looks like and want a full tour, watch it on YouTube here!
Ready to Tackle Van Conversion Costs?
Pin this guide to how much a van conversion costs to make budgeting your next project a little bit easier!


Leave a Reply
You must be logged in to post a comment.