We installed the new (2024) Flarespace flares on our 170” Mercedes Sprinter Van as the first major project of our van build. It was a HUGE endeavor and it was the first time we cut into our van. It kicked off our entire build with a bang and was a non-stop learning train. Everything from what tools to use, what ways NOT to do things, and dealing with the unknown was all part of the journey. Read below to learn about flares, what we learned, and how to install them like a professional!
Note: We use affiliate links which provide us a little kickback each time you use one of our links and make a purchase, without any additional cost to you. We do not recommend products that we don’t already love or have heard great things about, so you can trust we’re only suggesting great products to you.
What are Van Flares
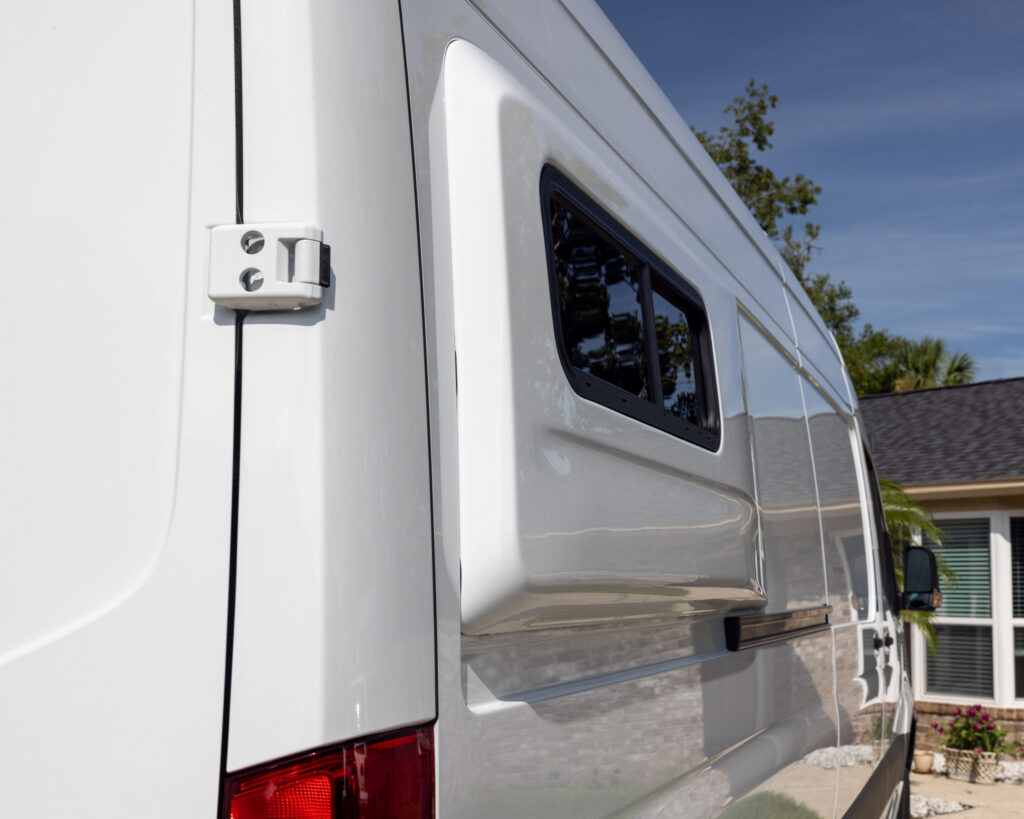
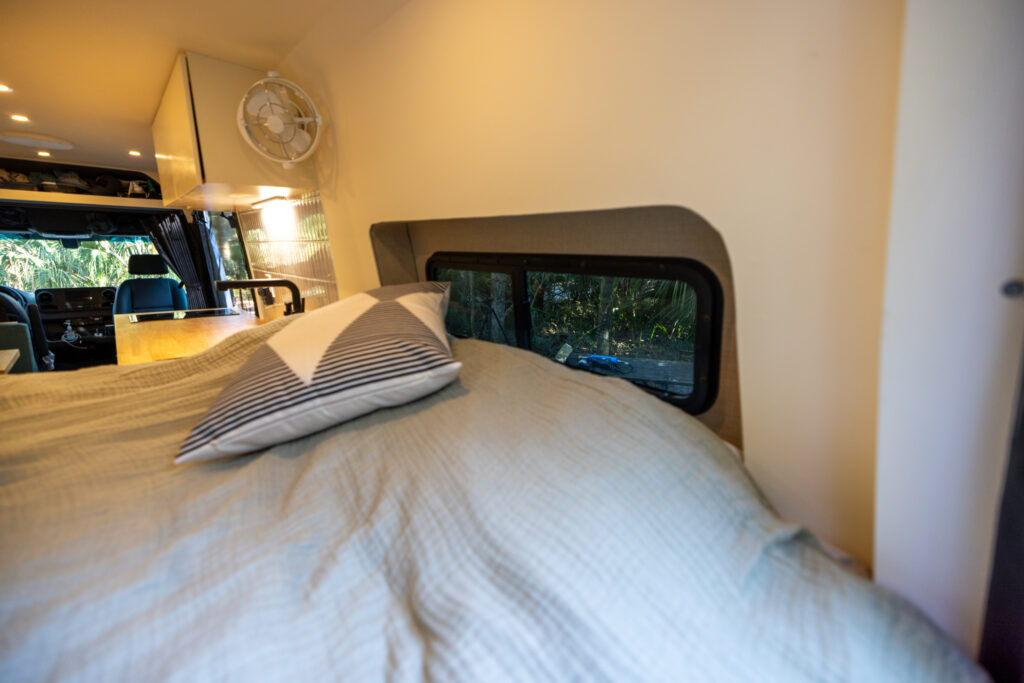
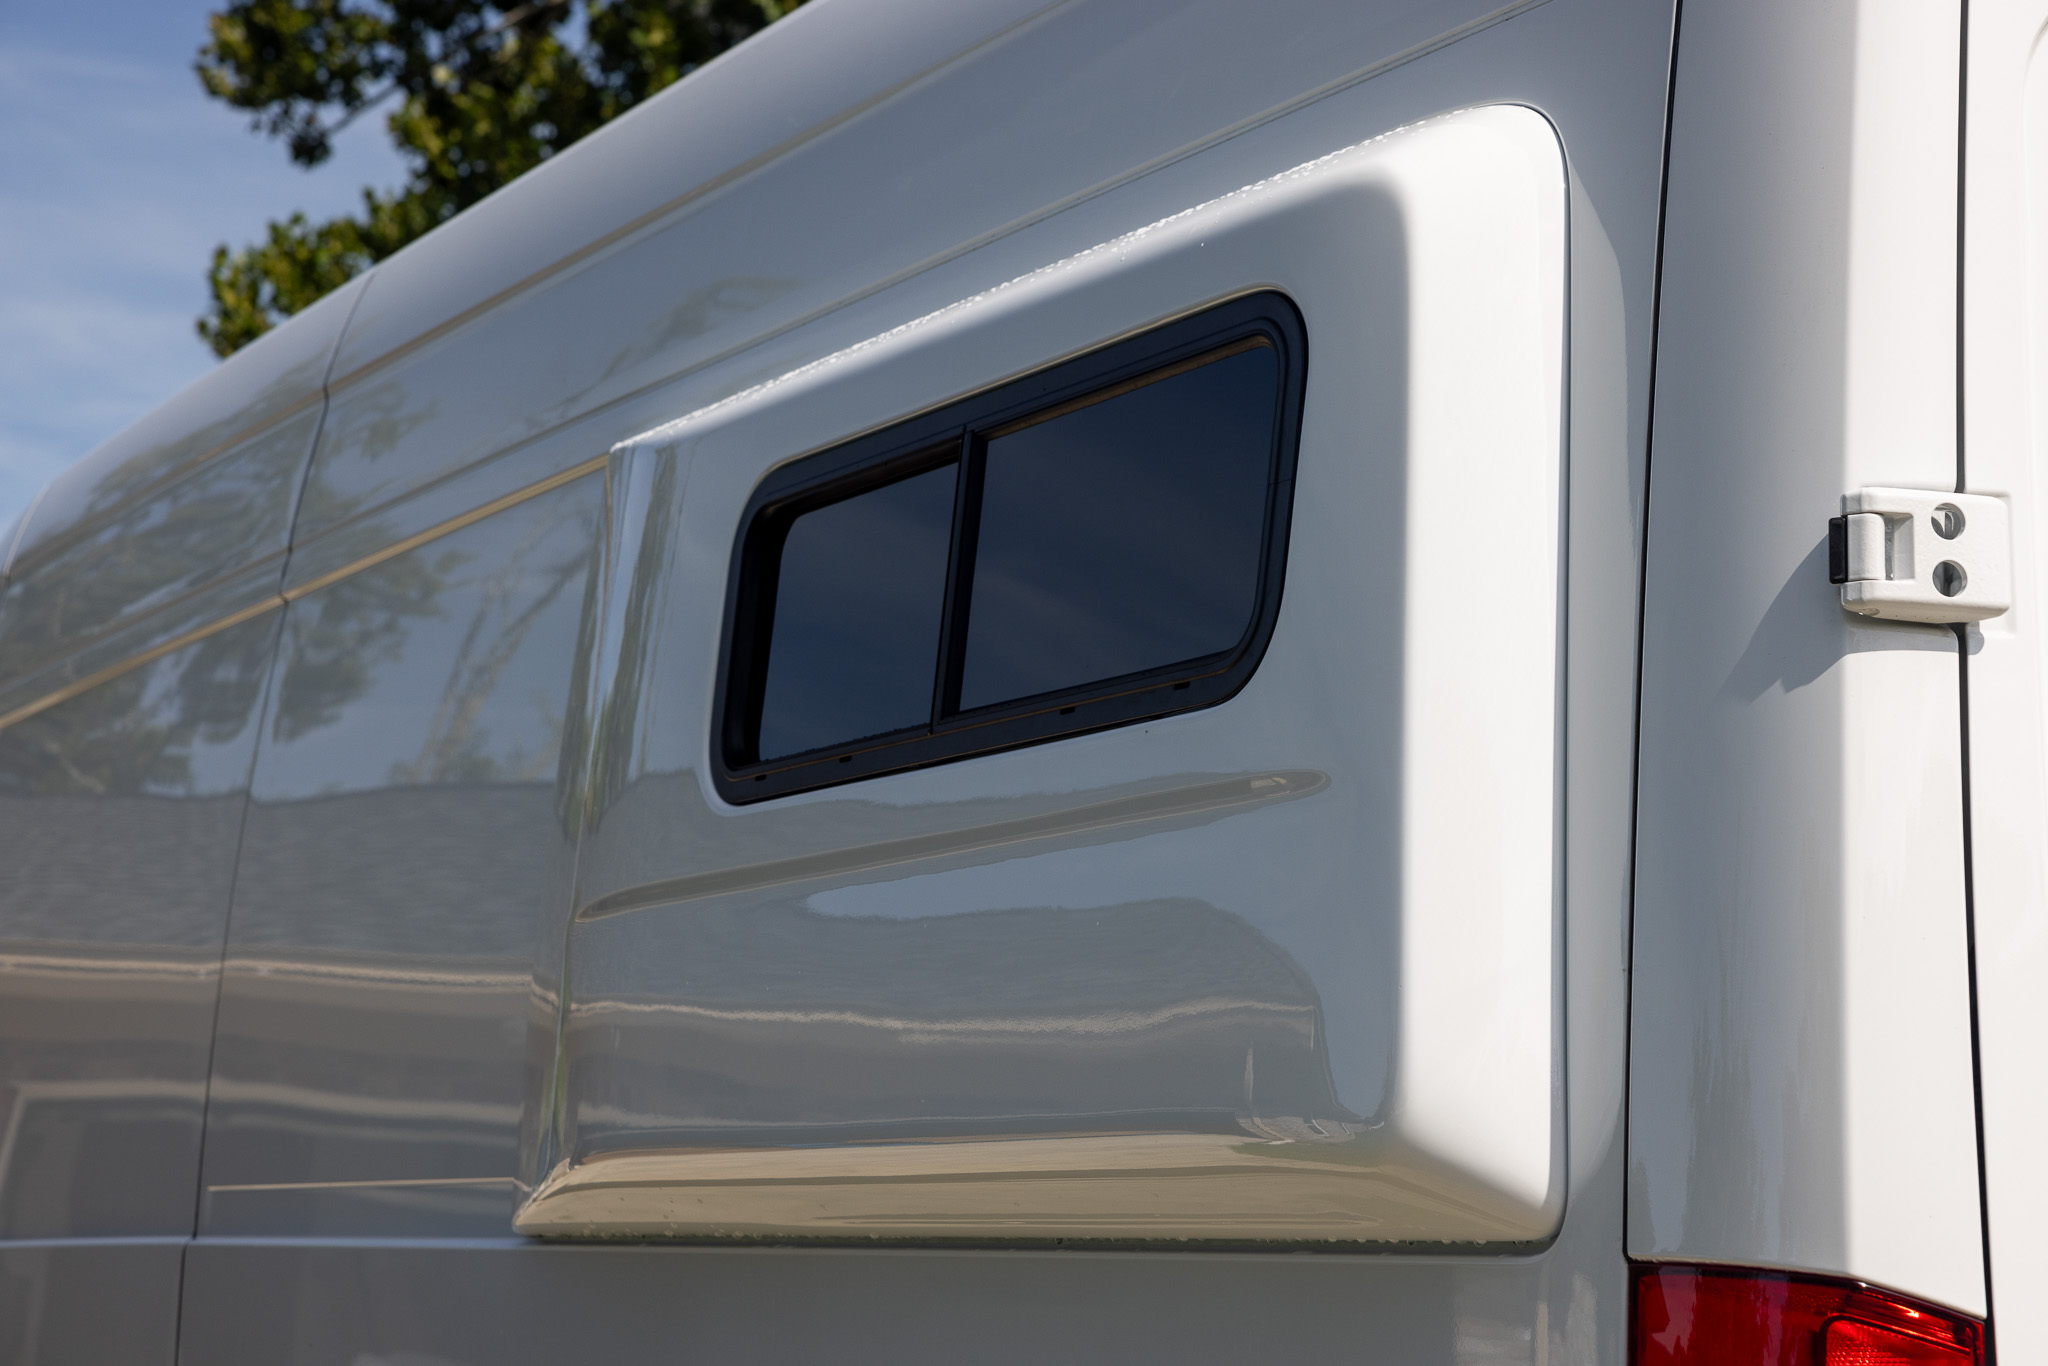
Van flares are “bump outs” in the rear panel of your vehicle. I usually explain that they are fixed versions of RV slide-outs, popular in many RV models. They extend the width of your vehicle by a few inches, giving you just enough room to move your bed 90 degrees and sleep sideways.
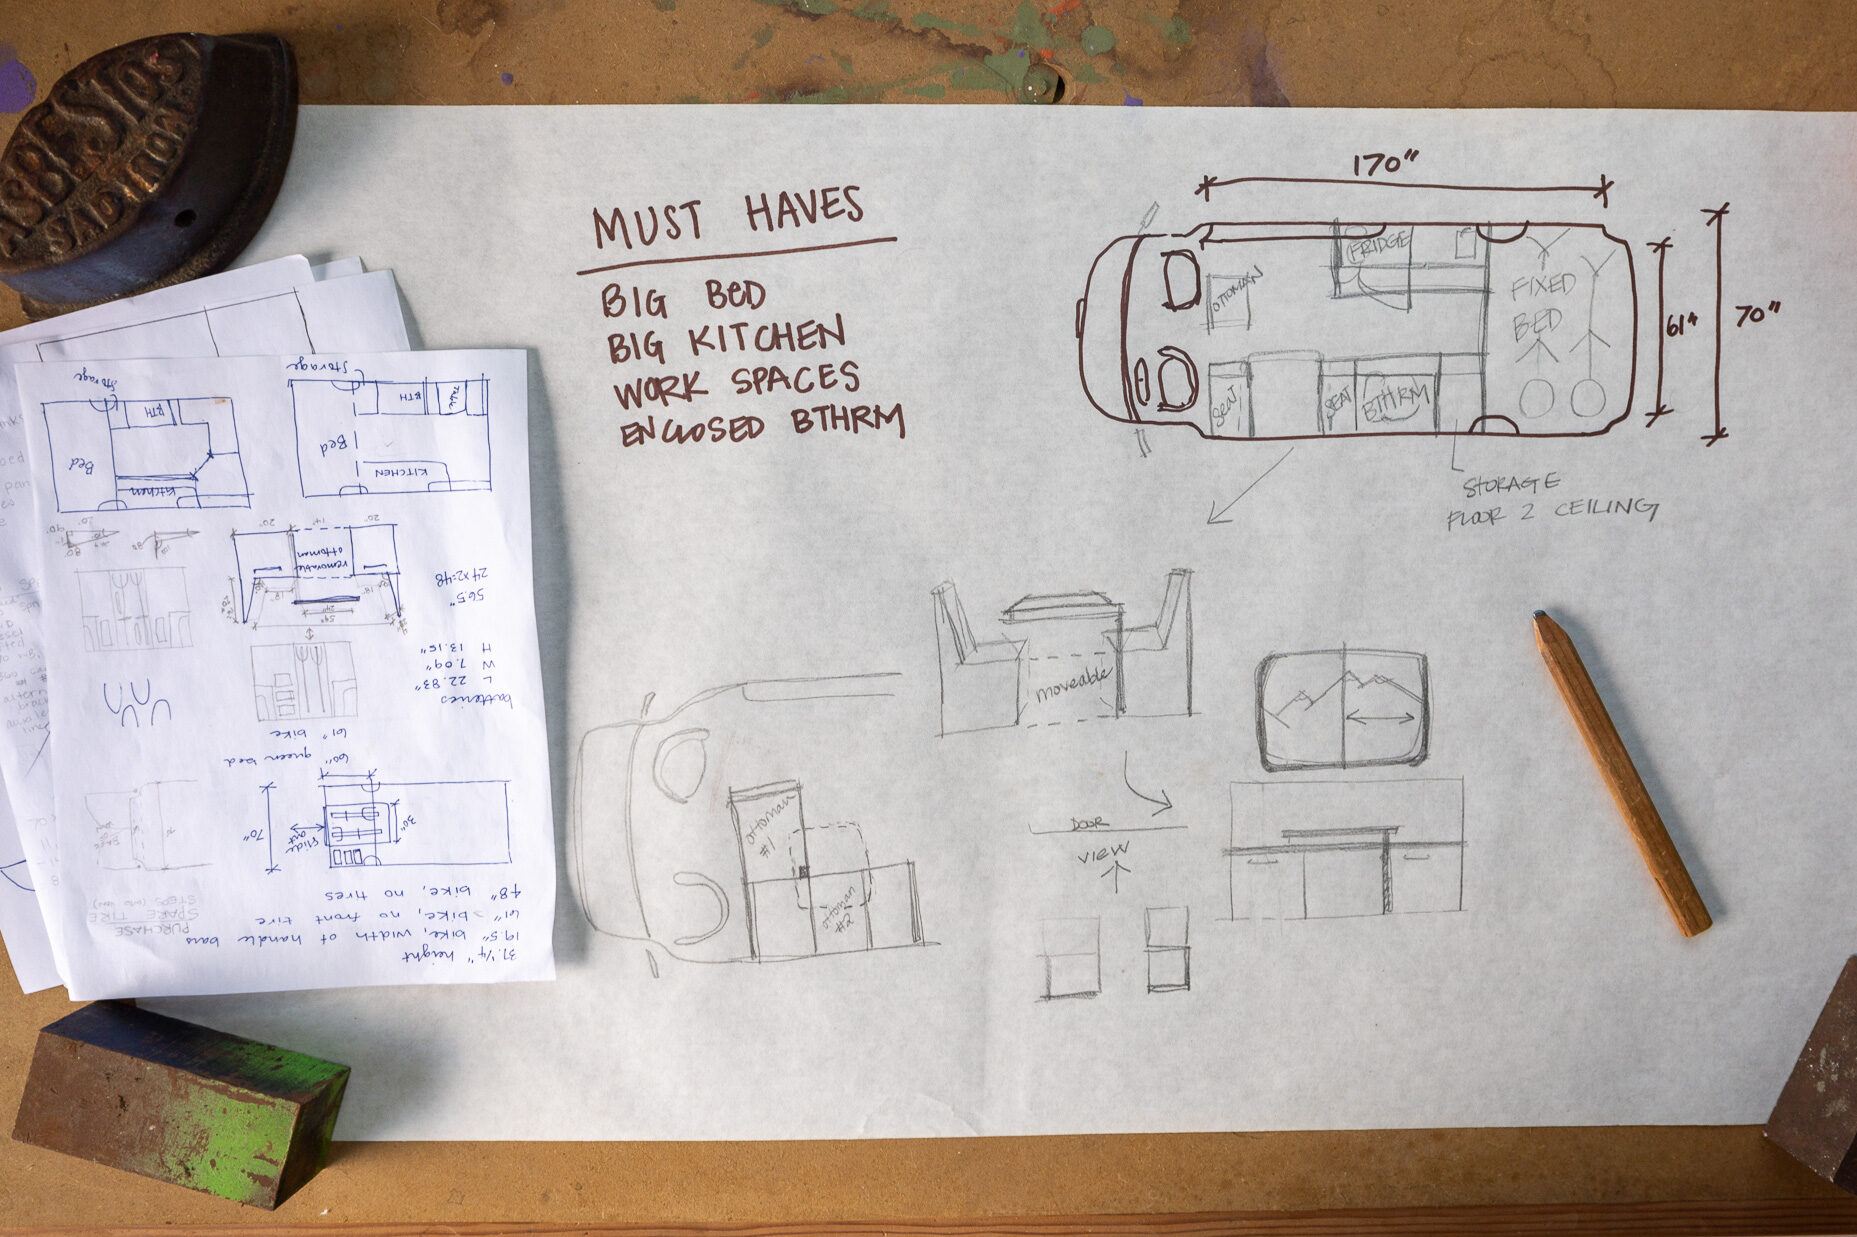
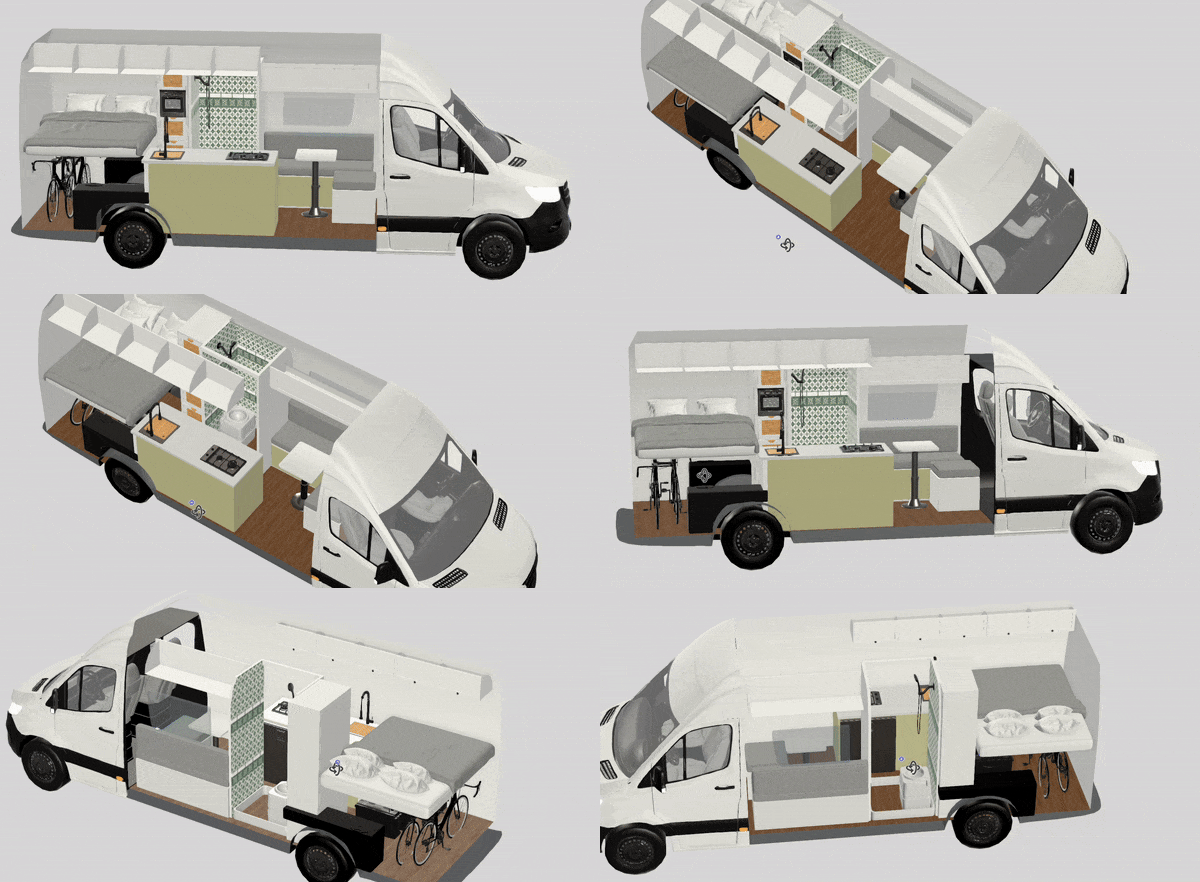
You may think, “Why spend this money?” or “Why spend this time” installing flares for only a few inches? It’s a great question and one that we went back and forth on ourselves. What pushed us over the edge was the space savings. In a fixed tiny home, every inch matters. Sleeping sideways gives us almost 20 more inches of usable space in the van, a game changer for our full-time home!
Do you need van flares?
As you begin your flare research, the first question might be, “Do I need van flares?” This mainly comes down to what you want to include in your van, but we can already have a few criteria that nix Flares from the get-go!
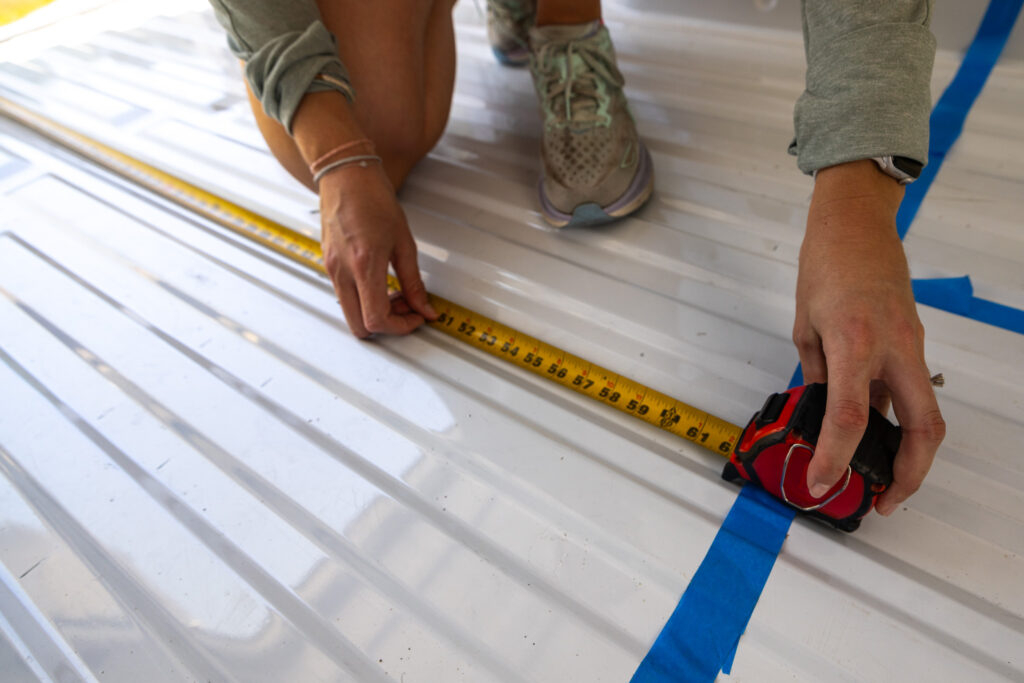
If you sleep shorter than 5’9”, you won’t use the added width of the Flares. You’ll have around 70” in a Sprinter (more or less for the other models), so you’ll have plenty of room regardless. Congratulations!
If you don’t have the budget for flares, you can remove them as well. The all-in cost for a couple of flares can easily be $3,000 or more, which is a significant investment.
If you have an extended van, you’ll likely not need flares as you’ll have the extra room to put your bed lengthwise. However, Flares can still be included to give you even more space!
Otherwise, the layout and non-negotiables in your van build determine whether or not you need flares! Read our van design post to understand why we included Flares; hopefully, it will help you decide.
What Flares Should You Buy
There are a few different manufacturers of flares for Van builds. We are a bit biased because we partnered with the creator of the term “flares” Flarespace for our van build, so we got a discount! However, even without working together, we would have still purchased from Flarespace, as they are constantly innovating and we only partner with brands we would purchase otherwise.
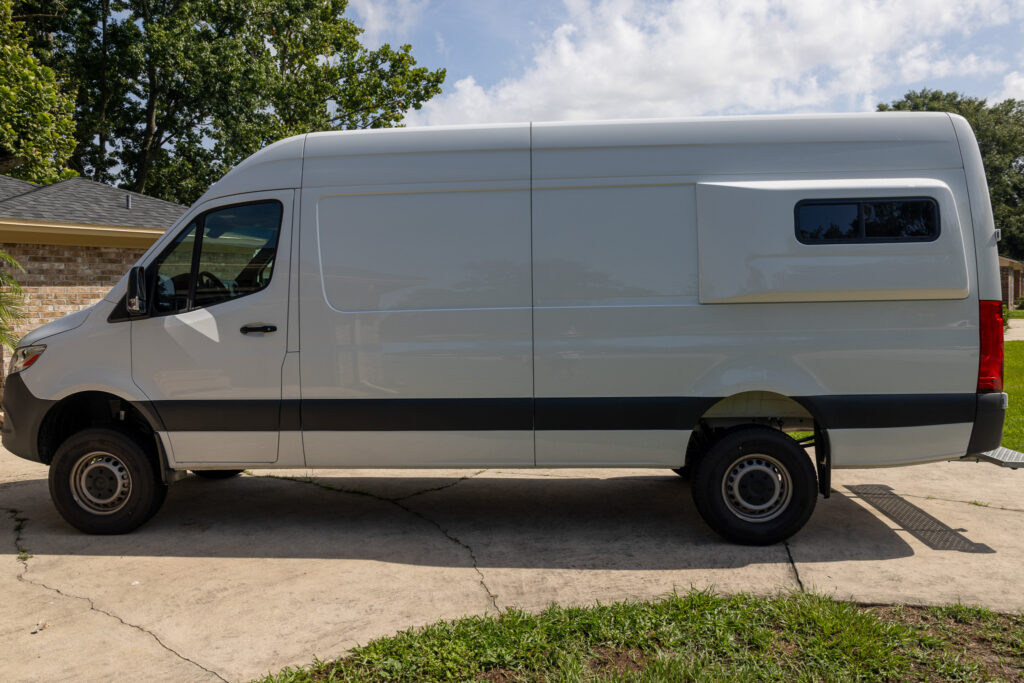
We always recommend searching around, but look for the following information when comparing and contrasting manufacturers!
- Build quality – Choose a reputable manufacturer with experience.
- Cost – Enough said!
- Weight – Most flares will be fiberglass, so weight will not be an issue but still important to record.
- Install process – Can they be installed DIY, or do you need to factor in the price of taking your van to a shop?
- Design – These will be on the outside of your vehicle; if they don’t look good then forgettaboutit.

How Much Do Flares Cost
A big determining factor in incorporating Flares into your build, is cost. The absolute minimum for 2 flares will be around $2,000 USD, but the all-in cost is more. You’ll want to include windows and trim rings, and then you’ll need to spend time a materials installing and finishing them! All in, for quality flares you will be spending anywhere from $3,500 to $4,000. Scroll down to see how much installing two flares with windows costs us!
Do I need to Install Flares
If you don’t want to DIY, many flare manufacturers have a network of installers who can help install your flares professionally. Check online for different options!
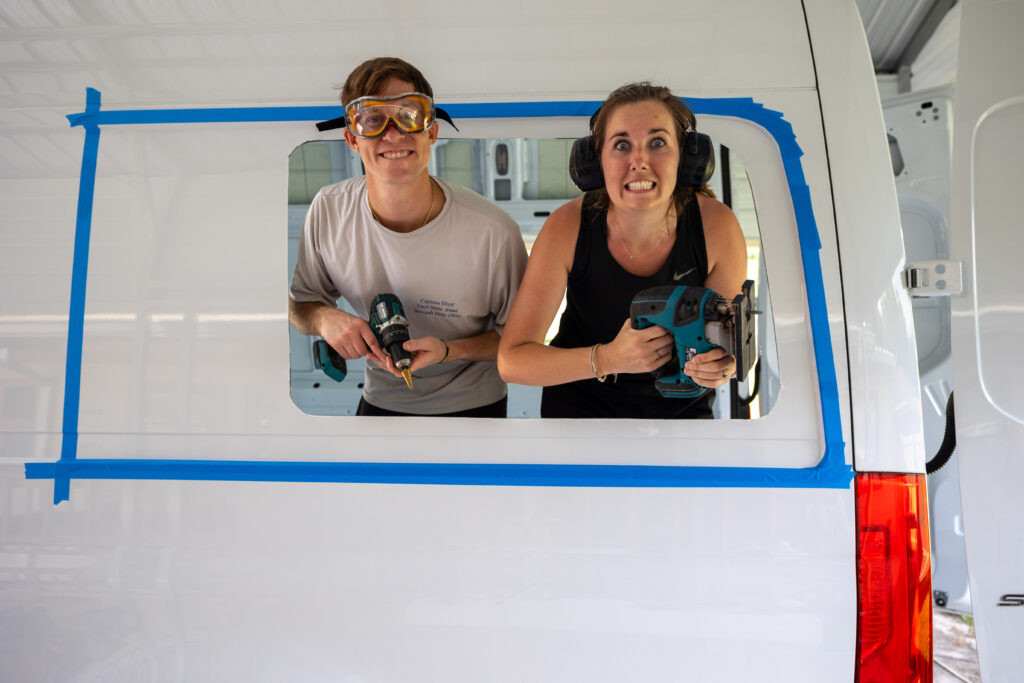
How we installed our Flarespace Van Flares
Installing our flares took us two full days over two weeks. Here is our process!
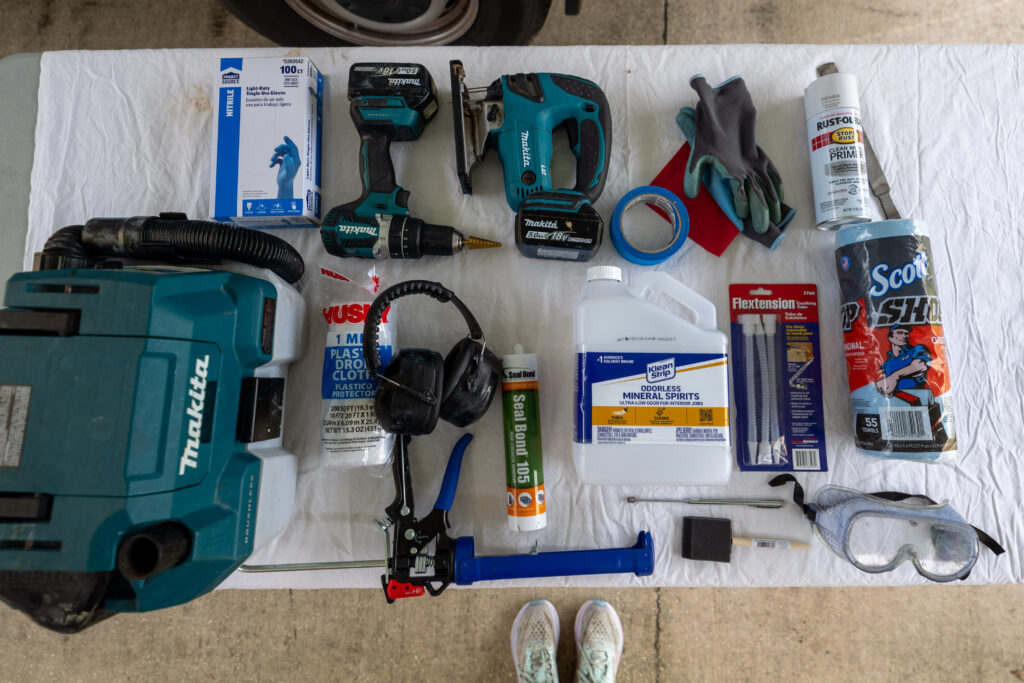
Required Tools
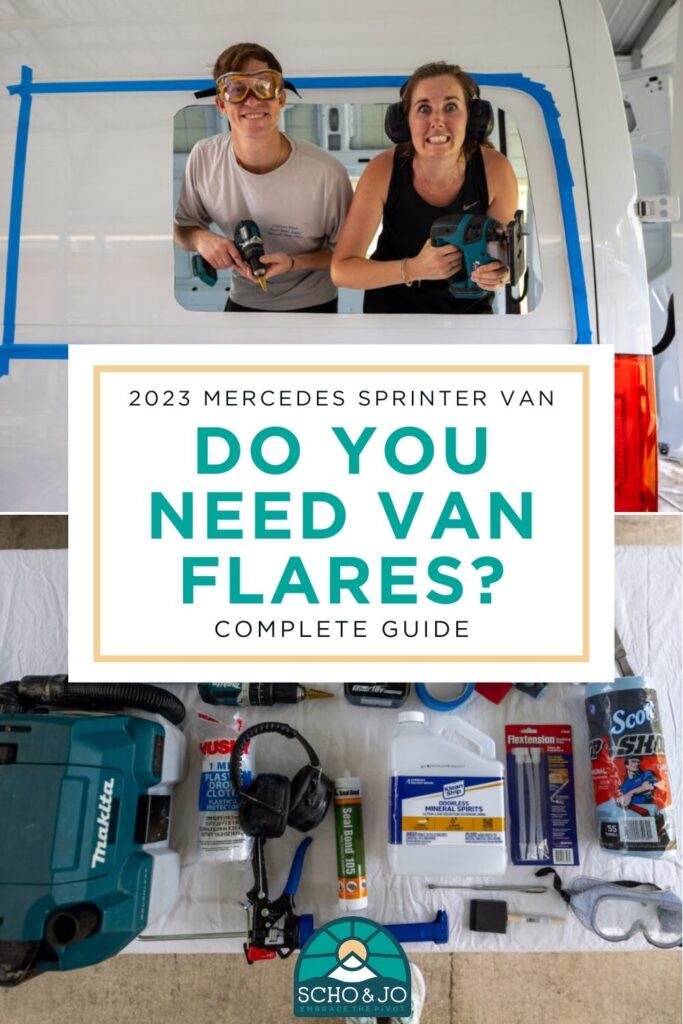
Here’s the list of tools we used in our build. Some of these tools can be replaced with others. For example, using an air saw to cut out the metal panel in the van would have been better than our jig saw, but we didn’t have one on hand.
| Tool | What we used it for |
|---|---|
| Power Drill | Creates the pilot holes for cutting into the van |
| Jigsaw with metal blades | Cuts the panel out of the van |
| Step Bit | Used with the power drill for the initial holes |
| Deburring tool | For cleaning up metal points |
| Grinder | We used this for tidying up any metal we couldn’t get with the Jigsaw |
| Lots of painters’ tape | Keeping your flares up and workspace tidy |
| Anti-rust paint | Used for all your newly cut exposed rust |
| Paintbrush | For applying the anti-rust paint |
| Mineral Spirits | A cleaning solvent that won’t damage your van |
| For cleaning up metal shavings, it is not hard to get to locations | Safety first! |
| Caulking gun | For cleaning up metal shavings it is not hard to get to locations |
| Magnet extender pole. | Used for cleaning up any metal shavings in hard to get to cracks |
| Shop vac | For cleaning up metal shavings, it is not hard to get to locations |
| Plastic painters wrap | Protection for your van from more metal shavings |
| Scotchbrite Pad | Scuffing the van’s glossy paint before applying adhesive |
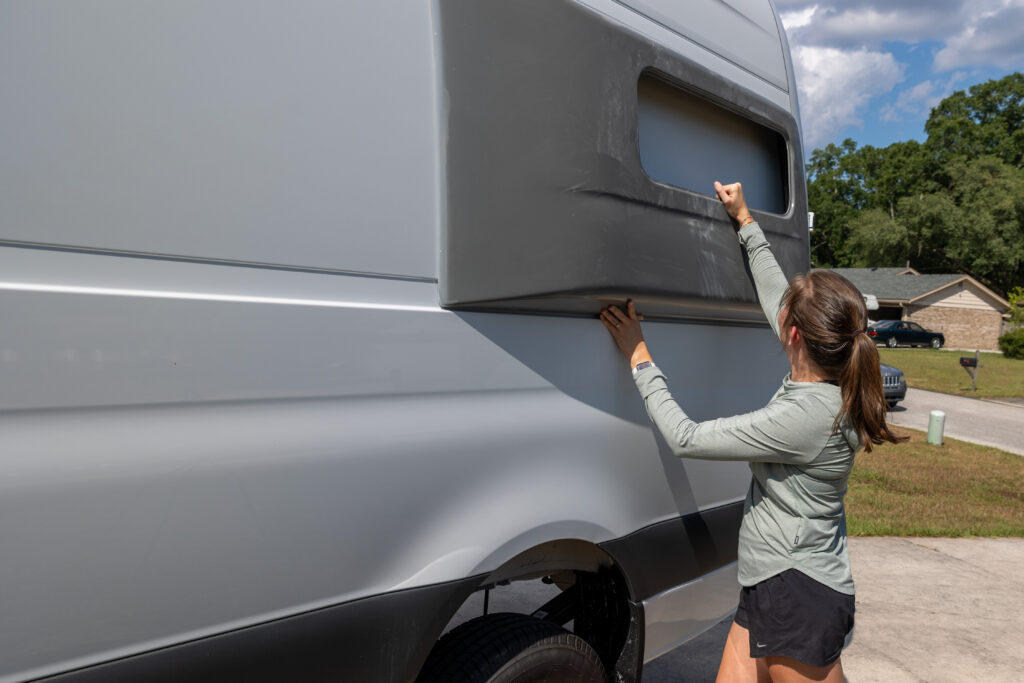
Step 1: Fit check
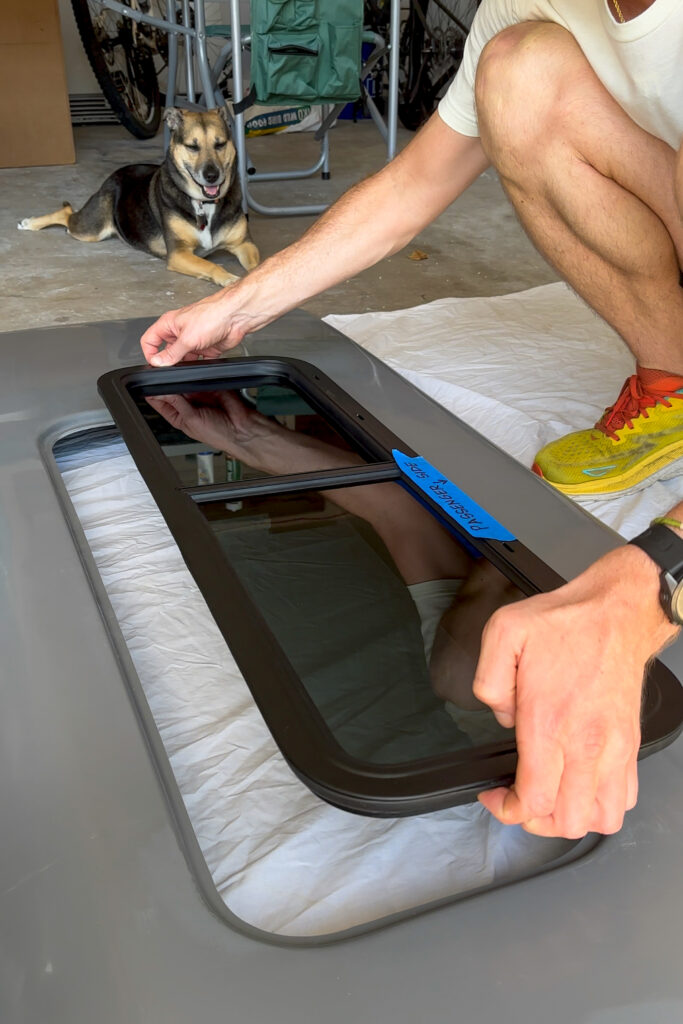
All vans and flares can have minor discrepancies in their production, so before you cut holes in your van, make sure the flares fit! Place each one on the van according to the instructions and inspect for any gaps or blemishes. It’s best to find out about any issues as early as possible! If you do have a problem, reach out to the manufacturer.
Step 2: Paint the flares
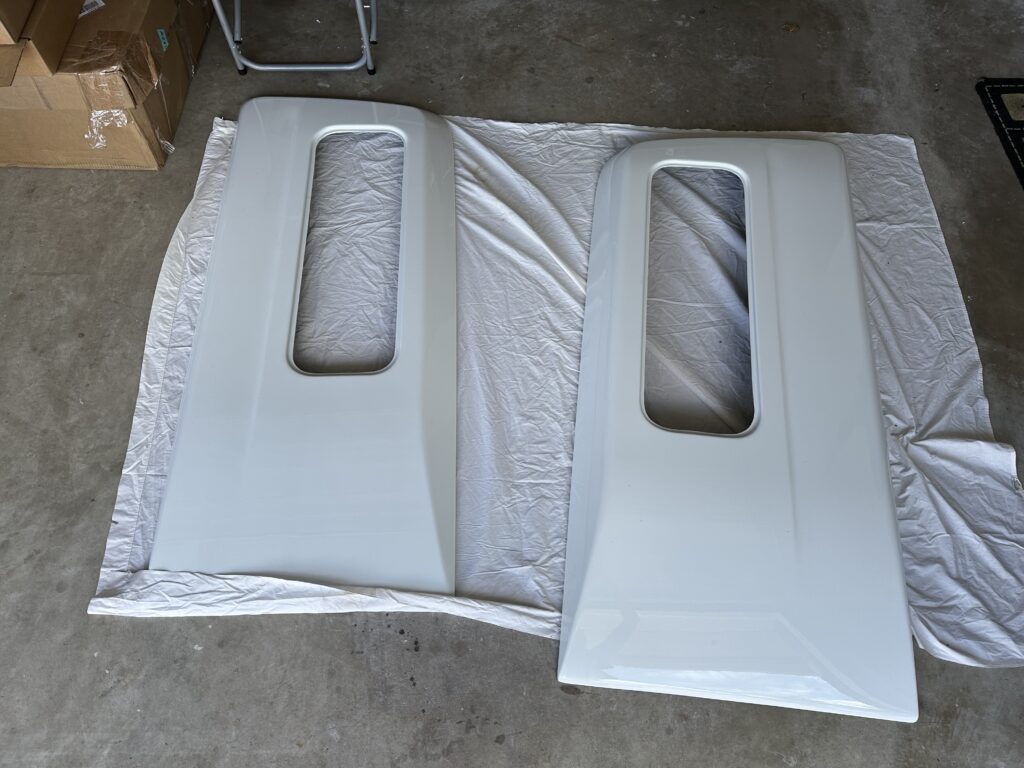
Flares will typically come in a neutral color and need to be matched to the color of your vehicle. We contacted local body shops for quotes, asking them to match the Arctic White of our van. We got two quotes, one for $400 per flare ($800 total) and $300 per flare ($600 total). We went with the less expensive option, and after a couple of days, we had painted flares! It’s very important to know that you can’t install the flares yet. The paint needs to cure, and you should expect at least a week’s time here, but follow the recommendations of your painter.
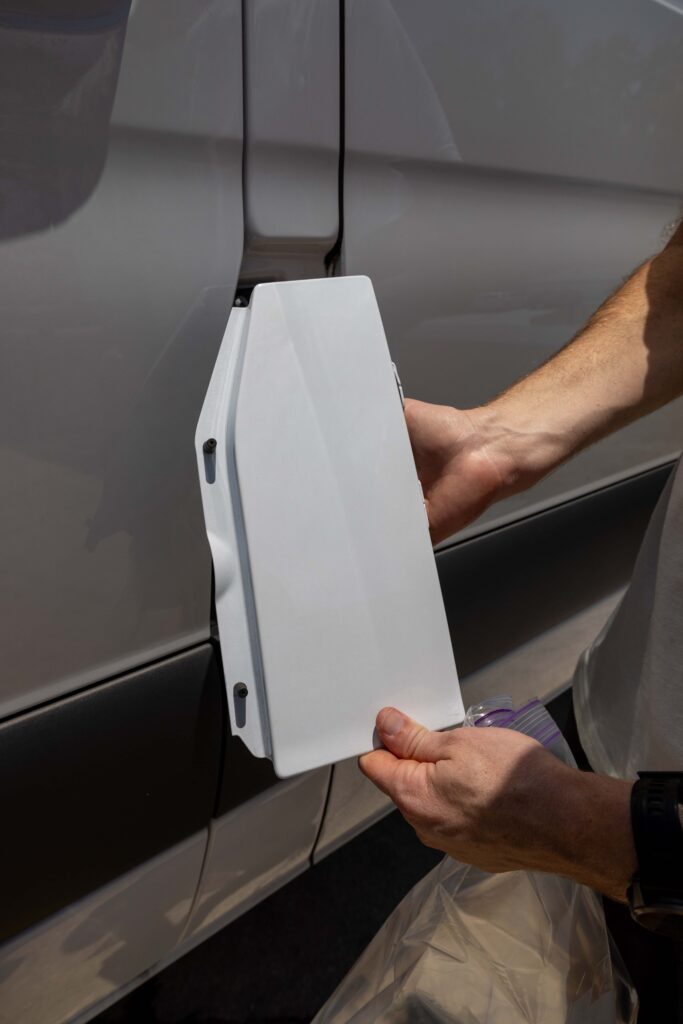
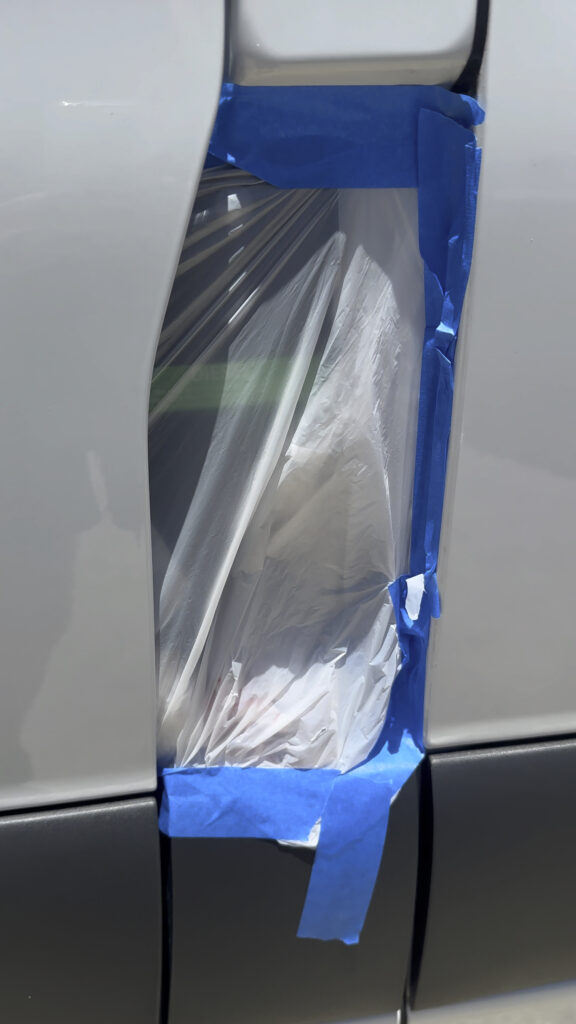
If you want to make sure the flares match the exact color of your van. You can remove the fuel cap and give it to your painter so they can color-match the exact color of the paint. We covered our fuel camp with two layers of plastic to ensure water wouldn’t get in while we waited for our flares to be painted.
Step 3: Prep for the install
There are a few important pieces to set up before you begin cutting.
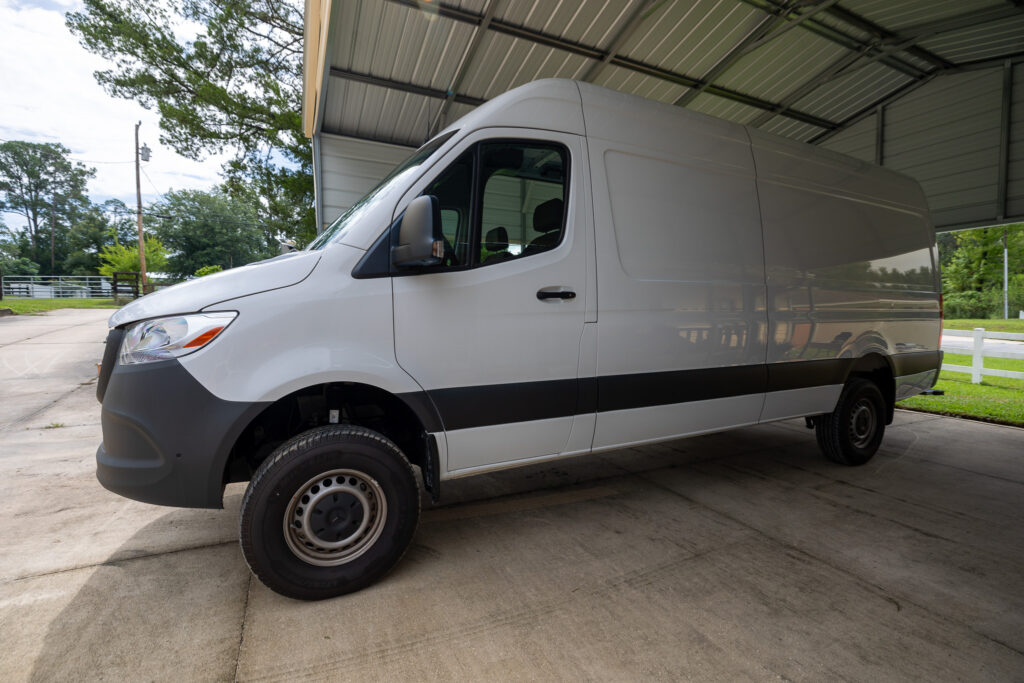
Put your van in a covered spot. First and foremost, follow the instructions on your adhesive. Specifically, look for the cure time and temperature range. If it’s too cold outside, you may need to install the flares inside! For our adhesive, we needed to let it stay dry for 12 hours and not move the van for 30 hours. Since we installed it in the Florida summer, we found a covered awning to install, so we didn’t have to worry about any afternoon rain showers.
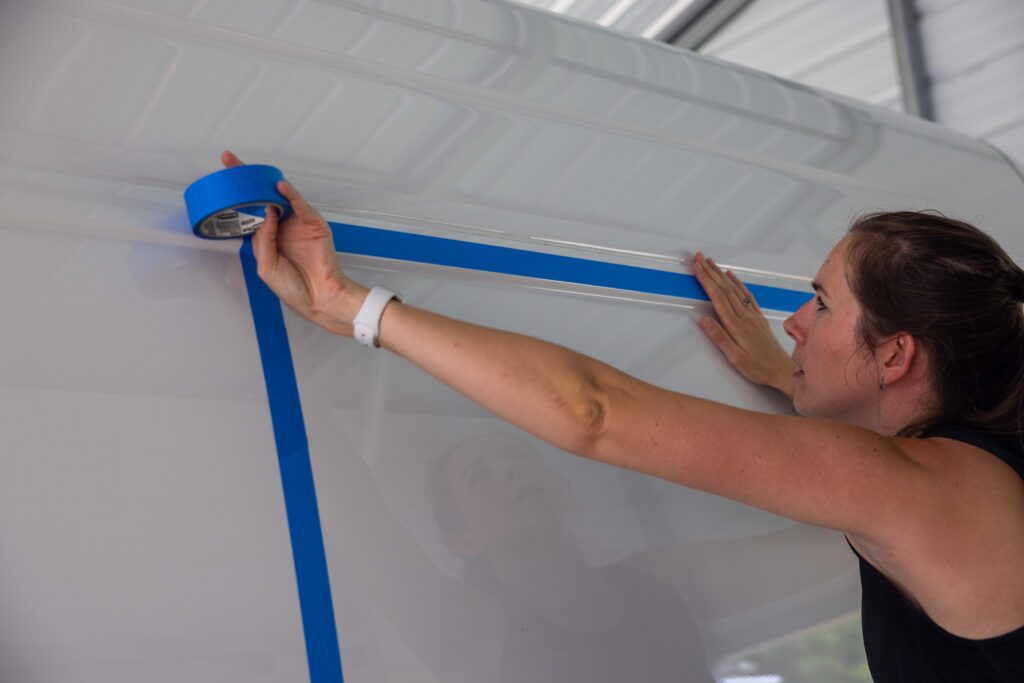
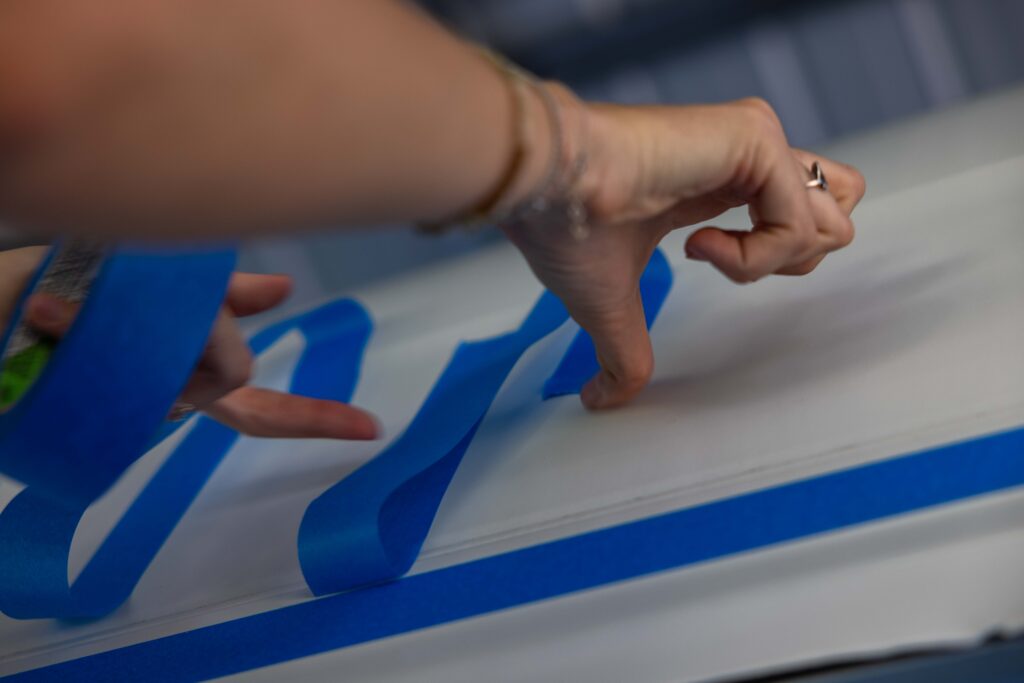
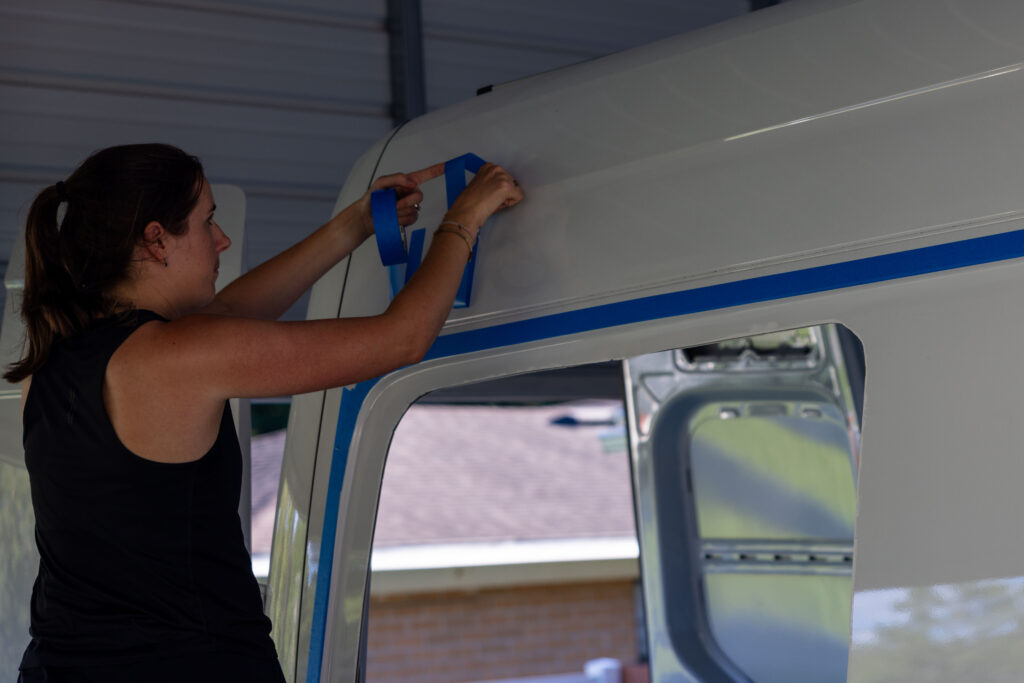
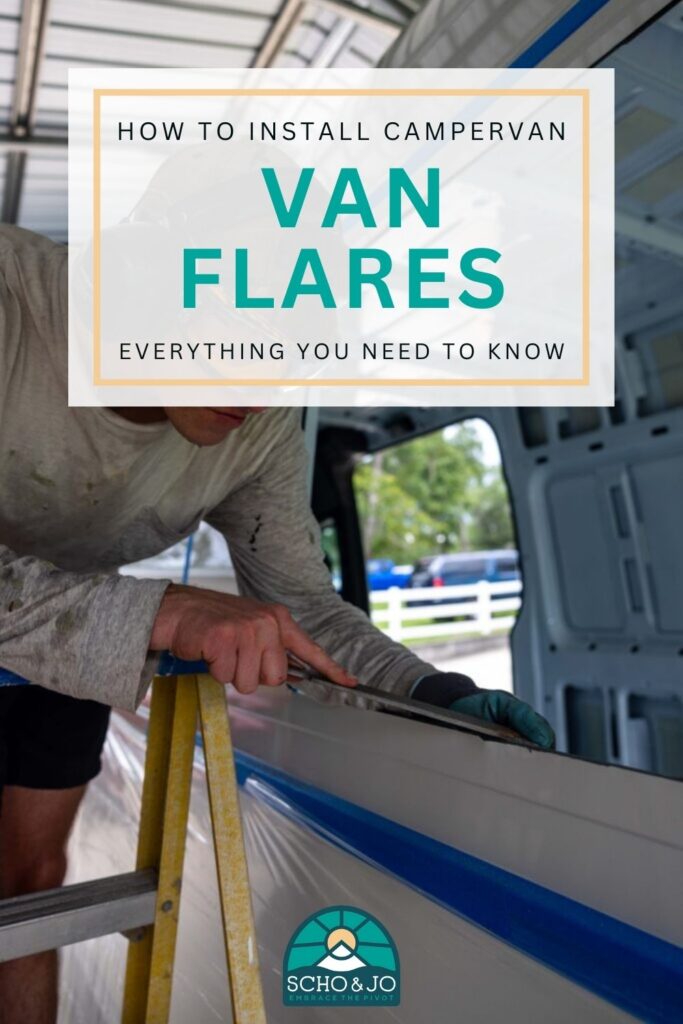
Tape around where your flare will go up. Test fit your flare as you did in step one while a partner tape all around the flare, both on the flare and on the van. You can never have too much tape, and this will ensure you don’t accidentally cut, scratch, or get sealant over your nice van!
Start early and plan to attach both flares at once. Since there’s a lot of shaking when cutting into the van, we decided to prep both sides and then attach the flares at the end. It took us 14 hours from start to finish (including pictures and filming) and we finished just before sunset.
Have other forms of transportation. After you attach your flares, you can’t move your van for a while (in our case, 30 hours), so you’ll need to keep it in a safe place and have other transportation!
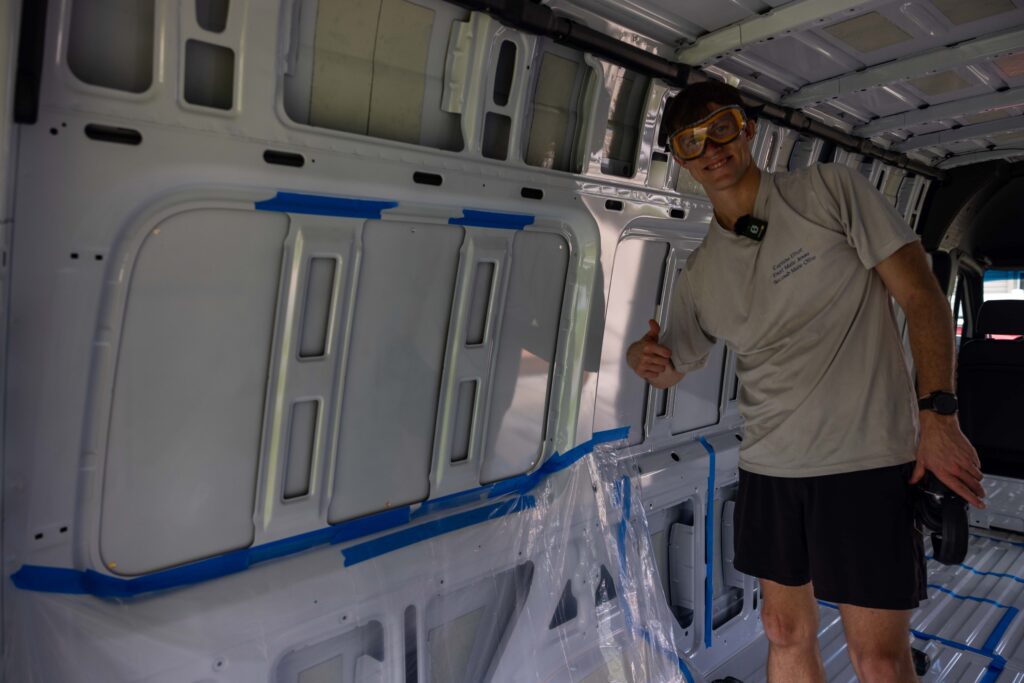
Tape plastic wrap to the inside and outside of your panels to catch metal shavings and prevent damage to your van.
Step 4: Cut the opening for the Flares in your van
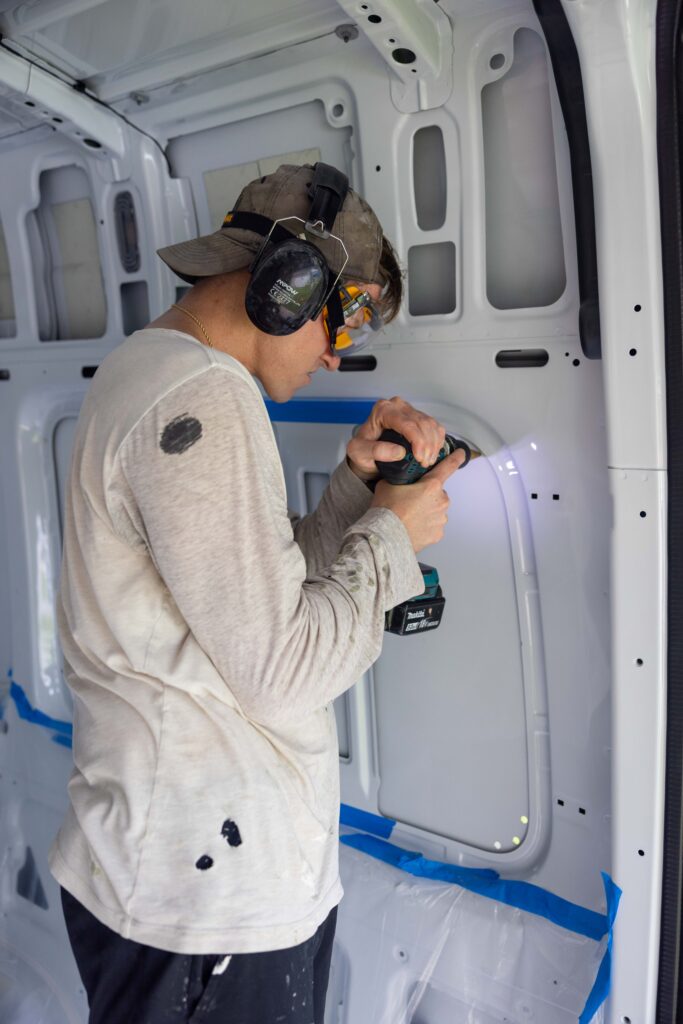
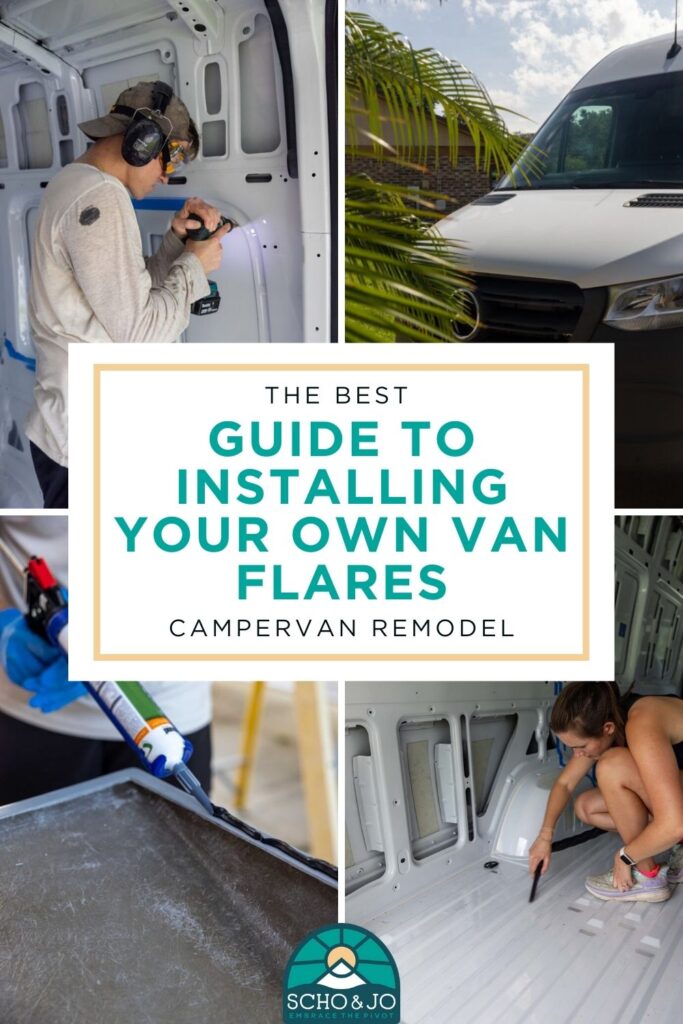
The goal is to cut out the panel in the back of your van, following the thick circular metal. You’ll cut from inside the van. First, drill your pilot hole with your drill and step bit as close as possible to the edge, making your life easier. Drill more pilot holes in the curved edges of the panel where your jigsaw can’t make the turn without getting obstructed. Then, use your jigsaw to trace the oval. Ours was obstructed in the corners, so we put more pilot holes and did short straight-line sections, with the plan to fix them over the next couple of steps.
Keep in mind that cutting the two structural metal pillars will require more force as the metal is thicker there than the rest of the panel. Cutting the first panel was harder for us than the second. After cutting the first panel, we knew what to expect, which made the second panel go a lot smoother. Using the drill or jigsaw on metal produces small, hot metal shavings that fly all over the place. Wearing a long-sleeved shirt will help protect your arms from these hot metal shavings. When the metal panel is out, you’re done with this step!
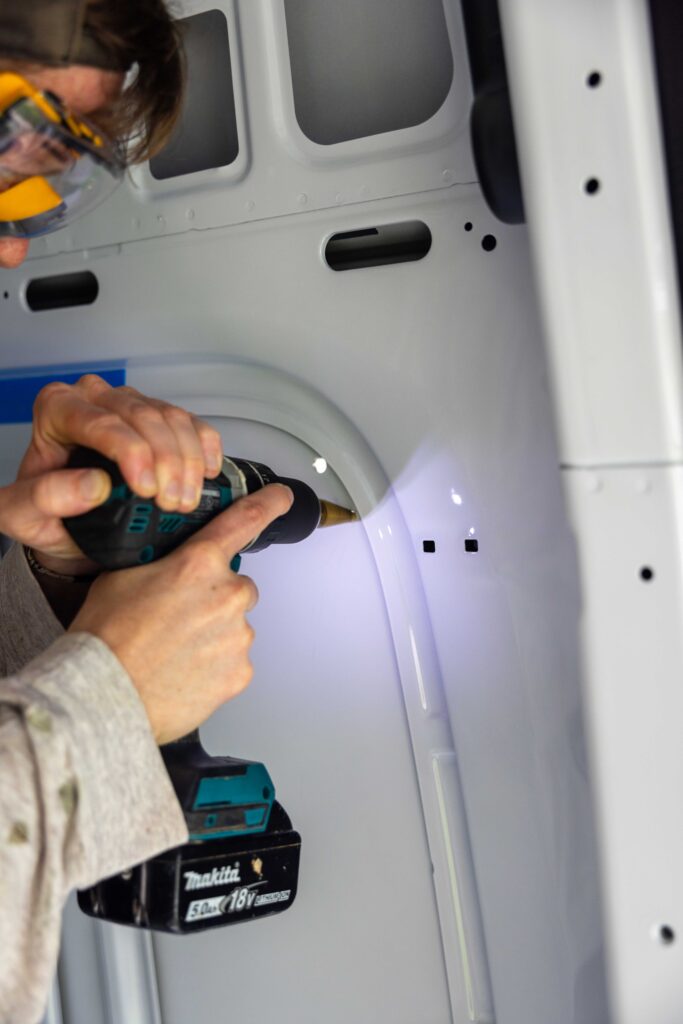
Tape the panels to your van. Run a few strips of tape to the panel that you’re cutting out to the top of your van. This will ensure the metal doesn’t pop out and scratch your van or injure you when you cut it out! You’ll have to cut one section and then tape it, cut another section, and then tape it. If you tape it at the beginning, you’ll just be cutting through the tape with your jigsaw.
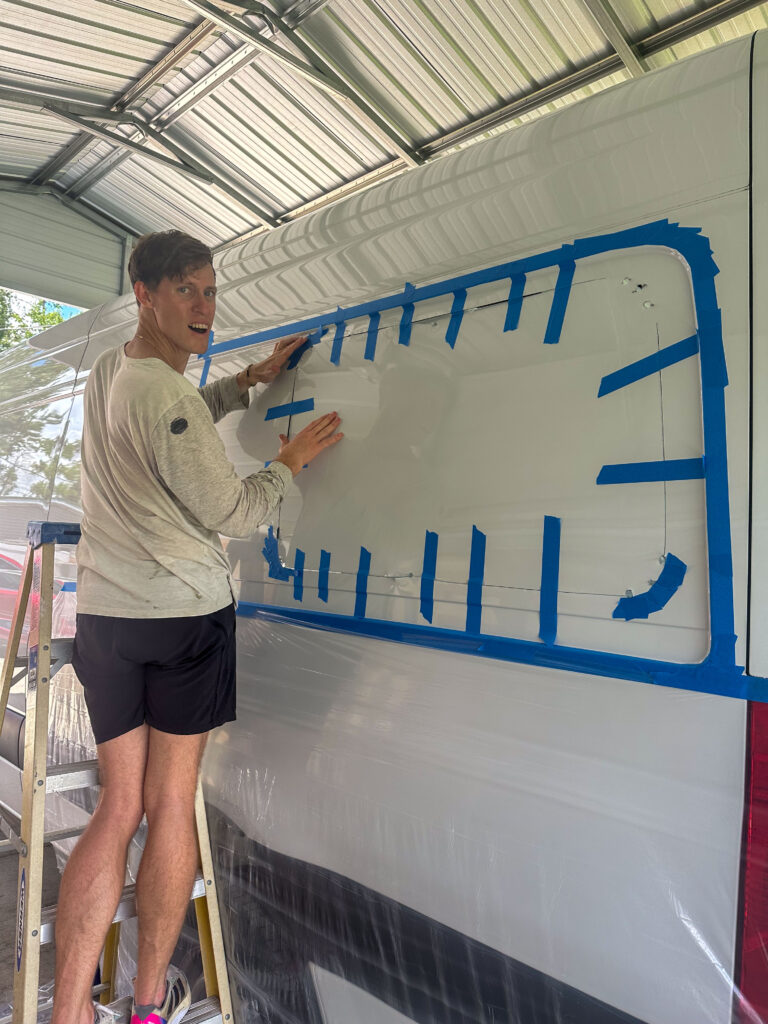
Step 5: Deburr and paint your cut line
Since we have exposed somewhat jagged metal, we need to clean it up! Use a deburring tool to file down the sharp edges and then lather on your anti-rust paint! All this will be covered up so no need to worry about making the paint neat and tidy. However, you will want to ensure your flare is mostly the same shape as the van cut out because if you install trim rings, they will give you the maximum space!
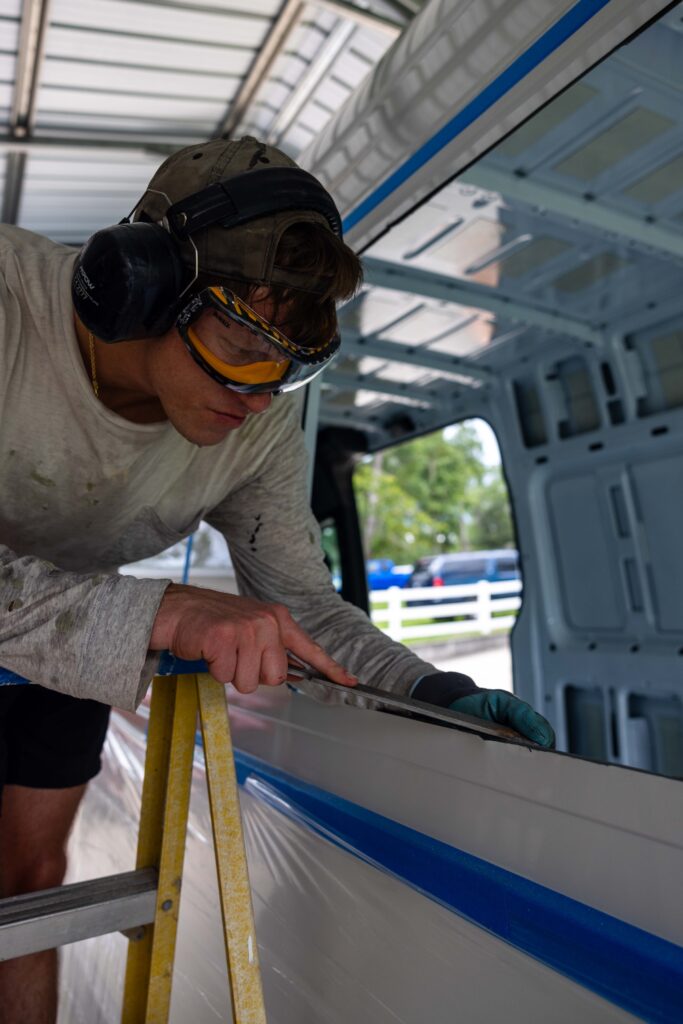
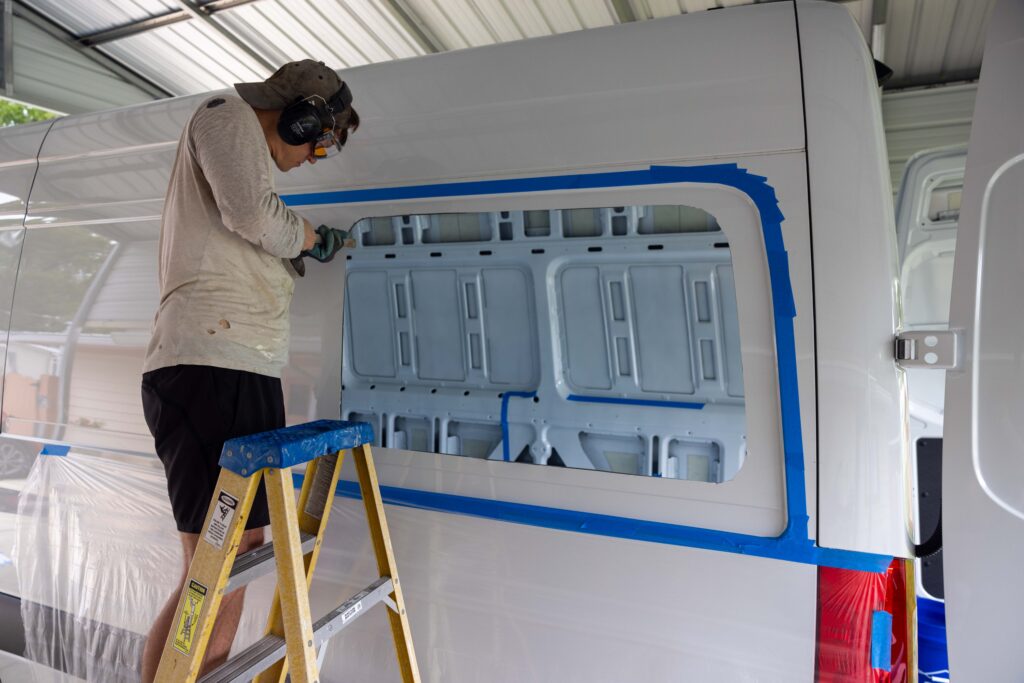
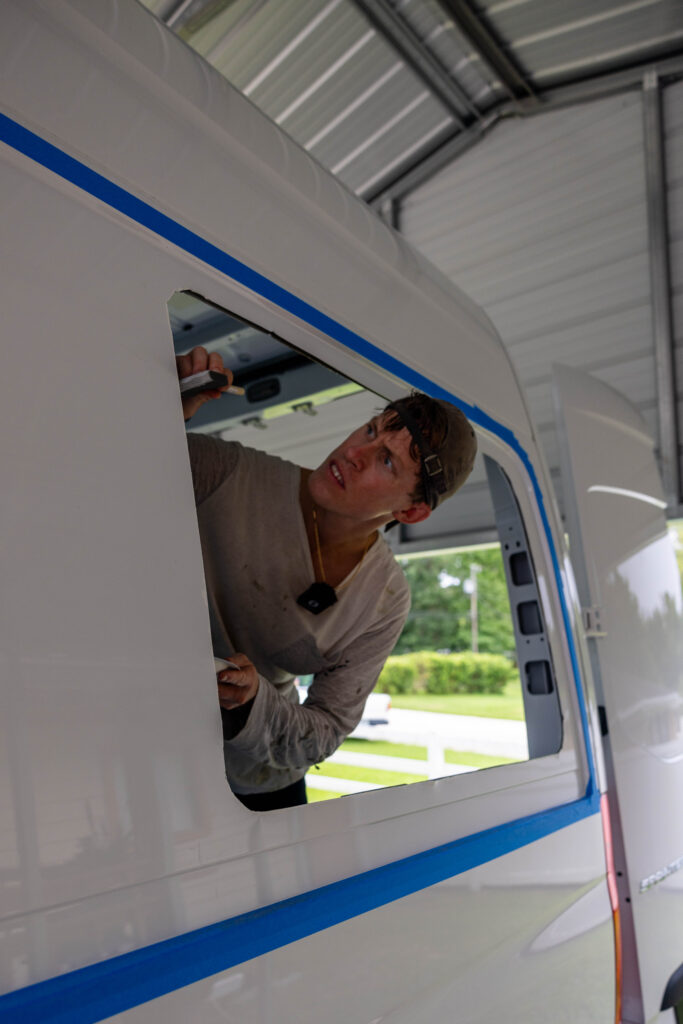
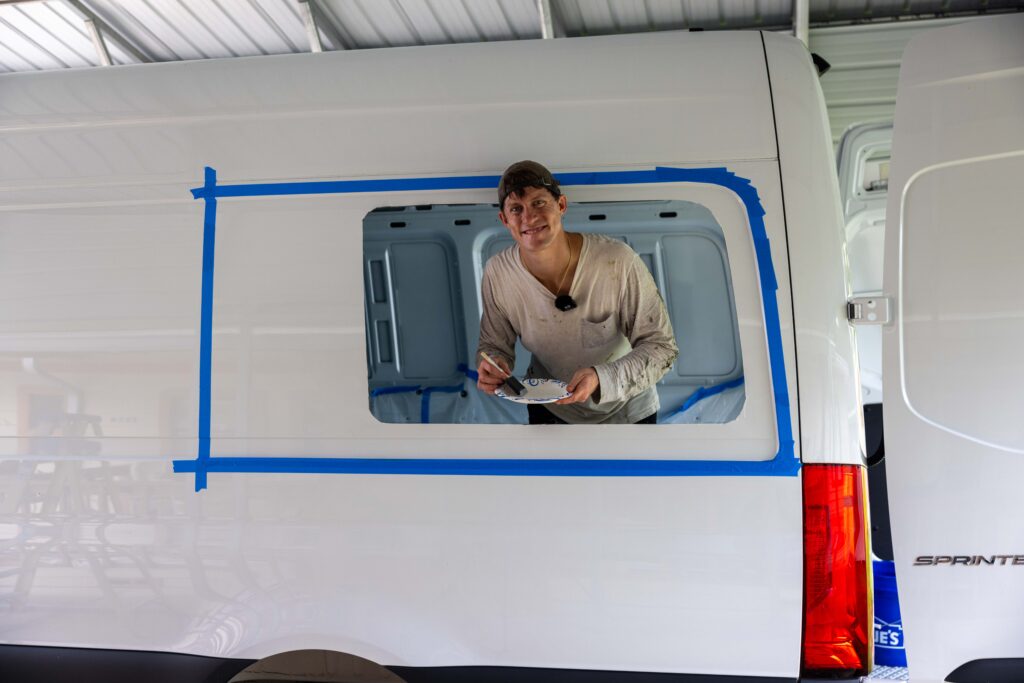
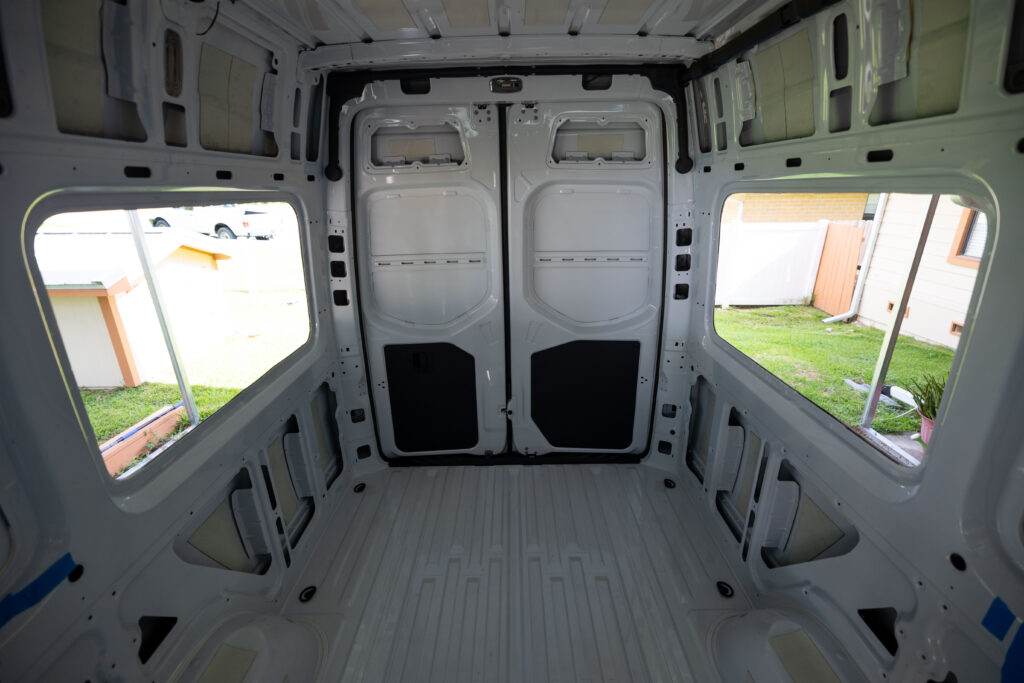
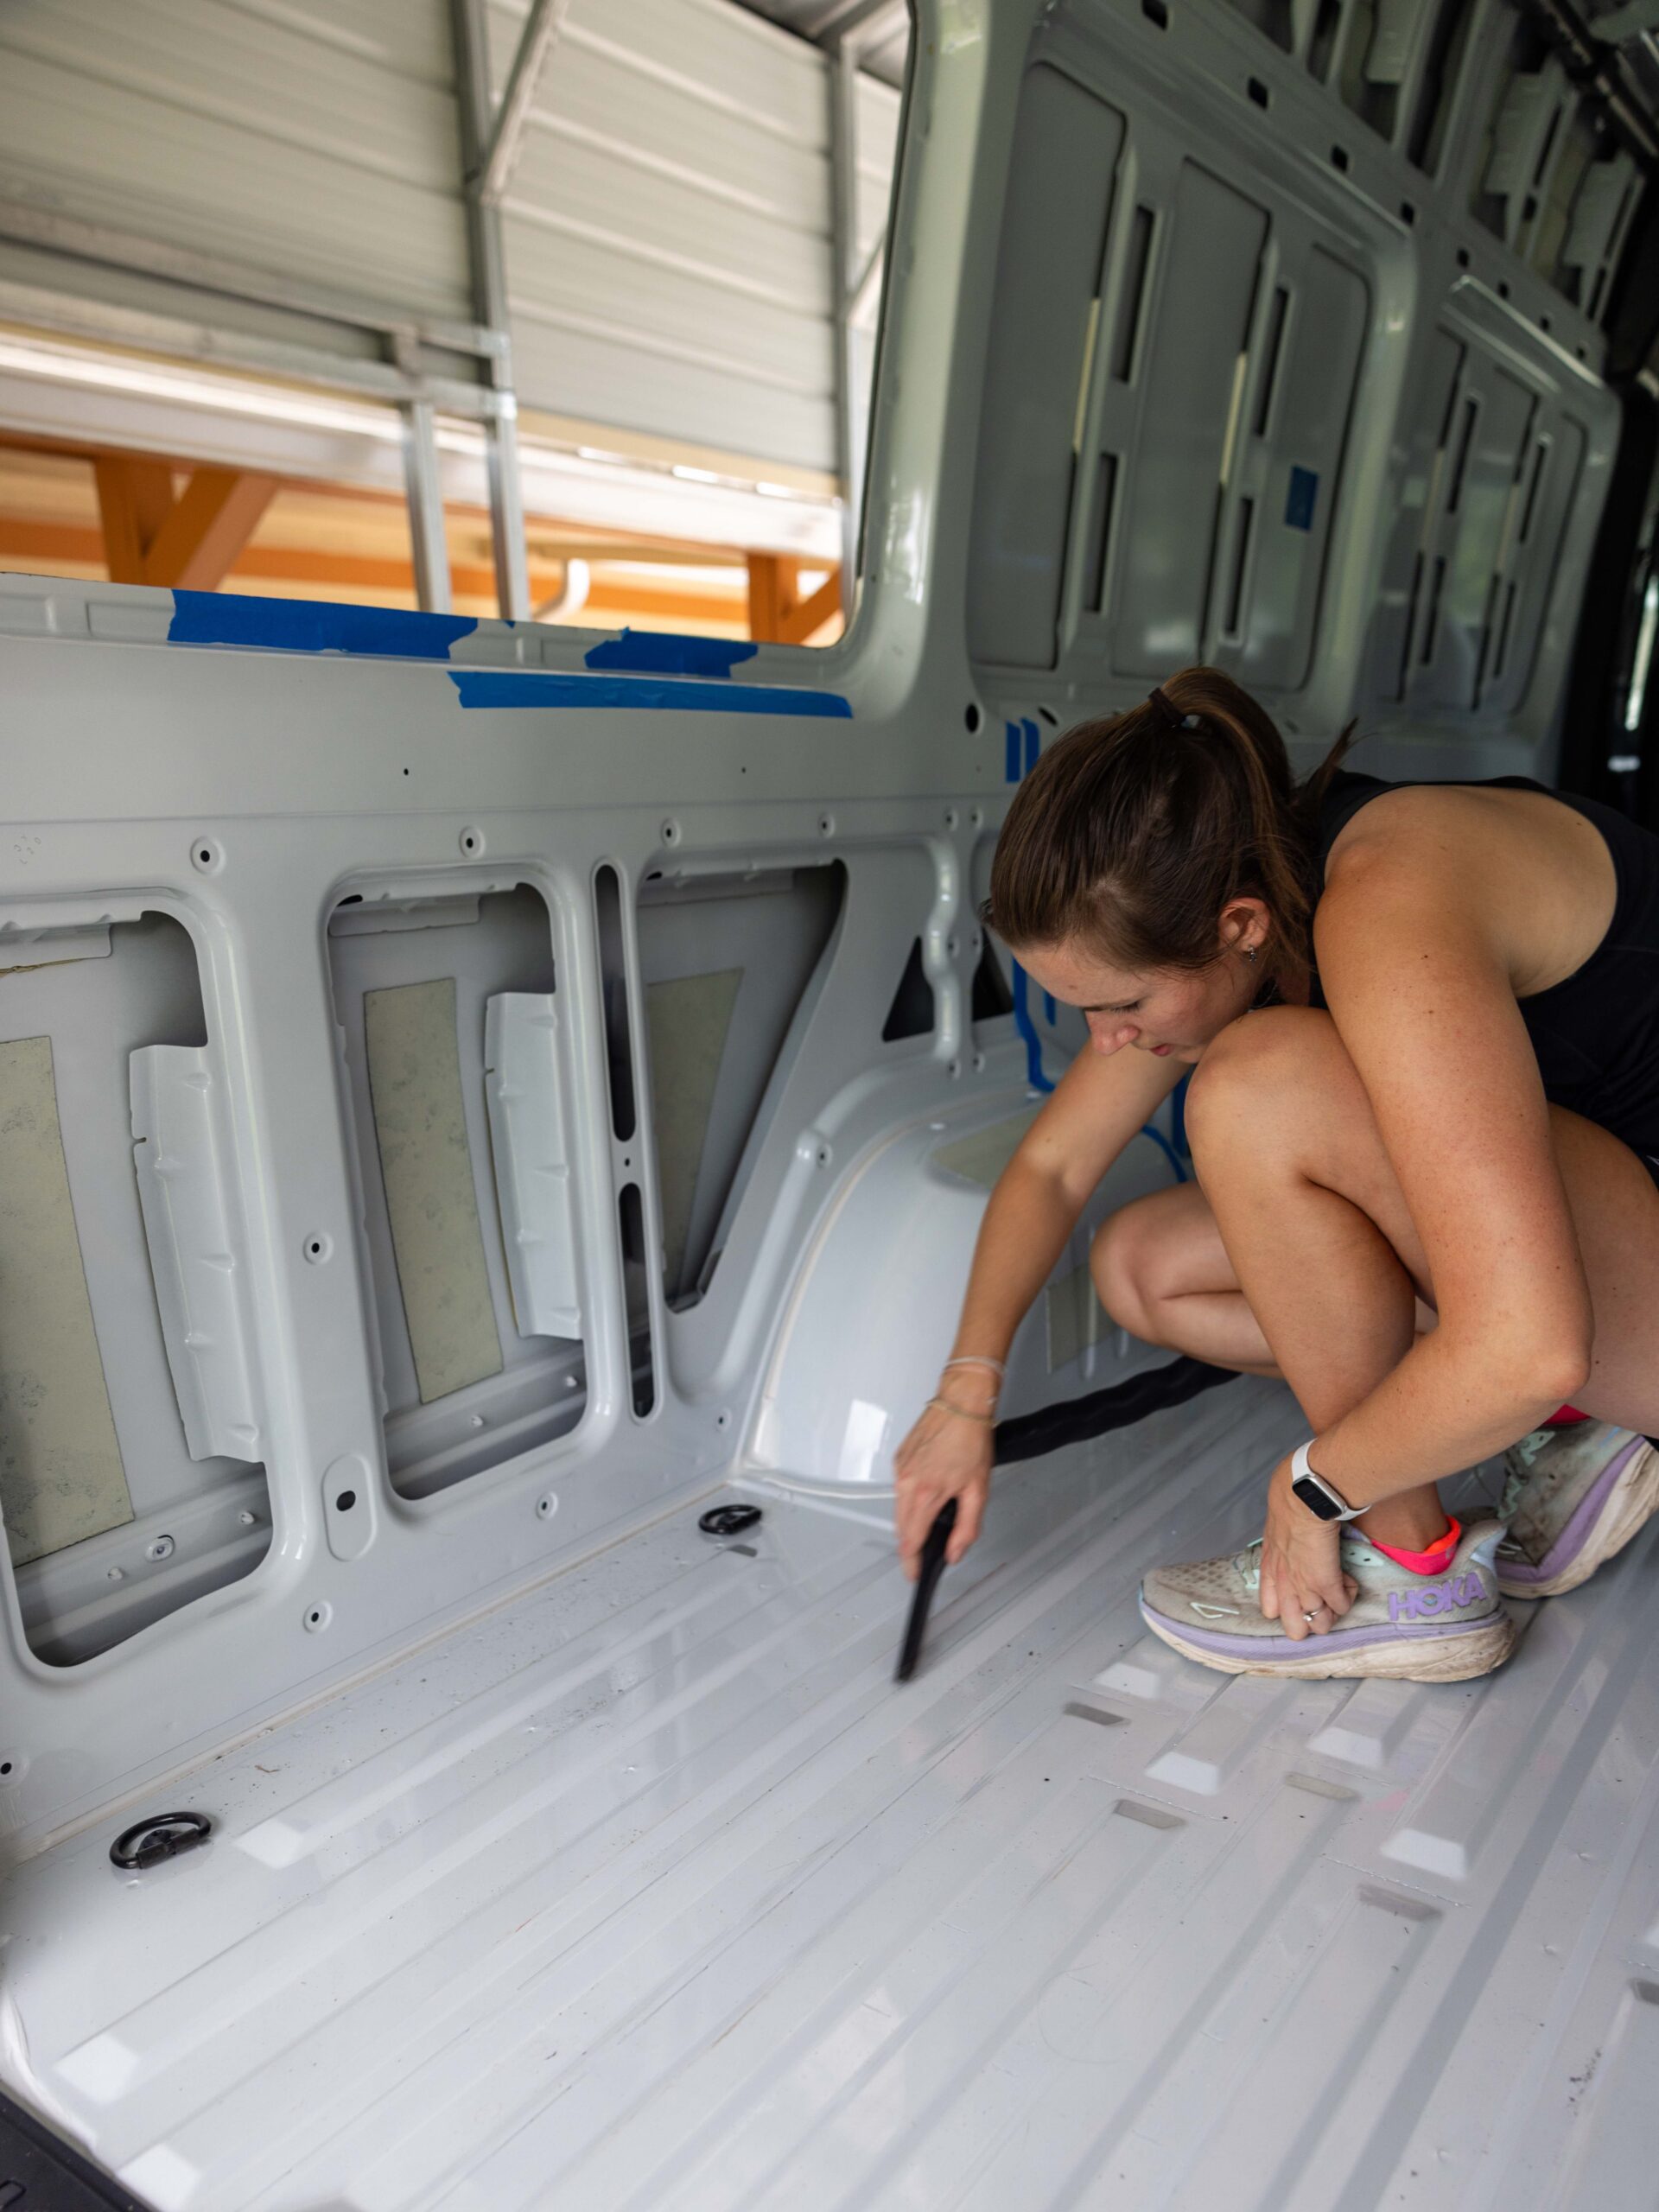
You can remove the plastic tarp and use a magnet extender pole and a shop vac to clean up any stray burrs. Be sure to vacuum the area you cut in your van. You’ll want to make sure there aren’t any loose pieces of metal that could rust later on.
Step 6: Prepare to Attach your Flares
To adhere the flares to your van, you’ll need to do the following prep work:
- Put several long (length of the flare) strips of painters tape above the flare to hold the flare in place while it cures. Ensure you have many pieces of tape here, at least one every few inches.
- Use a scotchbrite pad to scuff your van where the flare will touch it, and you’ll be putting the adhesive.
- Use mineral spirits to prepare the inside of the flare, which will attach to your van.
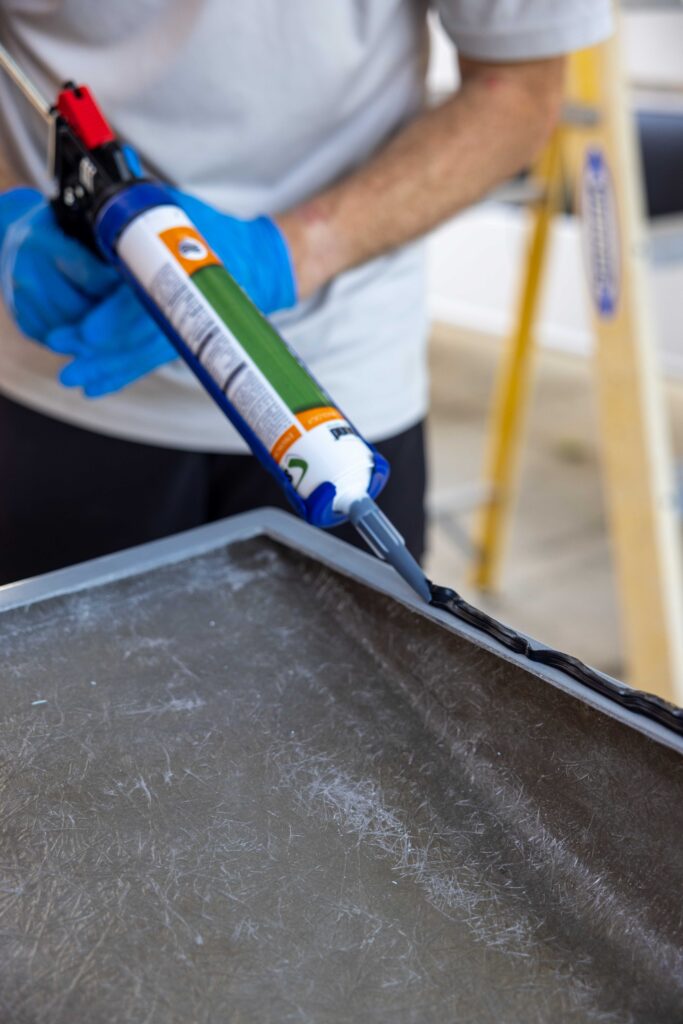
- Finally, get your adhesive ready in your caulk gun by cutting a small pizza shape in the nozzle, giving you a good bead.
Step 7: Attach your flares
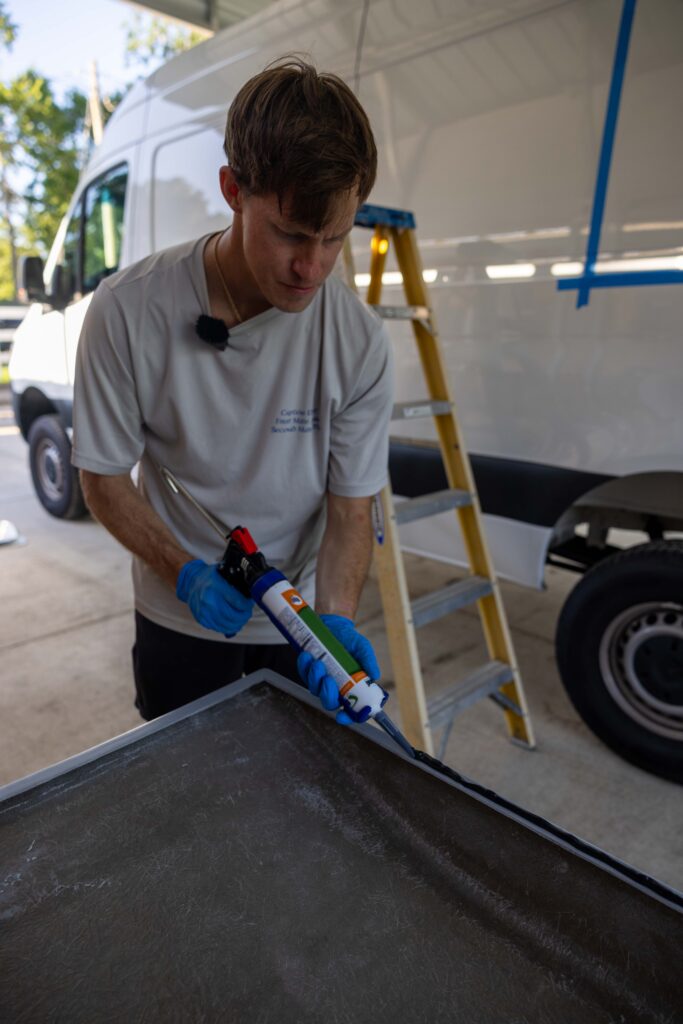
Now comes the hardest part: affixing your flares! Lay a thick bead of adhesive around the flare on the inside edge of the flare. You’ll want to use the entire tube on one flare, but ensure there’s not too much to where it overflows from the outside.
Once you’ve applied a bead of sealant around the entire flare, you’ll want to place the flare on the van accurately. If you mess this step up and move it around before it’s in the proper space, it’ll be much more clean-up later!
Finally, pull down the tape from step 6.1 to keep your flares held onto your van. Voila, your flares are now attached!
Our flares came with three tubes of adhesive, one for each flare and a third and final tube for this install phase. You’ll take the third tube and caulk the inside of the flares. This is crucial to prevent leaks! We recommend following your manufacturer’s instructions.
If you have any adhesive you need to clean up, use mineral spirits. It won’t take off any of your van’s paint, but it will work wonders on your adhesive.
Step 8: Wait
Now, we play the waiting game as we let our adhesive cure. Remember this is fiberglass attached to the metal of your van, and it will undergo 70 or 80-mph winds as you drive down the highway! You’ll want to ensure the adhesive cures properly before moving your fan. Again, following your manufacturer’s suggestions, we waited 30 hours until we moved the van.
Step 9: Install Windows and Leak Test
After your 30 hours of cure time, the next step is to finish the installation! If your flare comes with windows, now is the time to install them. Ours were the flare space half-slider window that adheres via pressure on its gasket, so we didn’t need our upholstery and could temporarily install them now. If your windows are glued in, you’ll want the upholstery done on the inside!
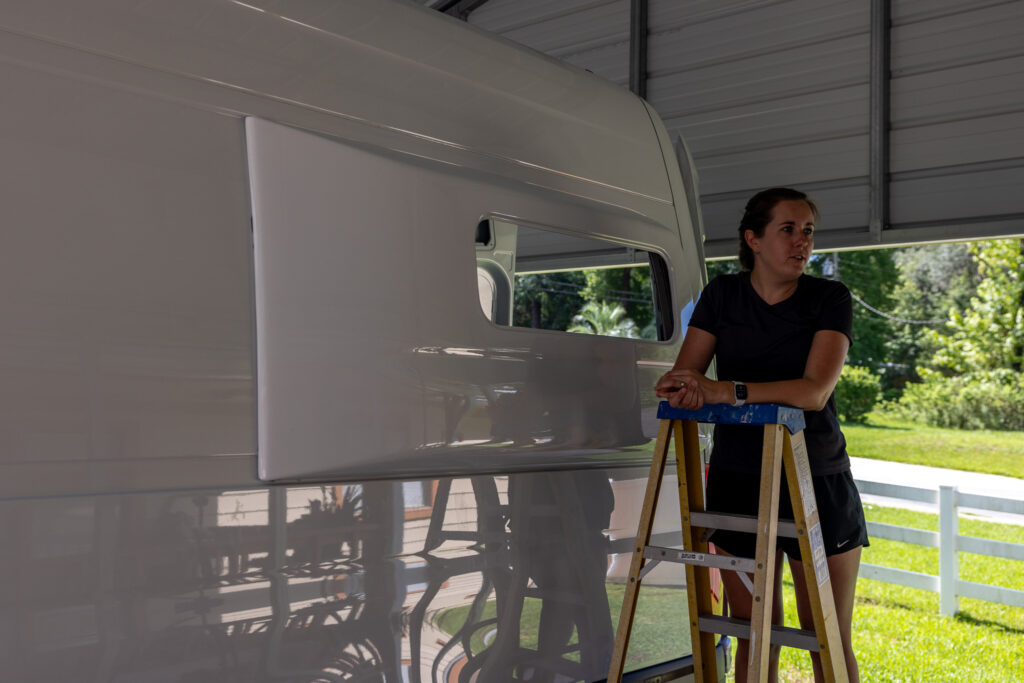
After you install your windows, take a hose and high-powered nozzle and spray, spray, spray! You’ll want to be intense with the water pressure (don’t use a pressure washer, though) to simulate the worst conditions your van might find itself in. This will water test your flares so you can rest assured they’re watertight.
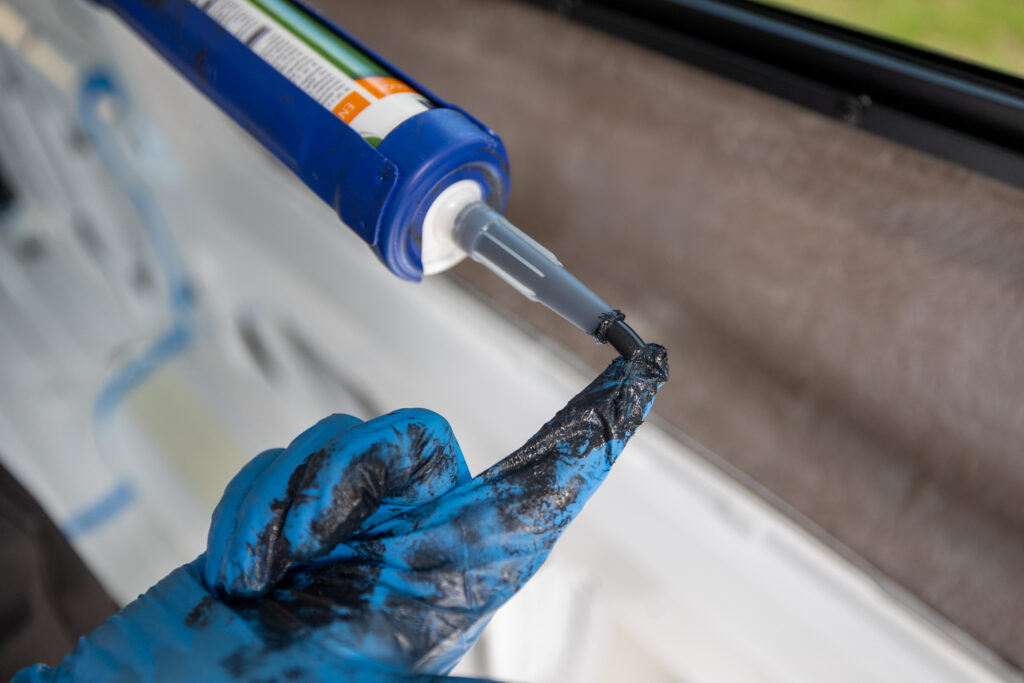
We found quite a few leaks at this point, and we think it was because we didn’t correctly put one of the flares up. We had placed it and then realized it wasn’t in the corner, so we had to shift it up! This gave us some gaps in the adhesive, which caused the leak test to fail.
We marked the leaks and used our remaining sealant to close up any gaps on the inside.
Step 10: Wait for final cure
Our adhesive lists a complete cure time of 21 days, so after we install our flares, we won’t be doing any off-roading or serious conditions until they are fully cured. Fortunately, we have an entire van to build!
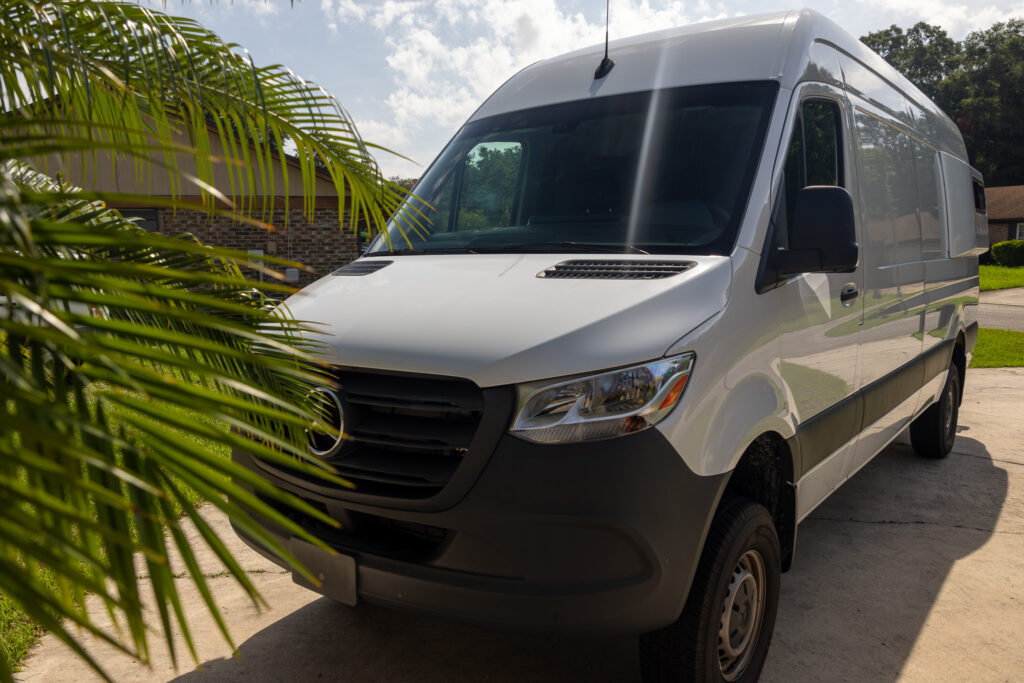
How we installed our Flarespace Trim Rings
Flarespace Trim Rings are fabricated fiberglass molds that solve the problem of finishing the flares in your van. It’s a complicated problem to solve as it’s not rectangular, it’s rounded, with different dimensions from front to back. You don’t need Flarespace trim rings but they are highly recommended!
| Tool / Materials | What we used it for |
|---|---|
| Trim Rings | The most critical piece. We recommend these. |
| Marathon Plus Fabric | This is used to make the inside of your flares and trim rings look and feel good. |
| Xacto Knife | Used to cut the windows out of the fabric. |
| 3M 90 | Used to best attach the Marathon Plus |
| Heavy Duty Scissors | Used to cut the fabric. |
Step 1: Preparation
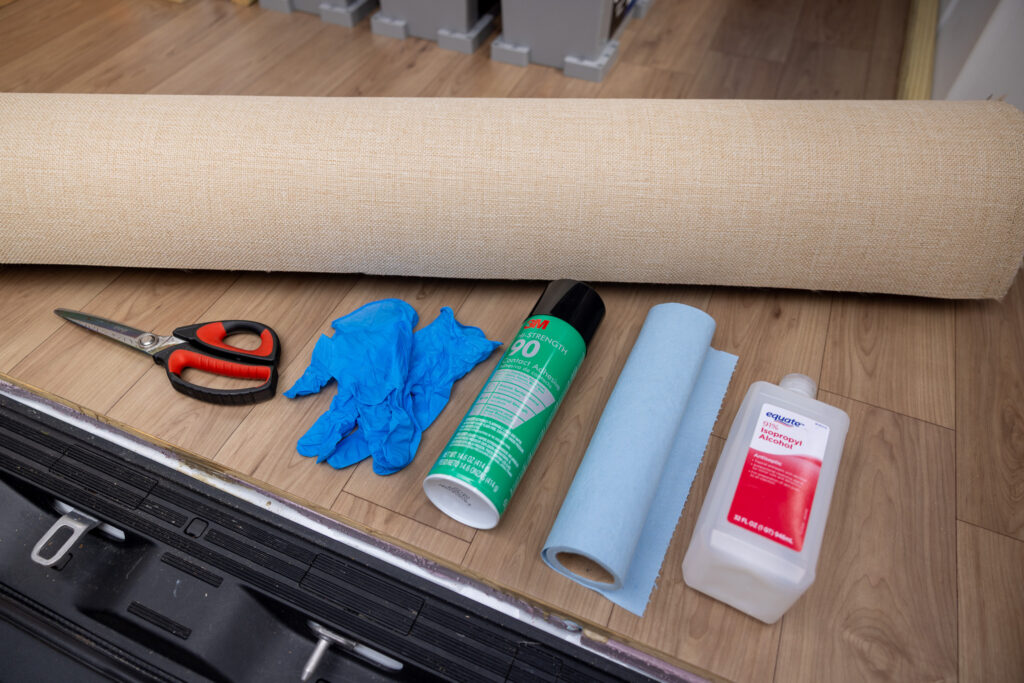
First, you’ll need to gather all the important materials and ensure you don’t expect rain. As you’ll be removing the windows to install the fabric and trim, you don’t want to get that fabric or the inside of your van wet. Take time now to wipe down the inside of each flare and trim right with isopropyl alcohol to clean off any dust or debris.
Step 2: Finishing the flares
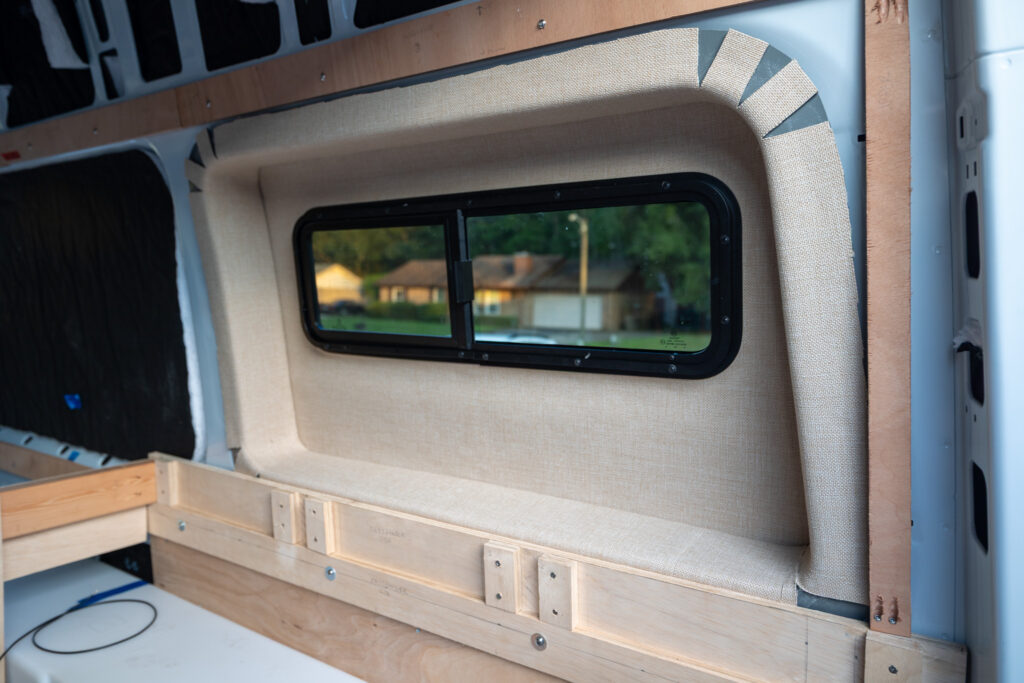
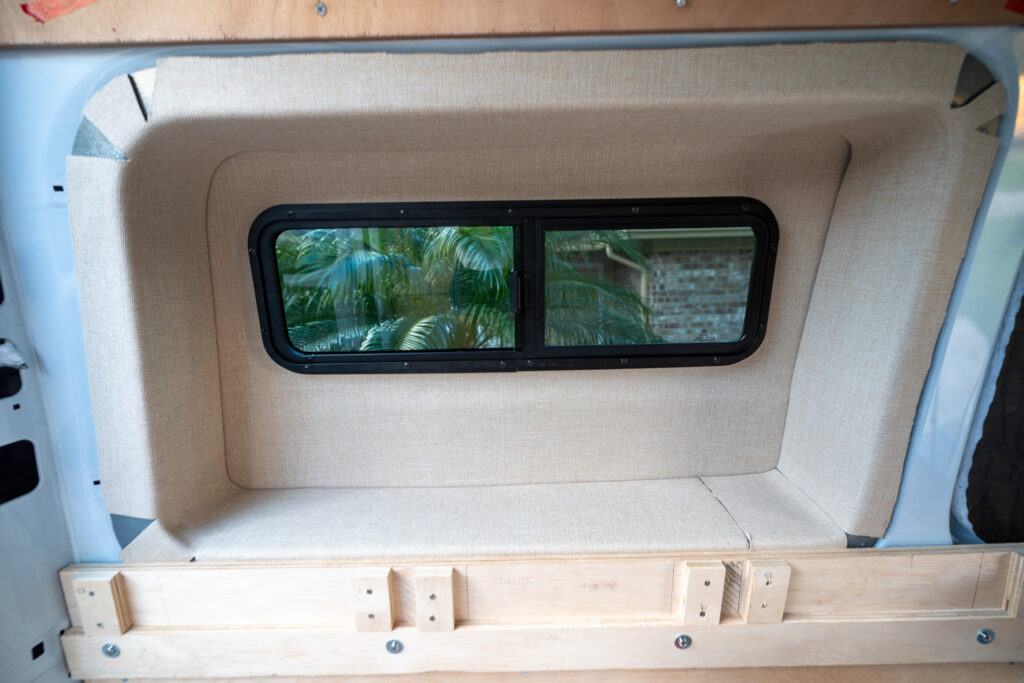
Remove the windows and measure the inside of your flare. You’ll want a little extra fabric on the outside so it overlaps where the trim ring will set in. Cover the window with the fabric, we’ll remove it from the window to get an exact fit. Follow the 3M-90 instructions to adhere the Marathon Plus fabric to the flare.
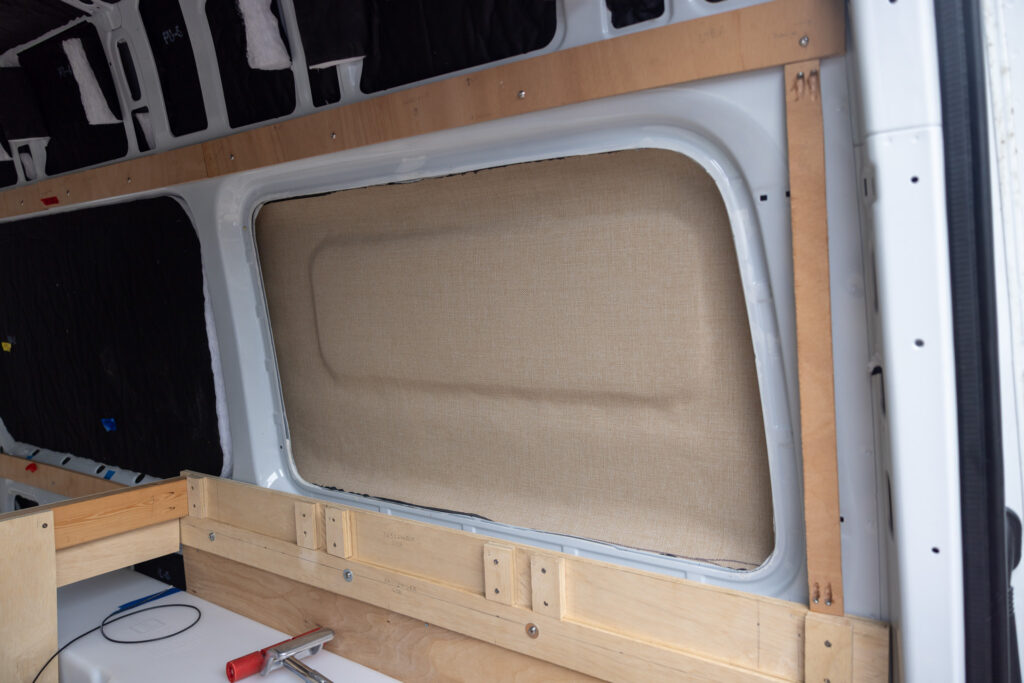
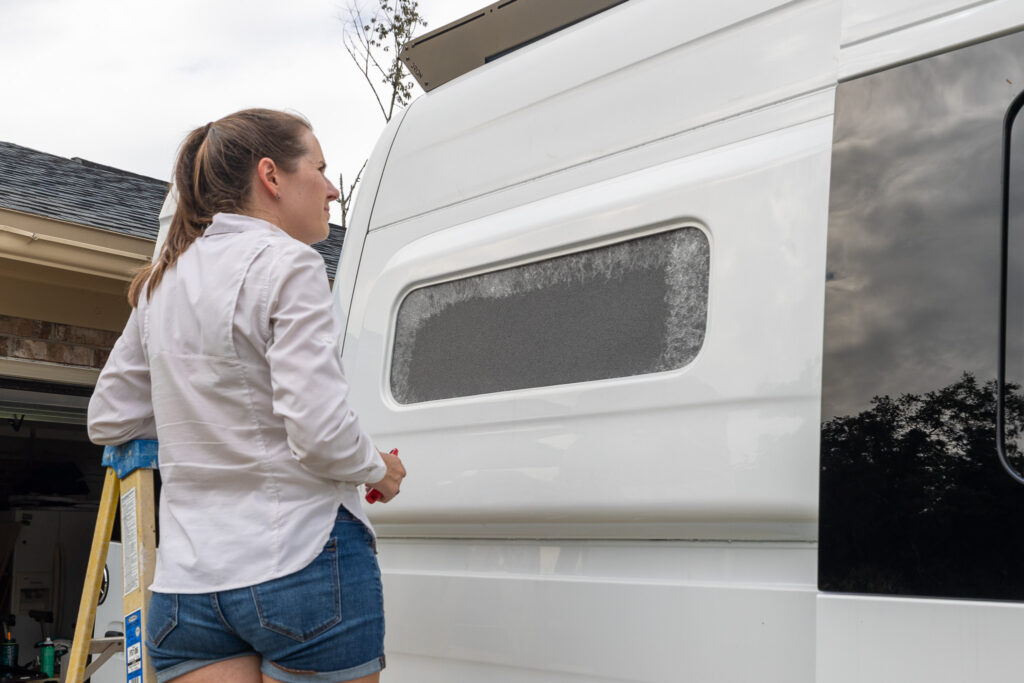
Next, cut away the fabric from the outside using your x-acto knife.
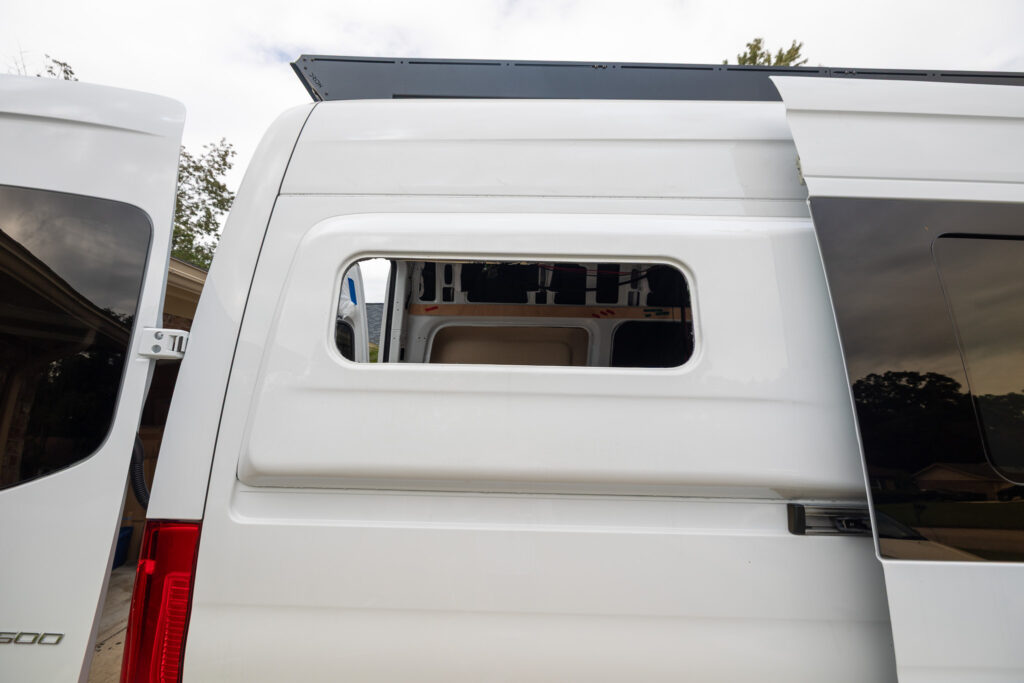
Step 3: Re-Installing the Flarespace Windows
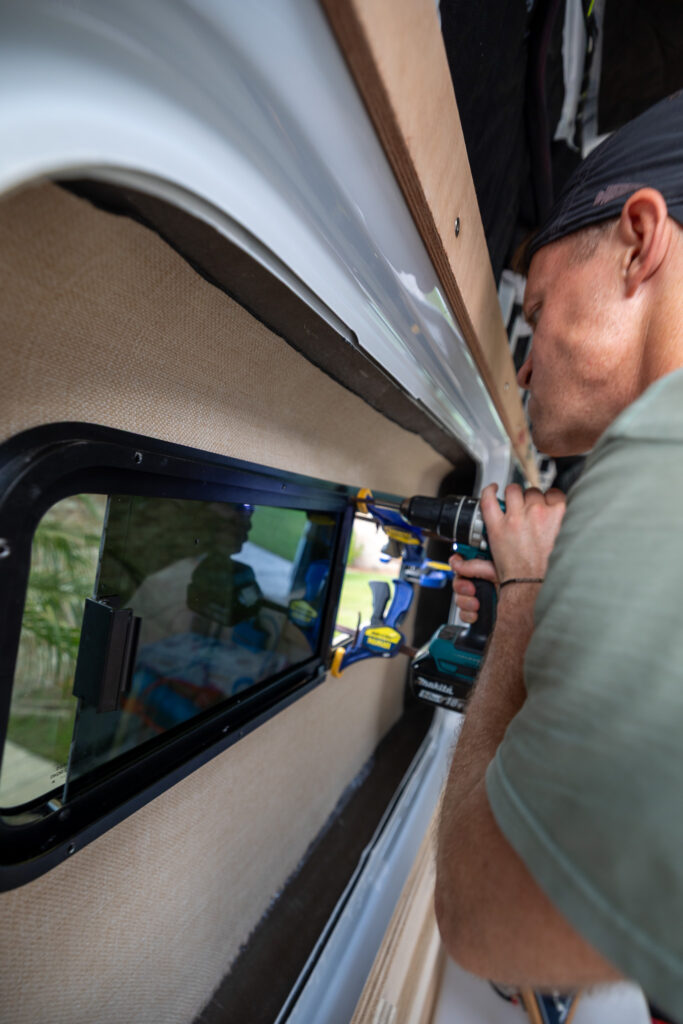
Now that you have the fabric on the flarespace, its time to finish the flare with re-installing the window. Since you have additional fabric between the window ring it will be much harder to compress it around the flare. The best tip for installing these is to use clamps around the window. Then you’ll be able to screw it in without any issue.
Step 4: Finishing the trim rings
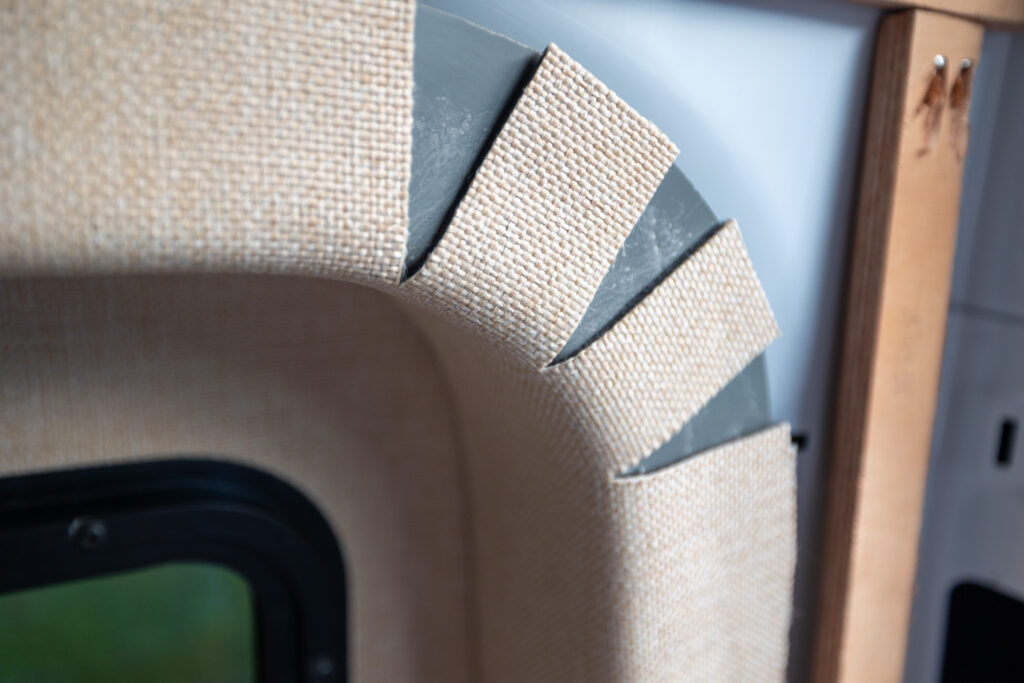
Now for the trim rings, we’re going to install the Marathon Plus fabric in the exact same way that we did on the inside of the flares. The curves can be tricky, so take your time, and measure twice, cut once. We recommend putting the seam on the bottom, as your mattress will cover that. The trim rings should have a snug fit, but they will be screwed into the wall panel when you get to that phase of your build.
What we wished we knew before installing Flarespace Flares
- There is a lot of trim, so any minor blemishes or rough cuts will be covered up!
- You need more tape. If we put more tape both on the flare and closer to the flare on the van, we would have had an even more professional look,
- The adhesive step was much harder than the cutting. It was like putting a sticker on a piece of paper if you only had one chance, and the sticker was a big piece of fiberglass, and the paper was the van.
How much do campervan flares cost?
As part of our appreciation for budgeting, we compiled the entire cost of our van build and broke it down by project. We didn’t include tools in each project because some tools we had previous to doing our van build, and other tools we bought were used on multiple van projects. Installing our two Flarespace flares, with sliding windows and trim rings, cost $4,614.64. Let us know in the comments if that was more or less than you expected.

If you’re interested in our total van build cost, join our email list to be the first to know when we release it.
Watch on YouTube
Save for Later
Save this to Pinterest to read again later!



Leave a Reply
You must be logged in to post a comment.