As we’ve been building our Mercedes Sprinter Camper Van, our next home, insulation has been a prime concern. If you’ve ever gotten into a car on a hot day, or left for work on a winter morning; it can be uncomfortable. Sure it’ll take only a few minutes to climatize with your cars heater or AC, however, if you’re living in your vehicle – you need something better. Insulation is the primary way to keep your vehicle in the living zone and combined with Air Conditioning, fans, and airflow, downright enjoyable. Here is a detailed guide on how we insulated our camper van!
Note: We use affiliate links which provide us a little kickback each time you use one of our links and make a purchase, without any additional cost to you. We do not recommend products that we don’t already love or have heard great things about, so you can trust we’re only suggesting great products to you.
Parts of the Van We Insulated
Being a metal box with glass windows, literally anywhere you can reasonably put insulation, you should! You have to be very mindful when installing your insulation though, for example if you add spray foam to your windows, then what is the point of windows? That would not be very mindful.
Read our entire van build series here!
Our Van Floor Insulation
It is very important to insulate your floor. Remember, hot air rises; when you’re parked over hot pavement or if you’re doing winter van life and you’re over snow – those will affect your van. Most people have wood on their floors, which acts as a light insulator, but its best to have a dedicated insulation layer as part of your floors.

Check out our blog post on How We Installed our Floor!
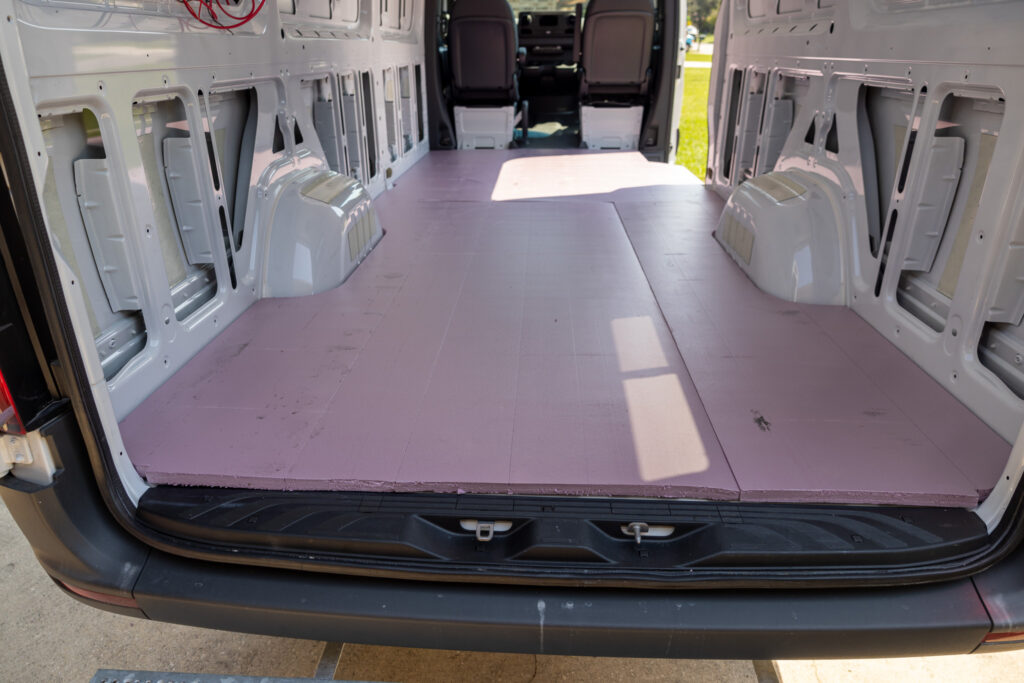
We used 1” XPS (Extruded Polystyrene) as our van floor insulation. With an R value of 5 and ability to support 15 PSI, it is perfect as the bottom layer of a floor. With our 1/2 “ of plywood on top, our floor should stay nice and temperate.
🔥 Some people install “heated” floors, on top of insulation to give that luxury feel. It’s expensive and hard to install, but it can elevate your build!
Our Van Wall and Ceiling Insulation
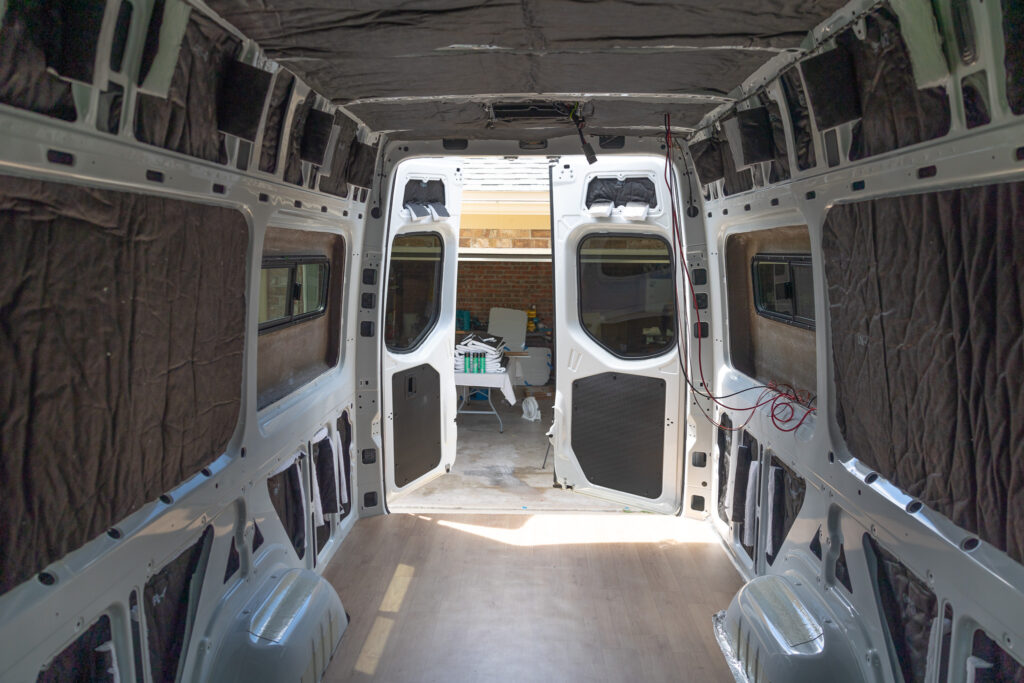
Most people consider the wall and ceiling parts of our van insulation when they think of van insulation. Being just a thin sheet of metal, vans are not very good thermal insulators. Just press your hand to the metal in your vehicle on a hot or cold day!
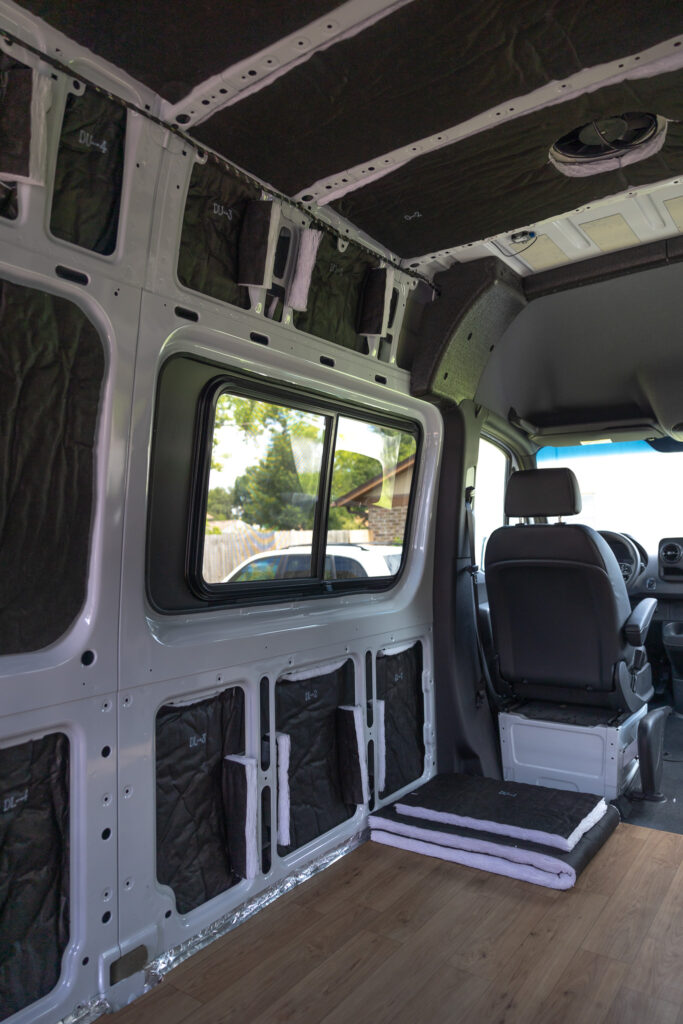
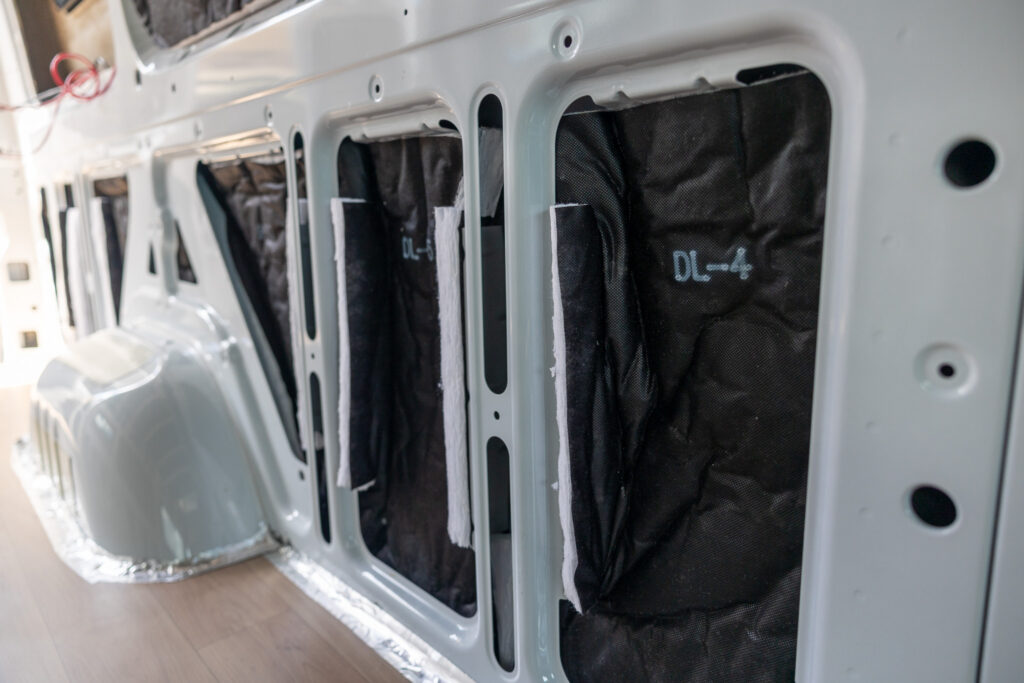
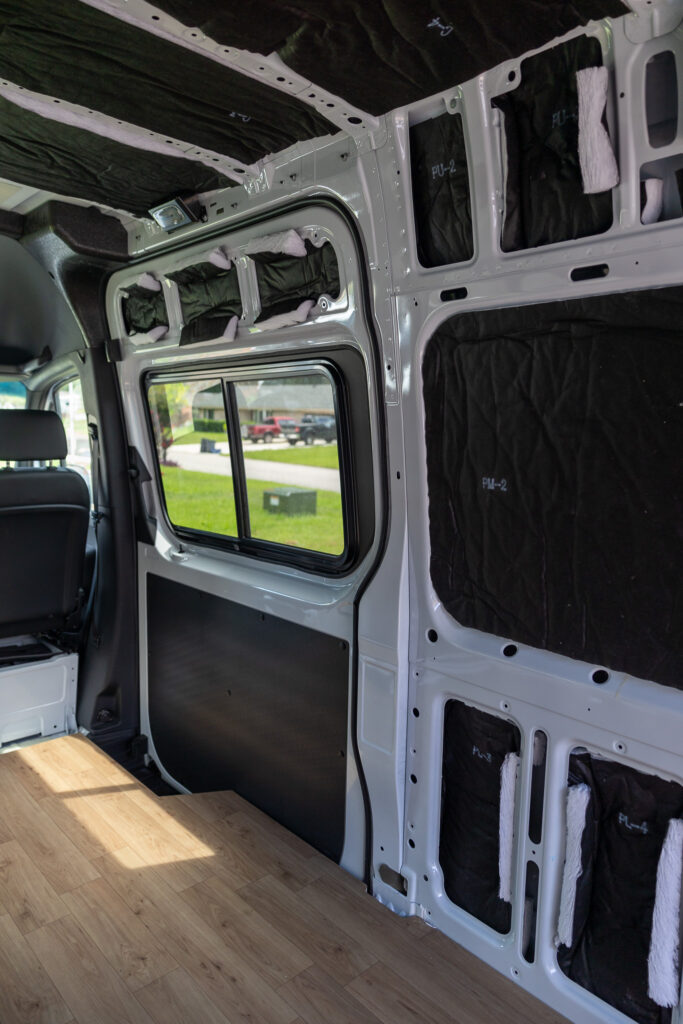
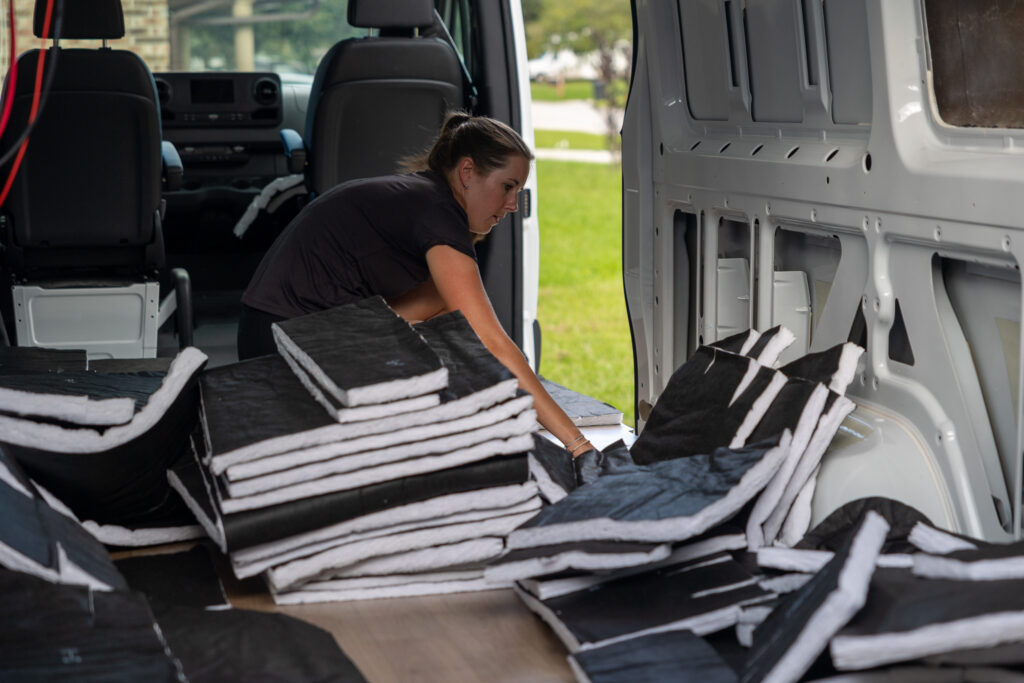
There are many options for insulating your camper van, such as spray foam, foam board, and wool. However, we chose the best combination of cost, ease, and thermal insulation and installed 3M Thinsulate. We highly recommend the pre-cut insulation from Campervan HQ because it takes the guess work out of determining how much you need for your van, and the time making each precise cut! Campervan HQ sells 3M Thinsulate for all of the standard US campervans including Mercedes Sprinters, Ford Transit, and the Dodge ProMaster.
Our Van Window Insulation
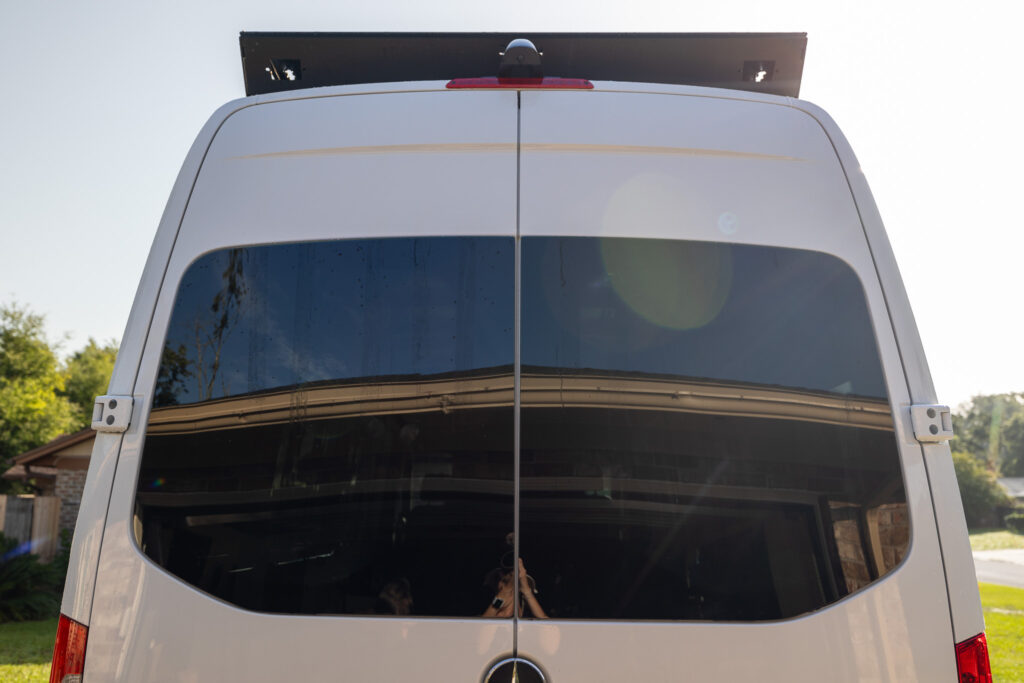
You might not have guessed this but, windows are an overlooked point of insulation you need to plan in our van. While we are currently building our van, we don’t have them insulated, but when we head out on the road we plan to install magnetic, reflective, insulation. Reflective insulation is a key component, because that will function well with the windows.
How we Installed our Van Floor Insulation
Read our blog post for all the details, but here’s the TLDR:
- We purchased three sheets 1” XPS from Home Depot, and four cans of Sikaflex 221
- Then cut the XPS to the dimensions of your van, we used the Pre-Cut Lonseal flooring as a template.
- Glue the XPS to the tops of the ridges in your van with the Sikaflex and an Electric Caulk Gun
- Weight it down overnight with sheets of plywood and lots of weight!
How we Installed our Van Wall and Ceiling Insulation
We installed Pre-Cut 3M Thinsulate as our main insulation for our camper van. It was a very seamless process, so to ensure you don’t have any hiccups read the entire process!
Firstly, to install it like us you’ll need a few things:
| Item | Description |
|---|---|
| Pre-Cut 3M Thinsulate | The insulation, of course! |
| A sharp set of scissors | For cutting the leftover insulation. |
| 4 Cans of 3M 90 Spray Adhesive | For adhering the insulation to the van. |
Preparing your van for insulation installation
Every wall that you plan to place insulation on, needs to be clean of debris or any obstructions like wiring. As mentioned above, you will be glueing the insulation to the walls so you wouldn’t want any dust or dirt to affect the bond as well as you wouldn’t want to glue any wires to your van. While it might be nice to hide those wires, remember, your walls will hide them too and if they are behind your walls, you’ll be able to access and perform any required maintenance.
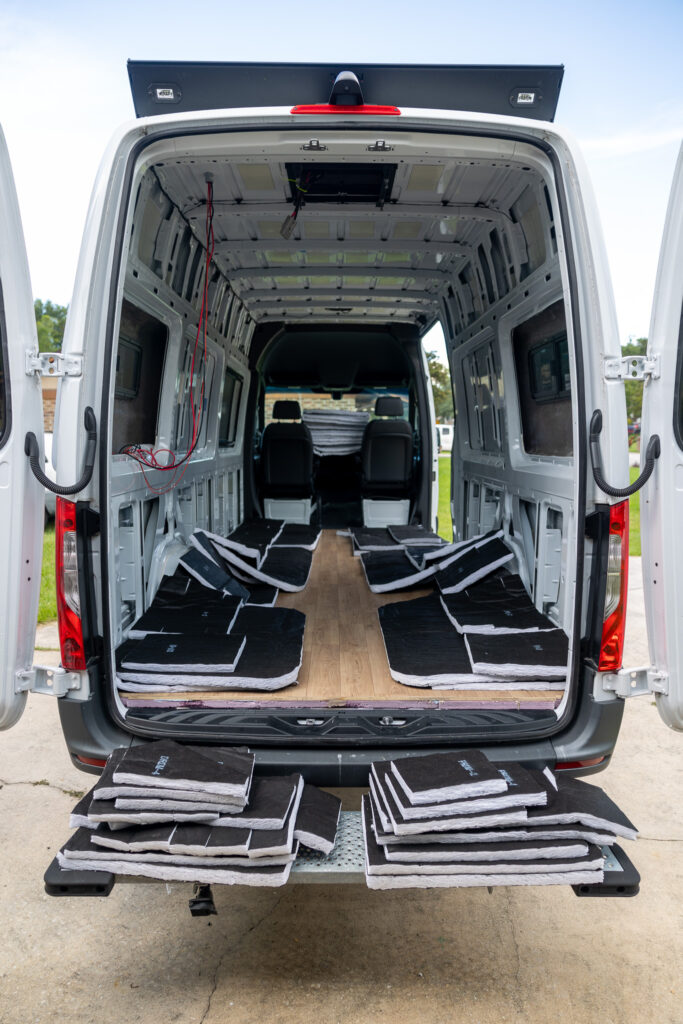
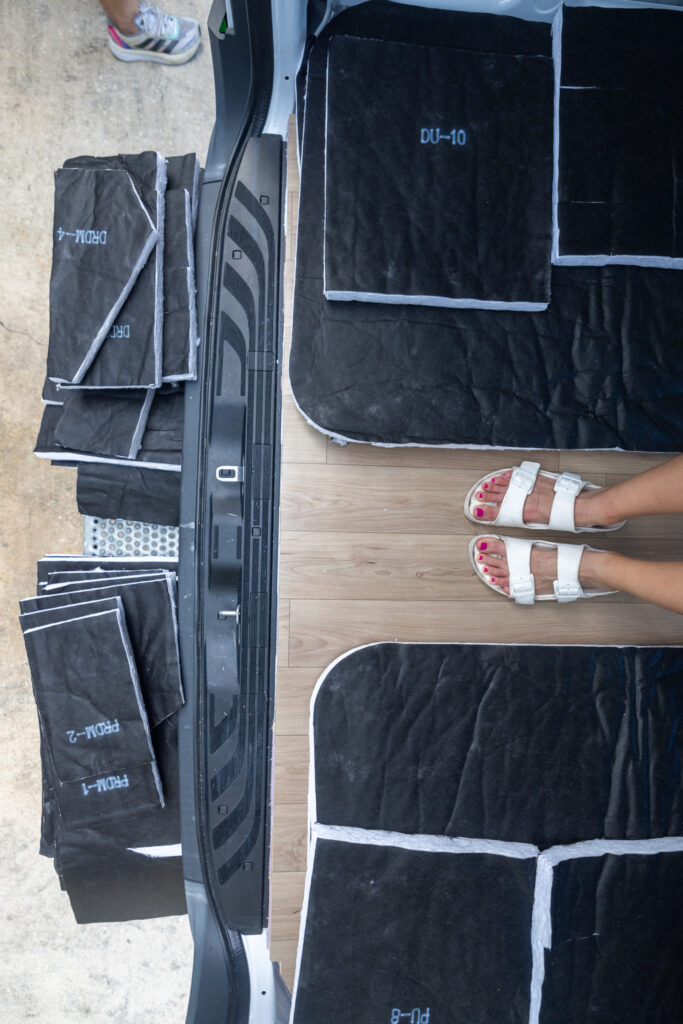
💡 During the prep phase, we found it helpful to organize all precut pieces on each side of the van and work front to back.
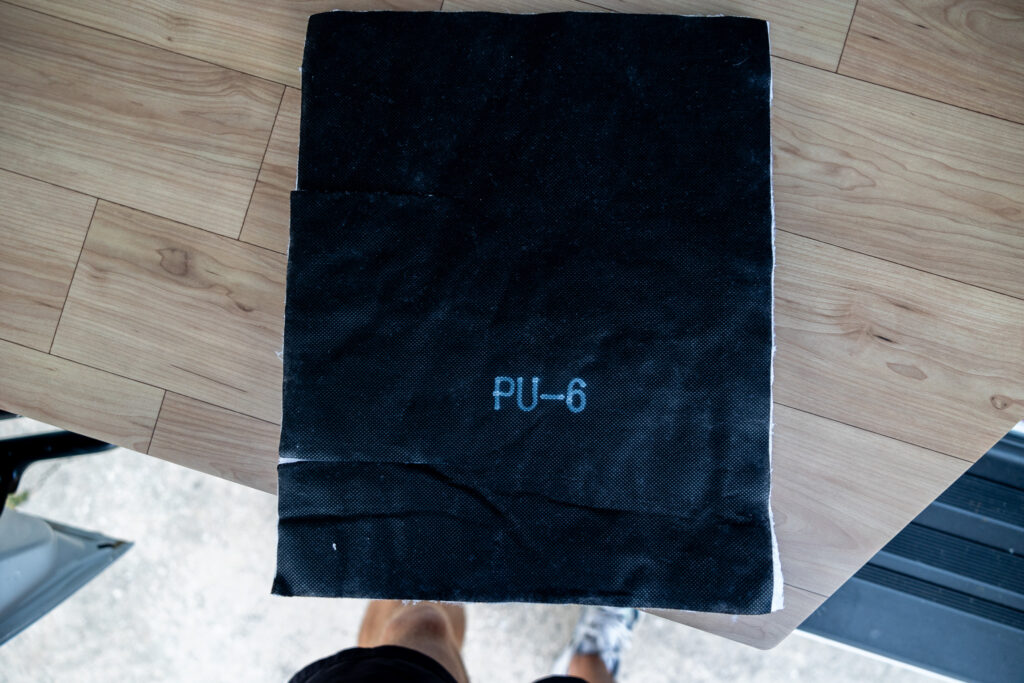
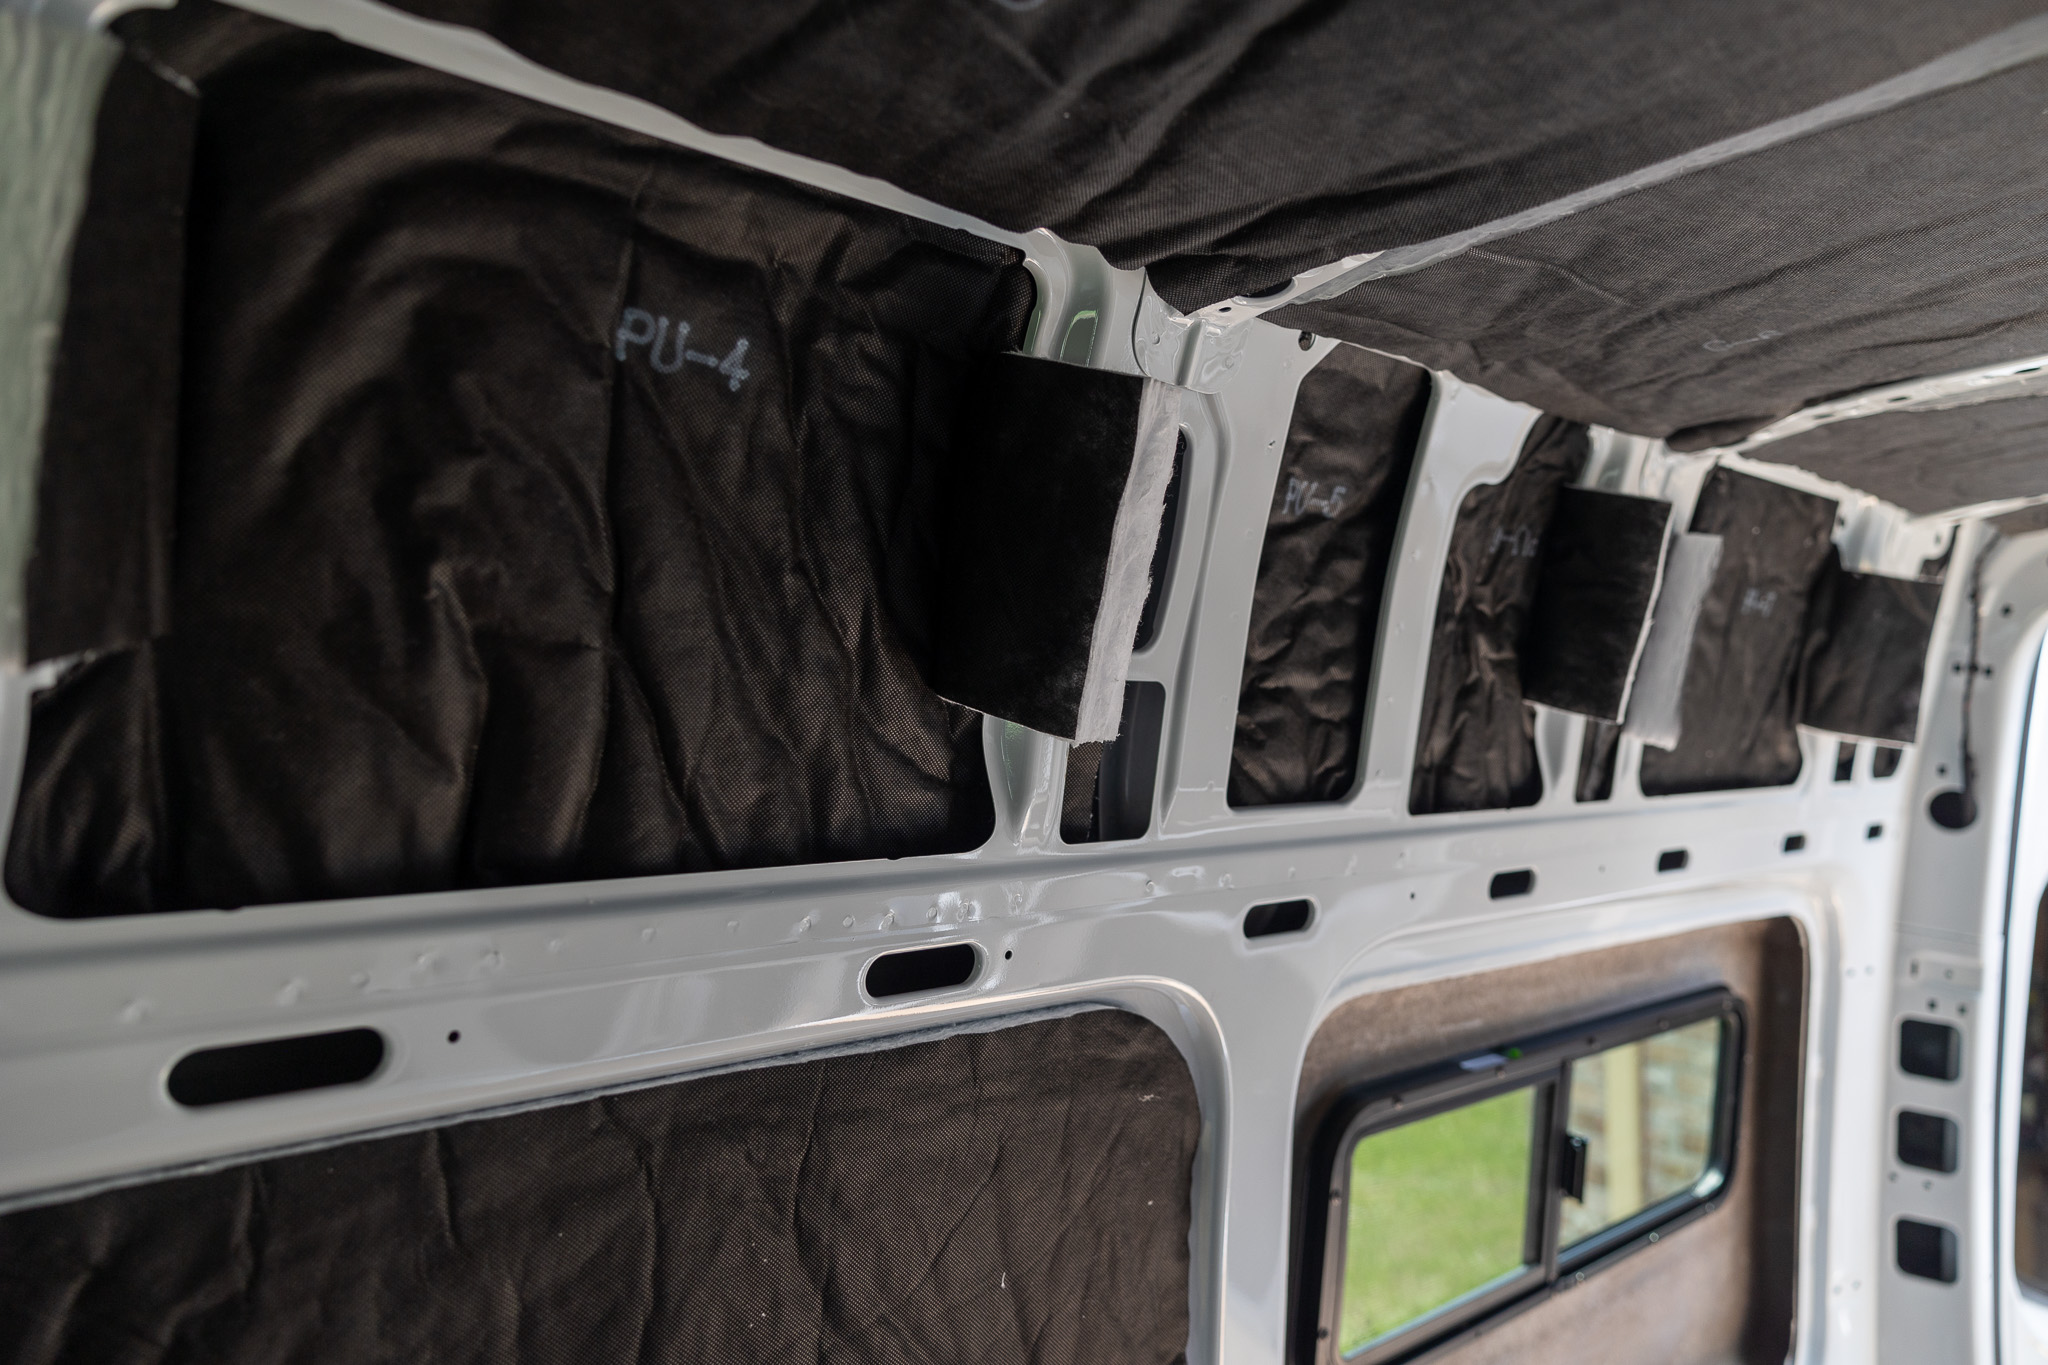
Each piece is labeled P for Passenger, D for Driver, and C for Ceiling. Also included is a paper document listing the order (which can be hard to find in between pieces of insulation), but essentially you work front to back and count up the numbers. In this case, it is PU-6, which means the passenger side, upper (highest row), and six openings from the front.
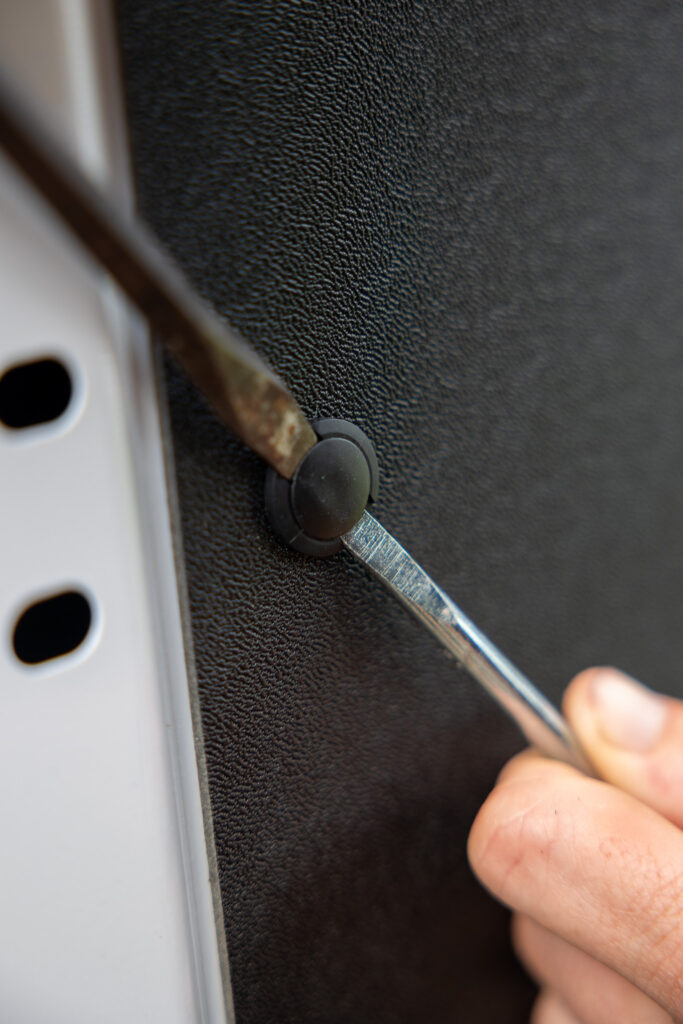
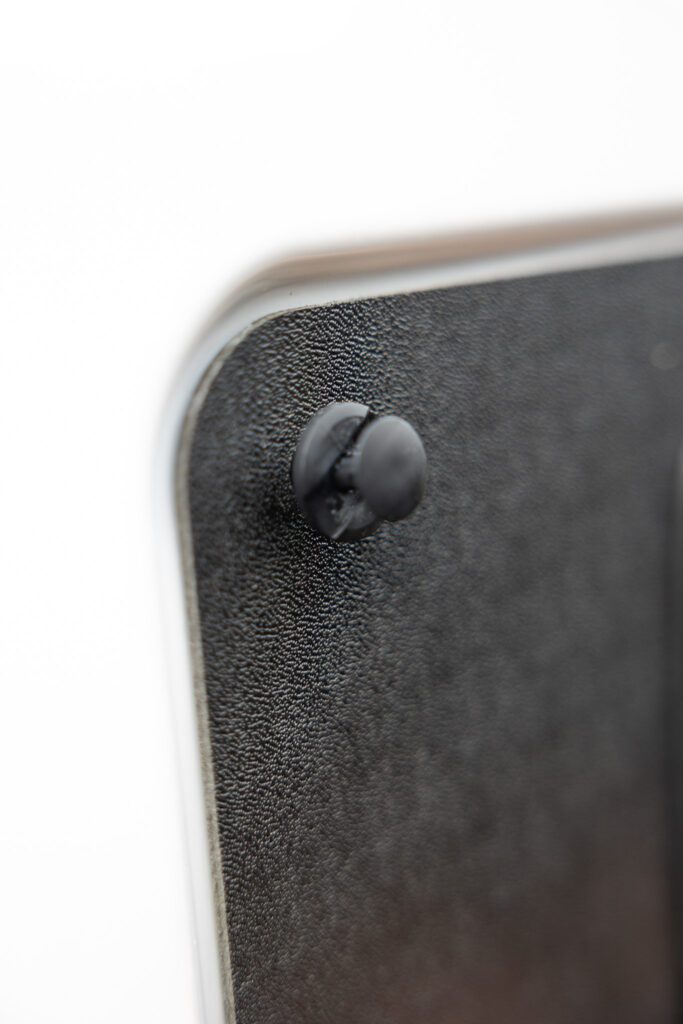
You’ll also want to remove the plastic door coverings in this step. Removing them is super easy! For our VS30 Sprinter it takes two flat head screw drivers and with the slightest pressure pops out the container. Take your time with these to ensure you don’t scratch your plastic, and don’t bend the coverings too much as they are prone to cracking. Ask us how we know 😳
How to Adhere the 3M Thinsulate to your Van
Adhering 3M Thinsulate is easy if you have the right material. Use 3M 90 contact spray adhesive by spraying it on both the van wall and the Thinsulate. Wait 2 minutes or until you can press your knuckle and no goo comes off. Only spray the corners and the center, less is more! Getting the 3M Thinsulate into the smaller nooks and crannies was challenging, so we recommend being strategic with where you spray the adhesive.
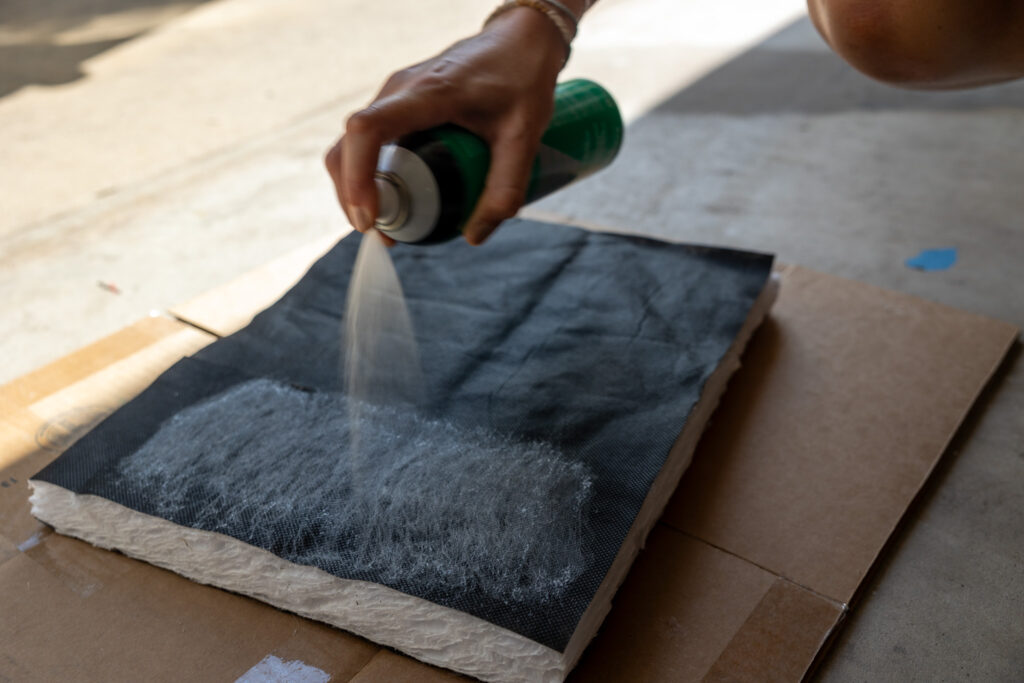
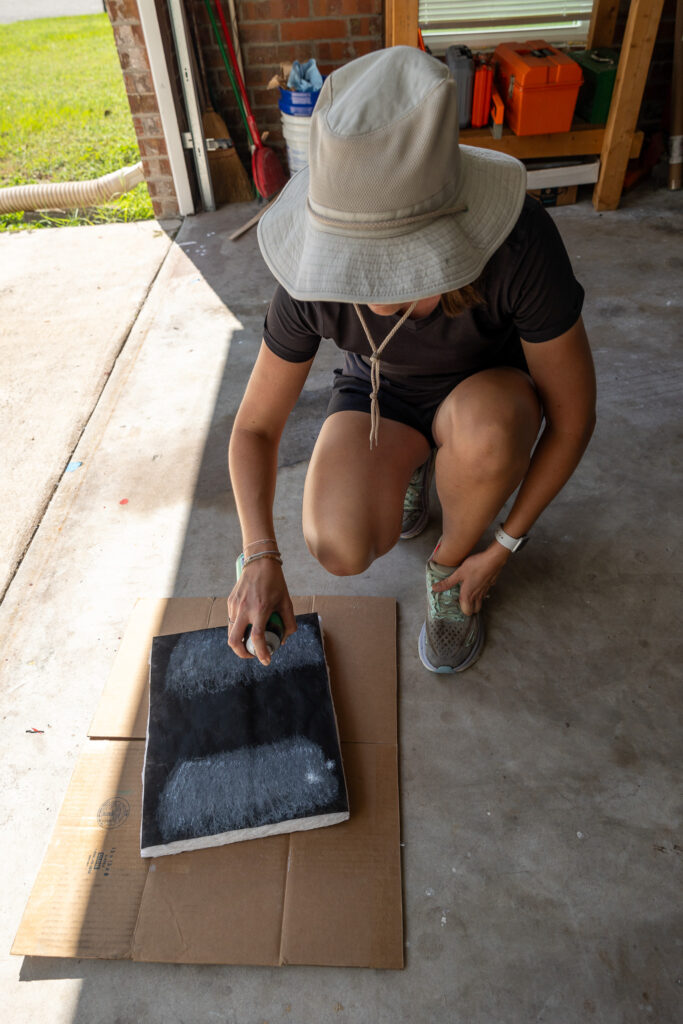
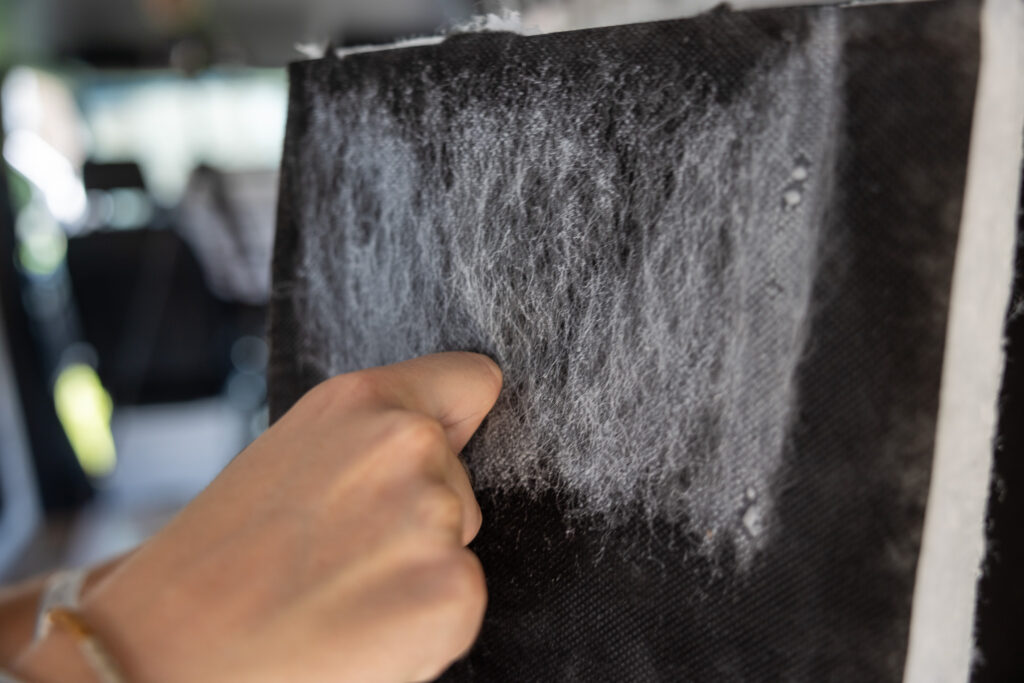
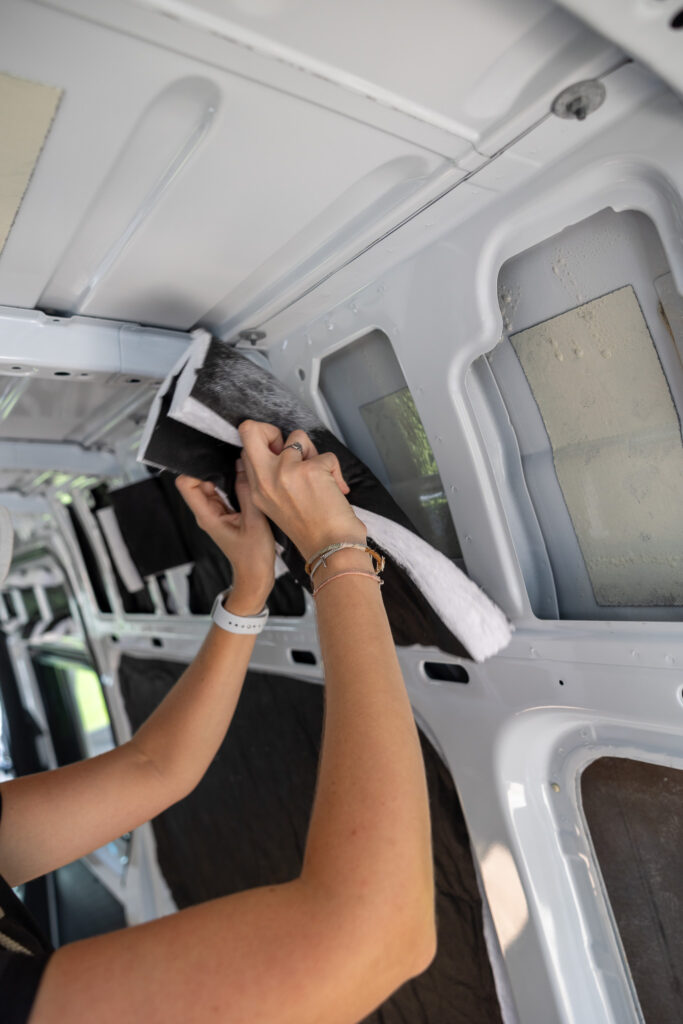
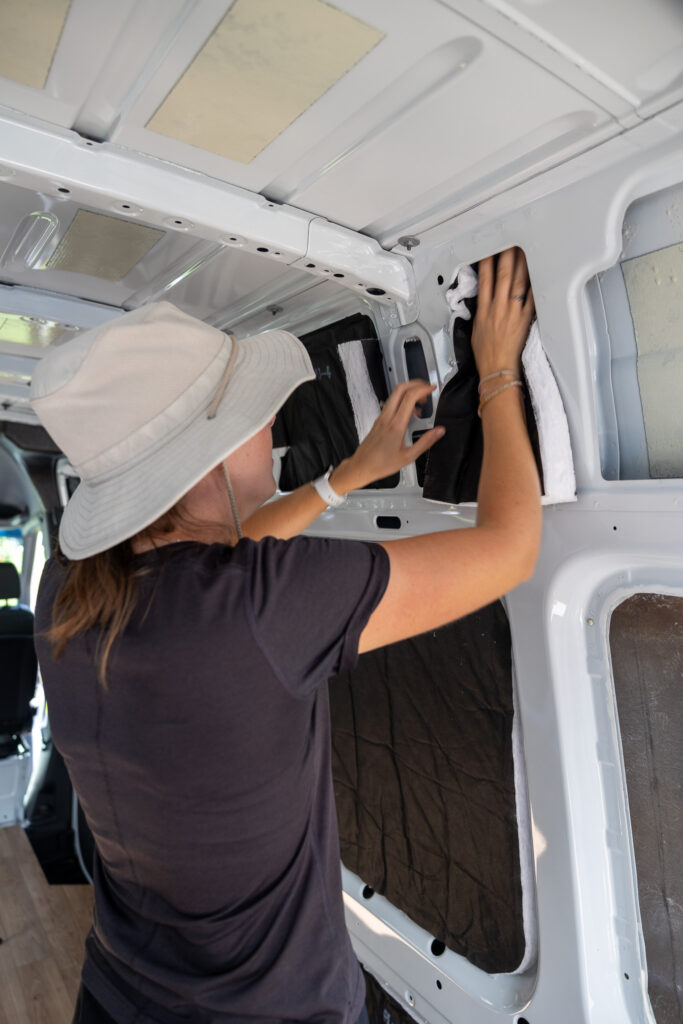
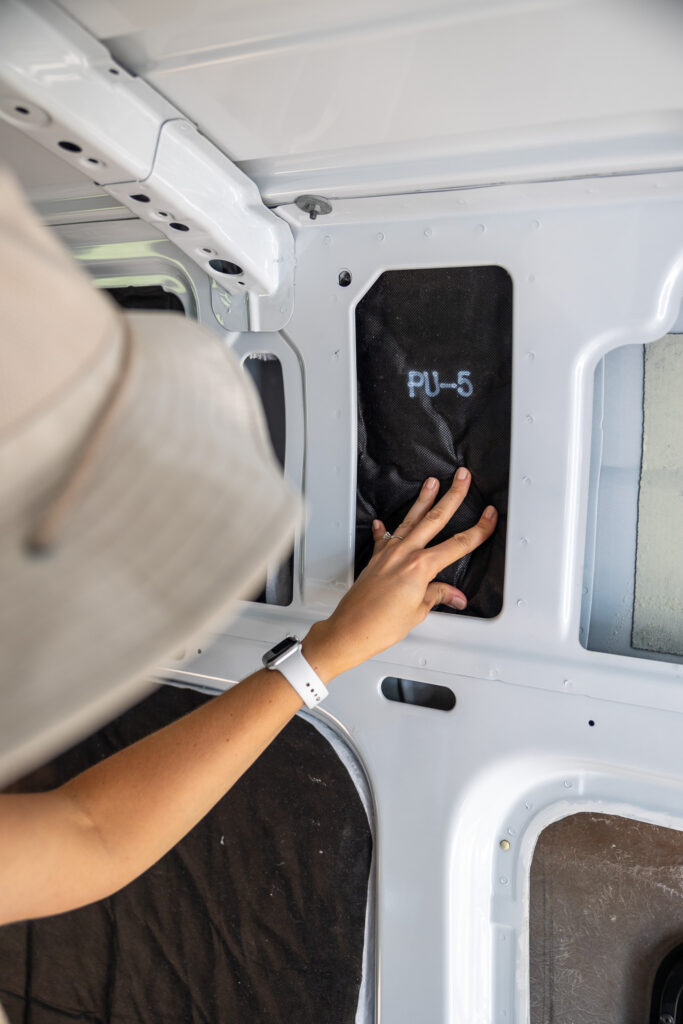
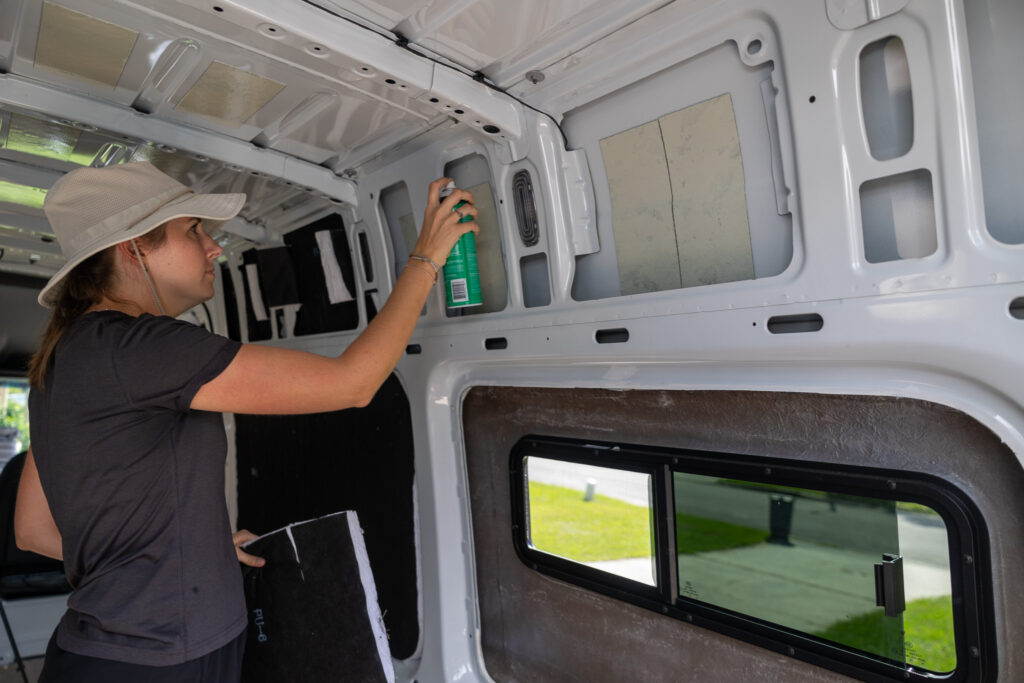
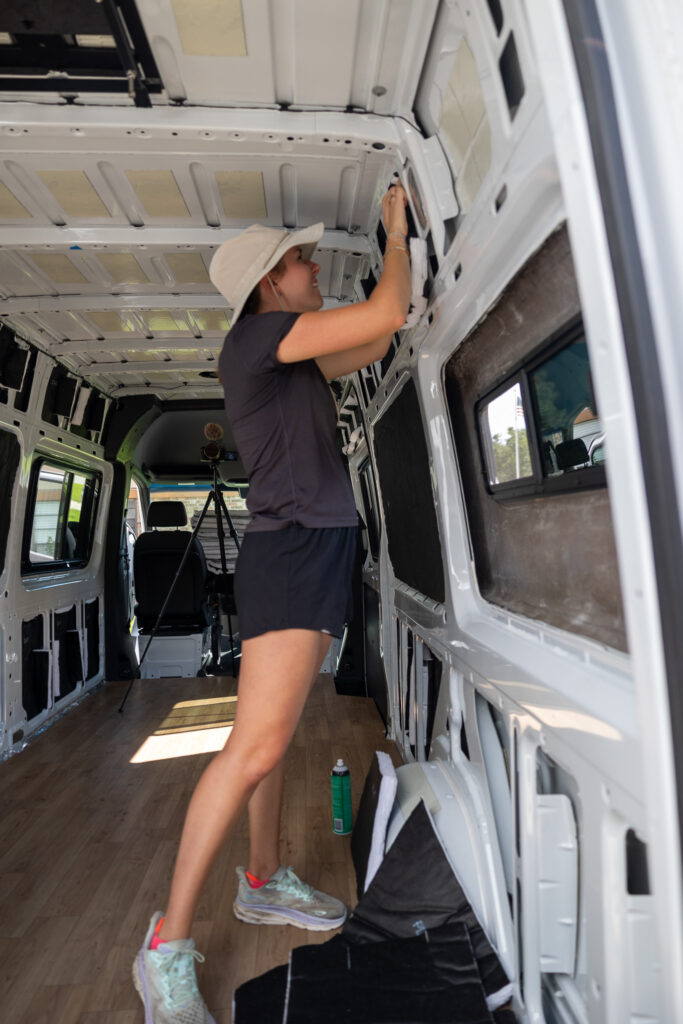
There are a few key points you should follow in this step:
- Only spray a little amount of 3M 90, the corners and middle. This cement is super sticky and if you use too much, not only is it costly, but it makes it challenging to push your Thinsulate into the corners. Once the cement touches itself, its pretty set.
- Wait at least 2 minutes. If you don’t follow the instructions, it may not adhere correctly. You don’t want this to fall behind your wall and not actually do anything when you finish your build!
- Use PPE. 3M 90 is toxic so make sure to follow the manufacturers instructions. We found opening all the windows and doors helped immensely. We couldn’t smell any fumes the next day, if you were worried about that.
Use All of Your Insulation
If you’re like us and you installed a couple of windows, then where those windows went, you’ll have an extra 3M Thinsulate! Use all of it, it’s cumulative, and you can stuff it anywhere. We used our extra behind our headliner and covered our wheel wells.
Learn from our Mistakes
We choose to install our insulation before installing our furring strips. Looking back, it would have been nice to have installed our horizontal furring strips prior to installing our insulation. We choose to drill into our van and use rivnuts to attach our furring strips to the wall. Drilling into the metal van inevitably caused metal shavings to go everywhere and since we already had our insulation installed, it made cleaning up the metal shavings even more difficult. It wasn’t the end of the world, however, if we were to do it again, we would have prioritized installing the horizontal furring strips first and then installing the insulation. We’re glad we didn’t install our vertical furring strips before insulation because it would have made getting the insulation behind the wood harder.
Why we chose 3M Thinsulate to Insulate our Camper Van
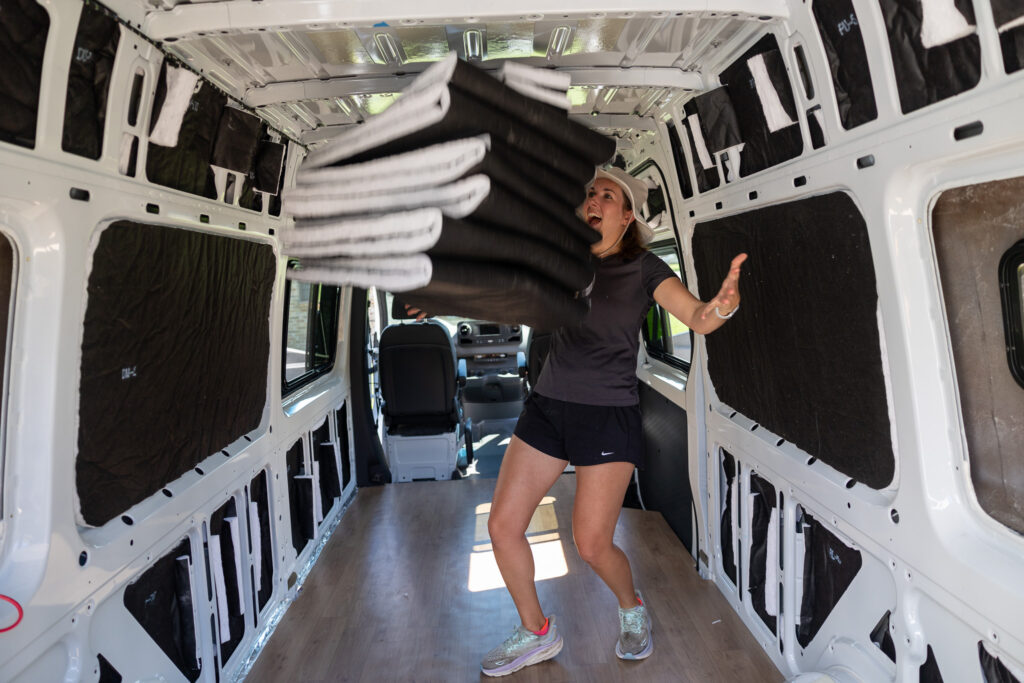

- Cost. The entire set of insulation cost $775 from Campervan HQ and with 3 cans of 3M 90, the total installation was roughly $800.
- Time. We were able to fully insulate our van in half a day, without having any prior experience.
- Quality. 3M Insulate is hydrophobic, flame resistant, non-toxic, and has a high insulation R value.
Why we insulated our Camper Van (and why you should too)
As mentioned above, insulating your Camper Van is something everyone should do. Whether you go for 3M thinsulate or any other insulation material, its one of the few things that has no upkeep and helps every day on the road. There’s no diesel cost as if you had a diesel heater, there’s no electrical cost as if you’re running AC, it just works – passively, all the time! Plus, it enhances your heating and AC making your home stay warmer or cooler longer!
Our Video Installing 3M Thinsulate
Save for Later
Save this to Pinterest to read again later!





Leave a Reply
You must be logged in to post a comment.