We installed a DIY pre-fabricated roof rack on our Sprinter Van and learned everything possible to create this ULTIMATE GUIDE for VAN ROOF RACKS. We installed Orion Van Gear’s Stealth+ Roof Rack and would highly recommend it to anyone planning a roof rack, but before you buy, read this article to learn about the ins and outs of roof racks to determine if you need one and which version suits your goals the most!
Note: We use affiliate links which provide us a little kickback each time you use one of our links and make a purchase, without any additional cost to you. We do not recommend products that we don’t already love or have heard great things about, so you can trust we’re only suggesting great products to you.
What is the point of a van roof rack?
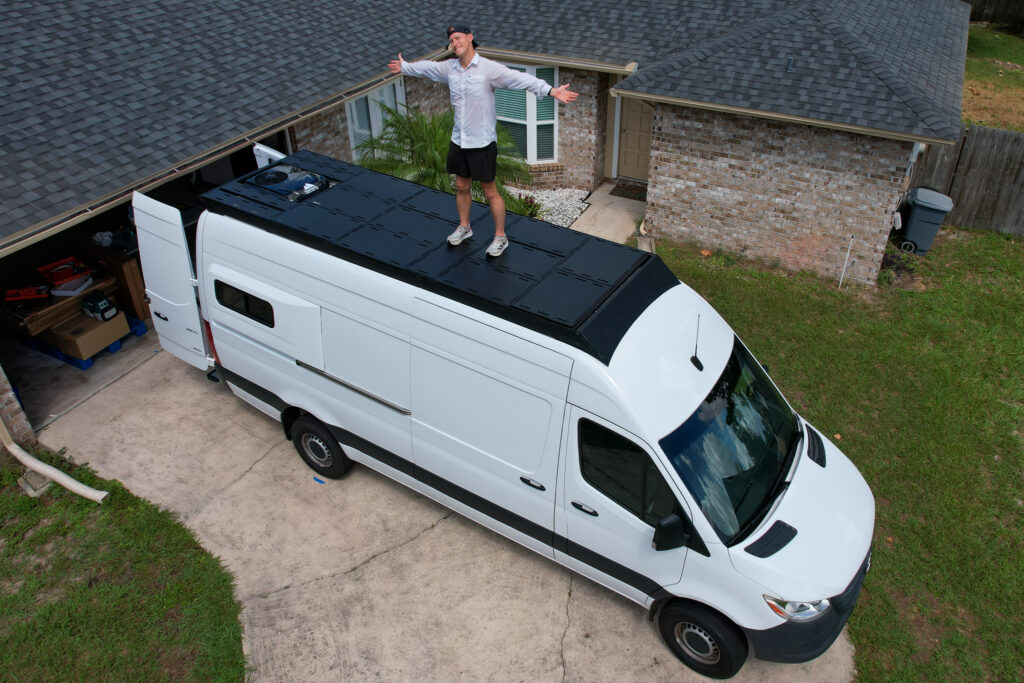
Most people install roof racks because they want an easy way to mount things to your roof! Simple, right? Traditionally, in the van space, we are all mounting things like solar panels, internet connectivity (i.e., Starlink), and panels for a deck, to name a few. When you’re building out your van, you have the option of mounting all these directly to your roof, but that comes with some severe trade-offs:
- You’ll put more holes into your roof. With more holes, you have more work to do to prevent rust or leaks!
- Some components will require adhesive to ensure they don’t fly off, so you won’t be able to repair or replace items as often as you may need.
- You won’t have any mounting points for gear. If you need to strap paddle boards down, for example, you wouldn’t have any mounting points for your straps.
However, with these tradeoffs, you will save money by not purchasing a new van component and keeping your vertical clearance as low as possible, which is important if you plan to travel extensively in urban areas. You’ll also have slightly less weight, which is always important to manage in a build.
Aside from mounting and carrying gear, the roof rack can also be used for a rooftop deck! That is one of the big reasons we decided to include one on our build.
Should you get a Roof Rack for your camper van?
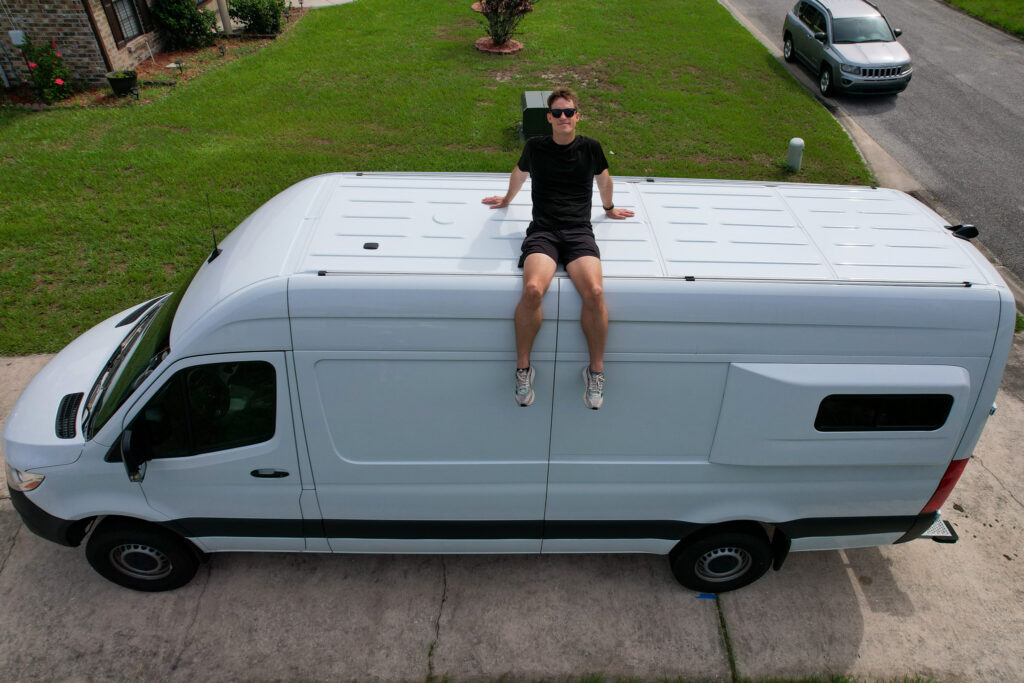
To decide whether to include a roof rack in your camper van, consider the following important factors: cost, height, and needs.
The Cost of a Van Roof Rack
Depending on your roof rack’s style and DIY nature, you could spend upwards of $5,000 to a few hundred dollars.
The Height of Your Van Build
Many roads and areas of the country have low-height clearances. When adding a roof rack, you’ll add a few inches to the height of your van, and if your van is lifted, you may find some roads that are not available for you to pass!
The Needs of Your Van Build
You may not need a roof rack if you only need to mount a couple of solar panels. However, if you have more goals for your roof, you might need to upgrade. Our roof rack gives us more solar because we can lift it over our fan, and it repurposes our roof as usable space in the form of a roof deck. One of the main reasons we didn’t go with an air conditioner and the Maxx Air Fan was because of our window selection where we prioritized operable windows to give us a cross breeze. Others may want to use their roof racks to carry their adventure gear, such as Thule boxes, bikes, kayaks, paddle boards, or other pieces of equipment.

The different types of van roof racks
There are numerous types of van roof racks, each with benefits and trade-offs. I’ve broken them down into three distinct categories below, explaining why they fit into each category!
DIY from scratch
DIY from scratch roof racks typically entail someone following a guide online and purchasing metal fixtures to create their roof rack. The main tradeoff in this approach is time and complexity. Since you’ll be making the roof rack from scratch, you must understand and ensure your design and implementation are secure. If you think about it, when driving along a highway at 70 mph, your roof rack will be subjected to 70 mph winds! It’s like a hurricane hitting your construction every day. You’ll need to make sure it’s safe and secure, not just for you but for other drivers on the road.
The main benefit here is that it costs the least regarding materials. Roof racks are typically not much more than a few pieces of metal and hardware! If you buy the aluminum and cut it yourself, you can save some $$$. You can also follow various guides online for this, so it doesn’t have to be entirely from scratch!
DIY from a pre-fabricated roof rack
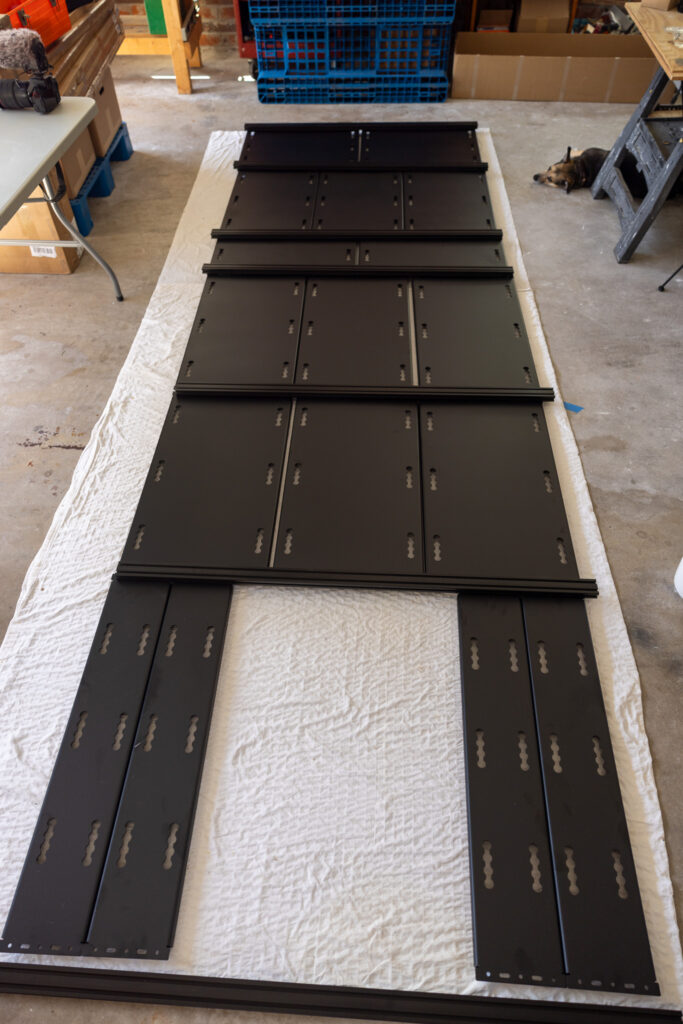
We chose the DIY option of a prefabricated roof rack. It is still DIY in that you need to put it together, but it is prefabricated, so you don’t need to worry about designs and ordering the various components. We felt this toed the line ideally between cost, as it’s more expensive than fully DIY but less expensive than a one-piece roof rack, and the line between difficulty, as it’s in a kit with quality instructions. Below, we share how we installed this type of roof rack, but in general, you’ll get a few different packages, with each piece fabricated strictly for your van. They take roughly a day to install, so you can rapidly go from no-roof rack to a finished roof rack with only a few included hand tools and a ladder!
One-piece roof racks
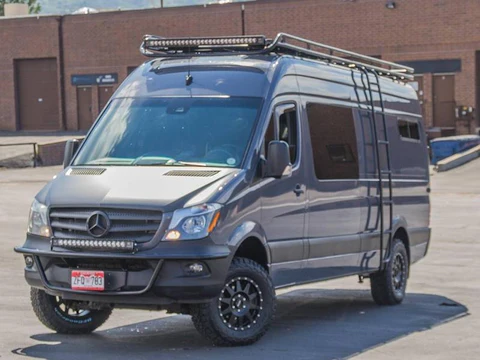
The last option we’re discussing is the one-piece roof racks. These will be the most expensive, heaviest, and most challenging to install. However, they are very sturdy and look great, so if you choose this option, you won’t regret it. They are also the easiest to install because you’ll often have the manufacturer install them using a forklift!
Van Roof Racks Breakdown
| Roof Rack Type | Cost | Ease of Process |
|---|---|---|
| DIY Roof Rack | $ | Complex |
| DIY Pre-Fab | $$ | Moderate |
| One Piece Roof Rack | $$$ | Easy |
How much do van roof racks cost?
As part of our love for knowing the real numbers behind projects or trips, we’re sharing the total cost of our van build and breaking it down project by project so you can make the best financial decision for your van build. We intentionally don’t include tools because each person’s tool collection is probably different, plus we buy some tools that we use over multiple van projects. We spent $6,663.87 on our van’s roof rack, rear lights, and ladder. If you’re interested in how much our air conditioner, fan, and solar panels cost, check out those posts!

We’ll share the final cost of our van build when we’ve completed our build. Be sure to sign up for our weekly email, our Sunday Summary, to be the first to know when we publish our final van build cost!
The Roof Rack We Chose for Our Van Build
We chose the Orion Stealth+ Sprinter Roof Rack for our van build. We decided to partner with Orion for our van build for the following reasons:
- They were the first to create a DIY panel-based design and offer roof racks for all the major van brands.
- Their roof rack is made in America (Oregon).
- They offer a free CAD session to fit and design your roof custom to your needs.
- With free shipping, they have a very competitive price.
- The roof rack (outside of the panels) only adds 76 lbs and 4” of clearance, both minor for our build.
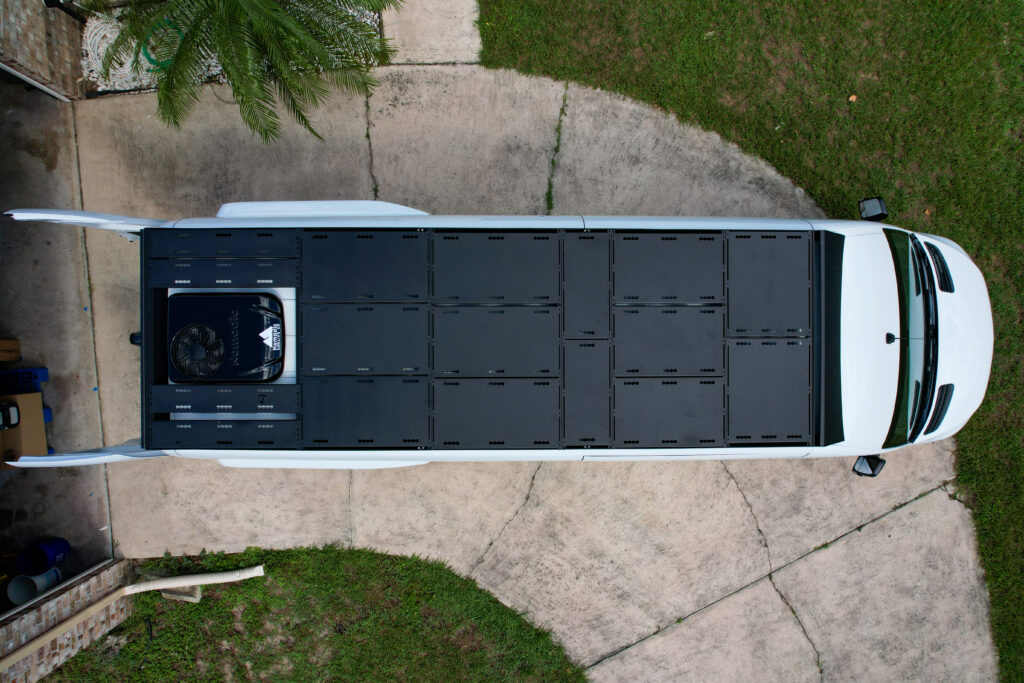
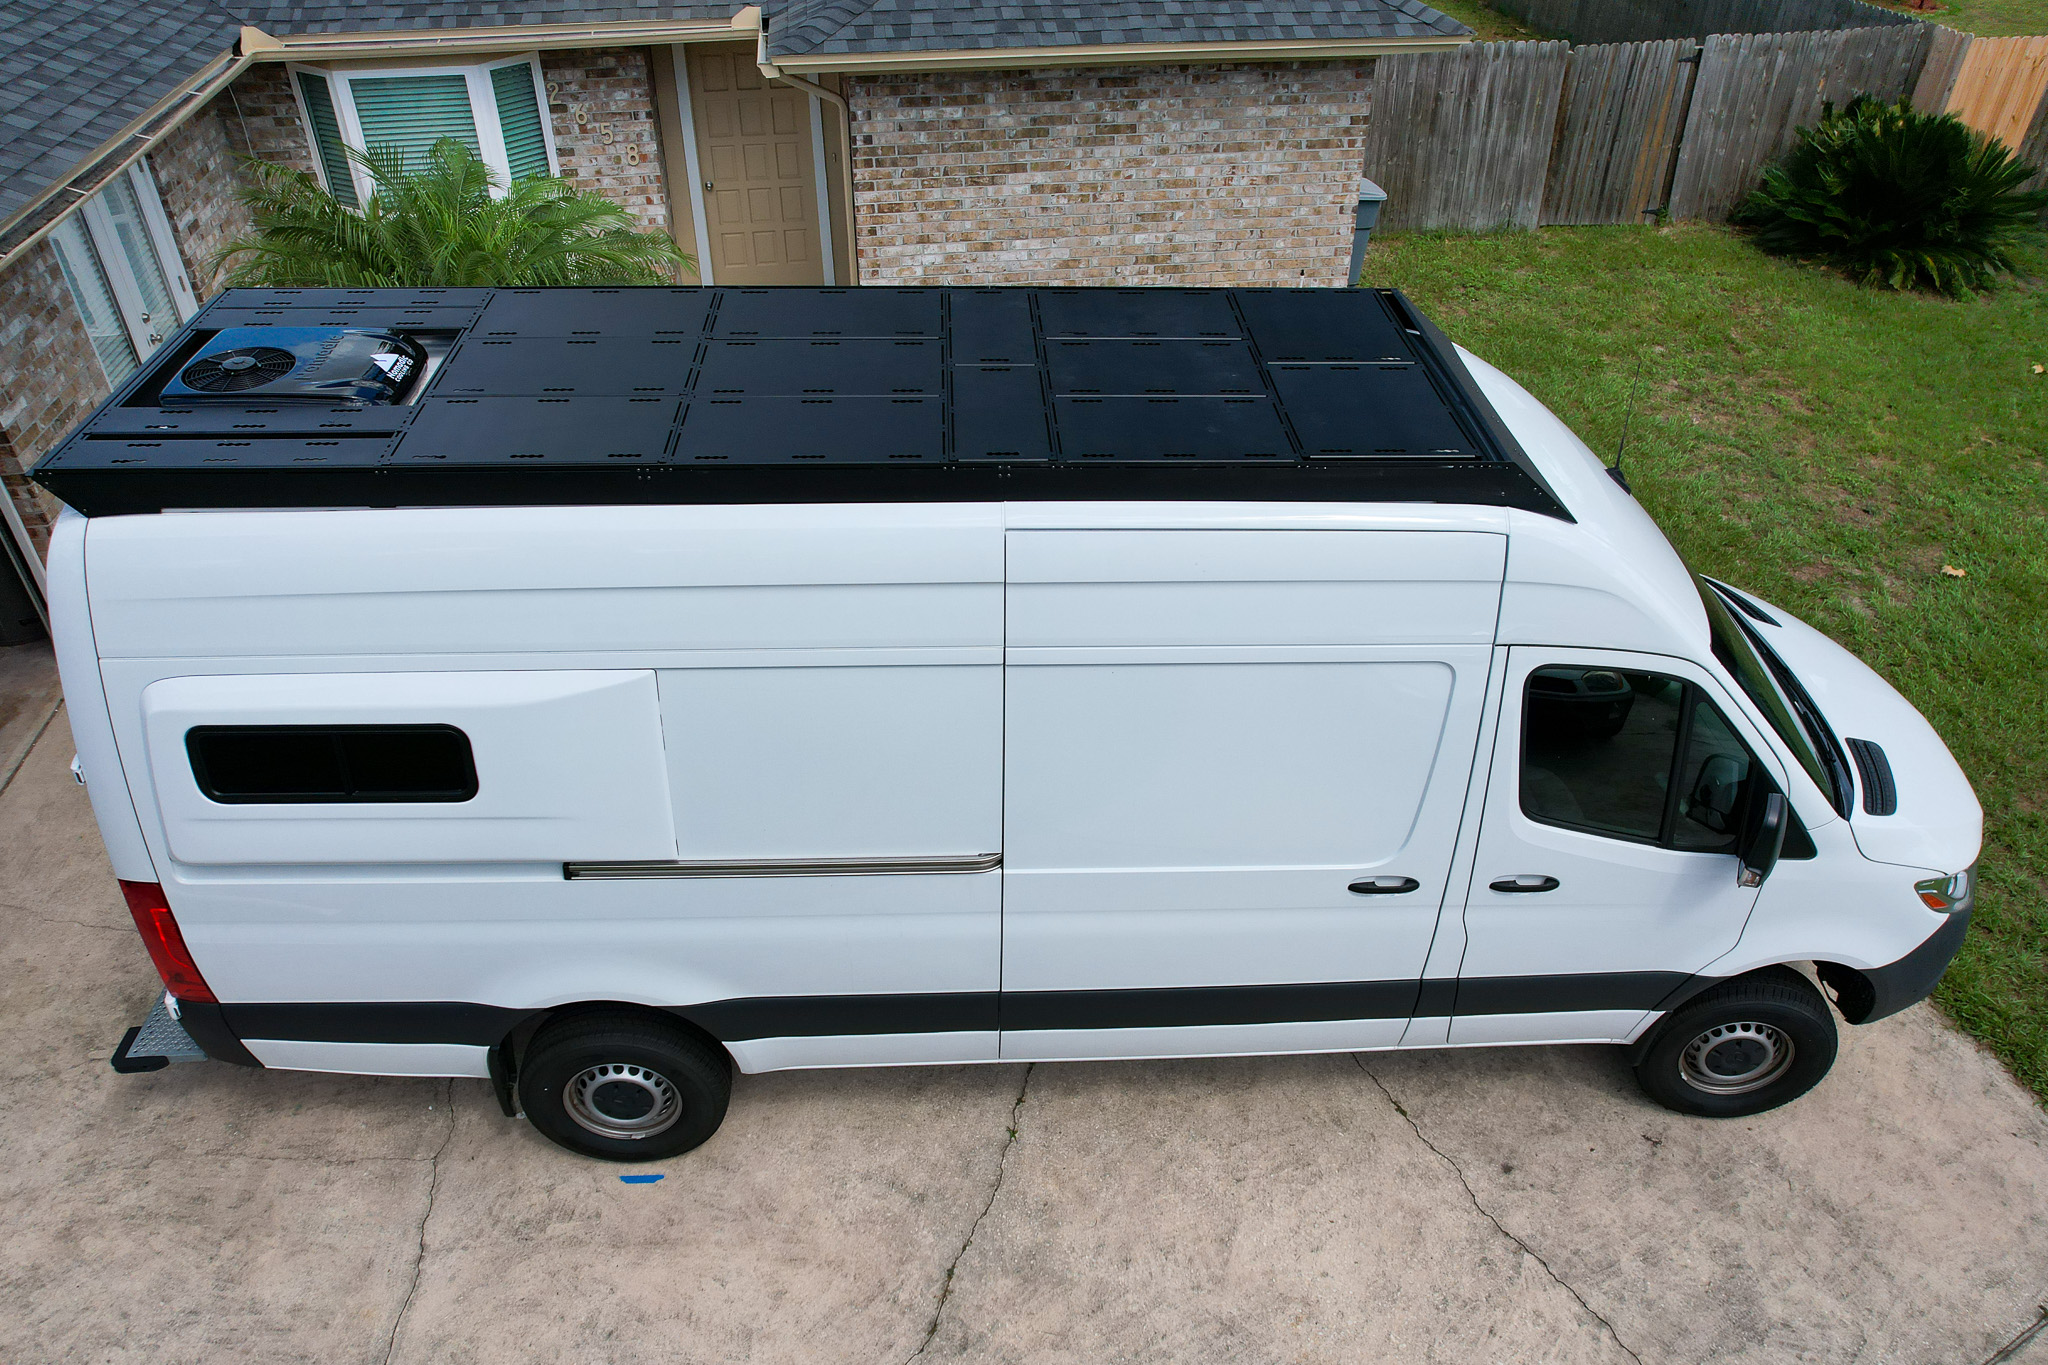
We created our dream roof with our Orion Stealth+ Roof Rack, which has a 12V Air Conditioner, mounted Starlink, a low-profile 12V fan, and finally—the pièce de résistance—815W of walkable solar panels.

How to install the Orion Stealth+ Sprinter Van Roof Rack
We installed our roof rack and components over three days in the hot Florida summer. We could probably have done it in two days under normal conditions and without pictures or filming, but then we wouldn’t have this article to share! These steps will probably be very similar to those of other DIY prefabricated roof racks, so keep reading, even if you don’t have the Orion Stealth+. All the required tools are included except a ladder! Here are all the steps.
⚠️ This guide is not a substitute for reading the manufacturer’s instructions. Follow the provided instructions first and use this as a reference for planning your own roof rack. ⚠️
Get a Design Fit for Your Needs and Order all Required Components
At the start of your roof rack process, you’ll need to work with Orion to get your custom design. The Orion roof rack has space maximized compared to other manufacturers, so you’ll be surprised by what you can fit. We chose a 12V Nomadic AC with a tiny footprint to mount our Starlink next to it. Next, we decided on the Lemans Rooftop low profile fan, which fits underneath the 4” roof rack, giving us the maximum possible walkable solar. We had a few variations but decided on the version with the most Wattage. This is our full-time home, so the more possible solar, the better it will be in the long run! In addition to prioritizing the maximum solar, we also prioritized operable windows.
Layout your Frame
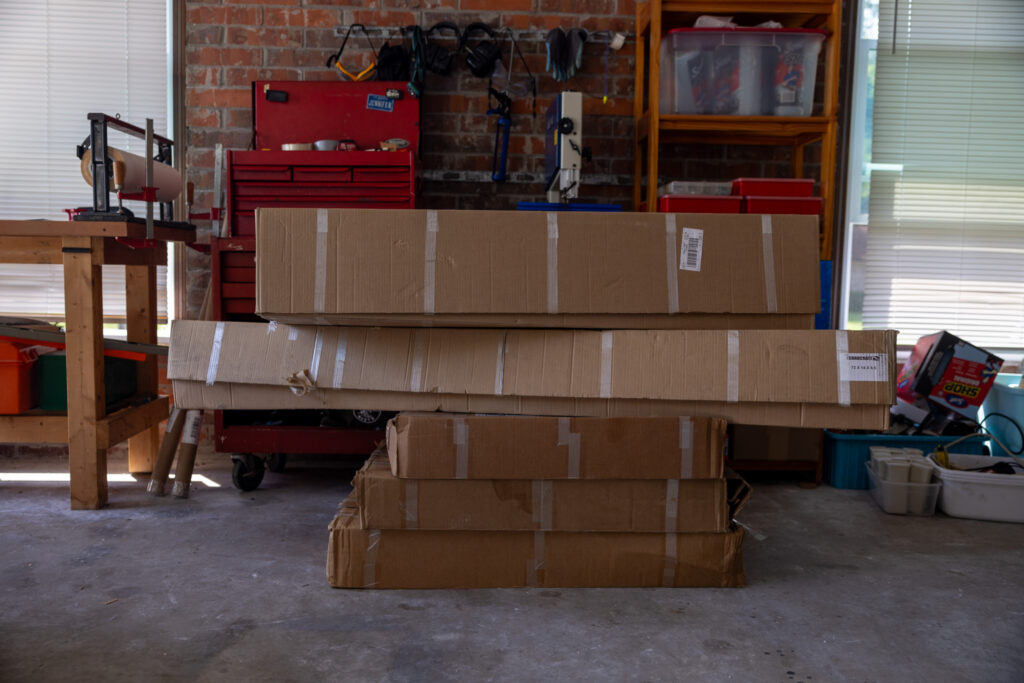
Once all the pieces arrive, you’ll want to unpack them and lay out the entire roof rack. Ensure you have all the pieces and organize the components to install the frame.
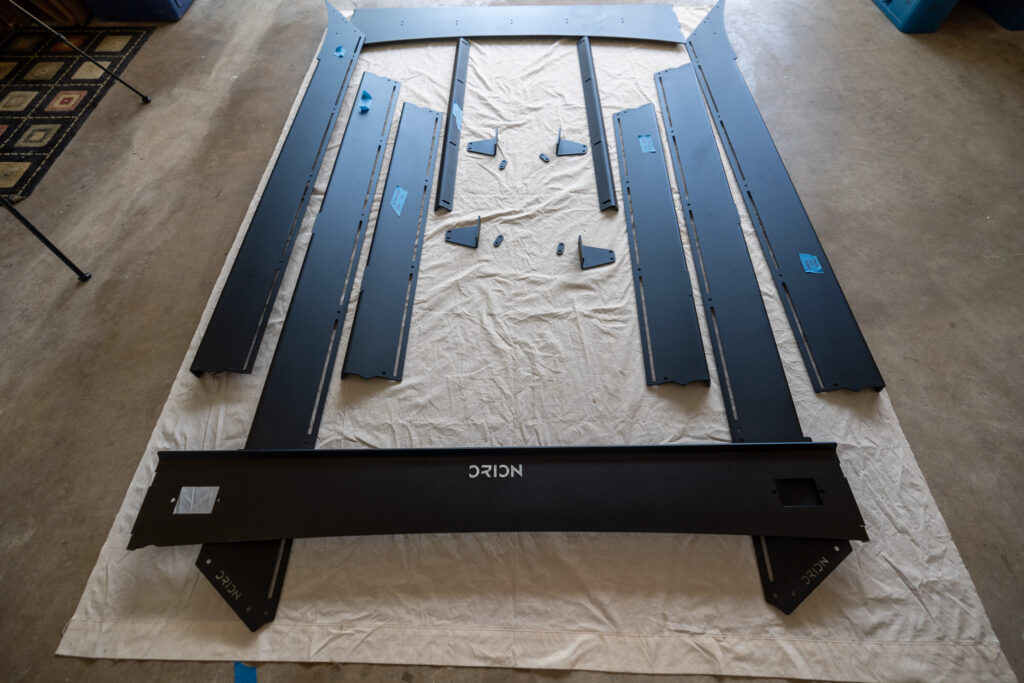
💡 We had the Mercedes OEM roof rails installed, which is a prerequisite to installing the Stealth+ Roof Rack.
Install the Frame
The first step of the installation is for the wrap-around frame. You’ll start from the front and work your way aft. You’ll attach your roof rack to the OEM roof rails. This works pretty nifty.
The track lock washer is a rhombus that you wiggle into the roof track and then tighten to bring it up. It is CRUCIAL to insert these correctly (there’s only one) and pull them correctly. It can be hard to do this correctly because many of the track washers will not be visible underneath the roof rack.
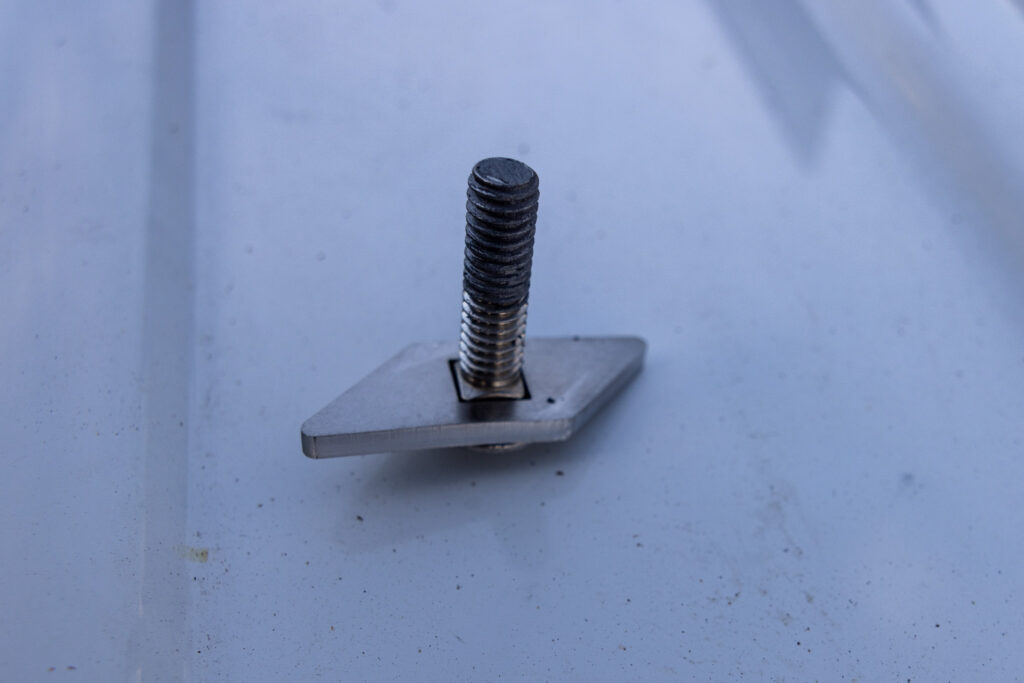
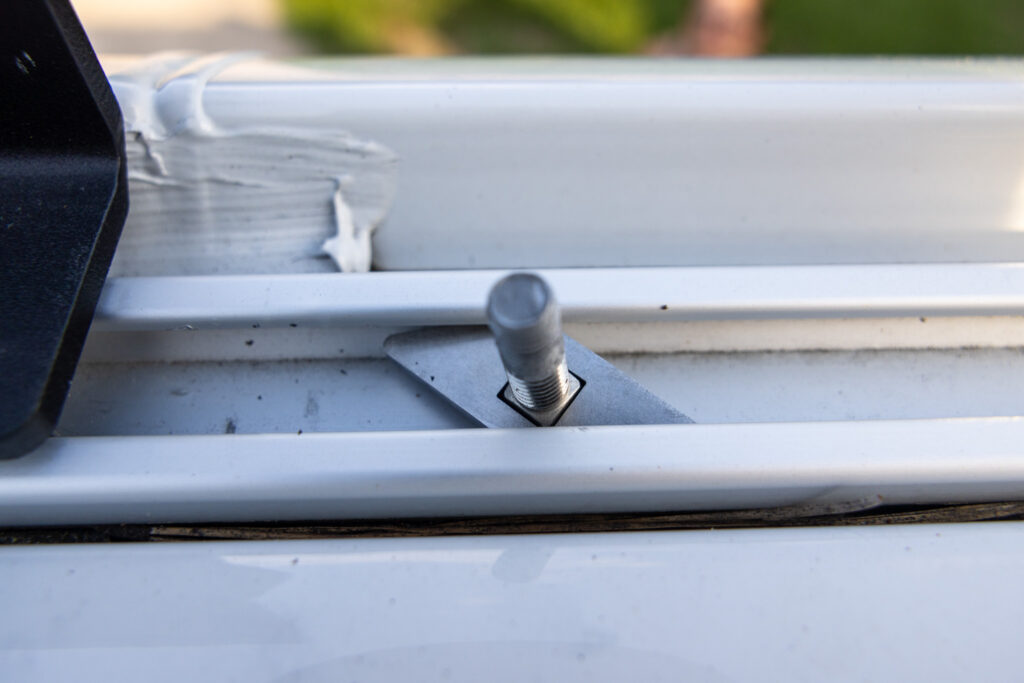
This was my strategy:
- When first inserting the track washers, rotate the bolt and ensure that when you go right (righty-tighty), the flat side is the inner side.
- When tightening, using a socket wrench, go slow and don’t let the washer move left. So tighten it, hold the socket while you unwind, and re-tighten it. This will ensure the track washer doesn’t tighten in the middle of the track instead of underneath the lip.
Remember that this secures your roof rack to your van; it pays to be extra cautious here!
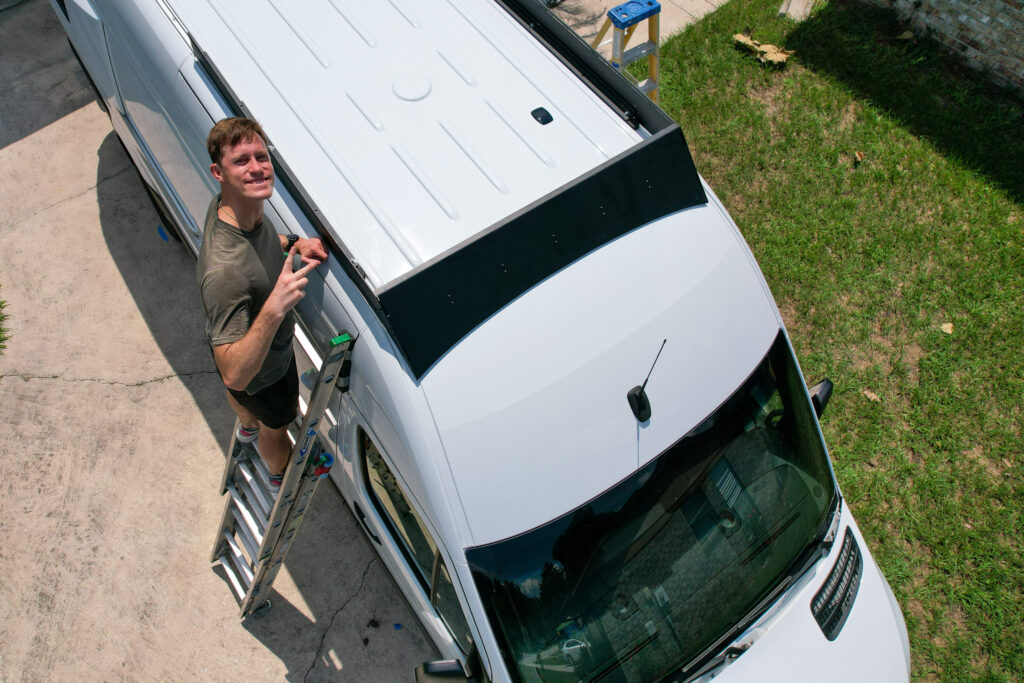

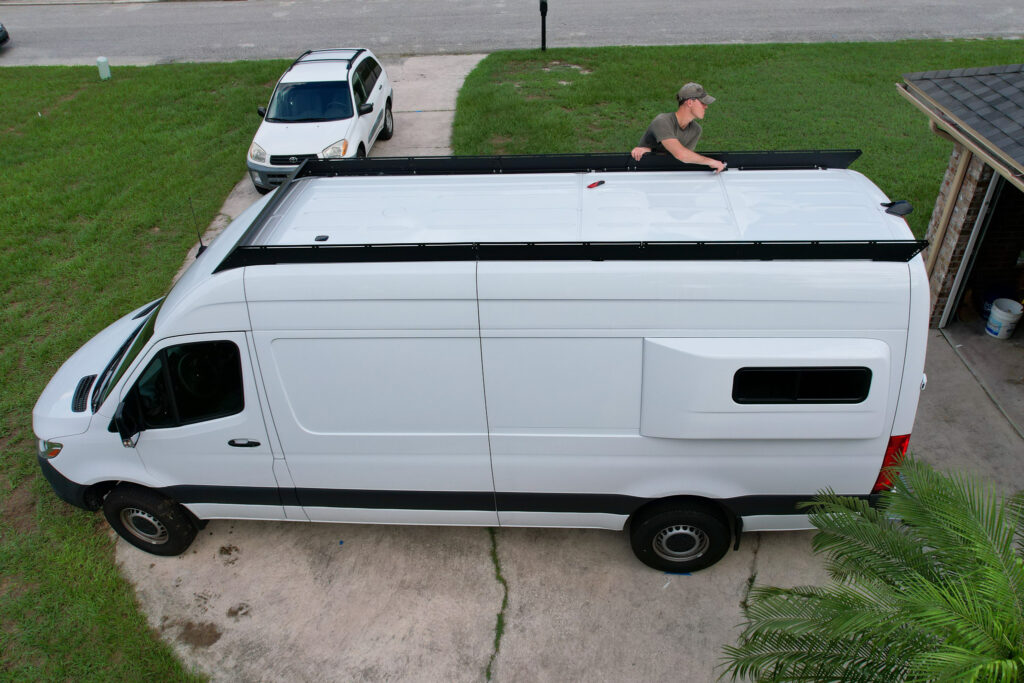
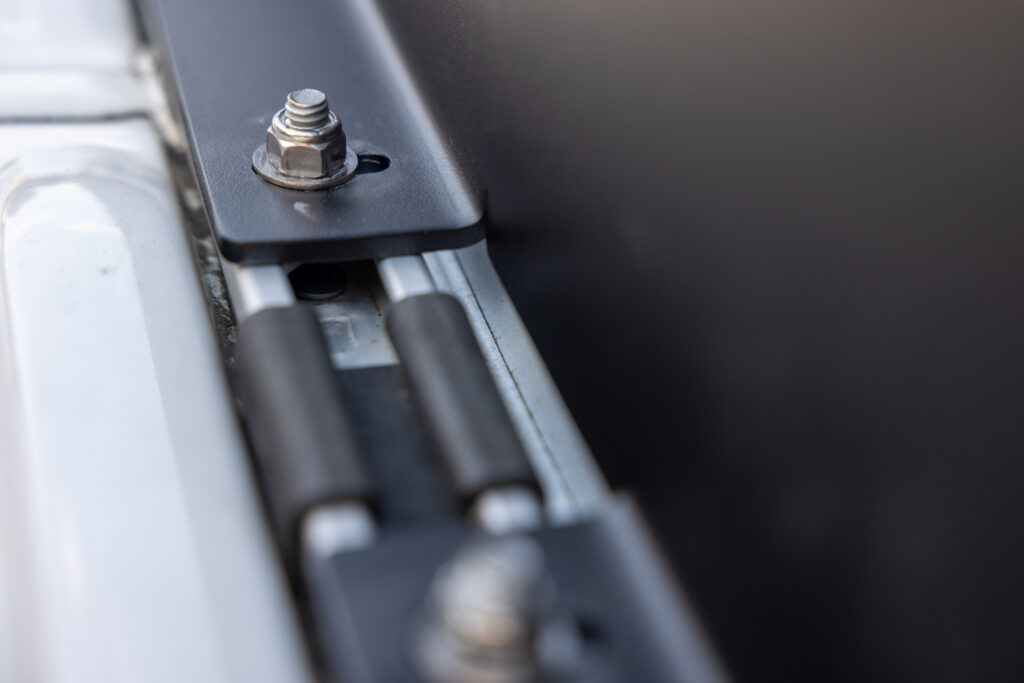
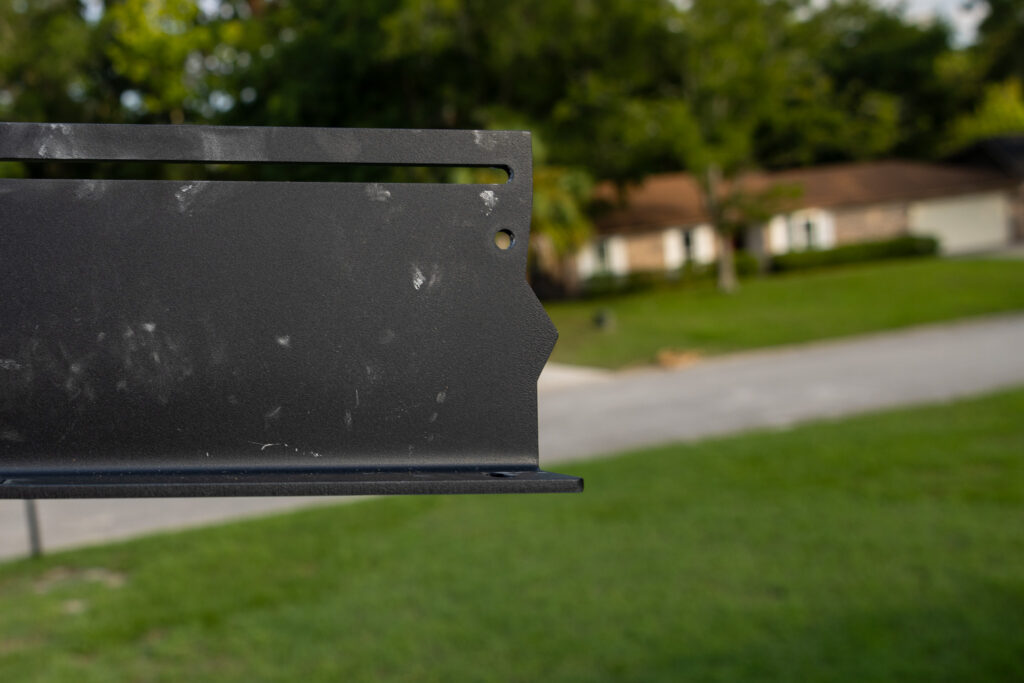
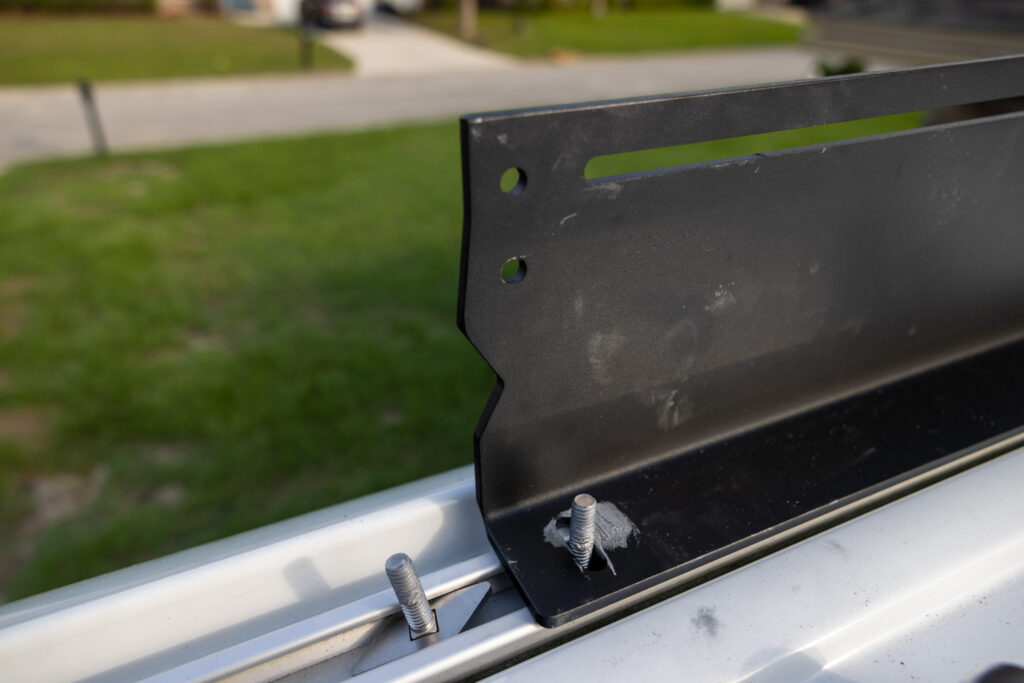
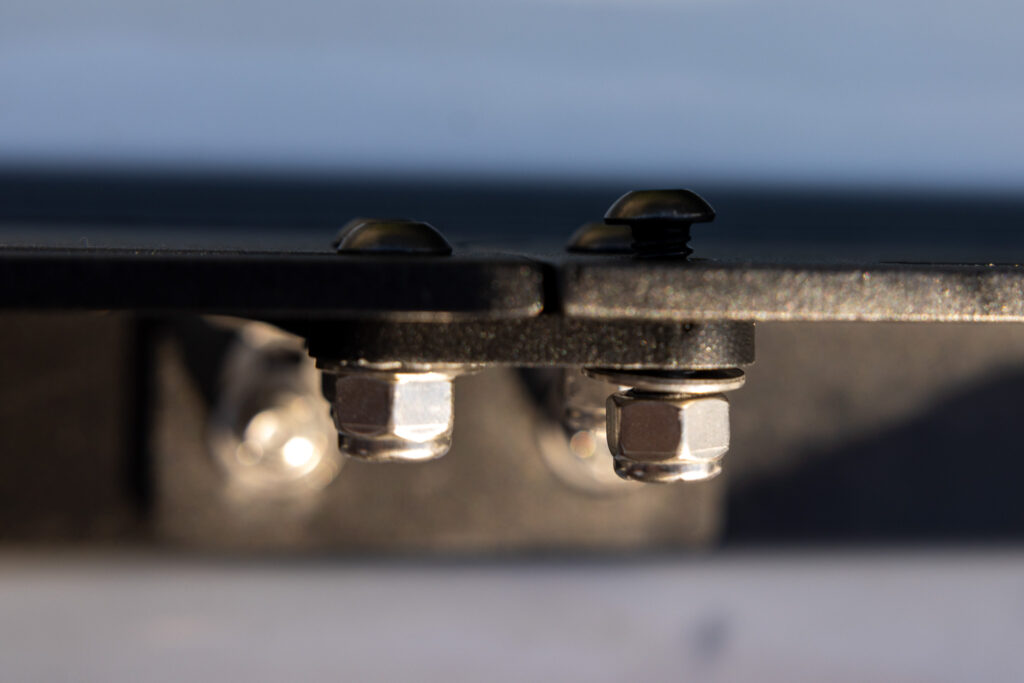
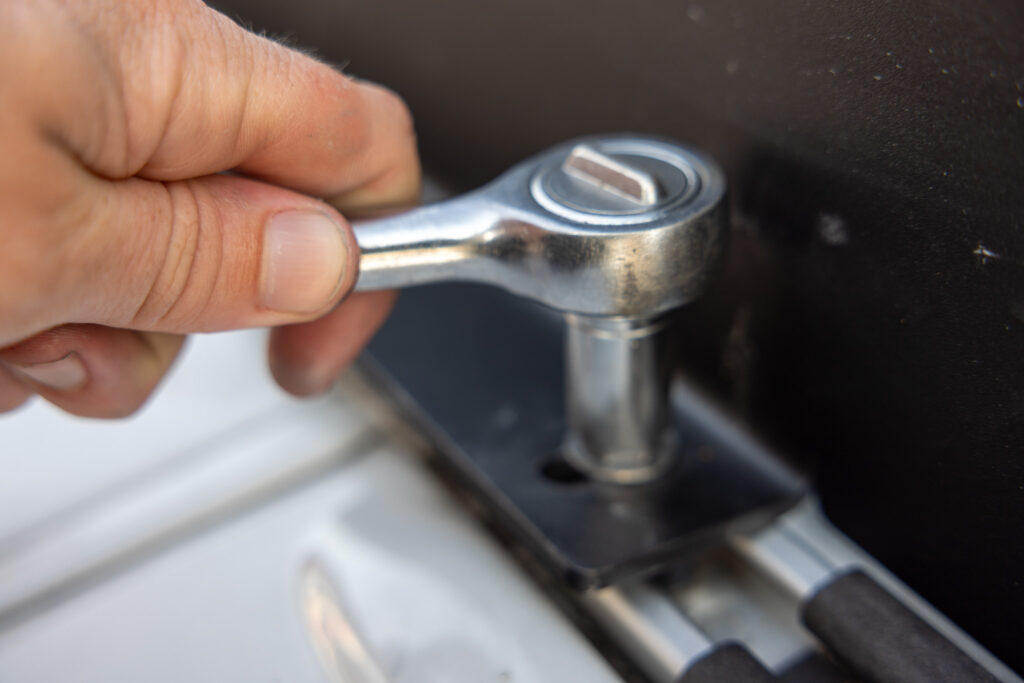
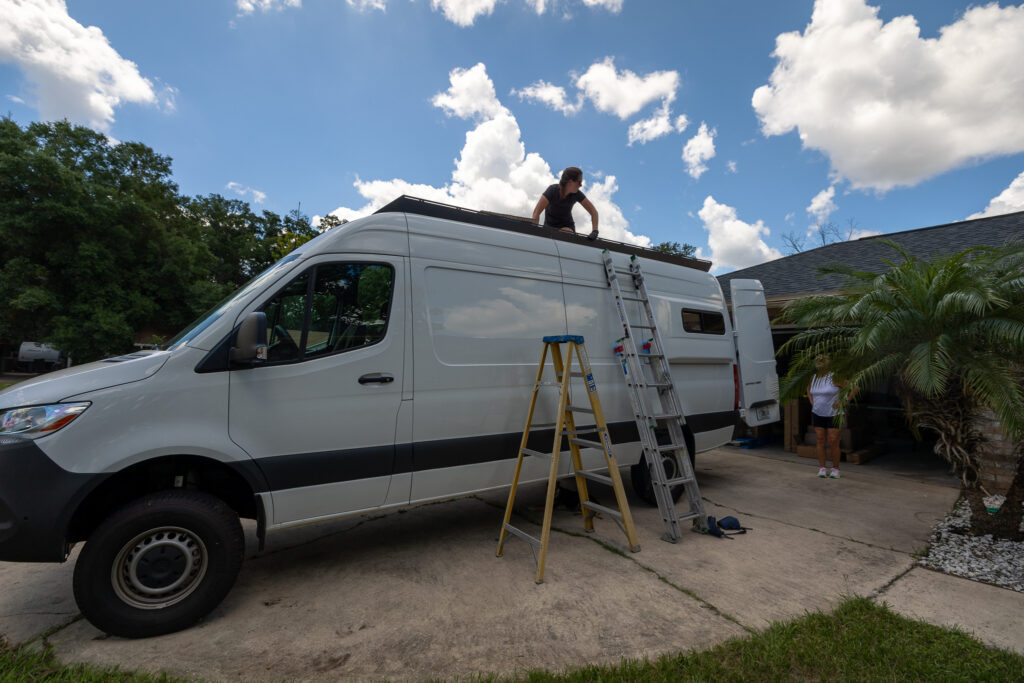
Finally, while you move through the frame, ensure you only tighten the frame as much as needed so it doesn’t fall off and remains upright. You’ll need to move the roof rack frame back (or forward) once you have it all together so that the roof rack aligns with the middle seams of your vehicle.
❗ Ensure you use the correct length bolts. The one-inch bolts are used for the 80/20 cross bars, and smaller bolts are for the upper sections. Follow the manufacturer’s instructions closely.
After you have everything matching specifications, tighten up all the nuts and bolts, ensuring you are using the provided anti-seize on the bolts and thread locker on the screws.
💡 If you have anti-seize (grey fluid) that covers your roof rack, use isopropyl alcohol or soap to remove it.
Install Any Roof Components
Now that your roof rack frame is assembled, it’s time to install the rest of your roof components. For us, that was our 12 Nomadic AC and our 12V Lemans Fan. We have individual blog posts about their installation process and why we purchased them, so we won’t go into that here.
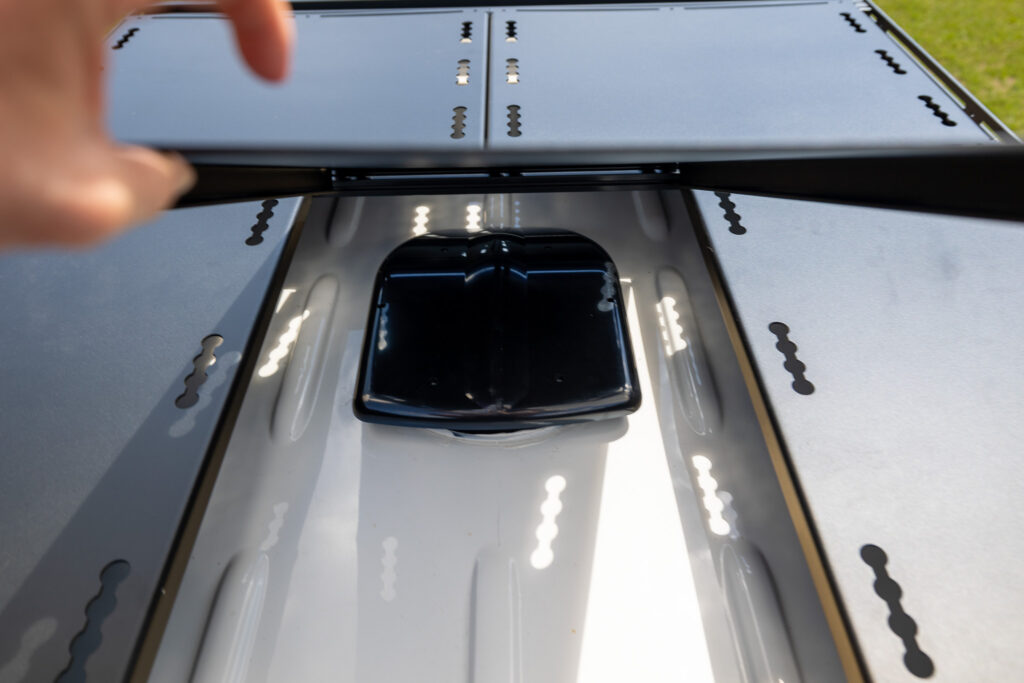
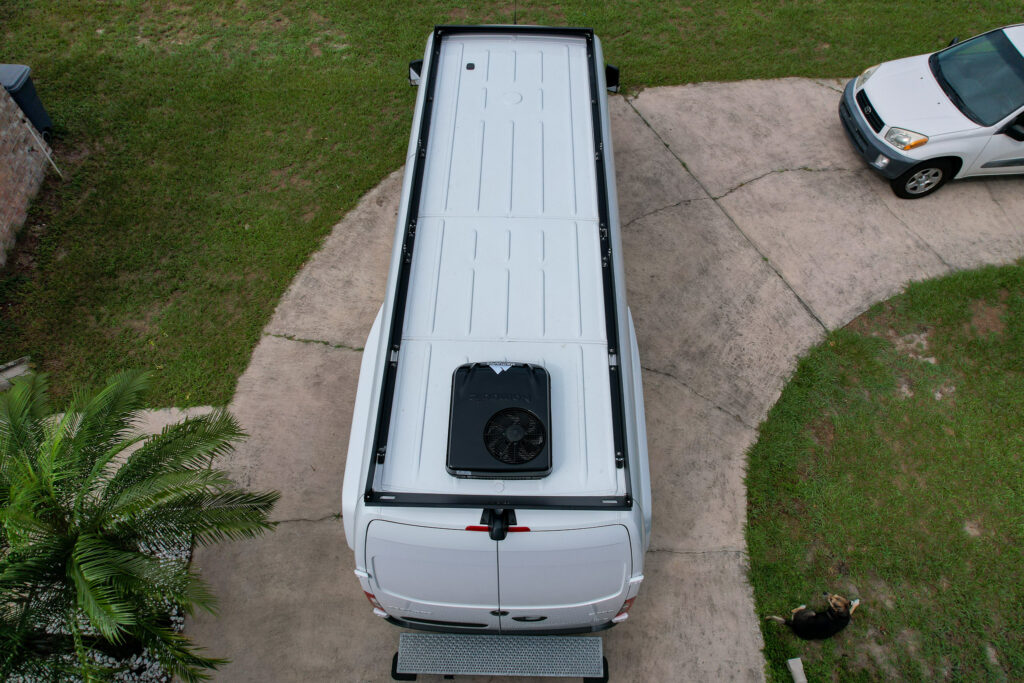
Install your Roof Panels
Now that your roof frame is complete and you have installed your major components, you can install your roof panels. Compared to the initial frame installation, we found that installing our panels worked best back to forward, in reverse order, when installing the frame. The manufacturer’s instructions recommend contacting Orion for the suggested starting location, as each roof rack is designed specifically for your needs. This is because you may have slight (1/4”) variations depending on your panel arrangements. The back of the roof rack has a single hole and track, and by starting there, you are effectively at the end of the roof rack. Compared to the front, where you only have a track, it can go in many different arrangements.
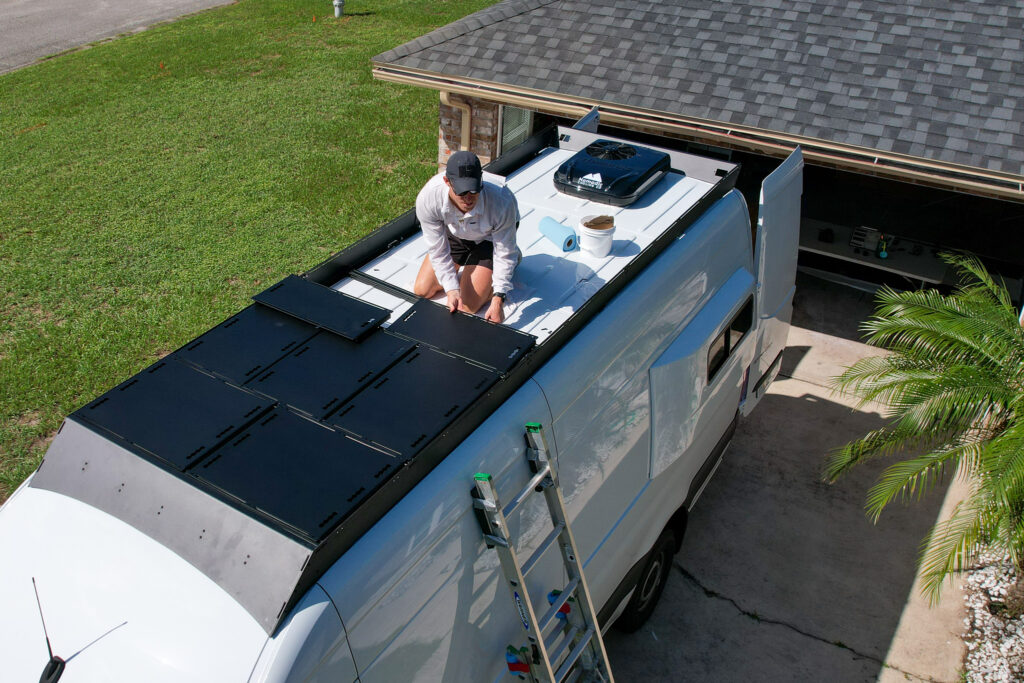
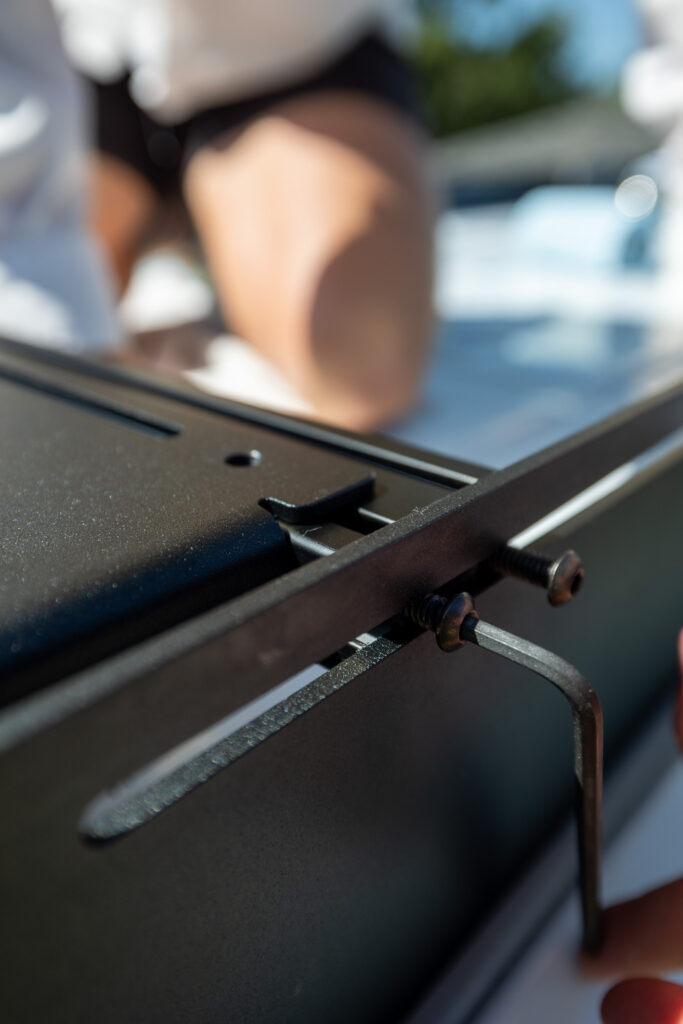
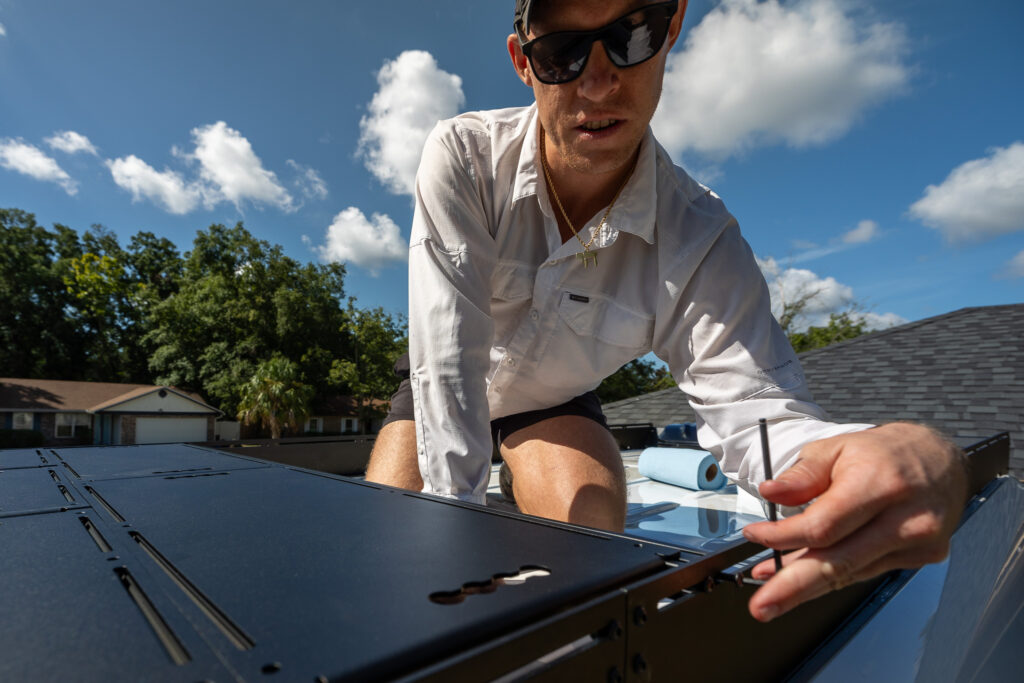
In the same way as above, don’t tighten up any of your bolts once you have the cross bars in place – you’ll most likely need to slide the forward or aft slightly, depending on the panels. Once you have the crossbeams in place with the panels as guidelines, you’ll add your t-nuts and bolts to screw down your panels!
❗ Ensure you use thread locker on all screws and t-nuts; you don’t want your roof rack to vibrate loose after many miles on the road!
Install your Roof Rack Ladder
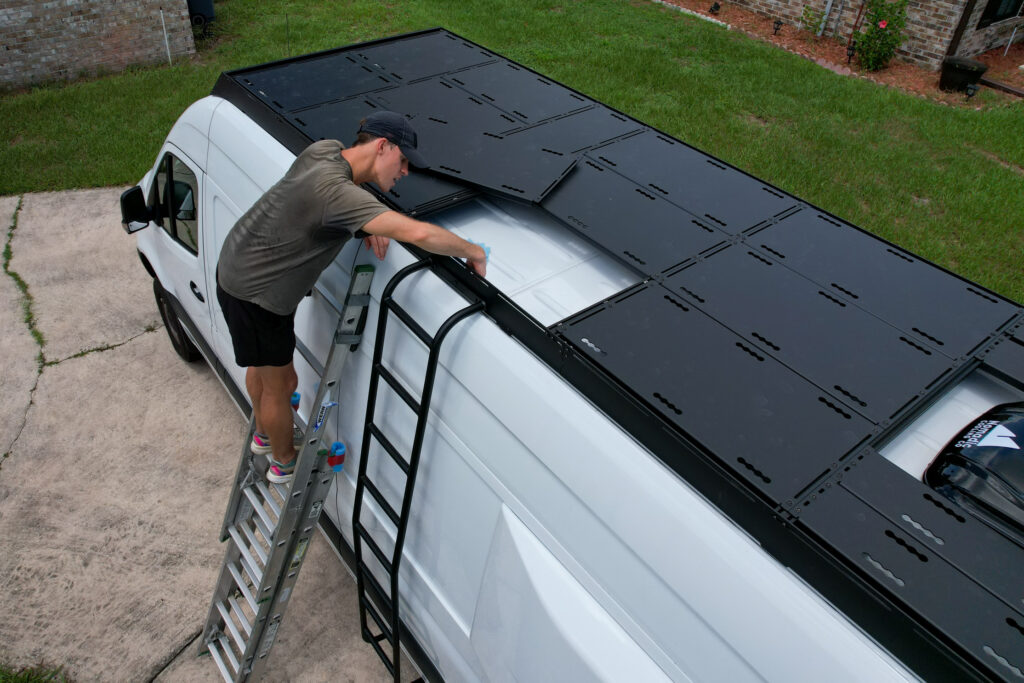
Coming soon! We installed the Orion Roof Rack Ladder and love how easy it is getting onto our roof deck.
Install your Roof Rack Lights
Coming soon.

How to Maintain Your Roof Rack
Your roof rack will be exposed to the elements, have constant high winds, and be weighed down with whatever adventure gear suits your needs. A panel flying off on the highway can be deadly to other travelers, so you’ll want to maintain your roof rack to be responsible.
We recommend doing a thorough walk-through of all your bolts and screws every six months, seeing if any are loose and giving them a tighten. We will most likely be checking weekly when we first leave, as that’s the most likely time we’ll run into an issue!
Save for Later
Save this to Pinterest to read again later!




Leave a Reply
You must be logged in to post a comment.