We’ve installed 6 camper van windows while building our tiny home on wheels, and we’ve learned everything you need to know about van windows. Adding several windows to our campervan was a huge part of our van build design. Whether it’s helping you decide if you need windows or not, what types of windows are available, how to install those windows, or even uninstall and reinstall windows, we have it here. If there’s anything not here that you have questions about, leave a comment below!
Note: We use affiliate links which provide us a little kickback each time you use one of our links and make a purchase, without any additional cost to you. We do not recommend products that we don’t already love or have heard great things about, so you can trust we’re only suggesting great products to you.
What are the Types of Camper Van Windows?
There are quite a few places where you can install windows in your van, and some models can be purchased with wrap-around windows from the factory. We found installing windows ourselves challenging, yet easy enough to do again in the future, so if you have a van without windows, don’t fret. There are three main categories of windows.
Fixed Windows
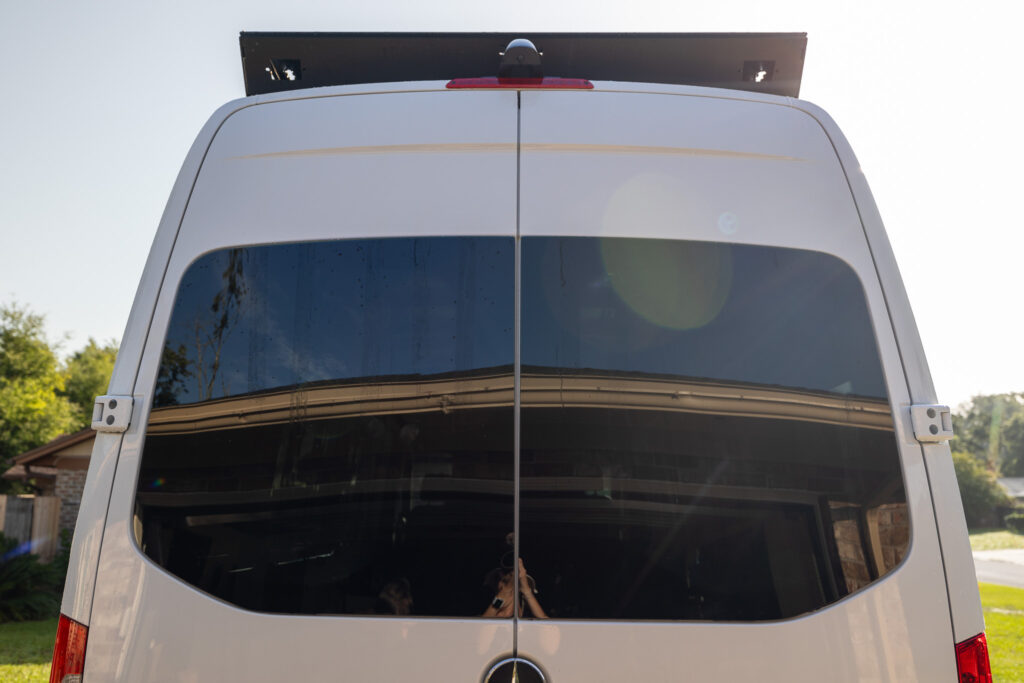
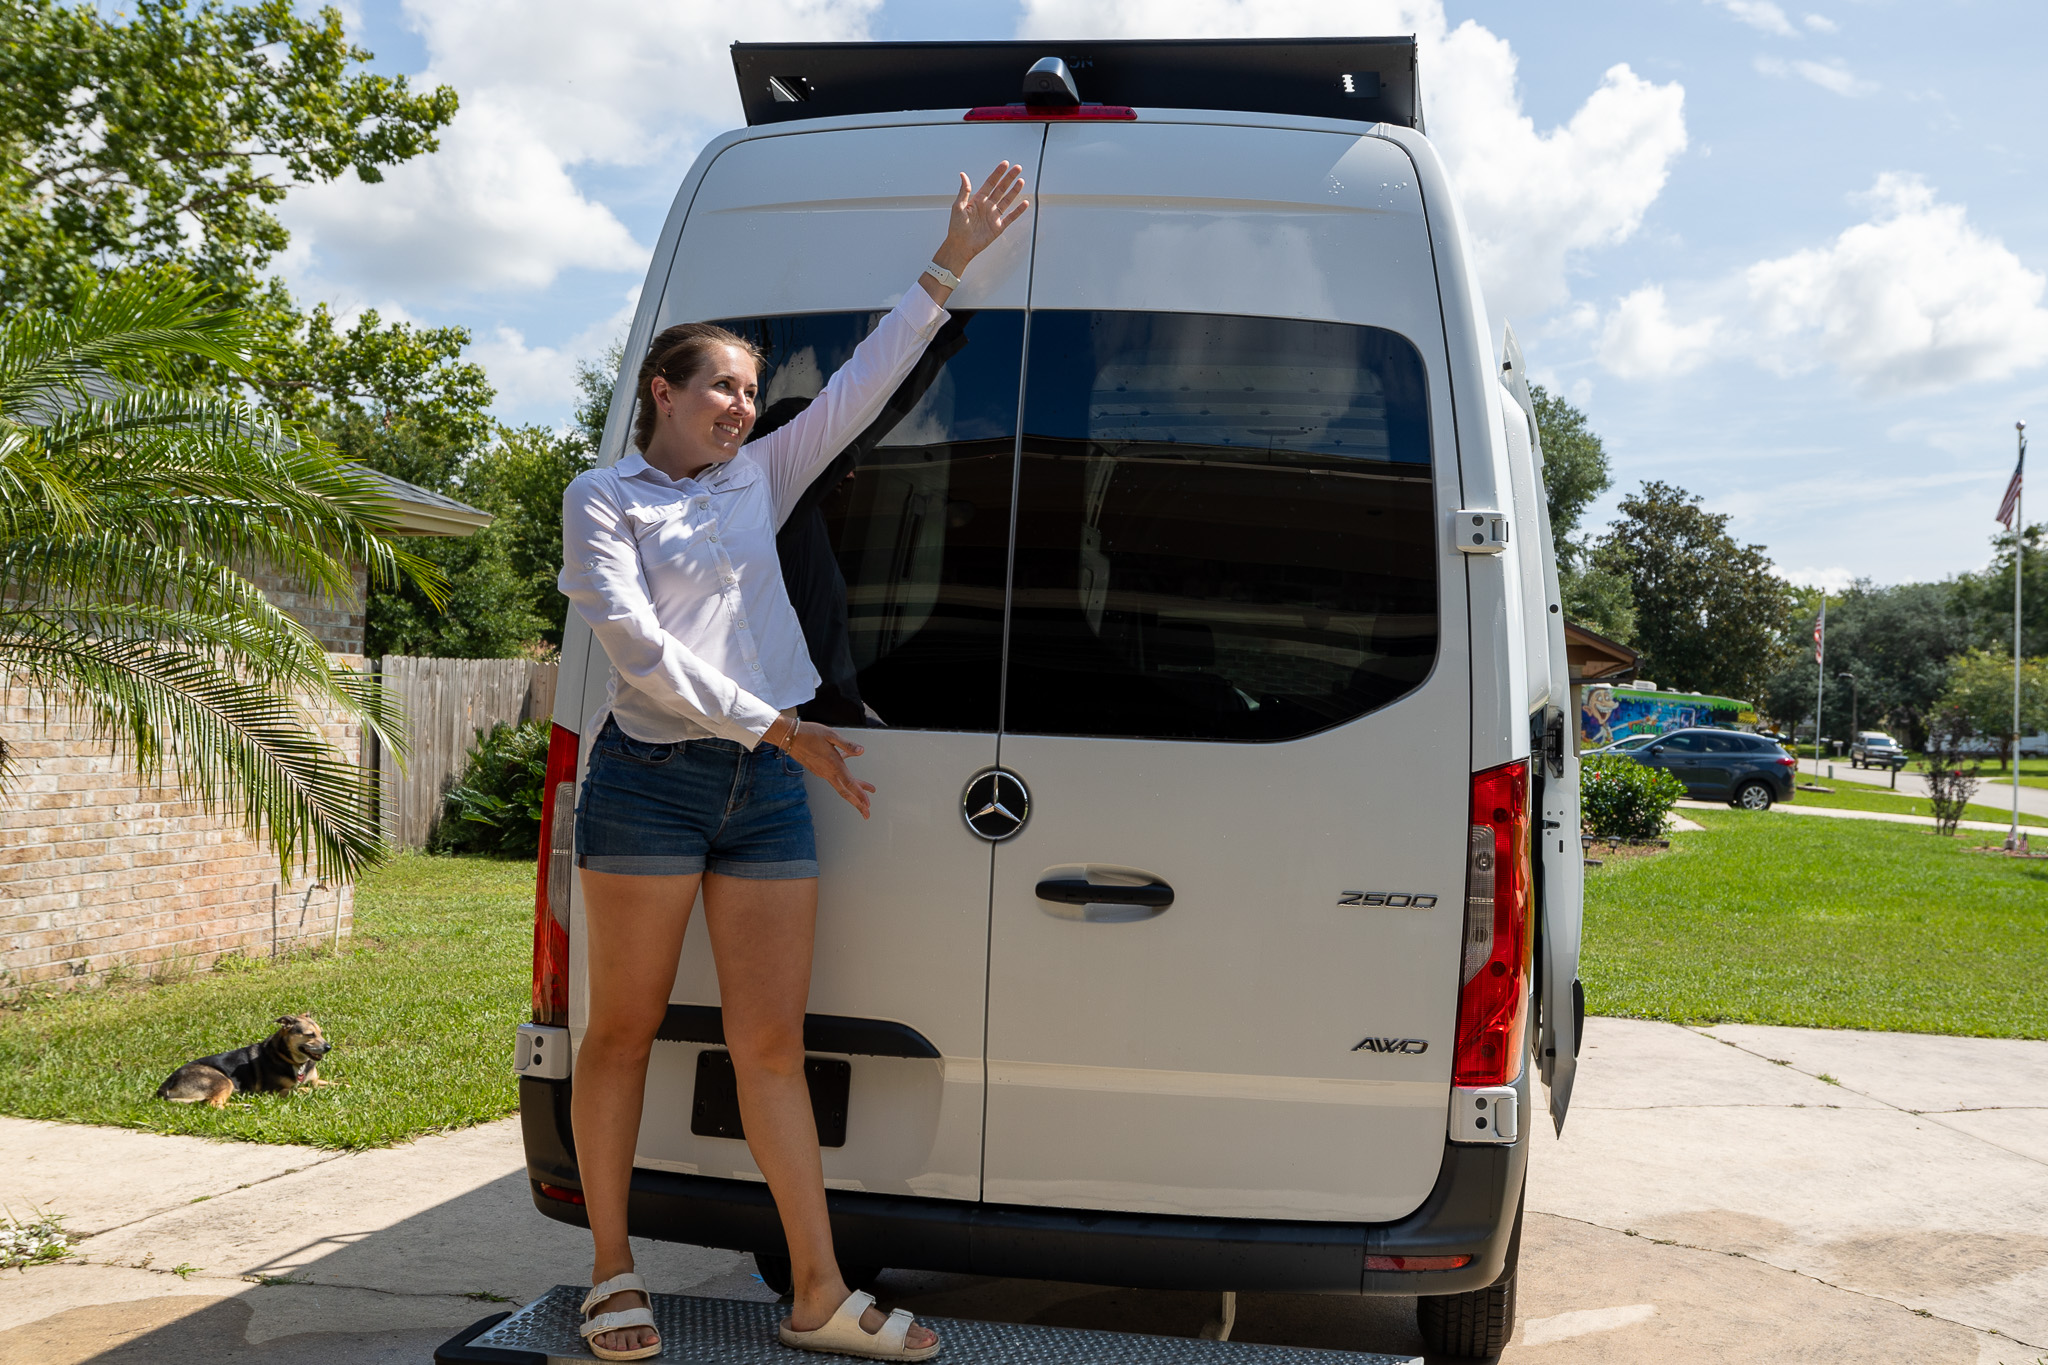
Fixed windows are primarily used for light and to make your space feel bigger. Since they don’t open, you won’t get any additional airflow. They are the cheapest window options and are most popularly installed on rear windows. The benefit of fixed windows is that they make your space feel larger with a small investment! Our rear windows were only $200 a piece, plus materials and labor – what a steal!
Sliding Windows
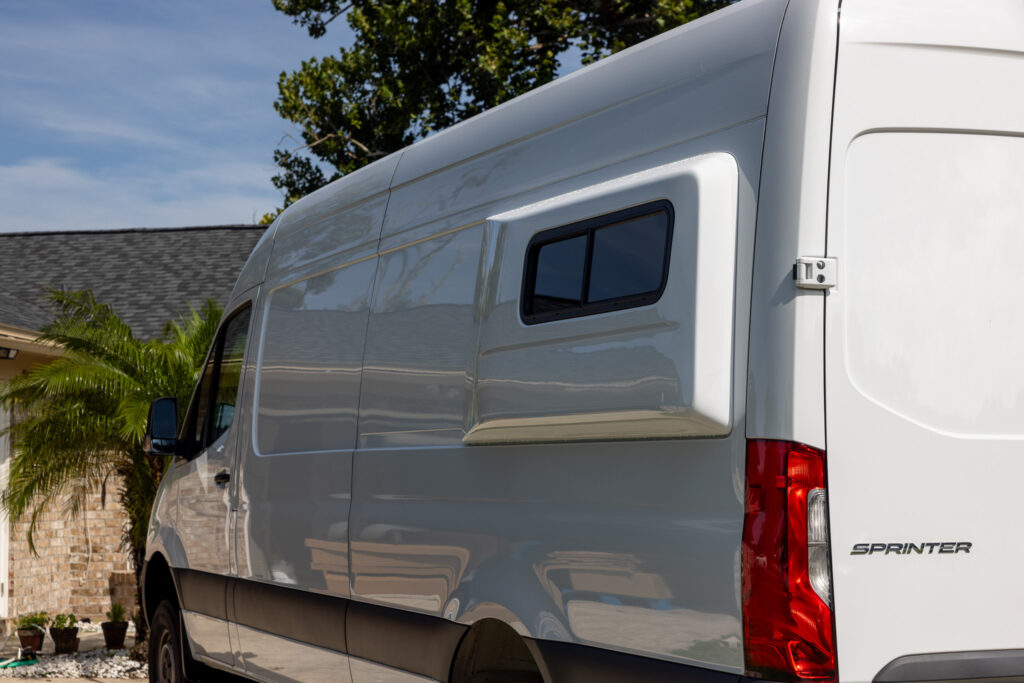
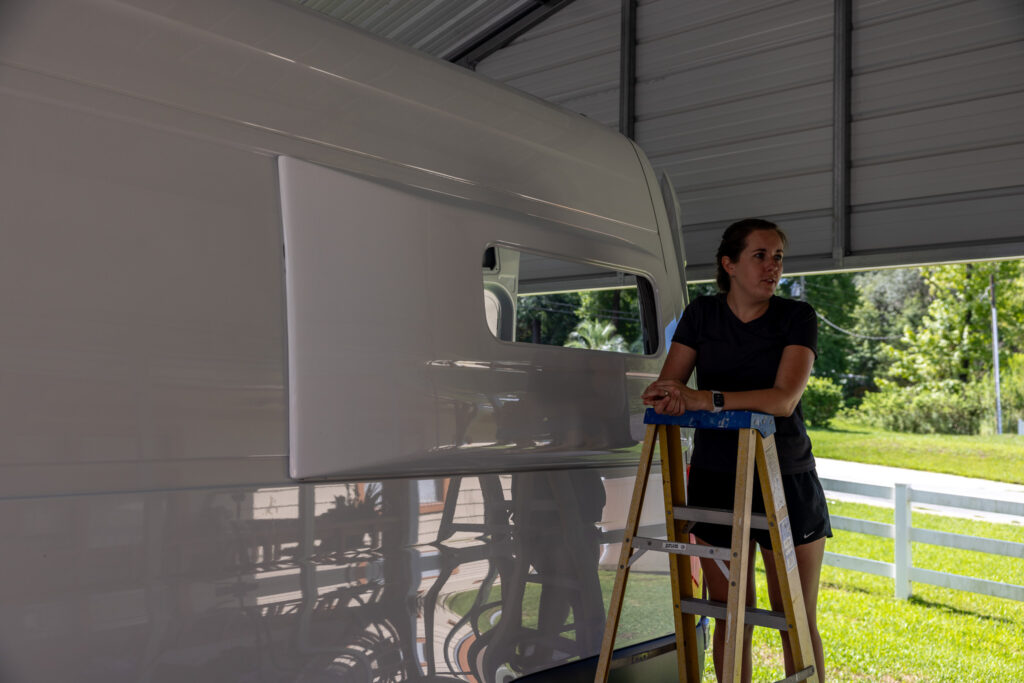
Sliding windows will be the next level up in your windows from fixed windows, both in complexity and cost. They will have a similar sizing to traditional windows but will have a slider that allows airflow. These are quite a bit more expensive, almost double the price of the fixed windows, but that airflow is critical to staying comfortable in your vehicle.
We have sliding windows in our flares and our forward windows on the side of our van. We decided to up put sliders in matching sides of the van, forward driver side and passenger side sliding door, to allow for a cross breeze. Having this cross breeze is crucial to how we plan on staying comfortable in our van in addition to our air conditioner and multiple fans. Any time we have a natural breeze, it will mean less time than we need to rely on power.
🐝 Ensure your sliders have bug nets!
T-Vent or Awning-Style Windows
The final type of van window is an t-vent windows or awning-style windows. These typically have a window that pivots upward, allowing for even more airflow than a slider window; however, that is not the main selling point.
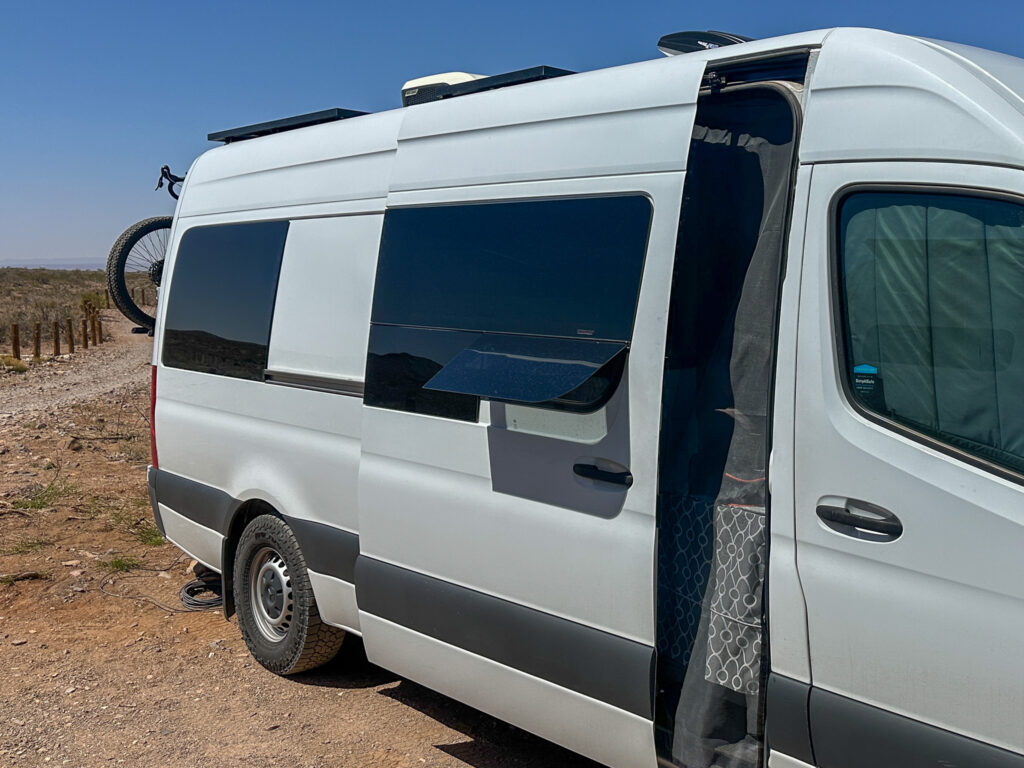
The crucial factor for opening windows is that they can be opened while it’s raining! Sliding windows will get water into your van while it’s raining, but since awning-style opening windows protects the opening from the water, you can keep them running non-stop.
These windows will be the most expensive, and the built-in hardware can impact your views.
💡 Everything is a tradeoff. The most expensive windows are not necessarily the best, so decide based on your needs.

Glass vs Acrylic Van Windows
In North America, many RVs and campervans use glass windows; however, in Europe, many RVs and Campervans use acrylic double-pane windows. As you might have guessed from our love of pro-con lists, glass and acrylic windows have a few pros and cons.
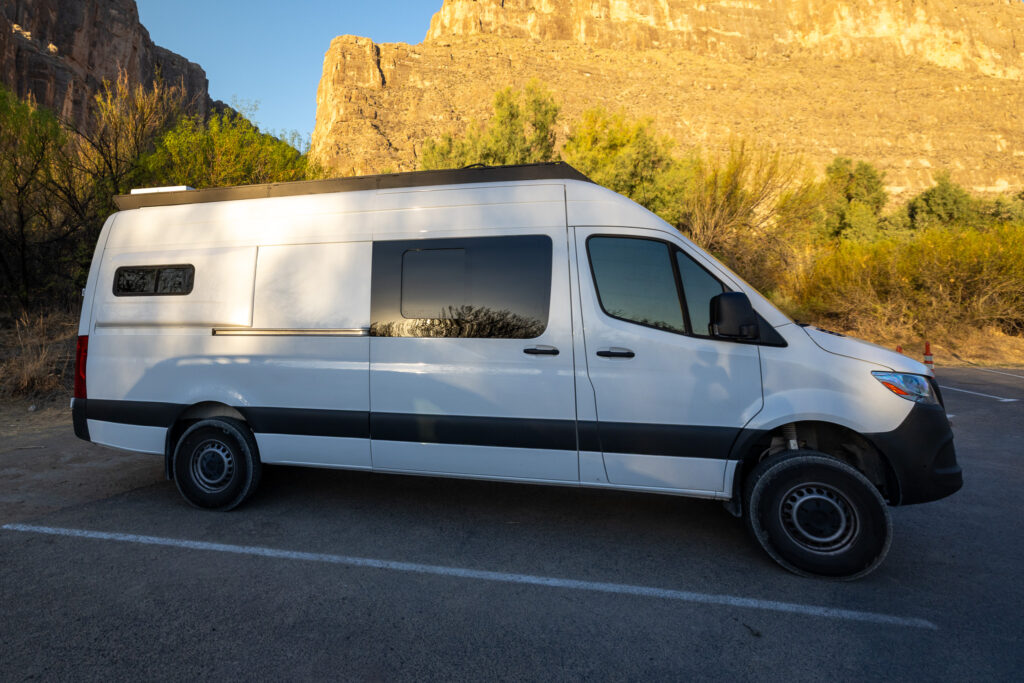
Acrylic windows like these Arctic Tern Double-Pane RV Windows have better thermal performance keeping your campervan cool or warm. Some brands include day/night shade, which is one less step or thing to consider when building your campervan. The entire window panel can open as it sits on gas struts and can be arranged at 20, 40, and 60-degree angles, giving you more airflow. Acrylic windows also weigh less than comparable glass windows, making it an excellent fit for those who are concerned about van build weight. Arctic Tern also has the most varied sizes of camper van windows, from small windows (300x500mm) to larger windows (550x1100mm) and many sizes in between.
Although we loved the less weight and better thermal performance of the acrylic windows, we opted for all glass windows because we didn’t like how the acrylic van windows looked.
Van Window Tinting
One thing to remember when purchasing van windows is that different window brands tint their windows to different degrees than other brands. We bought two different brands (AM Auto and Van Windows Direct) of windows because one brand offered windows that opened, and another brand offered windows that didn’t open. When we received the windows, we noticed that the tint was not the same on the windows. This didn’t bother us, but it is something to know when selecting windows. If you want different window styles like us, which means choosing two van window brands, you might want to get some of your windows tinted by a professional to match.
The Pros and Cons of Van Windows
We love making a pro-con list as all of our decisions in our luxury van build are a balance of the pros and cons. We’ve included our pro-con list below to help you decide if you want to install windows, how many to install, and what types to install. If you have a question not on this list, leave a comment below – we’d love to respond!
| Pro | Con |
|---|---|
| Visual Space – Windows open up your home to make it seem more significant than it is. With 80 sq feet, that is a huge impact. | Maximizing Storage—Where your window is could be built-in storage for your van. |
| Privacy—More windows give people more opportunities to peep into your van. The windows | Cost—Our six windows cost over $2,000 in total. See below for our full cost breakdown. |
| Light – Windows allow natural light to illuminate your van’s interior. | Insulation—Windows are very poor insulators, so you’ll need insulated covers, which adds expense. |
| Views – Viewing the wonderful locations and landscapes you’re parked in is part of the joy. | Privacy—More windows give people more opportunities for strangers to peep into your van. |
| Airflow – Operable windows can allow in more airflow, making the interior space more comfrortable. | Stealth – Forget being stealthy, windows are a tell that it is a camper van not a work van. |
How much do Camper Van Windows Cost?
We love financial transparency so others can understand the costs and expenses. We bought four of six of our van windows from Campervan HQ. Our rear two windows were less expensive than our forward two windows because they were not operable, whereas our forward windows both have sliders with screens. Here are the expenses for the windows and materials (the expense of general tools is not included):

For more information on our Flare windows, check out our Flarespace post! We’ll be sharing the total cost of our luxury DIY van build when we’re finished building, so be sure to join our email list to be the first to know when we share that.
Where to buy Camper Van Windows
You’ll want to order your van windows from a reputable source, like Campervan-HQ (where we bought all our windows and installation supplies). They come securely wrapped in foam; you can also buy all the necessary components, like the adhesive, primer, and trim (for both brands: AM Auto and VWD). Some important facets to look into when ordering windows (or any van component for that matter):
- Shipping: Sometimes shipping costs can be extremely high!
- Return policy: if you change your mind and want to return your windows, you may have to pay a restocking fee.
- Time for shipping: A reputable company like Campervan-HQ will most likely have your windows in stock and be able to ship them within a week!
How to Install Van Windows
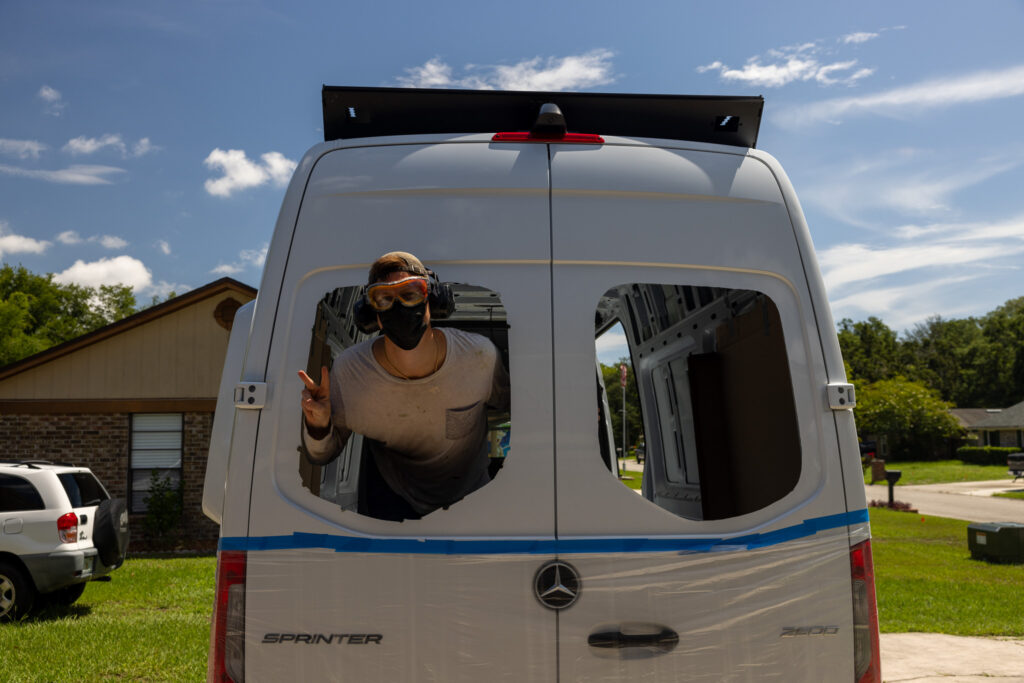
We installed six different windows in our van, and 4 large ones installed the traditional way. We’re going through that process below!
If you have a window with a gasket and screws (like our two Flarespace half-slider windows), then the installation is a little bit easier. You’ll follow steps 1-4 the same way, and then, instead of gluing, you’ll compress the window into the hole and use a drill with a trim ring to finish your window. If you want a breakdown of that process, comment below, and we’ll add related information.
The required tools for installing van windows
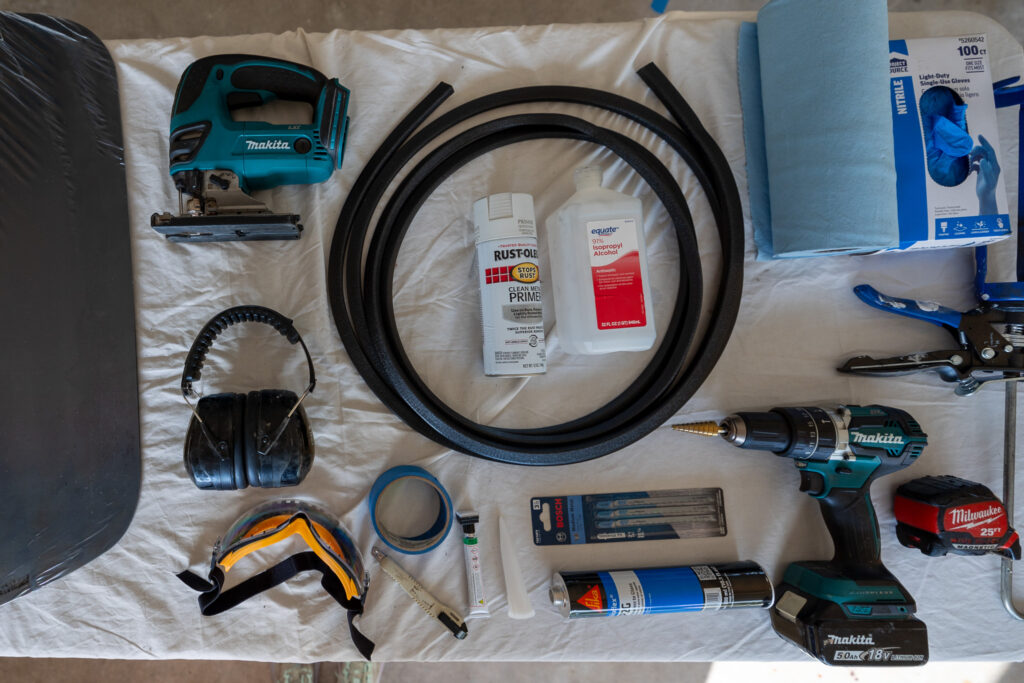
First off, you’ll need to make sure you have all the required tools. We list here what we used each tool for, so if you have a slight variation but serves the same purpose then you shouldn’t need to buy a new tool!
| Tool | What we used it for |
|---|---|
| Power Drill | Creates the pilot holes for cutting into the van |
| Jigsaw with Metal Blades | Cuts the panel out of the van |
| Step Bit | Used with the power drill for the initial holes |
| Multitool | Used for tidying up any metal we couldn’t get with the Jigsaw |
| Grinder | Smoothing out all the cuts for a round window. |
| Deburring tool | For cleaning up metal points |
| Painter’s Tape | Outlining the Cut Hole |
| Anti-rust paint | Used for all your newly cut exposed rust |
| Paintbrush | For applying the anti-rust paint |
| Mineral Spirits | A cleaning solvent that won’t damage your van |
| PPE: Goggles, Ear Protection, and Gloves | Safety first! |
| Caulk Gun | For applying the sealant. |
| Magnet Extender Pole | Used for cleaning up any metal shavings in hard to get to cracks |
| Shop Vac | For cleaning up metal shavings. |
| Hammer | When applying the trim, you may need to hammer together some of the metal to fit. |
| Heavy duty scissors | Used to cut the trim lock to fit. |
| Window Suction Cups | Used to position the window before securing. |
Step 1: Measure, measure, measure… then measure again
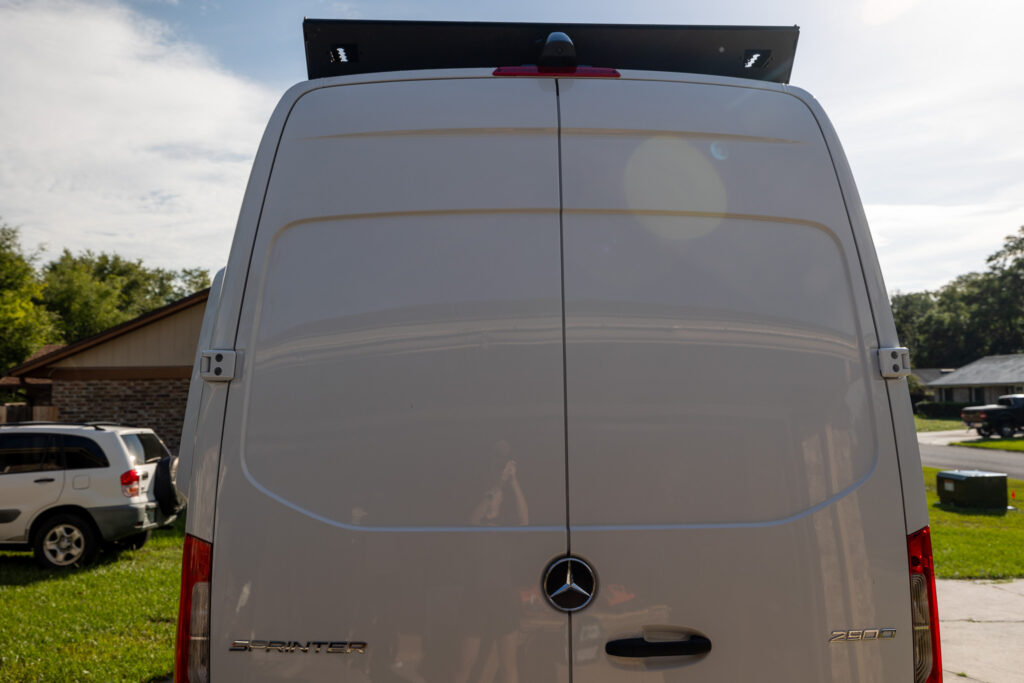
We’re cutting into our van to install these windows, and there’s no going back after your first cut! For some windows, you’ll need to make and/or buy a template. While we didn’t have any windows needing a template, you’ll want to spend a lot of time here. Cutting into your van and placing the window is fast if you ensure your template and placement are correct. If you’re marking it inside but cutting it outside, you’ll need to precisely mark your template on the outside. You can do this via an awl and hammer on the inside or by drilling tiny pilot holes with a step bit.
Our windows were built around the panels of our van. This means we simply needed to trace the panel lines built into the van with our jigsaw, our template. This made our lives very easy!
To ensure this was the case, we placed the window against the van and measured from the border of the window glass to the outline of the van panel.

Once we were sure about placement and where to cut, it was time for step two.
Step 2: Prep your work area for containing metal shavings
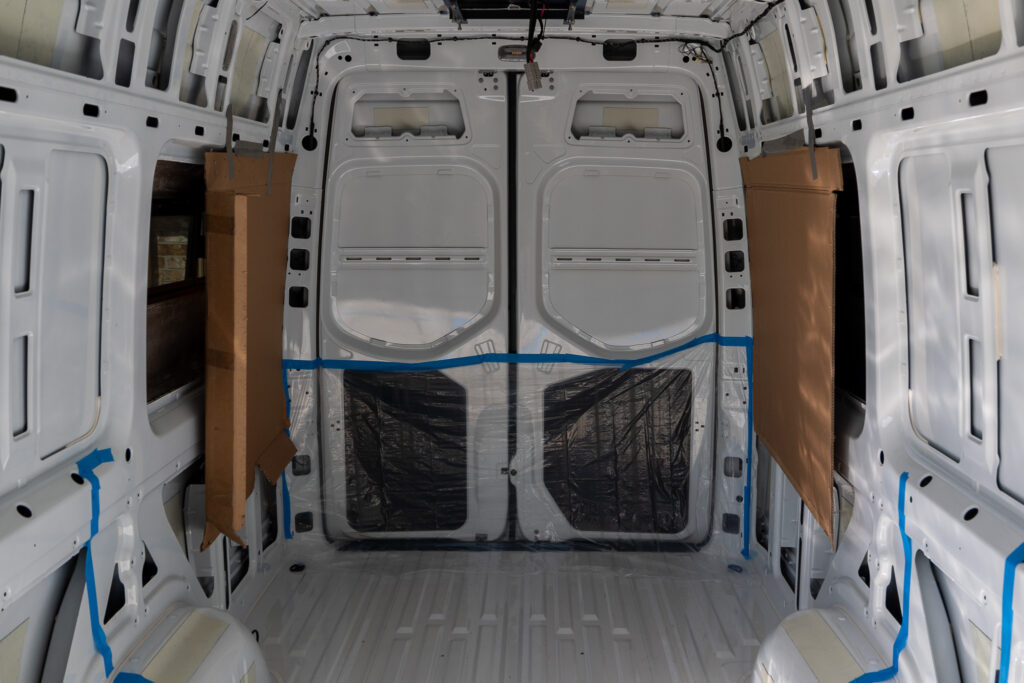
Metal shavings get everywhere while cutting into your Sprinter van. You’ll want to try to keep your space as neat and tidy as possible so your clean-up is not too terrible. When we cut our rear windows, we had shavings all the way in the front of our van, so don’t underestimate where they will go!
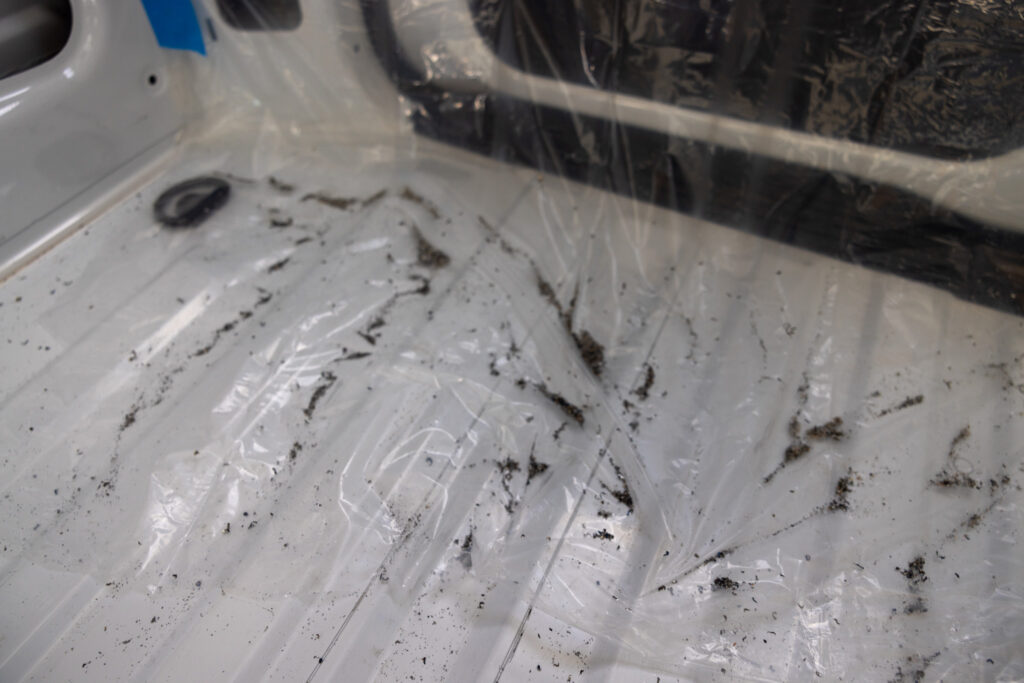
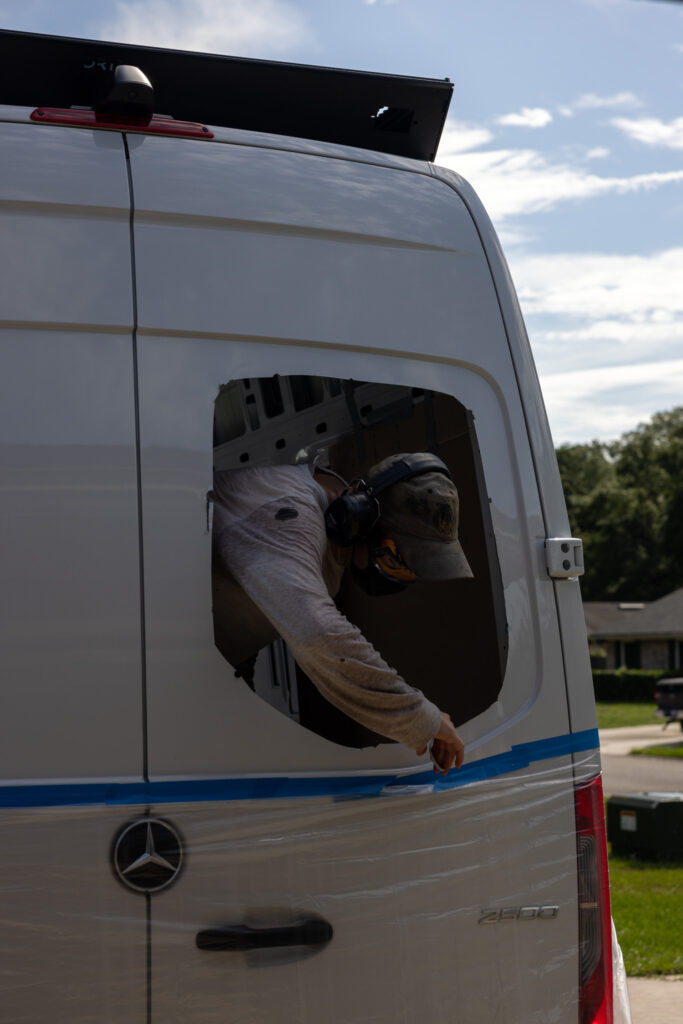
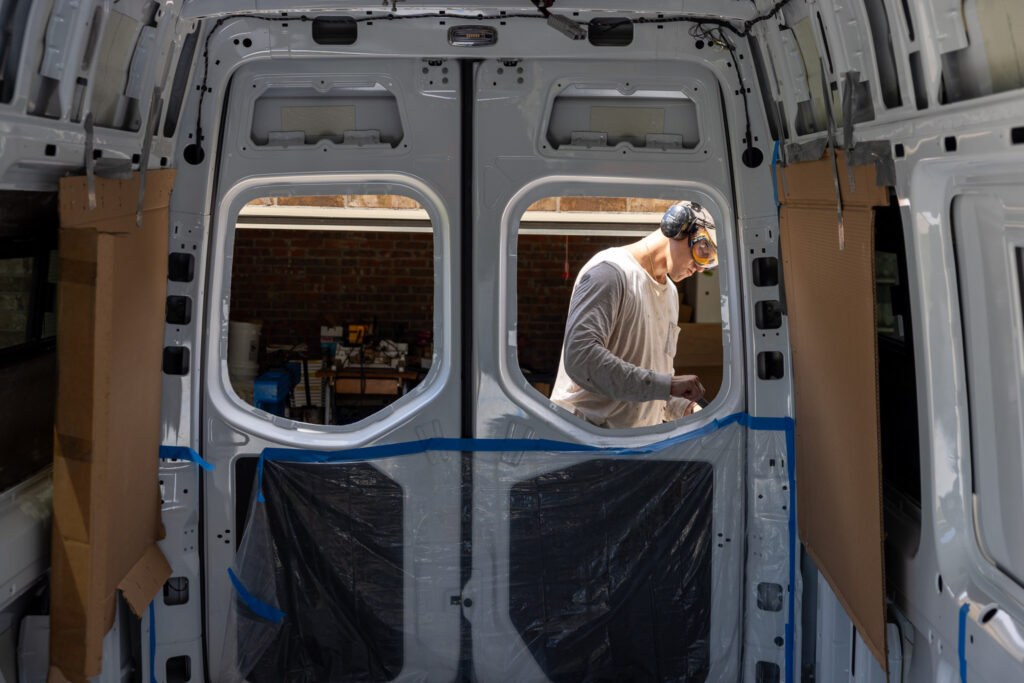
Using painter’s plastic with tape was the best way to capture most of our metal shavings. We did this on the inside and outside of the van because the metal shavings are hot. You won’t want them melting any more fragile portions of your van.
💡 An ounce of prevention is worth a pound of cure.
We installed our forward windows after installing our floor, so we had to take extra precautions! Along with the painter’s plastic, as before, we extended that out to cover the entirety of the van. Making a little enclosure out of plastic was time-consuming but worth it, considering the ramifications if we let hot metal shavings on our lovely floor!
Step 3: Cut the window hole
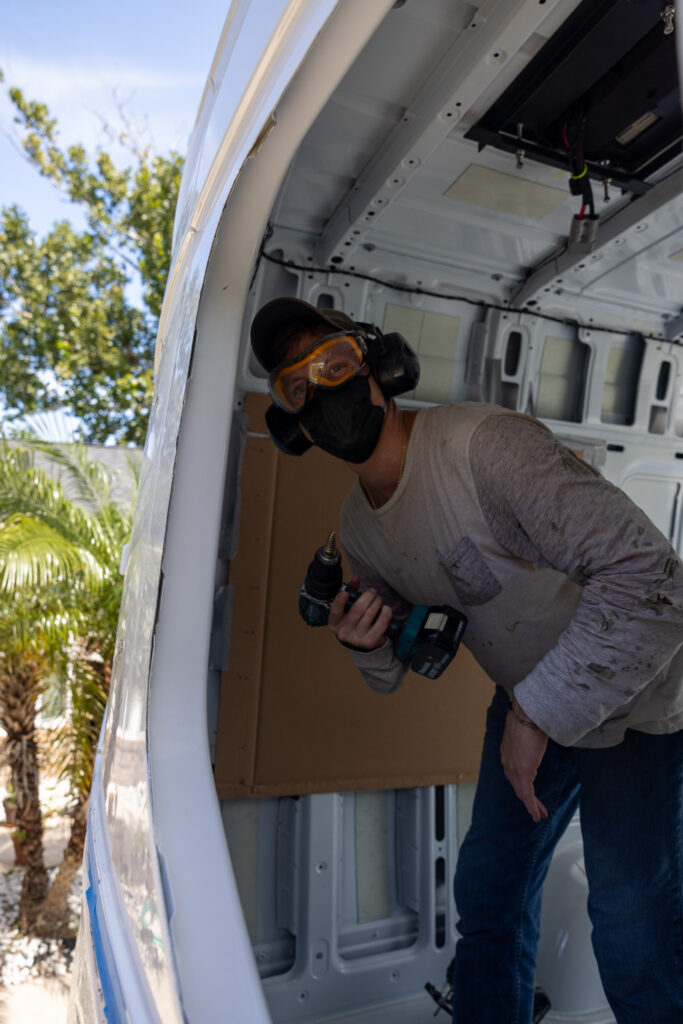
Now for the fun part, cutting out the hole on your van! This part is largely dependent on the tools you have, with the right tools, its simple! We didn’t exactly have the perfect tools for the job, but we had normal tools we repurposed for this and it worked fine.
- Use your power drill and step bit to drill a circle as close to the edge as possible large enough for your jigsaw blade to go through.
- Drill holes circling all curved sections as well as a couple along the straight sections. We drilled about 12 holes. This gives you many good entry points for your jigsaw, considering some areas you won’t be able to reach with the surrounding metal. Just get as close as possible to make later steps easier.
- Use your jigsaw to connect the dots. Before clipping the final piece of metal, tape your metal panel to the van such that it doesn’t fall and scratch your vehicle when it’s no longer connected. (shown in the fourth photo below)
- Remove the metal panel and use your multi-tool to get closer to the edge on any large pieces of metal remaining in the cutout.
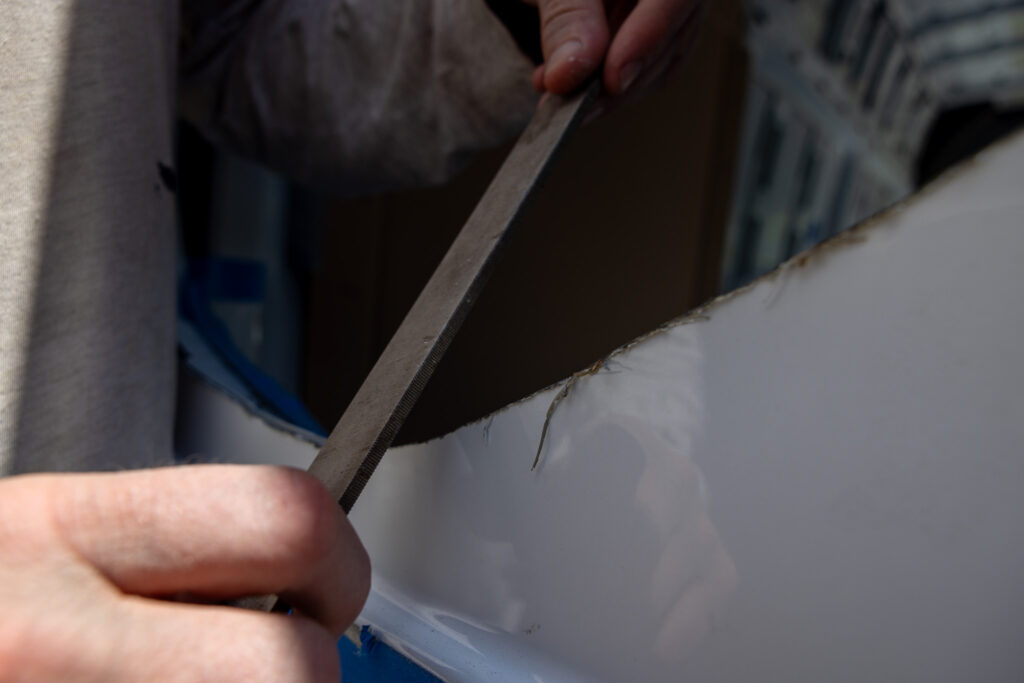
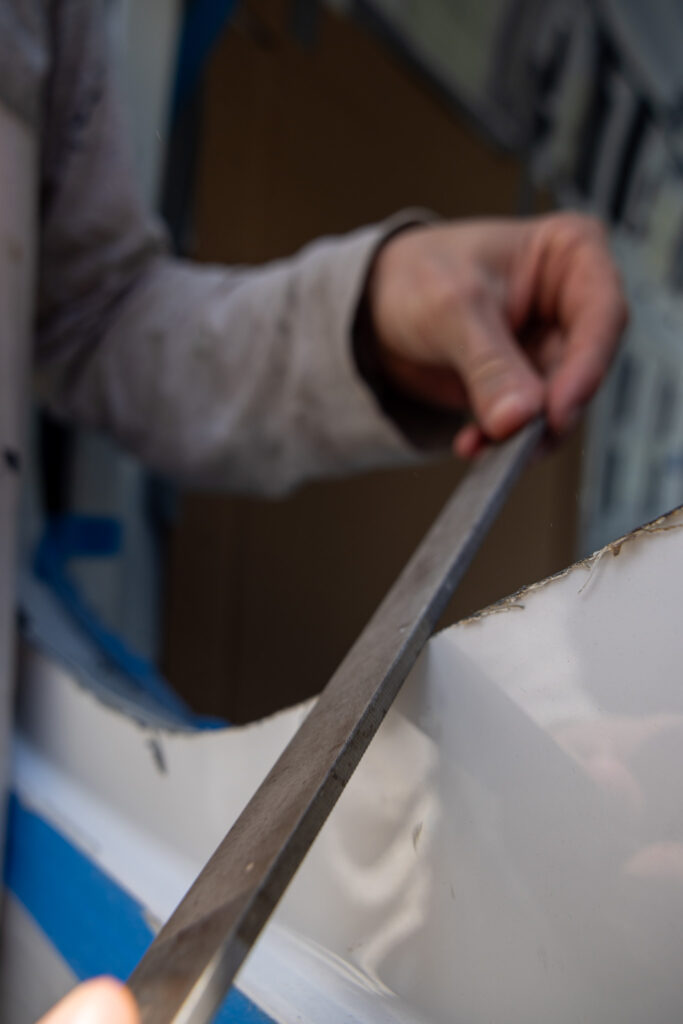
- Use a grinder to get any sections flush. It works best with 1/4” or less of metal visible. You’re literally sanding away the metal, so with less metal to work with, you’ll use less sandpaper and fling less debris around!
With these steps, you’ll have a very clean cut-out for your window!
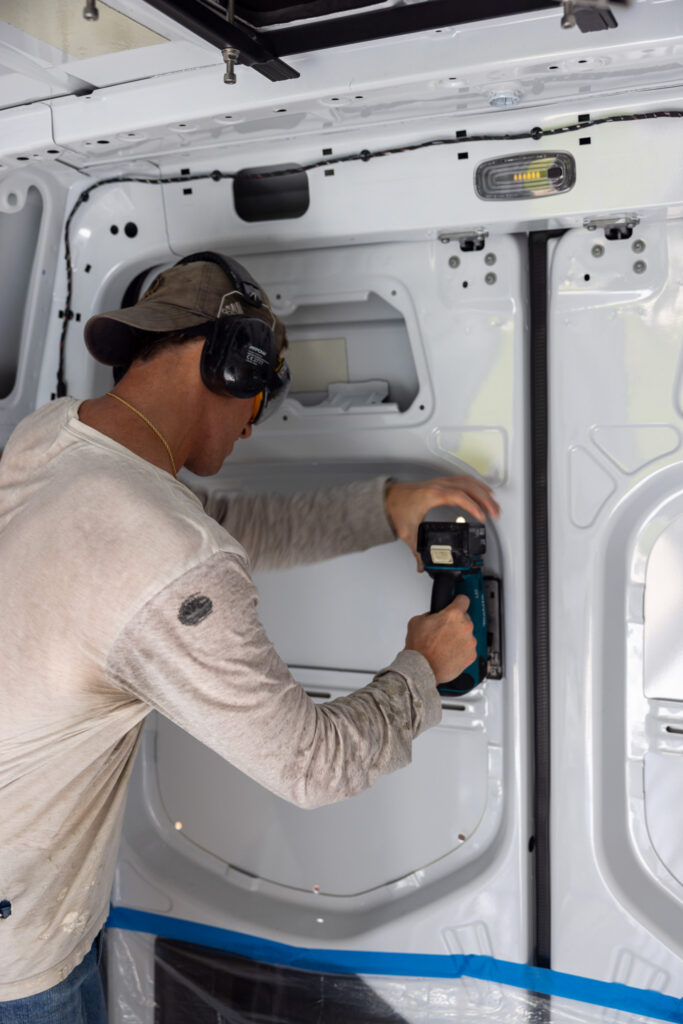
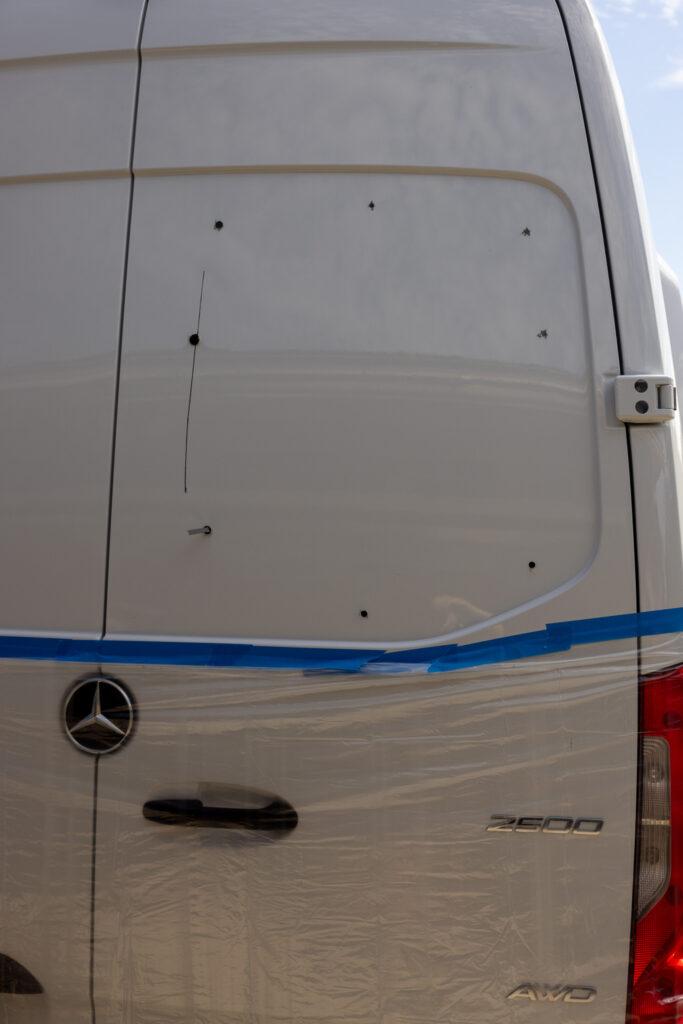
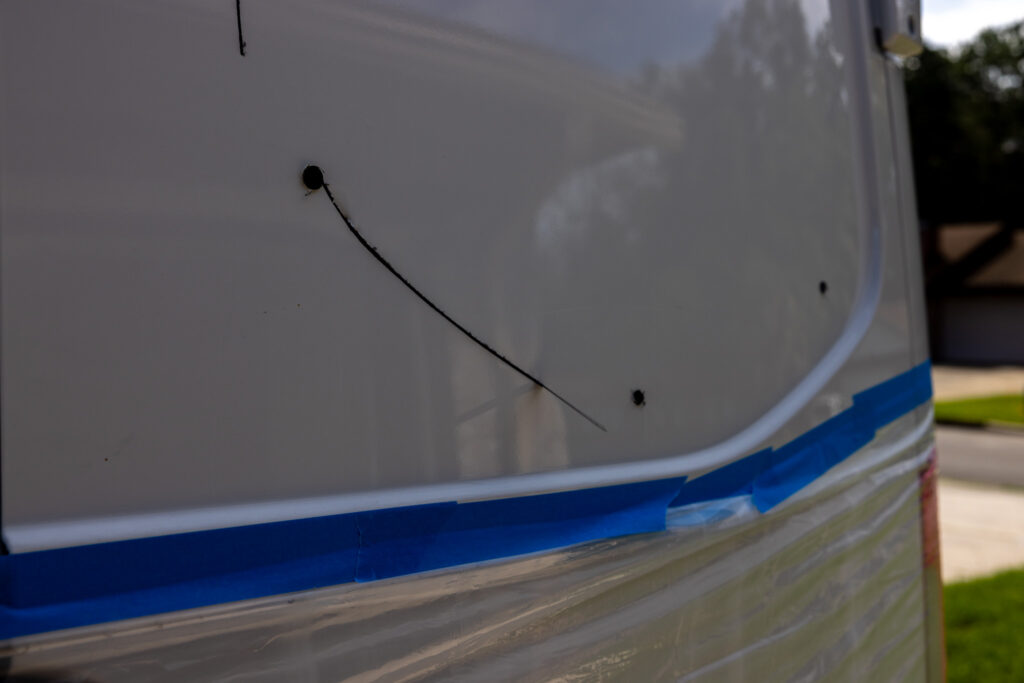
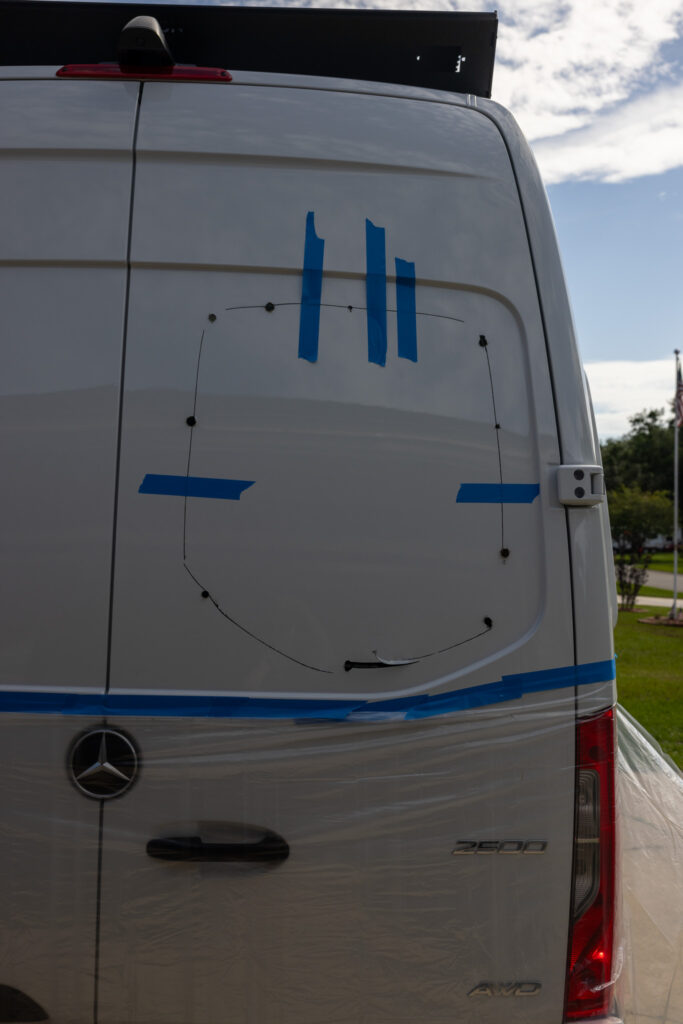
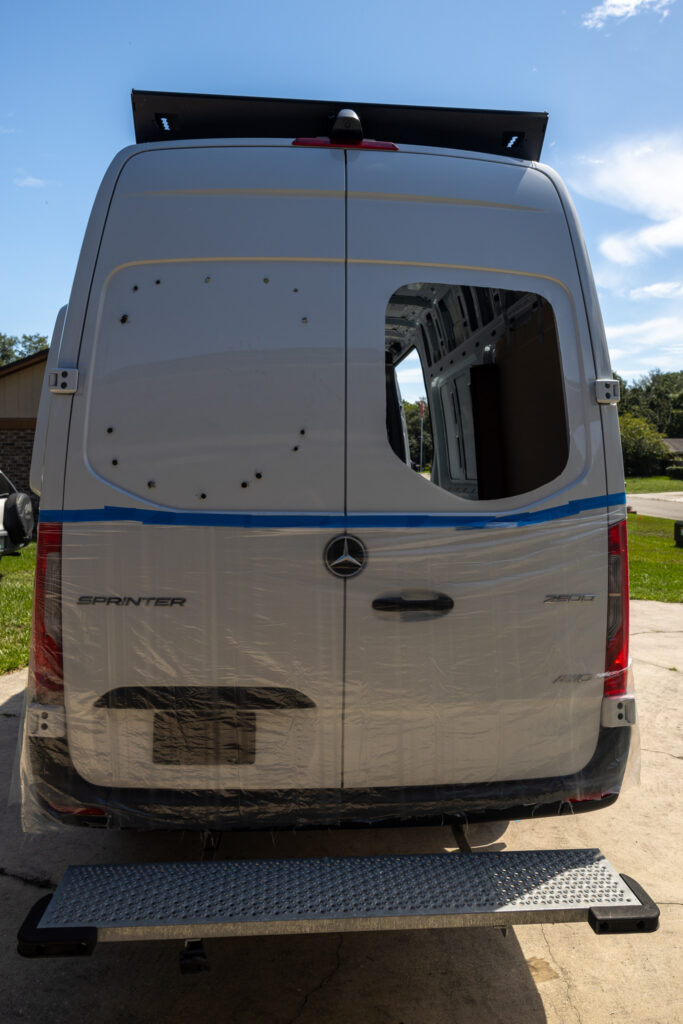
🧠 Cut all your windows out at this stage; this way, when cleaning and adhering, you won’t shake the van with the vibrations from the jigsaw and won’t have additional debris going everywhere!
Step 4: Clean the cutout
Next up you’ll need to clean the fresh cut. We do this by first deburring the edges with a deburring tool. This removes any small pieces of metal that are pointing out. Next we apply anti-rust paint to the edge and allow that to dry.
Step 5: Prepare for adhesion
Before we glue on the windows, we must thoroughly prepare the van surfaces for the final step. This is crucial, as once you start adhering to your windows, you have to finish. The first thing you’ll need to add is your trim lock if that is part of your installation.
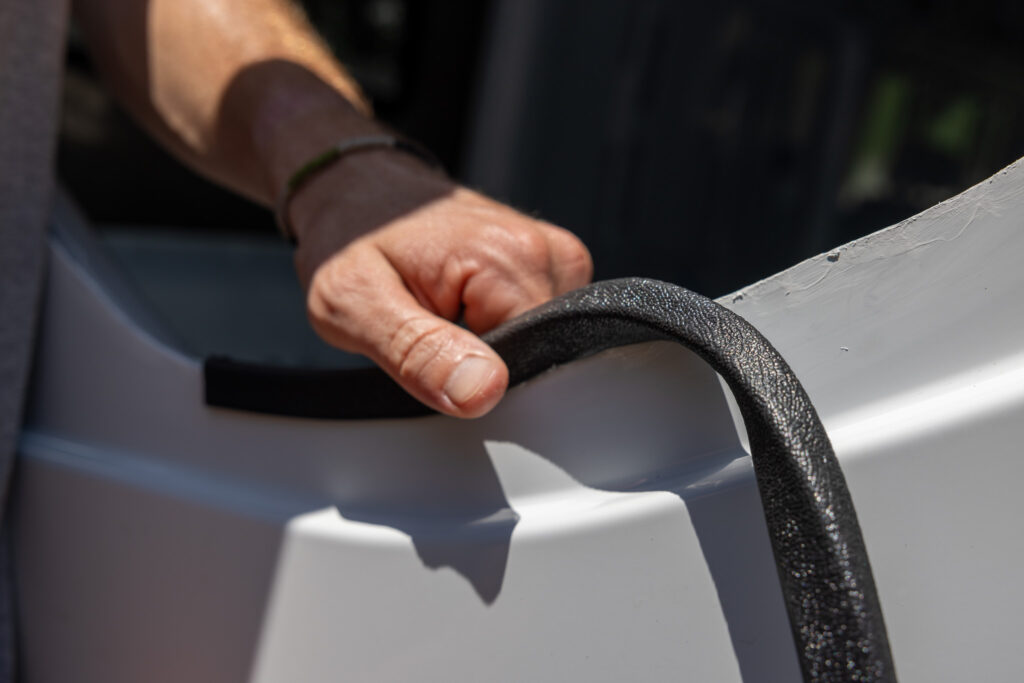
The trim lock makes your window look professional from the inside and out and is very simple to install. You’ll start from the bottom and slowly press it over the painted edge.
💡 If your metal has ridges that are too thin for your trim lock, use a rubber mallet to slightly dent the edges together, allowing the trim lock to fit. Don’t force the trim lock on the edge, or it will deform.
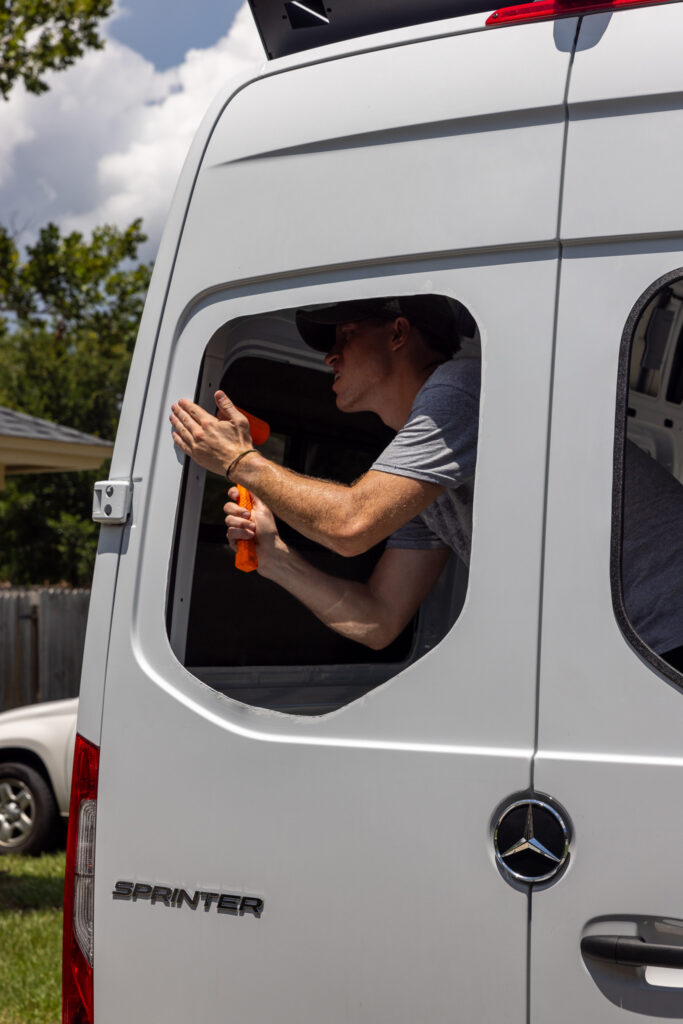
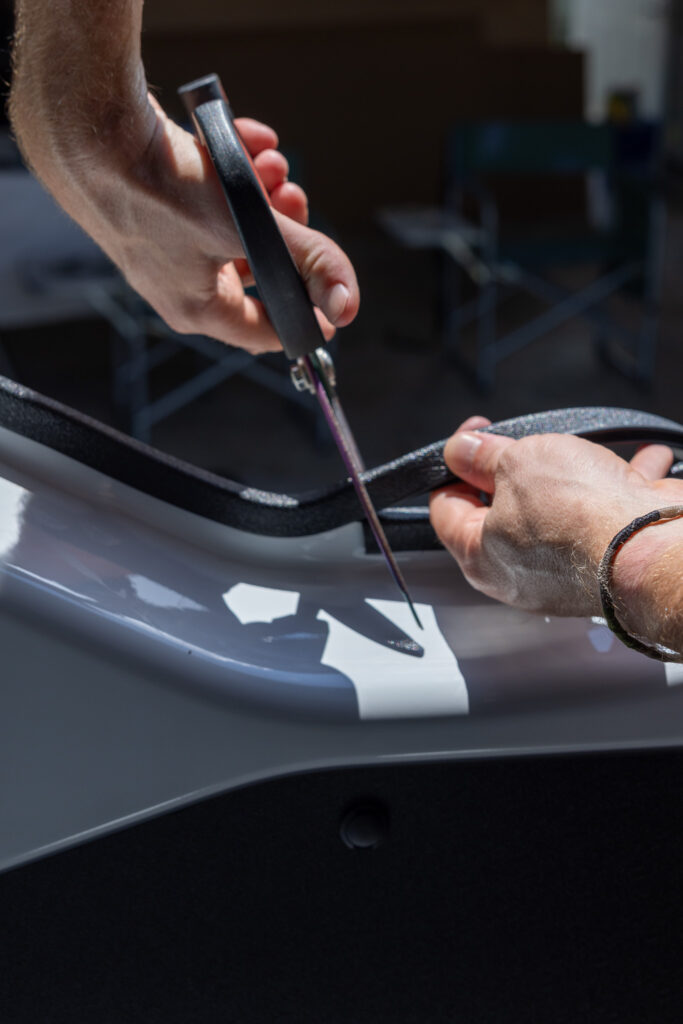
After you have your trim installed, clean the van surface where you will be adhering the window with isopropyl alcohol, and add some tape above the window to keep it affixed while curing. The adhesive itself will keep the window attached; the tape is just for a little bit of force, ensuring the window does not sag.
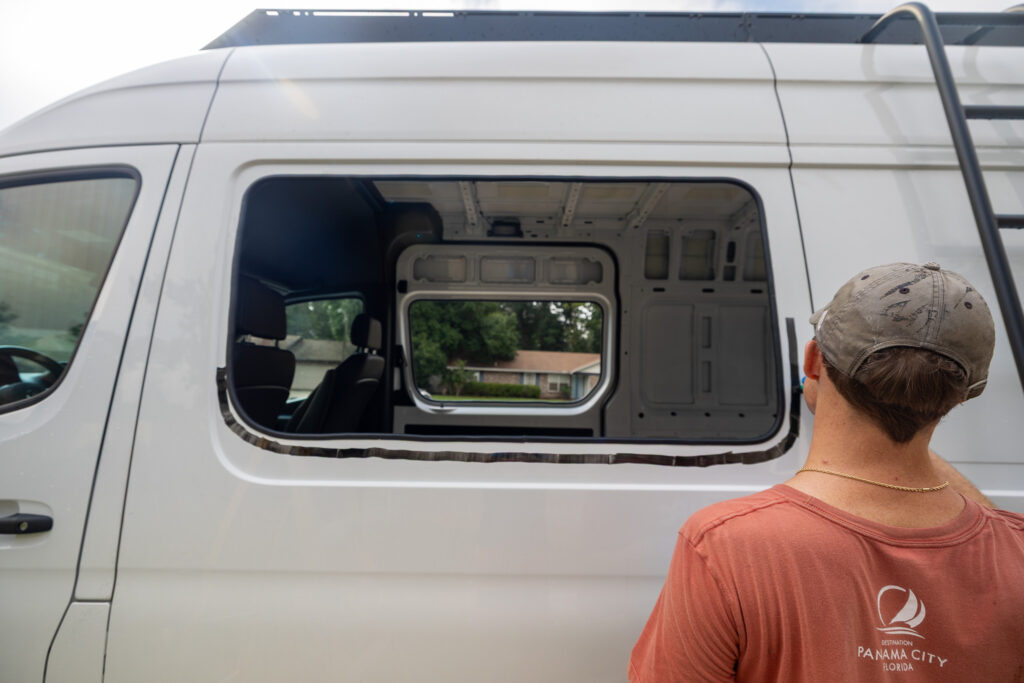
Finally, put your window suction holder on your window and have it in an accessible location.
Step 6: Install the Window
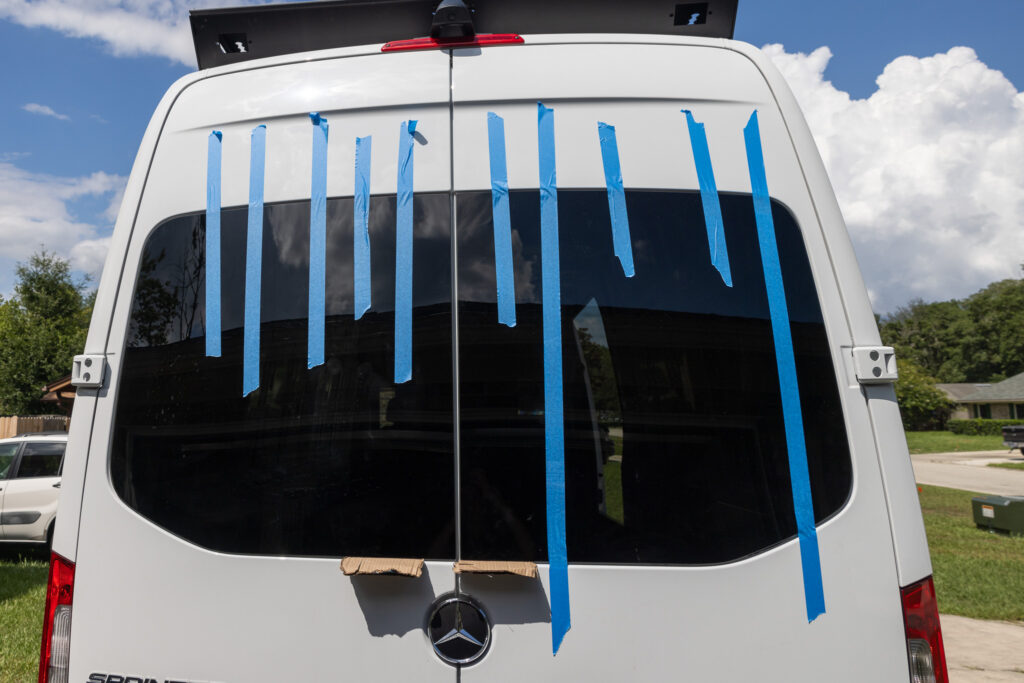
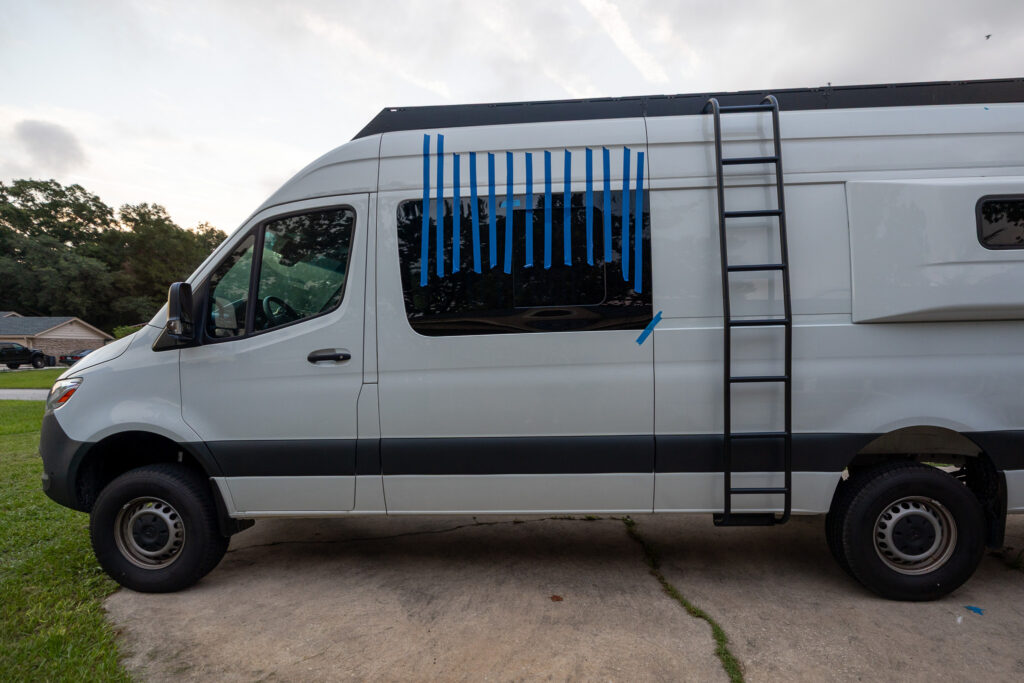
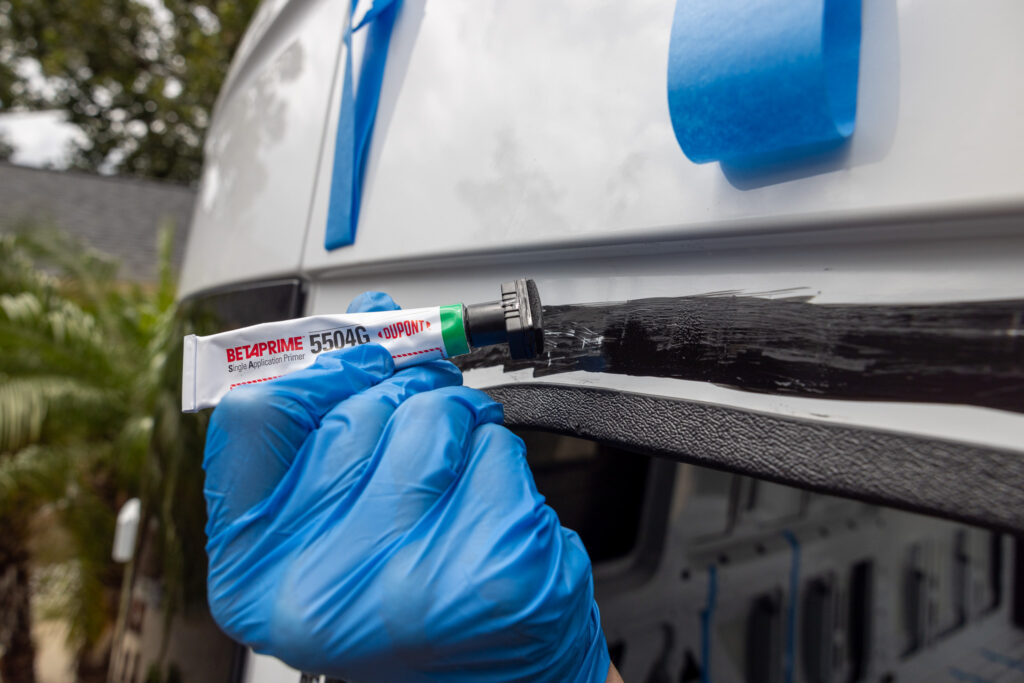
The first step for installing your window will be the primer. We painted it maximum 1 1/2 inches away from the trim edge. In some locations due to the van shape, we had less room and painted it right next to the trim, but mostly kept it at the proper distance away.
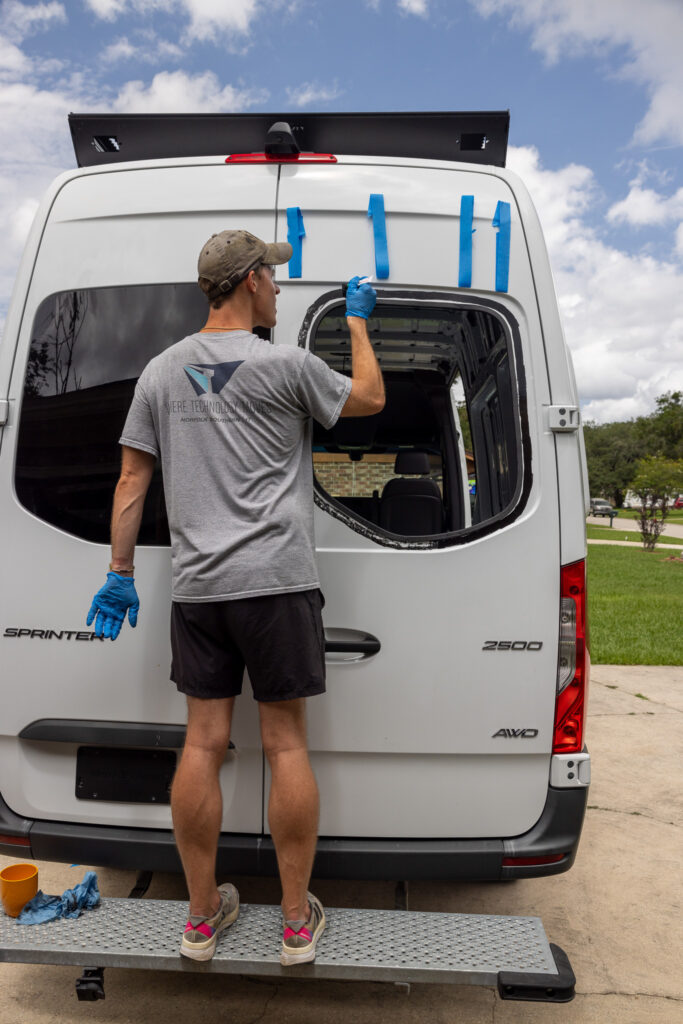
Then using an electric caulk gun, we cut a pizza notch into the adhesive sealant and laid a consistent bead around the entire window.
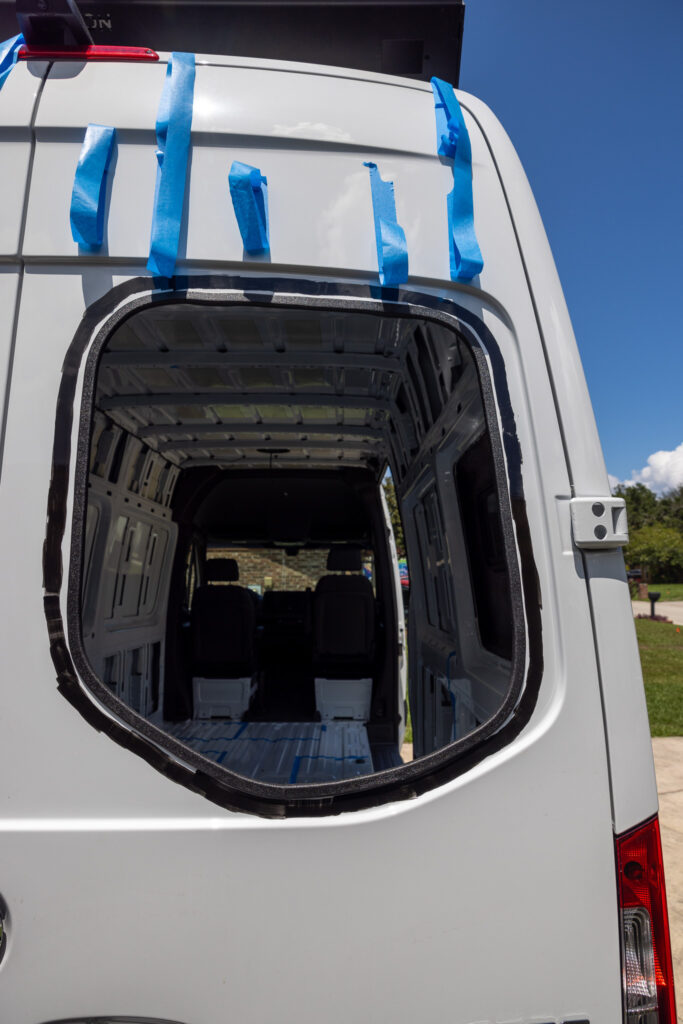
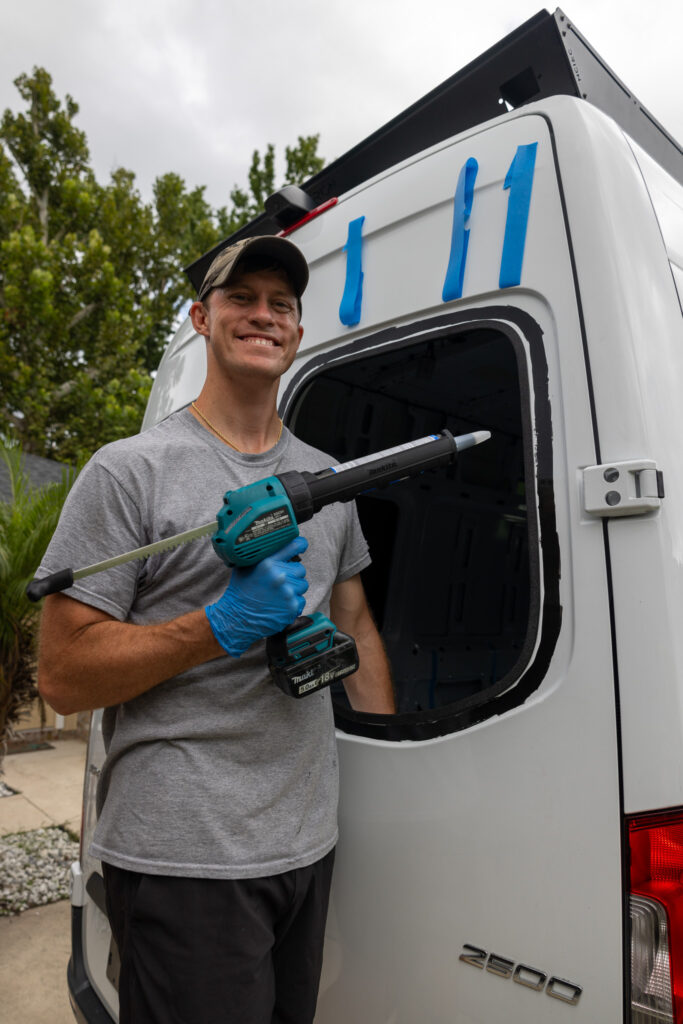
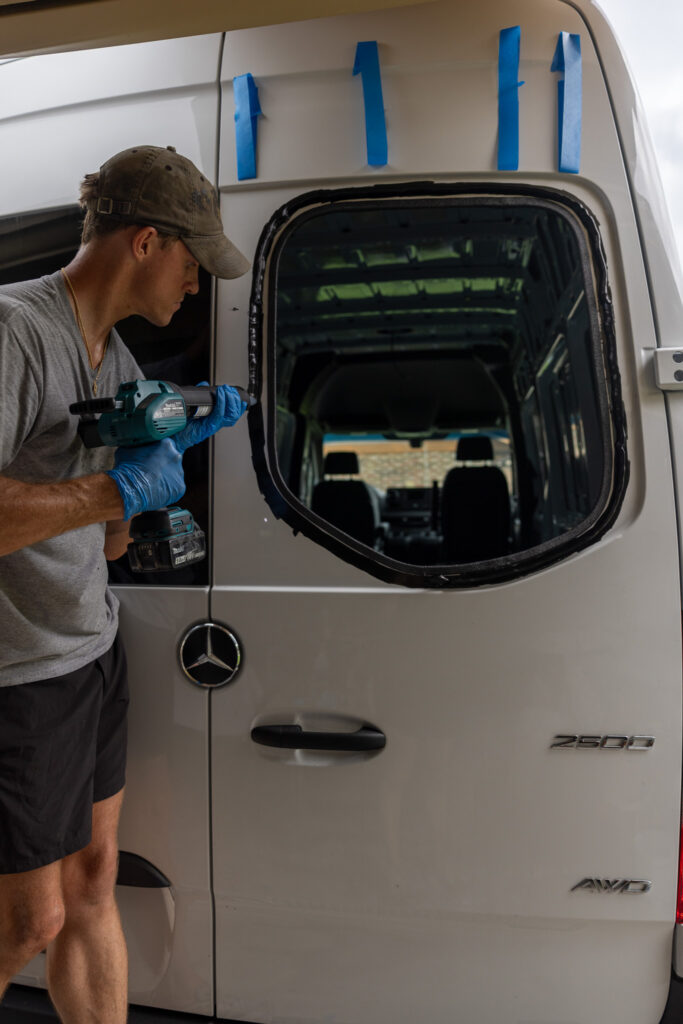
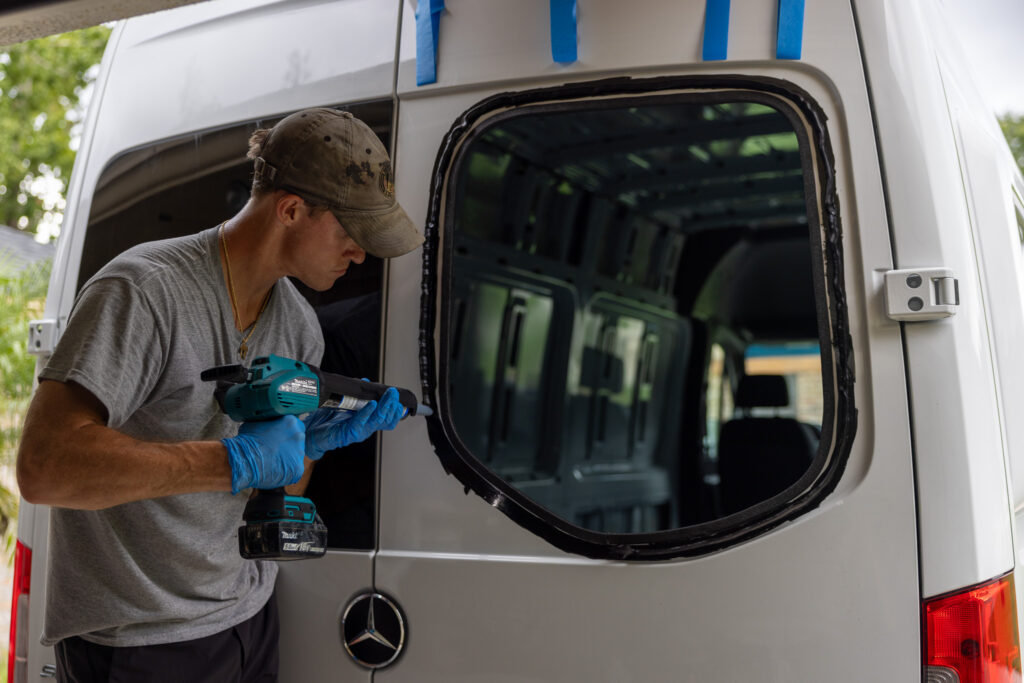
You may wonder if an electric caulk gun was needed, or if a normal caulk gun would work. We tried it with a normal caulk gun first and found that it was very difficult to keep a consistent bead. We ended up messing up the window with that caulk gun application and had to re-install the window. While the tool was expensive, we felt it absolutely worth it!
See below for more details on how we un-installed and re-installed that window.
💡 Keep your bead as consistent as possible because it is very thick and will not settle into any gaps in your application.
After you have your bead on top of the primer, fully around your window, you’ll align your window and press it into the adhesive. This is the most important and challenging part of the install so take your time and align it with the other edges on your van the first time.
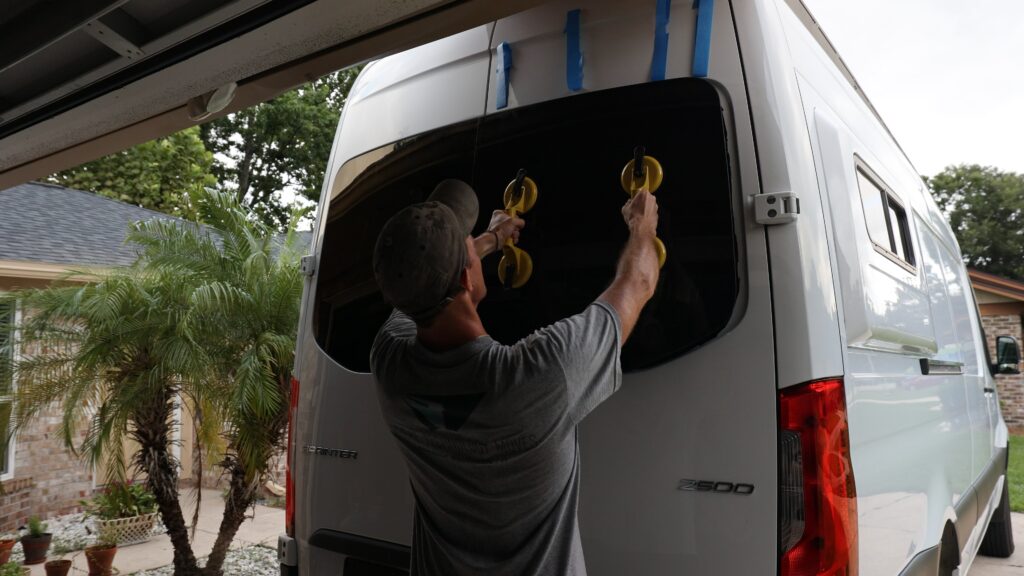
You can move it around slightly, but if you move the window around a lot, you may have leaks. Roll down your tape from above and give yourself a high-five—you did it!

Step 7: Water test
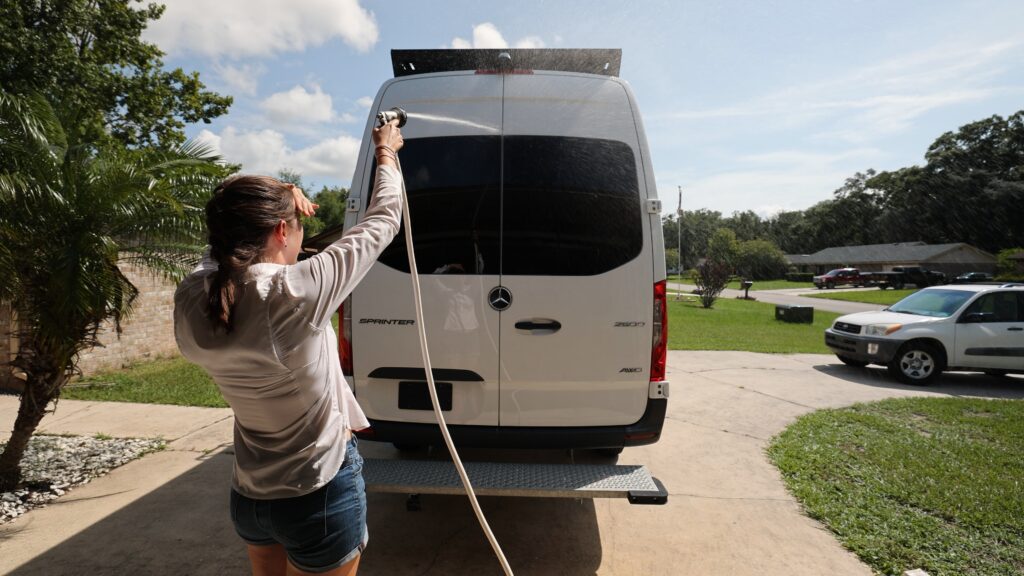
Wait 24 hours before you test your windows for leaks. Test each edge of your window using a hose and a powerful spray. You’ll want to find any possible leaks now instead of later when you’ve built your van around it!
How to fix leaky camper van windows
While water testing is a great way to find leaks, another tried and true method is light. Using a flashlight from outside the van, shine it along the edge of your window at night. If you see any pinholes in your van, you have a leak.

Fixing a pin-hole leak
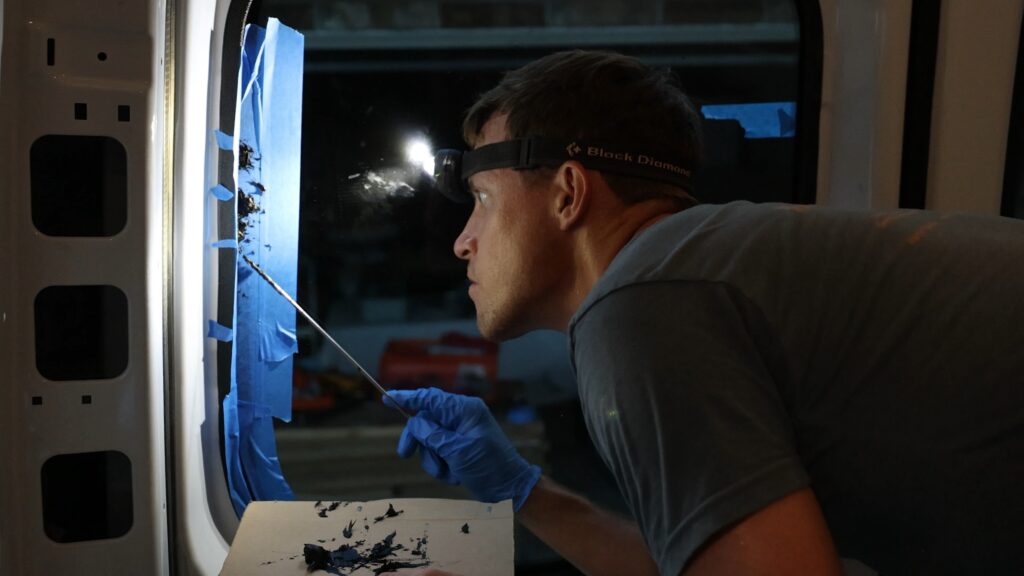
If you just have a small pinhole leak, that can be fixed! Depending on how accessible it is, you can use a cracks sealant product to fix it or manually apply more sealant yourself. Just make sure you tape as much as possible so you don’t get this adhesive on your nice van window!
Fixing a larger leak
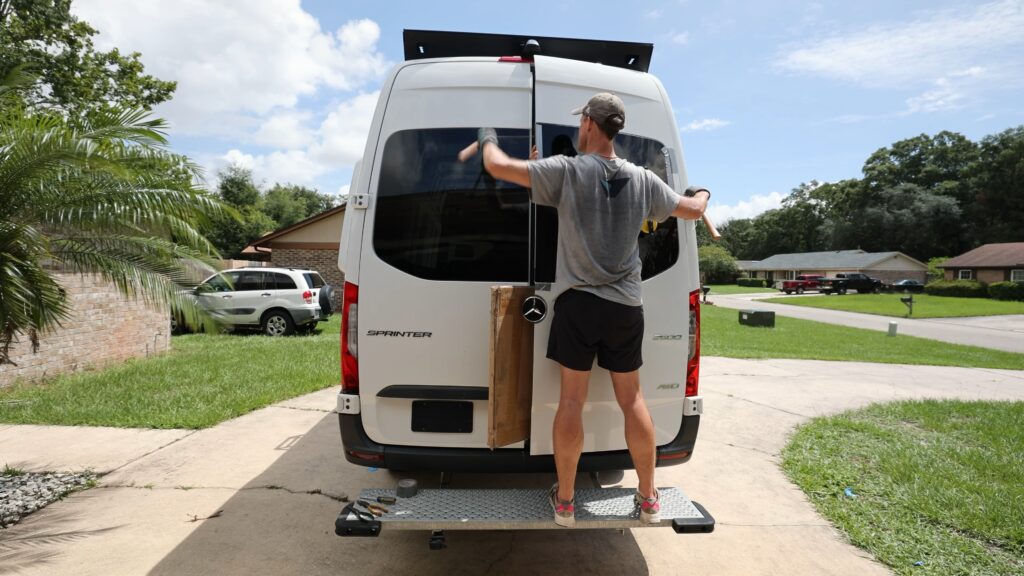
For anything greater than a single pin-hole leak, you’ll need to remove your window and re-apply the sealant. If you’re at home, it’s very DIY-friendly; however, if you’re out and about, you may just want to pay an auto shop to take care of it. We’ve heard it’s a relatively cheap fix, roughly $100 USD. We’d recommend calling around to get some quotes before tackling the project.
We were very downtrodden when our first window leaked and we had to remove it. All the unknowns challenging to push through, however, at the end of the day we got it done and now we can share it with you!
Firstly, you’ll need the right tools. Buy braided sealant cutting wire from Amazon. This stuff is required! Secondly, get some plastic scrapers so you can remove the existing sealant without scratching your nice van.
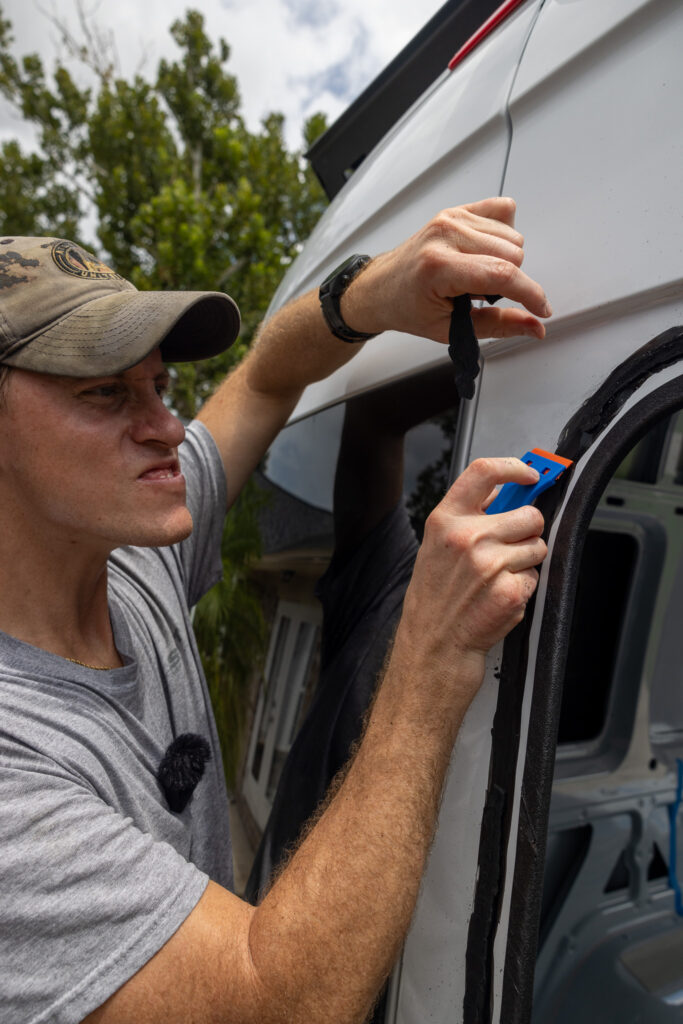
To remove your window, you’ll need a second person. Have one person cut through a corner of the sealant with the braided wire, and then with one person inside and one person outside, gently rock the braided wire back and forth to cut the sealant. It doesn’t require a lot of force and if you do it a different way you may damage your van! Take it slow and methodically and remove the window. It shouldn’t take more than 20-30 minutes to completely remove it (although it took us 3 hours our first time since we didn’t follow this step).
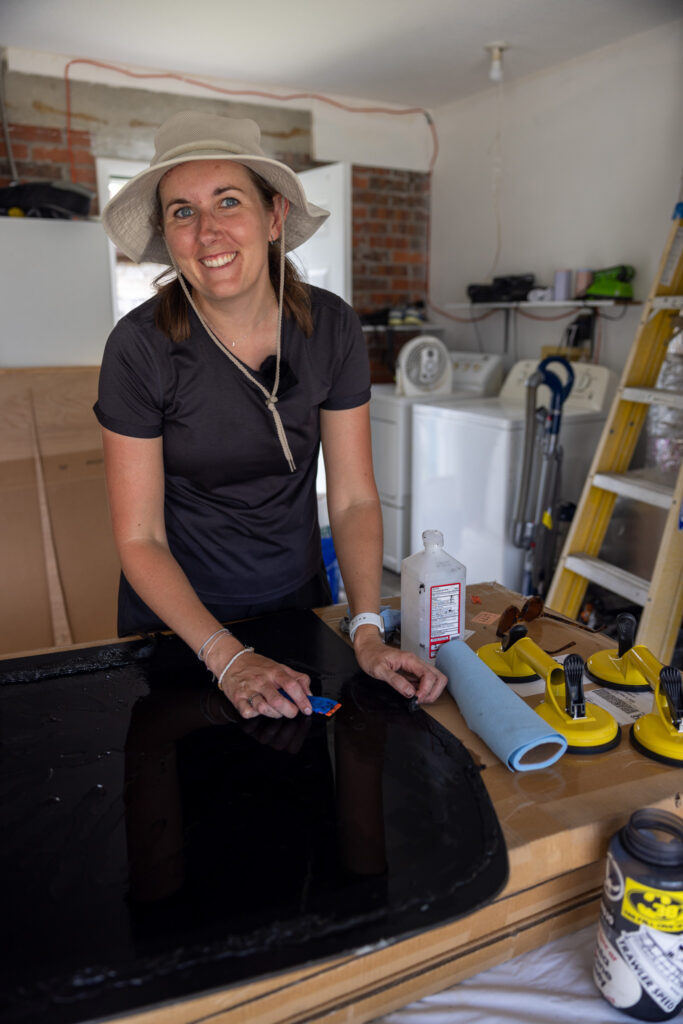
After your window is removed, we need to remove all the existing sealant. Plastic and metal scrapers work great along with mineral spirits. Just make sure to test it on an unseen portion of your window before you make some scratches you can’t take back.
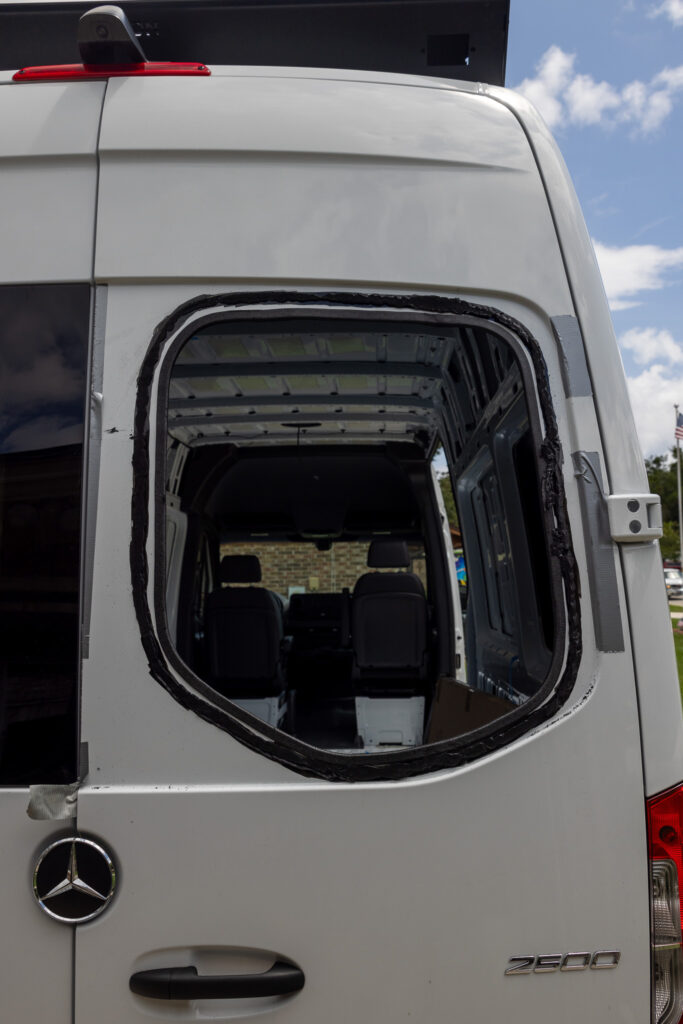
Finally, now that your window is off and clear, try and understand what went wrong in your first try, and try again. Was the sealant to thin? Did the sealant bend or lean when arranging the position of the window? Good luck!
Watch our Van Window Install on YouTube
Save for Later
Save this to Pinterest to read again later!




Leave a Reply