

The South Rim trail is one of the best hikes in Big Bend National Park and has been called one of the lower 48’s top one-day hikes! This trail actually inspired legislators in Texas to convert Big Bend into a National Park! In this article, we’ve compiled everything you need to know about hiking the South Rim Trail so you can have a fun, safe, and memorable experience.
Note: We use affiliate links which provide us a little kickback each time you use one of our links and make a purchase, without any additional cost to you. We do not recommend products that we don’t already love or have heard great things about, so you can trust we’re only suggesting great products to you.
Overview of the South Rim Trail
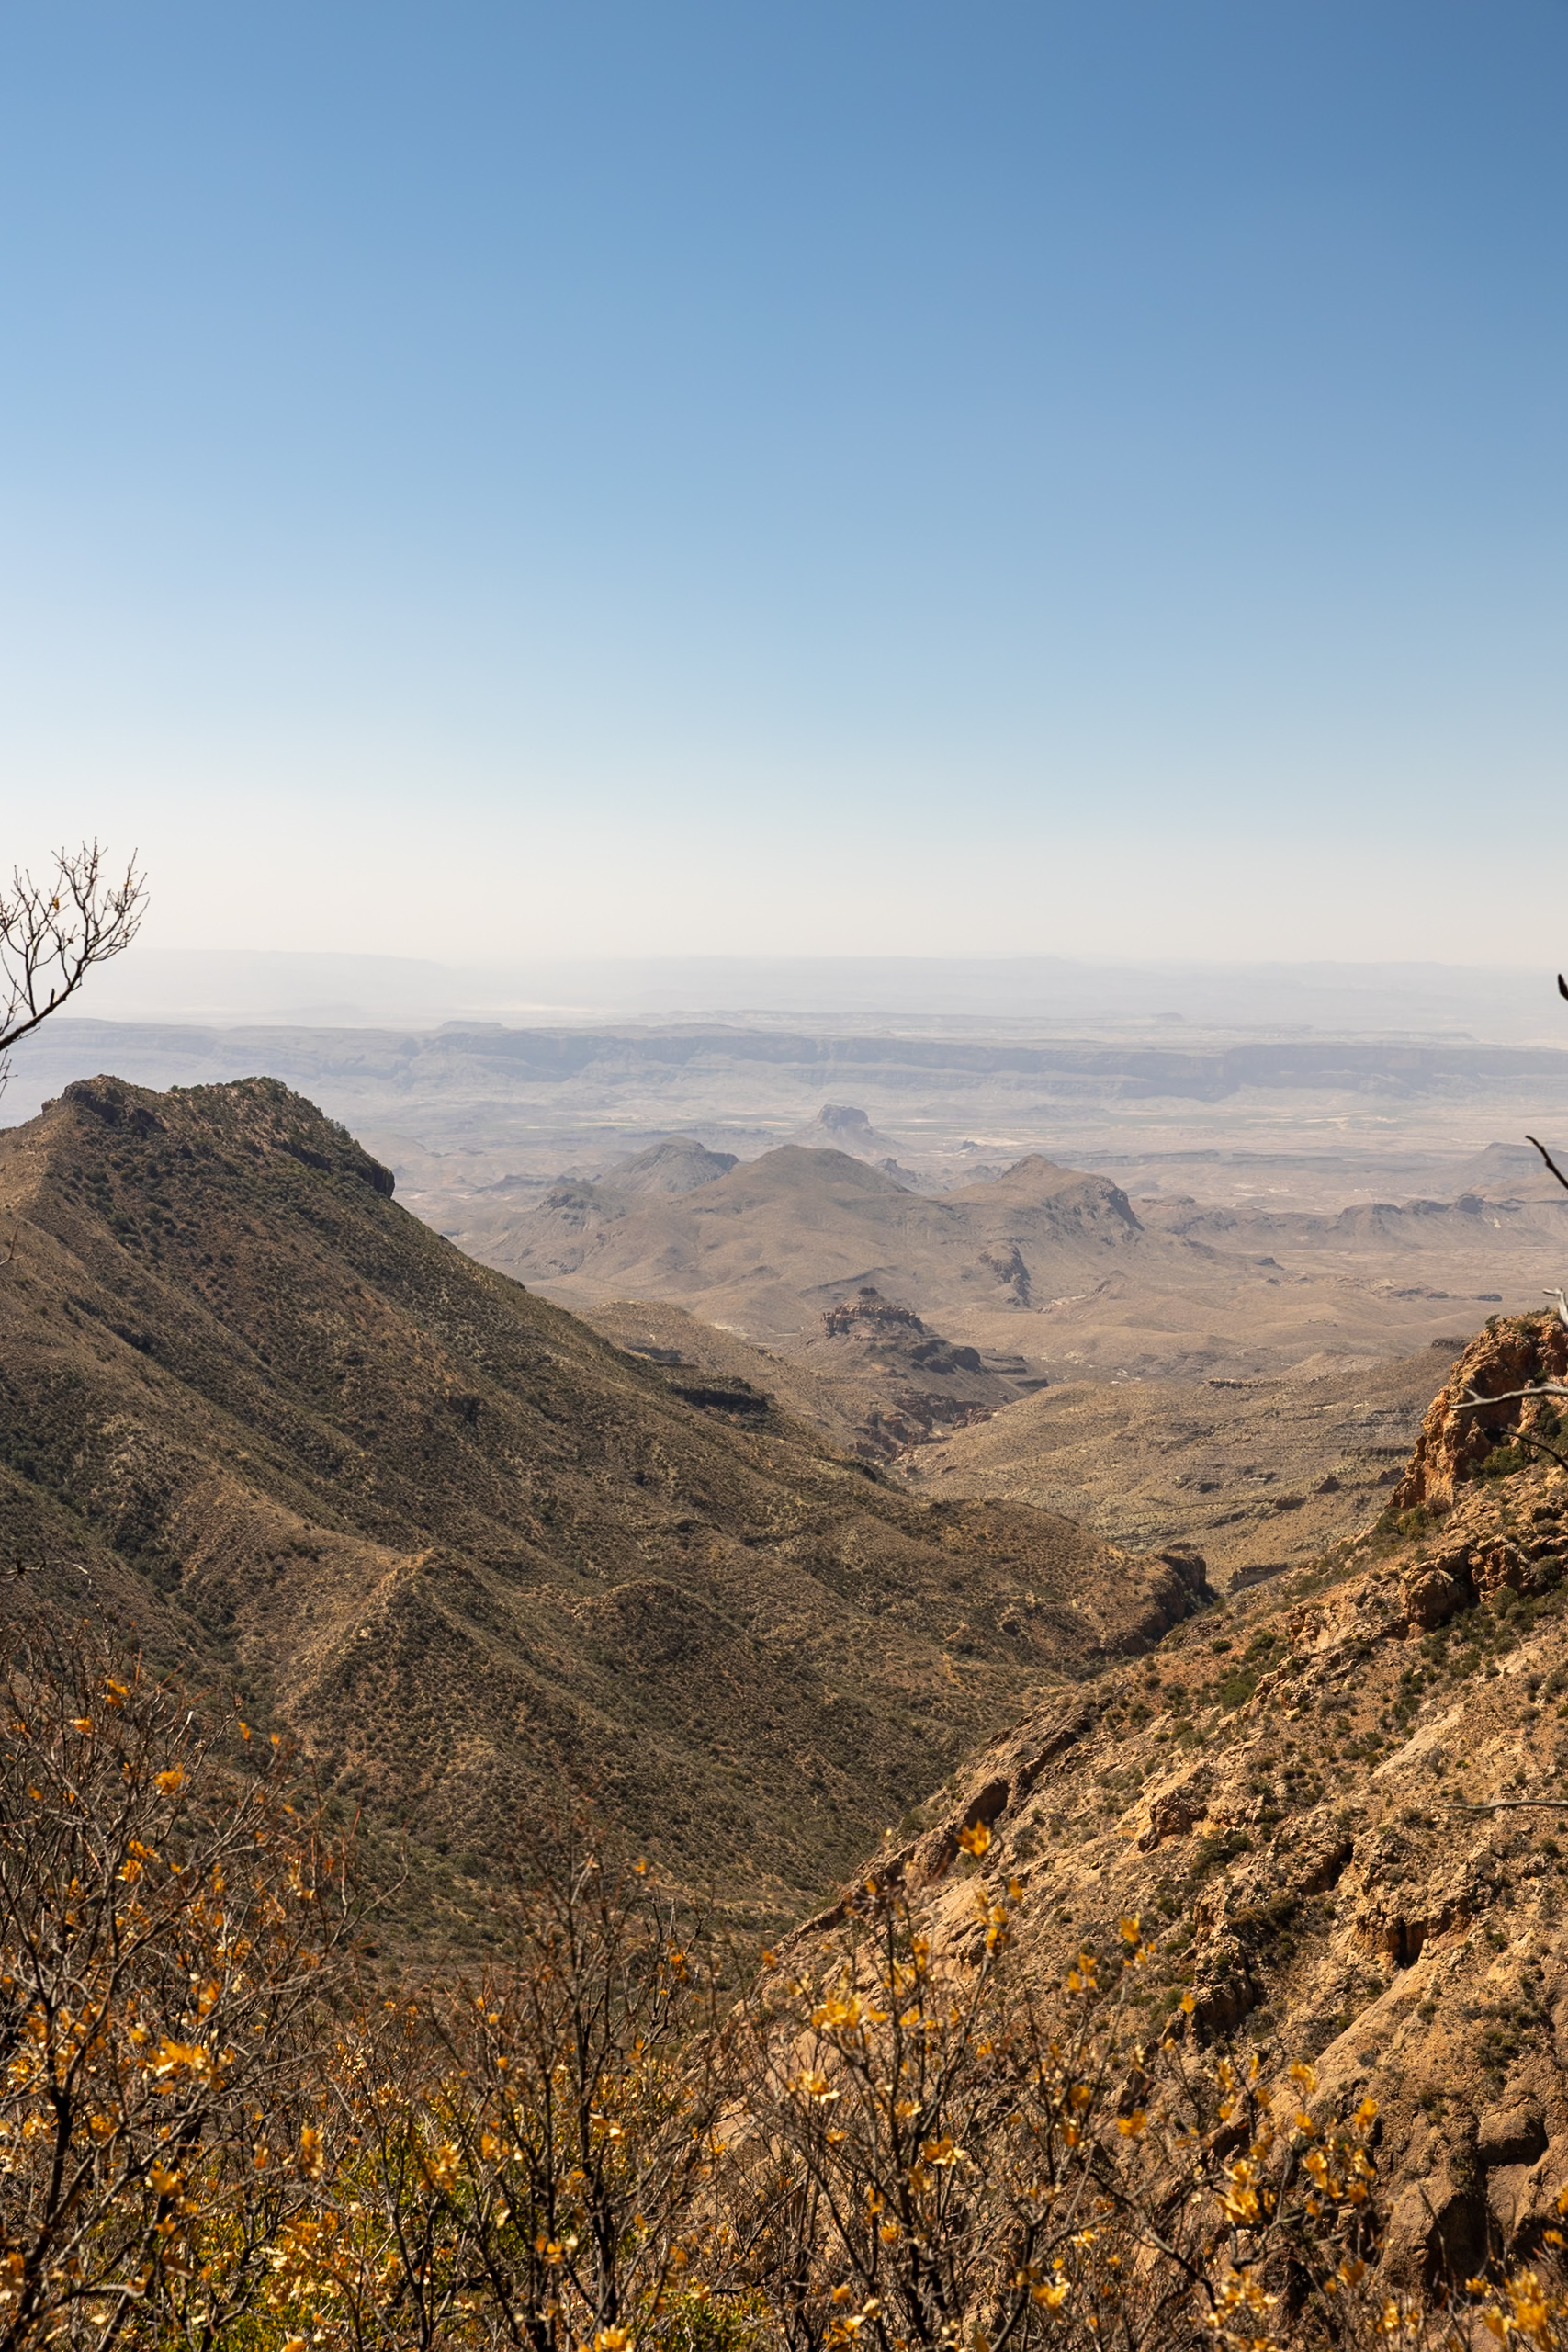
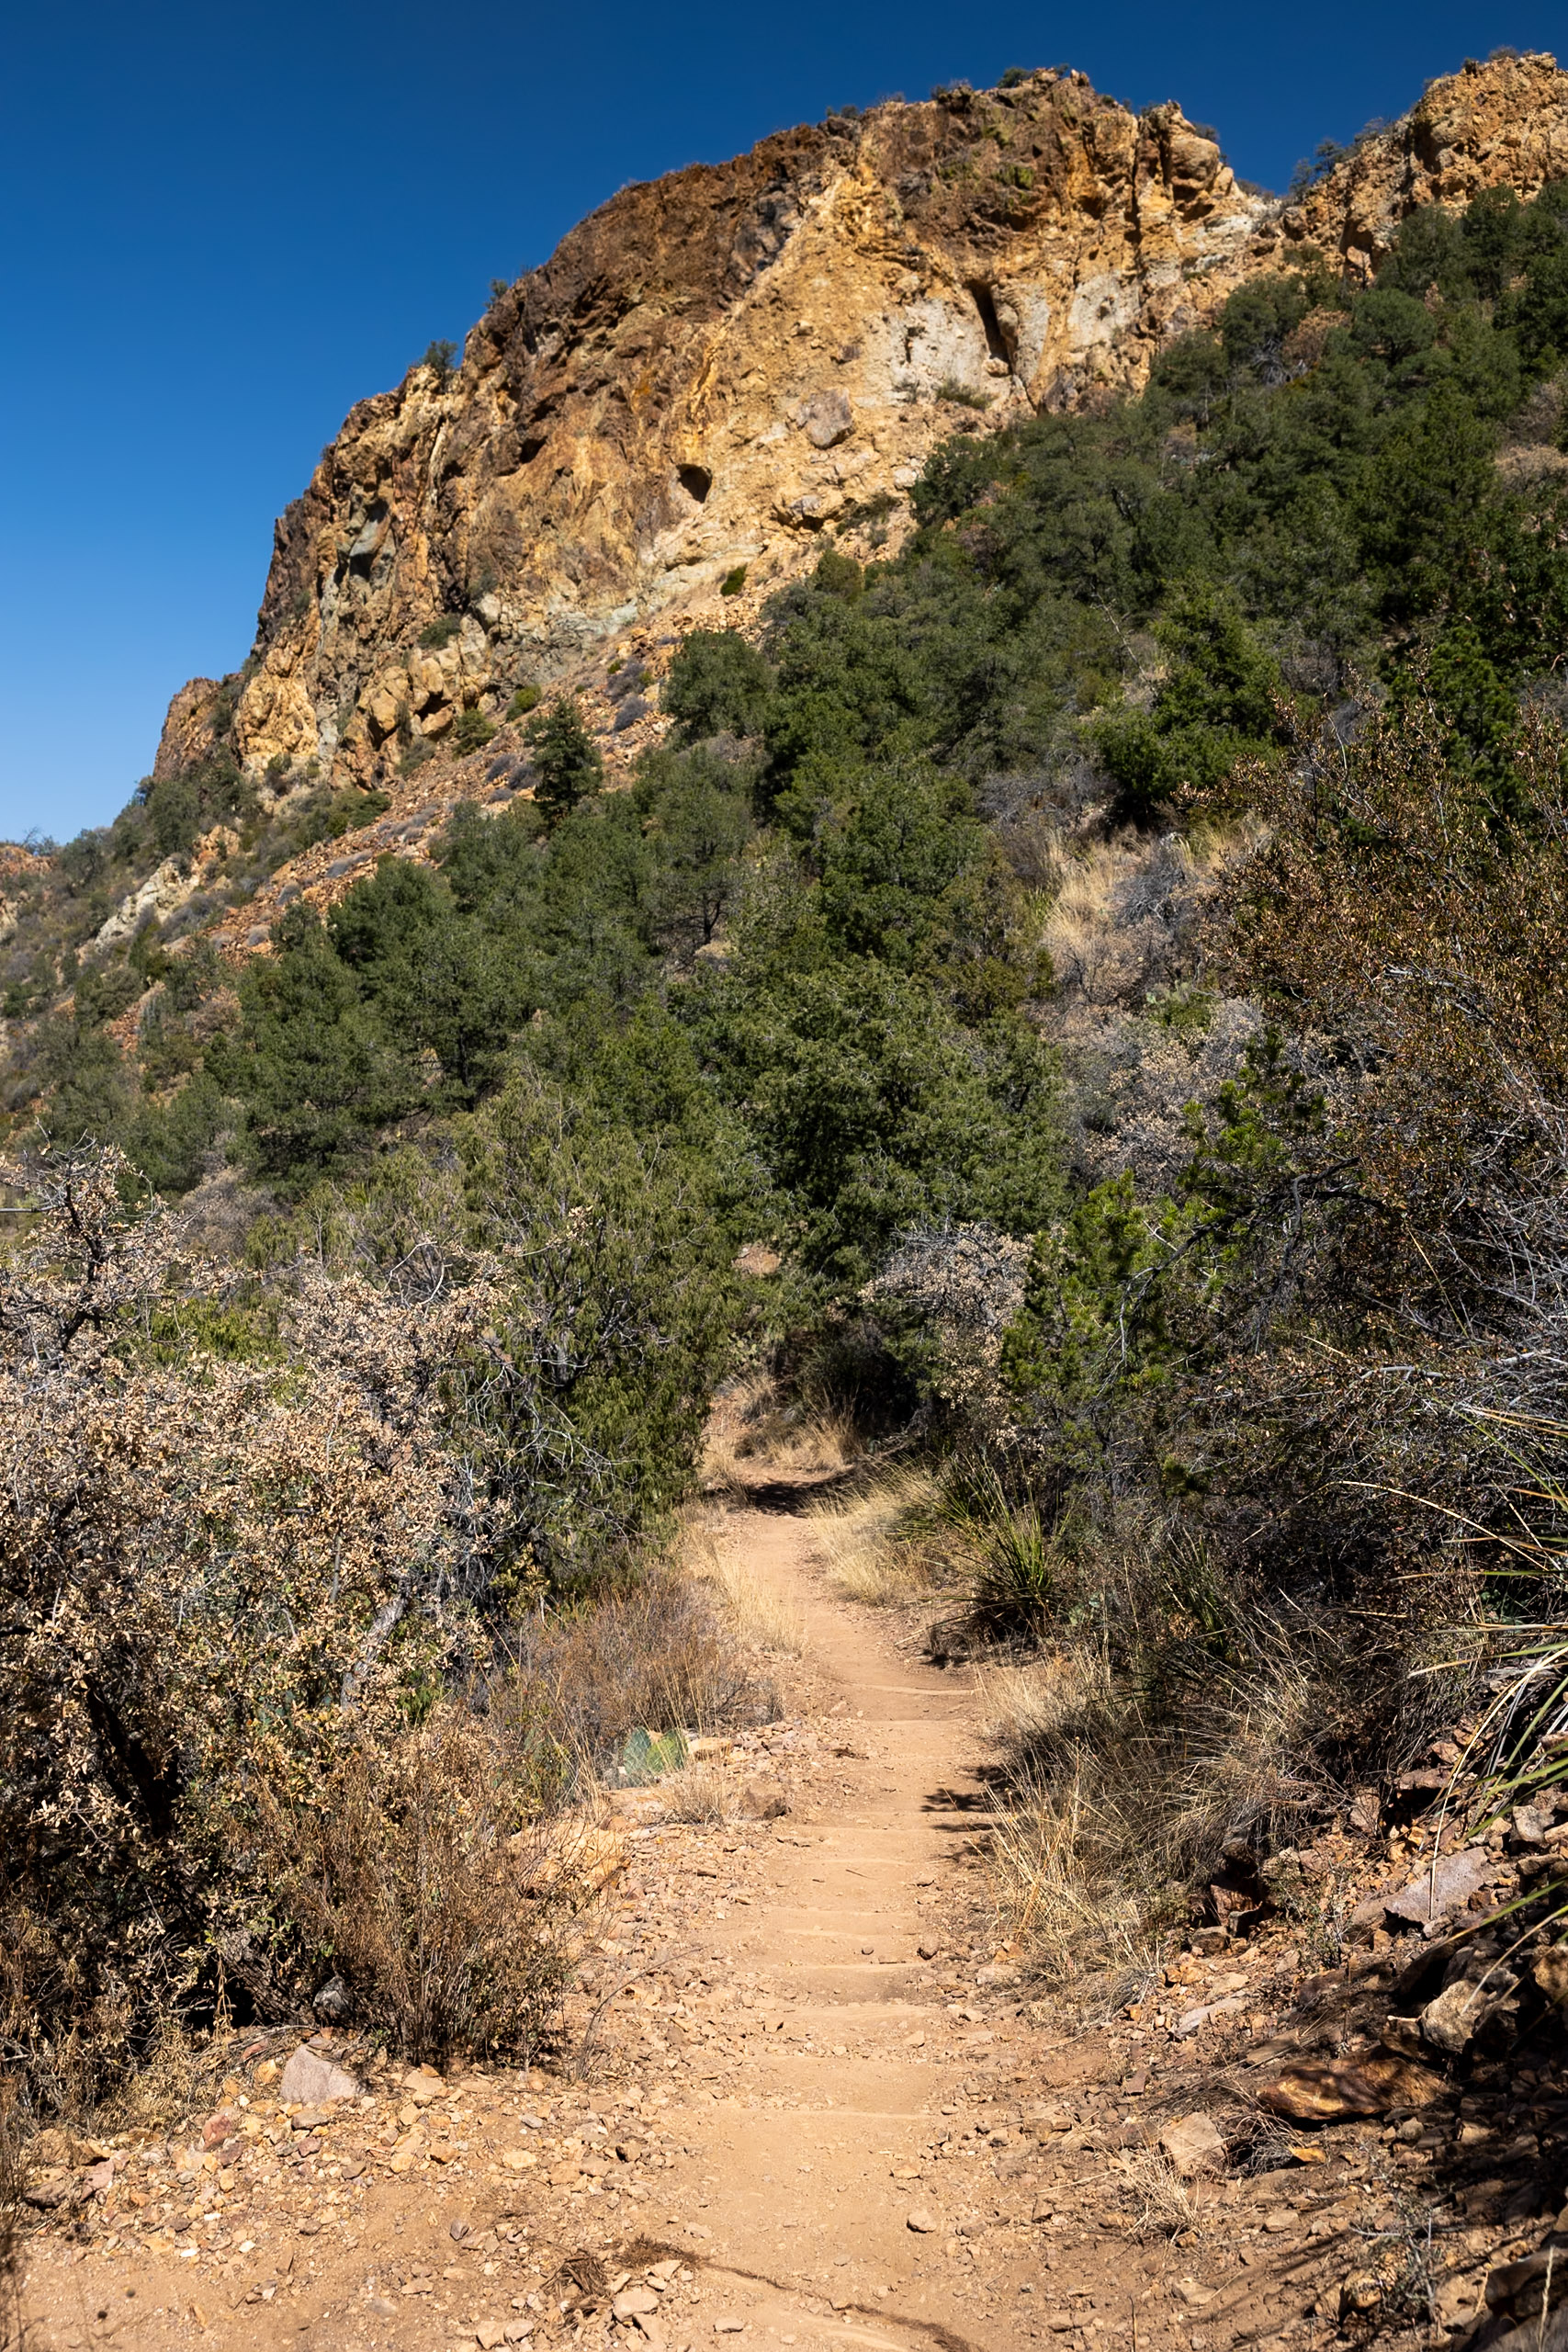
This challenging route takes you through diverse terrain, from steep switchbacks in the Chisos Basin to open grasslands, shaded springs, and finally, the dramatic cliffside views overlooking the vast Chihuahuan Desert below. This hike does not require a permit; however, if you plan to break the hike into two days and backpack it, a backcountry camping permit is required. Here are some stats for this challenging hike:
Distance: 12.6 miles (20.2 km), although we recorded 14.4 miles for filming purposes
Difficulty: Hard
Estimated Time: 6-8 hours
Type: Loop
Elevation Gain: 2,800 feet
Dogs Allowed: No
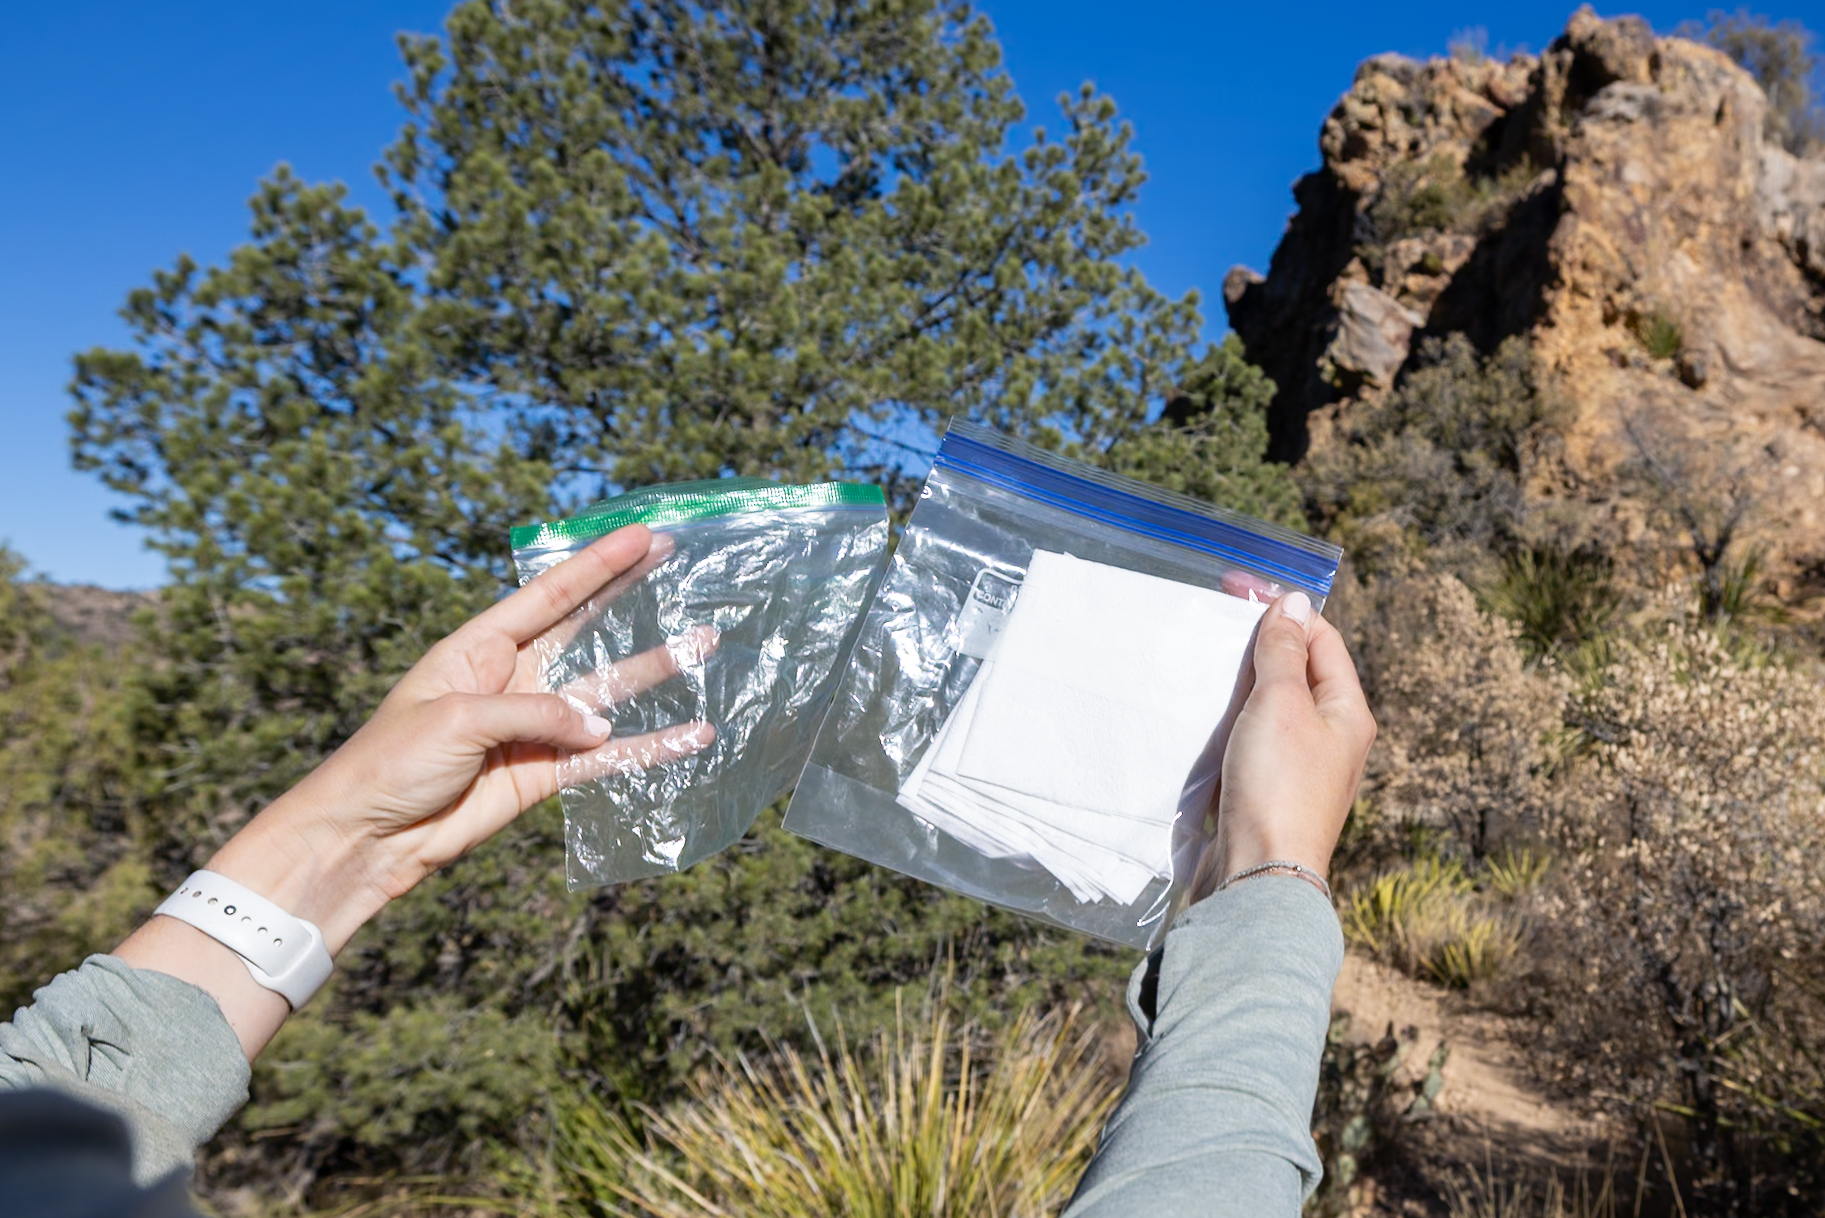
Please respect the outdoors and Leave No Trace! Before embarking on your outdoor adventure, review the seven principles of Leave No Trace, which include planning ahead and preparing, traveling and camping on durable surfaces, disposing of waste properly (pack out what you pack in), leaving what you find, minimizing campfire impacts, respecting wildlife, and being considerate of others. Abiding by these principles helps keep these places beautiful so others can enjoy them for years to come!
Getting to the Trailhead
The nearest parking lot is located at the Chisos Mountain Lodge or Chisos Mountain Visitor Center. This parking lot can fill up quickly, especially during the busy season. We visited during March 2025, which coincided with spring break and noticed the parking lot filling up around 8:00 am.
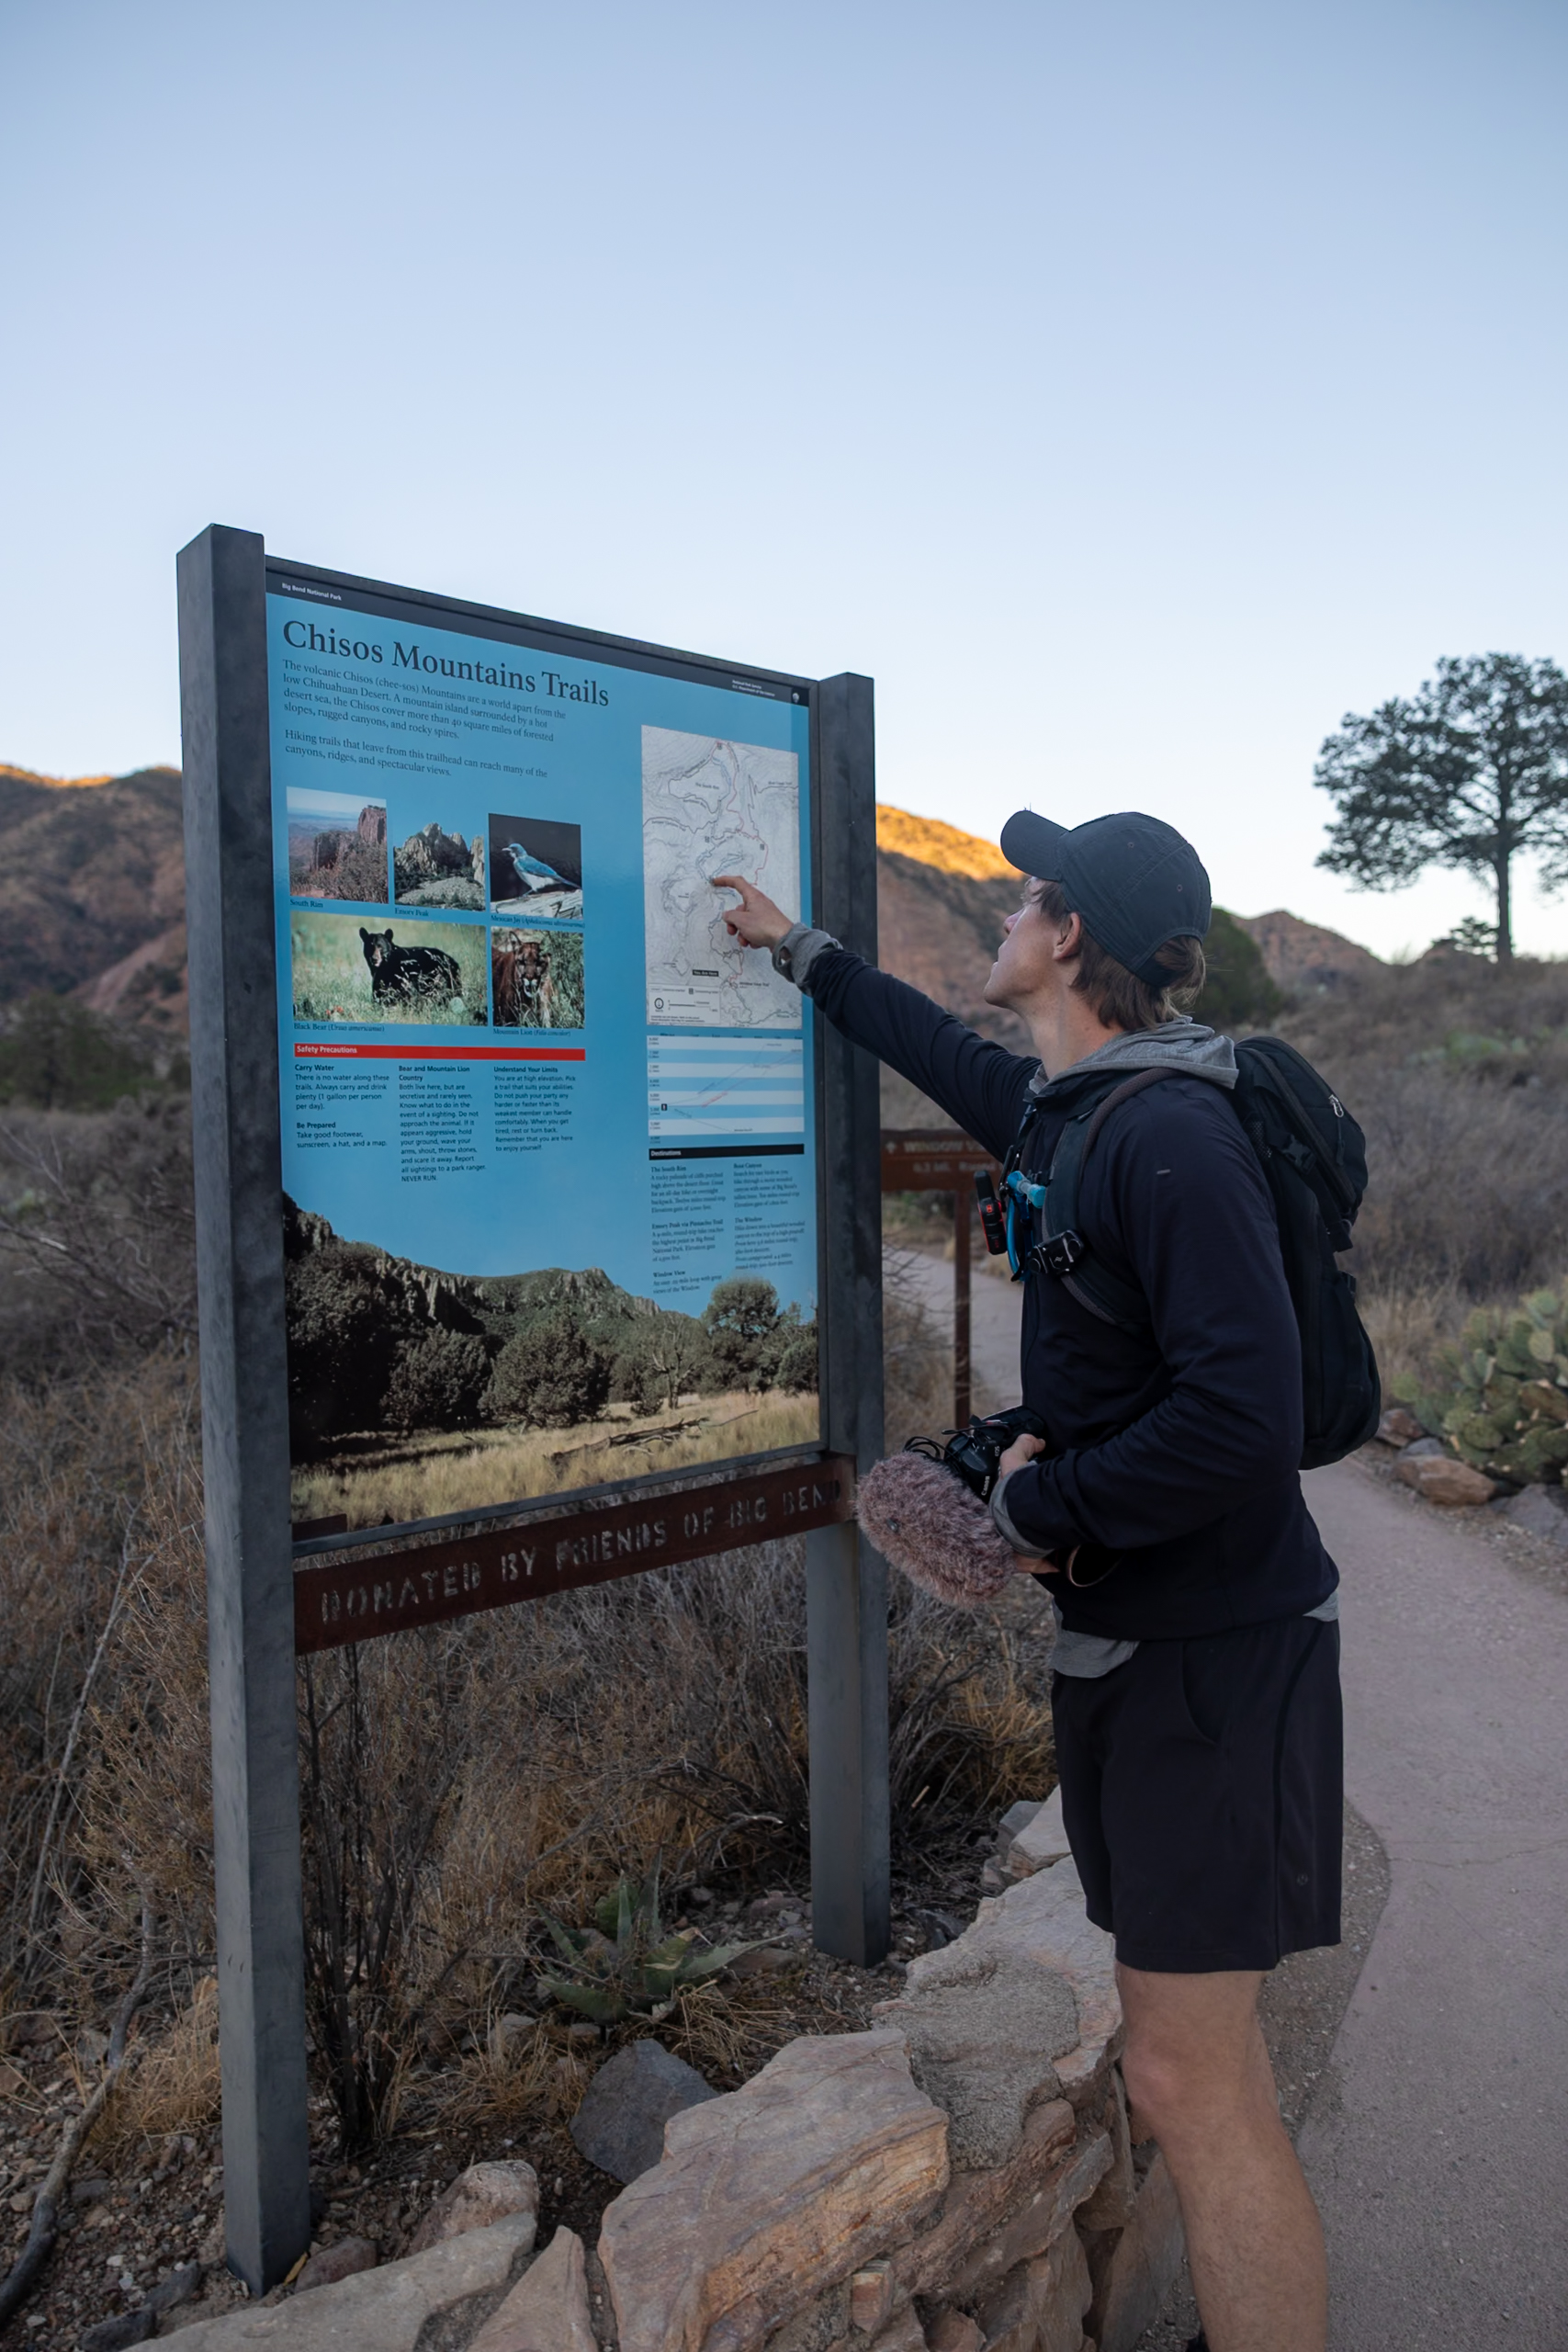
Since the South Rim trail is such a long and strenuous hike, we recommend starting early and, therefore, getting to the parking lot early to secure a spot. If staying in Chisos Basin Campground, you can reach this trail by taking the Amphitheater Trail up to the Chisos Basin Visitor Center, where the various trail heads merge together.
Choosing Your Route: Clockwise vs. Counter-Clockwise
This trail is a loop, so you have two options when hiking the trail. You can complete the trail in the clockwise direction or the counterclockwise direction. Here are some pros and cons of each option:
Counter-Clockwise via Laguna Meadow Trail: A gradual ascent with more shade, recommended for a less strenuous climb. This direction has a lot more shade, so it might be a good option for later in the season when it’s hotter.
Clockwise via Pinnacles Trail: A steeper, more direct route that offers a challenging workout early in the hike. This route direction gets you morning sun on Boot Canyon Trail and afternoon sun on the Laguna Meadow Trail.
We chose the clockwise direction since we know that we tend to get tired at the end of a long hike, and we wanted a bit more sun since it was cooler during our visit and we wanted more sun. Either route direction would be great!
Regardless of which way you start, the South Rim Trail hike starts and ends at the Chisos Basin Visitor Center.
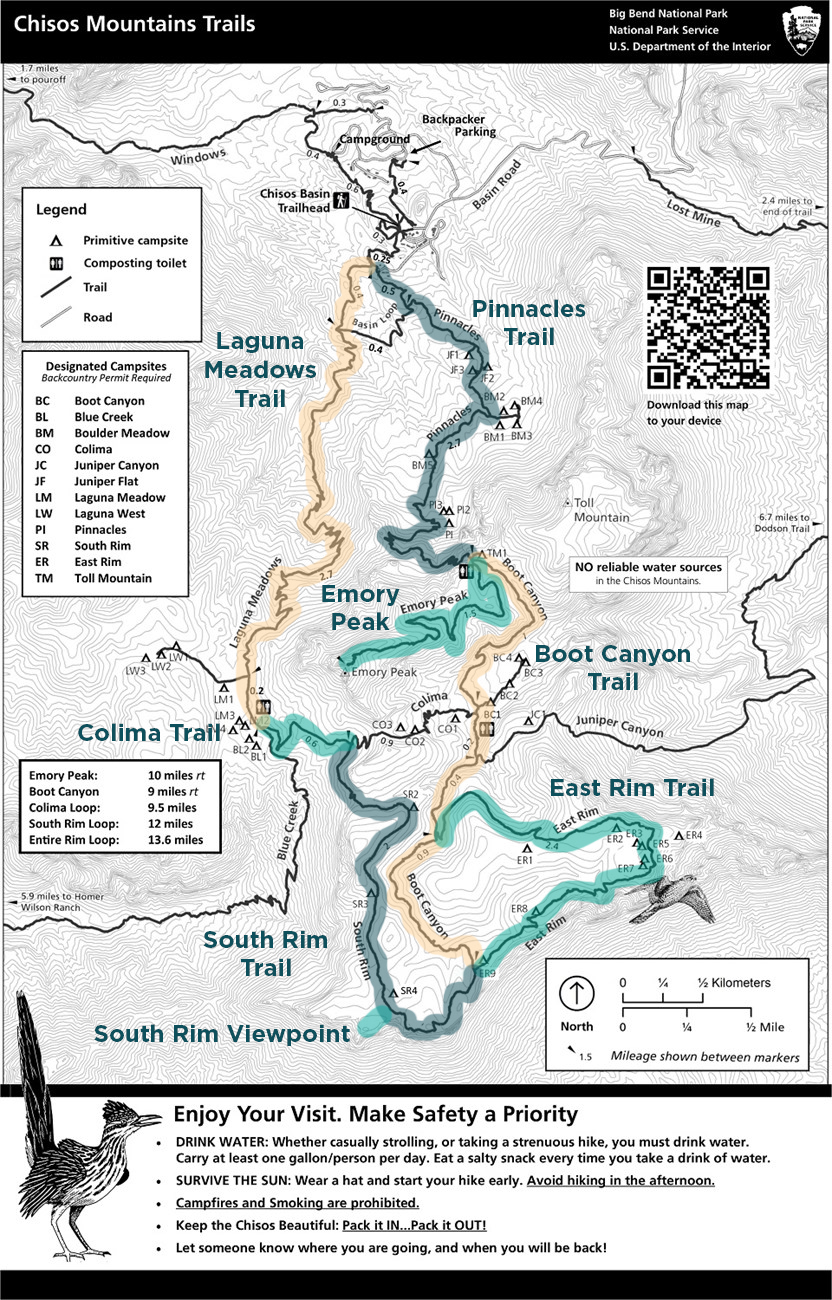
South Rim Trail Breakdown
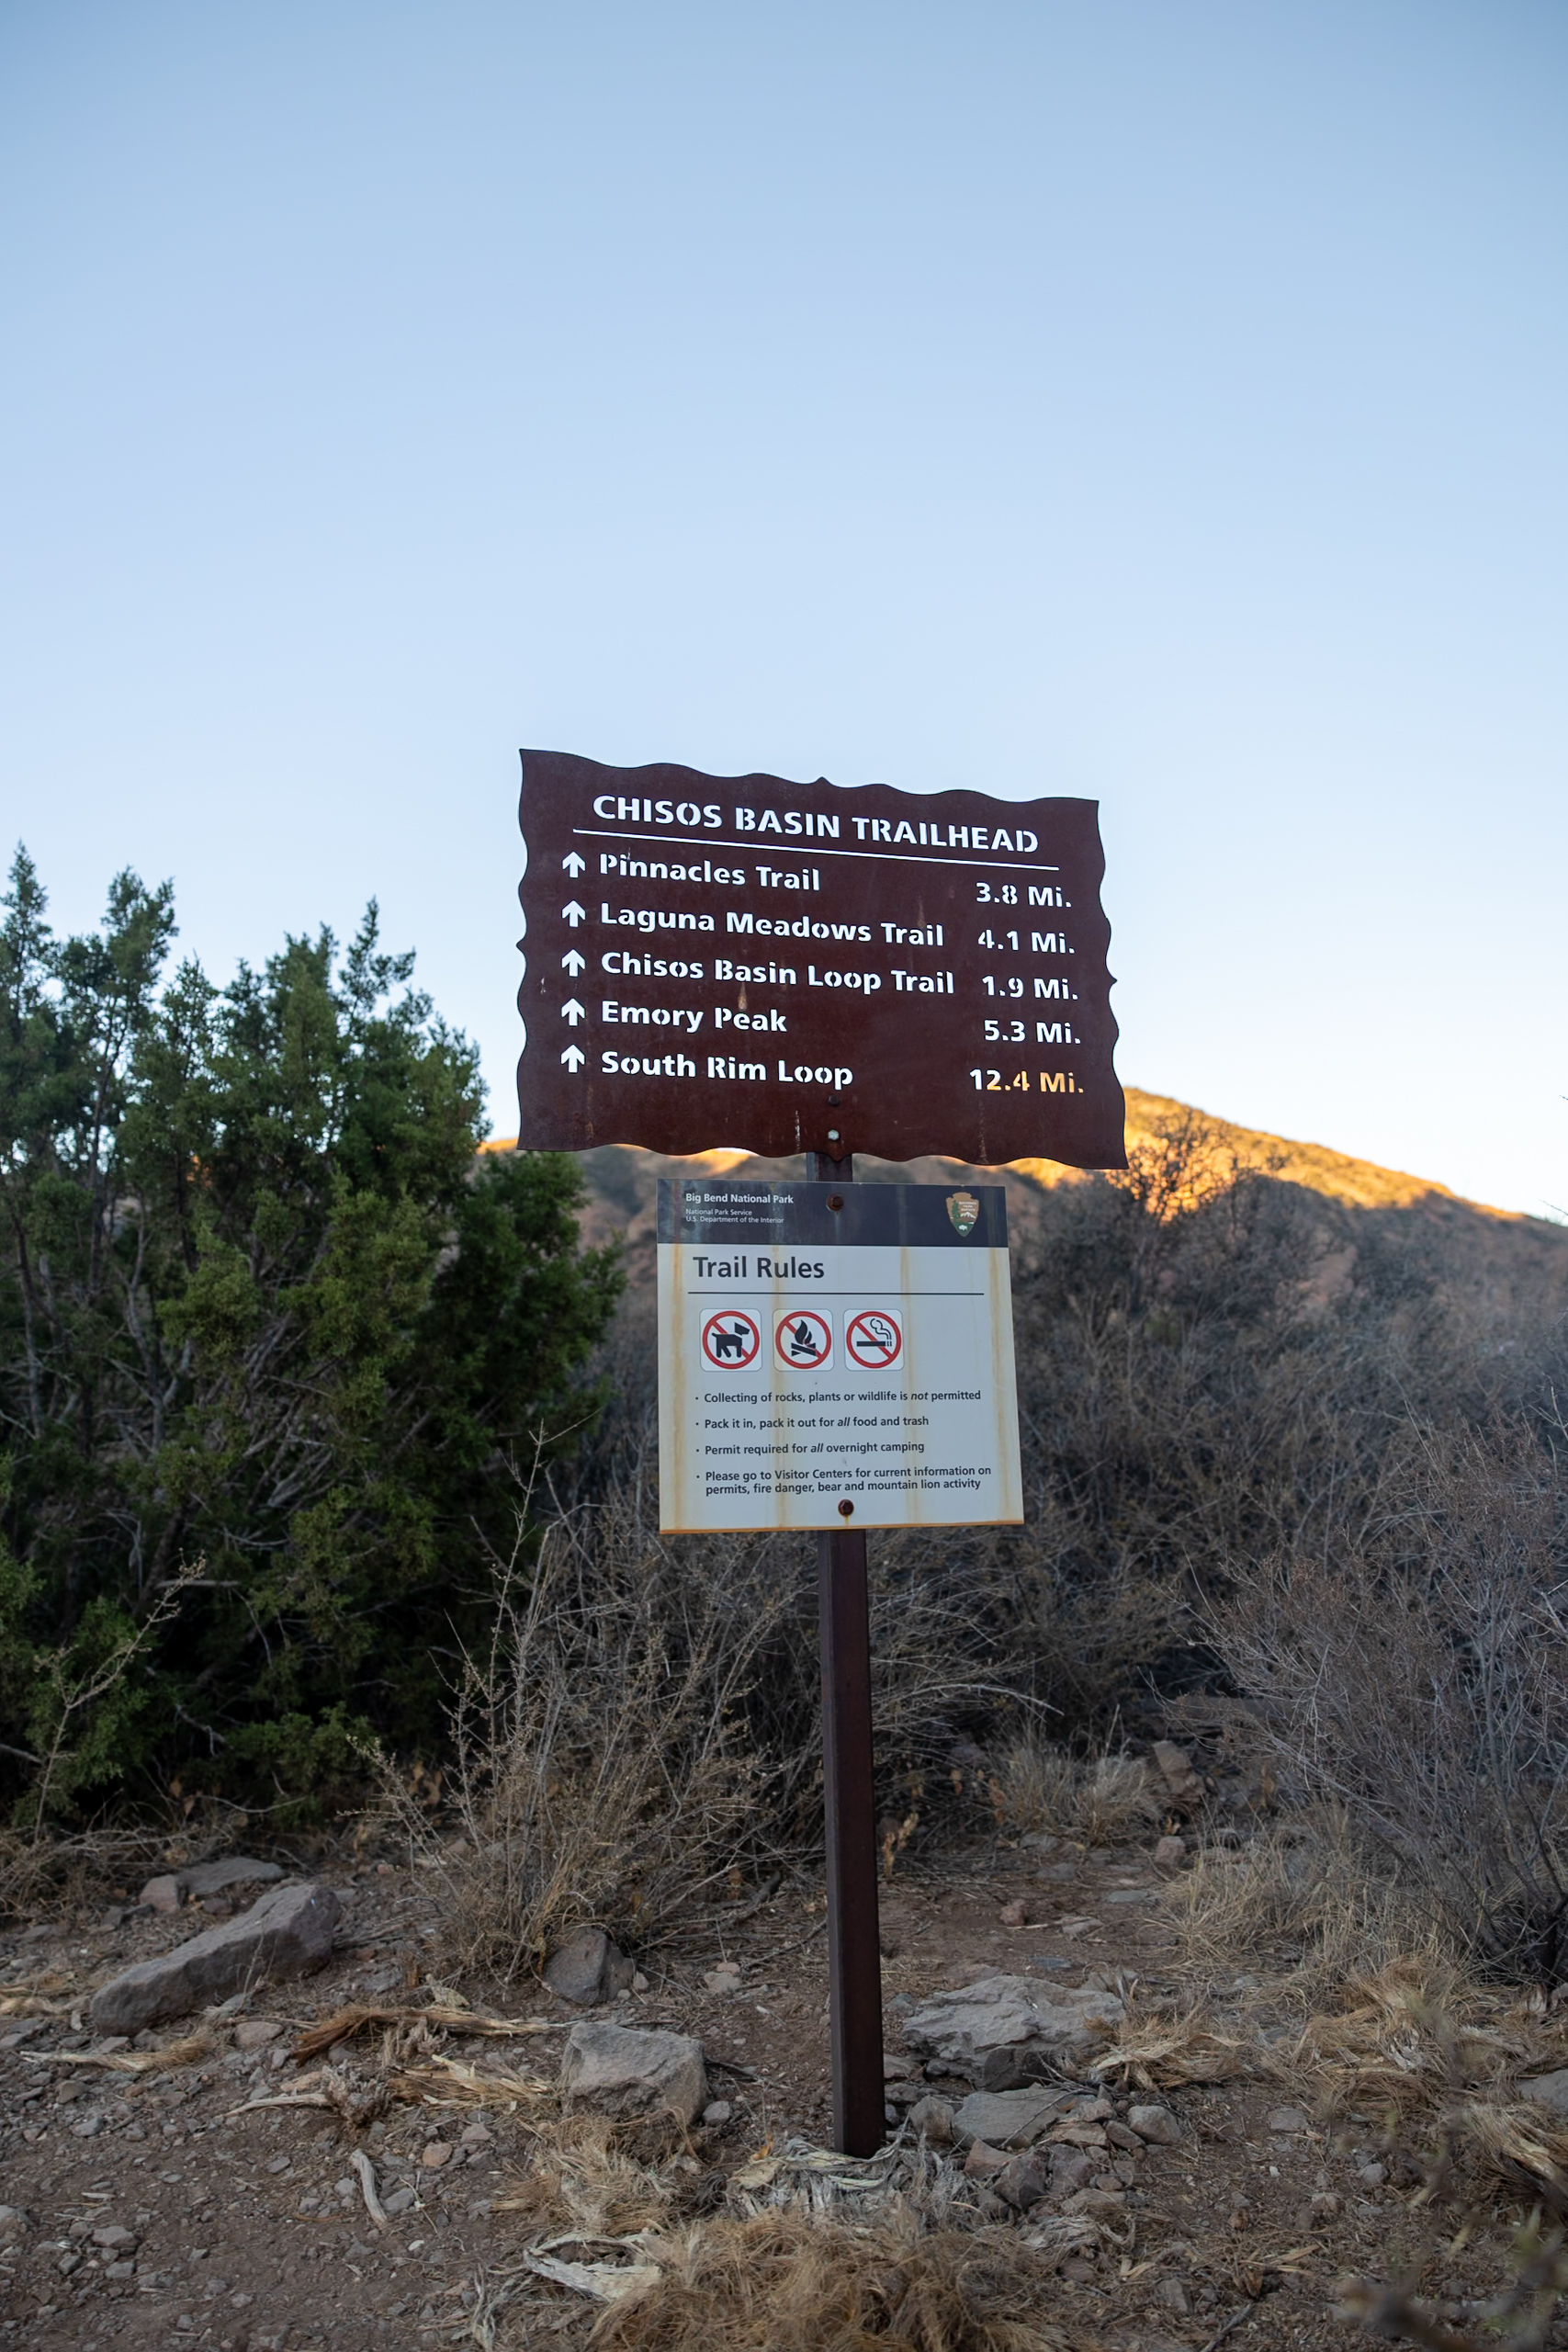
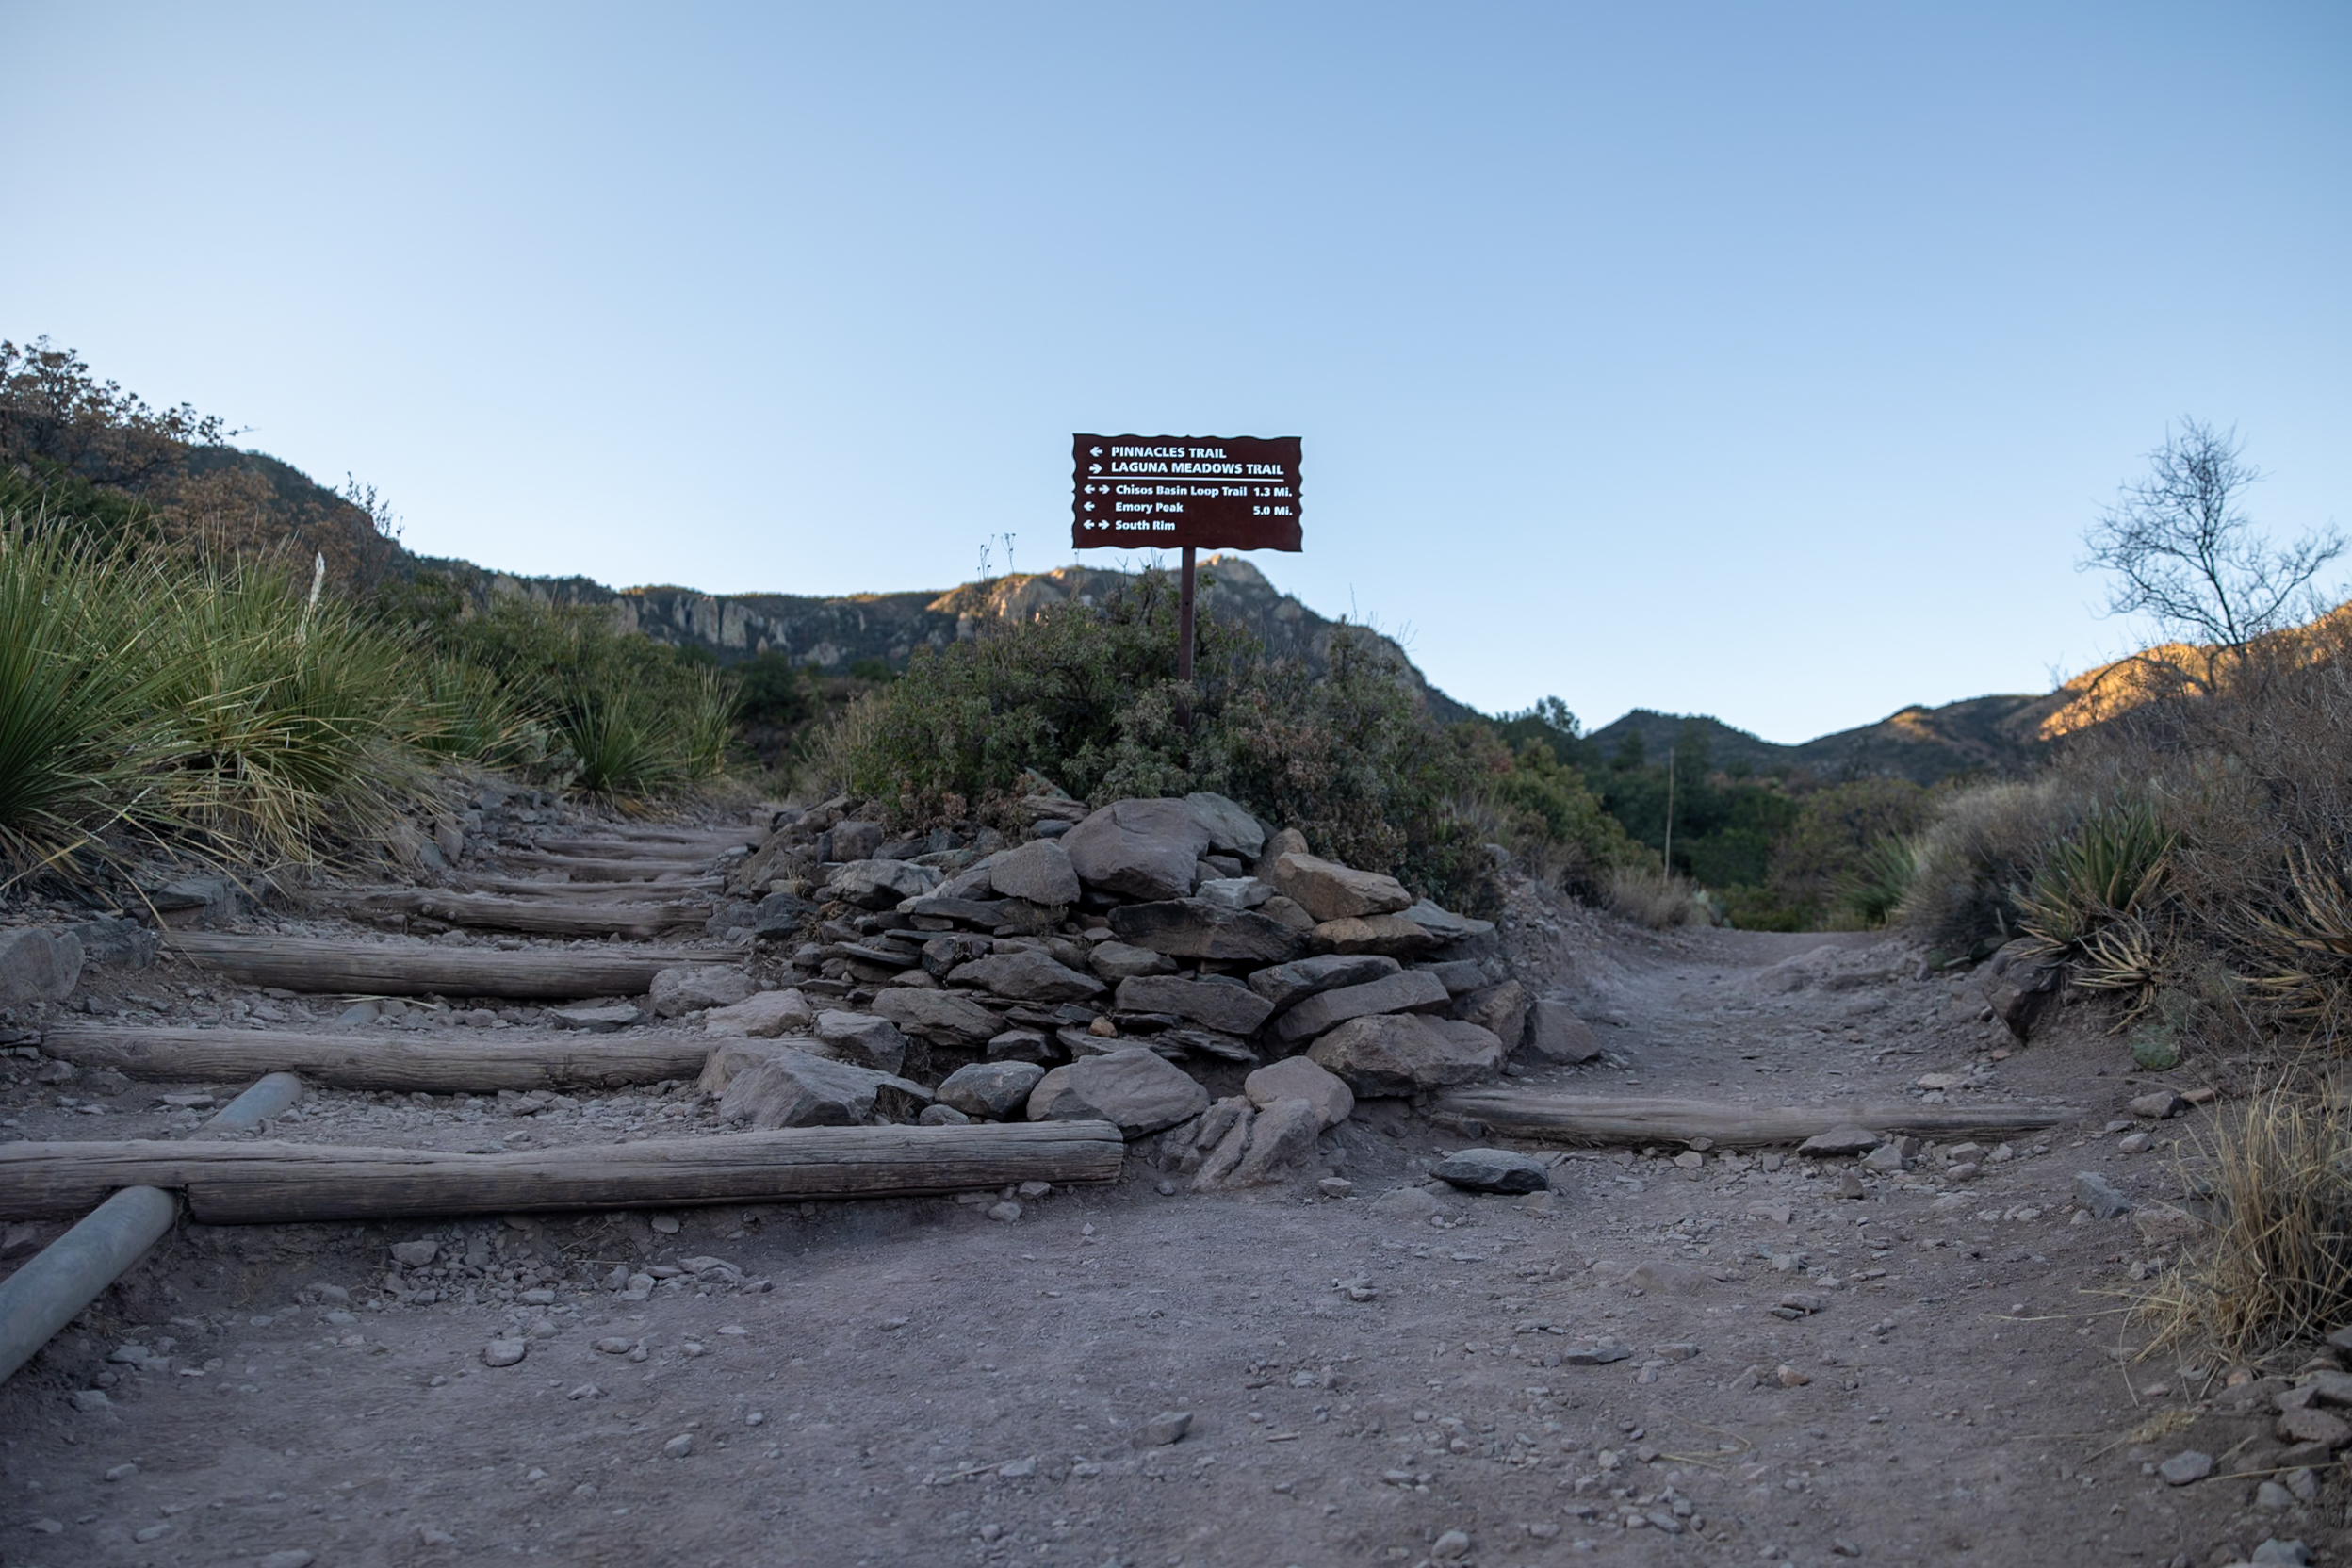
The South Rim Trail is made up of several smaller trails. The trails include the Pinnacles Trail, Boot Canyon Trail, Southwest Rim Trail (with a South Rim viewpoint), Colima Trail, and the Laguna Meadows Trail. There’s also an offshoot to complete the Emory Peak Trail (the highest point in the park) and the Northeast Rim Trail. If you add on Emory Peak Trail, it will adds 3 miles and about 1.5 hours to the hike. Keep in mind the Northeast Rim Trail is closed for Peregrine Falcon nesting season, typically February 1 to May 31. From the Chisos Basin Trail head, it’s a 0.25 mile hike up to the fork where you choose to hike clockwise or counterclockwise. This map breaks down each of these sections of the hike further.
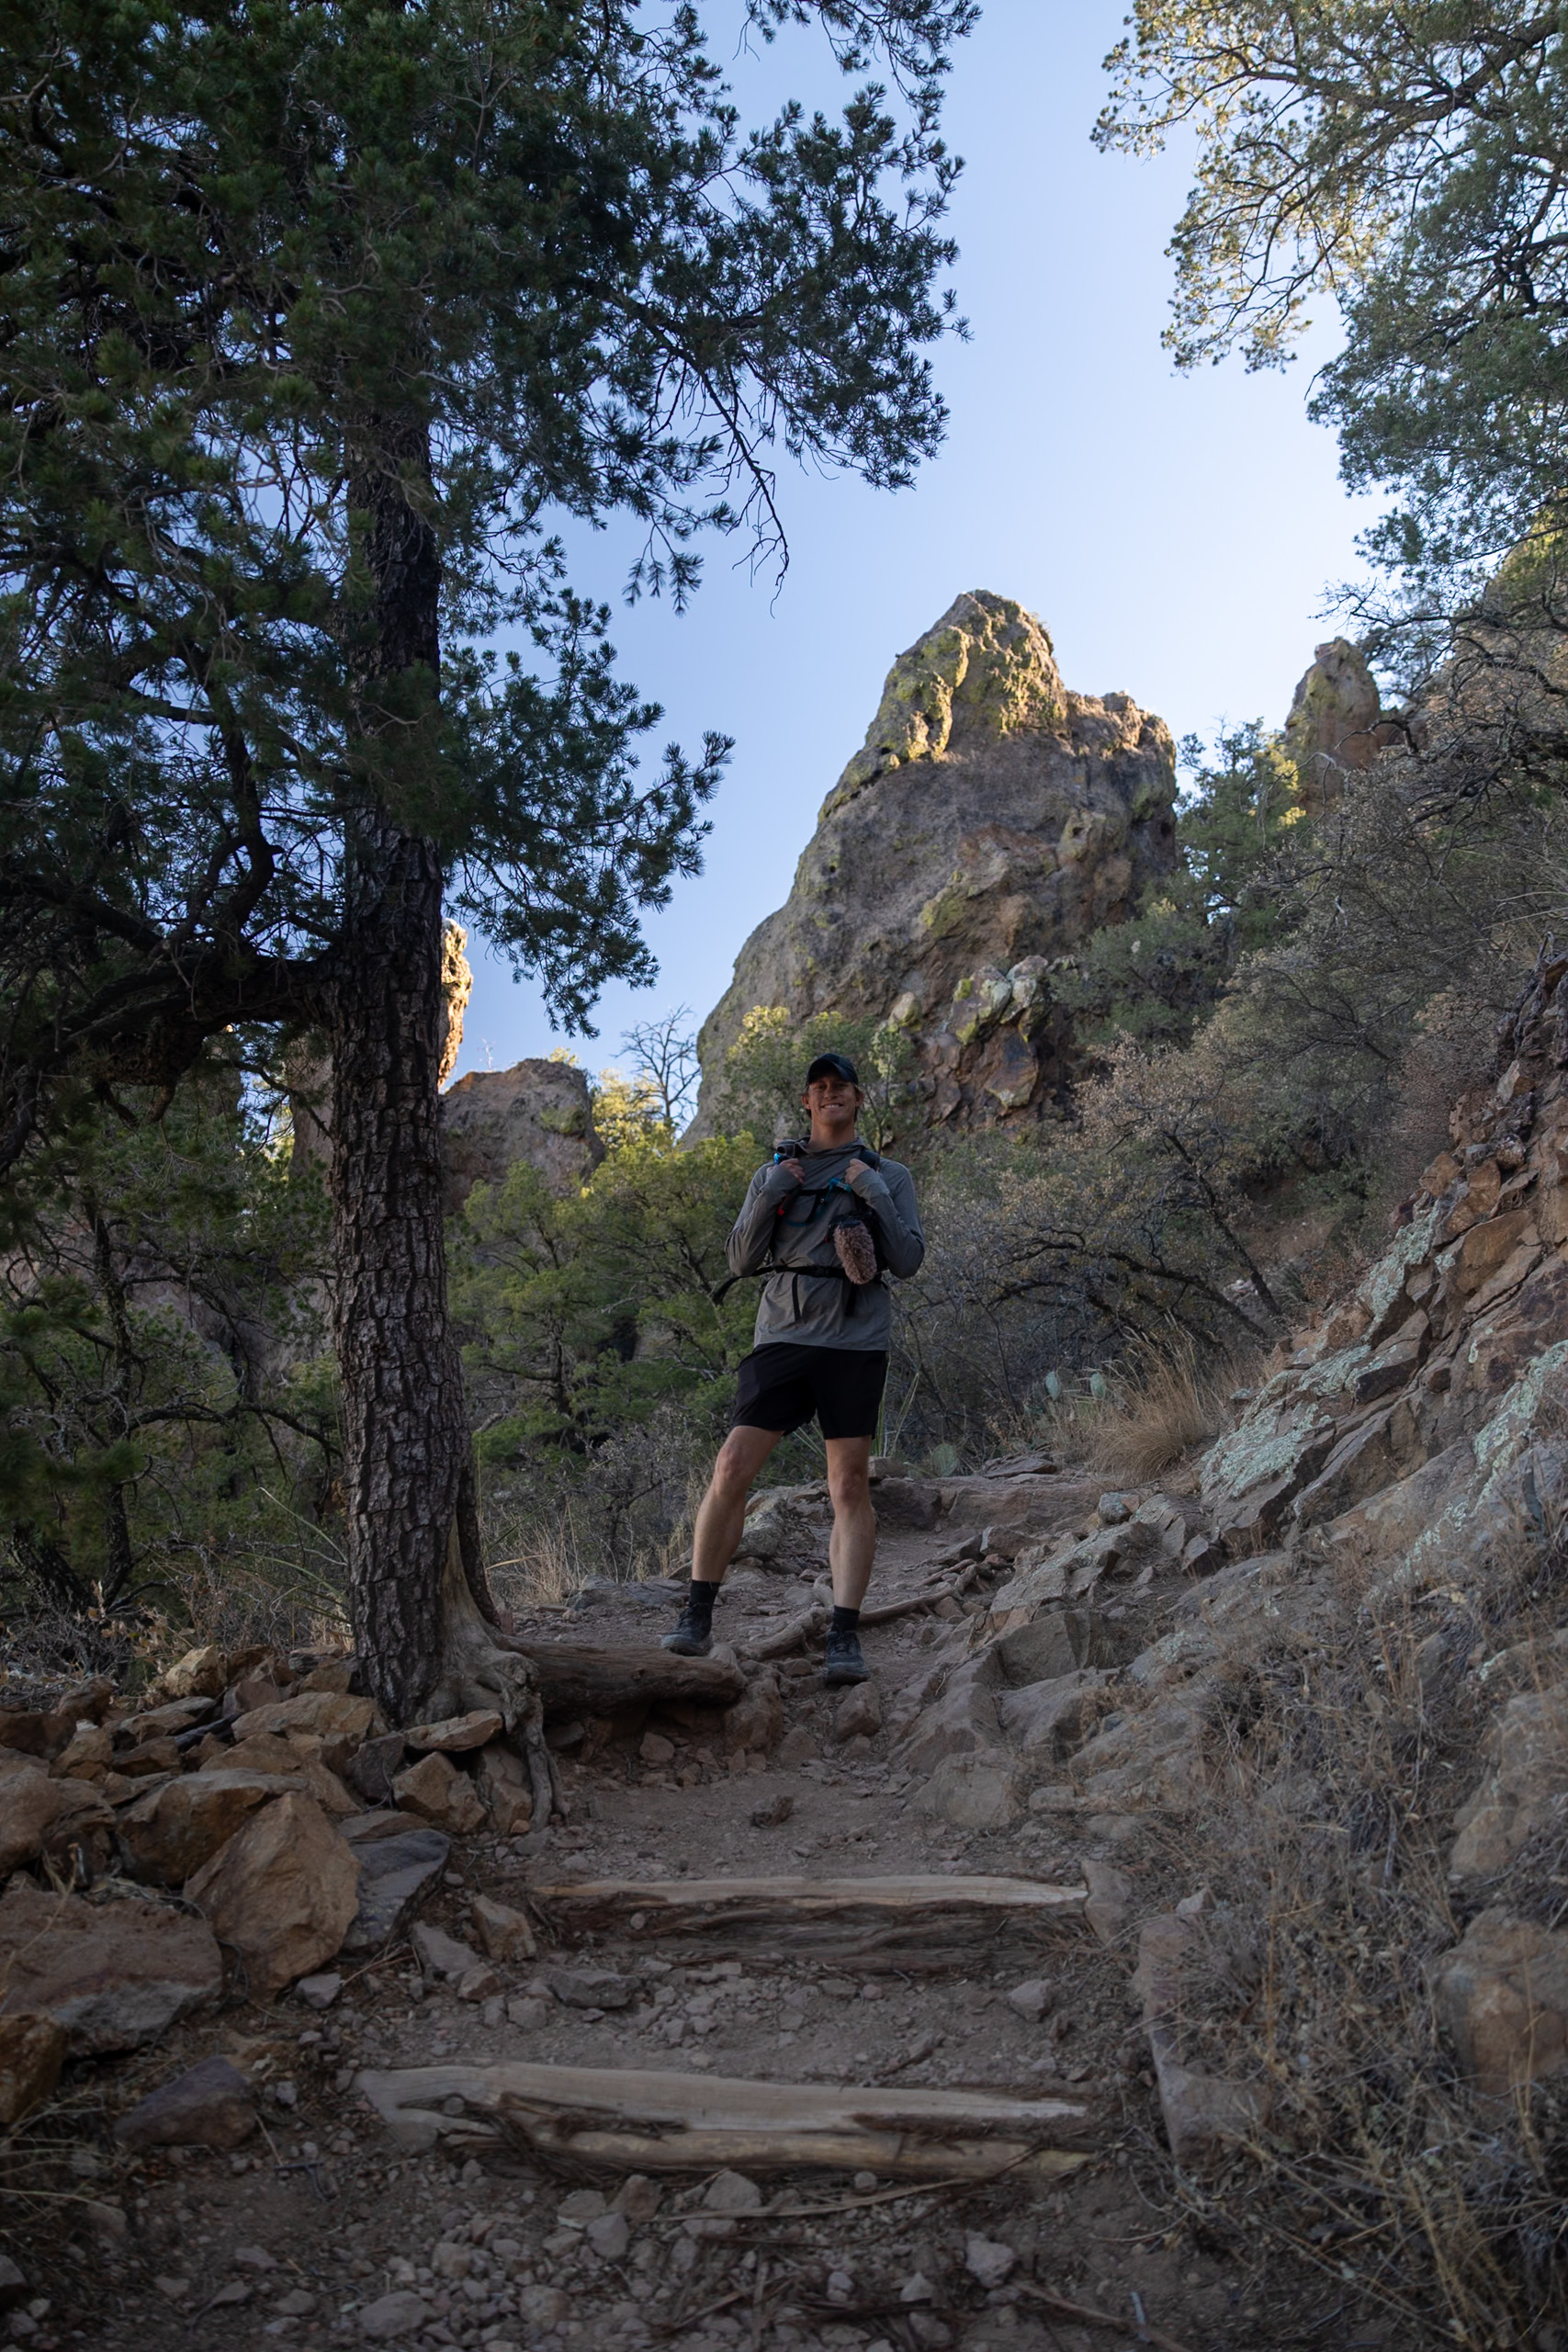
South Rim Trail Part 1: Pinnacles Trail
You start by climbing the several inclines and steps up the Pinnacles Trail. It’s a tough start to the hike, but totally doable. On this trail you might find other hikers heading to hike Emory Peak Trail – the highest point in the park. The Pinnacles Trail is a total of 2.7 miles long.
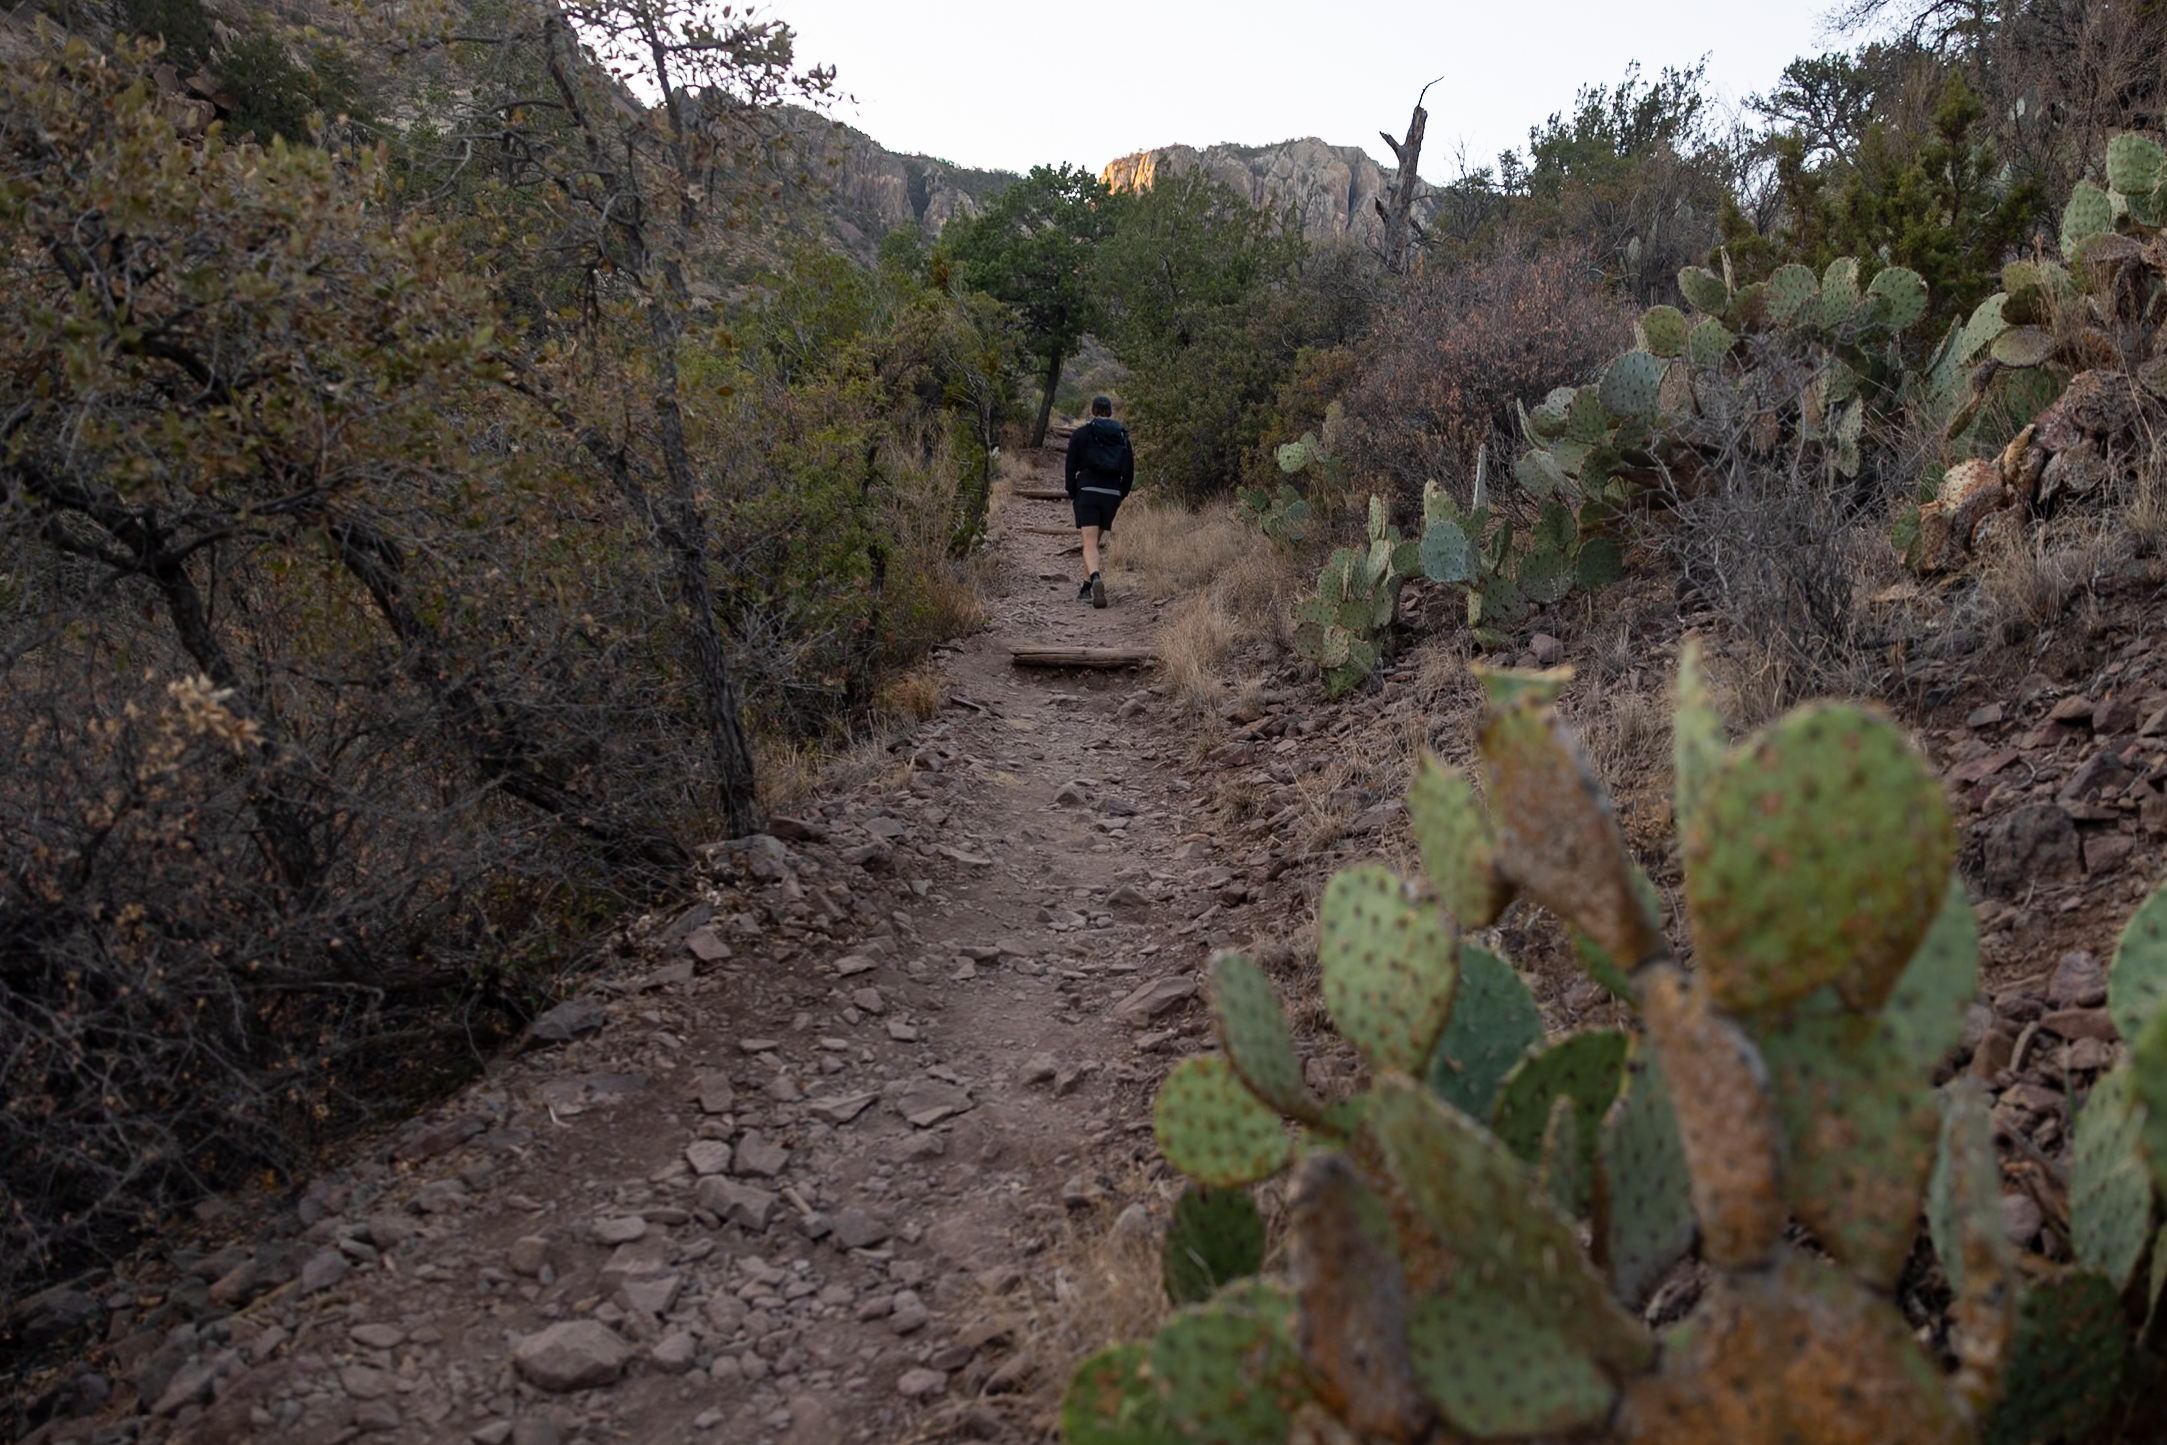
This part of the hike is all up, so you don’t get a ton of views unless you look back towards Chisos Basin. It is incredibly beautiful, so we highly recommend doing so.
South Rim Trail Part 2: Boot Canyon Trail
Boot Canyon Trail was where we had our first incredible view of the hike. This trail is 3.3 miles long and goes along some beautiful grass lands, which in the early morning is illuminated into a beautiful golden hue. This trail is an excellent spot to look for Colima Warblers. You’ll also find Arizona Cypress trees in this area, which are not found anywhere else in the park.
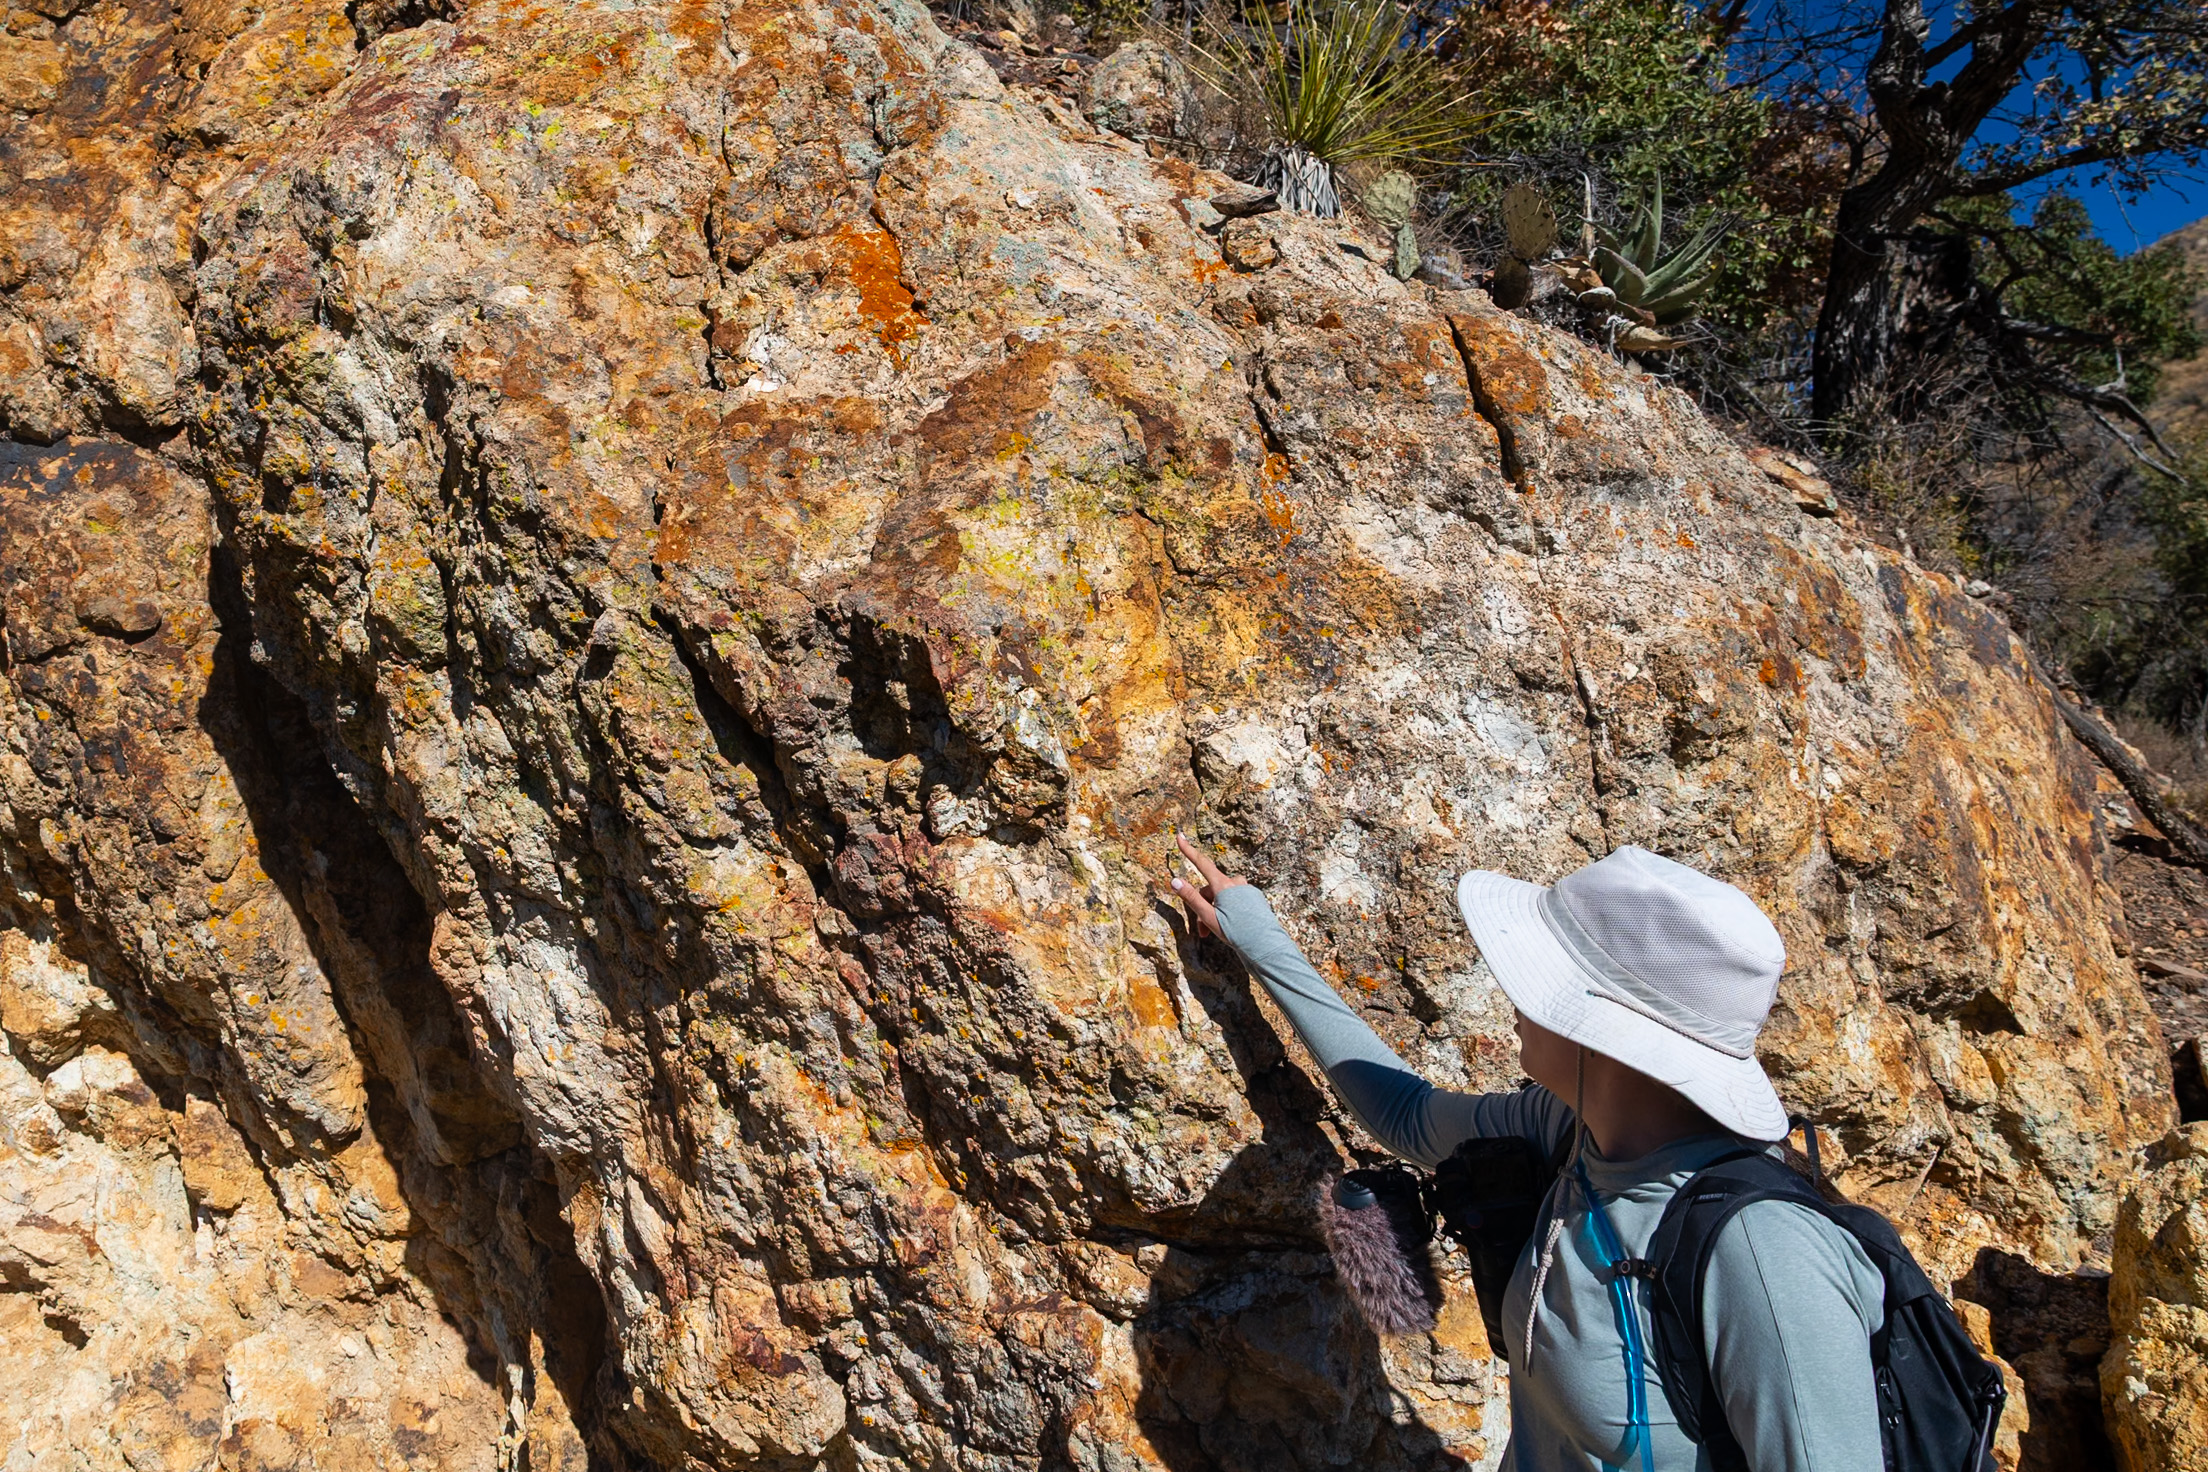
Boot Canyon Trail goes along some areas that have a lot of exposed rock. It’s important to wear shoes with good grip since there are small rocks that could make it easy to slip. We found this section of the trail to be beautiful and pretty fun with the variety of trail conditions.
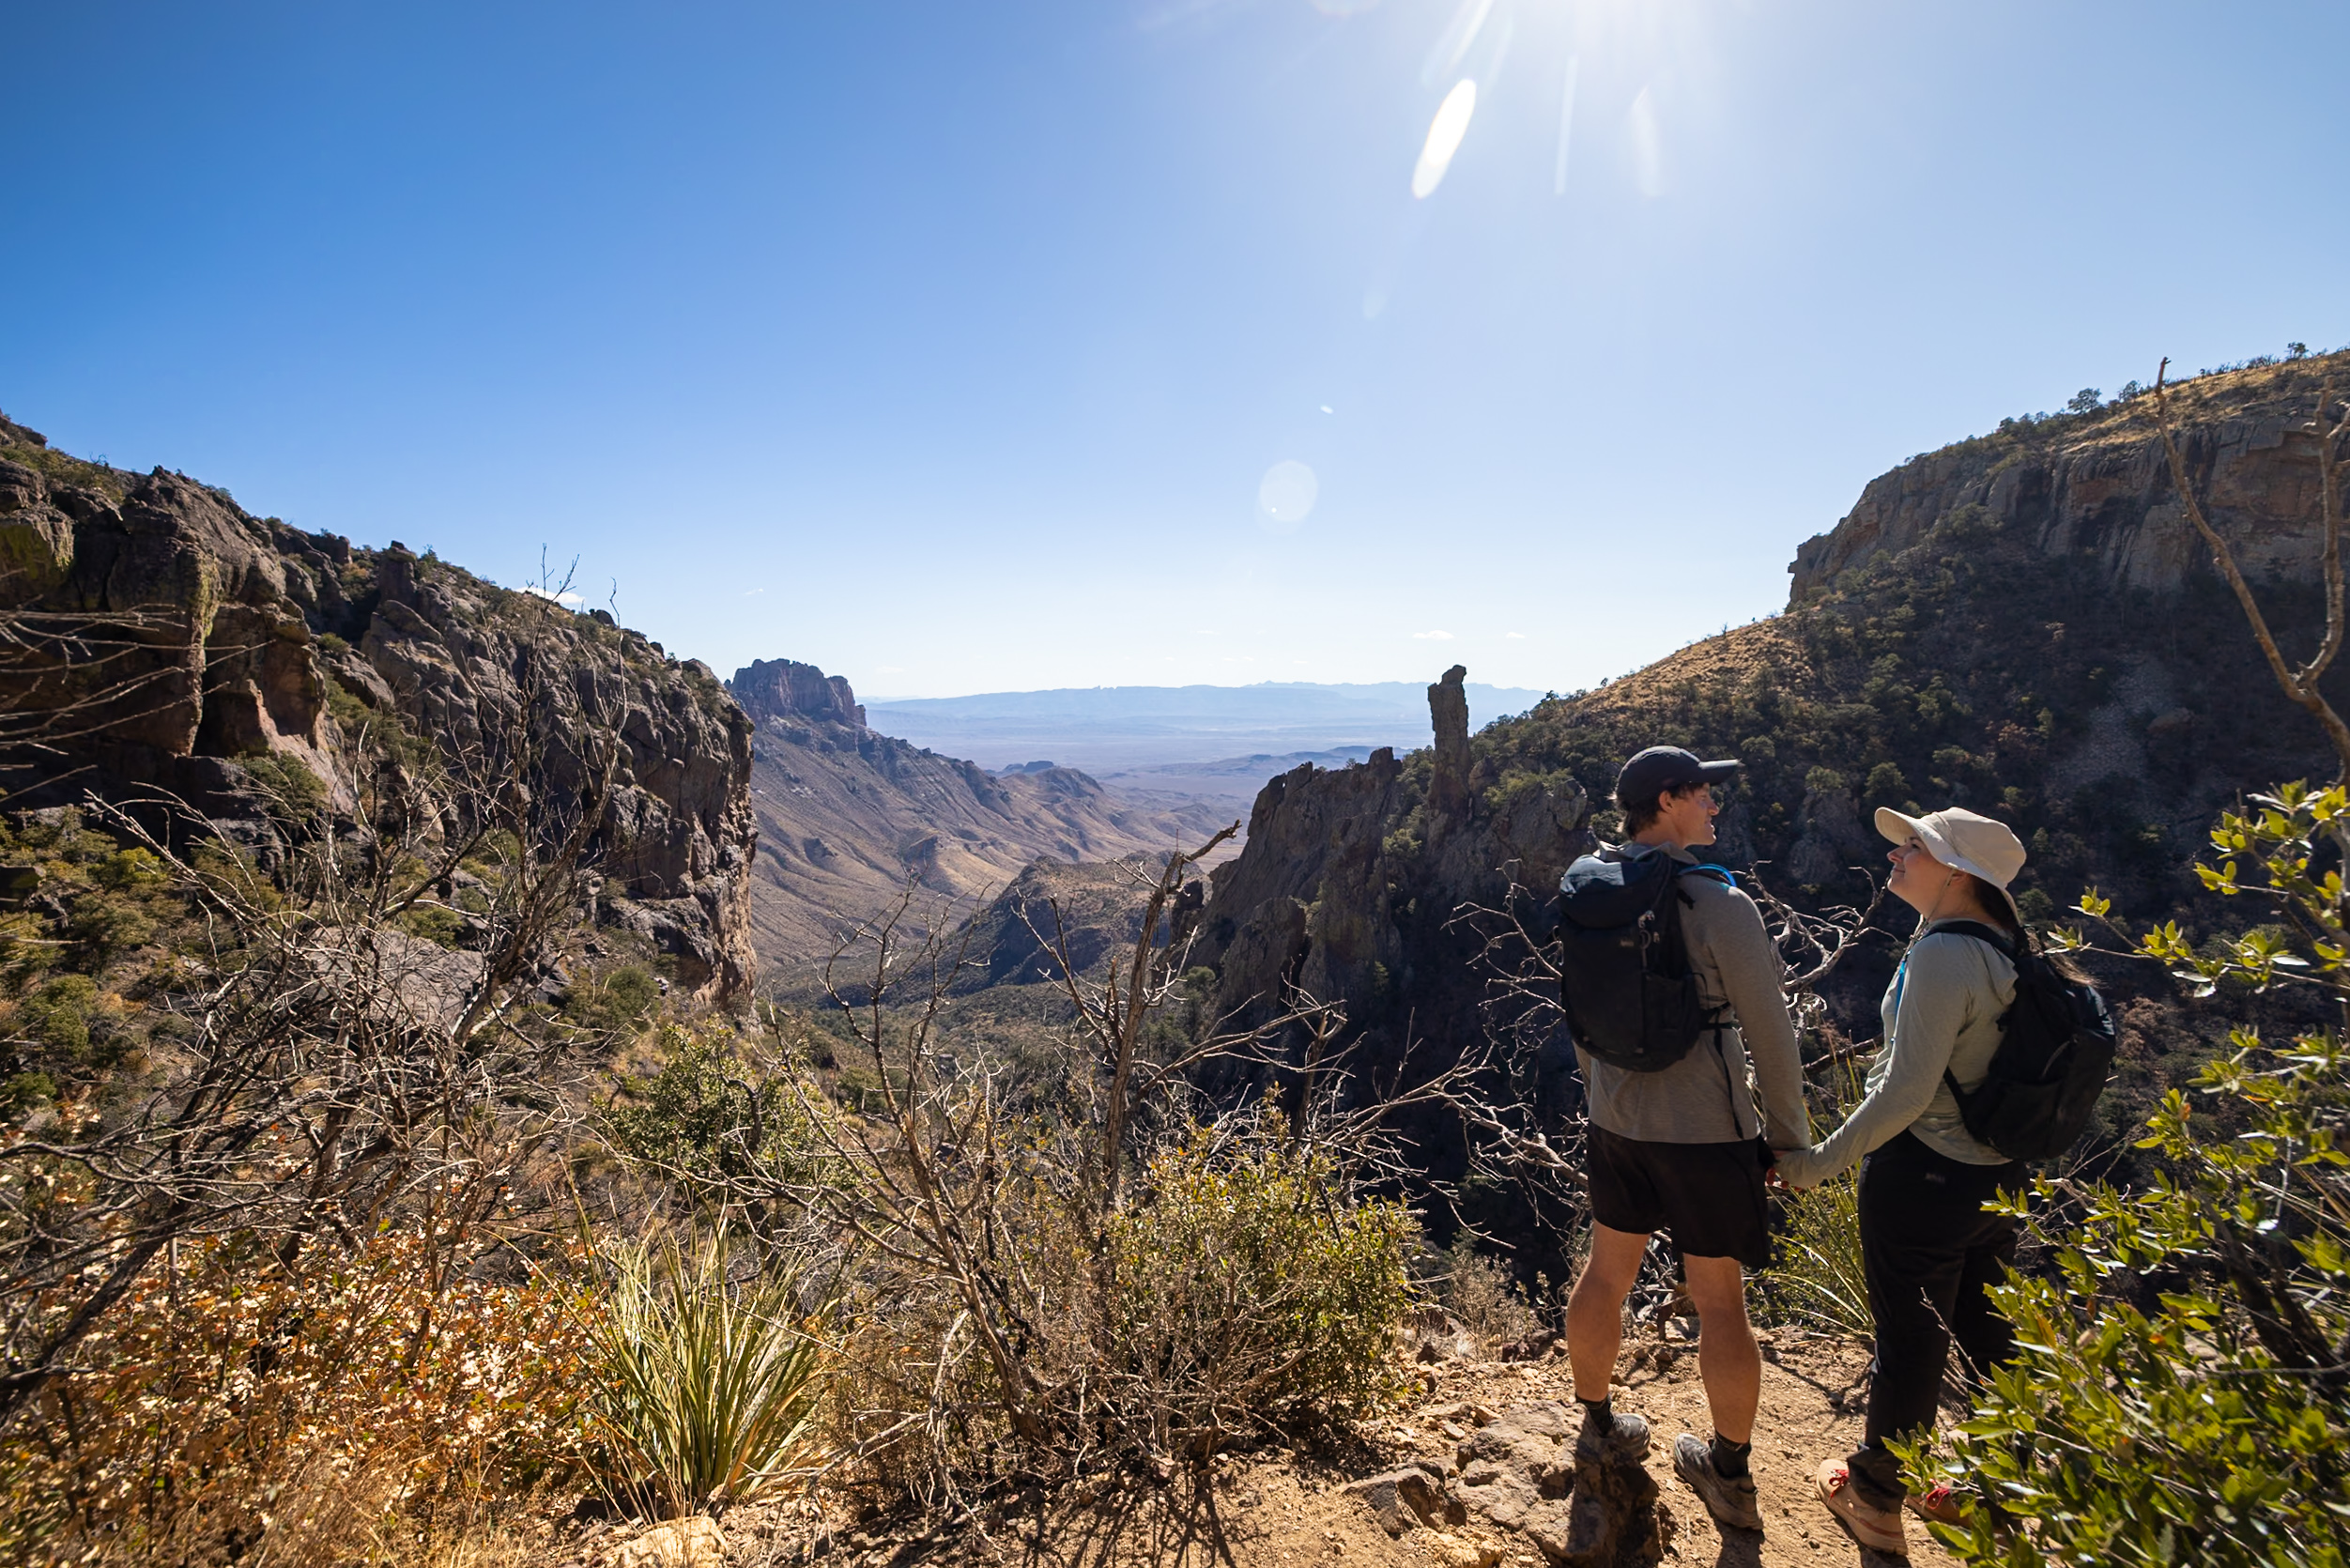
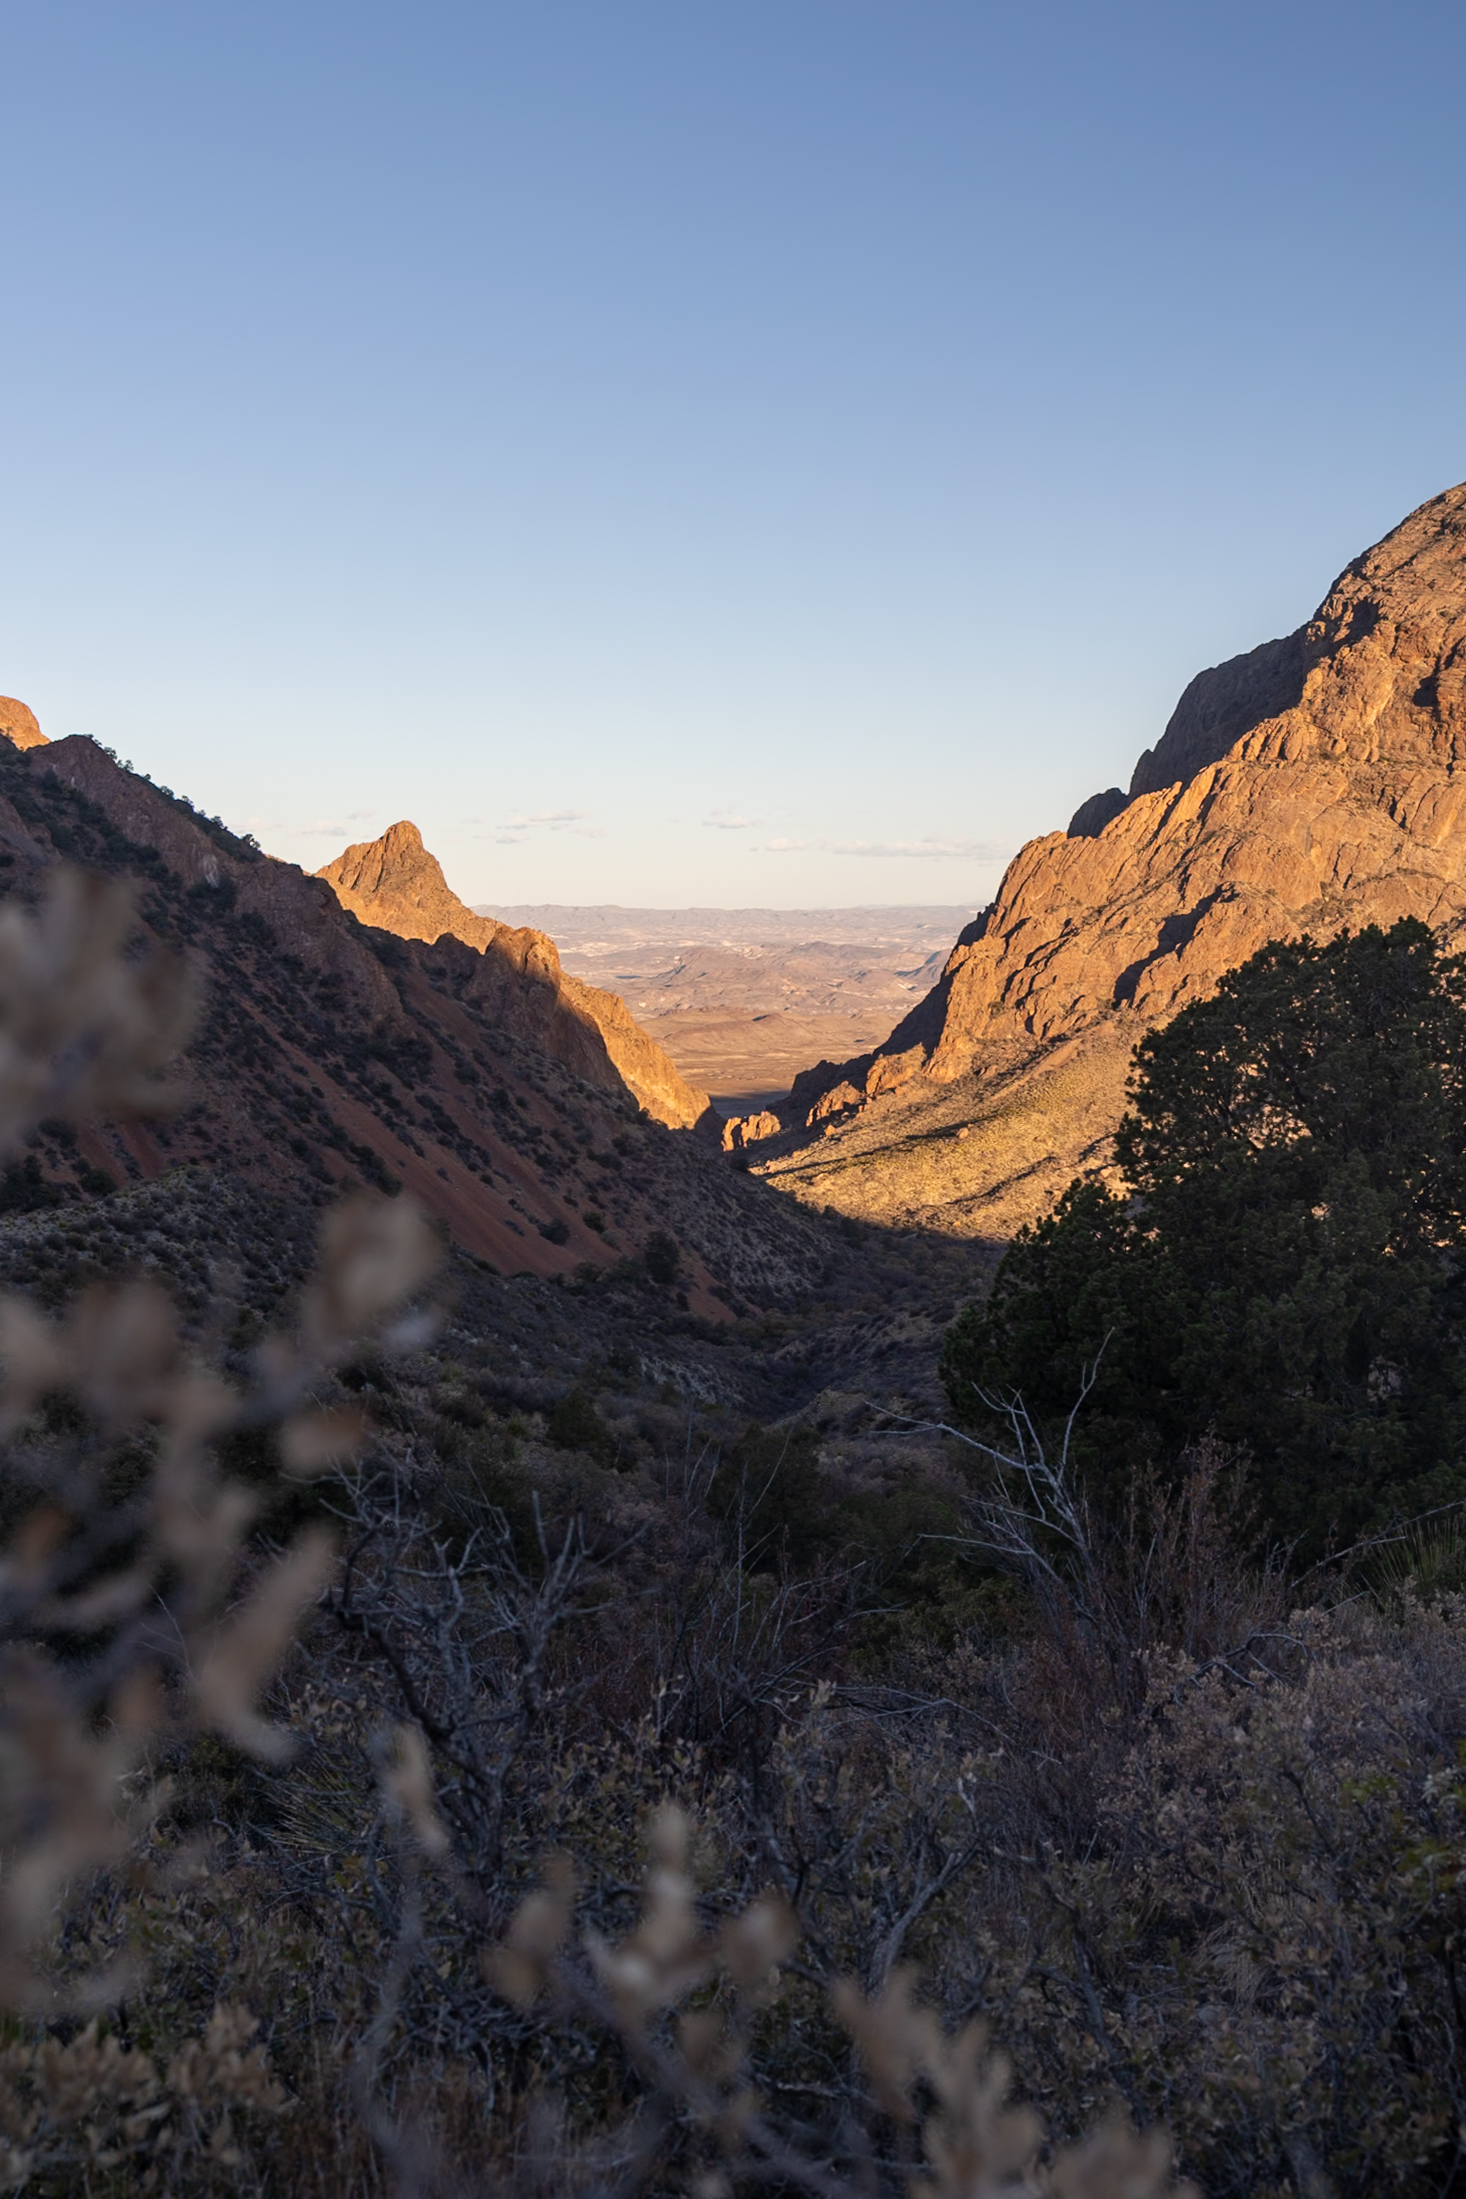
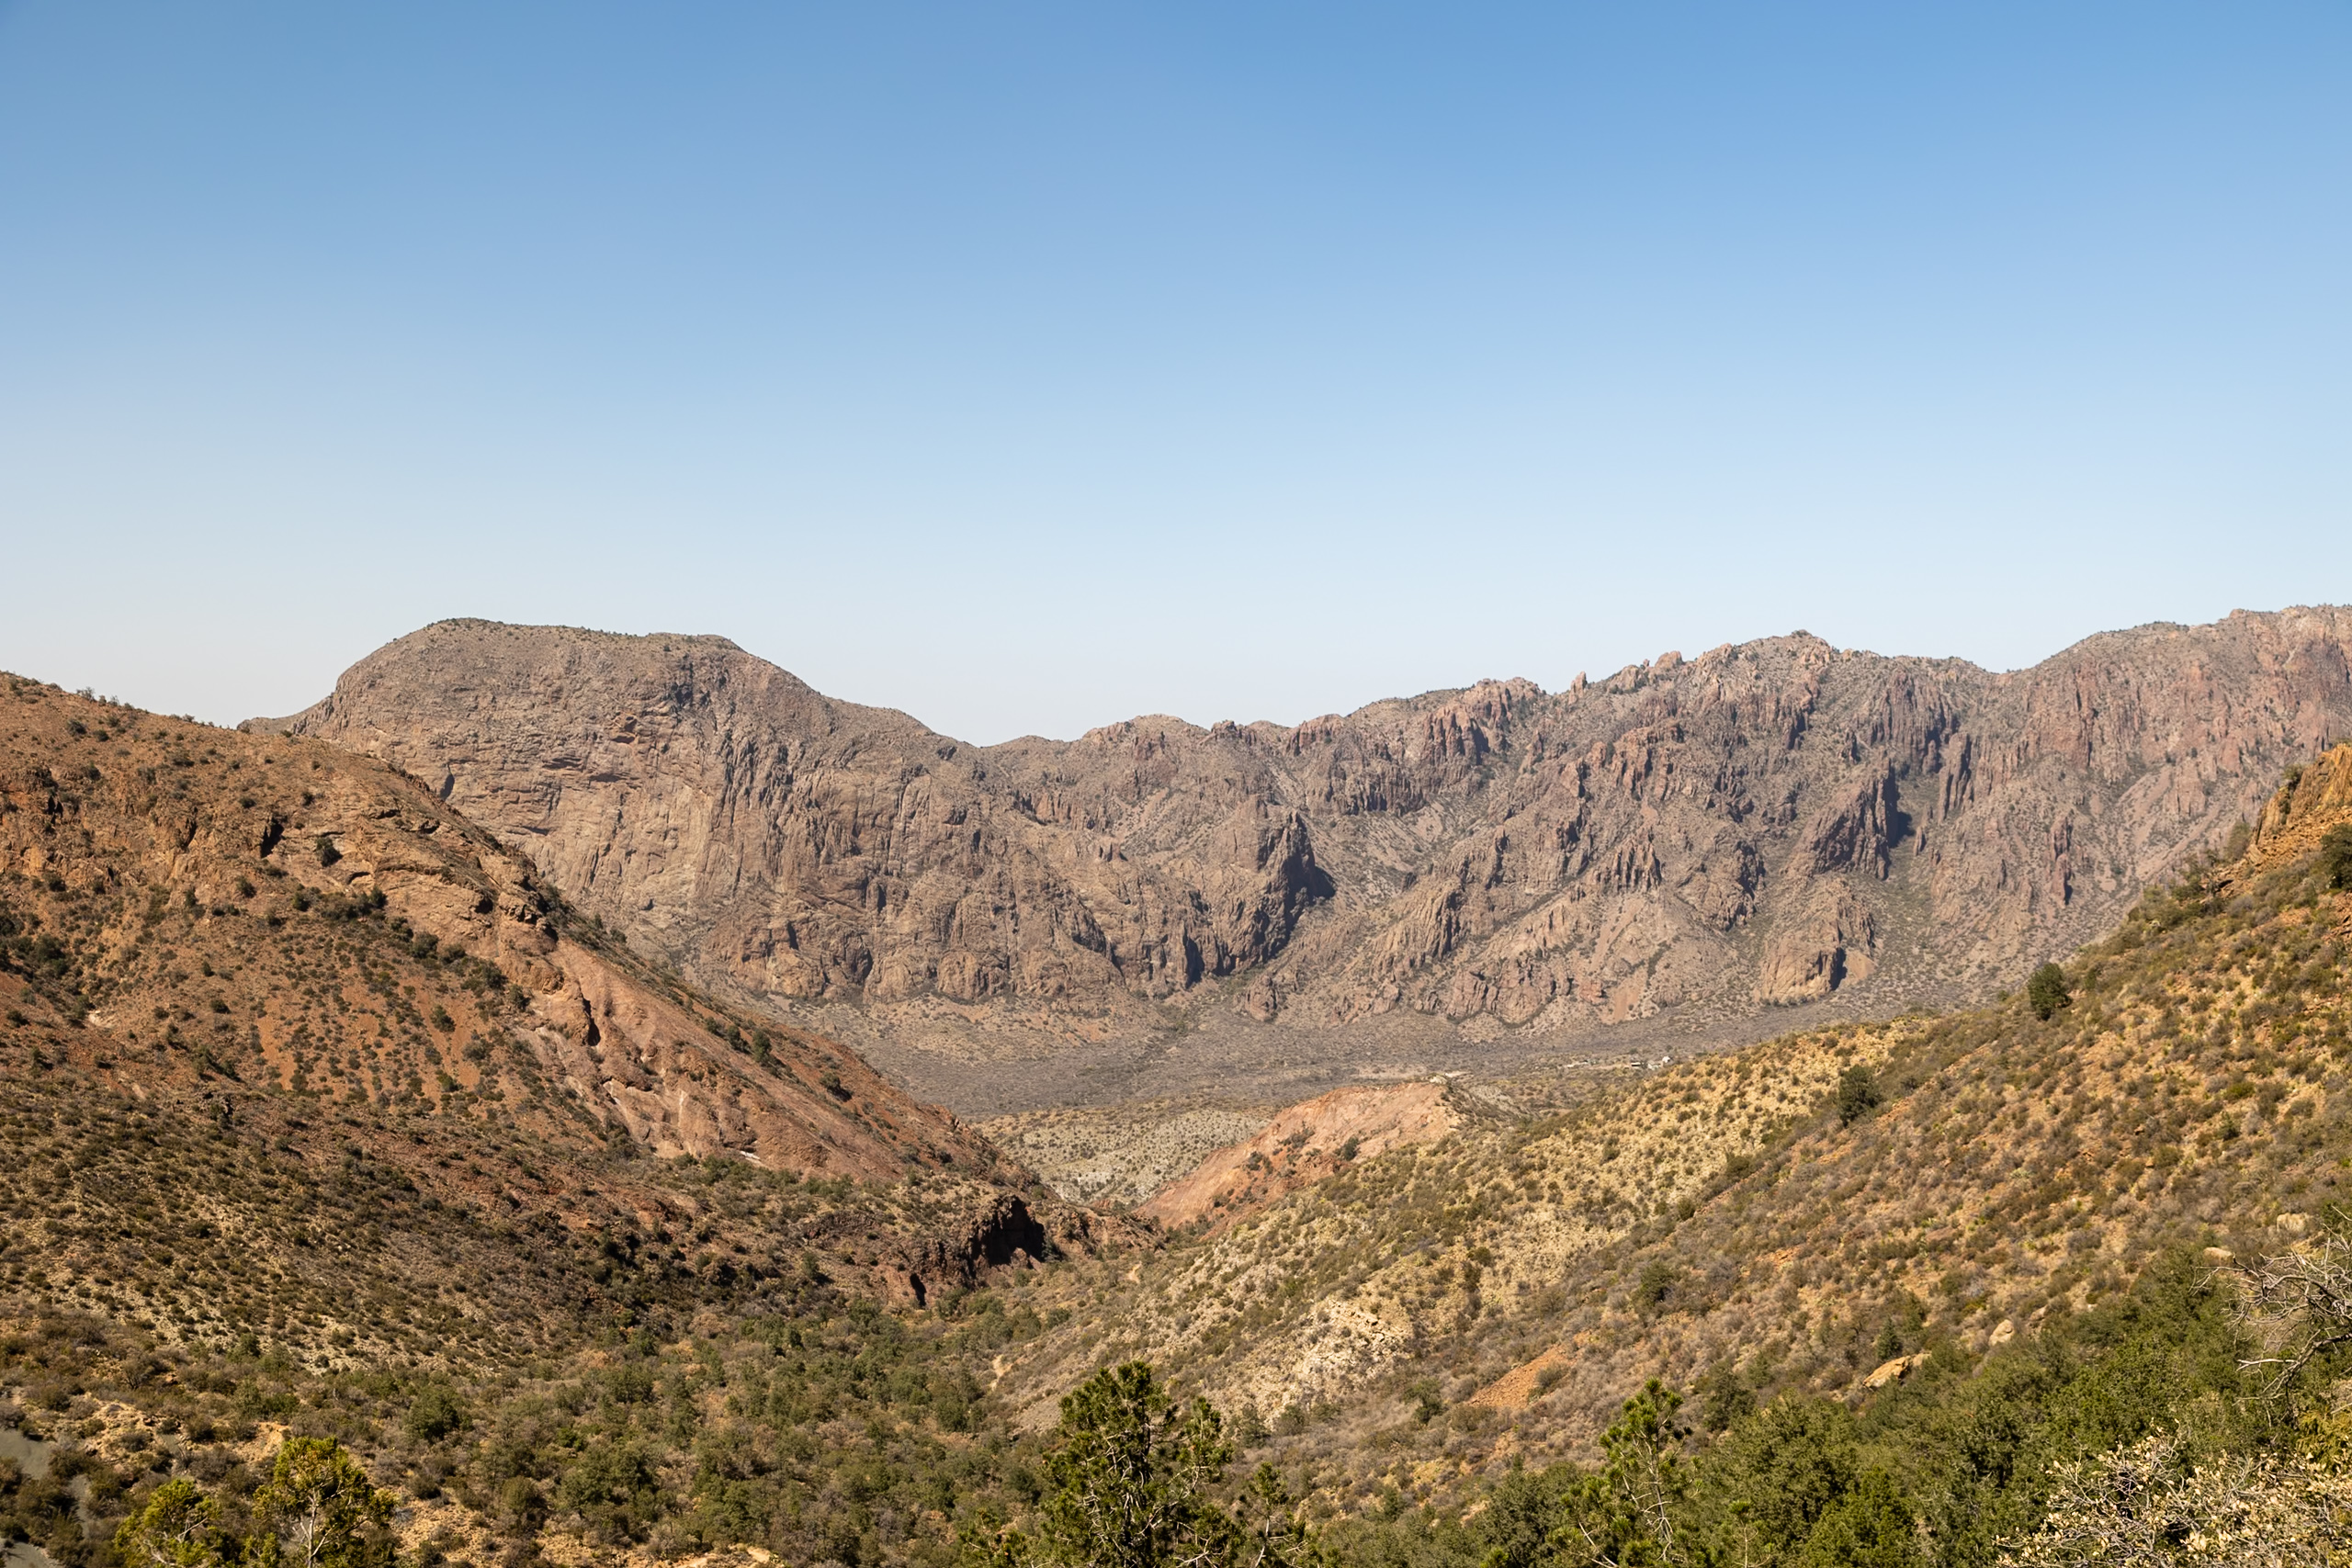
South Rim Trail Part 3: Southwest Rim Trail and South Rim Viewpoint
The incredible South Rim viewpoint can be hard to miss! It is located at 29.226315, -103.302805 (GPS coordinates). It’s a short 0.25 mile hike to your left. When coming up Boot Canyon Trail, you’ll see the viewpoint to your right. Keep hiking on the designated trail until you reach a sign with a trail behind it. You won’t want to miss it!
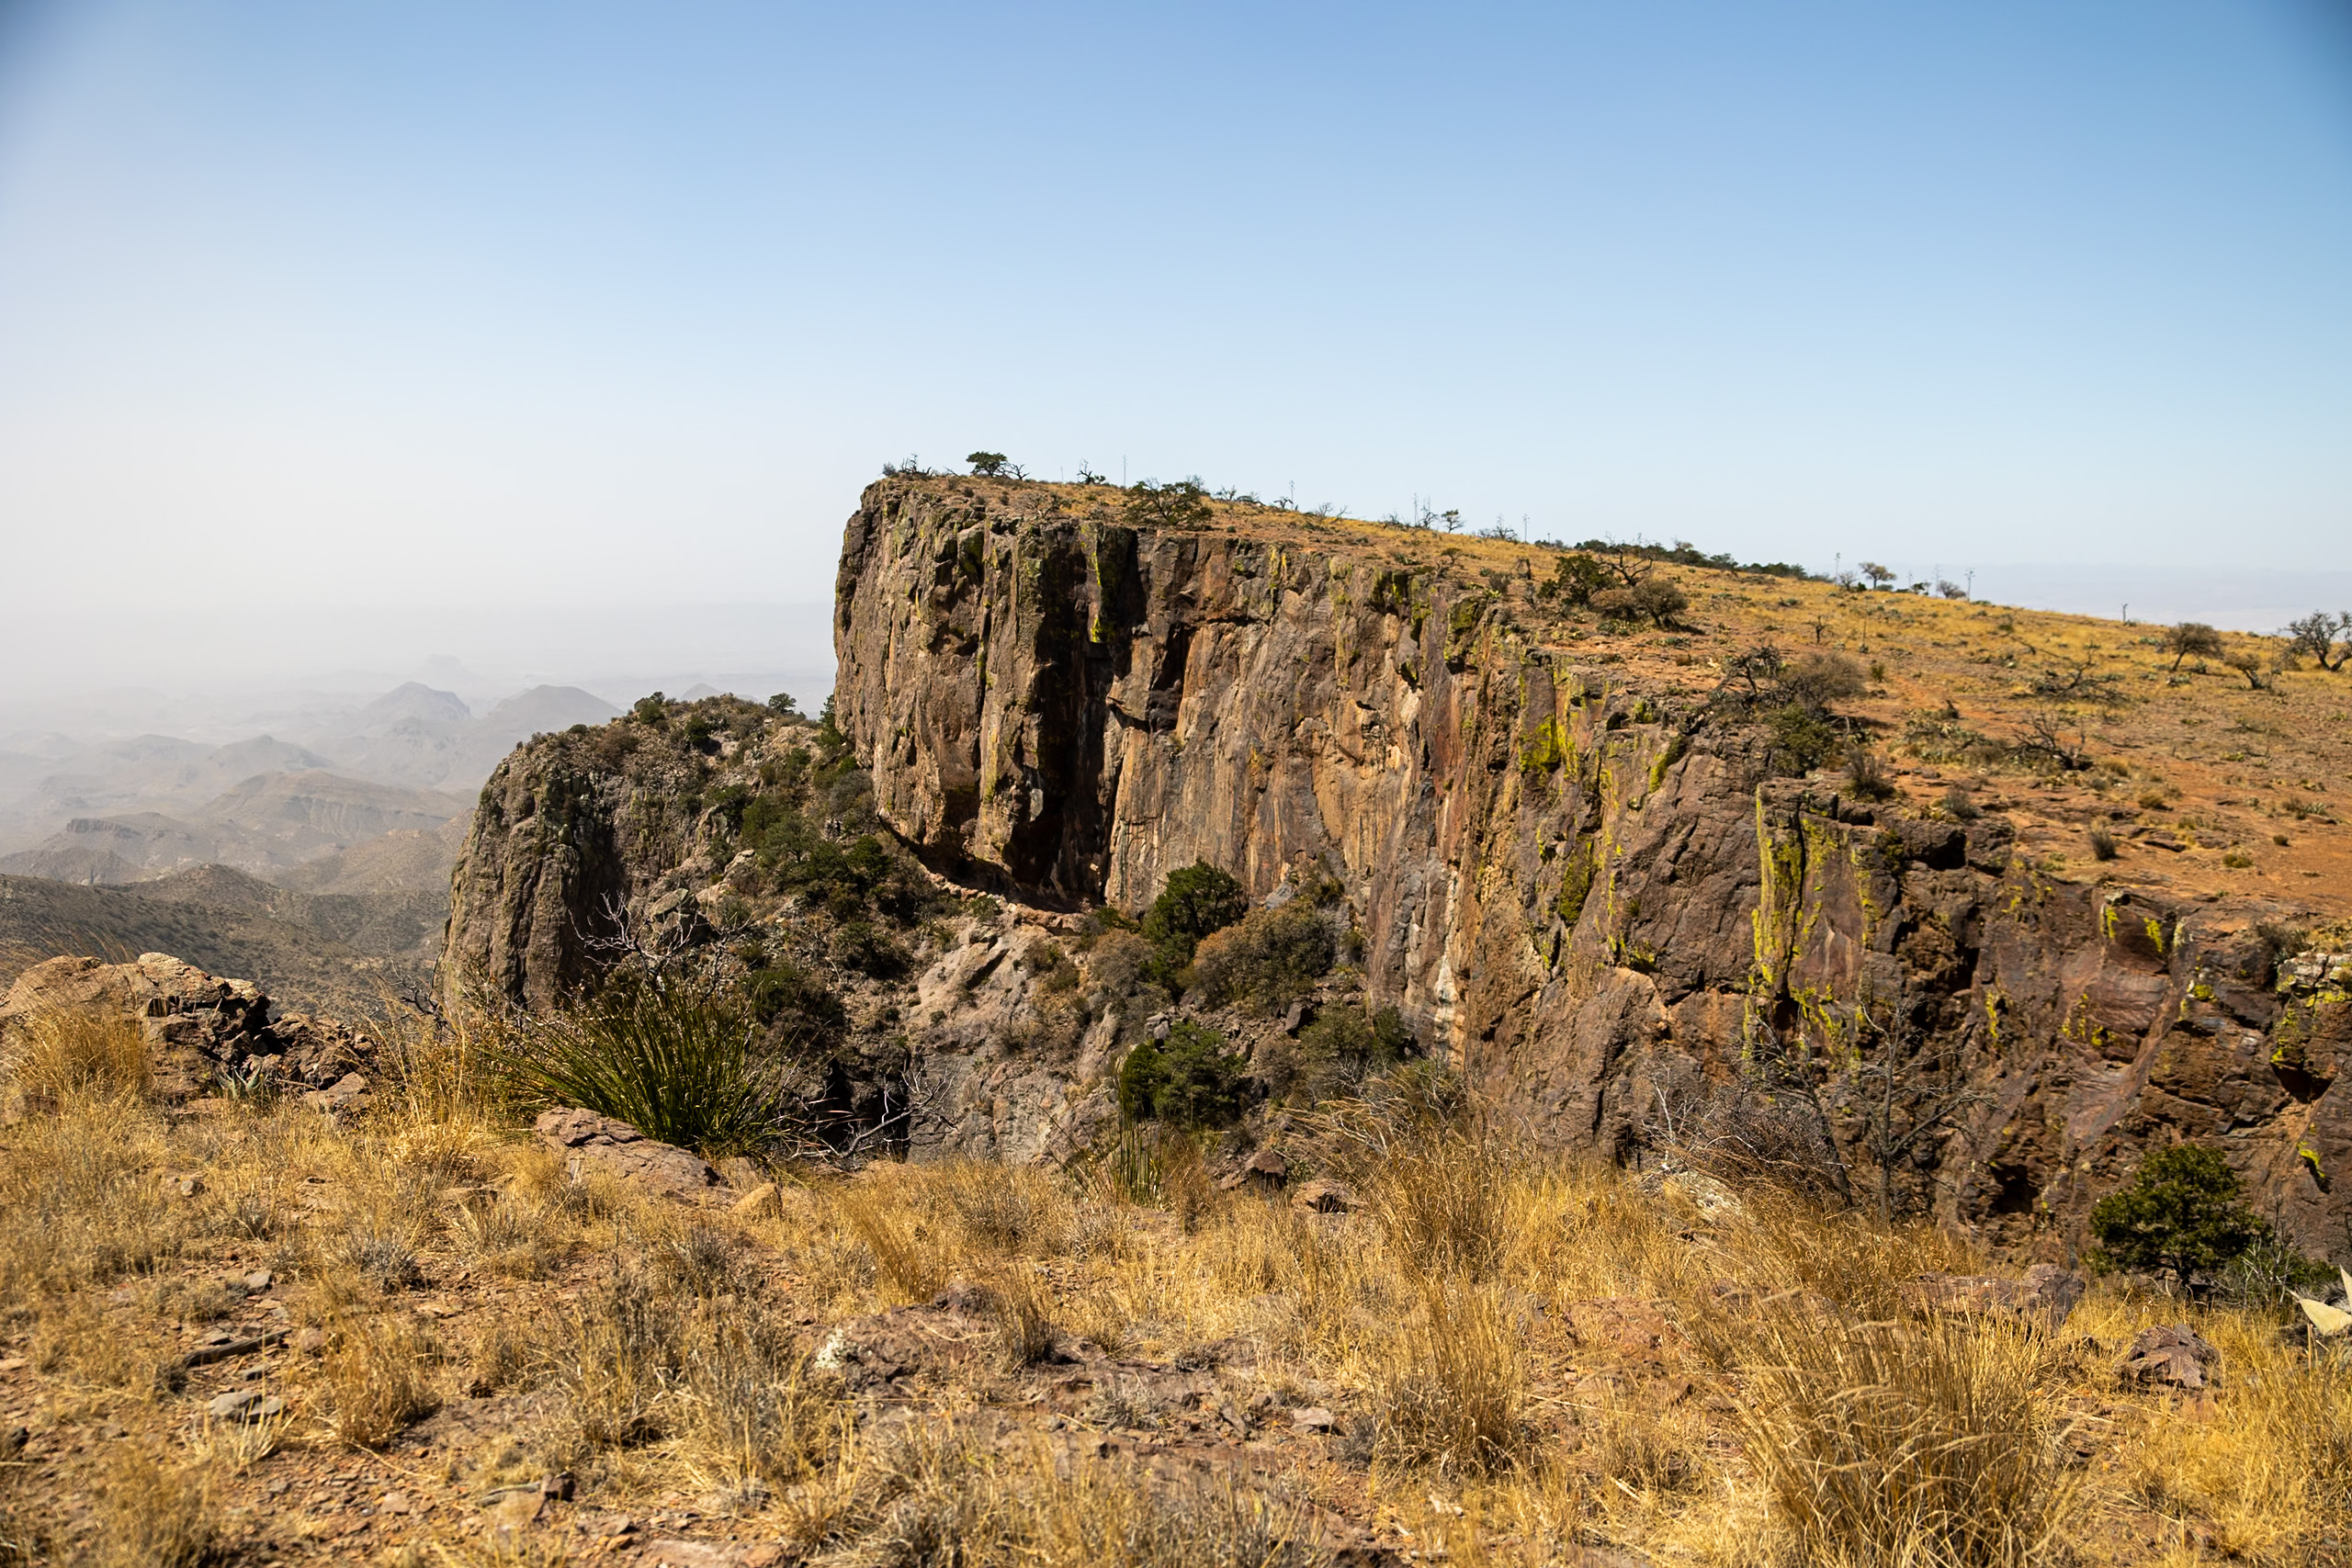
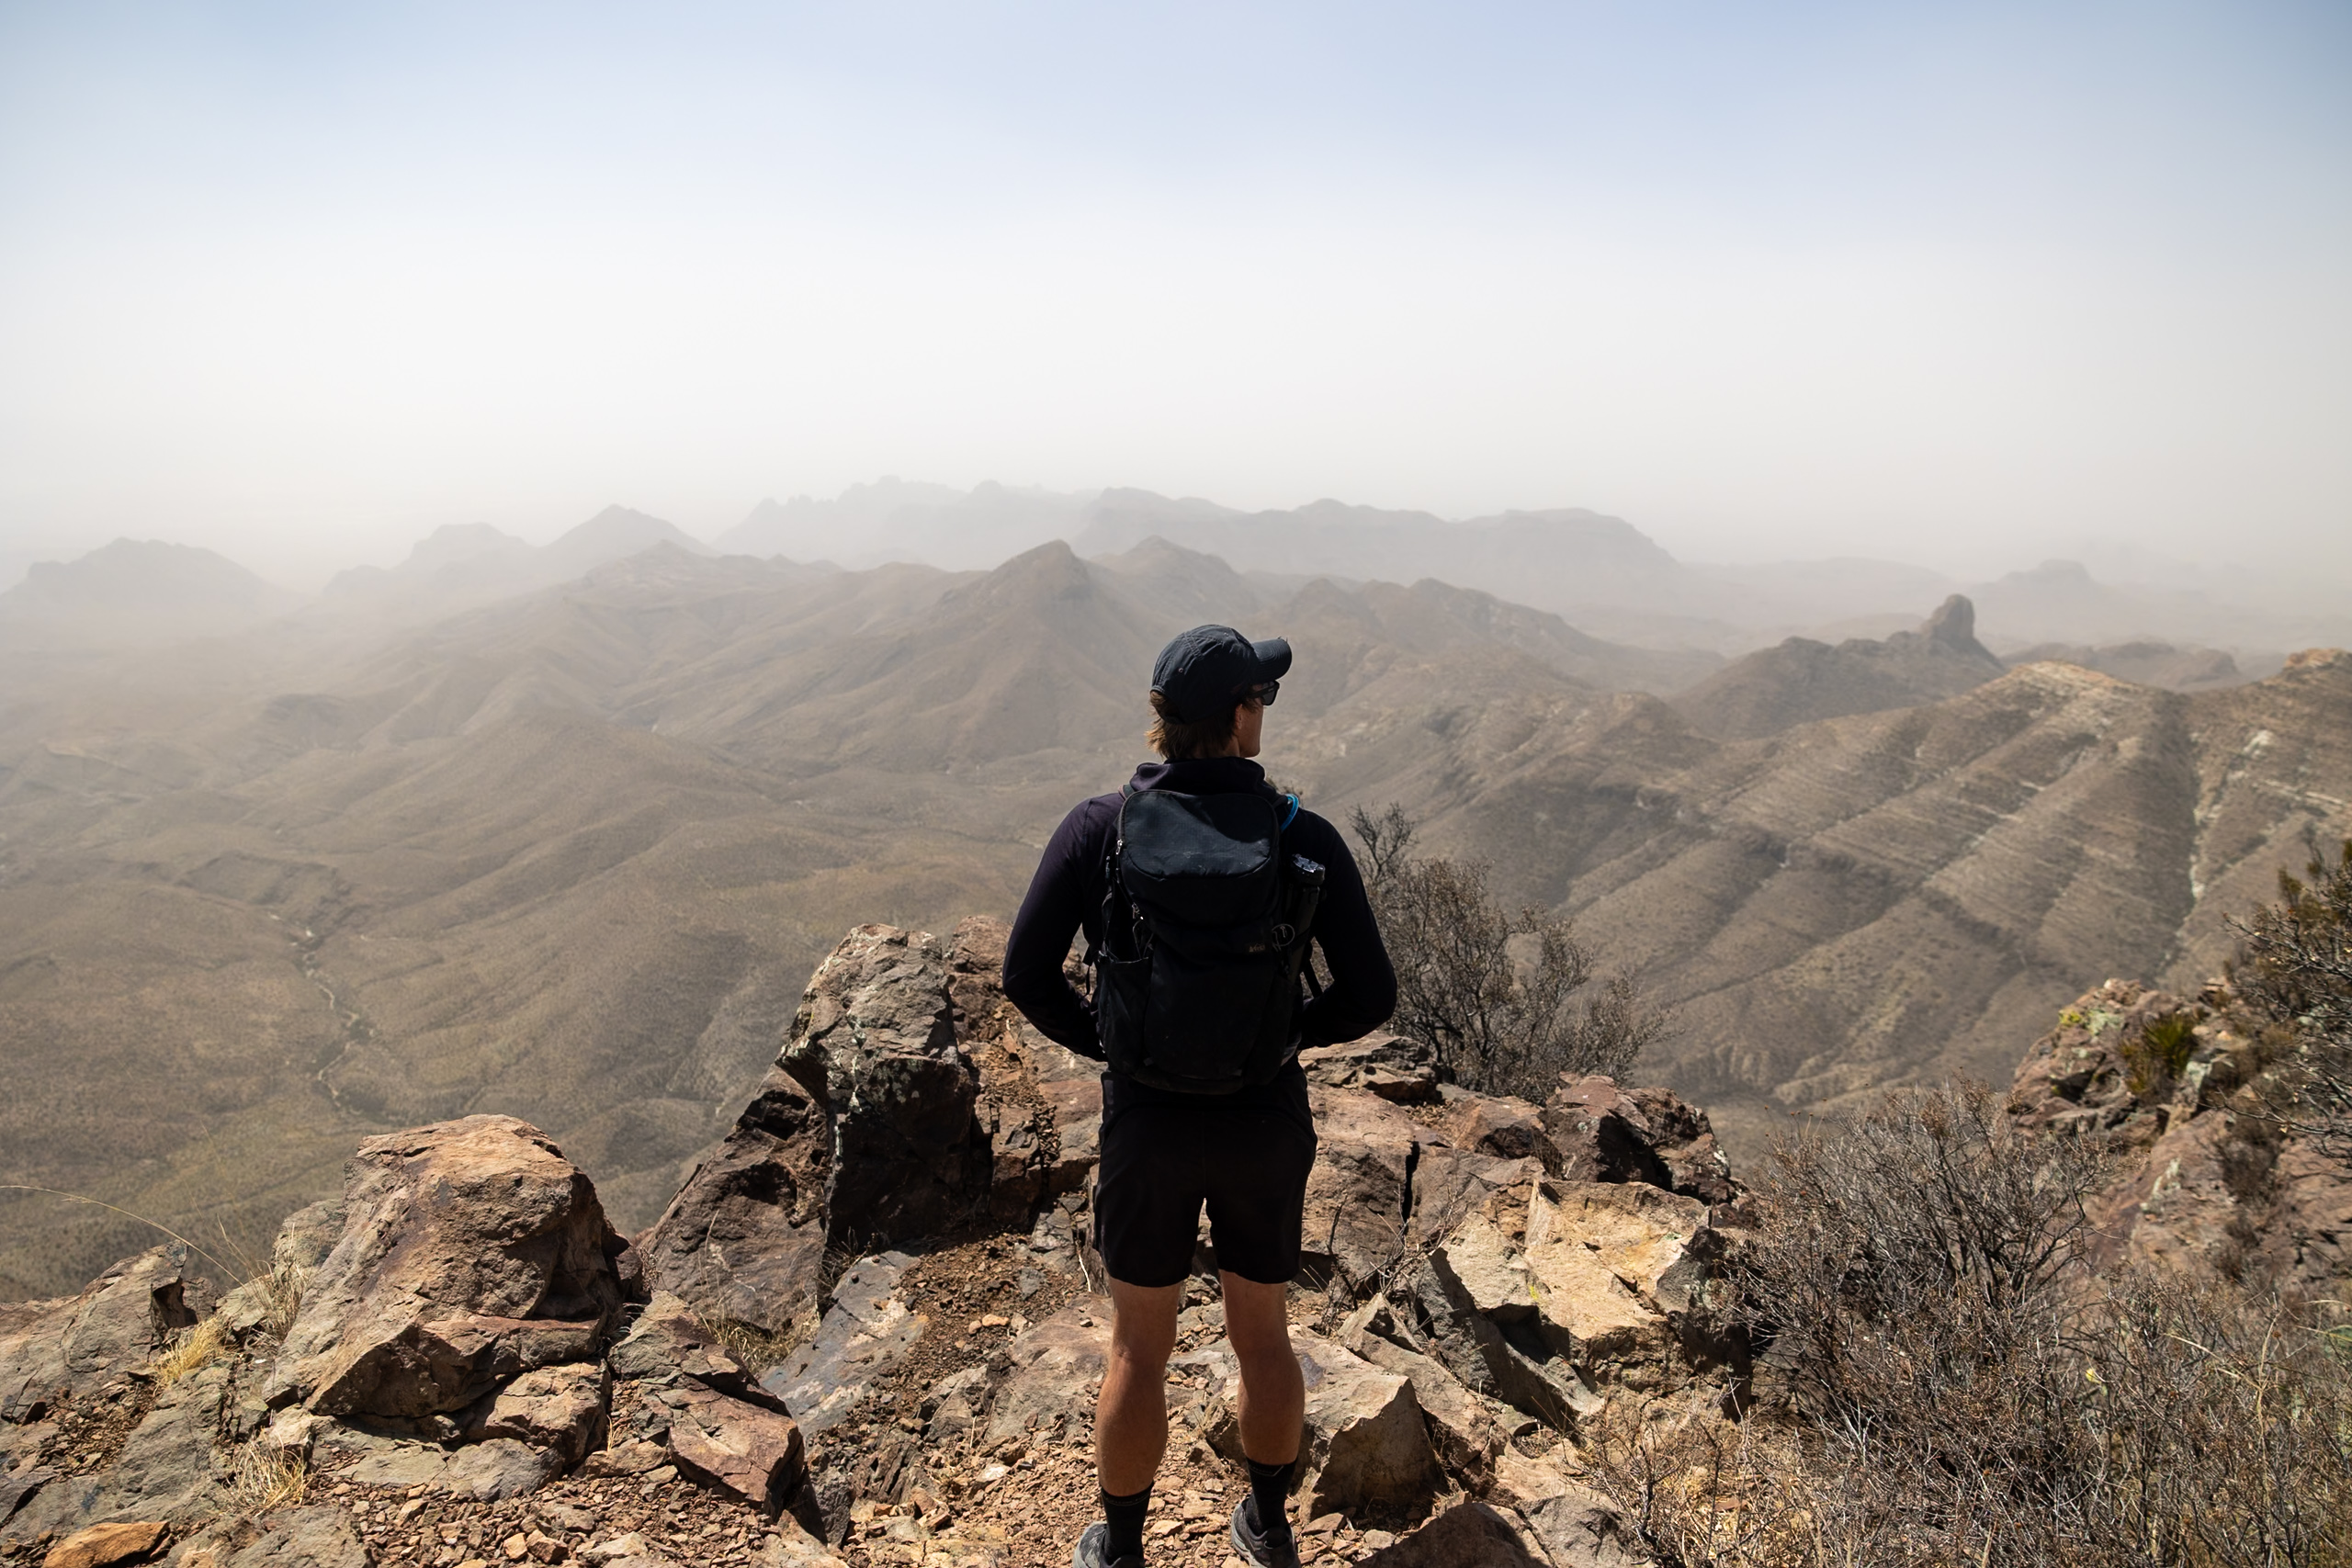
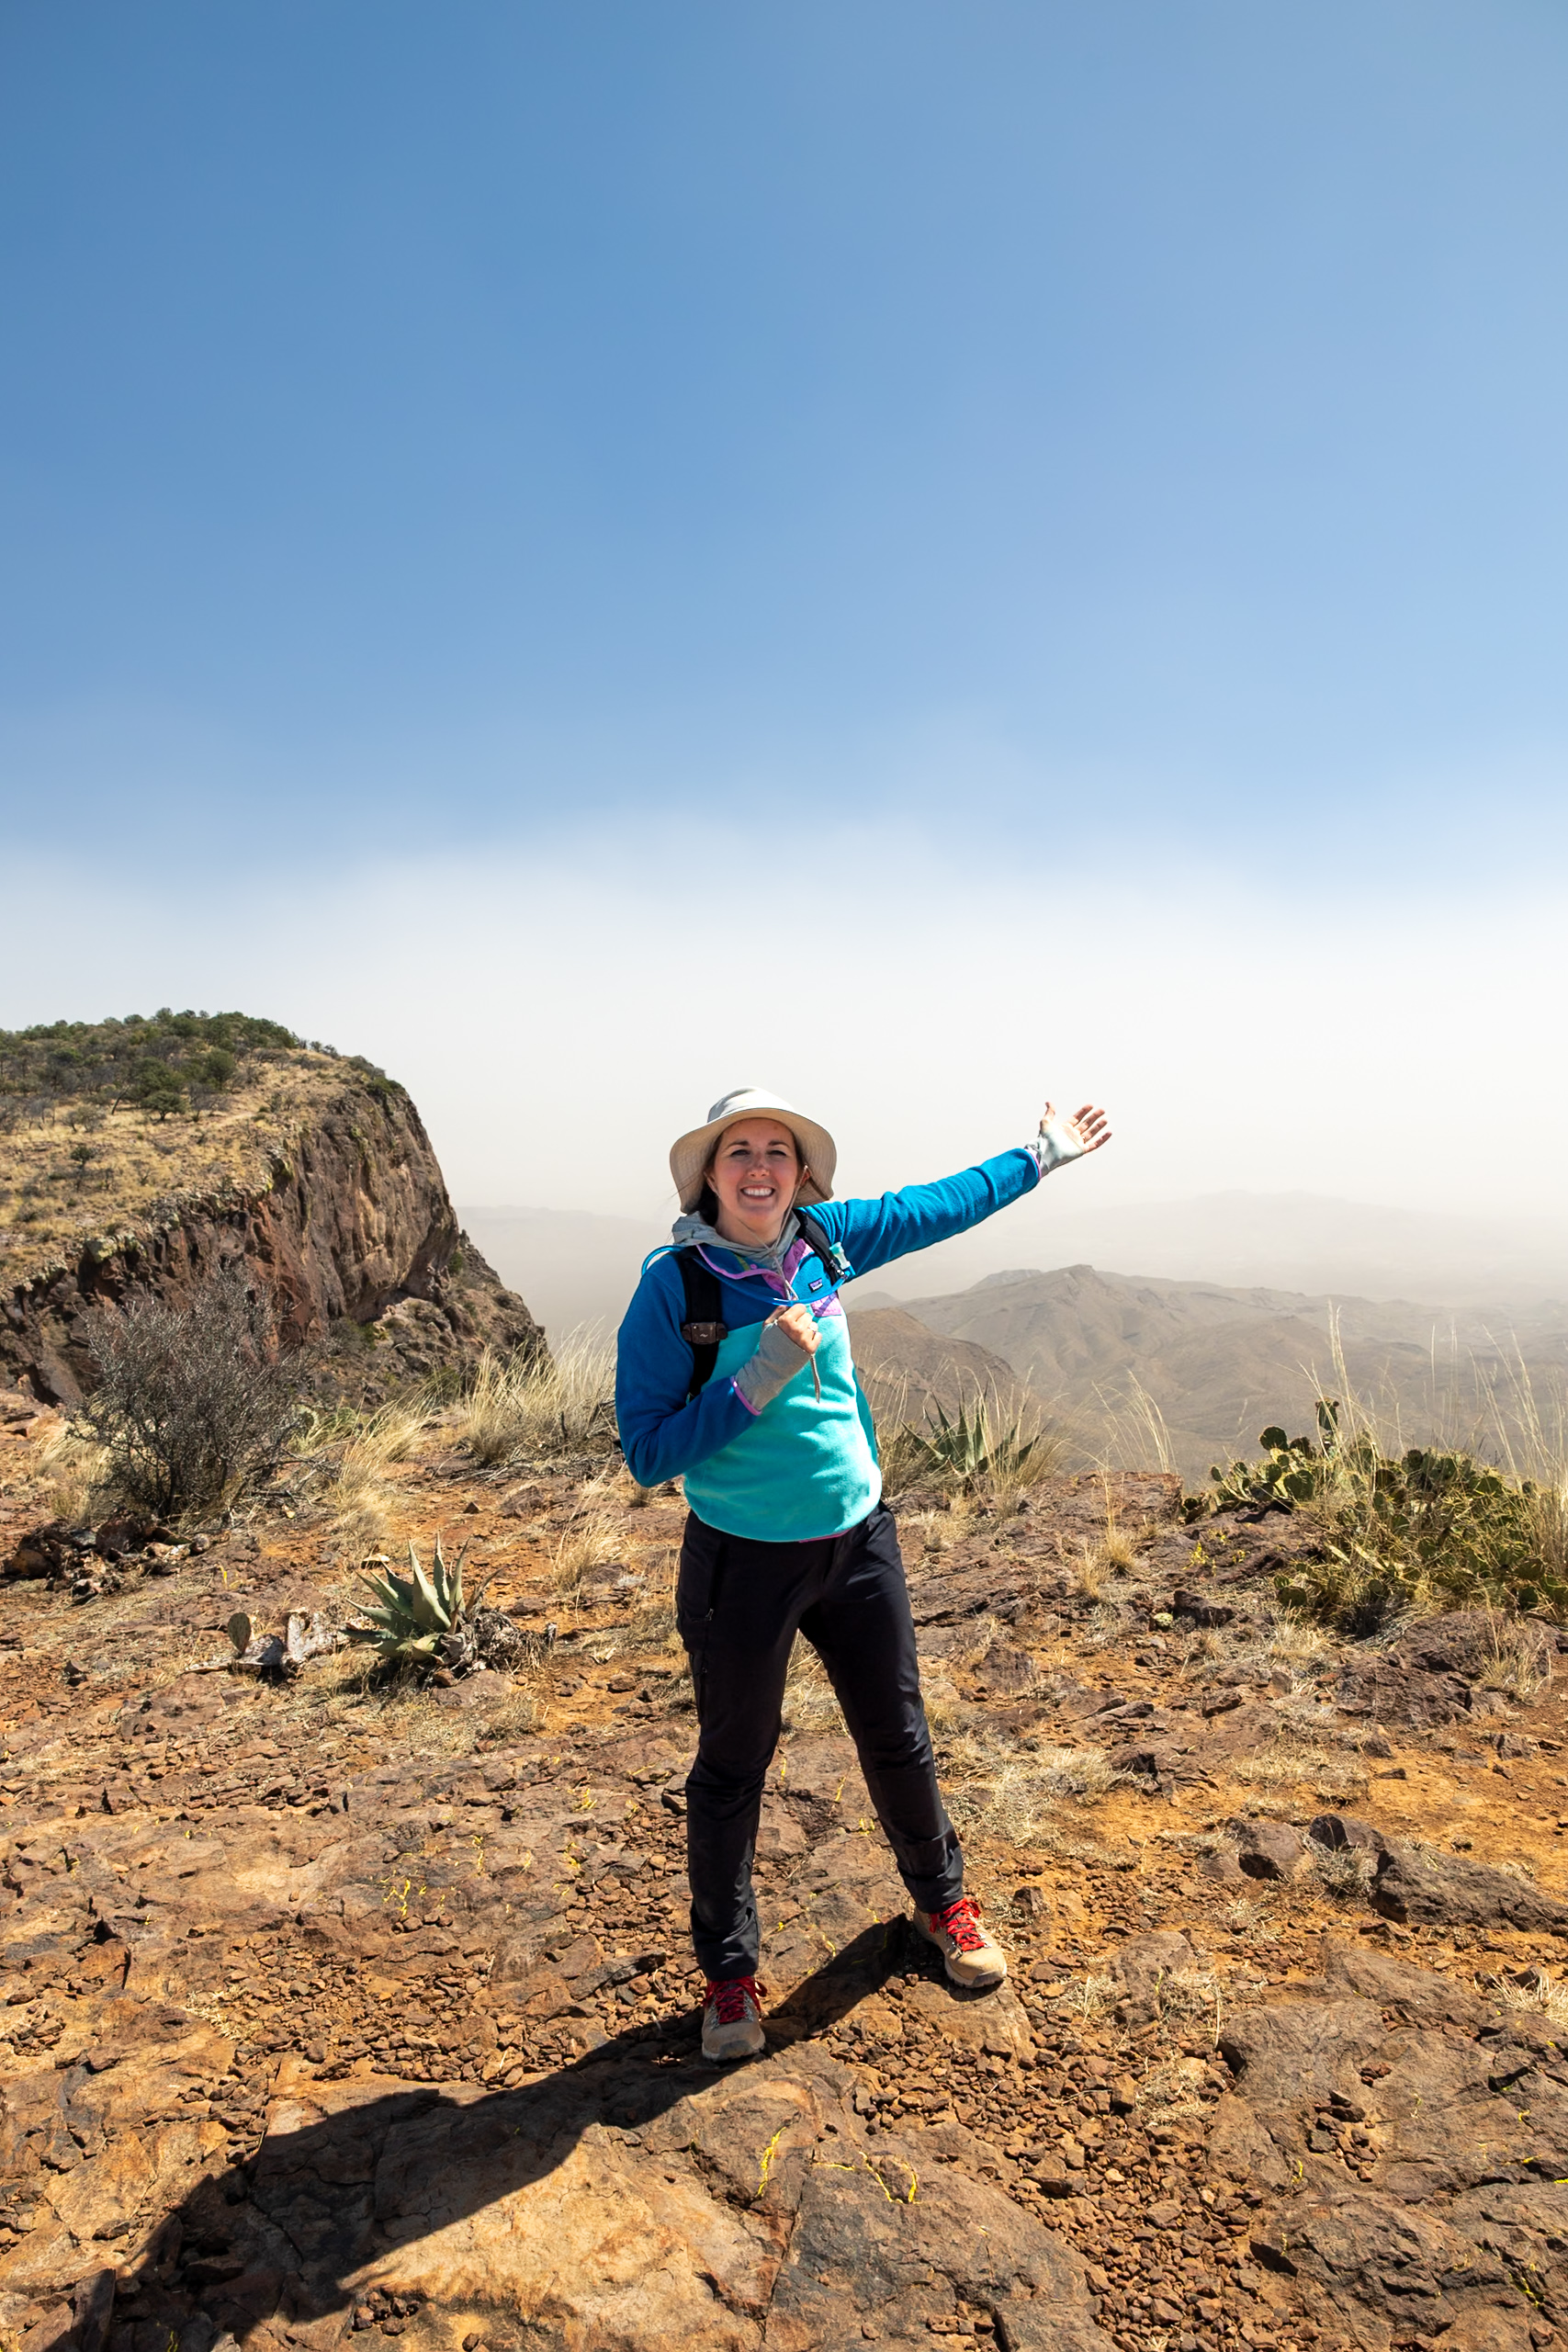
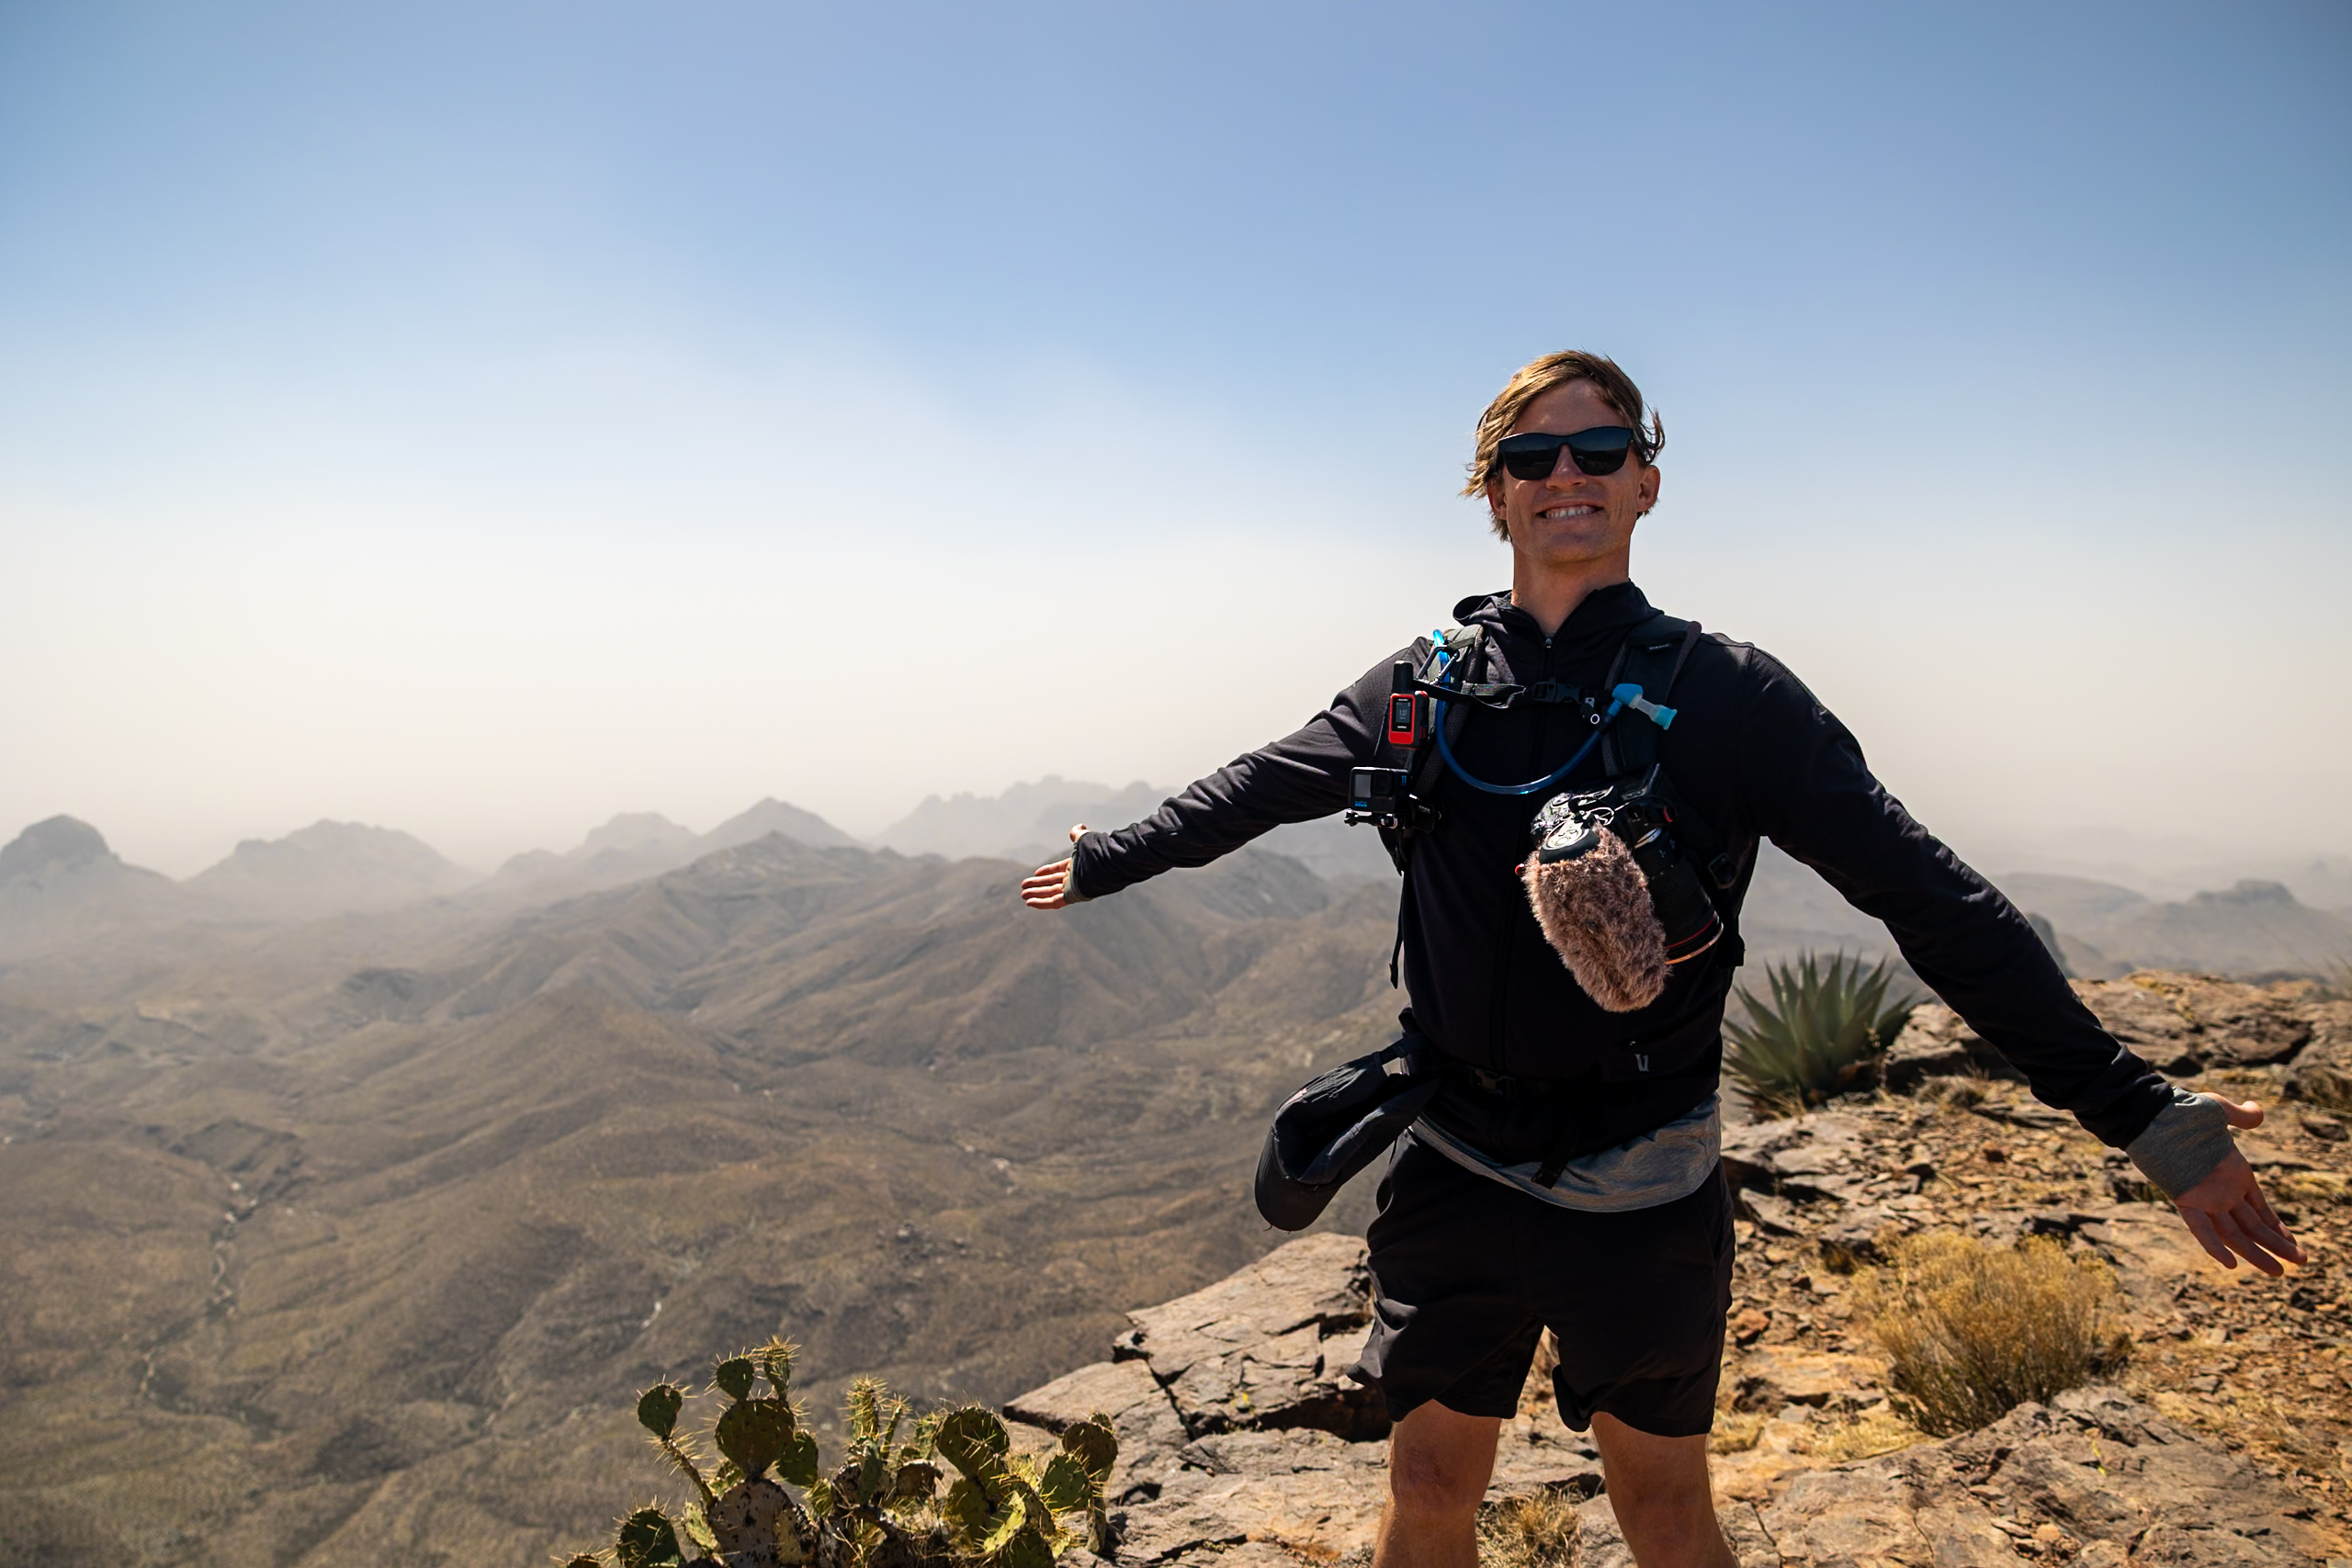
During our first day in the park, we asked the Park Rangers if we should do this hike or Emory Peak and they had a resounding South Rim Trail! The breathtaking views from the South Rim were a huge reason why Big Bend was designated a national park. Since this view was so impactful for the founders of this park to protect this place and was so highly recommended by the Park Rangers, we knew we had to prioritize this hike! The South Rim trail is fairly exposed and has several incredible views. It’s a total of 2 miles.
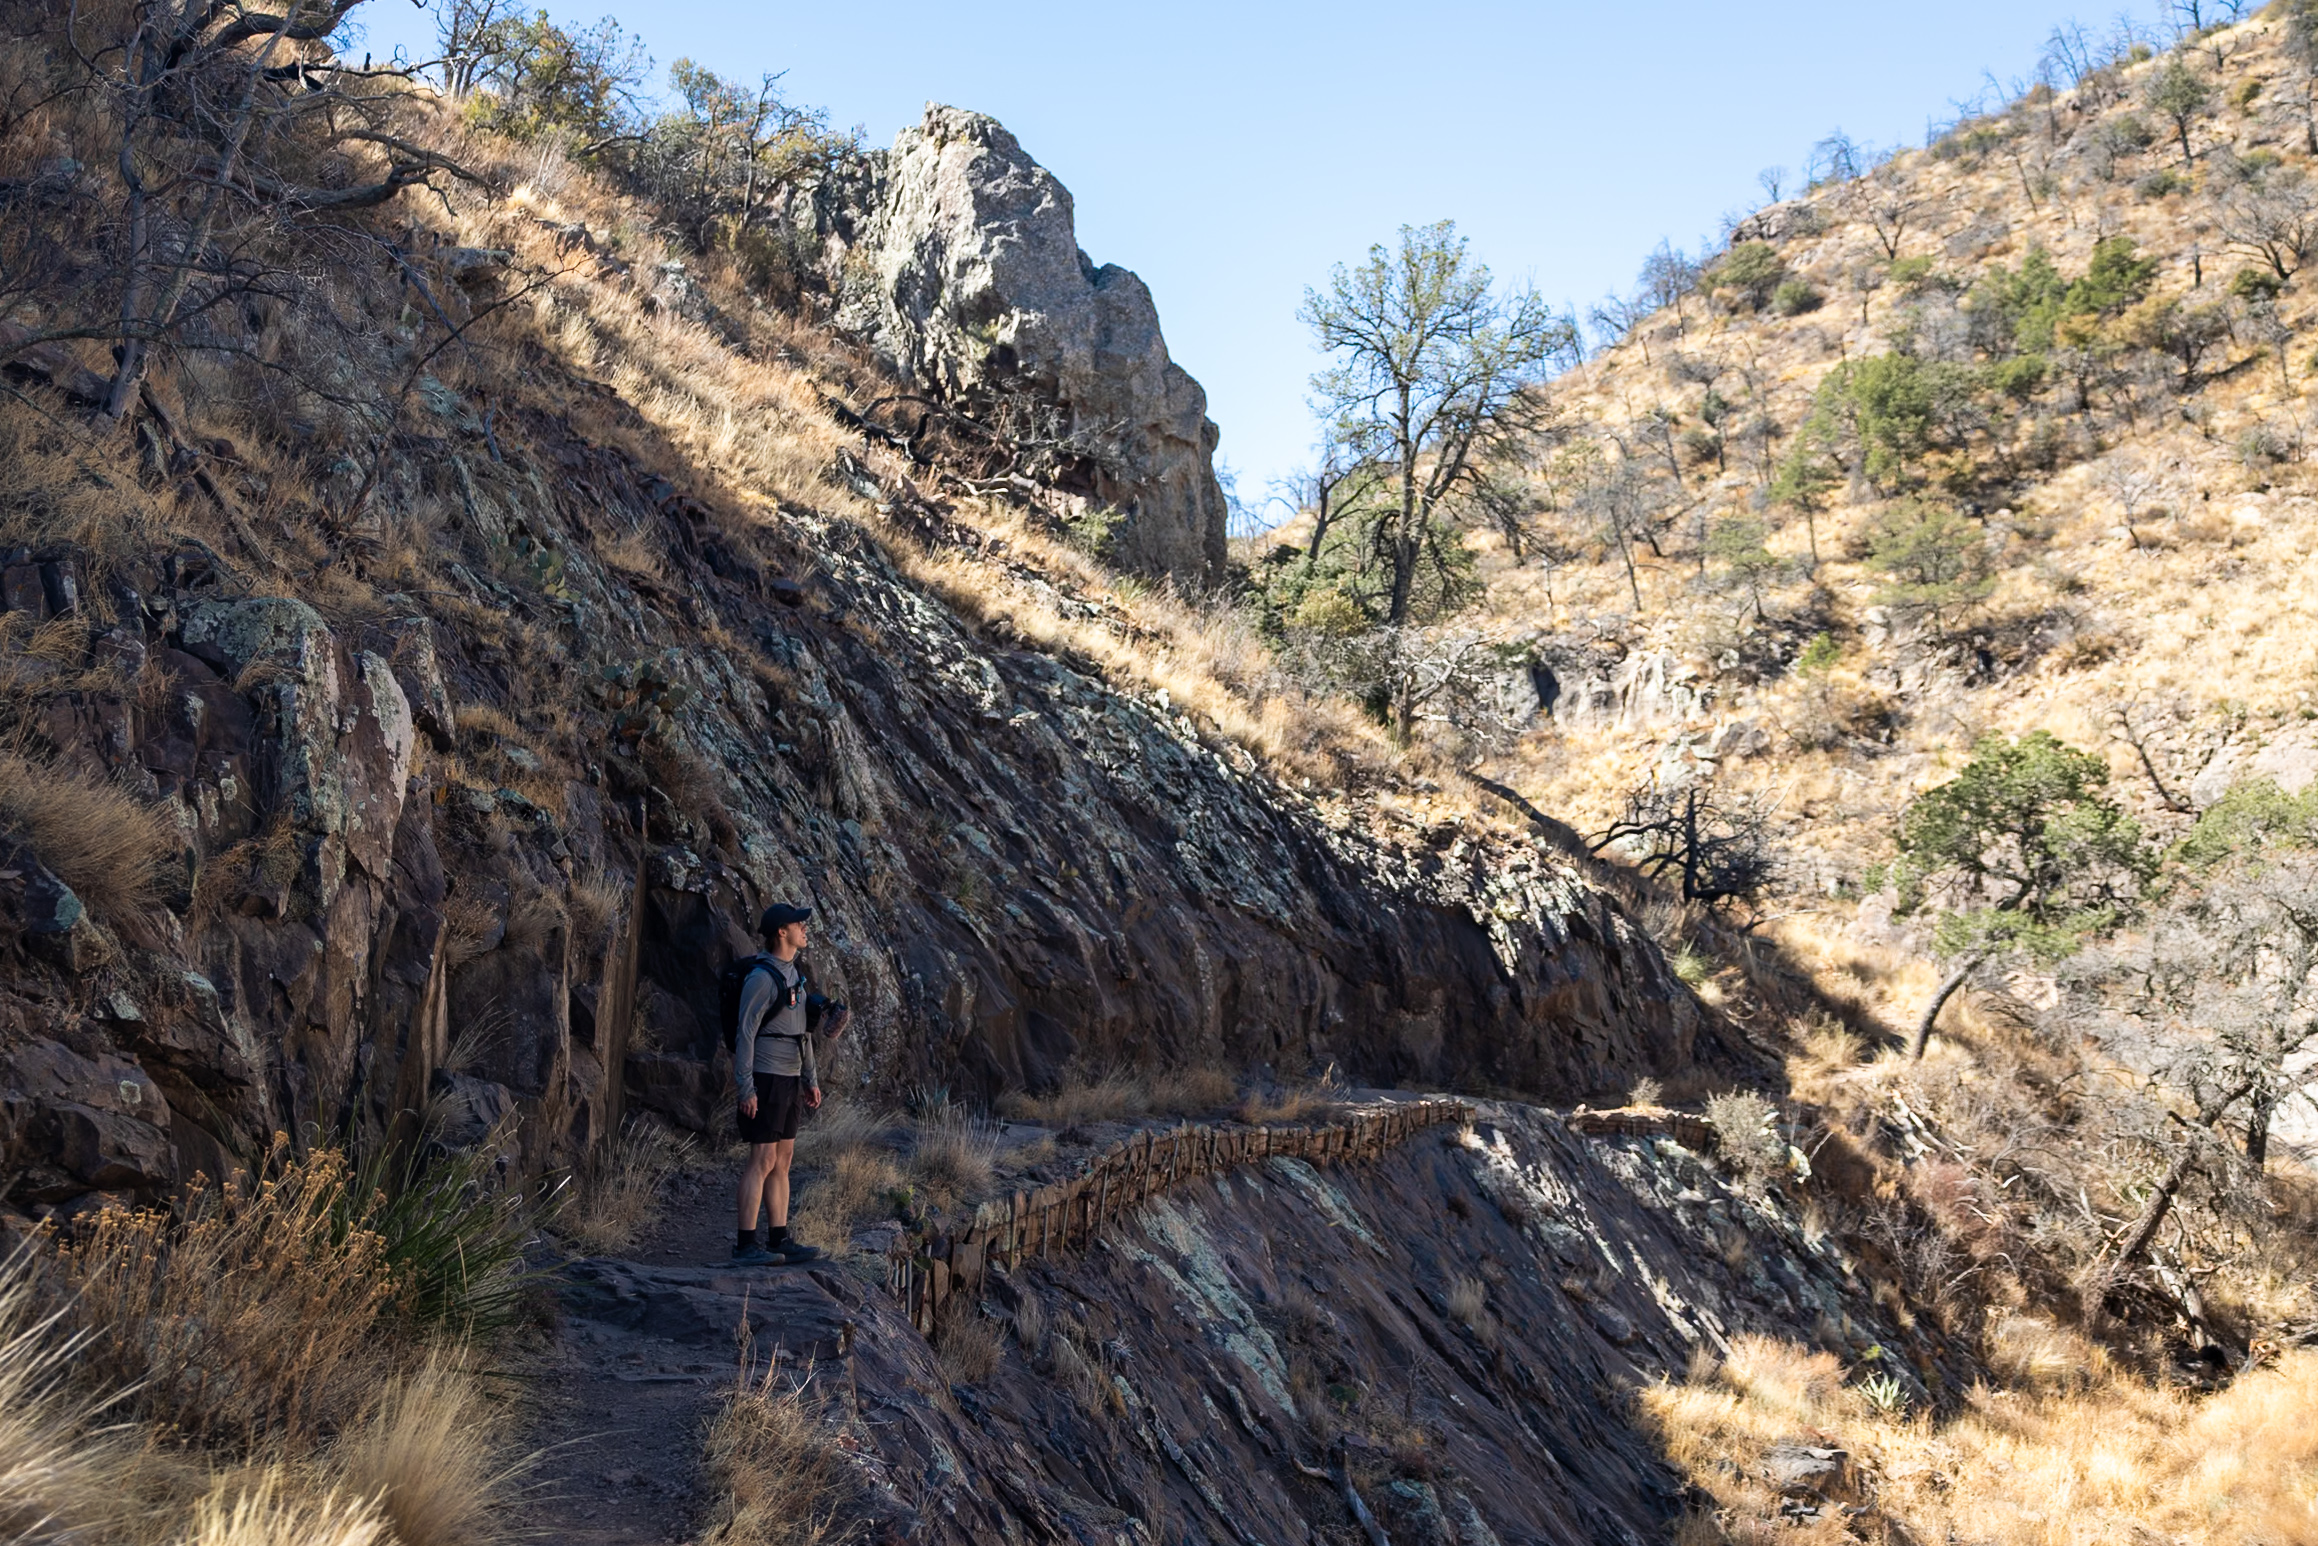
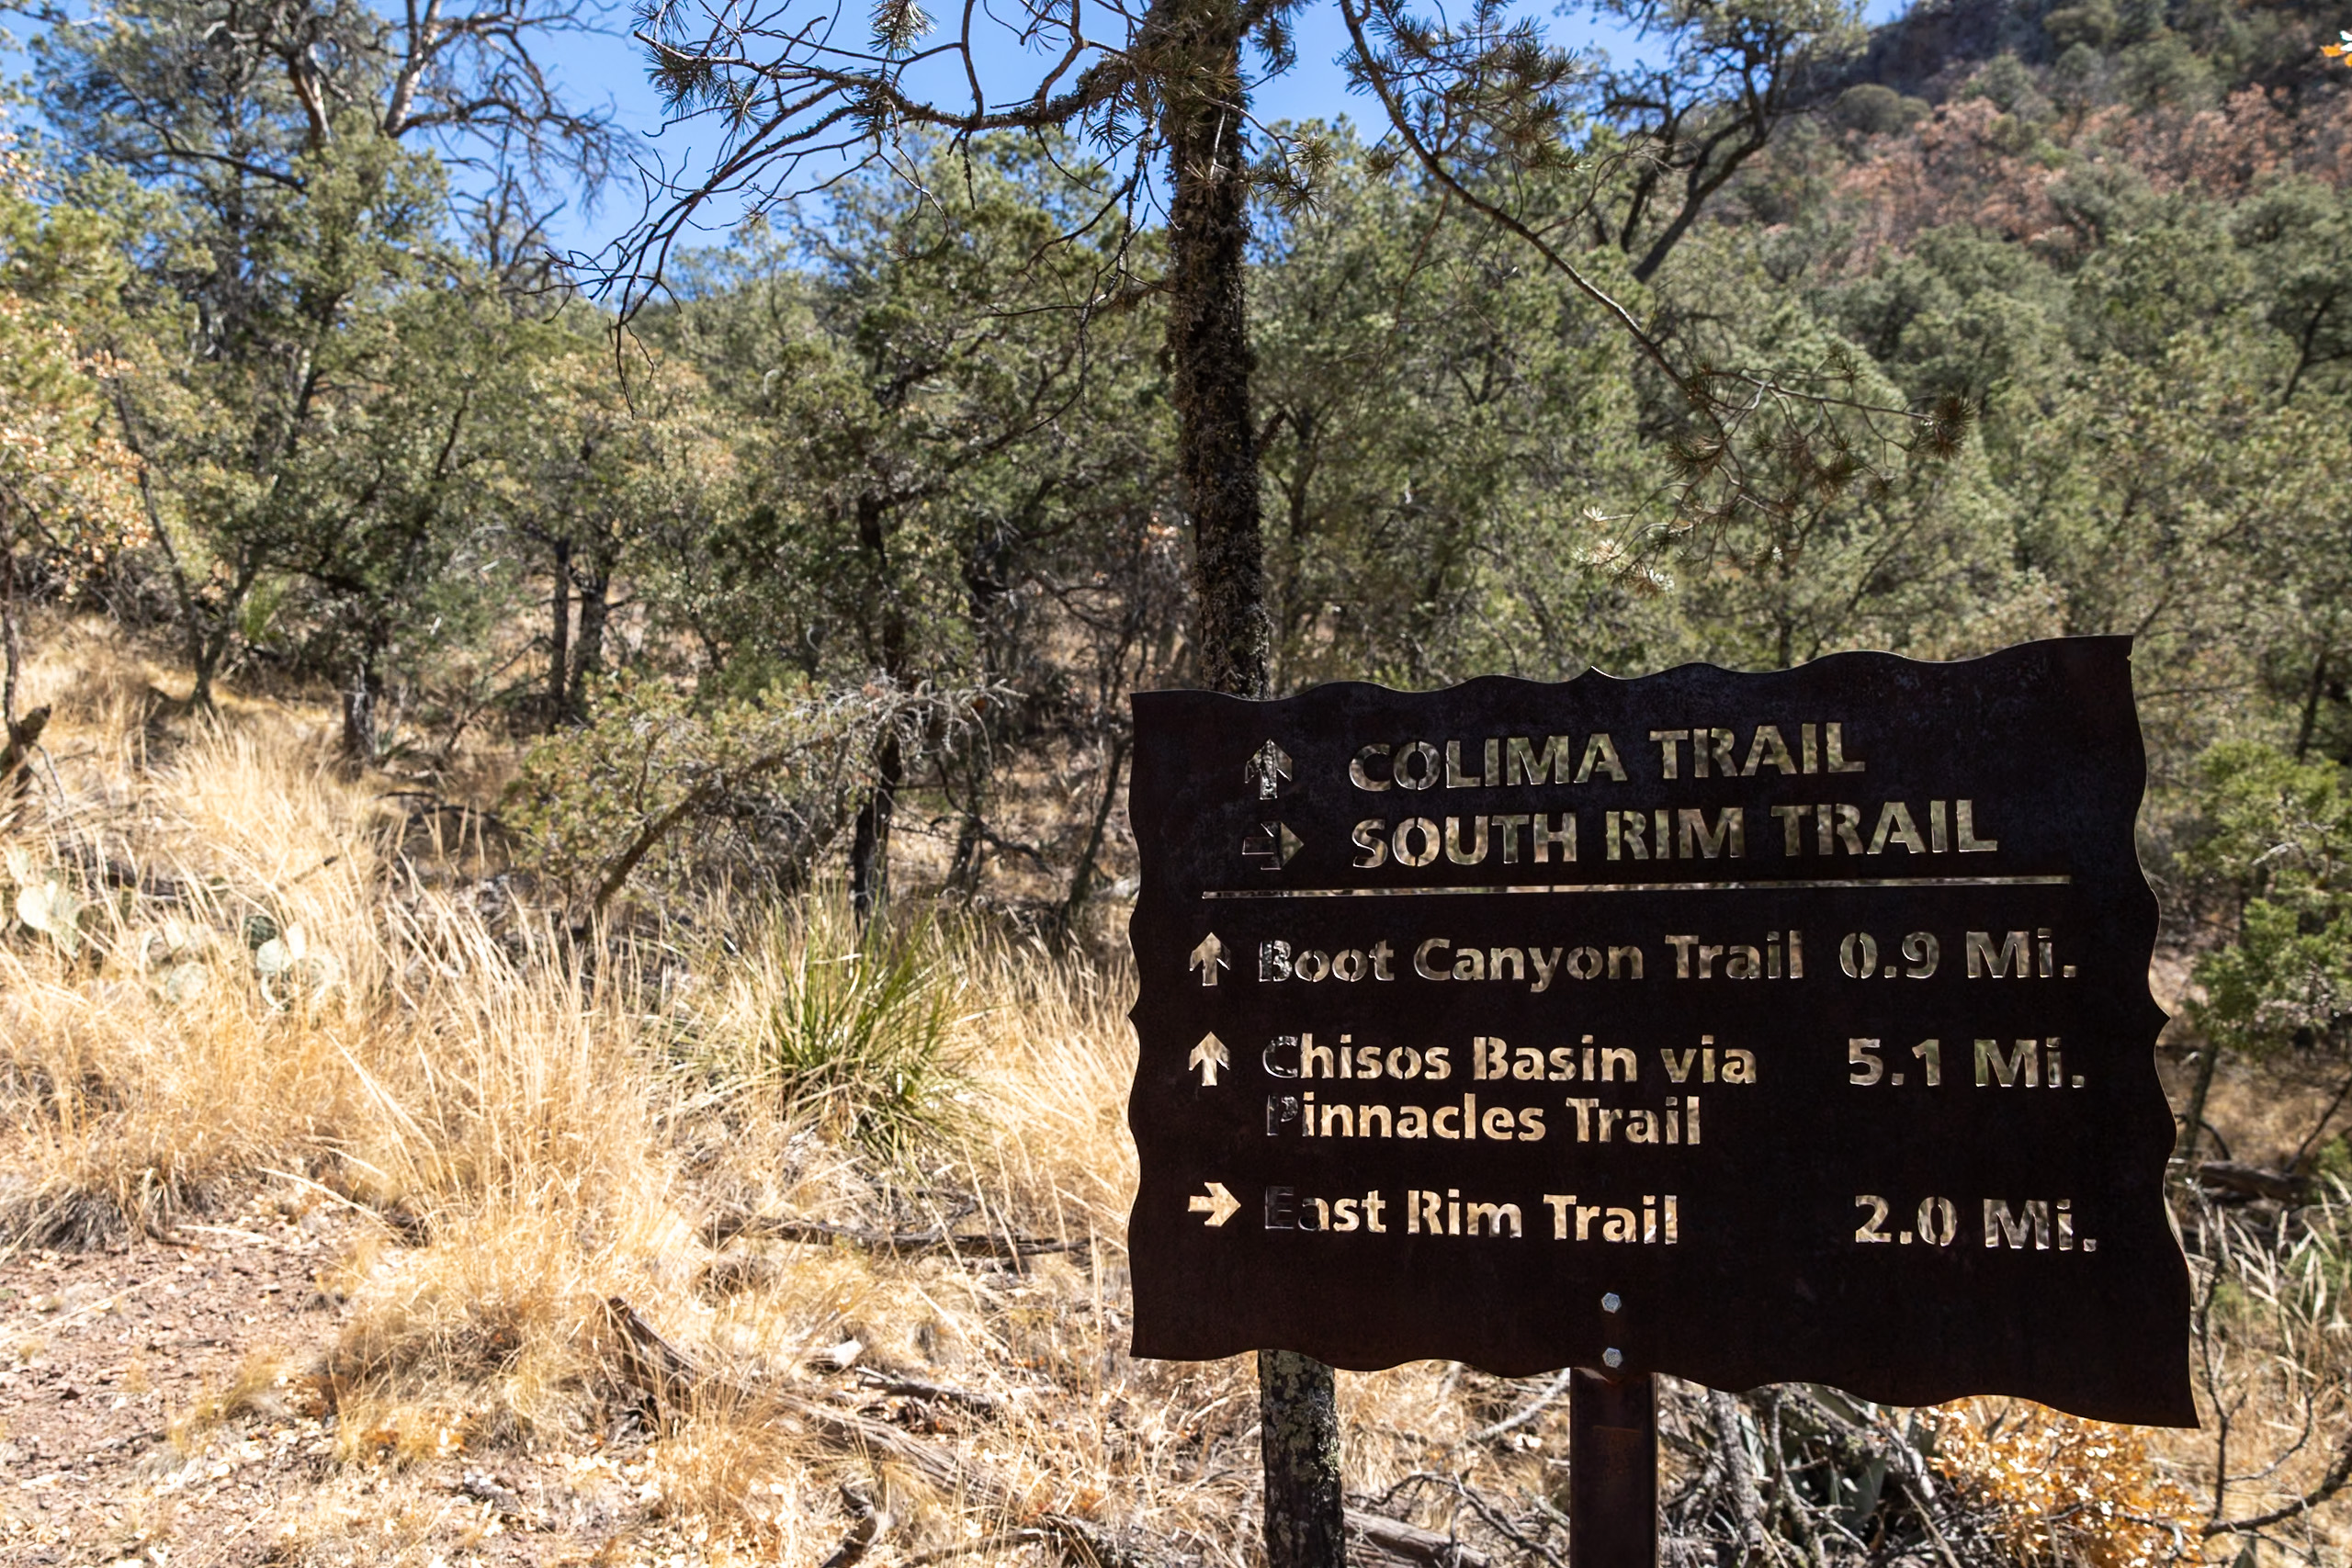
South Rim Trail Part 4: Colima Trail
The Colima Trail is a short 0.6 mile trail that connects South Rim Trail to Laguna Meadows. You’ll be hiking downhill for most of this and in semi shaded, semi-exposed path.

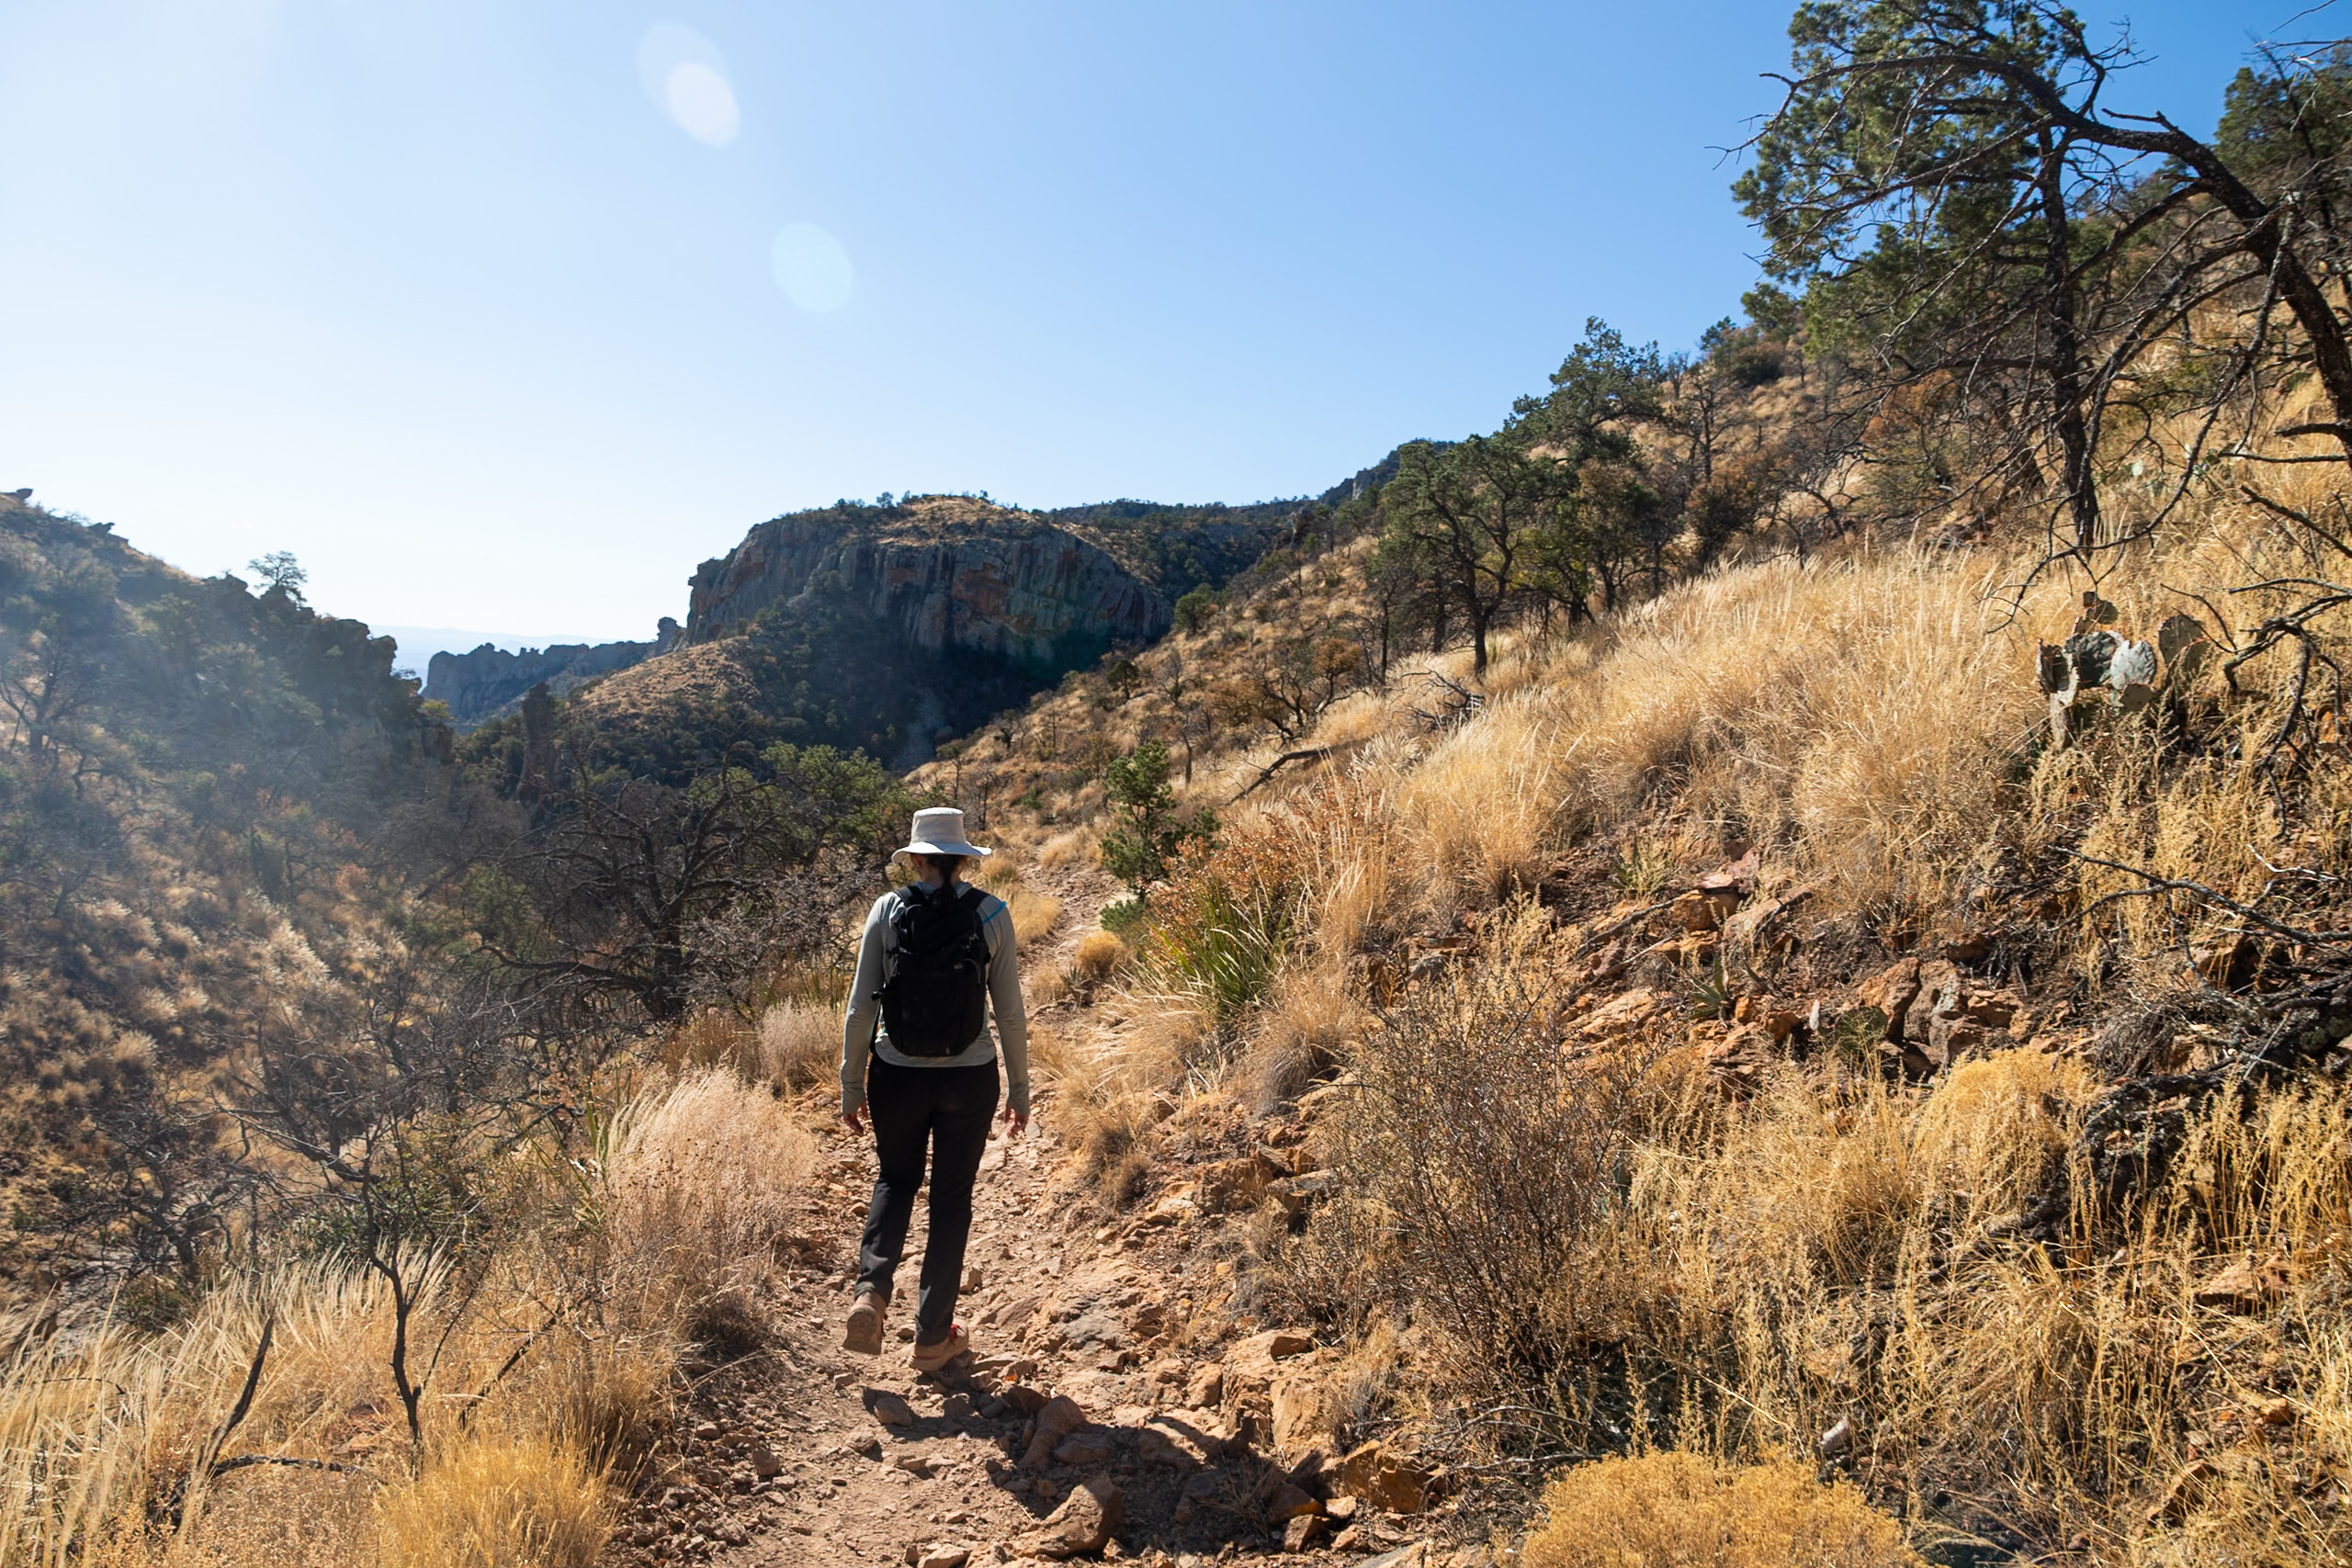
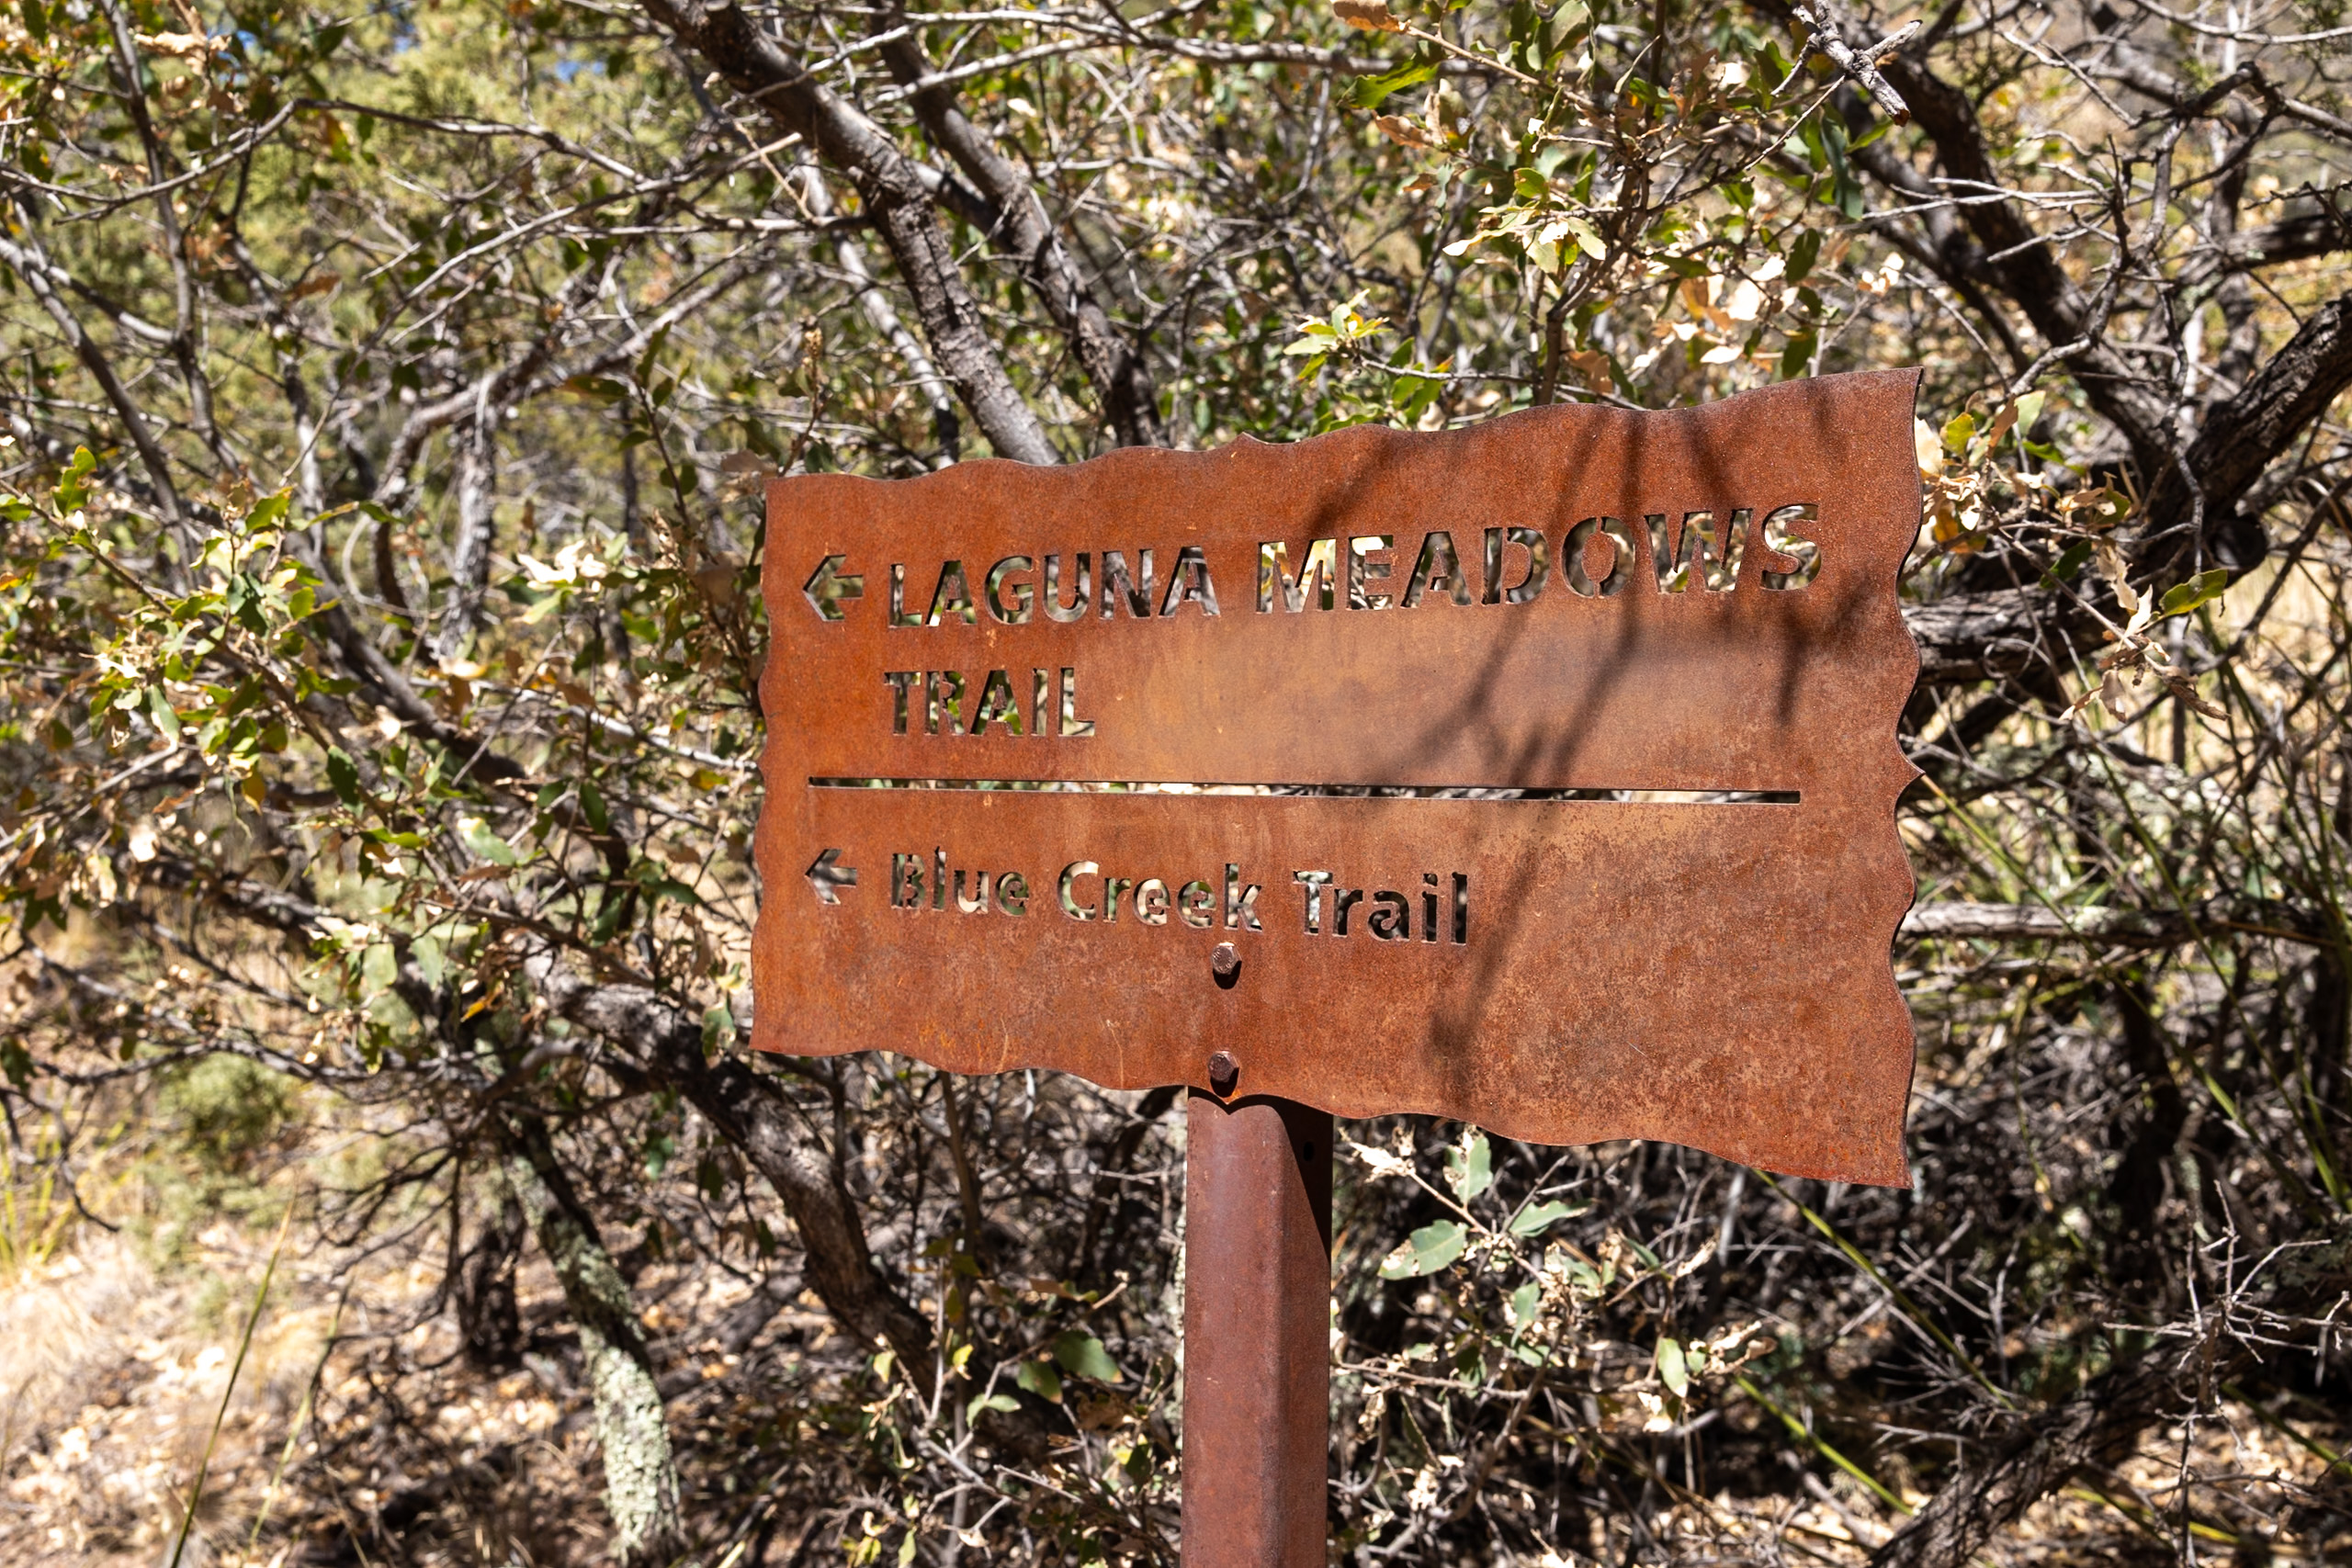
South Rim Trail Part 5: Laguna Meadows Trail
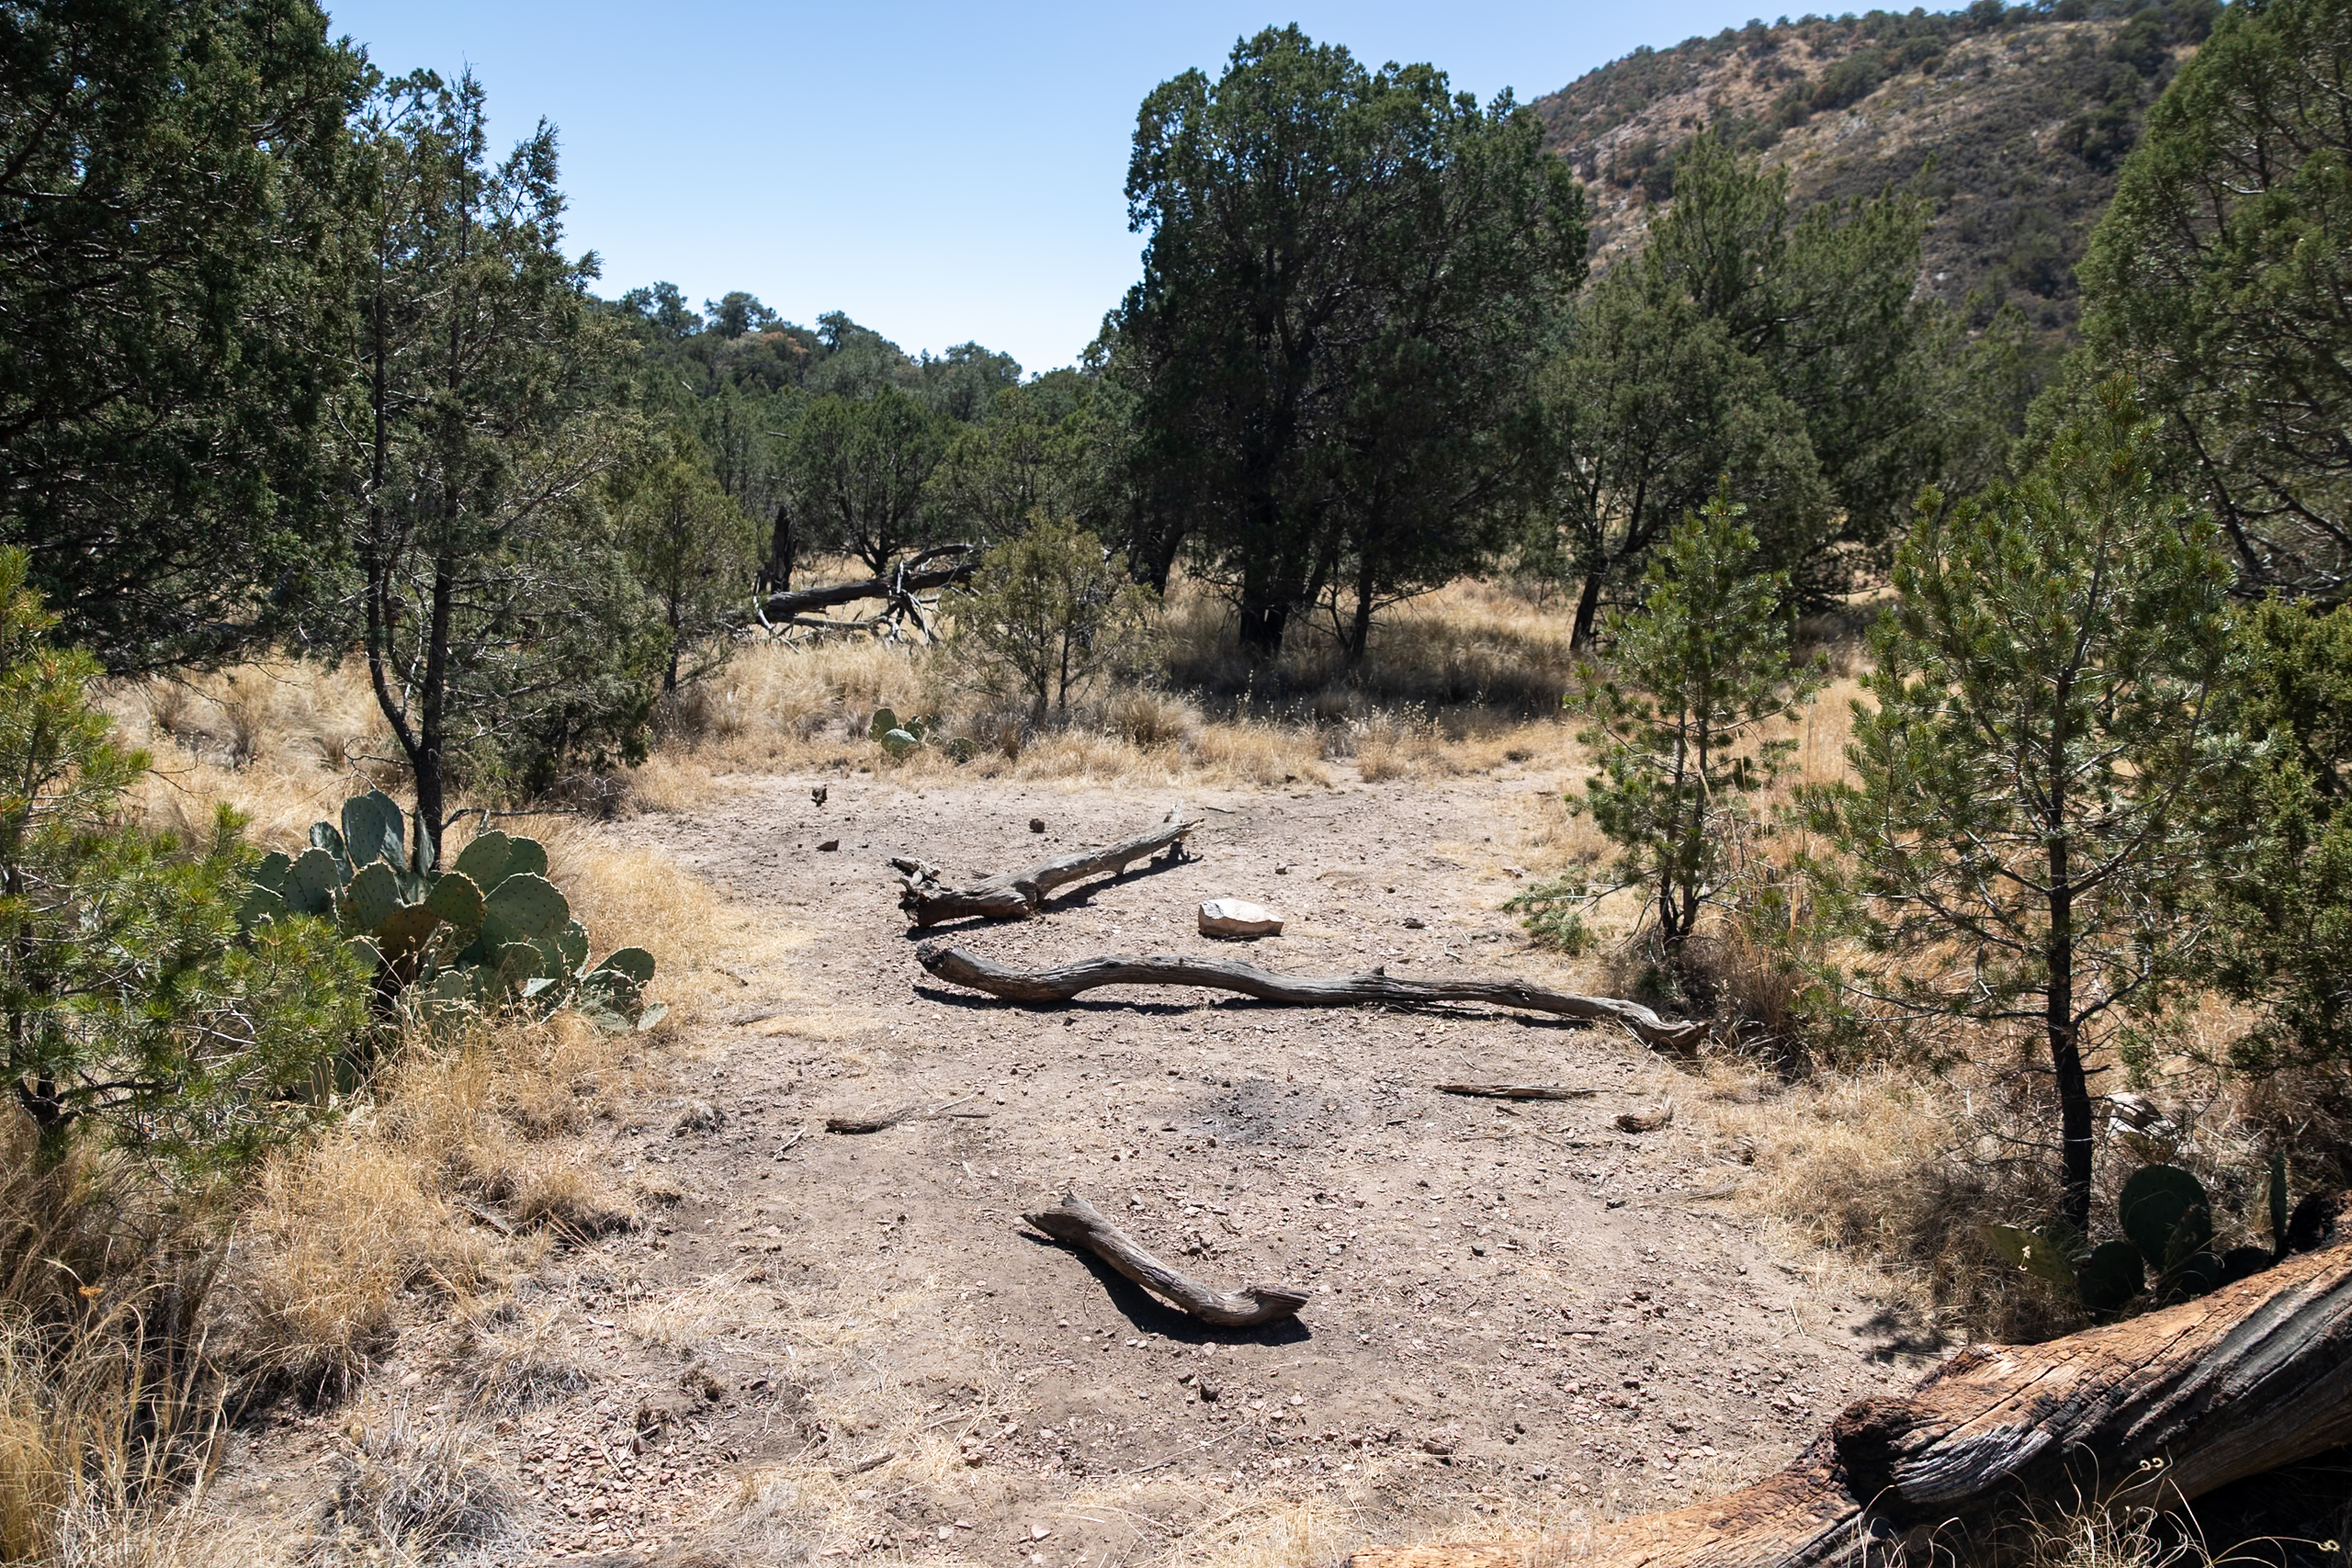
The Laguna Meadows Trail is 3.3 miles and goes through a forest. It’s relatively flat, slowly descending back to the Chisos Basin. In the afternoon, this part of the hike will be in the sun. If completing this part of the hike first, you’ll be in the shade first as the sun has not risen over the mountains.
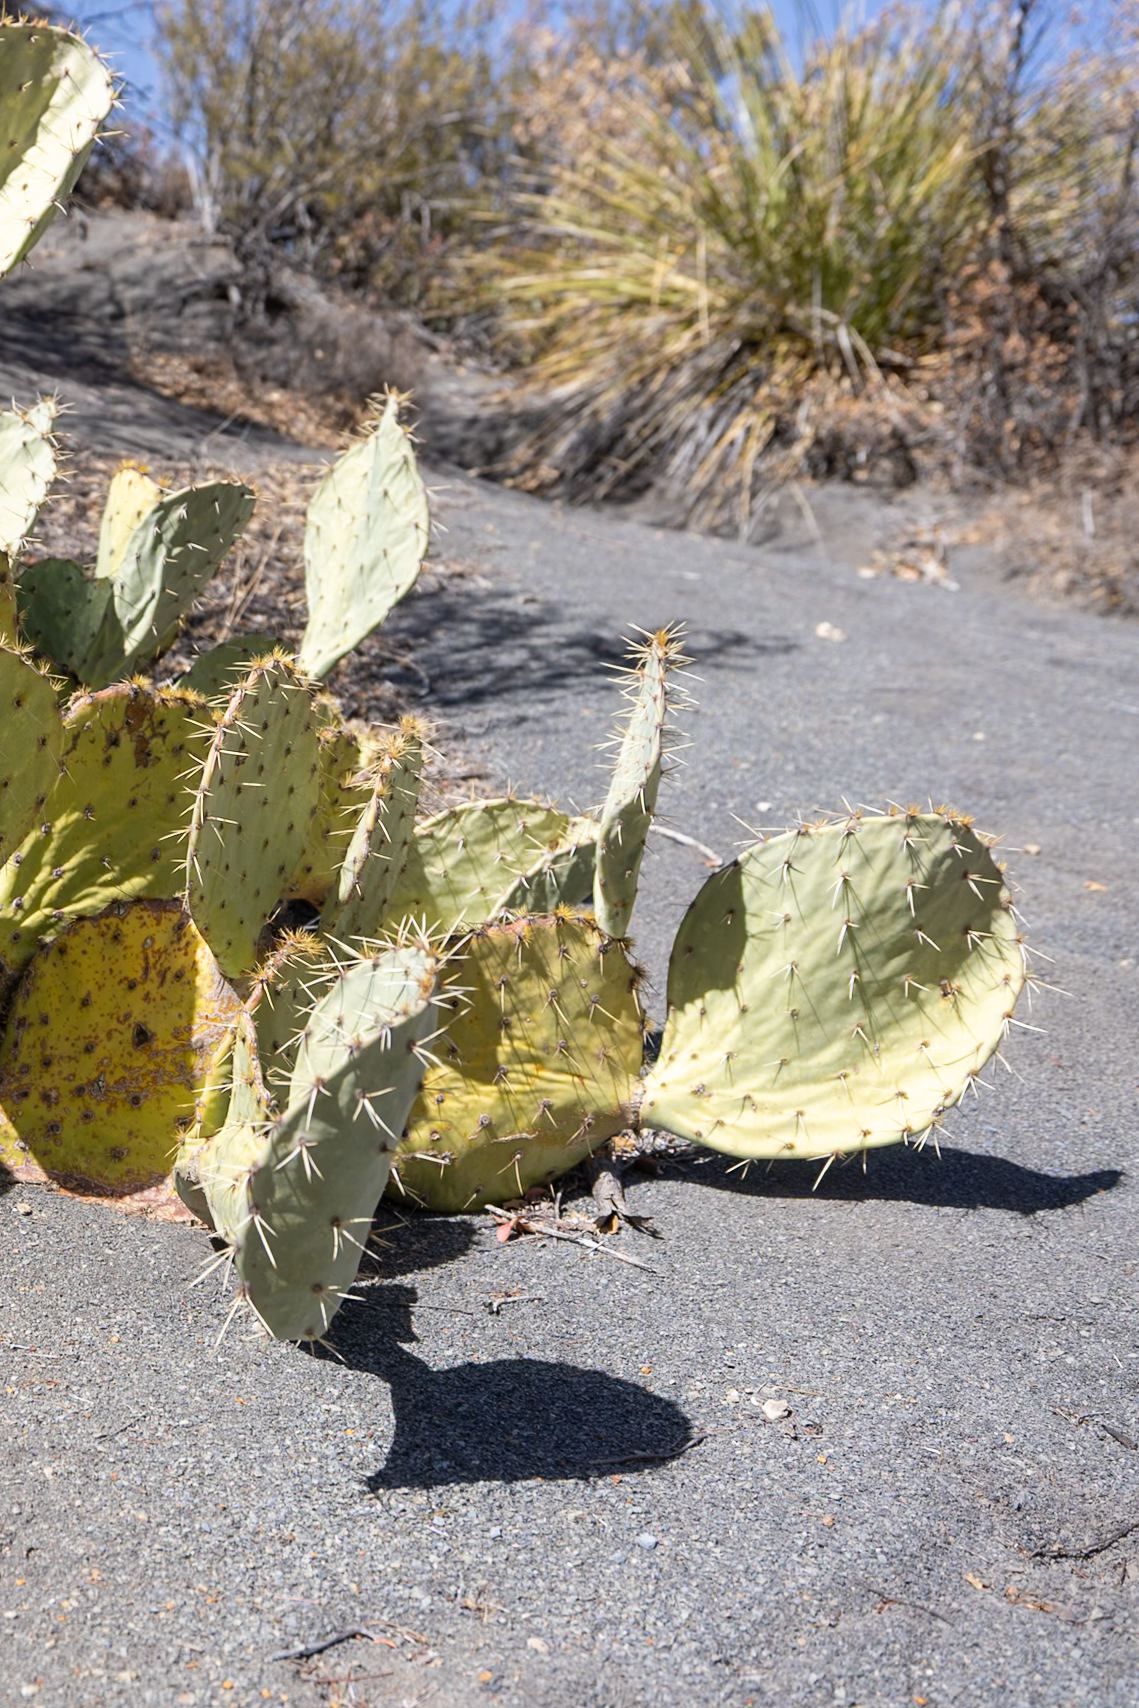
The forest landscape will continue to have elements of the Chihuahuan Desert, so you’ll see cactus, Cholla, Yucca, Prickly Pear, and New Mexico Agave. For most of this section, you’re in a valley without much of a view. However, at times you do get views of The Window and Chisos Basin as you get closer.
Tips for a Successful South Rim Hike
This is a challenging hike in Big Bend National Park – it was easily the hardest hike we completed during our time there. It’s essential to arrive well-fueled, hydrated, and prepared for your hike. Here are a few of our tips:
- Start Early: To avoid the heat and secure parking. This is a long hike, and you’ll likely be tired by the end of it.
- Stay Hydrated: Carry at least 4 liters of water per person.
- Weather Awareness: Check forecasts and be prepared for sudden changes.
- Talk with Park Rangers: It’s important to discuss with the Park Rangers about any closures or obstacles on the trail prior to your hike. They might be aware of recent burns, closures, or recent animal spotings to be aware of.
- Leave No Trace: Emphasize the importance of preserving the natural environment.
What to Bring for the South Rim Trail
From sun protection to comfortable hiking shoes, here’s a quick list of our top hiking essentials for South Rim Trail at Big Bend National Park. For an extended list, head over to What to Pack for Big Bend: Ultimate Packing Guide.
Sun Protection
- Sunscreen – No matter the time of year you visit, sunscreen is essential in Big Bend to protect your skin from the Texas sun.
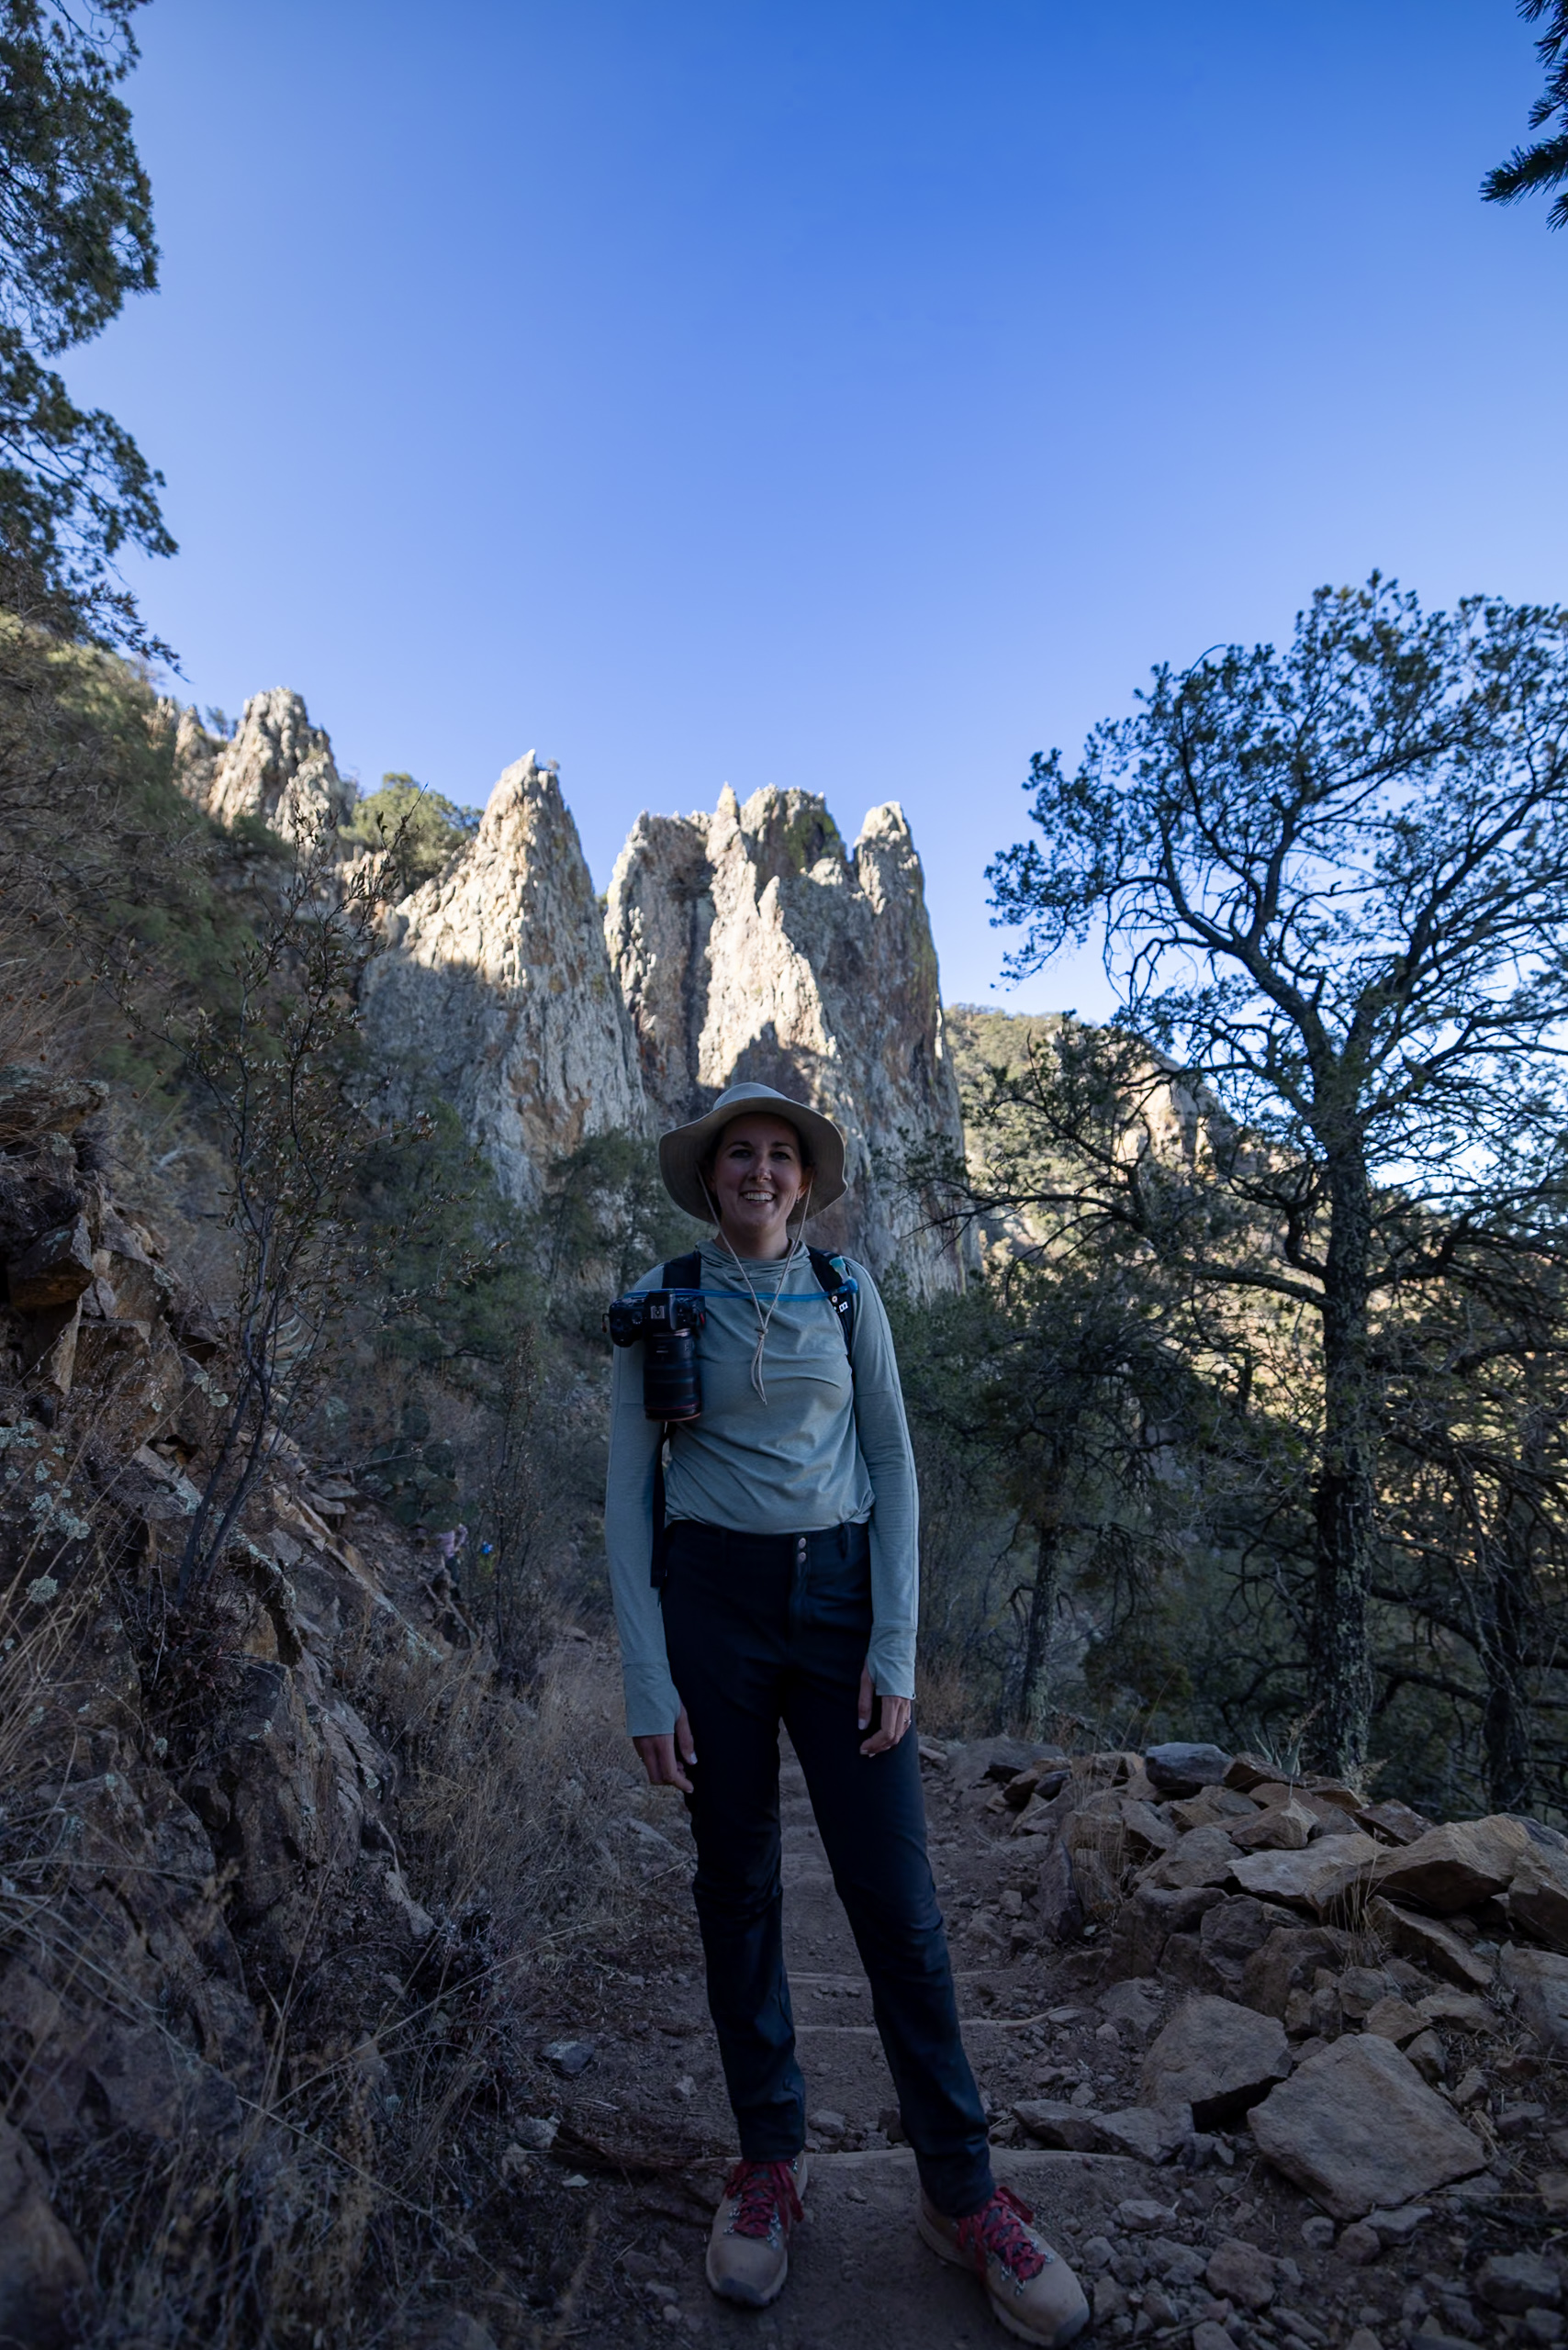
- Wide-brimmed hat – As part of sun safety, we love pairing sunscreen with wide-brimmed hats.
- Sun Shirts – Light, sunshirts are great for protecting against bugs and the sun! Here is Elliot’s favorite long-sleeve sun shirt and Jen’s favorite long-sleeve sun shirt.
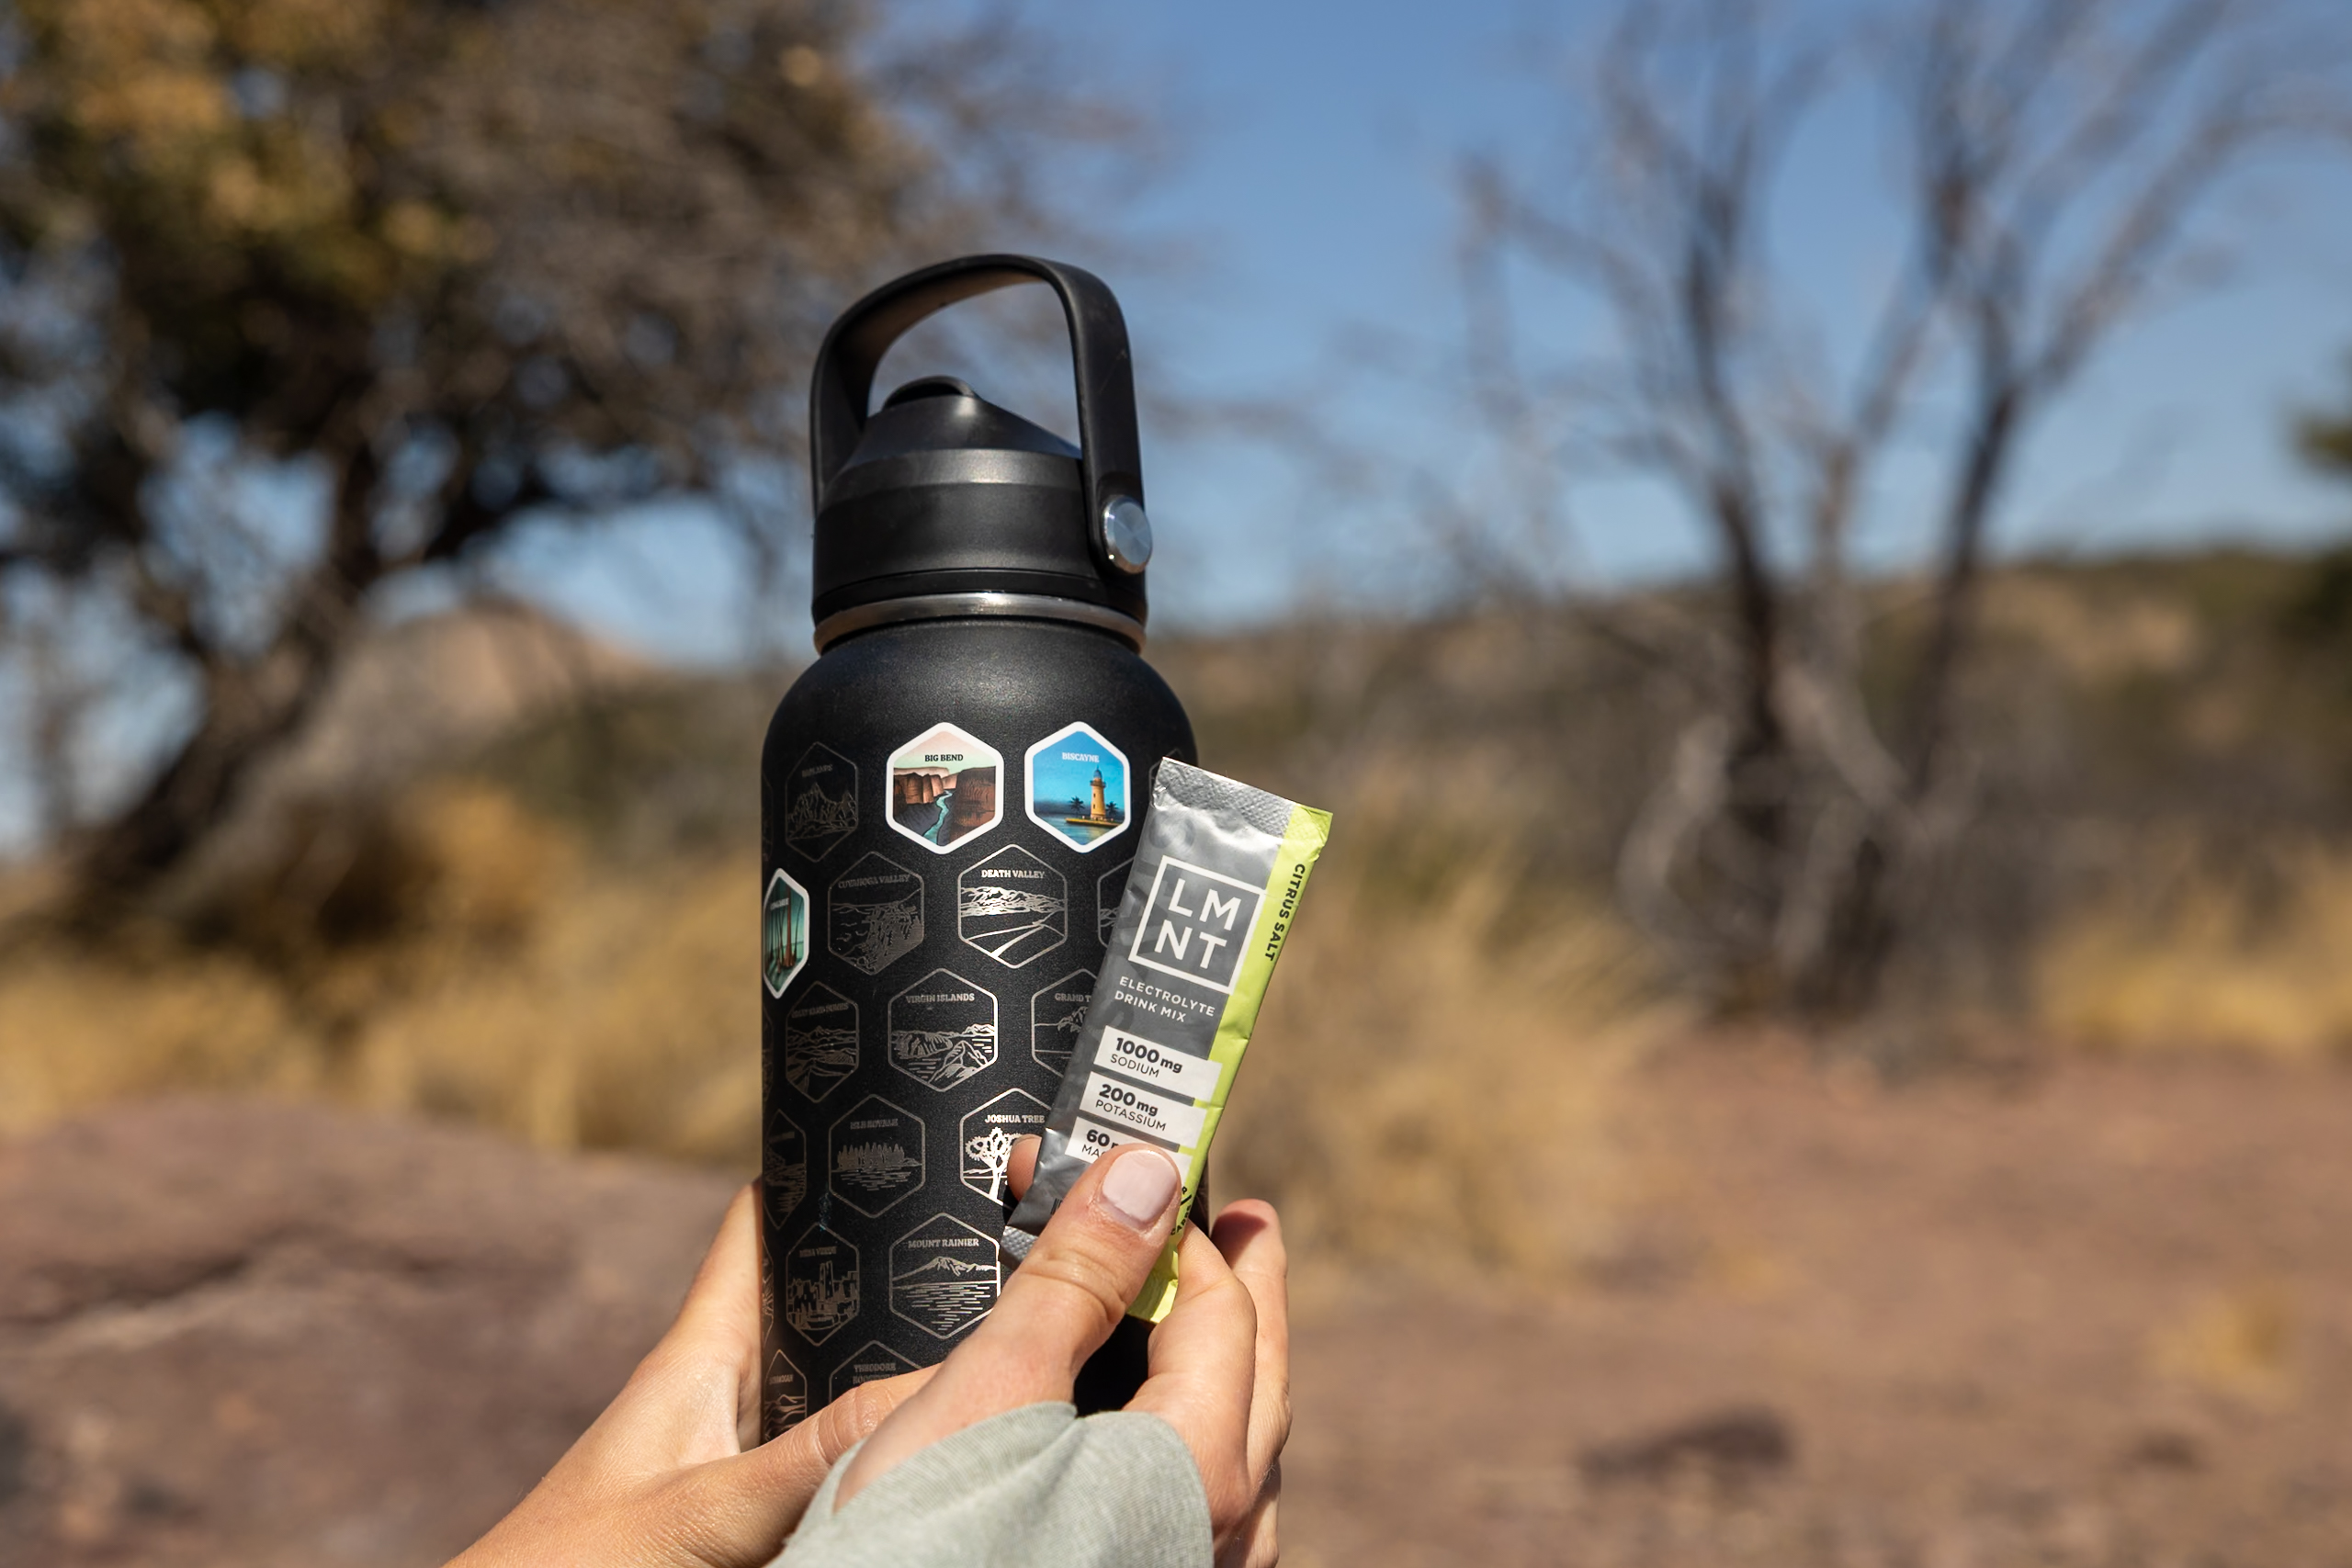
- Water Bladder and Water Bottle – Staying hydrated is a key part of sun safety. We love this water bottle featuring all of the US National Parks with stickers to check off your visits. We also each carried this 2L Water Bladder, but probably would have prefered a 3L bladder since the hike is so long. Rangers recommend a gallon of water a day per person.
Hiking Essentials
- Hiking shorts or pants – We recommend hiking pants to protect against the sun as well. Elliot’s favorite hiking pants and Jen’s favorite hiking pants.
- Rainjacket – Although it’s primarily a desert environment, you never know what weather awaits you. If you’re looking for a new rain jacket fit for hiking, this is Elliot’s favorite rain jacket and Jen’s favorite rain jacket. This can also be used incase it gets windy, like it did on our hike on South Rim Trail.
- Hiking Boots – Solid footwear is a must in any national park, here are Elliot’s favorite trail runners and Jen’s favorite hiking boots. It’s not recommended to wear sandals.
- Lightweight backpack – Elliot carries this backpack with the included rain cover, while Jen carries this backpack. We packed all of our snacks, electrolytes, water, and emergency trail gear in our backpacks.
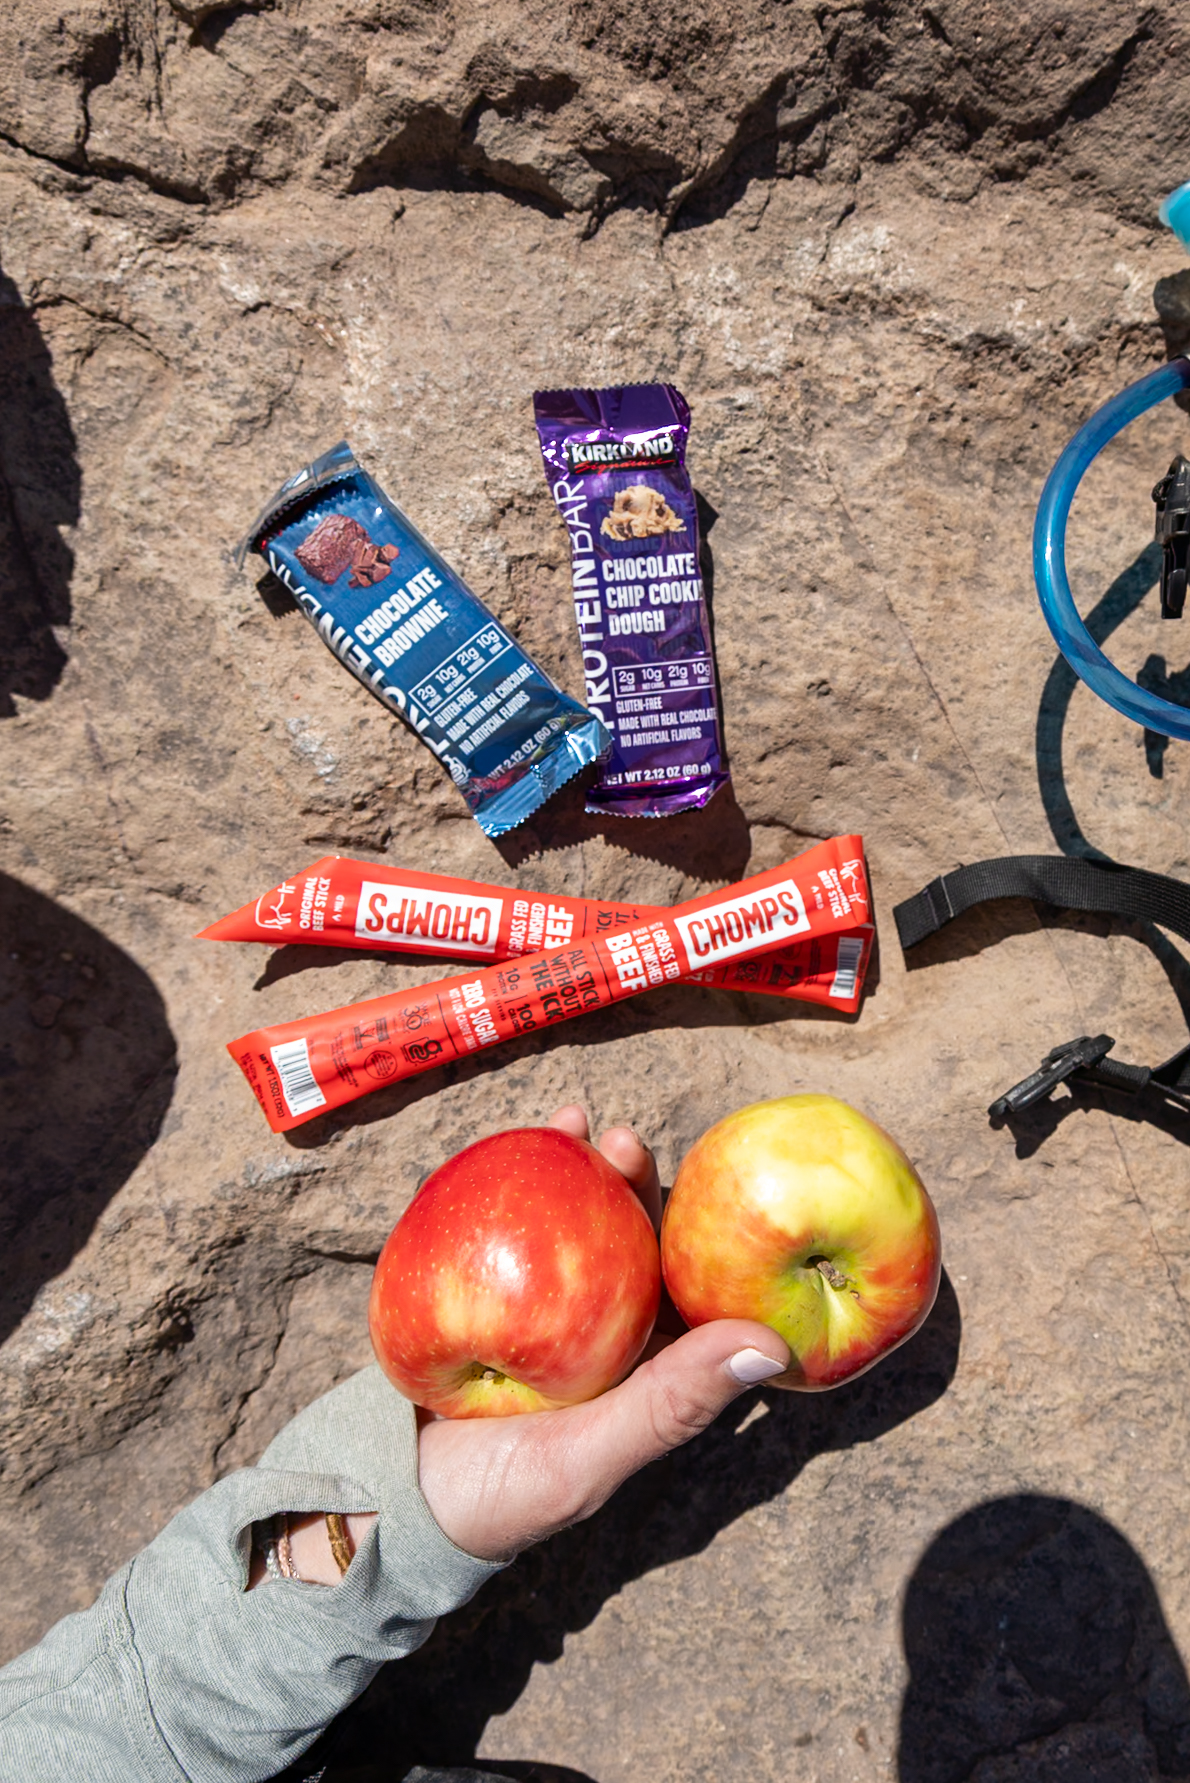
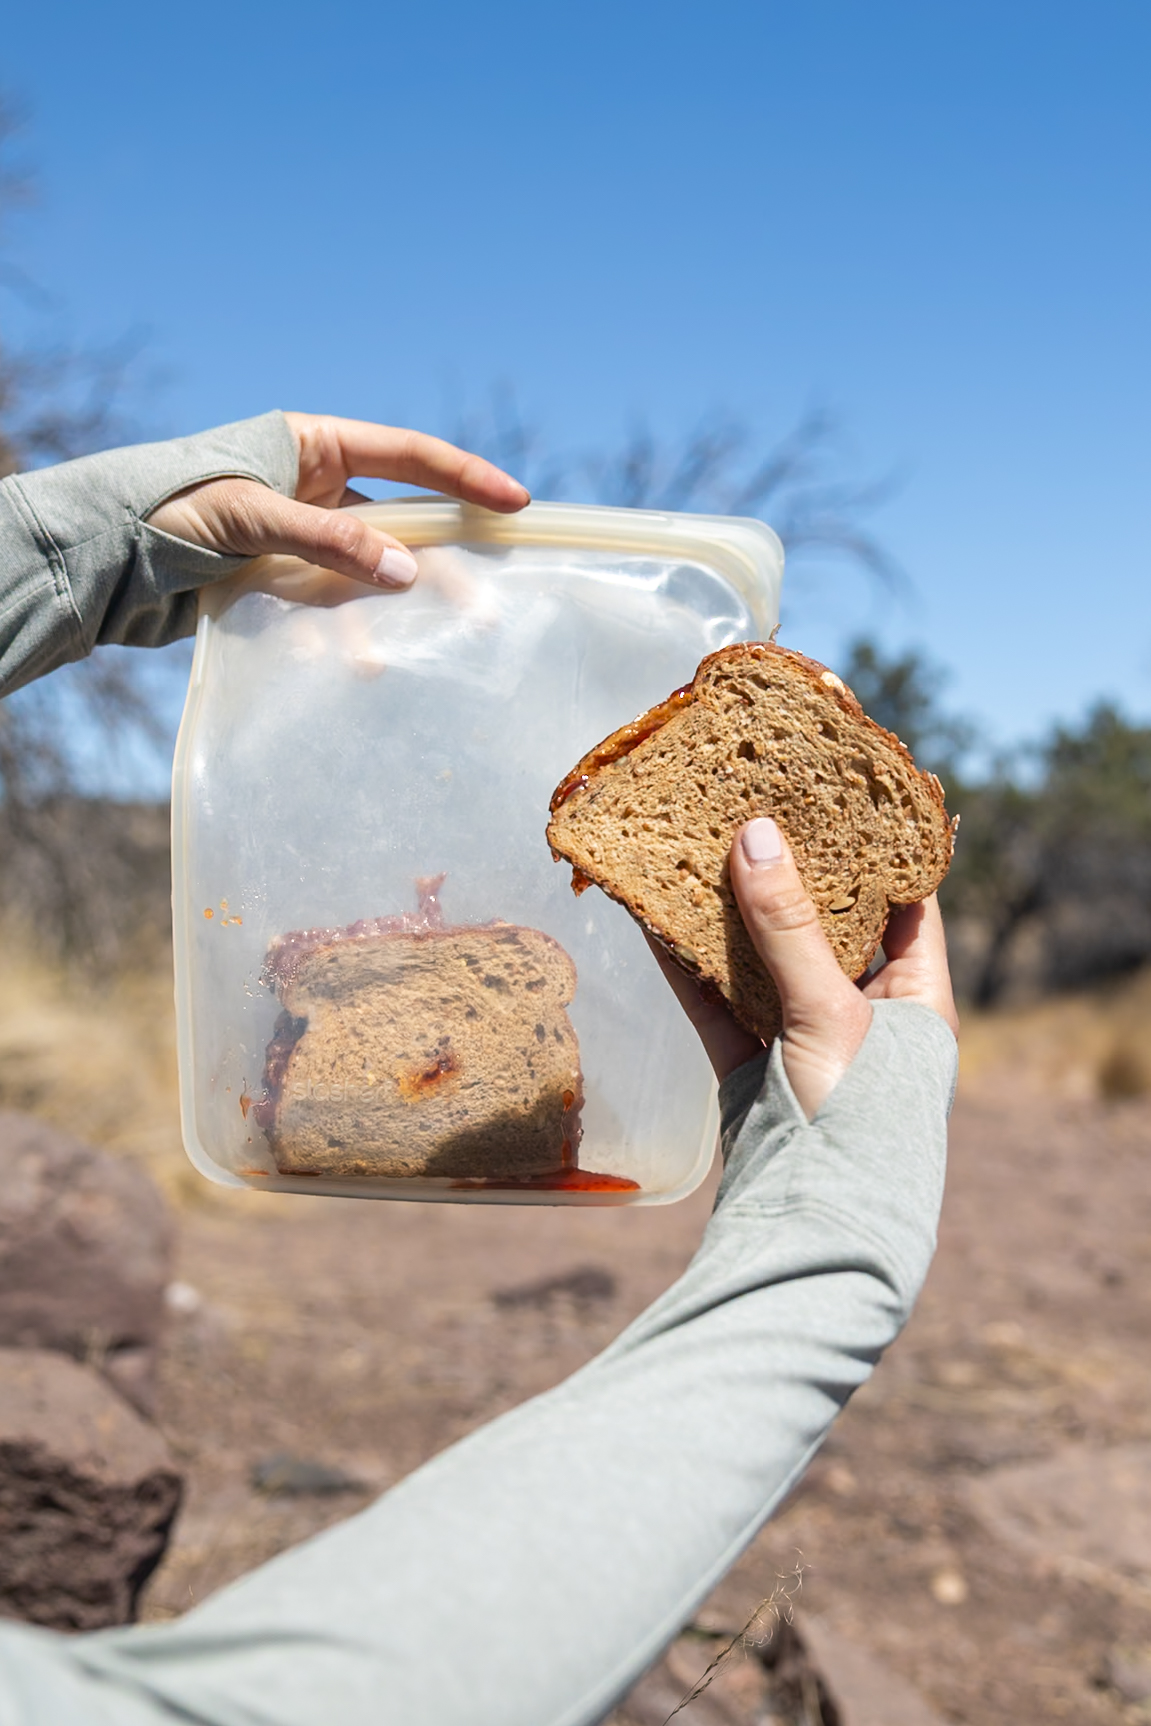
- Snacks – We always make sure to pack protein-rich, lightweight snacks with us while hiking. Some of our favorites include protien bars, a piece of fruit, pb&j sandwiches, and beef sticks.
- Electrolytes – We always bring electrolytes on long hikes to stay hydrated, especially in the desert heat.
Safety Essentials
- Trail Maps – We love using AllTrails+ to download maps ahead of time.
- GPS – We carry the Garmin InReach Mini 2 with us on all trails for safety.
- First Aid Kit – This first aid kit is one of those items we hope to never have to use but always carry, just in case. We actually ended up using our first aid kit on this trail to help another hiker who slipped and fell.
- Headlamp – A headlamp is especially useful when going on sunrise, sunset, or night hikes! Since we started this hike at first light, we used our headlight for a short periord.
With offline maps, wrong-turn alerts, and extra planning features, make the most of every outside adventure with AllTrails Plus. Get 7 days of AllTrails Plus for free!
Camping and Accommodation Options
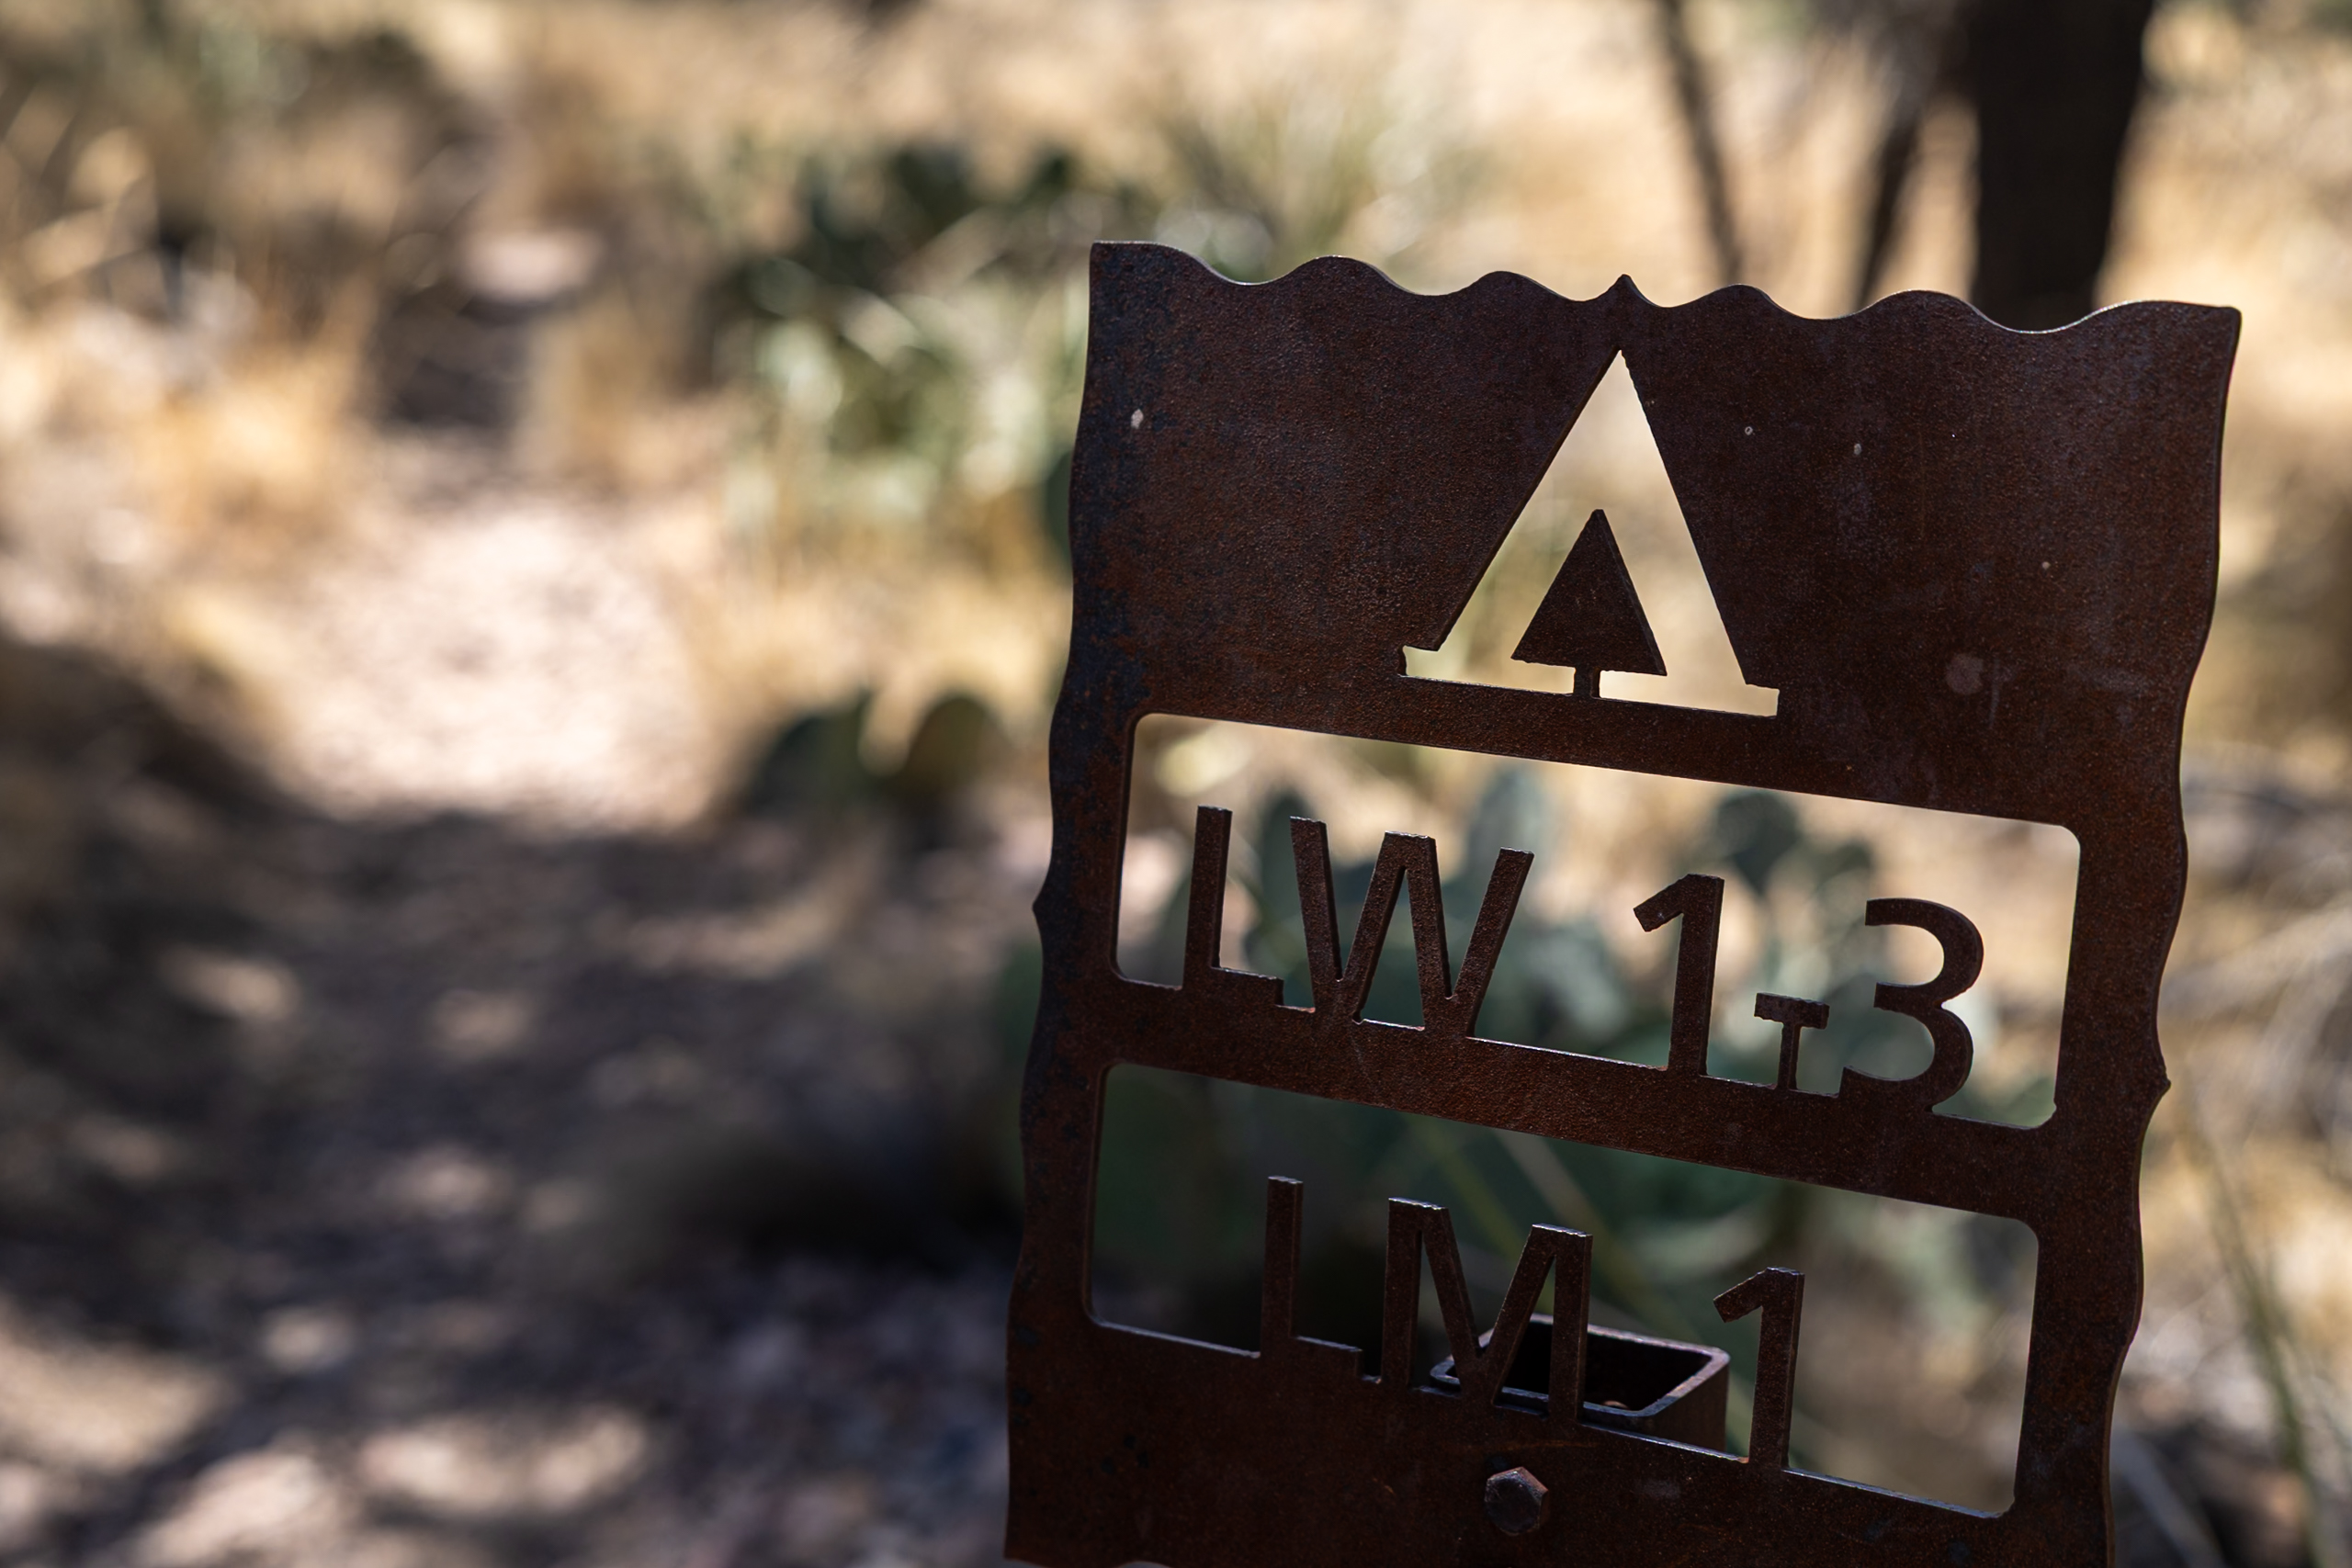
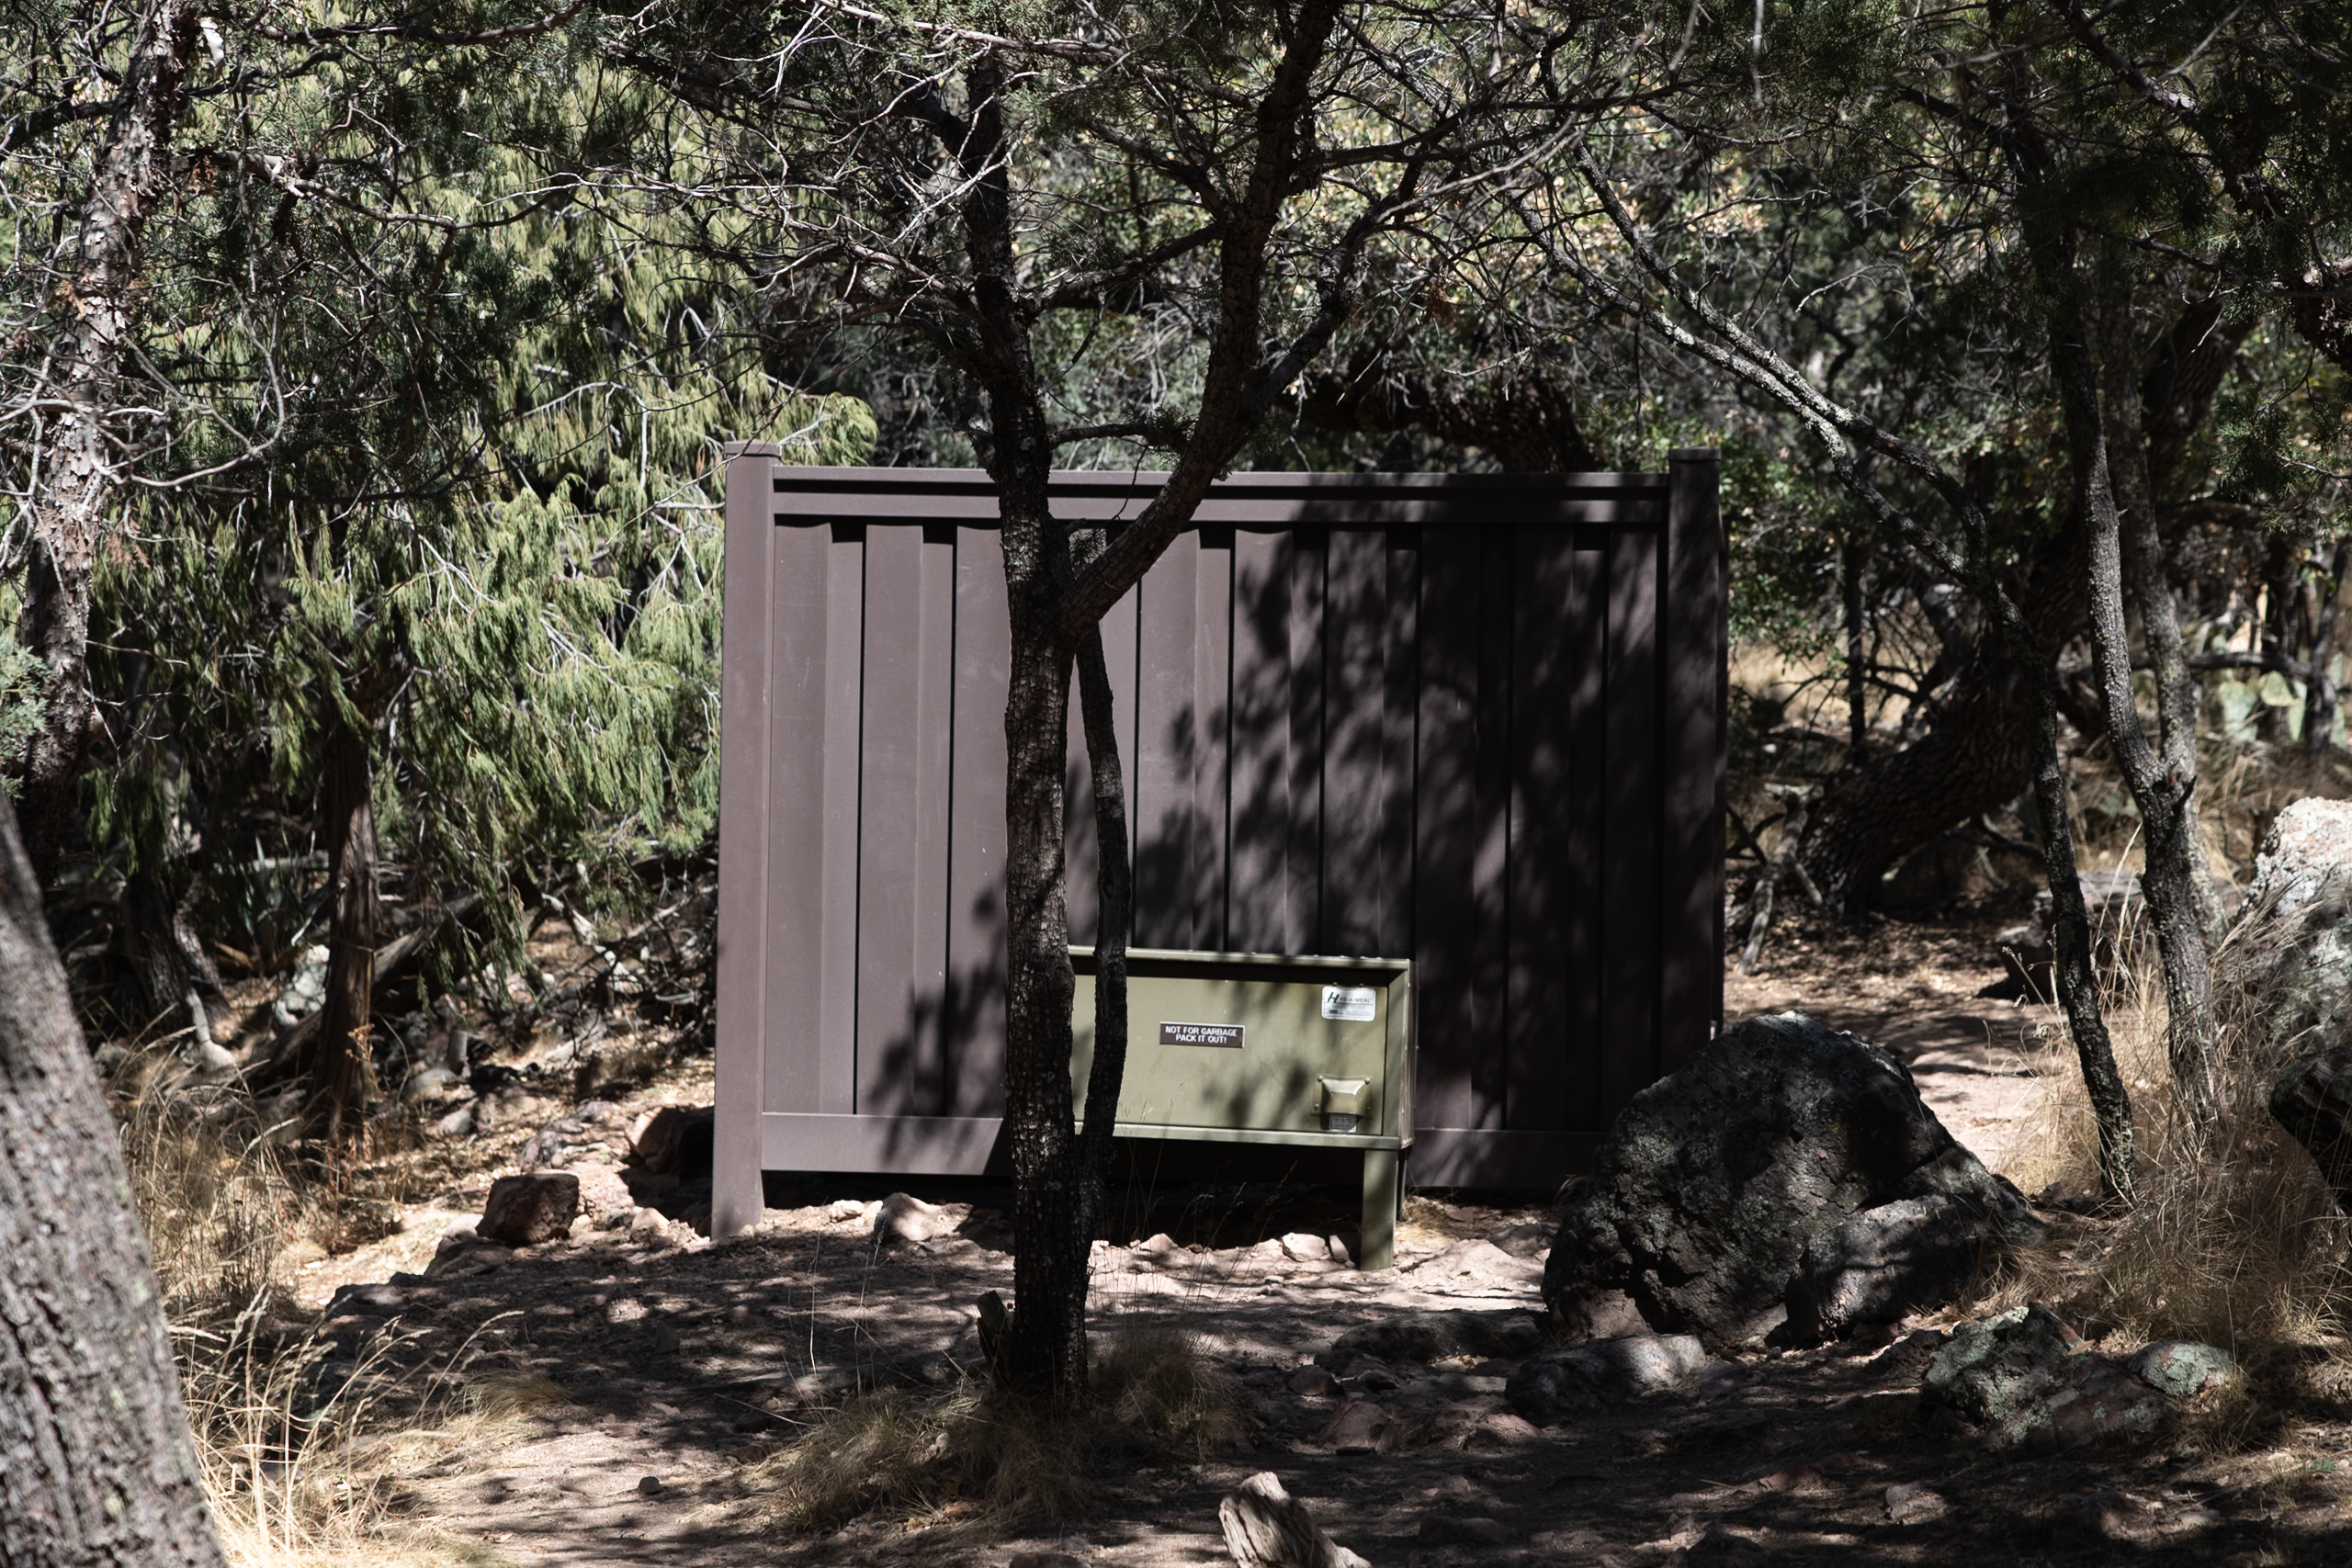
Along the South Rim Trail, you will find several marked signs for backcountry camping. During our hike on the South Rim trail, we saw several groups of college students (we visited during spring break) backpacking the trail with the intention to backpack. If we hadn’t had responsibilities for our dog Ollie, we would have loved to break this trail into two days and backpack it. The camping sites were well spaced out, had ample room for tents, and some spots even had bear boxes to store food in. One important thing to note is that there is no water fill up on the trail, so backpackers have to carry in all of their required water plus some.
During our time in Big Bend National Park, we opted to camp in the park’s various campgrounds. We stayed at Chisos Basin Campground, which was perfect for easy access to start the South Rim Trail hike without worrying about parking, although it did add extra mileage onto our already long day.
Try Harvests Hosts and receive a free month on us!
Members get unlimited overnight stays at thousands of small businesses, including farms, wineries, breweries & distilleries, and attractions, that invite RVers to park for safe and convenient stays.
Use code schoandjo20 at checkout for an extra discount!
Final Thoughts
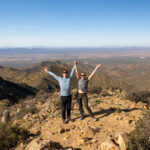
This was a fabulous hike and easily one of our favorite hikes in the US National Parks on our journey to visit all the National Parks! The views are incredible and eating our lunch with views that inspired the founders of Big Bend National Park to work tirelessly to protect this special place was deeply moving. We highly recommend this hike if you are physically able!

📰 Related Articles
- How to Camp in Big Bend National Park: Tent & RV Camping Guide
- Boquillas, Mexico: The Perfect Half-Day Trip from Big Bend
- What to Pack for Big Bend: Ultimate Packing Guide
- The 5 Visitor Centers of Big Bend: What You Need to Know
- 17 Must-See Attractions in Big Bend National Park
- 3-Day Big Bend National Park Itinerary & Ultimate Guide
- Our 9 Favorite Hikes in Big Bend National Park
📺 Watch on YouTube
📌 Pin this post
Save this post to Pinterest to make your upcoming trip a breeze to plan!


Leave a Reply
You must be logged in to post a comment.