

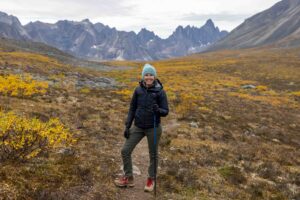
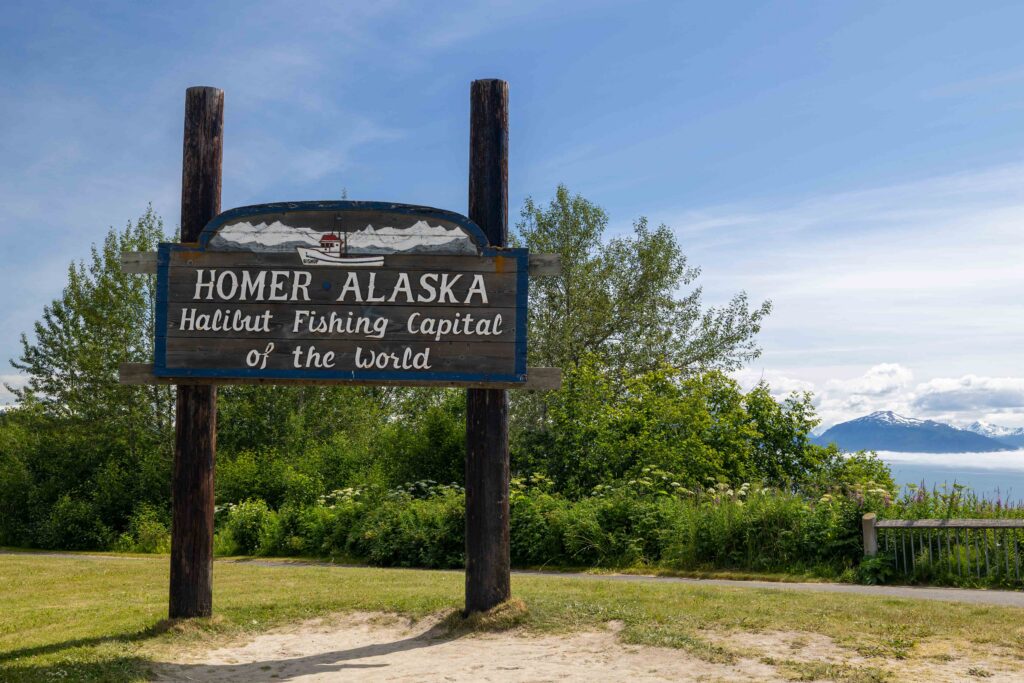
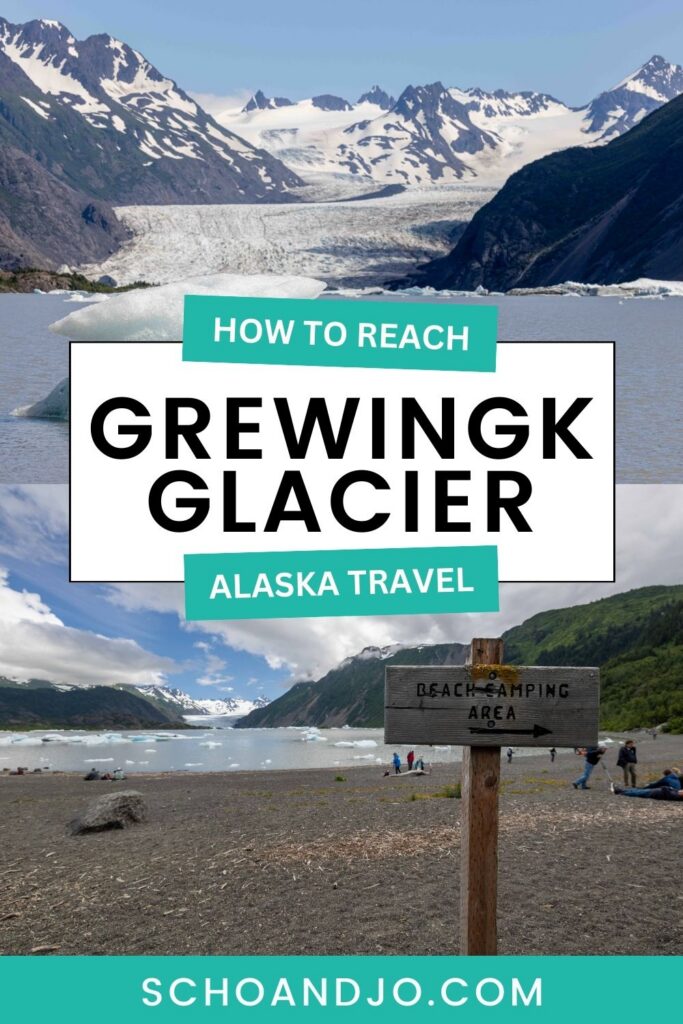
If you’re looking for a memorable day trip or overnight adventure from Homer, Alaska, look no further than Grewingk Glacier in Kachemak Bay State Park! Located just across the bay from the Homer Spit, this stunning glacial lake is hands-down the park’s most popular destination.
In this guide, we’ll share our own experience backpacking here, a fun side-quest on the hike out, as well as more things to do in Kachemak Bay State Park if you’re looking to spend more time in the park. Let’s get into it!
Note: We use affiliate links which provide us a little kickback each time you use one of our links and make a purchase, without any additional cost to you. We do not recommend products that we don’t already love or have heard great things about, so you can trust we’re only suggesting great products to you.
🌲 About Kachemak Bay State Park
Kachemak Bay State Park is Alaska’s first state park and one of the best spots to escape into the wilderness if you find yourself in Homer. Spanning over 400,000 acres of rugged coastline, mountains, and glaciers, this park makes the perfect backdrop for any outdoor adventure: hiking, camping, paddleboarding—you name it!
And if you’re looking to spot Alaskan wildlife, you’re in luck. This park, and the surrounding bay, is known for its abundant sea and land wildlife, including black bears, mountain goats, bald eagles, sea otters, puffins, and more!
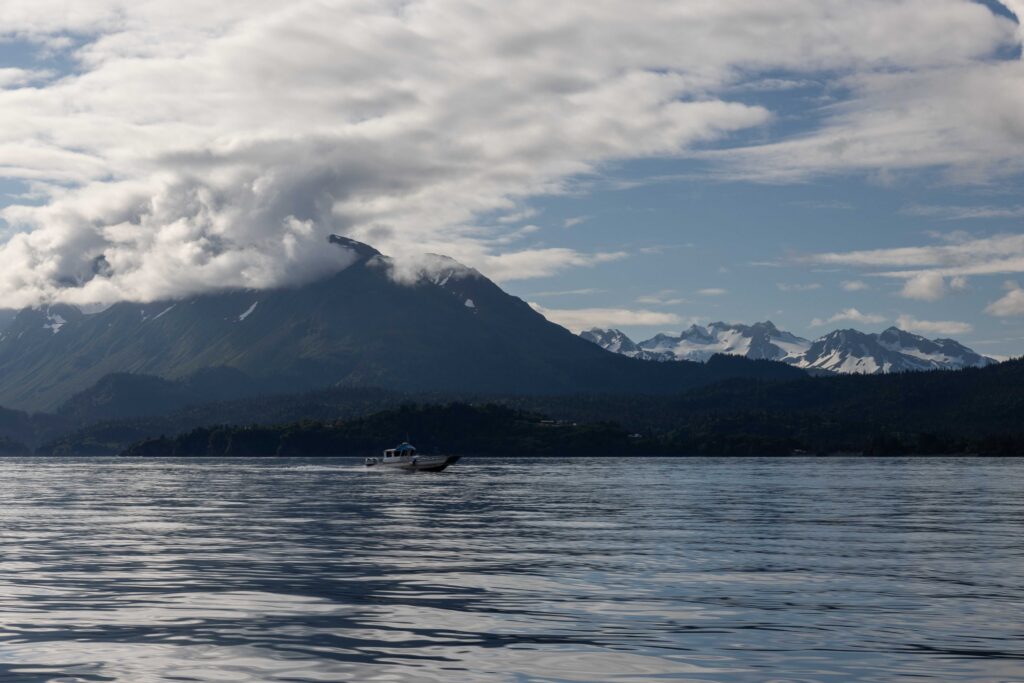
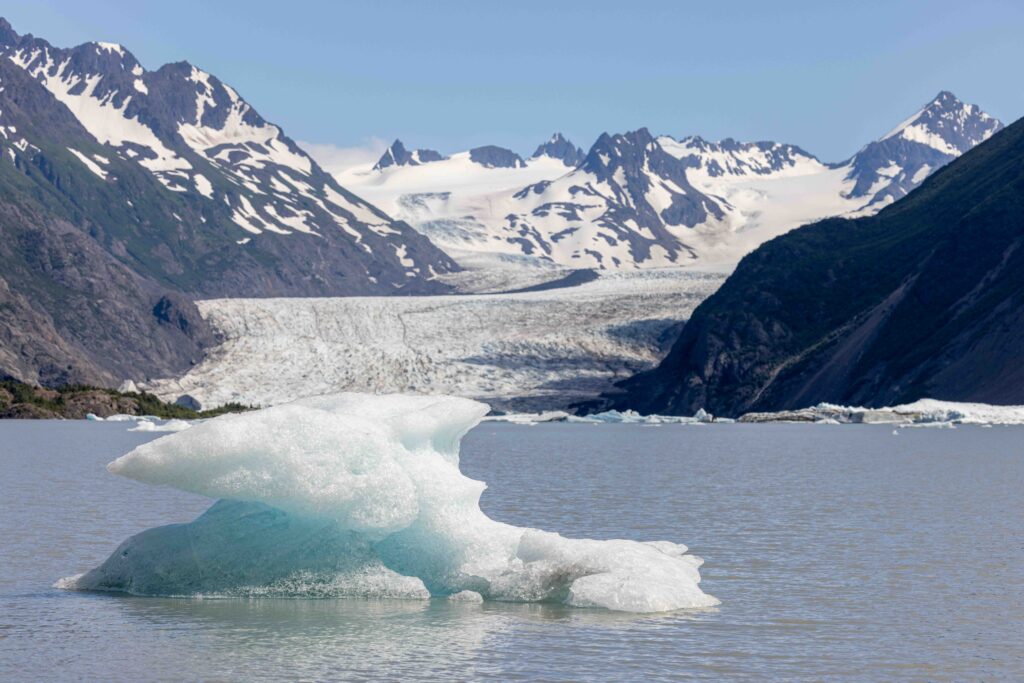
Grewingk Glacier in particular is one of the most visited and iconic features in the park. Flowing from the nearby Harding Icefield in Kenai Fjords National Park, the glacier stretches approximately 13 miles (21 km) and feeds directly into Grewingk Glacier Lake, where floating icebergs and dramatic mountain scenery make it a top destination for backpackers and day hikers alike!
🛶 How to Get to Kachemak Bay State Park
Kachemak Bay State Park is located on the Kenai Peninsula in Southcentral Alaska, just south of Kenai Fjords National Park. To visit the park, you’ll first need to make your way to the coastal city of Homer. The most common way to reach Homer is by car, which is what we did. If you don’t have your own vehicle, we recommend renting a car. There are also daily bus services from Anchorage, such as the Alaska Bus Company.
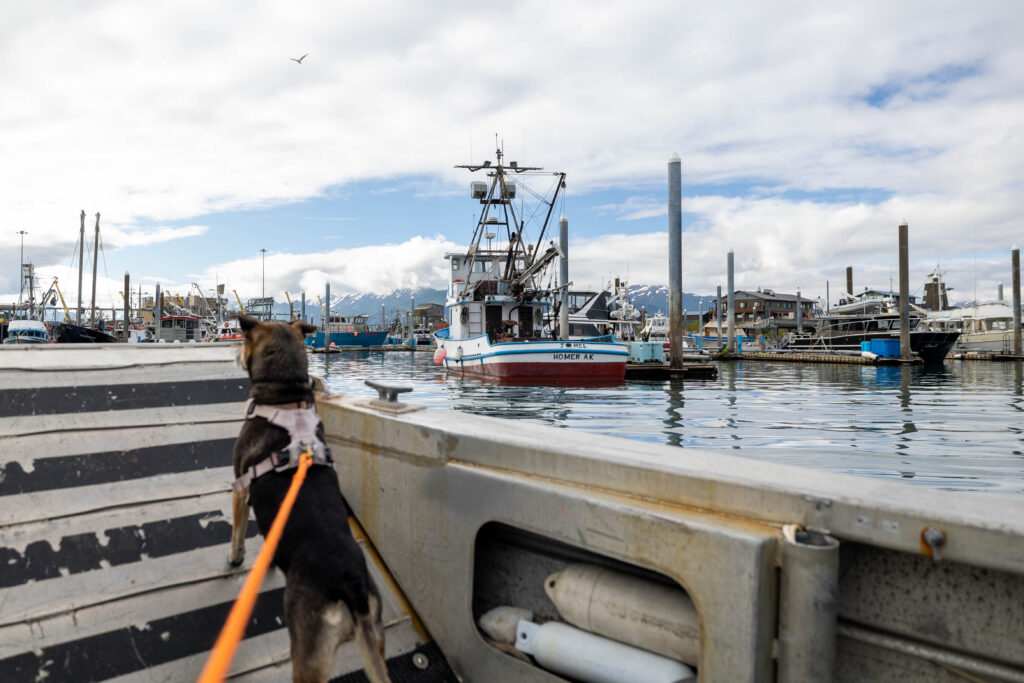
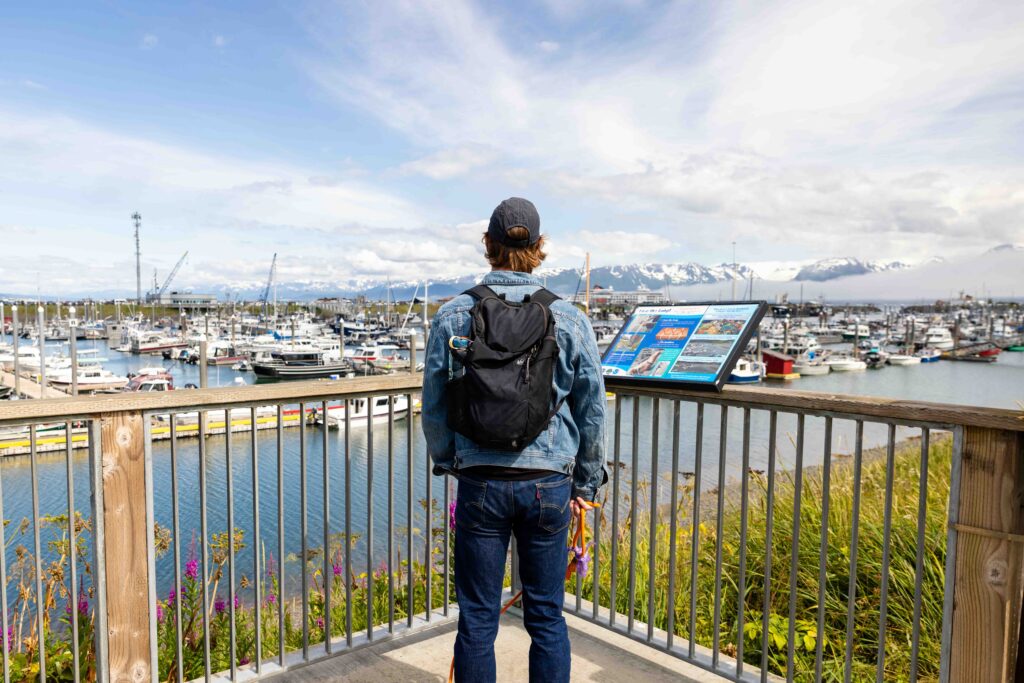
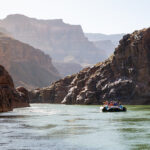
Once in Homer, you can find parking in the Marina Parking Lot at the end of the Spit. You can park here for up to 7 days for free, as long as you don’t stay overnight in your vehicle. Then, the most common and budget-friendly way to make your way across the bay is to take a water taxi from the Homer Spit.
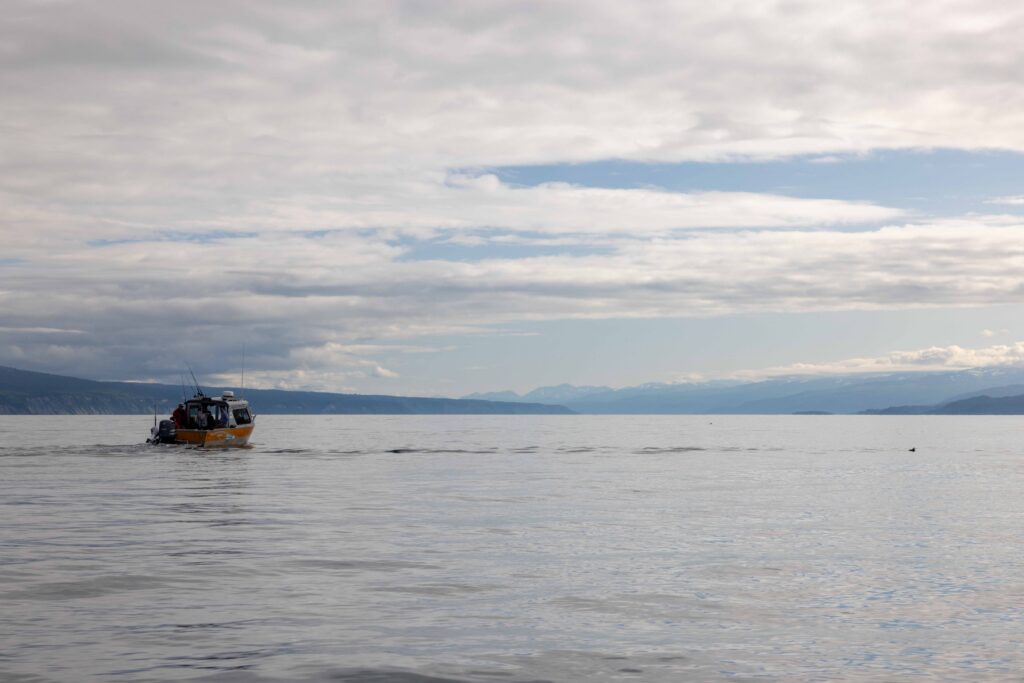
We went with Ashore Water Taxi as they were a locally-owned operator, and paid $85 per person (not including tip), which included the $6 state park entry fee. You can also reach Kachemak Bay State Park by small plane, though this option is significantly more expensive.
🧊 3 Ways to Visit Grewingk Glacier
You have several options as to how to visit Grewingk Glacier Lake. You can treat it as a day hike (taking the water taxi in and out the same day), turn it into an overnight backpacking trip as we did, or extend your visit to a multi-day adventure. Below, we’ve outlined how to plan each.
🚗 Can’t make it to the park? If you can’t make it to Kachemak Bay State Park at all, you can still catch a glimpse of Grewingk Glacier from this viewpoint on Skyline Drive in Homer.
- Day Hike: If you’re visiting Grewingk Glacier Lake as a day hike, you’ll typically catch a morning water taxi (usually around 9:00 am) and be picked up in the early afternoon (often around 1:30 pm). This gives you plenty of time to hike the Glacier Lake Trail, take a side-trip to a neat hand tram (more on this below), and enjoy a packed lunch by the lake before heading back to the water taxi.
- Overnight Backpacking Trip: An overnight backpacking trip allows you to enjoy the park at a slower pace. This is what we did, and we had plenty of time to complete the hike, spend the night by Grewingk Glacier Lake, and make our way back to the water taxi the next morning (11 am). If you’re interested in this option, read about our step-by-step experience in this section.
- Multi-Day Backpacking Trip: If you’re looking to see even more of the park, plan a multi-day backpacking trip! Jump down to our more things to do section to plan the rest of your days.
🏕️ How to Backpack to Grewingk Glacier (Step-by-Step)
Below, we’ve outlined our step-by-step experience backpacking to Grewingk Lake and back in Kachemak Bay State Park. Feel free to copy us, using this as a guide to plan your own trip!
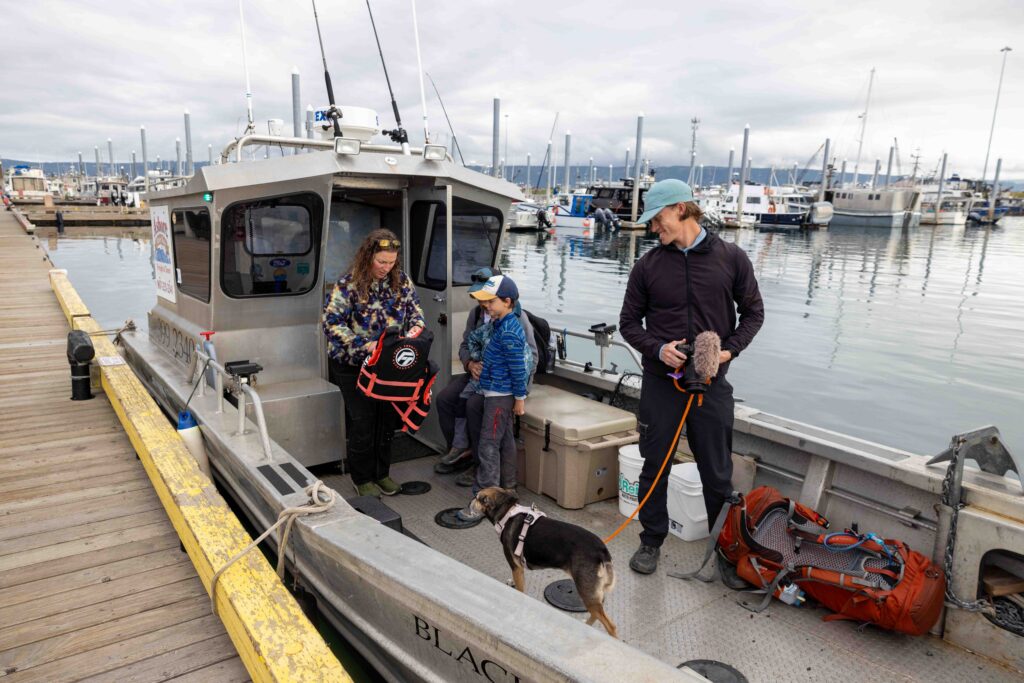
1. Park in Homer’s Marina Lot
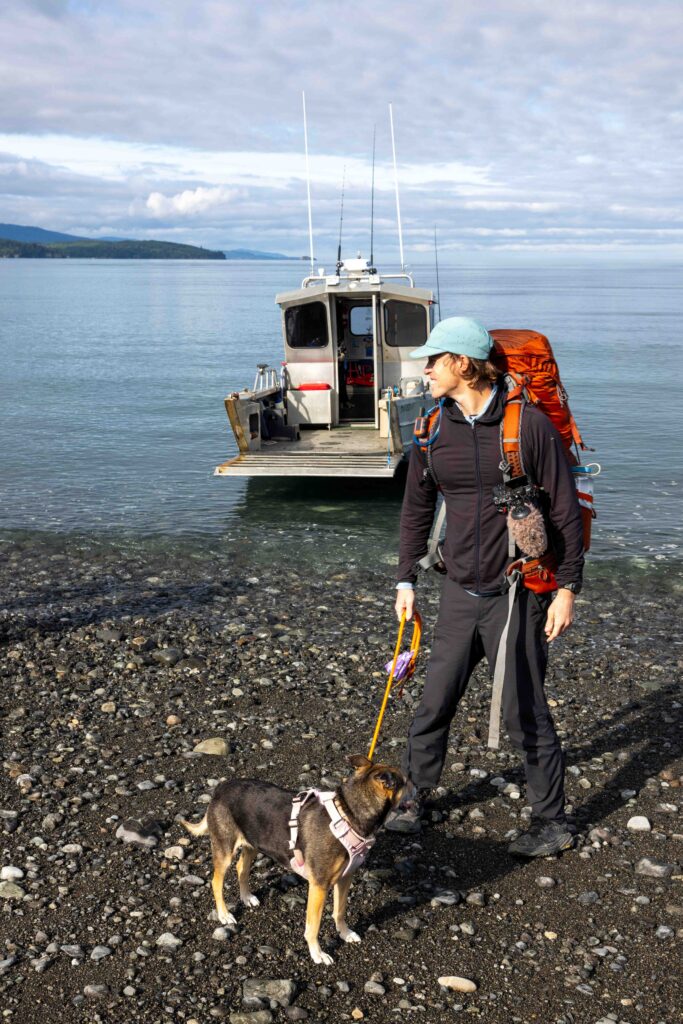
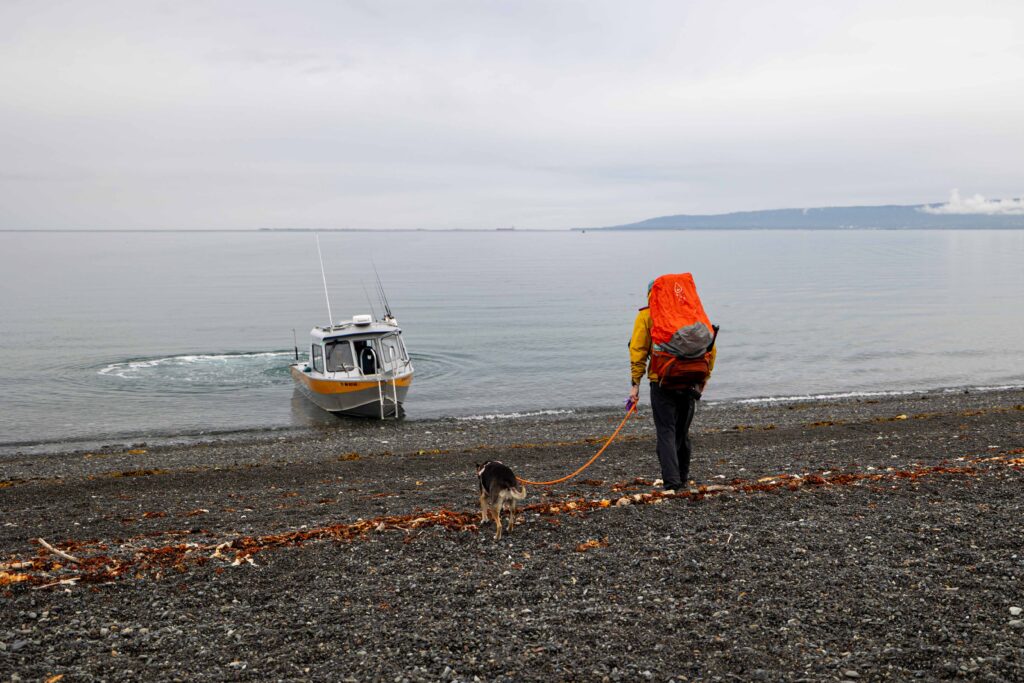
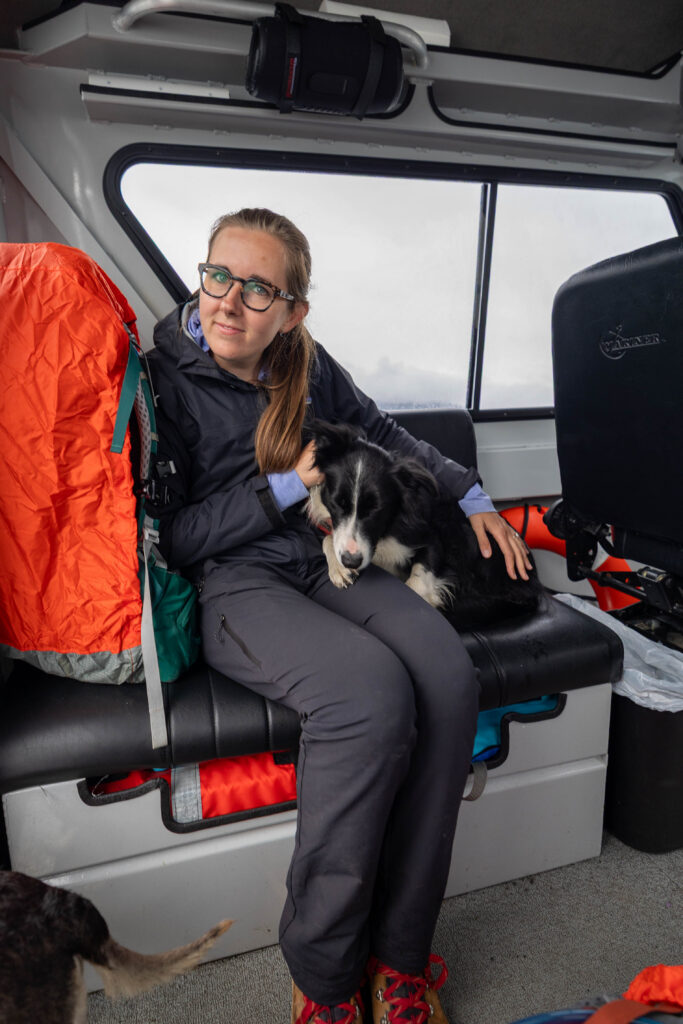
We started our backpacking adventure the day before, packing our gear the night prior and parking in Homer’s Marina Parking Lot, which offers up to seven days of free parking. After signing some required waivers with Ashore Water Taxi, we hopped on our small boat for the 30-minute ride across Kachemak Bay.
2. Catch a Water Taxi Across the Bay
The boat ride was already an adventure in and of itself. We spotted two sea otters, a seal, and several puffins along the way. Our guide was kind enough to slow down whenever wildlife appeared, which made the ride double as a wildlife viewing tour!
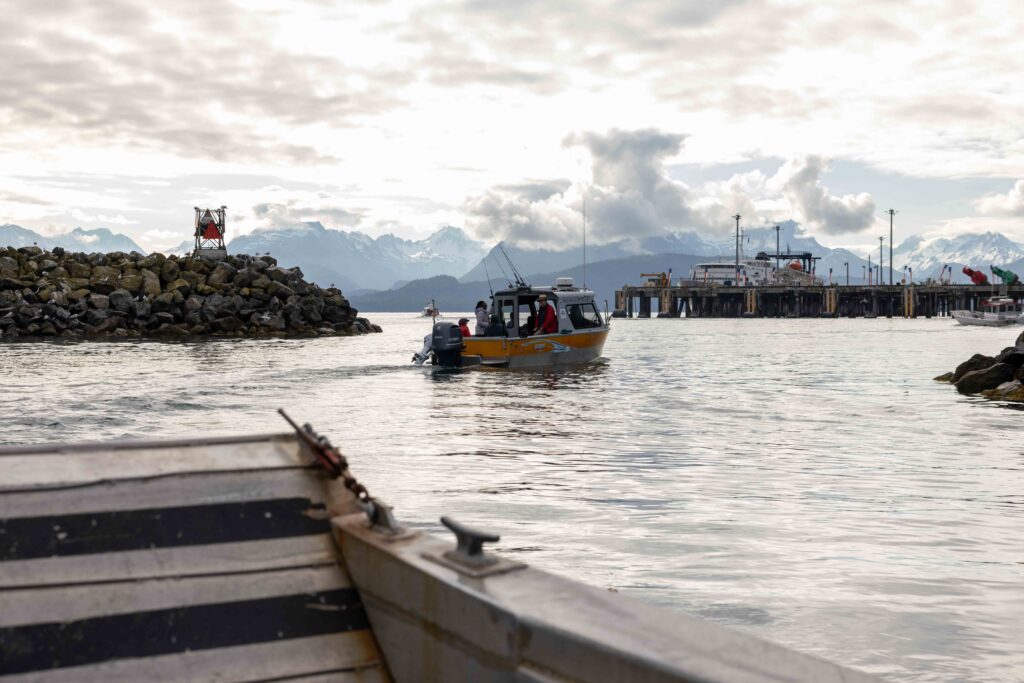
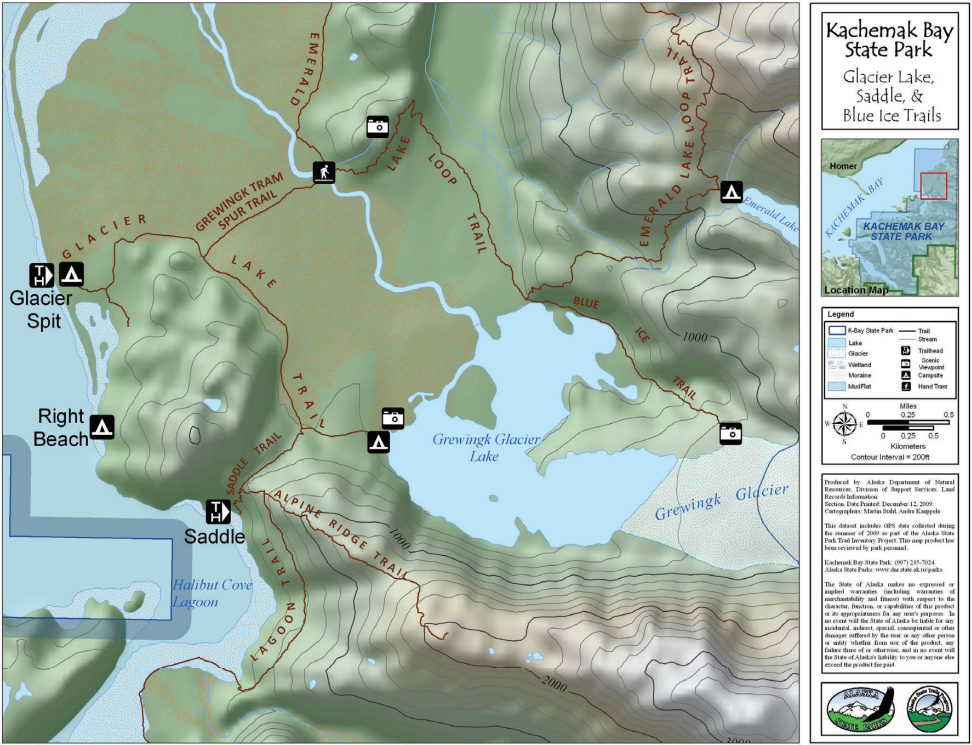
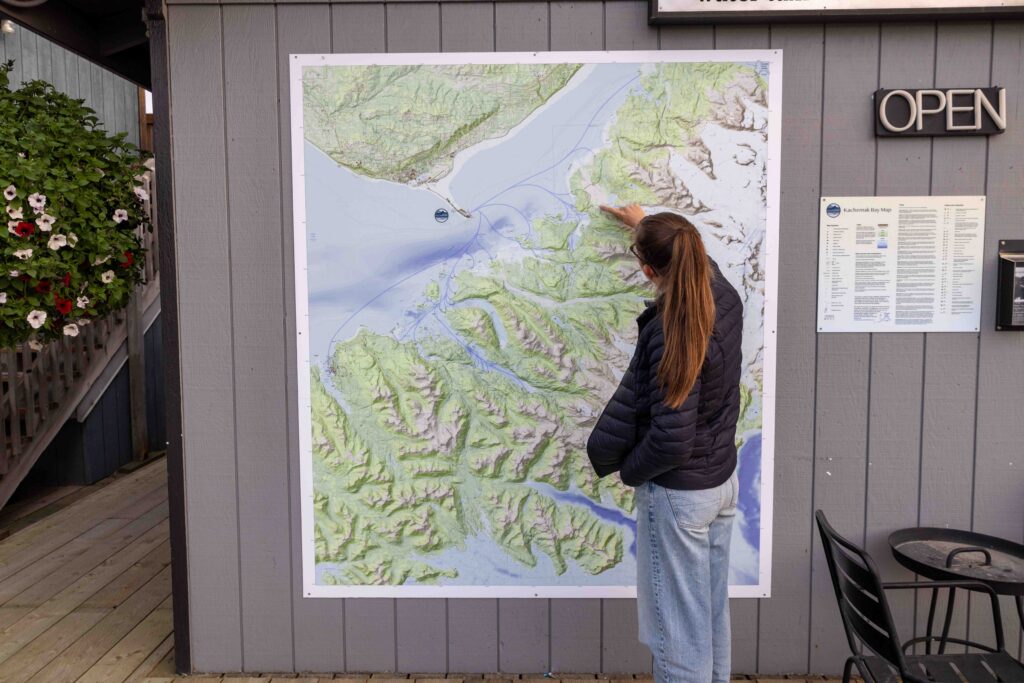
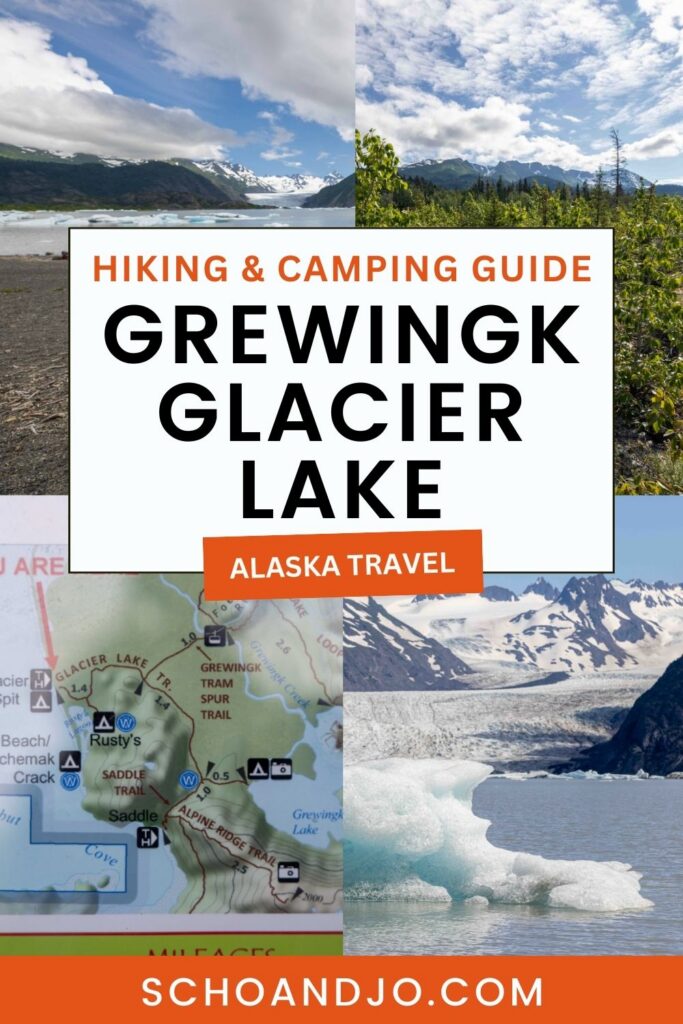
Morning water taxis like ours typically drop you off at the Grewingk Glacier Trailhead (Glacier Spit), which you can see on the above map. Afternoon rides often land at the Saddle Trail due to afternoon winds and poorer conditions for the beach landing. If you get dropped off at the Saddle Trail, you can follow this trail map instead of the one we share below.
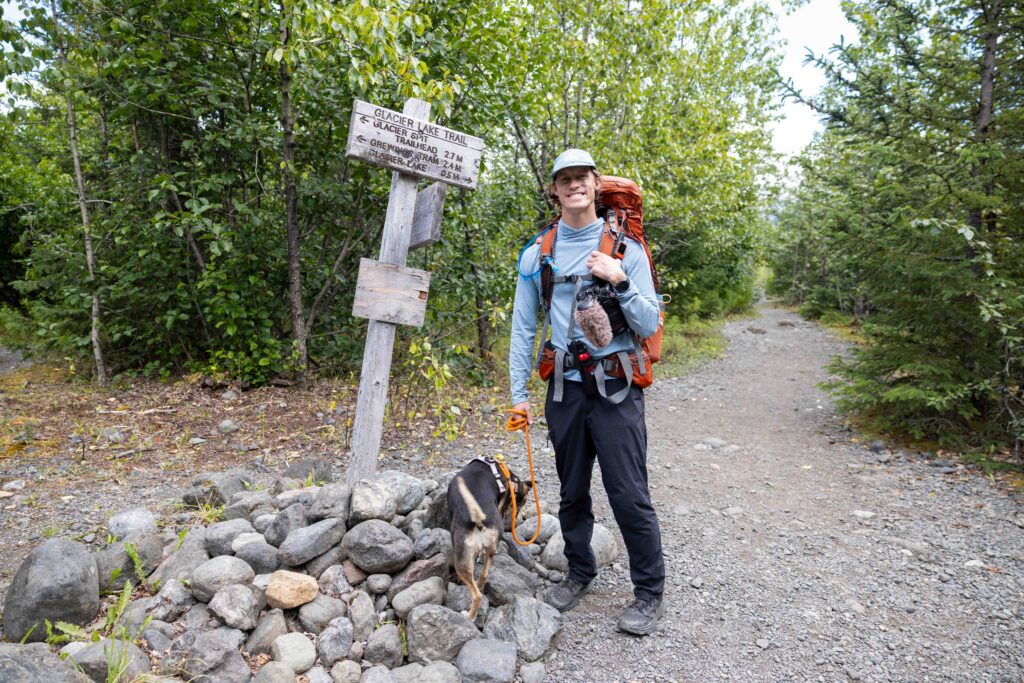
3. Start on Grewingk Glacier Trail
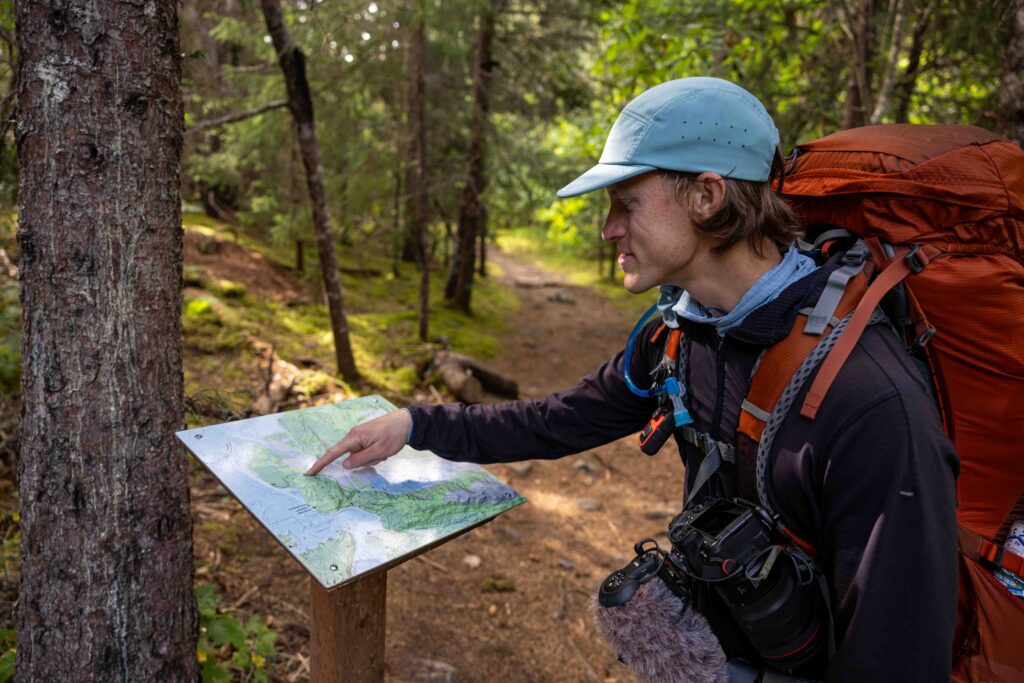
At the beginning of the trail, there was a pit toilet and a stand with a sign-in notebook where we signed our names, essentially “checking ourselves in” to the park. Then, we started making our way down the Grewingk Glacier Trail.
💡 Always check-in if it’s present at a trailhead – it’s for safety incase something goes wrong.

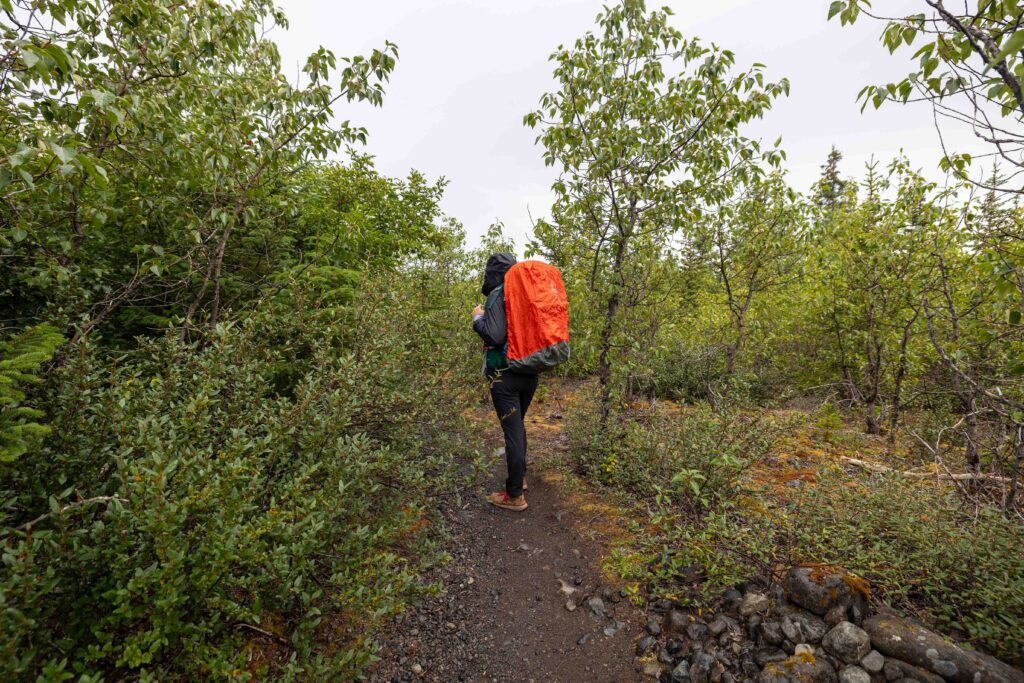
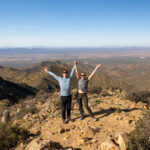
This trail is 9.3 miles (15 km) long in total. Although it’s split up into two days, you hike about 60% of it on the first day to the lake if you’re spending the night. There were some rocky areas, so although it isn’t suitable for wheelchair users, we feel it was the perfect low-difficulty trail for our first backpacking trip.
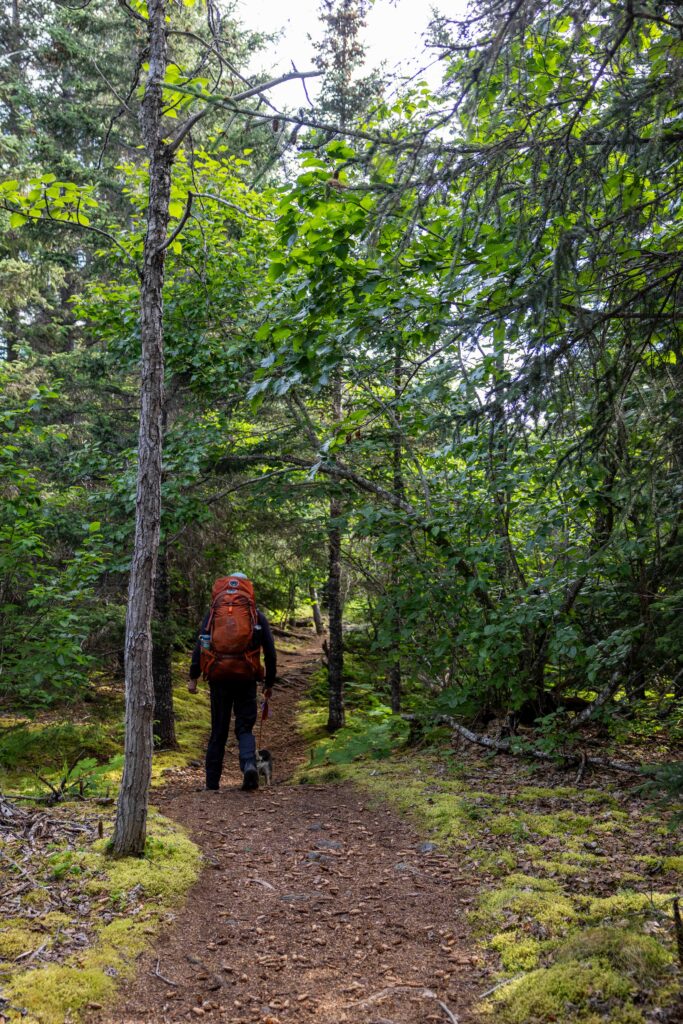
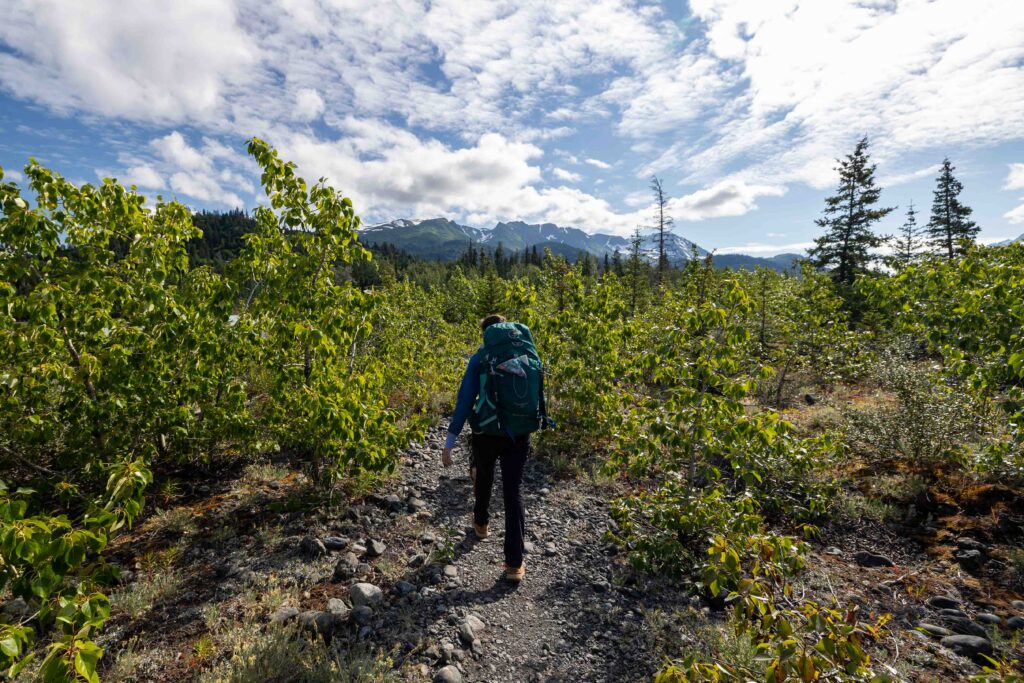
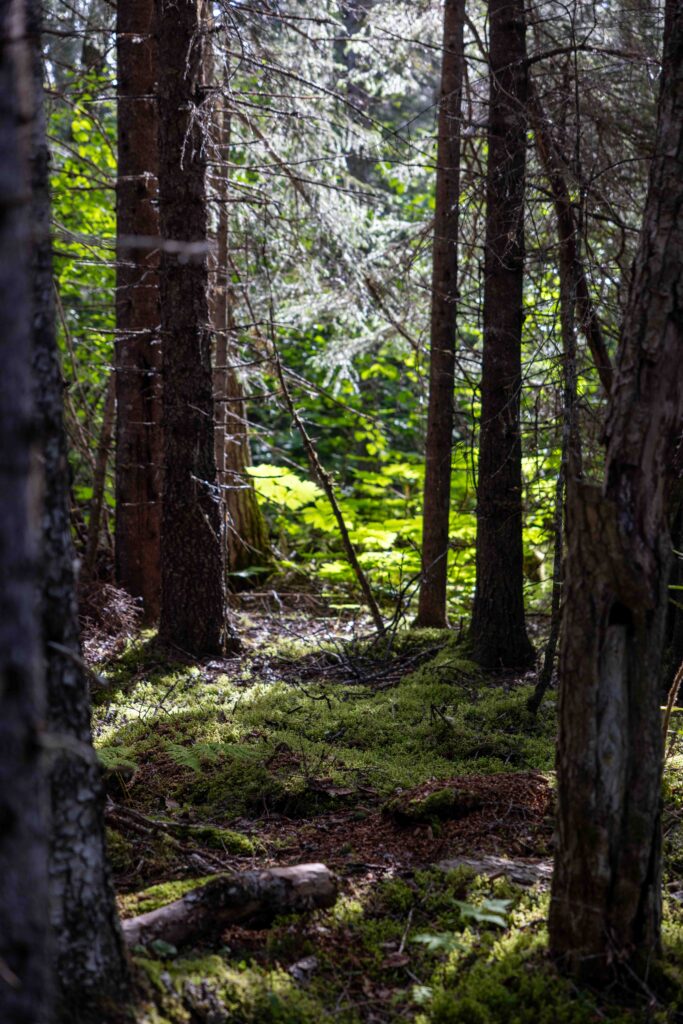
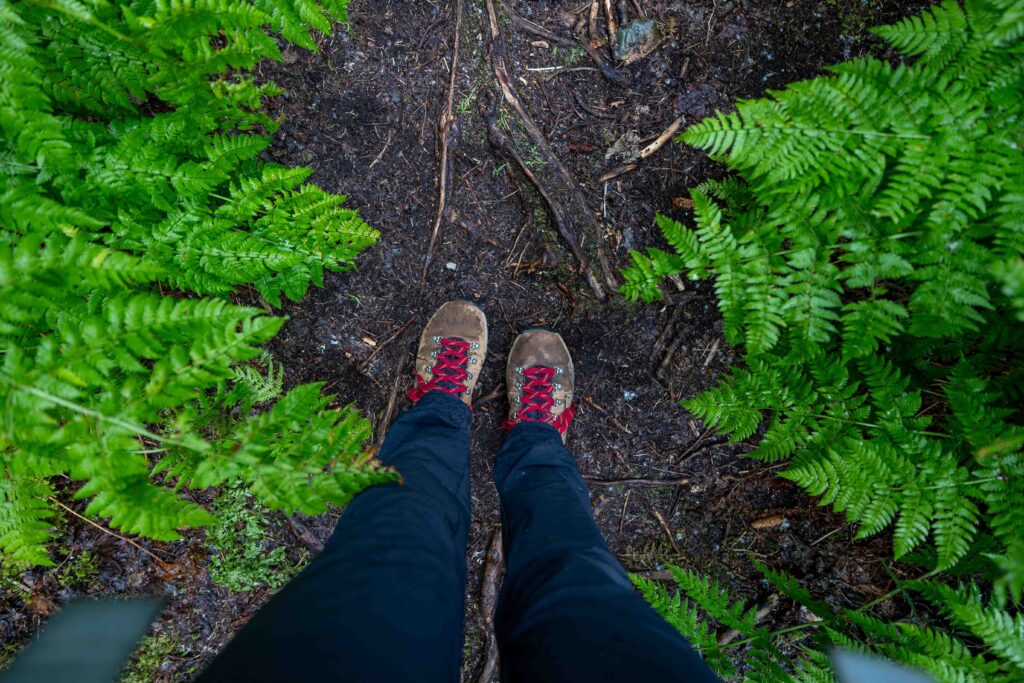
This first section of the trail was relatively easy, taking us through a lush wooded section that felt like we were in a rainforest. About halfway to the glacier, there’s an optional side trail we took to a hand tram where you pull yourself over a glacial river. This added 2 miles (3.2 km) to our overall hike (1 mile out and 1 mile back to the main trail), but we found it worthwhile! More on this in the next section.
The last stretch to the glacier was quite rocky, which bumped up the level of the hike for a bit, but the views of the lake with icebergs floating in it made it all worthwhile.
🗺️ Important Trail Info! The trail we linked above does not include the side-trail to the hand tram, which adds another 2 miles (3.2 km) to the overall hike.
With offline maps, wrong-turn alerts, and extra planning features, make the most of every outside adventure with AllTrails Plus. Get 7 days of AllTrails Plus for free!
4. Optional: Take a Detour to a Hand Tram
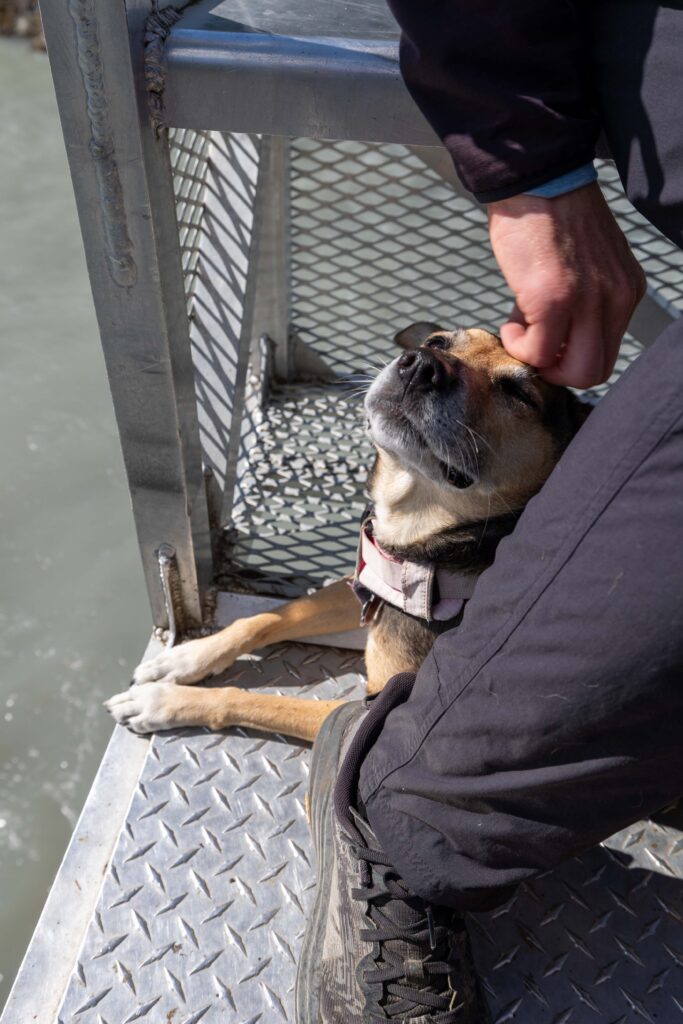
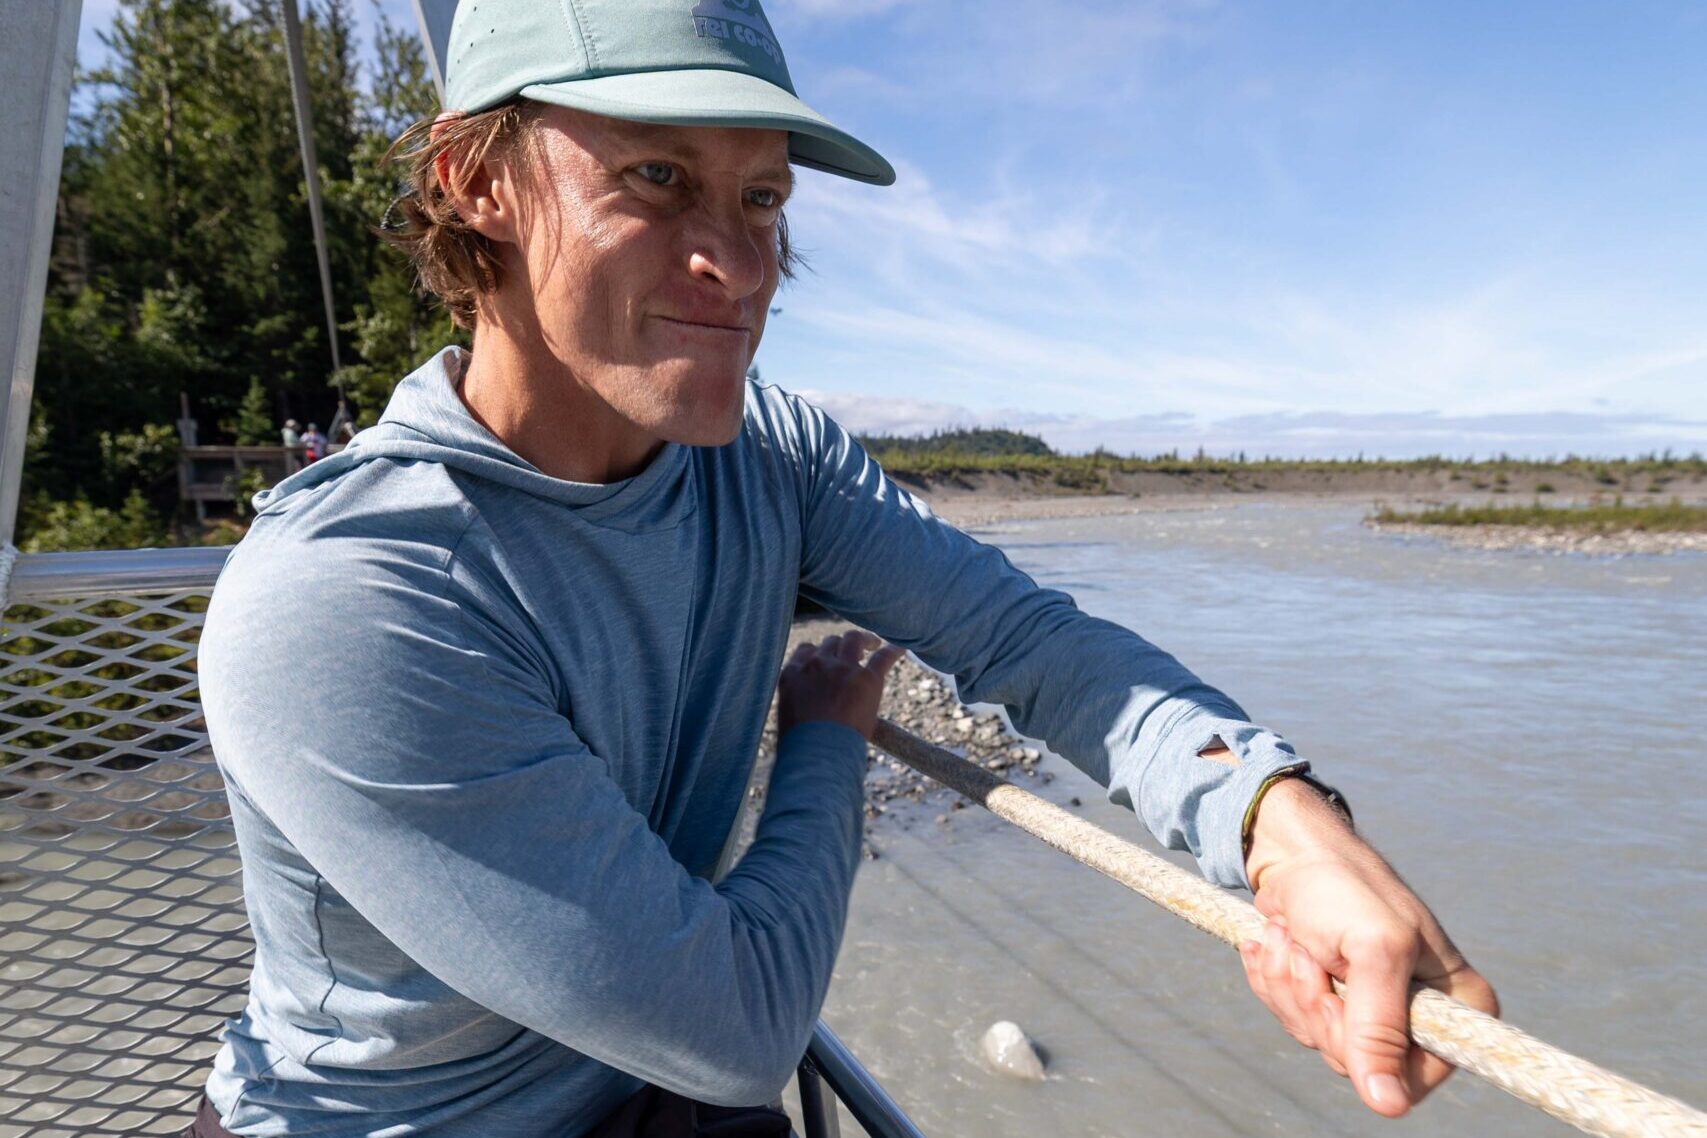
A few miles into the Grewingk Glacier Trail, we took the 1-mile out-and-back (2 miles in total) detour on the Emerald Lake Trail to reach the hand-operated pulley system cable car. This unique crossing lets you pull yourself about 30 feet (9 meters) above a glacial river, and it was easily one of the most memorable parts of our hike!
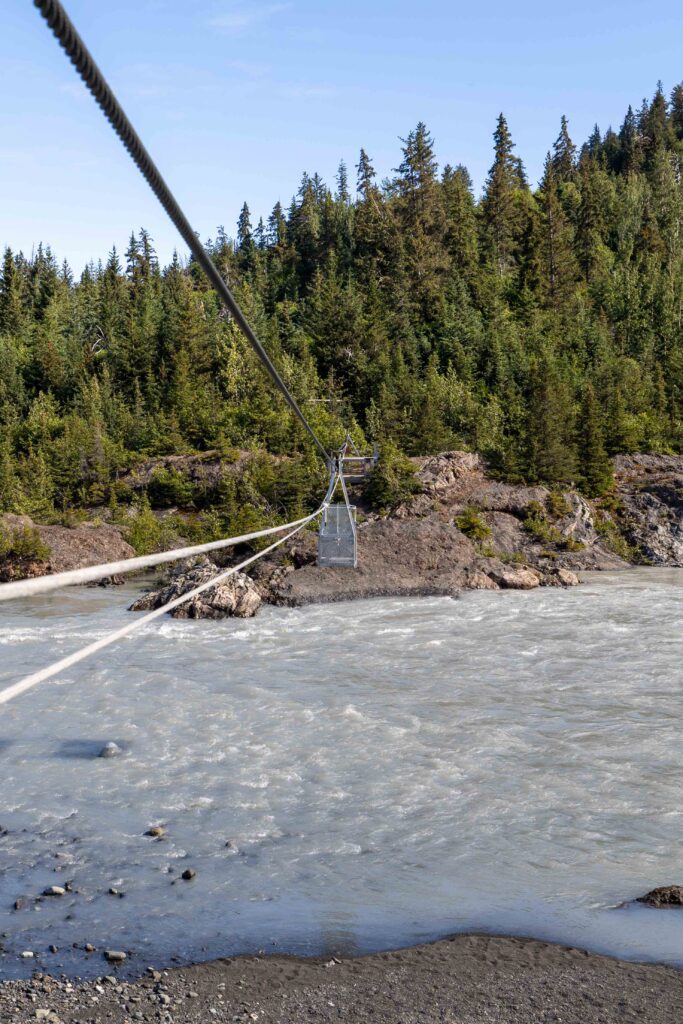
Although the trail isn’t currently (2026) maintained beyond the tram, it was well worth the hike out and back. The crossing was physically challenging (2 people are recommended to pull it across), but lots of fun. Ollie enjoyed riding in the tram as well, and we loved the social aspect of helping other hikers cross!
Although we went all together (leaving our gear back to take off weight), it’s recommended to go one at a time so the tram is easier to pull. It’s also recommended to inspect the equipment before crossing. While everything looked mostly solid, we did notice some wear on one metal guide piece, so use caution.

Afterward, we enjoyed lunch overlooking the river flowing toward Kachemak Bay before continuing to Grewingk Lake. This was a much-needed break made possible by backpacking at a relaxed pace rather than rushing to catch a ferry the same day.
ℹ️ Alternative Route Option! We found this alternative trail on AllTrails, which allows you to continue to a viewpoint of Grewingk Glacier and continue hiking once you cross the river with the tram.
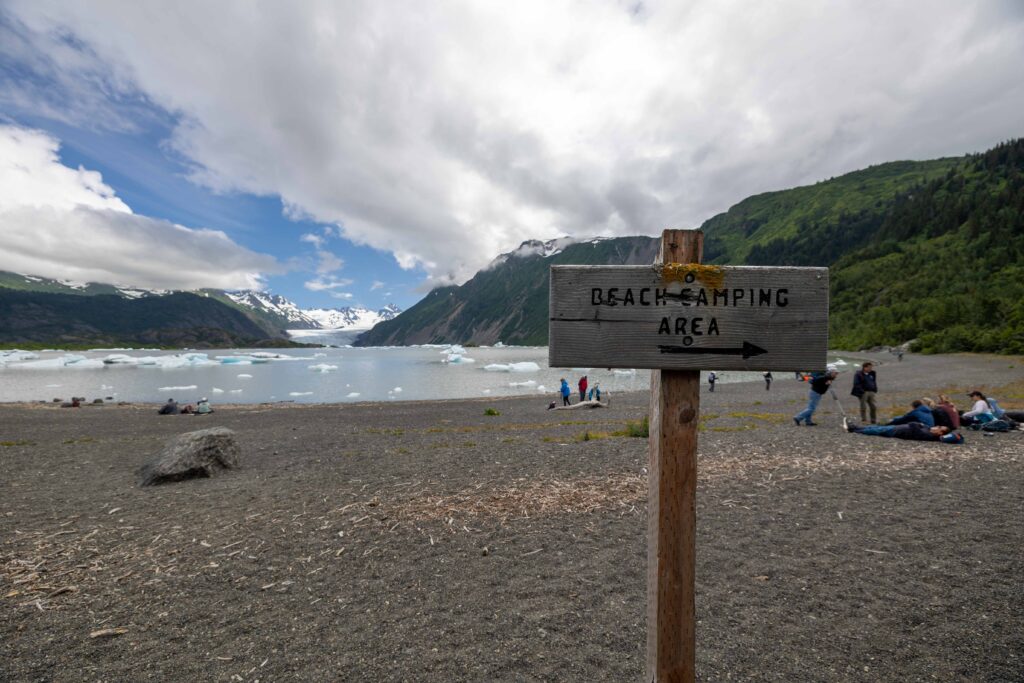
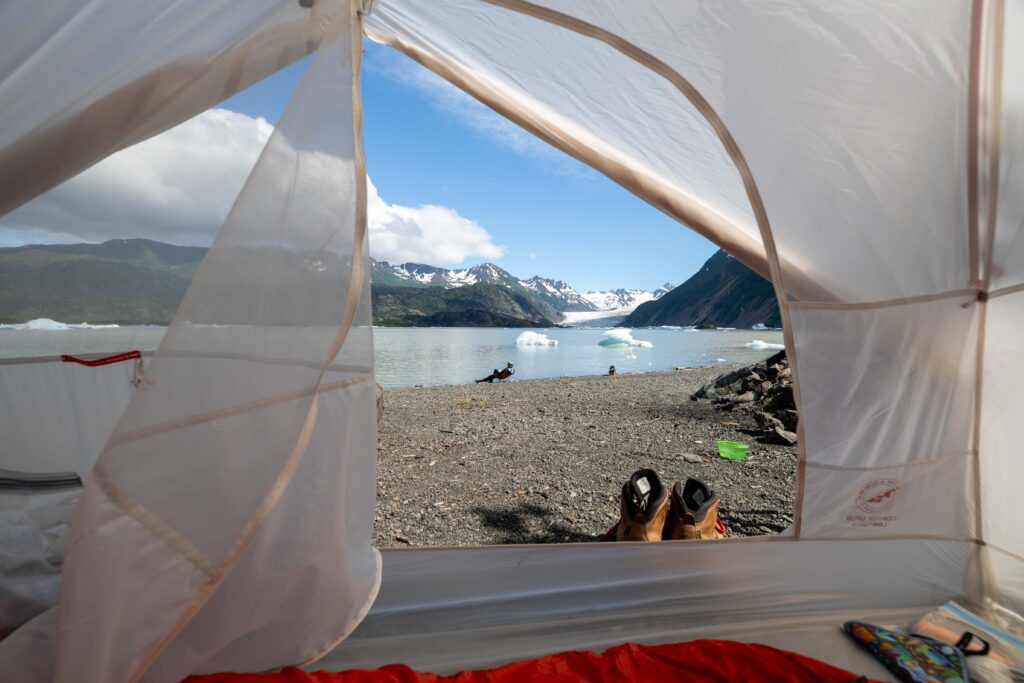
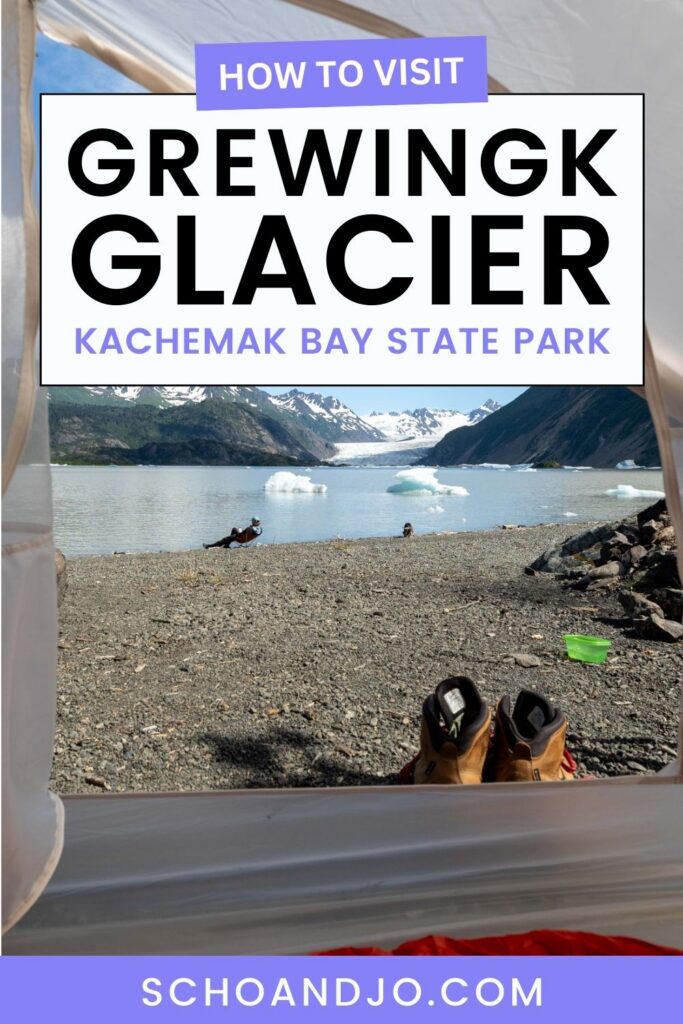
5. Arrive at Grewingk Glacier Lake
When we arrived, the lake was surprisingly busy with day visitors, but by 5 pm, the area cleared out and was much more peaceful. That being said, the left half of the shoreline is for day use, while the right side is reserved for campers, so we were able to find a quiet spot before 5 pm.
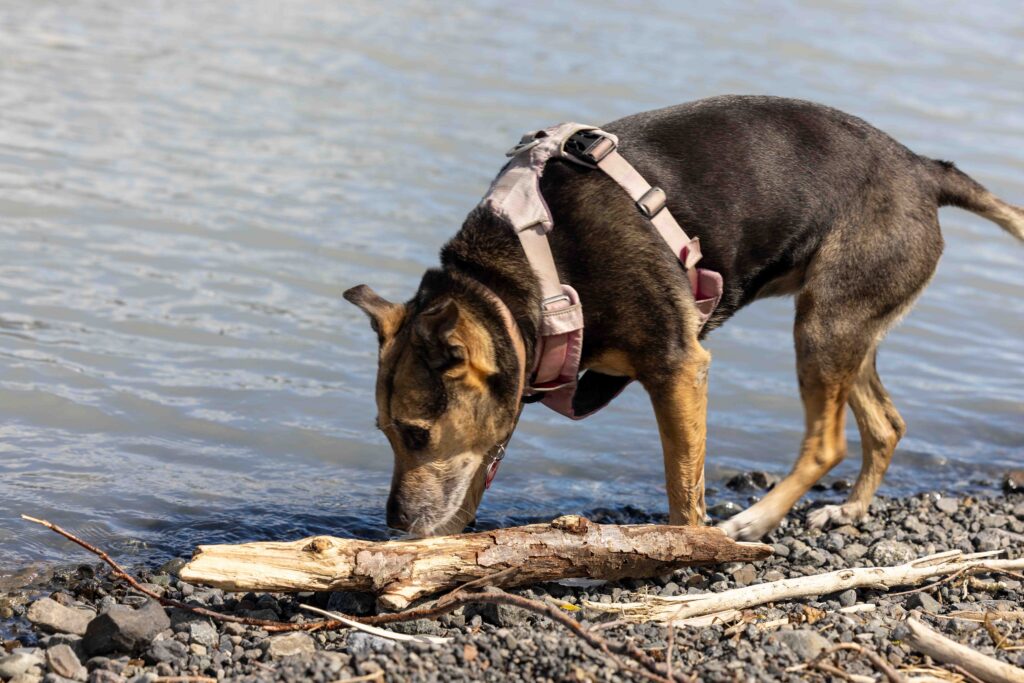
If you’re into water sports, you can bring an inflatable paddleboard with you to take it on the lake. You can also go for a cold plunge (if you dare) or simply relax on the shore. Our pup, Ollie, loved diving for rocks here, although we did have to constantly dry her off so she wasn’t too chilly. It was in the 50’s in July, and the water was ice cold.
On the last bit of the trail, there was a pit toilet for public use as well. The guidance for these remote pit toilets is number 1 in the bushes, number 2 in the toilet.
💡If you’re interested in continuing your hike all the way to Grewingk Glacier, you can continue on the Blue Ice Trail, which passes along the shoreline of Grewingk Lake.
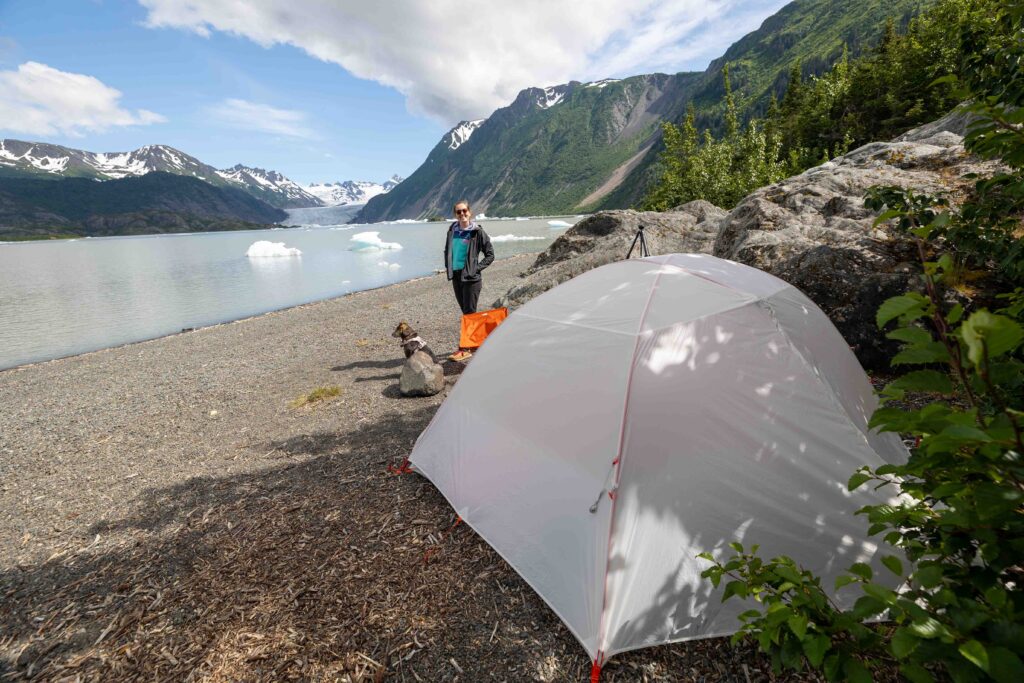
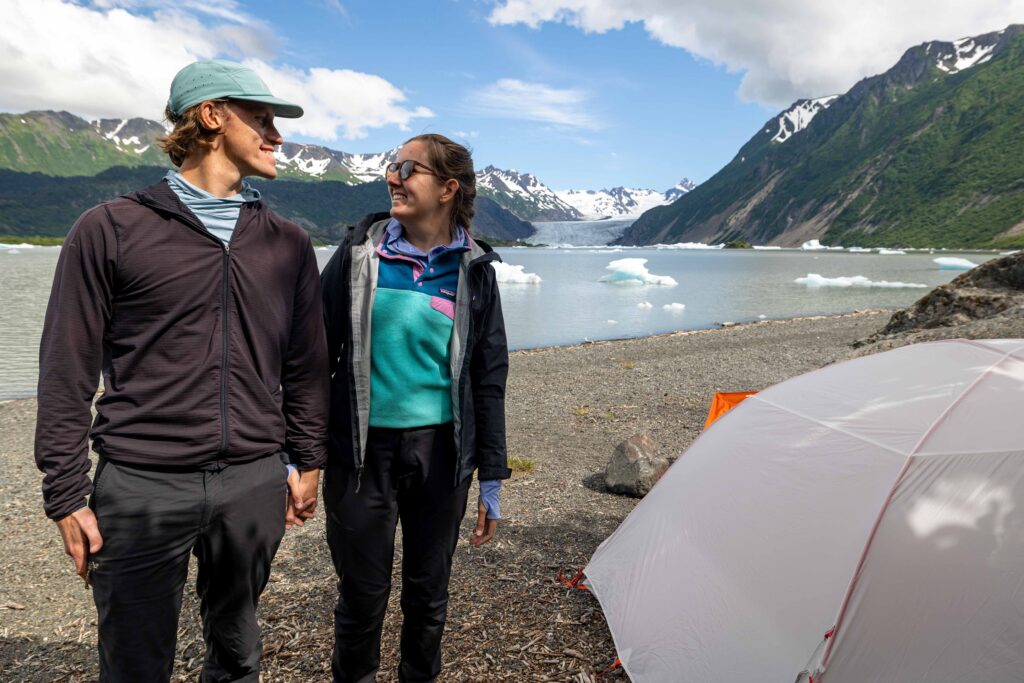
6. Camp Overnight at the Lake
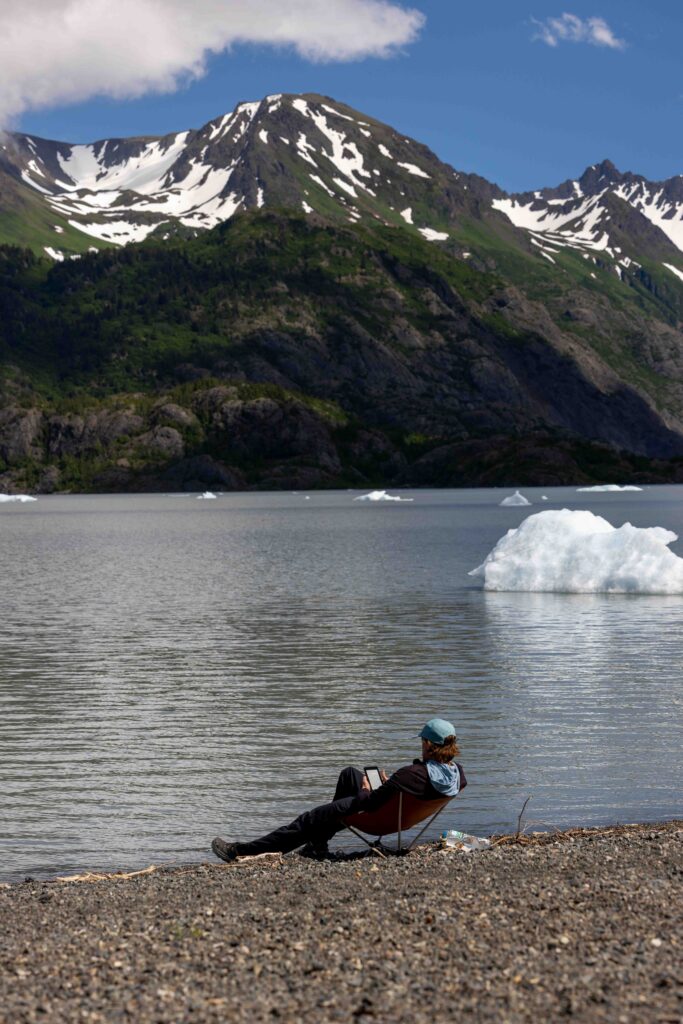
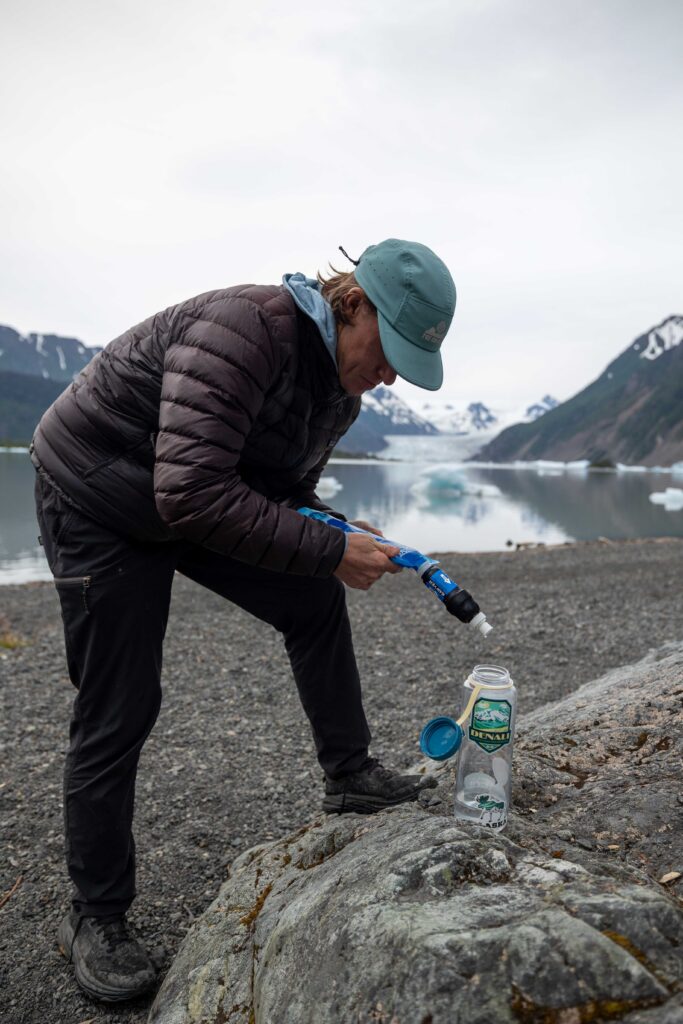
We found a quiet spot along the shoreline, tucked in behind a cluster of rocks, and set up camp with peaceful views of the lake. After filtering water from the lake for coffee and dinner, we spent the evening relaxing and taking in the stillness of the area.
There were five other campers around the lake, most of whom appeared to be staying for multiple nights. We found plenty of dried wood for a small campfire and kept it modest so others could enjoy it later in the season, but still had a cozy fire going for a couple of hours.
Since it doesn’t get dark until after 11 pm, we were glad we packed eye masks for sleeping. We were able to get a good night’s sleep before waking up to hike out for our 10 am water taxi the following morning.
7. Journey Back to Homer in the Morning
The morning hike back to the beach was leisurely and flat, with a classic Alaskan drizzle that started the night before. In total, we hiked about 9 miles (14.5 km) over the course of 2 days, 6 miles out (including the side-trip to the hand tram) and 3 miles on the way back.
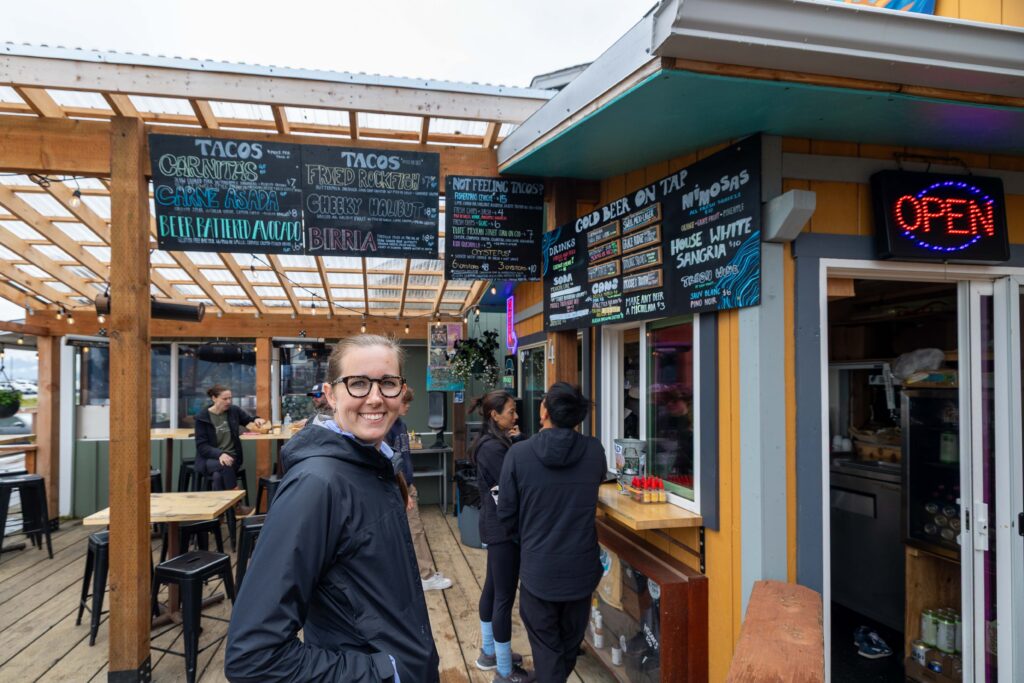
After returning to Homer, we celebrated with a meal at our favorite local spot, Swell Taco, on the spit (these tacos actually are the best we’ve ever eaten to date). This was the perfect ending to an unforgettable trip. For more restaurant recs in Homer, check out our related article, 9 Can’t-Miss Restaurants in Homer, Alaska (Best Eats in Town!

🥾 More Things to Do in Kachemak Bay State Park
If you’re interested in spending more than one night in Kachemak Bay State Park, there are even more areas that you can explore! Below, we’ve listed some of the top things to do besides visiting Grewingk Lake.
- Hit More Trails: Two other popular hiking routes in the park include the Grace Ridge Trail (9 miles, 14.6 km) and the Alpine Ridge Trail (6 miles, 10 km).
- Book a Flightseeing Tour: Local tour operators such as Beluga Air offer small-plane flight tours that deliver birds-eye views of Grewingk Glacier, the surrounding mountains, and the park as a whole.
- Stay in a Yurt or Cabin: You can rent your own yurt for $75 per night, right in the park! More information at Alaskan Yurt Rentals. There are also 6 public use cabins strategically placed at scenic points throughout the park that you can hike to and stay in for $45-$75/night, depending on the cabin. The park runs these, whereas a private company manages the yurts.
- Stay at the Lodge: If you’re looking to stay within the park without sacrificing comfort, consider booking a few nights in Alaska’s Ridgewood Wilderness Lodge, located in the Halibut Cove area of the park.
- Go Kayaking: Get out on the water with a kayaking tour run by a local company such as Kachemak Bay Adventures. They run half-day and full-day kayaking trips, and are another company that offers water taxis into the park.
🌤️ When to Visit Kachemak Bay State Park
The best time to visit Kachemak Bay State Park is during the summer months (June through August), when the weather is mild, wildlife is active, and local businesses in Homer are up and running. Here’s a quick breakdown of what to expect by season:
- Summer (June–Aug): Peak season with the best weather and long daylight hours. Perfect for camping, kayaking, and exploring. We visited in July, and the weather was perfect!
- Shoulder Seasons (May & Sept): Fewer crowds and lower prices in Homer, while still offering potentially decent weather. Some tours and businesses may have limited hours, but it’s a peaceful time to visit.
- Winter (Oct–Apr): Quiet and cold, with limited services and shorter days. You’ll get a true local experience and stunning snowy views of Kachemak Bay from Homer, but you most likely won’t be able to make it into the state park.

ℹ️ Know Before You Go: Kachemak Bay State Park
Below we’ve listed a few things you should know before you visit Kachemak Bay State Park to ensure a great and safe trip.
Practice Bear Safety
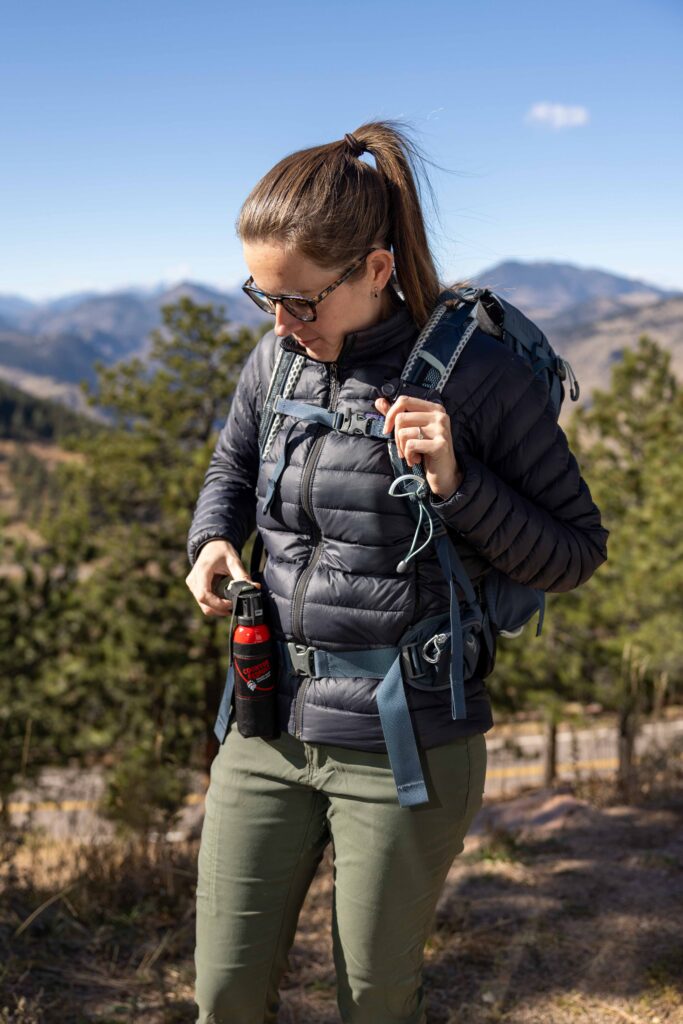
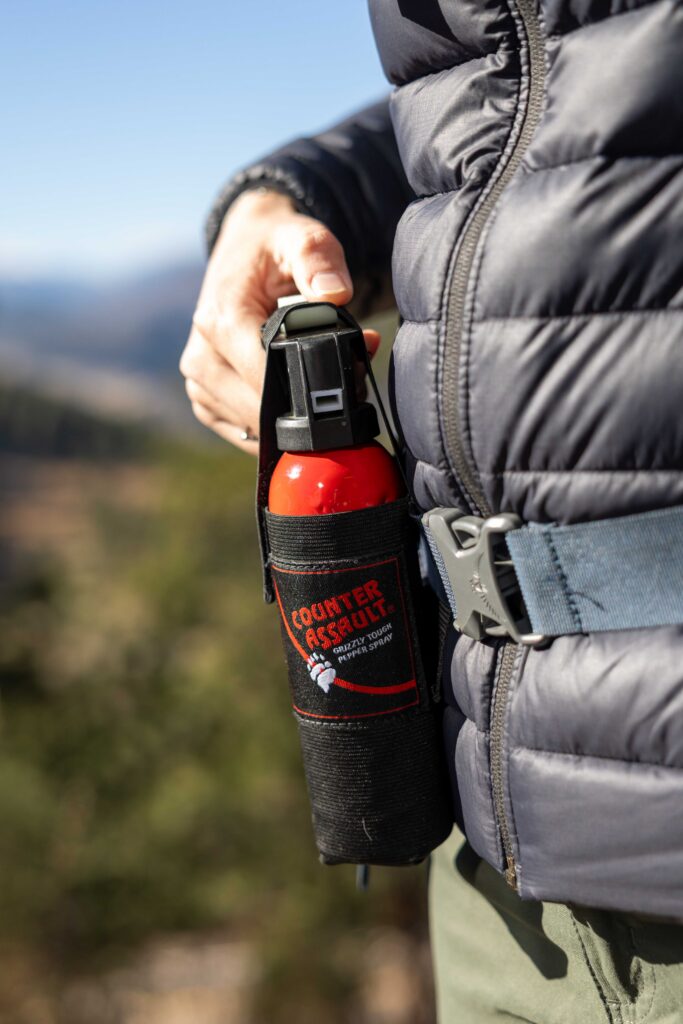
Kachemak Bay State Park is home to black and brown bears, so proper bear safety is essential. Use bear-resistant food canisters, placing them about 100 yards (91 meters) away from your tent, hang your food up high, or use a bear box.
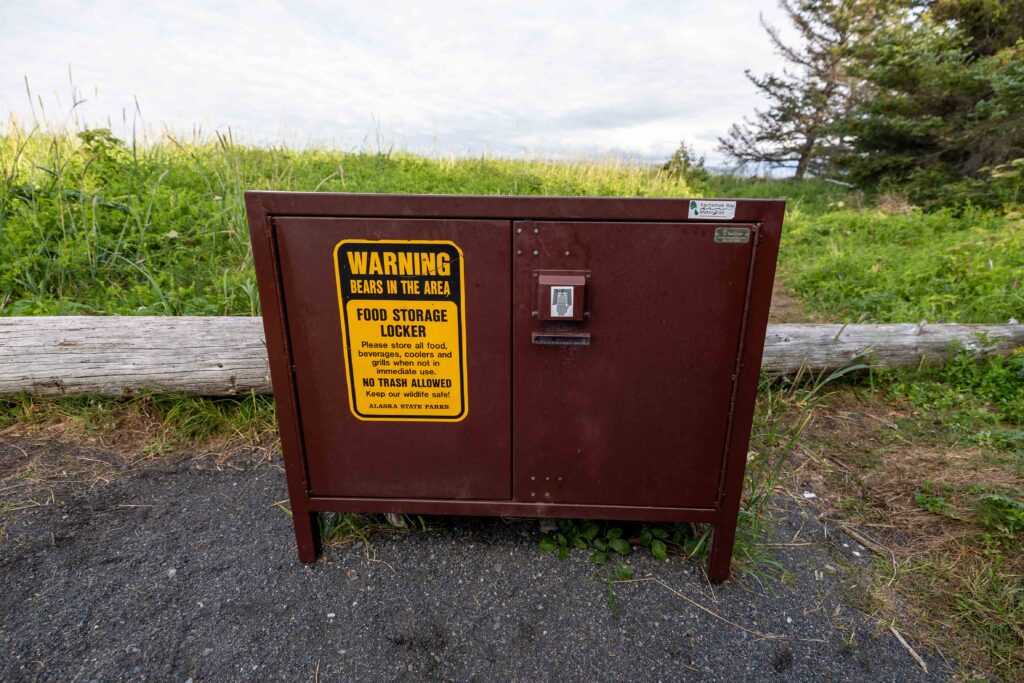
While hiking, make sure to make noise to signal your presence and always carry bear spray (you can also rent bear spray in Anchorage). Make sure to keep this spray in an easily accessible spot, rather than burying it in your pack. Review Kachemak Bay State Park’s bear safety tips here for more information.
Dogs Are Allowed
Great news! Dogs are allowed in Kachemak Bay State Park as long as they’re on a leash! Our pup, Ollie, was stoked about this, as we usually have to leave her behind when exploring.
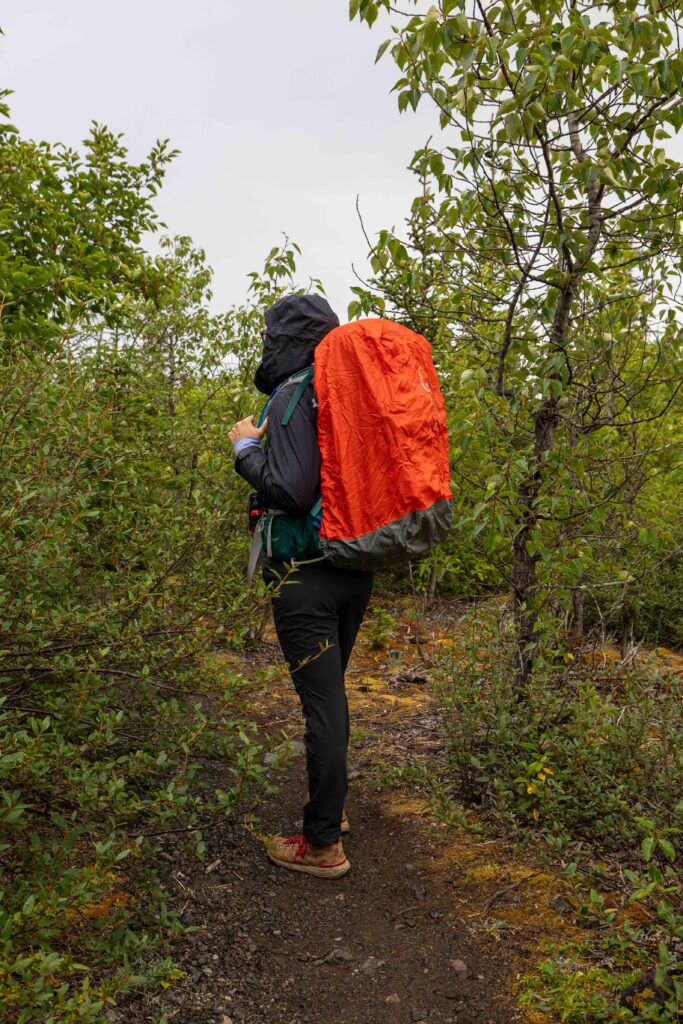
Plan for Rain
Rain is common in Kachemak Bay, even in the summer months, and even on days with a clear forecast. Make sure to pack waterproof layers, a rain cover for your pack, and quick-drying clothing so wet weather doesn’t derail your trip.
Plan for No Cell Service
Cell service is extremely limited or nonexistent throughout most of the park. We basically didn’t have any service our entire time in Kachemak. Download any digital trail maps ahead of time and make any preparations, knowing that you’ll be off-grid during your time in the park.
🎒 What to Pack for Kachemak Bay State Park
Below, we’ve outlined all the hiking gear we recommend if you plan on visiting Kachemak Bay State Park. In this first section, we’ve highlighted specific pieces that you might need to purchase or rent if it’s your first time visiting the area.
Packing Essentials Specific to Kachemak Bay State Park
- Bear Spray – Park officials recommend hiking with bear spray for emergency use and keeping it at arm’s reach while hiking (not buried in your pack). If you want to save some money, you can also rent bear spray in Anchorage at a spot like Alaska Bear Spray Rental. If you plan on flying at any point, you’ll have to dispose of it anyway.
- Bear Can: Along with bear spray, a bear can is an important bear safety item. Basically, it’s a large, hard plastic container that you can guard your food, toothpaste, and any other scented items in safely.
- Hiking poles – If you’re planning on going on a long hike in the park, a solid pair of hiking poles really helps take the pressure off of joints.
- Camping Kit – If you plan on camping, it goes without saying that you’ll need a tent, sleeping bags, sleeping pads, food, toiletries, and the rest of your camping items to spend a night, or more, in the park. If you don’t have your own camping materials, local outfitters like Beluga Air rent out full camping kits that you can use in the park. These kits also come with bear spray.
- Eye Mask – If you’re planning on camping in the park, we recommend bringing along eye masks, as it doesn’t get dark until 11 PM in the peak of summer!
Hiking Essentials
Read next: Hiking Gear for Beginners!
Sun Protection
Safety Essentials
📰 Related Articles
- 9 Can’t-Miss Restaurants in Homer, Alaska (Best Eats in Town!)
- 15 Best Things to Do in Homer, Alaska (Free & Paid)
- The BEST Camping Spots in Homer, Alaska (Tents, Vans, & RVs)
📺 Watch on YouTube
🔍 Ready to Visit Kachemak Bay State Park?
Pin this guide to visiting Grewingk Glacier in Kachemak Bay State Park, to make your upcoming trip a breeze to plan!

Leave a Reply
You must be logged in to post a comment.