

Searching for trails in Arches National Park that are actually worth the hike? With almost 50 trails across the park, there’s no way to hit all of them in one trip. Lucky for you, we’ve boiled down the most popular trails, together with our personal favorites, creating this guide to the 11 best hikes in Arches National Park!
Note: We use affiliate links which provide us a little kickback each time you use one of our links and make a purchase, without any additional cost to you. We do not recommend products that we don’t already love or have heard great things about, so you can trust we’re only suggesting great products to you.
❌ Don’t Bust the Crust! Throughout all of Arches National Park, you must stay on marked trails. These arid landscapes are home to Biological Soil Crust (Living Crust), a delicate ecosystem that takes decades to form and can be destroyed with just a single step off-trail.
1. Fiery Furnace Loop (Permit Required)
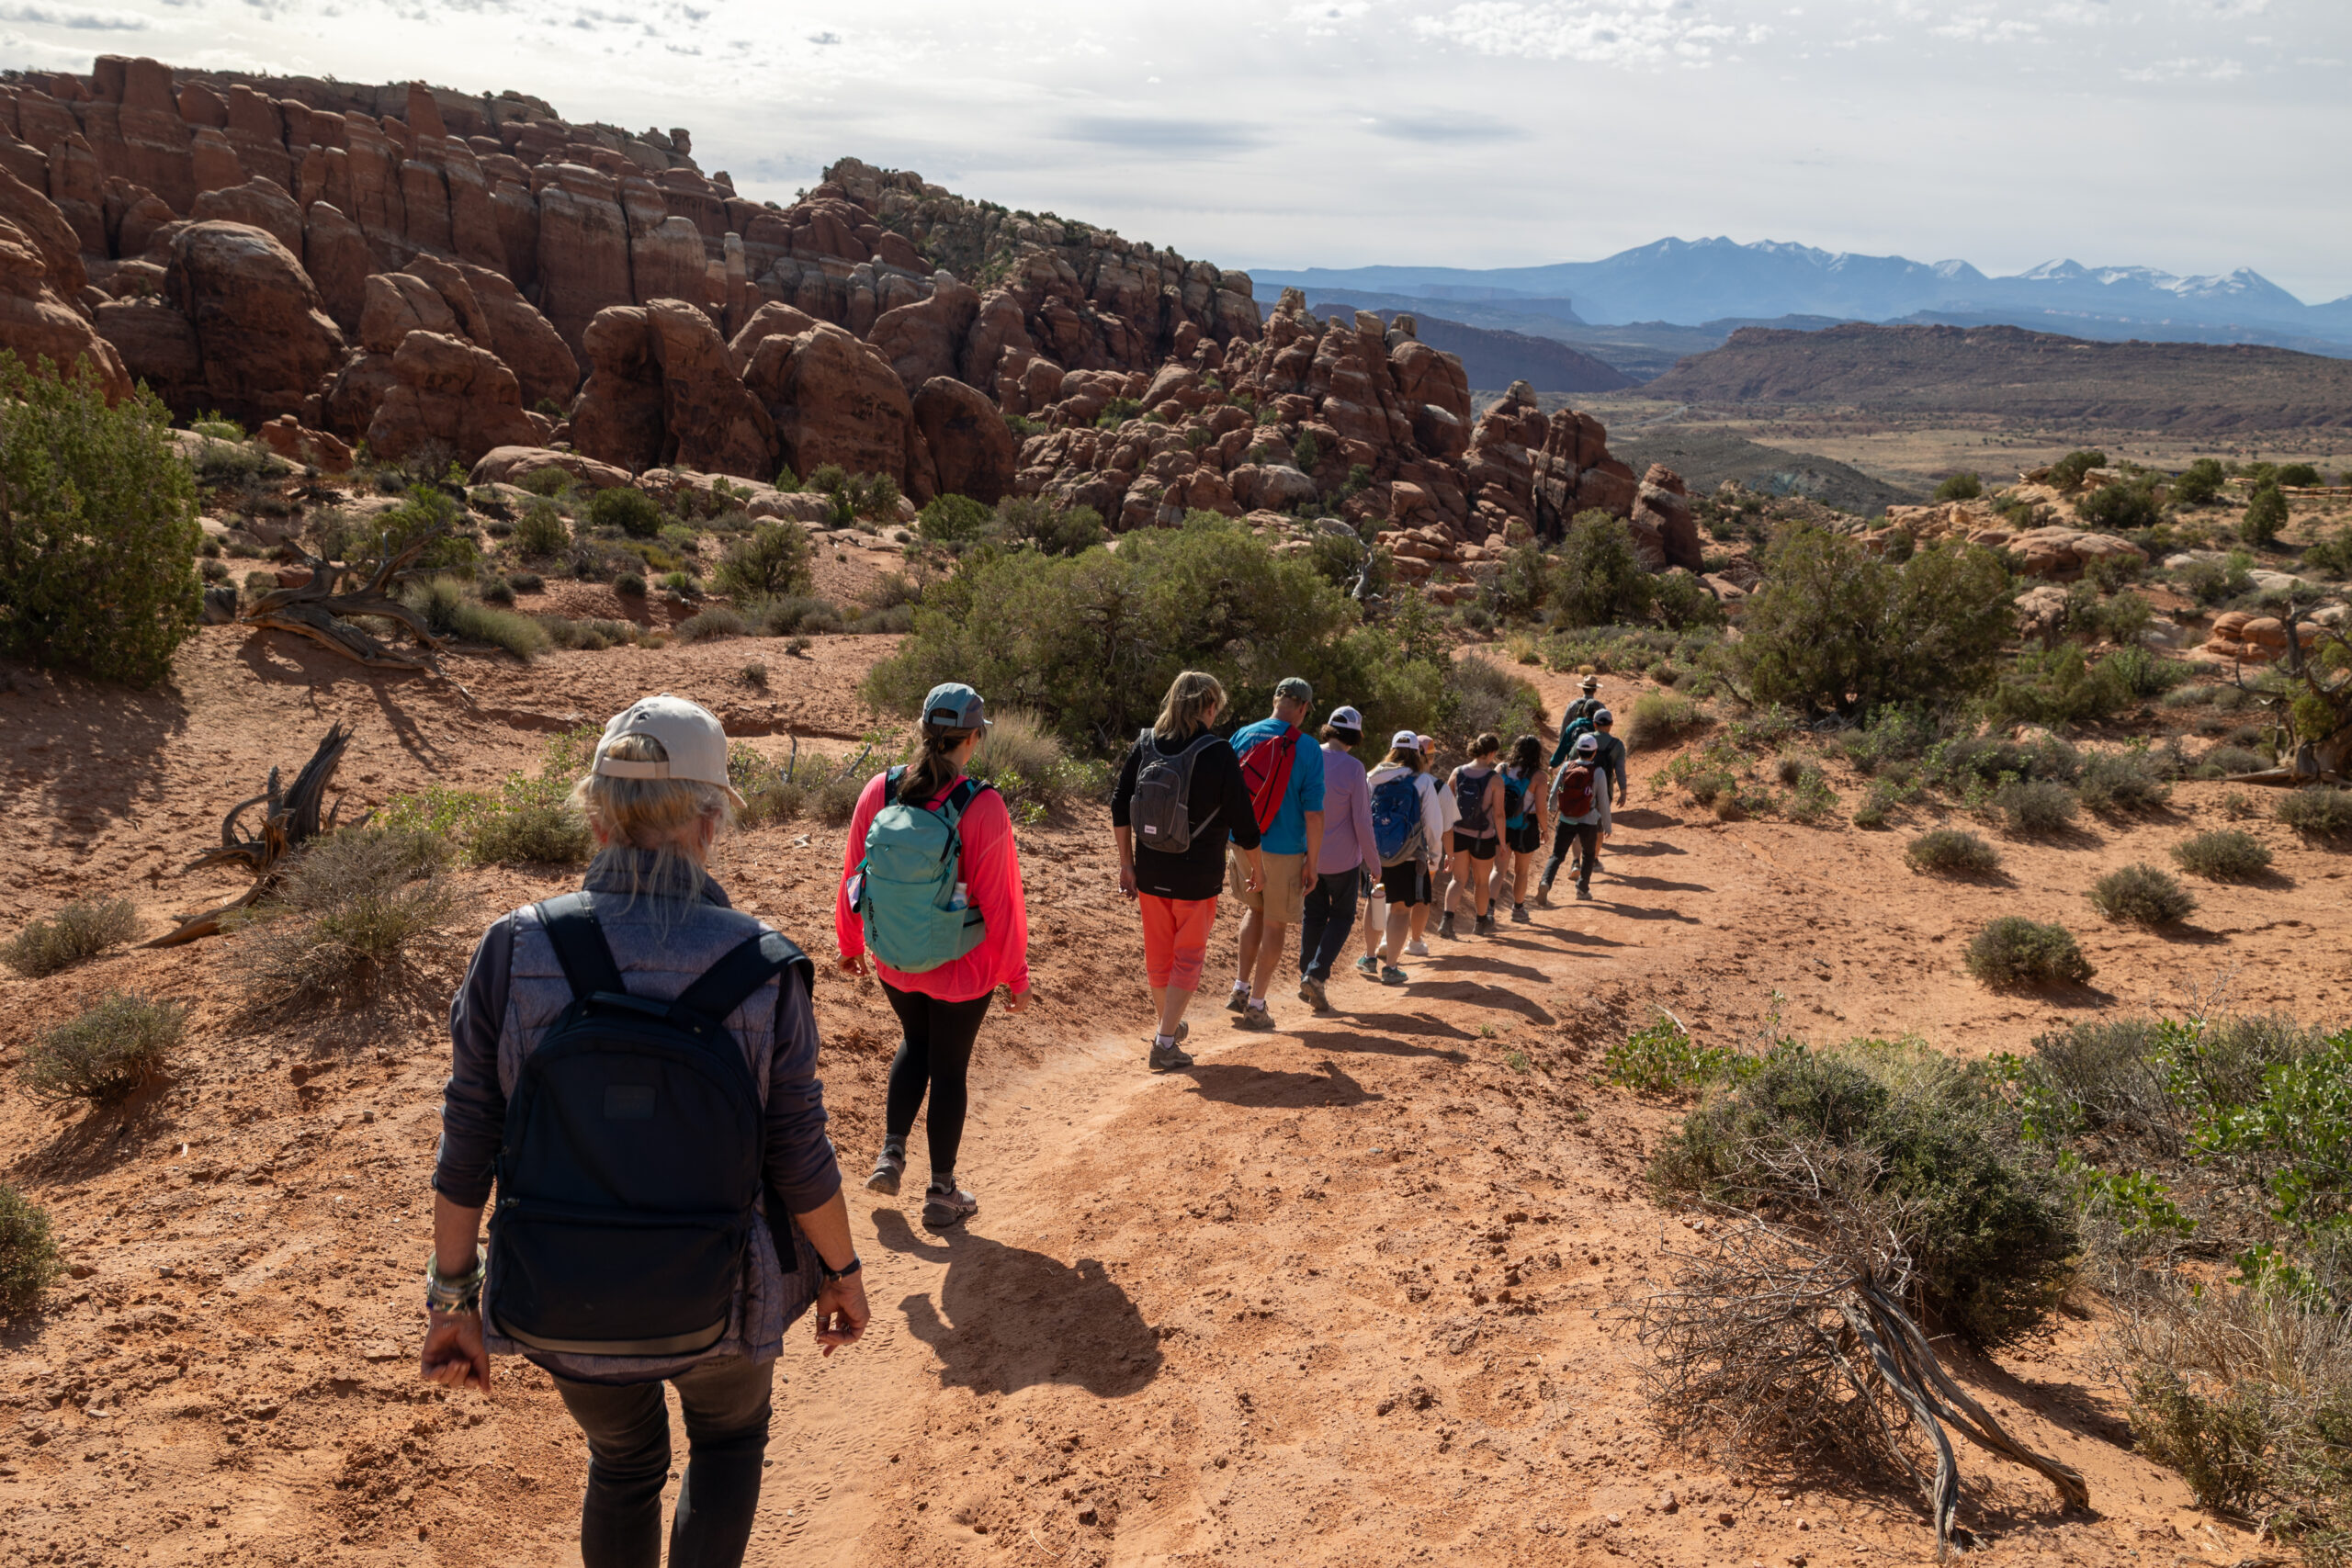
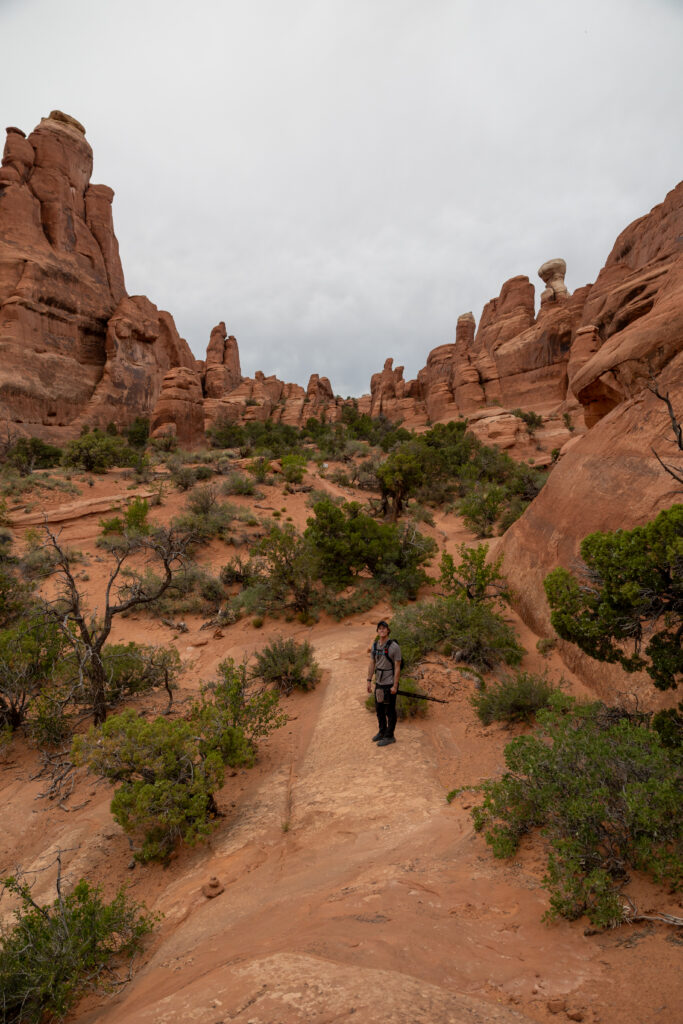
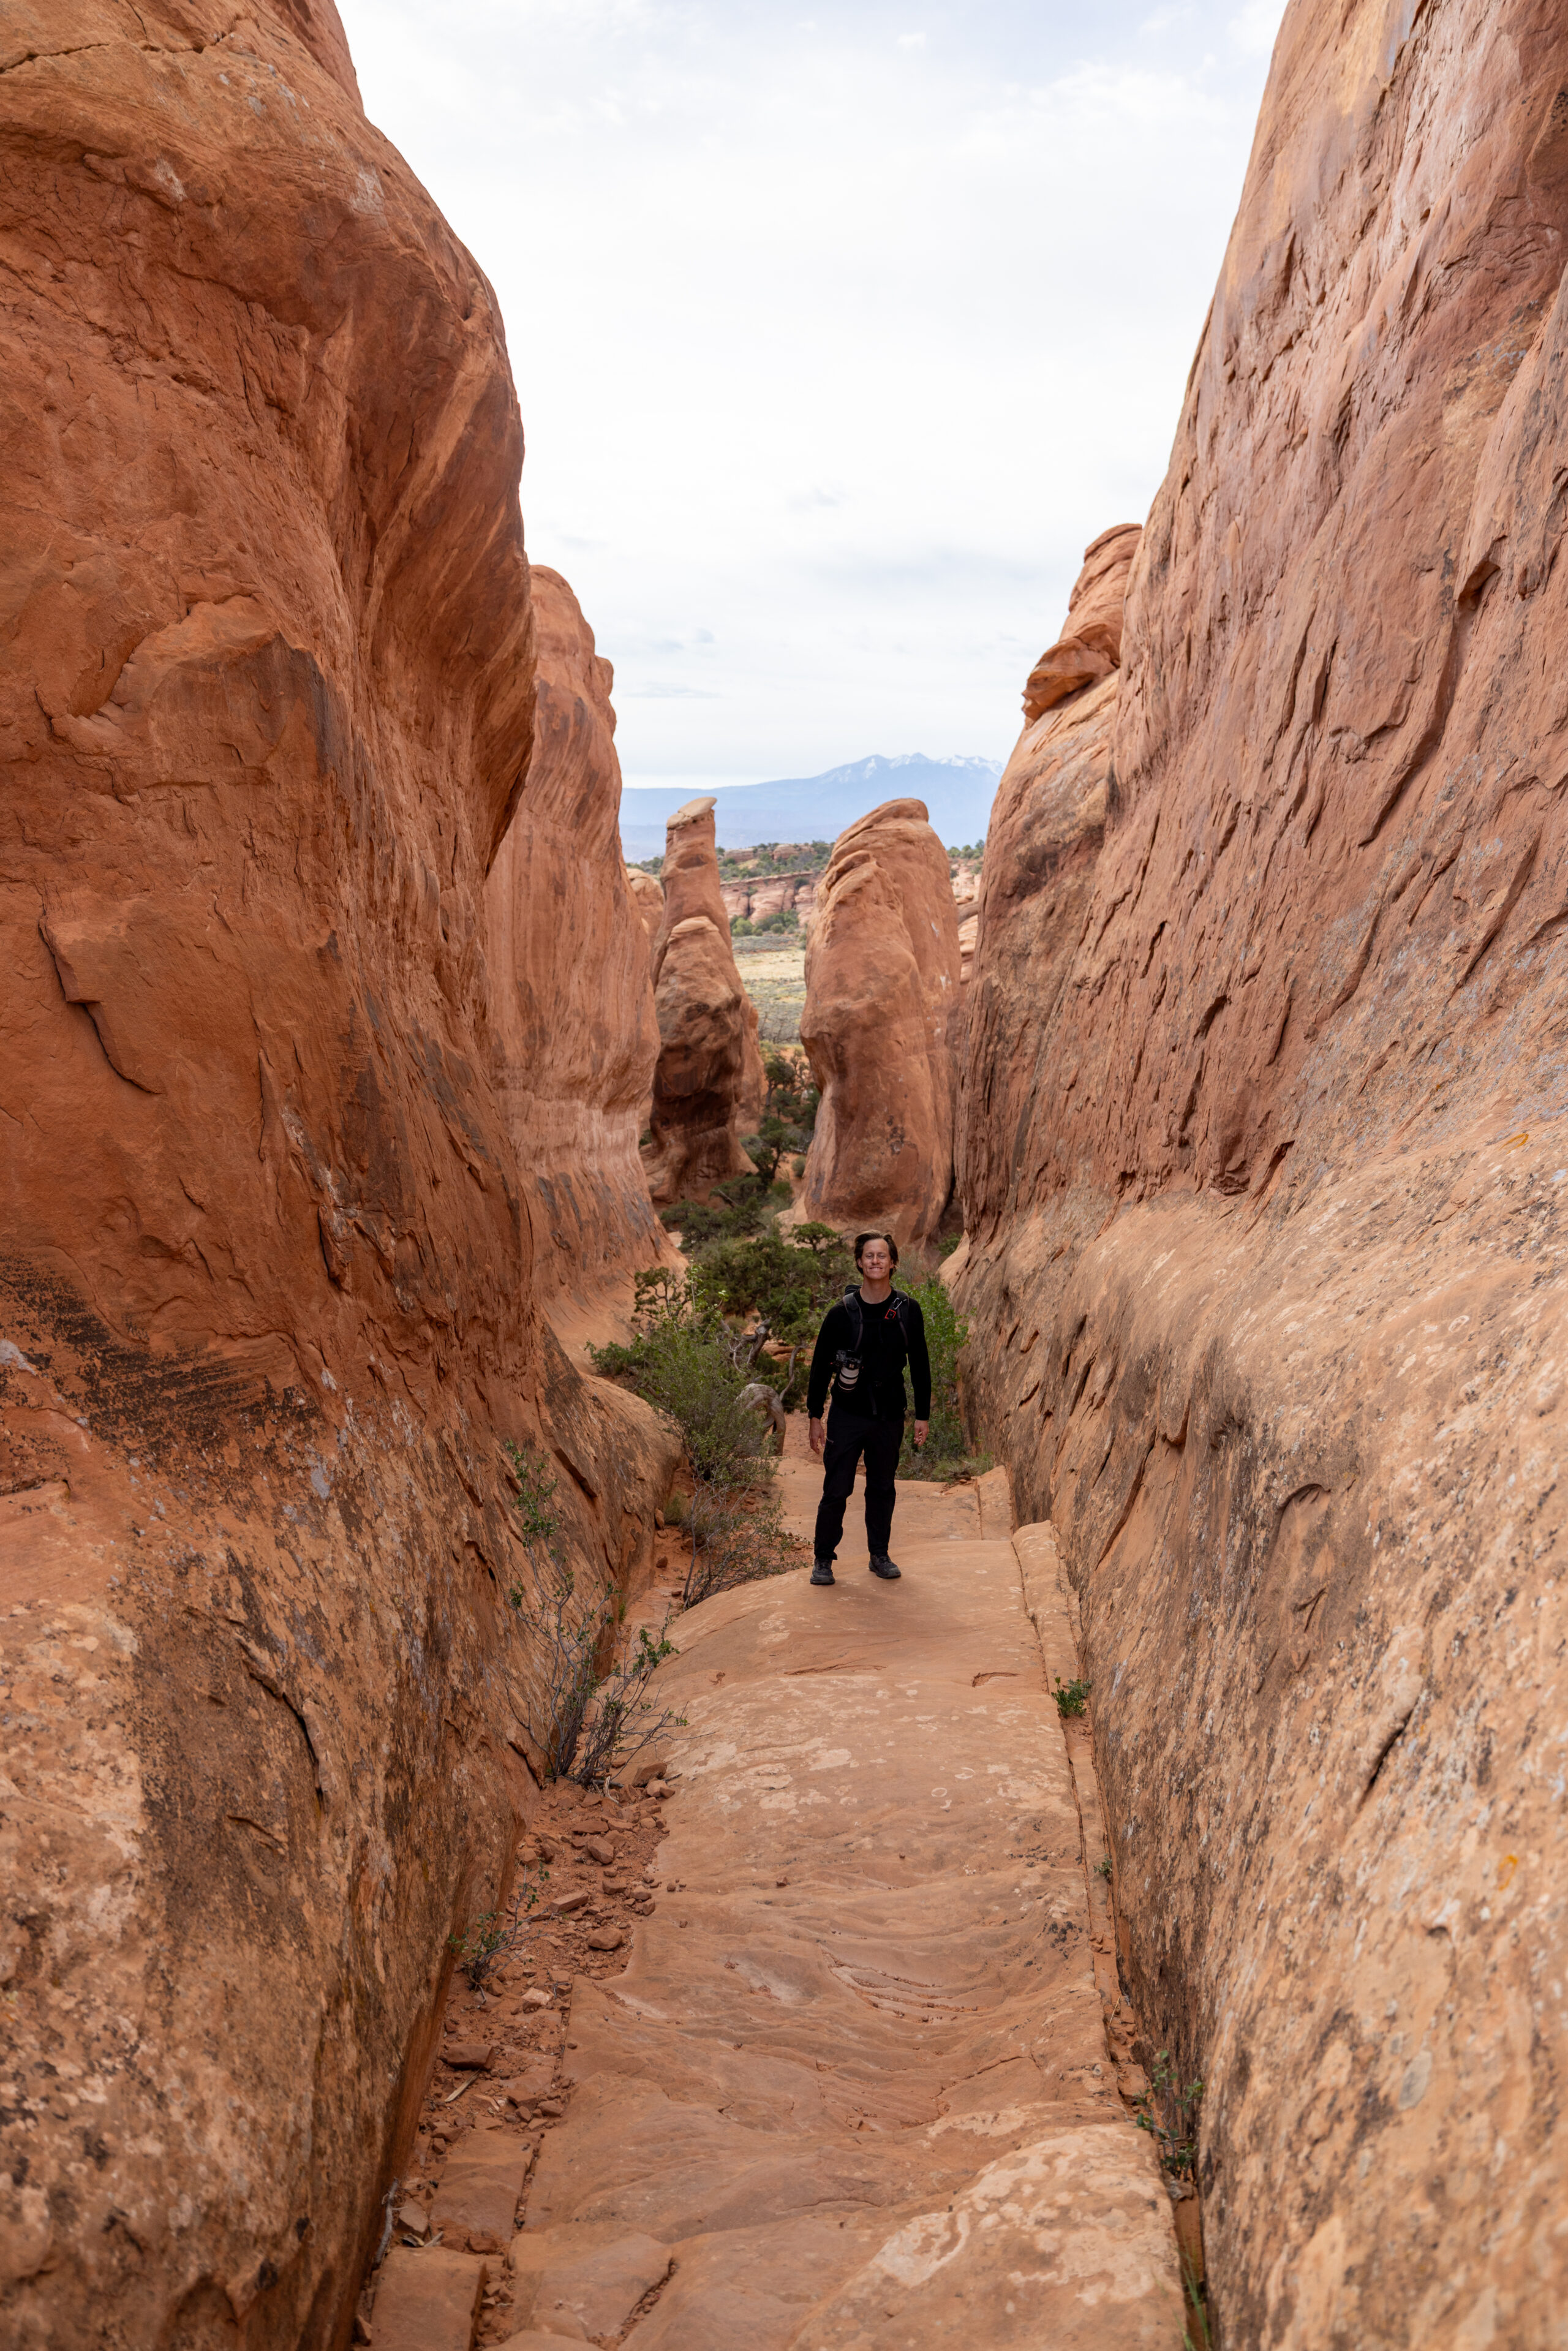
Fiery Furnace Trail is a challenging yet rewarding hike that takes you through a unique maze of towering rock fins, residual rock walls formed by erosion that can later become arches. This quickly became our #1 favorite trail for a few reasons:
- Exclusive: As a permit is required, there’s a 105-person cap on how many people can hike it per day—this makes it so that you don’t feel crowded on the trail.
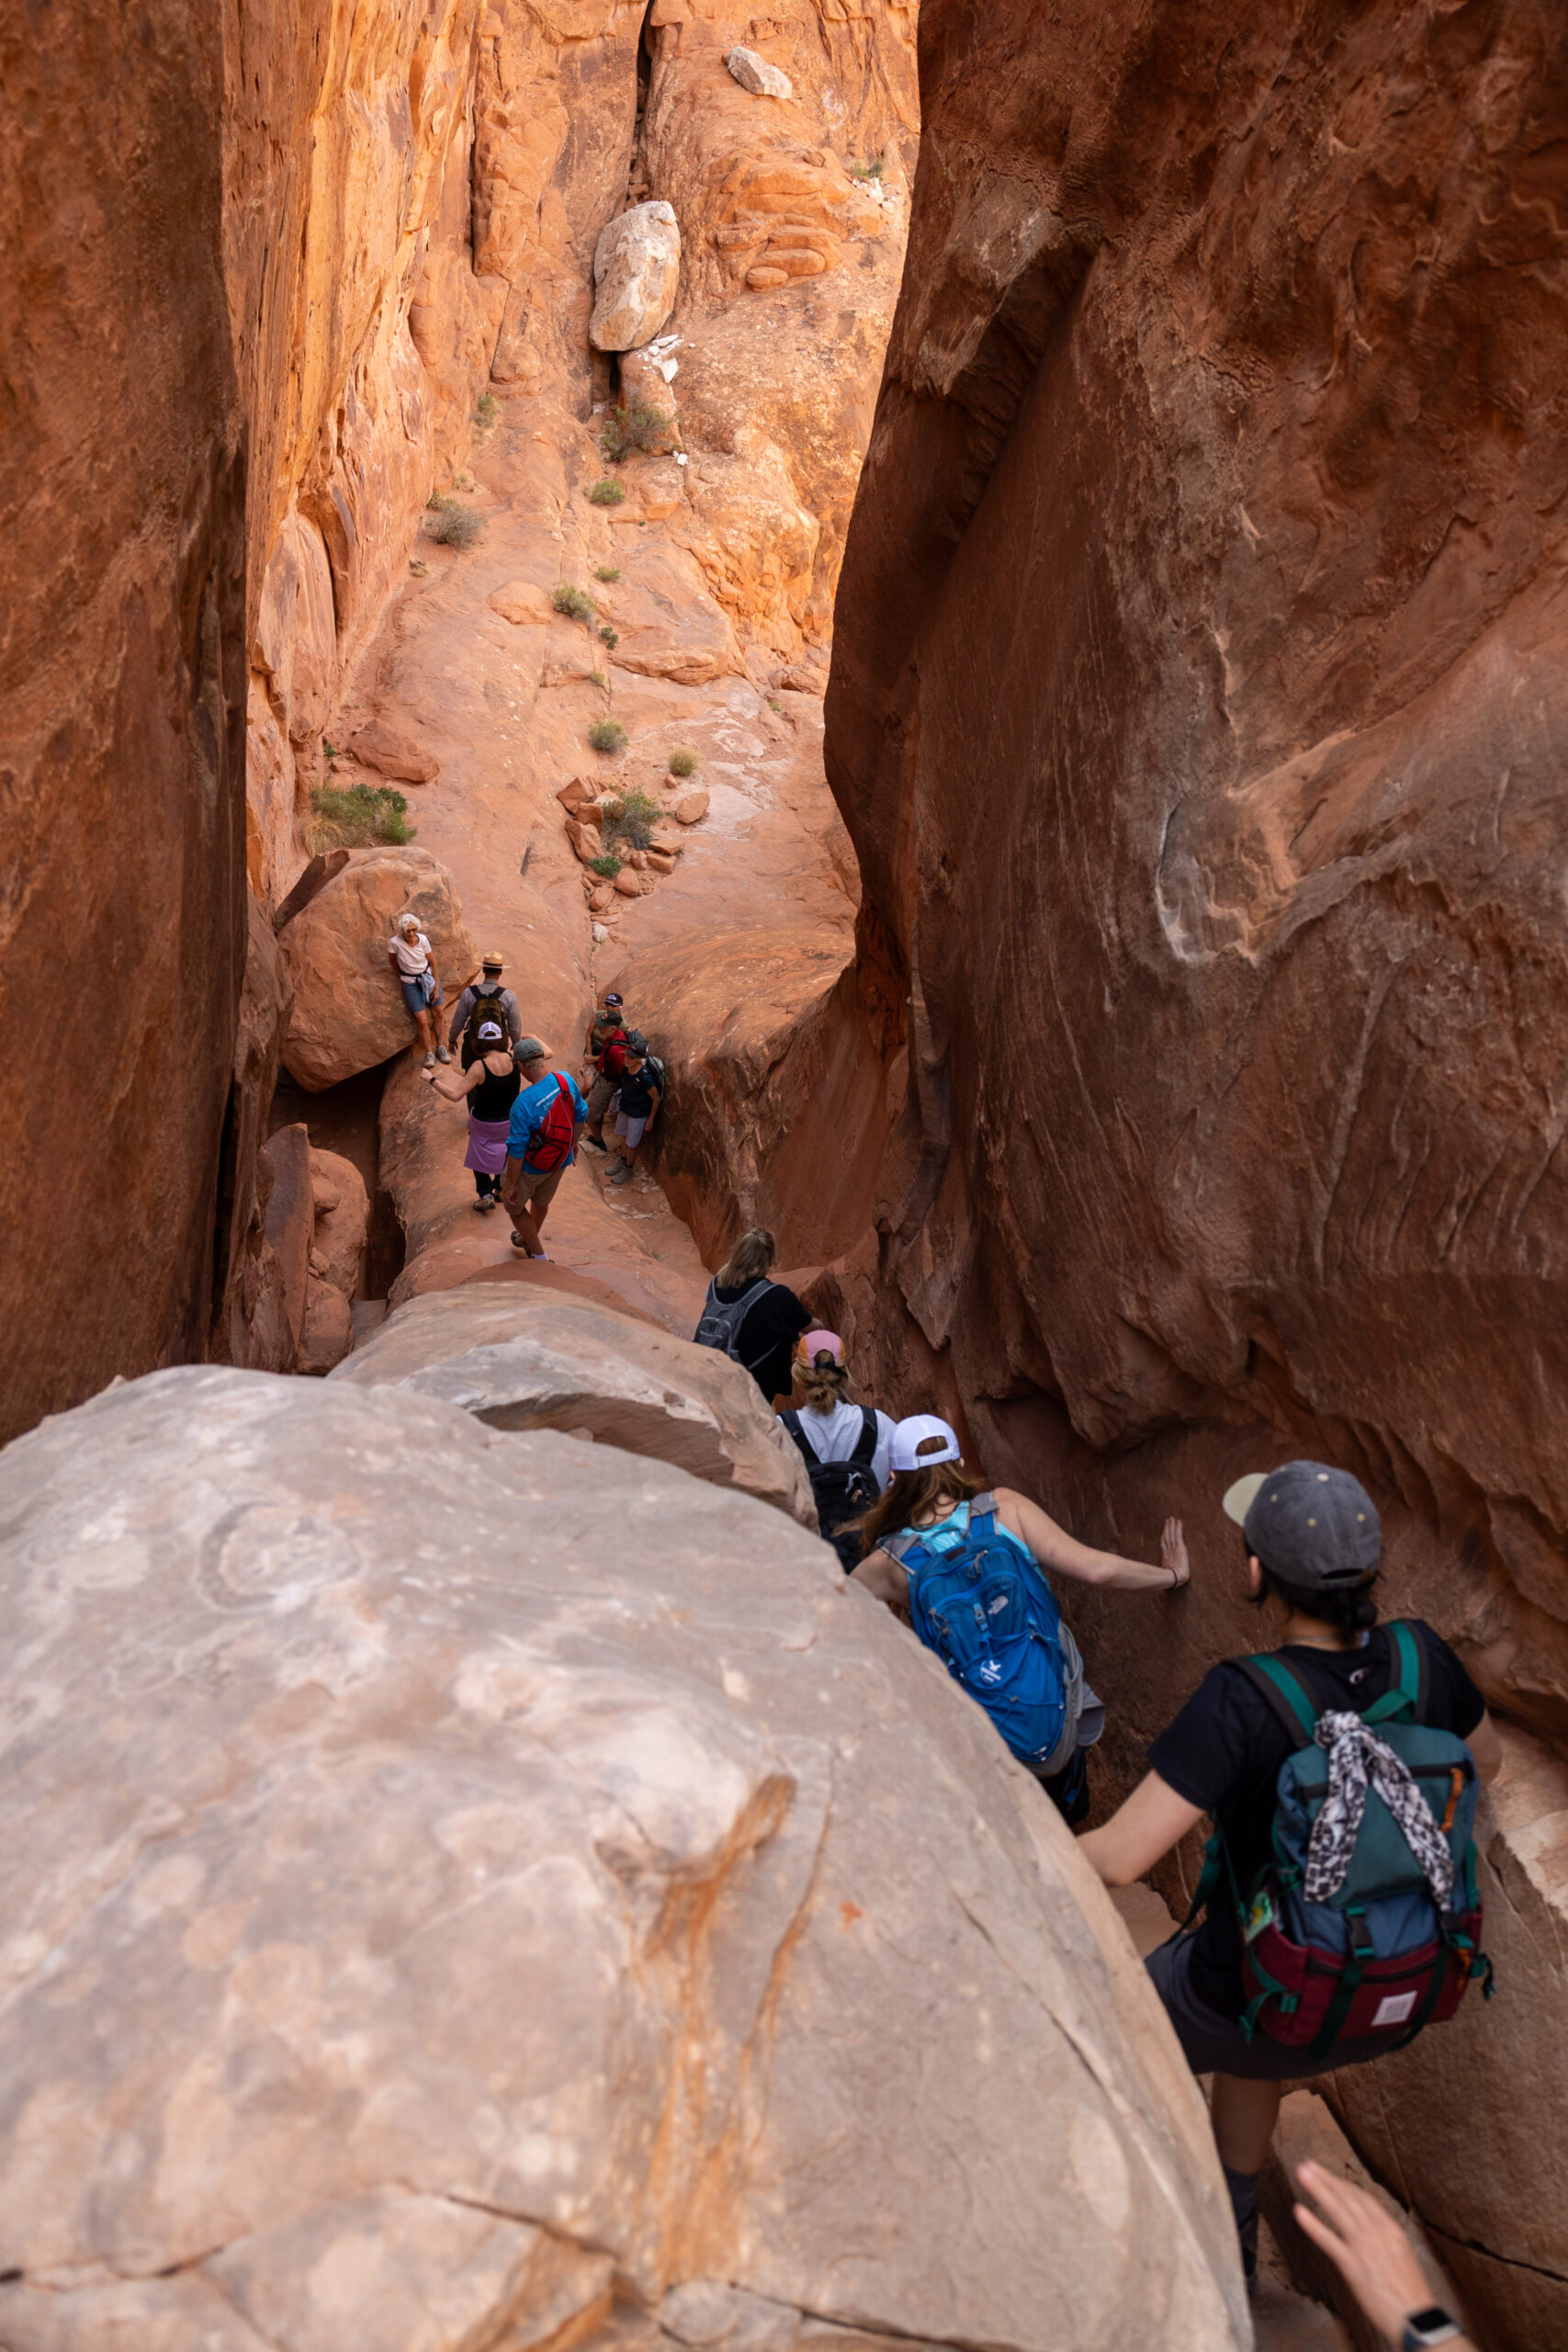
- Unique: As you’re hiking in the largest concentration of narrow, maze-like fins in the park, you feel like you’ve traveled to another planet! It’s truly unlike any other trail in the park.
- Ranger-led tours: Ranger-led tours are our favorite thing ever in US National Parks, and this trail has its own! This is what we did, and we can’t recommend it enough. Not only do you not have to worry about navigation, but you also get to learn about the history and nature while hiking the trail, something you would otherwise miss.
There are 2 ways to hike the Fiery Furnace Trail—by individual permit or by scoring a spot on a ranger-led tour. Here’s a breakdown of each:
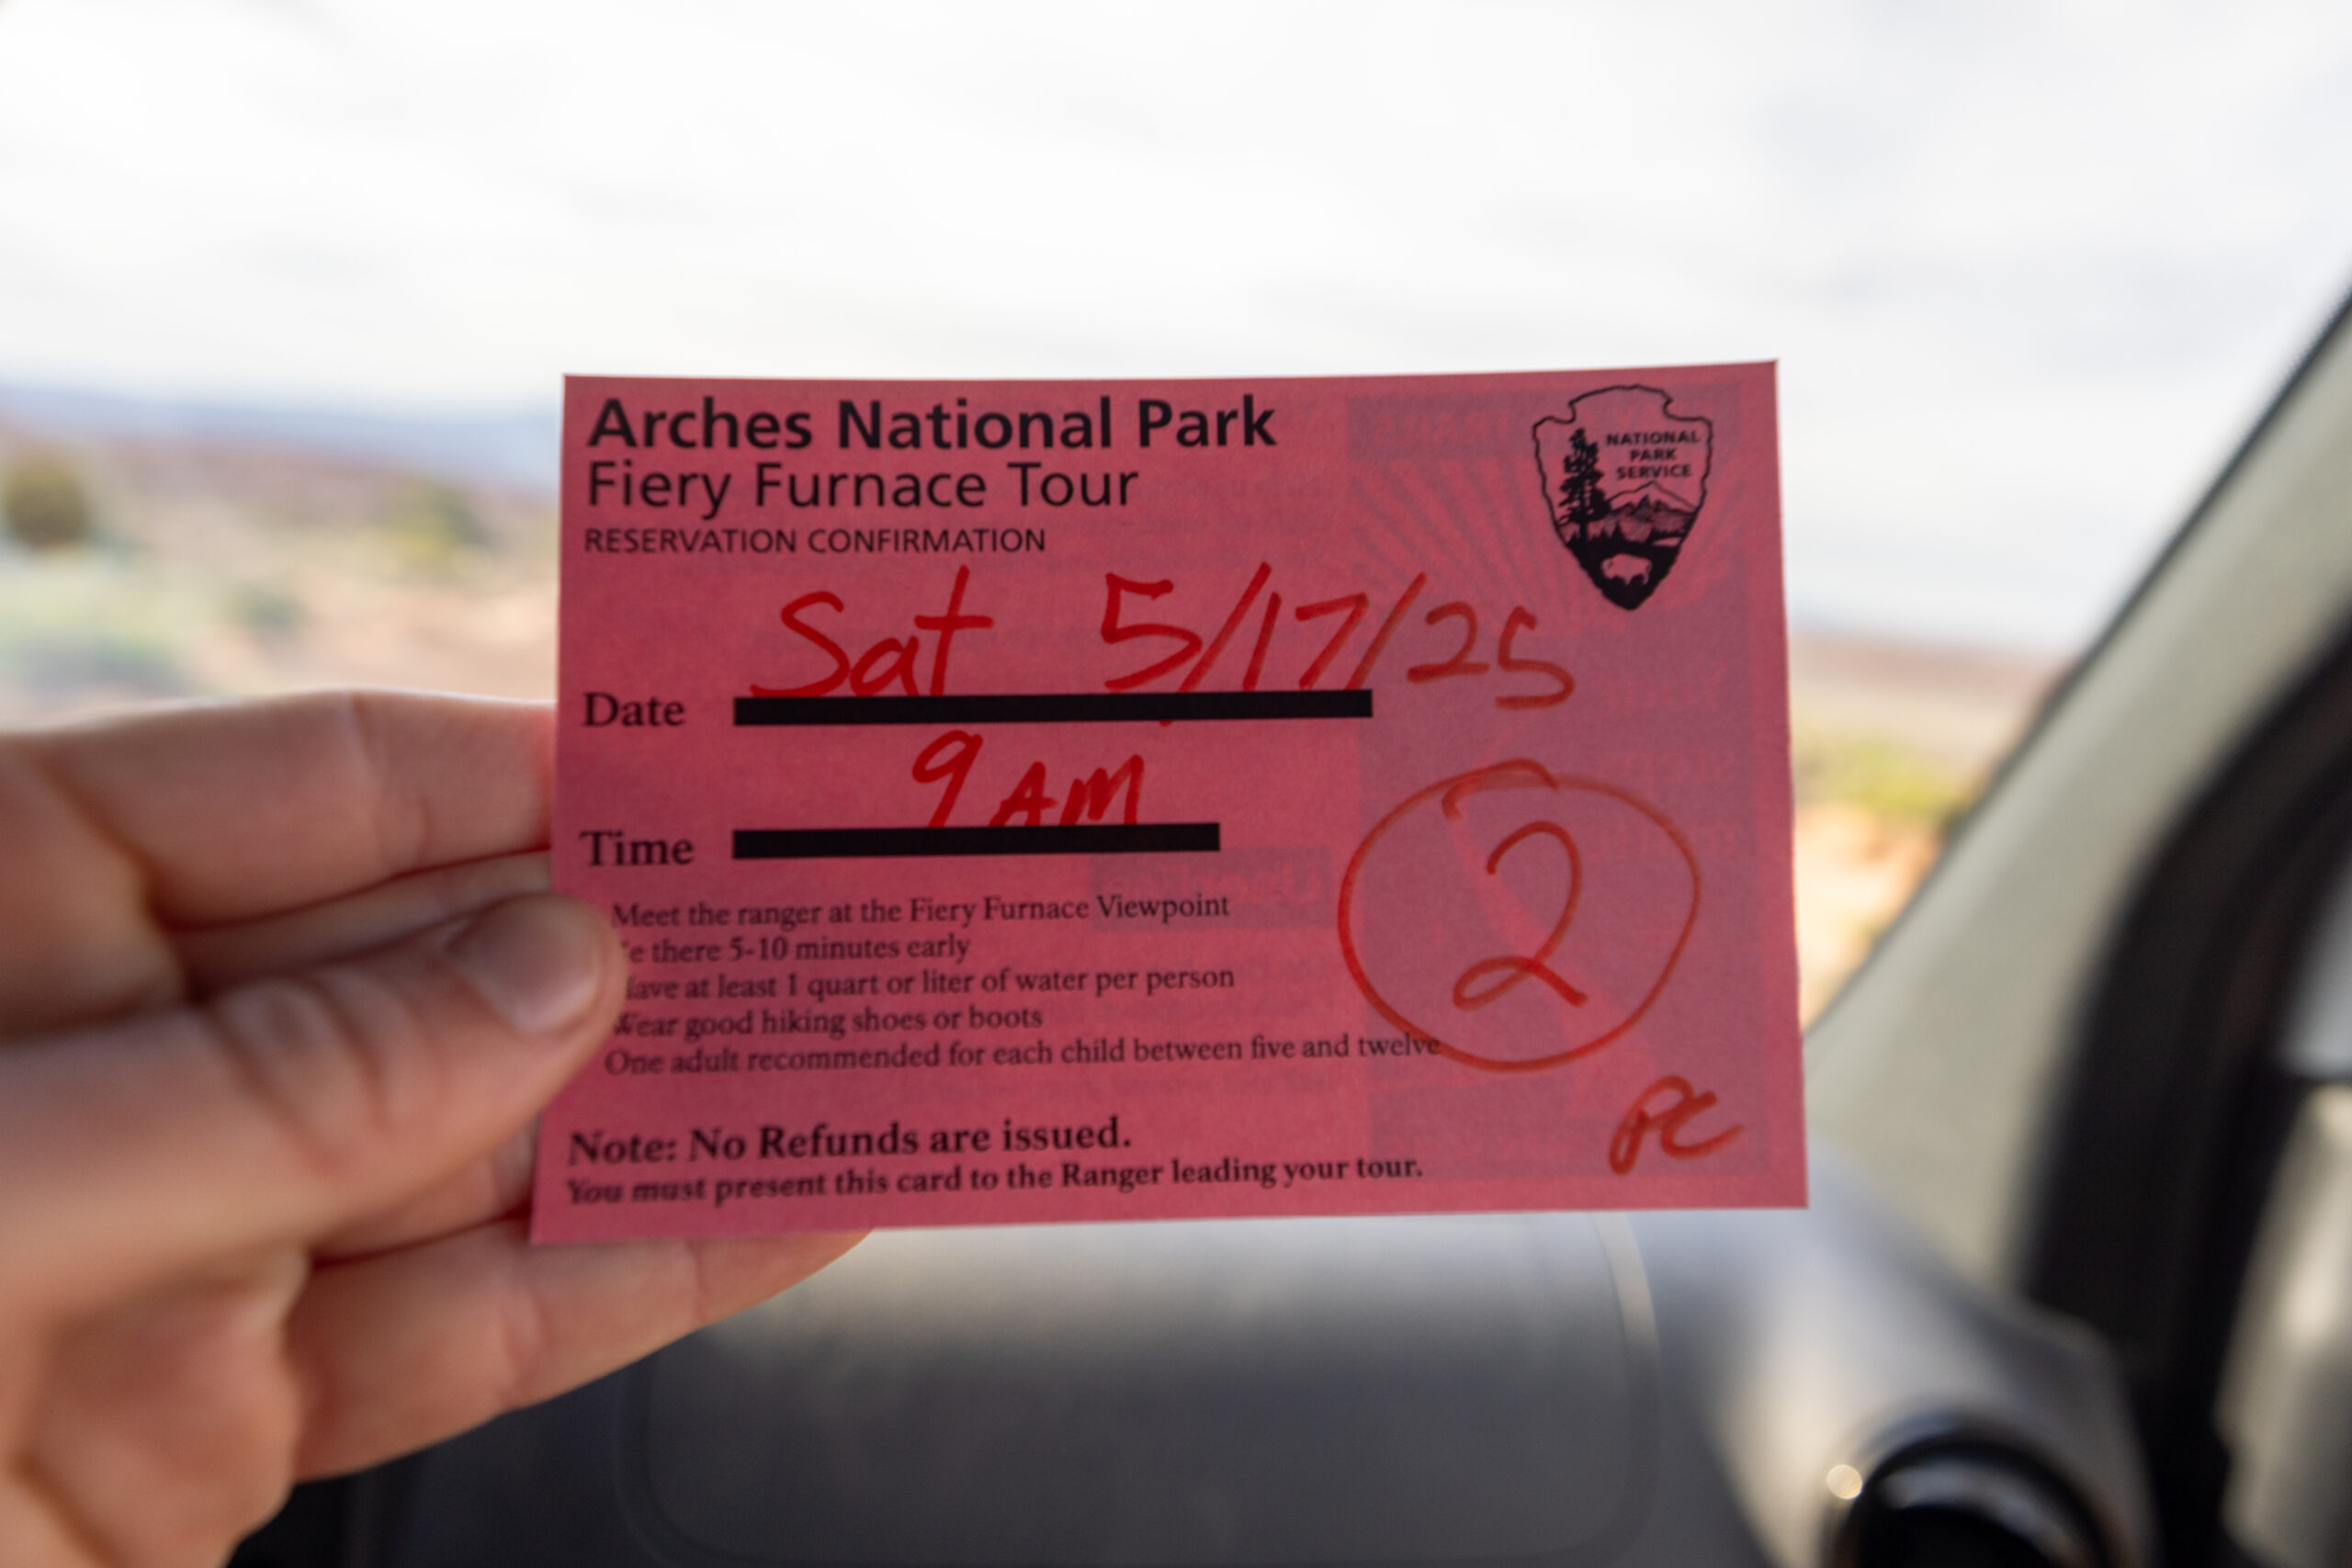
- Individual Permits: Individual permits are available for $10/person and can be reserved online from Recreation.gov or by calling 1-877-444-6777 between 2-7 days before your intended hike date. Permits are on a first-come, first-served basis, so we recommend reserving your spot as soon as they become available. You must then pick up a copy of your permit at the Visitors Center an hour before they close the day prior to your reservation date. When you pick up your permit, you’ll watch an informational video of what to expect during the hike, how to navigate, and how to prepare.
- Ranger-led tours: Ranger-led tours are available for $16/person up to 7 days before your intended hike date. You can reserve at Recreation.gov or by calling the same number above. You must then pick up a copy of your permit from the Visitor Center on the day of, or before, your hike. This is what we did and found it super helpful since the Park Ranger led us through the challenging navigation.
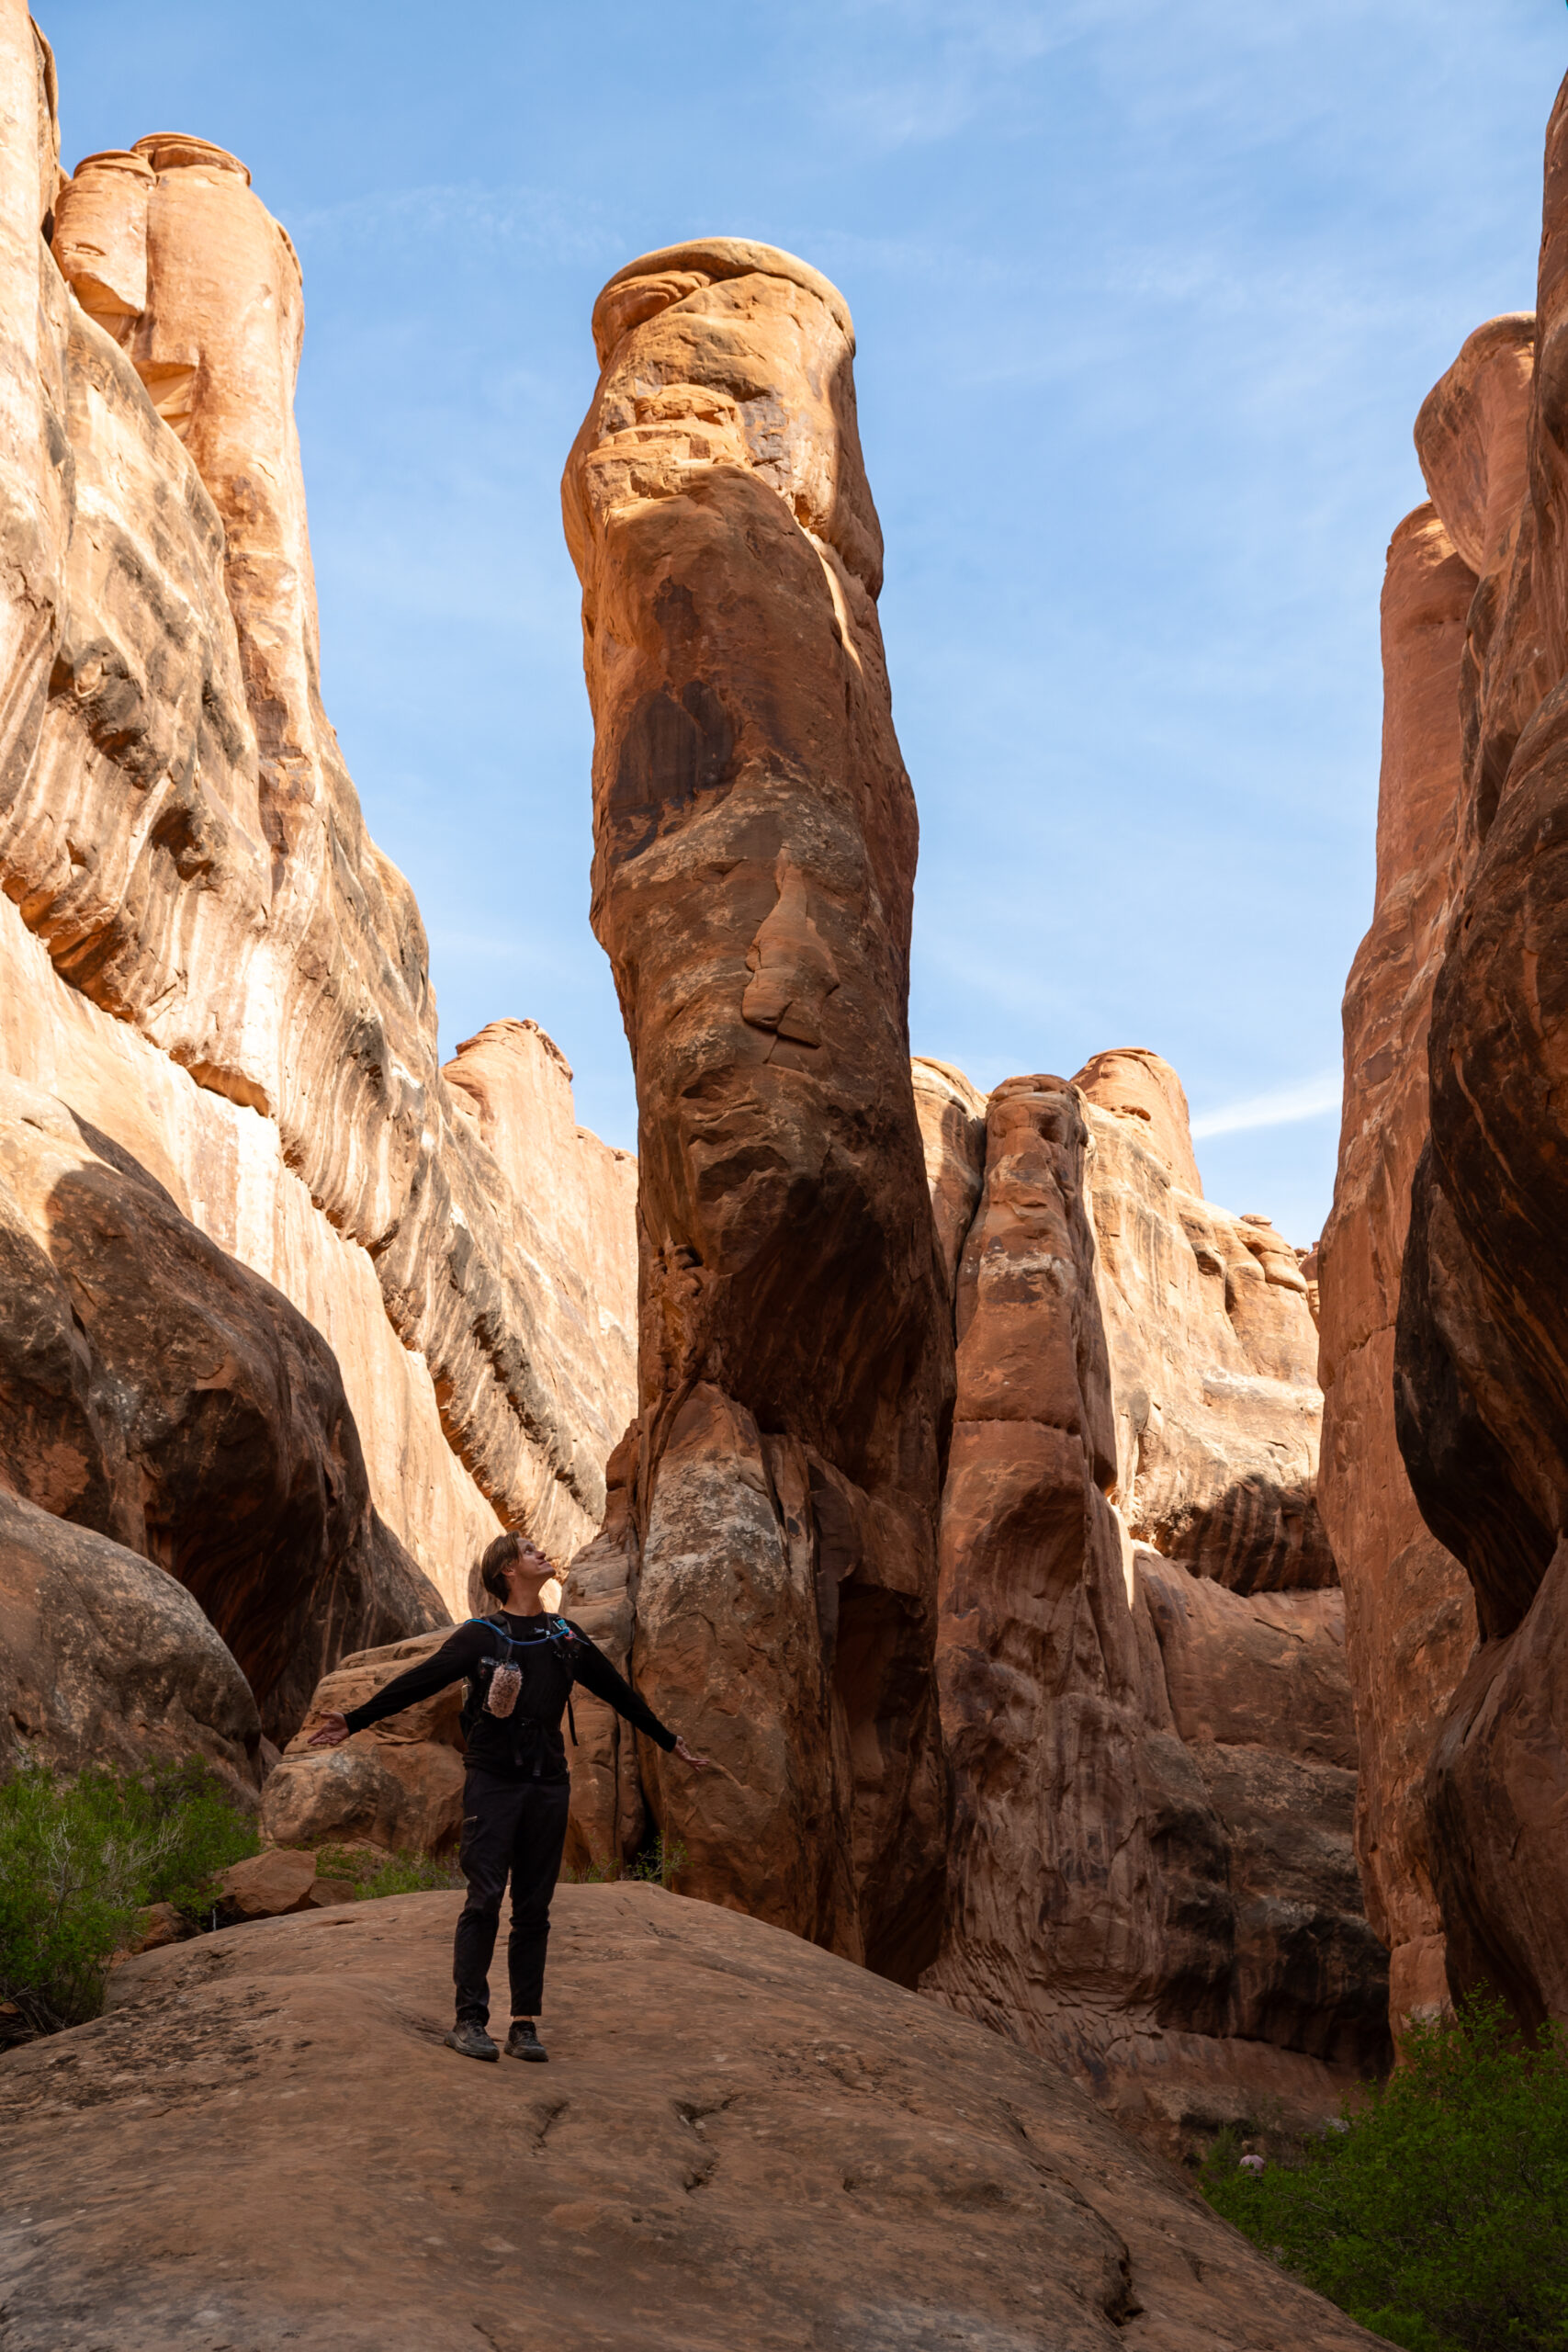
You get to see tons of arches on this trail, including Walk Under Arch, Crawl Through Arch, Skull Arch, Turtle Kissing Arch, and Surprise Arch. Each arch has its own story, and it’s fun trying to guess how each one got its name. If you’re doing the ranger-led tour, you’ll also learn tons of fun facts while you hike, like how Fairy Shrimp, a life form that is millions of years old, still live in the potholes of water in this desert.
🗺️ Navigation Note: GPS and AllTrails won’t work on the Fiery Furnace trail, so be sure you have your route planned, and don’t worry if you get lost—that is part of the adventure! Just retrace your steps and try a different path.
Estimated Time: 2-4 hours, depending on # of stops
Length: 2.1 miles / 3.4 km
Elevation Gain: 492 ft / 150 m
Difficulty: Hard
Type: Loop
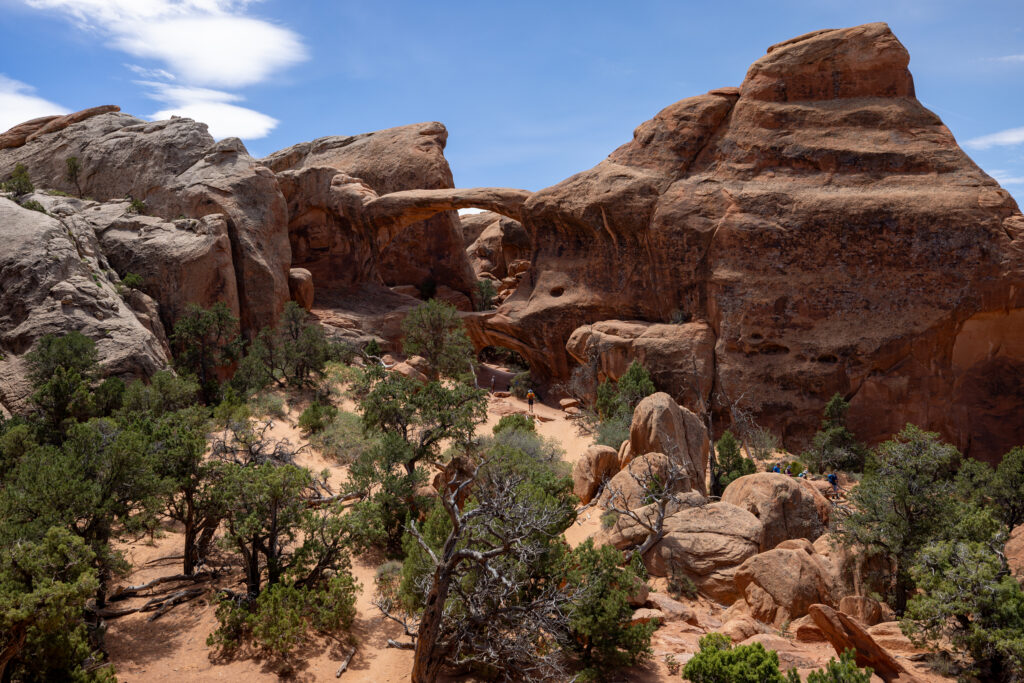
2. Devils Garden & Primitive Loop
The Devils Garden Trail is a strenuous, yet spectacular, hike in the northern end of Arches National Park. This quickly became one of our favorite hikes in Utah! There are a few key things you need to keep in mind before setting out on this hike:
- Difficulty: Beyond this trail’s length, there is a lot of “slick rock” that requires grippy footing to walk up and over. There may be moments where you have to sit down and use your butt to slide.
- Heights: At one point on this trail, you hike along the top of a fin. It’s incredible with views of the La Sal Mountains in the back and the park in the front, but there are sharp drop-offs on either side. Although there is enough room for people to pass on both sides, making it not as sheer as Angel’s Landing in Zion National Park, if you’re afraid of heights, it’s not for you.
- High Temperatures: It gets hot on this trail, especially during the peak of summer, so make sure you bring 1 liter of water per hour of hiking and practice good sun safety.
On this trail, we saw two of our favorite arches in the entire park, Landscape Arch and Double O Arch. Landscape Arch is the widest arch in the park, and one of the widest in the world, at almost a football field wide! Double O Arch was another incredible rock structure where two arches formed right on top of each other, and it is where we stopped for lunch. Another great stopping point for a snack and water break is by Private Arch on the Primitive Section.
💚 Shorter Version: You have the option to just hike to Landscape Arch and Double O Arch without doing the entire Devil’s Garden trail. Just follow the Double O Arch Trail (4.2 miles/6.8 km).
One of our biggest recommendations, beyond practicing safety, is to explore the offshoots to each arch and to stop and enjoy the views you like on the trail, even if just for a few minutes. That being said, outside of the main loop, there’s an offshoot to Dark Angel Spire. We felt this one could be skipped, as you can see the spire from far away, and the offshoot is in a very sun-exposed area. Some of the smaller ones we liked were Pine Tree Arch, Navajo Arch, and Partition Arch, all pictured above.
🔁 Clockwise or Counterclockwise? We generally recommend hiking this loop clockwise. You’ll see the best parts of the trail in the beginning, before tackling the more remote Primitive Trail section. That being said, if you’re hiking in the peak of summer, go counter-clockwise, completing the most exposed part of the loop when it’s coolest.
Estimated Time: 4-5 hours
Length: 8 miles / 12.9 km
Elevation Gain: 1,158 ft / 353 m
Difficulty: Hard
Type: Loop
3. Delicate Arch Trail
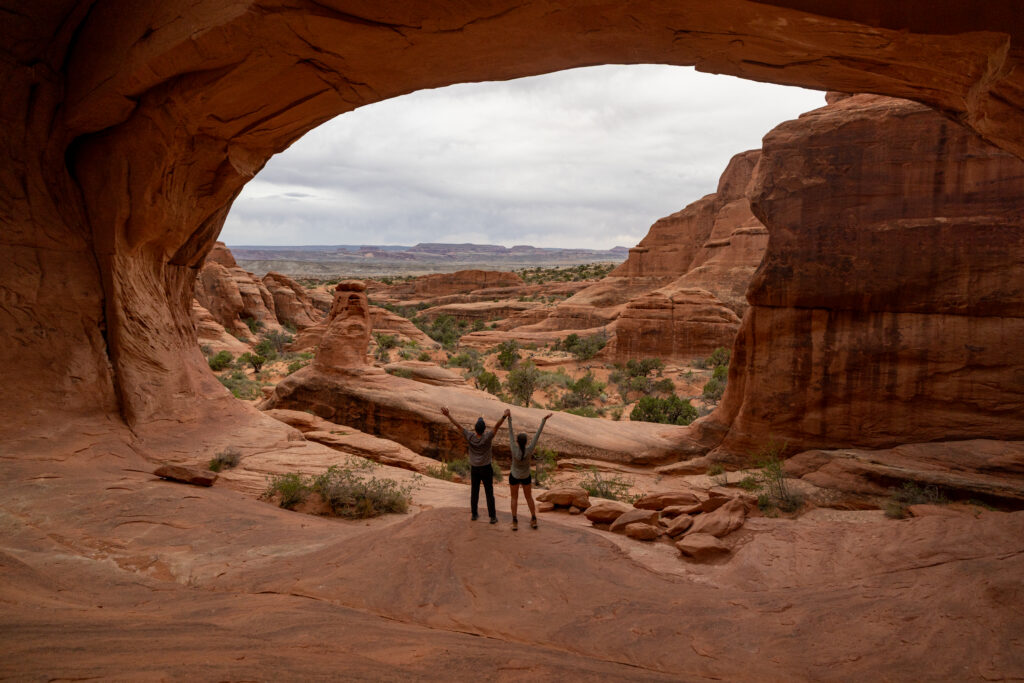
Delicate Arch is the most photographed arch in the world, making this trail one of the most special hikes we’ve done to date! The hike itself was okay, not as exciting as the first two on this list, which is why it’s ranked 3rd, but the views once at the actual arch could easily have bumped it up to 1 or 2 on another list.
We highly recommend seeing this arch during sunrise if you aren’t opposed to an early wake-up. With your headlamps on, arrive at the parking lot by 4:45 AM, start the trail by 5:10 AM, and plan to reach the arch by 5:45 AM. Even when we went that early, there were about 20-30 people already at Delicate Arch. That being said, everyone was respectful, and it didn’t feel too crowded.
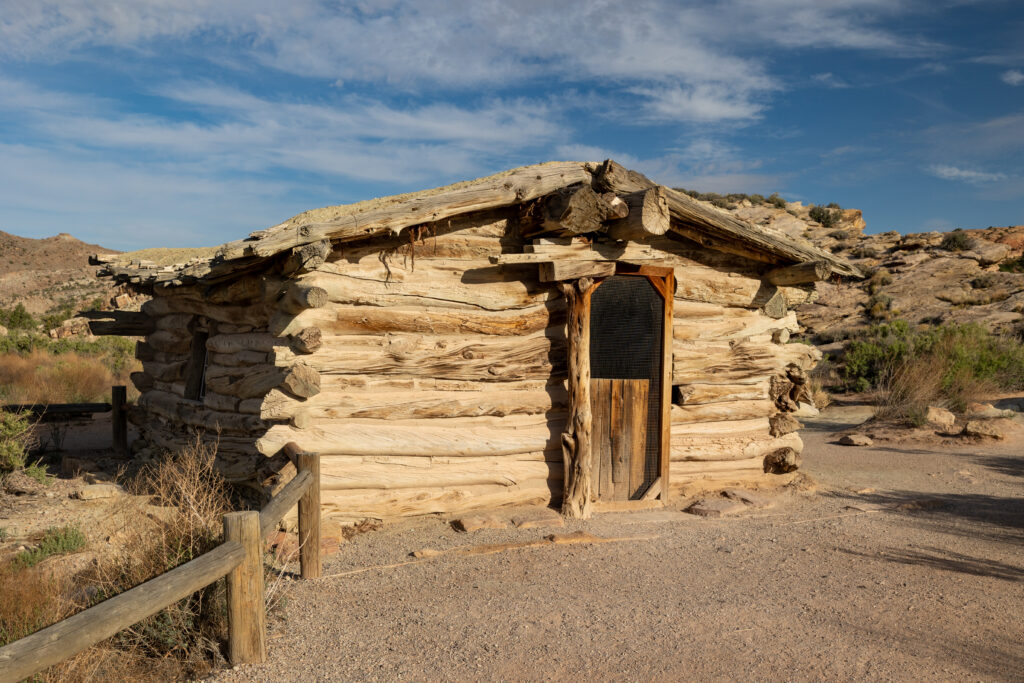
On the hike out, keep an eye out for Donut Arch before you get to Delicate Arch; it’s easy to miss, but worth the view! On the way back, we recommend taking a right near the parking lot towards the petroglyphs. You can also stop by the ranch near the base of the trail to see how the early settlers of this region used to live.
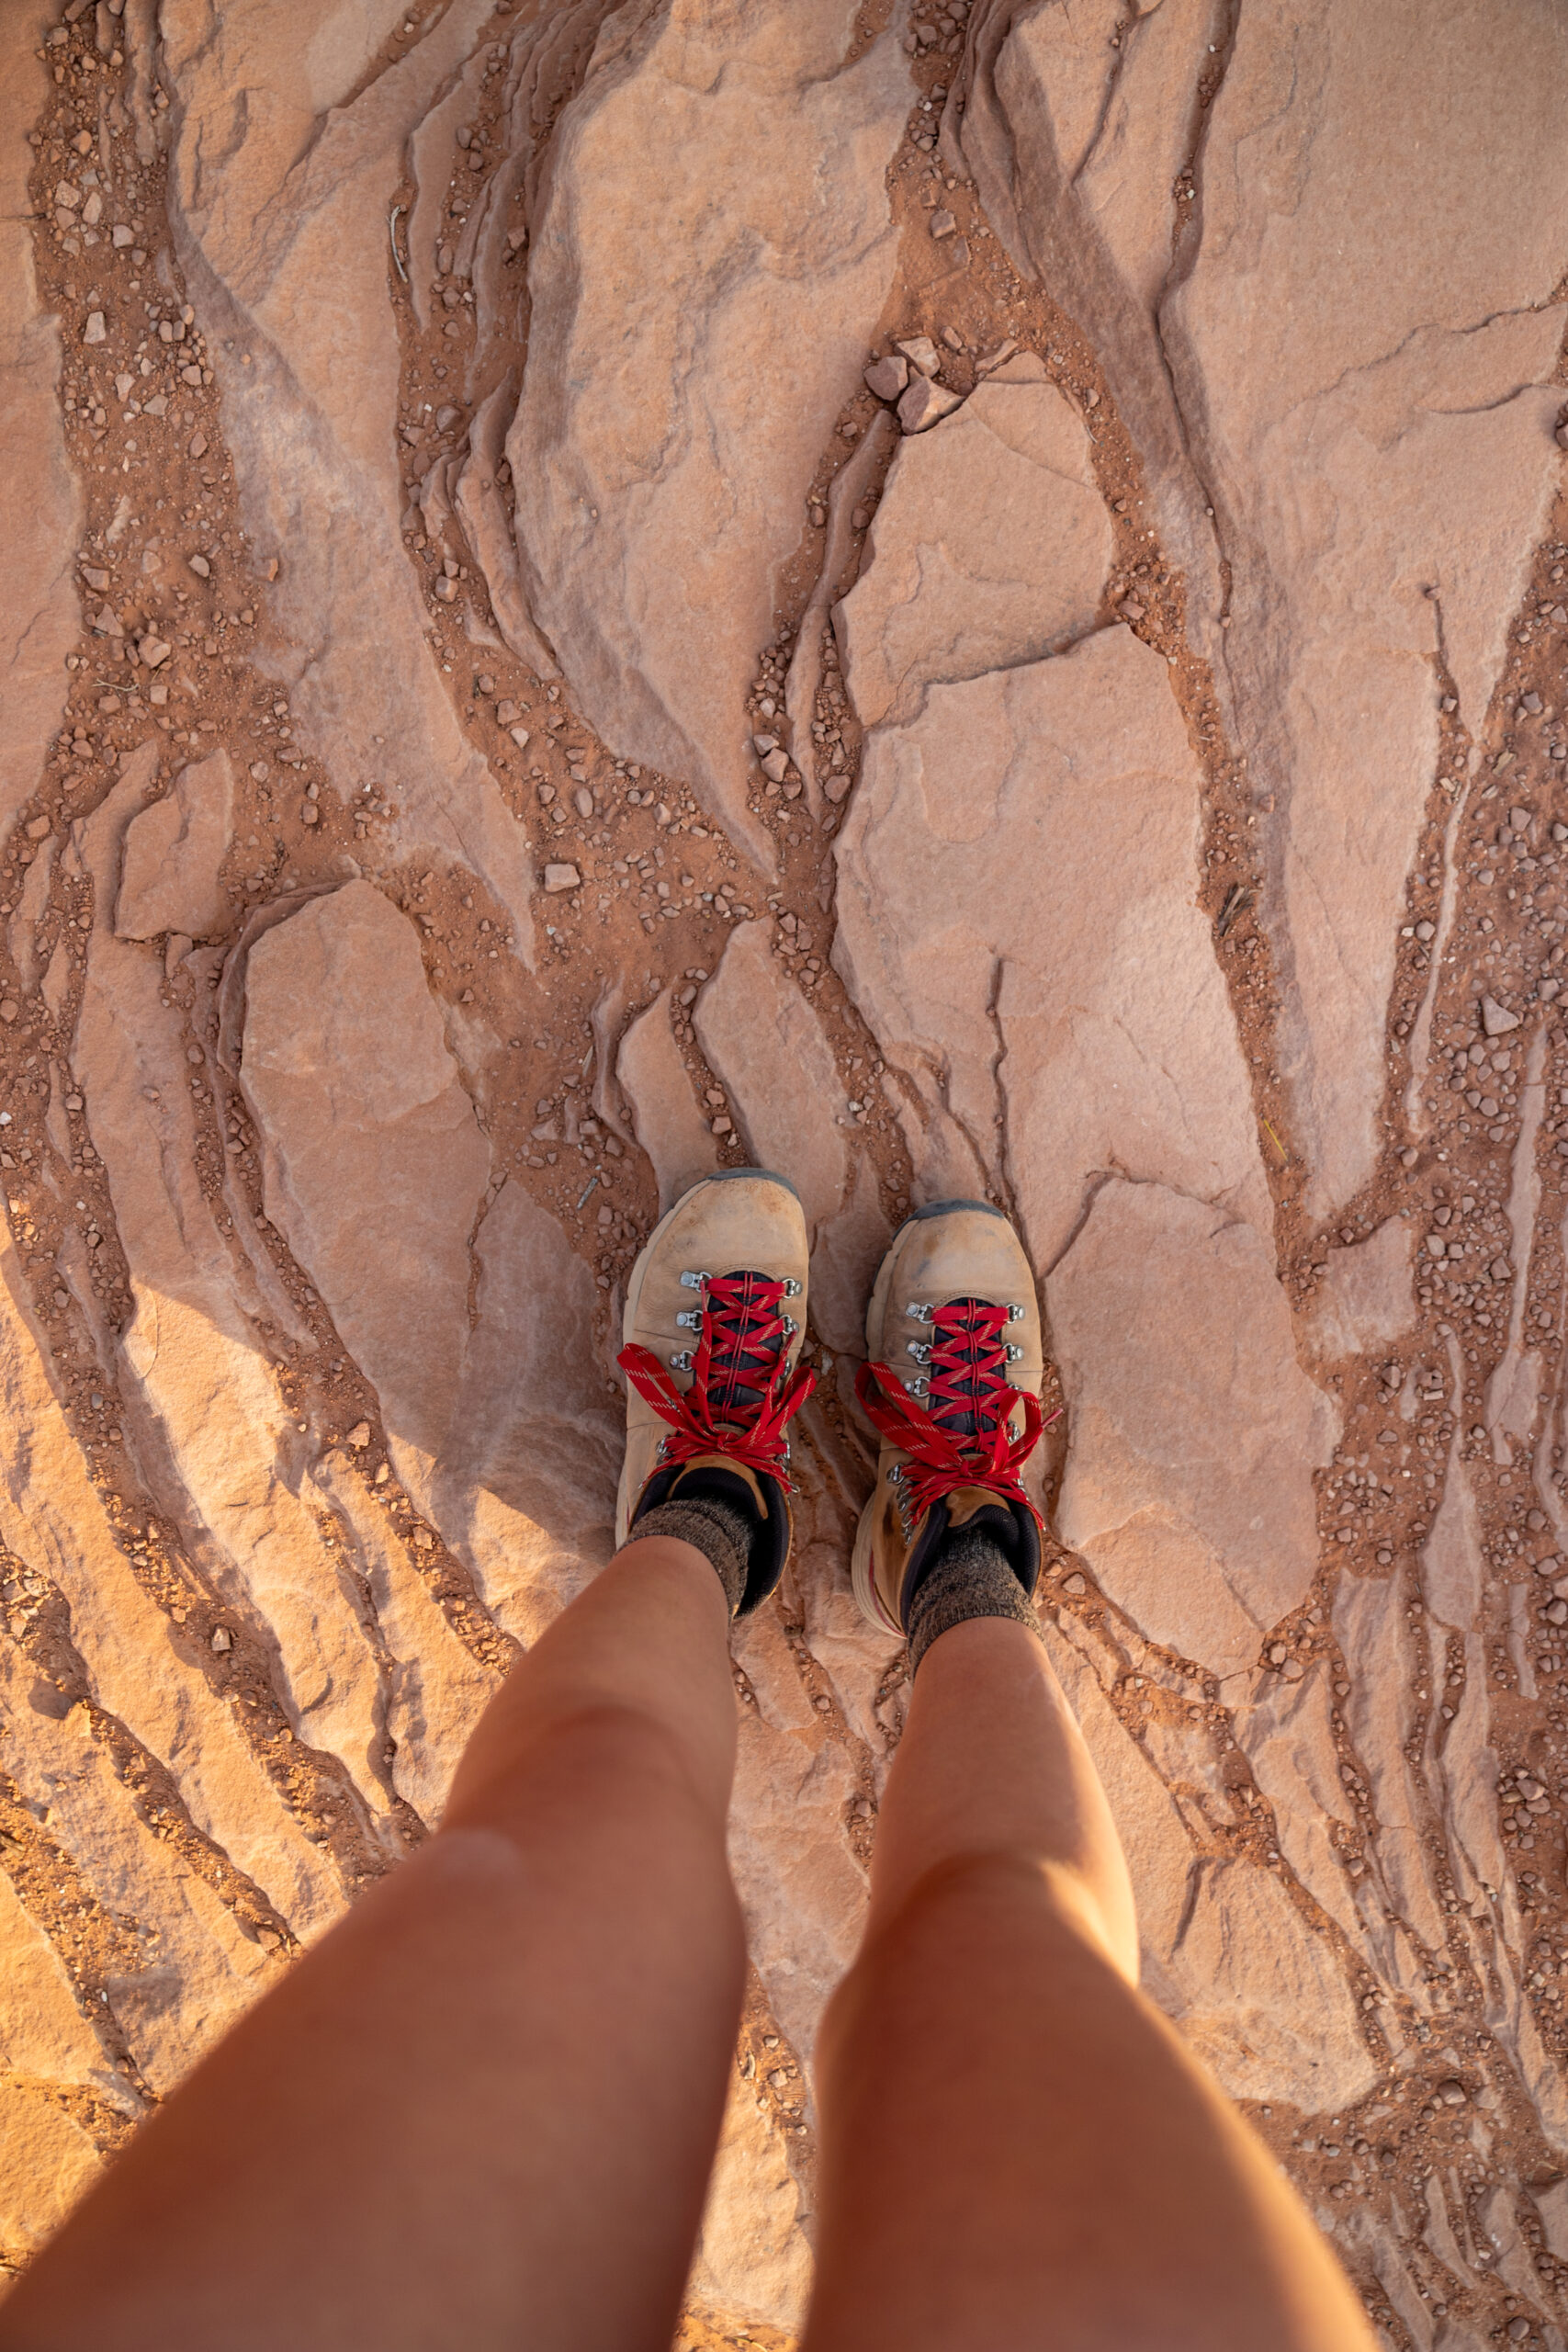
🥾 Wear Shoes with Traction: The last section of this trail features a narrow ledge with a steep drop-off, so a solid pair of hiking shoes with proper traction is a must for this trail.
Estimated Time: 1.5-2 hours
Length: 3.2 miles / 5.1 km
Elevation Gain: 629 ft / 192 m
Difficulty: Moderate
Type: Out-and-Back
4. Tower Arch Trail
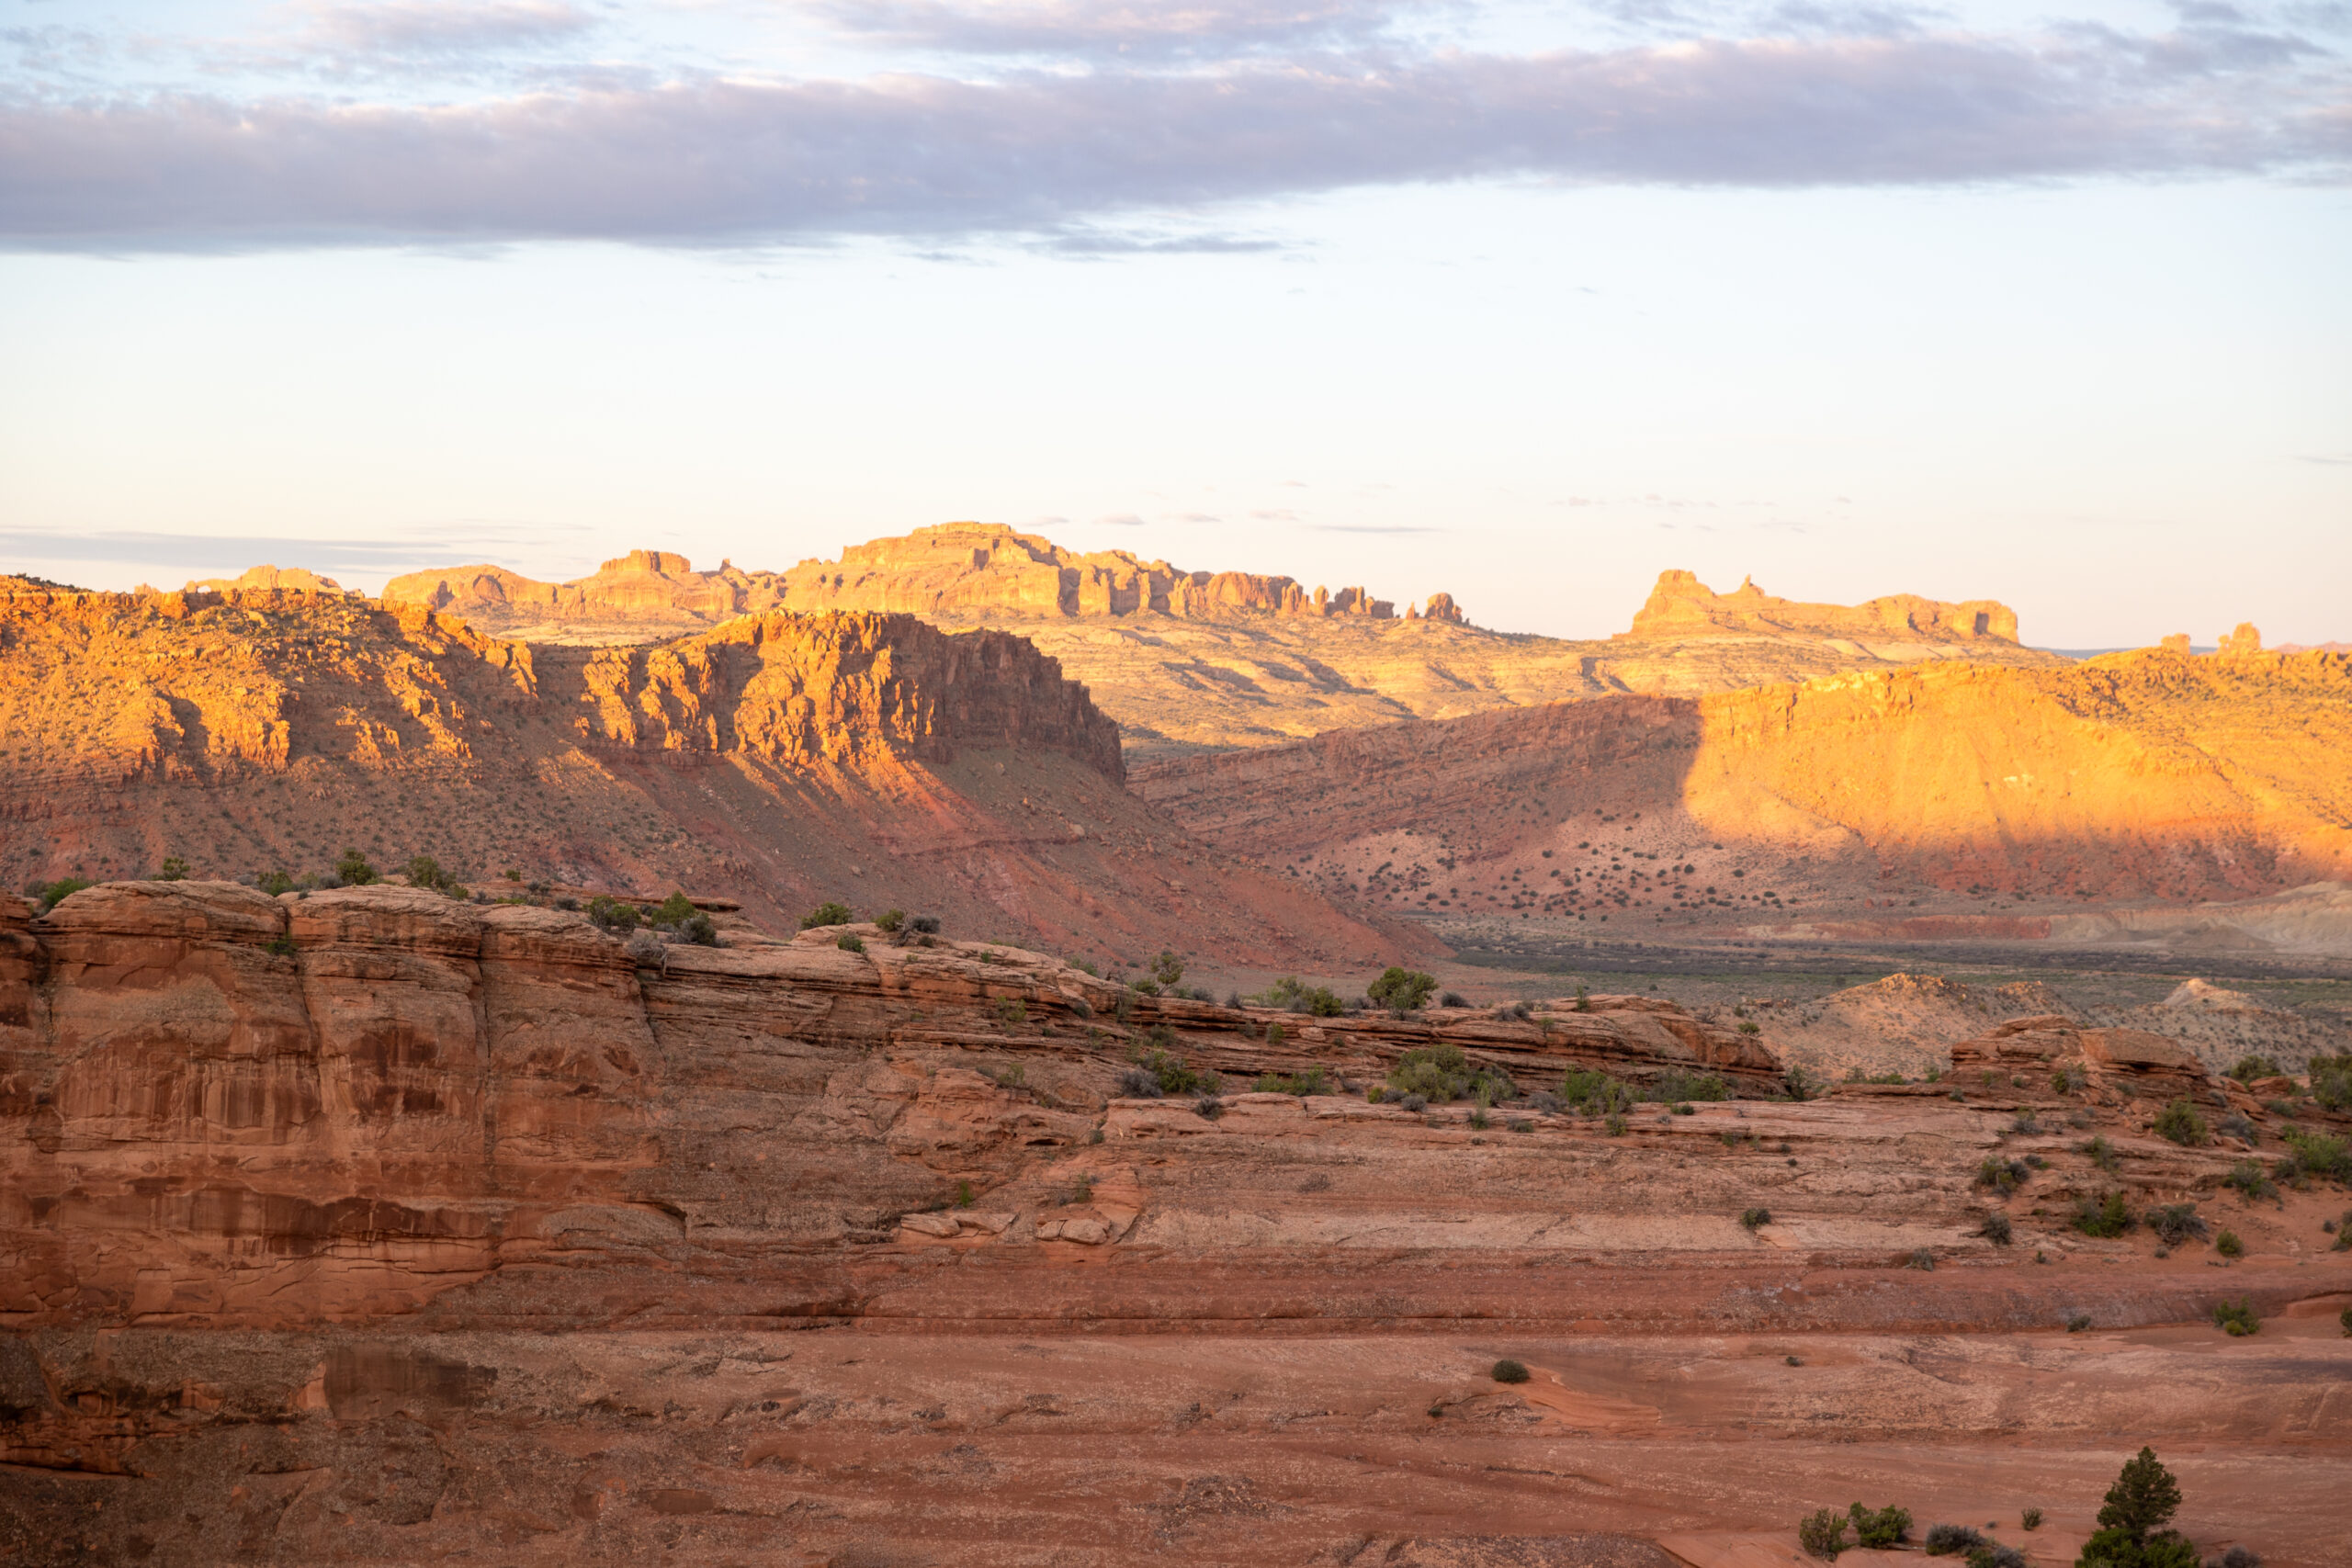
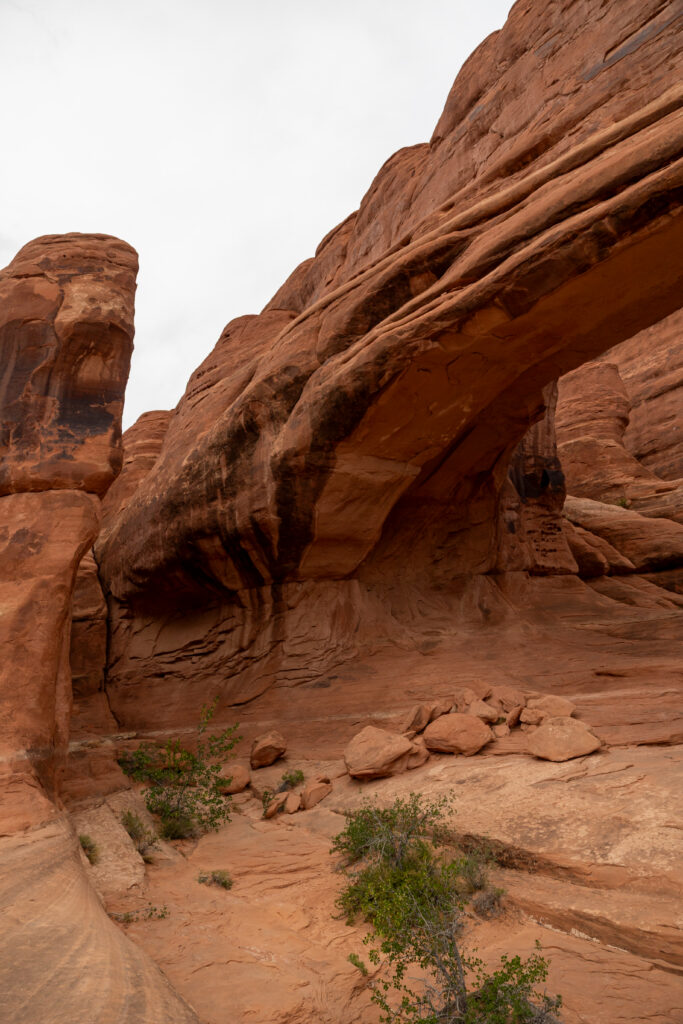
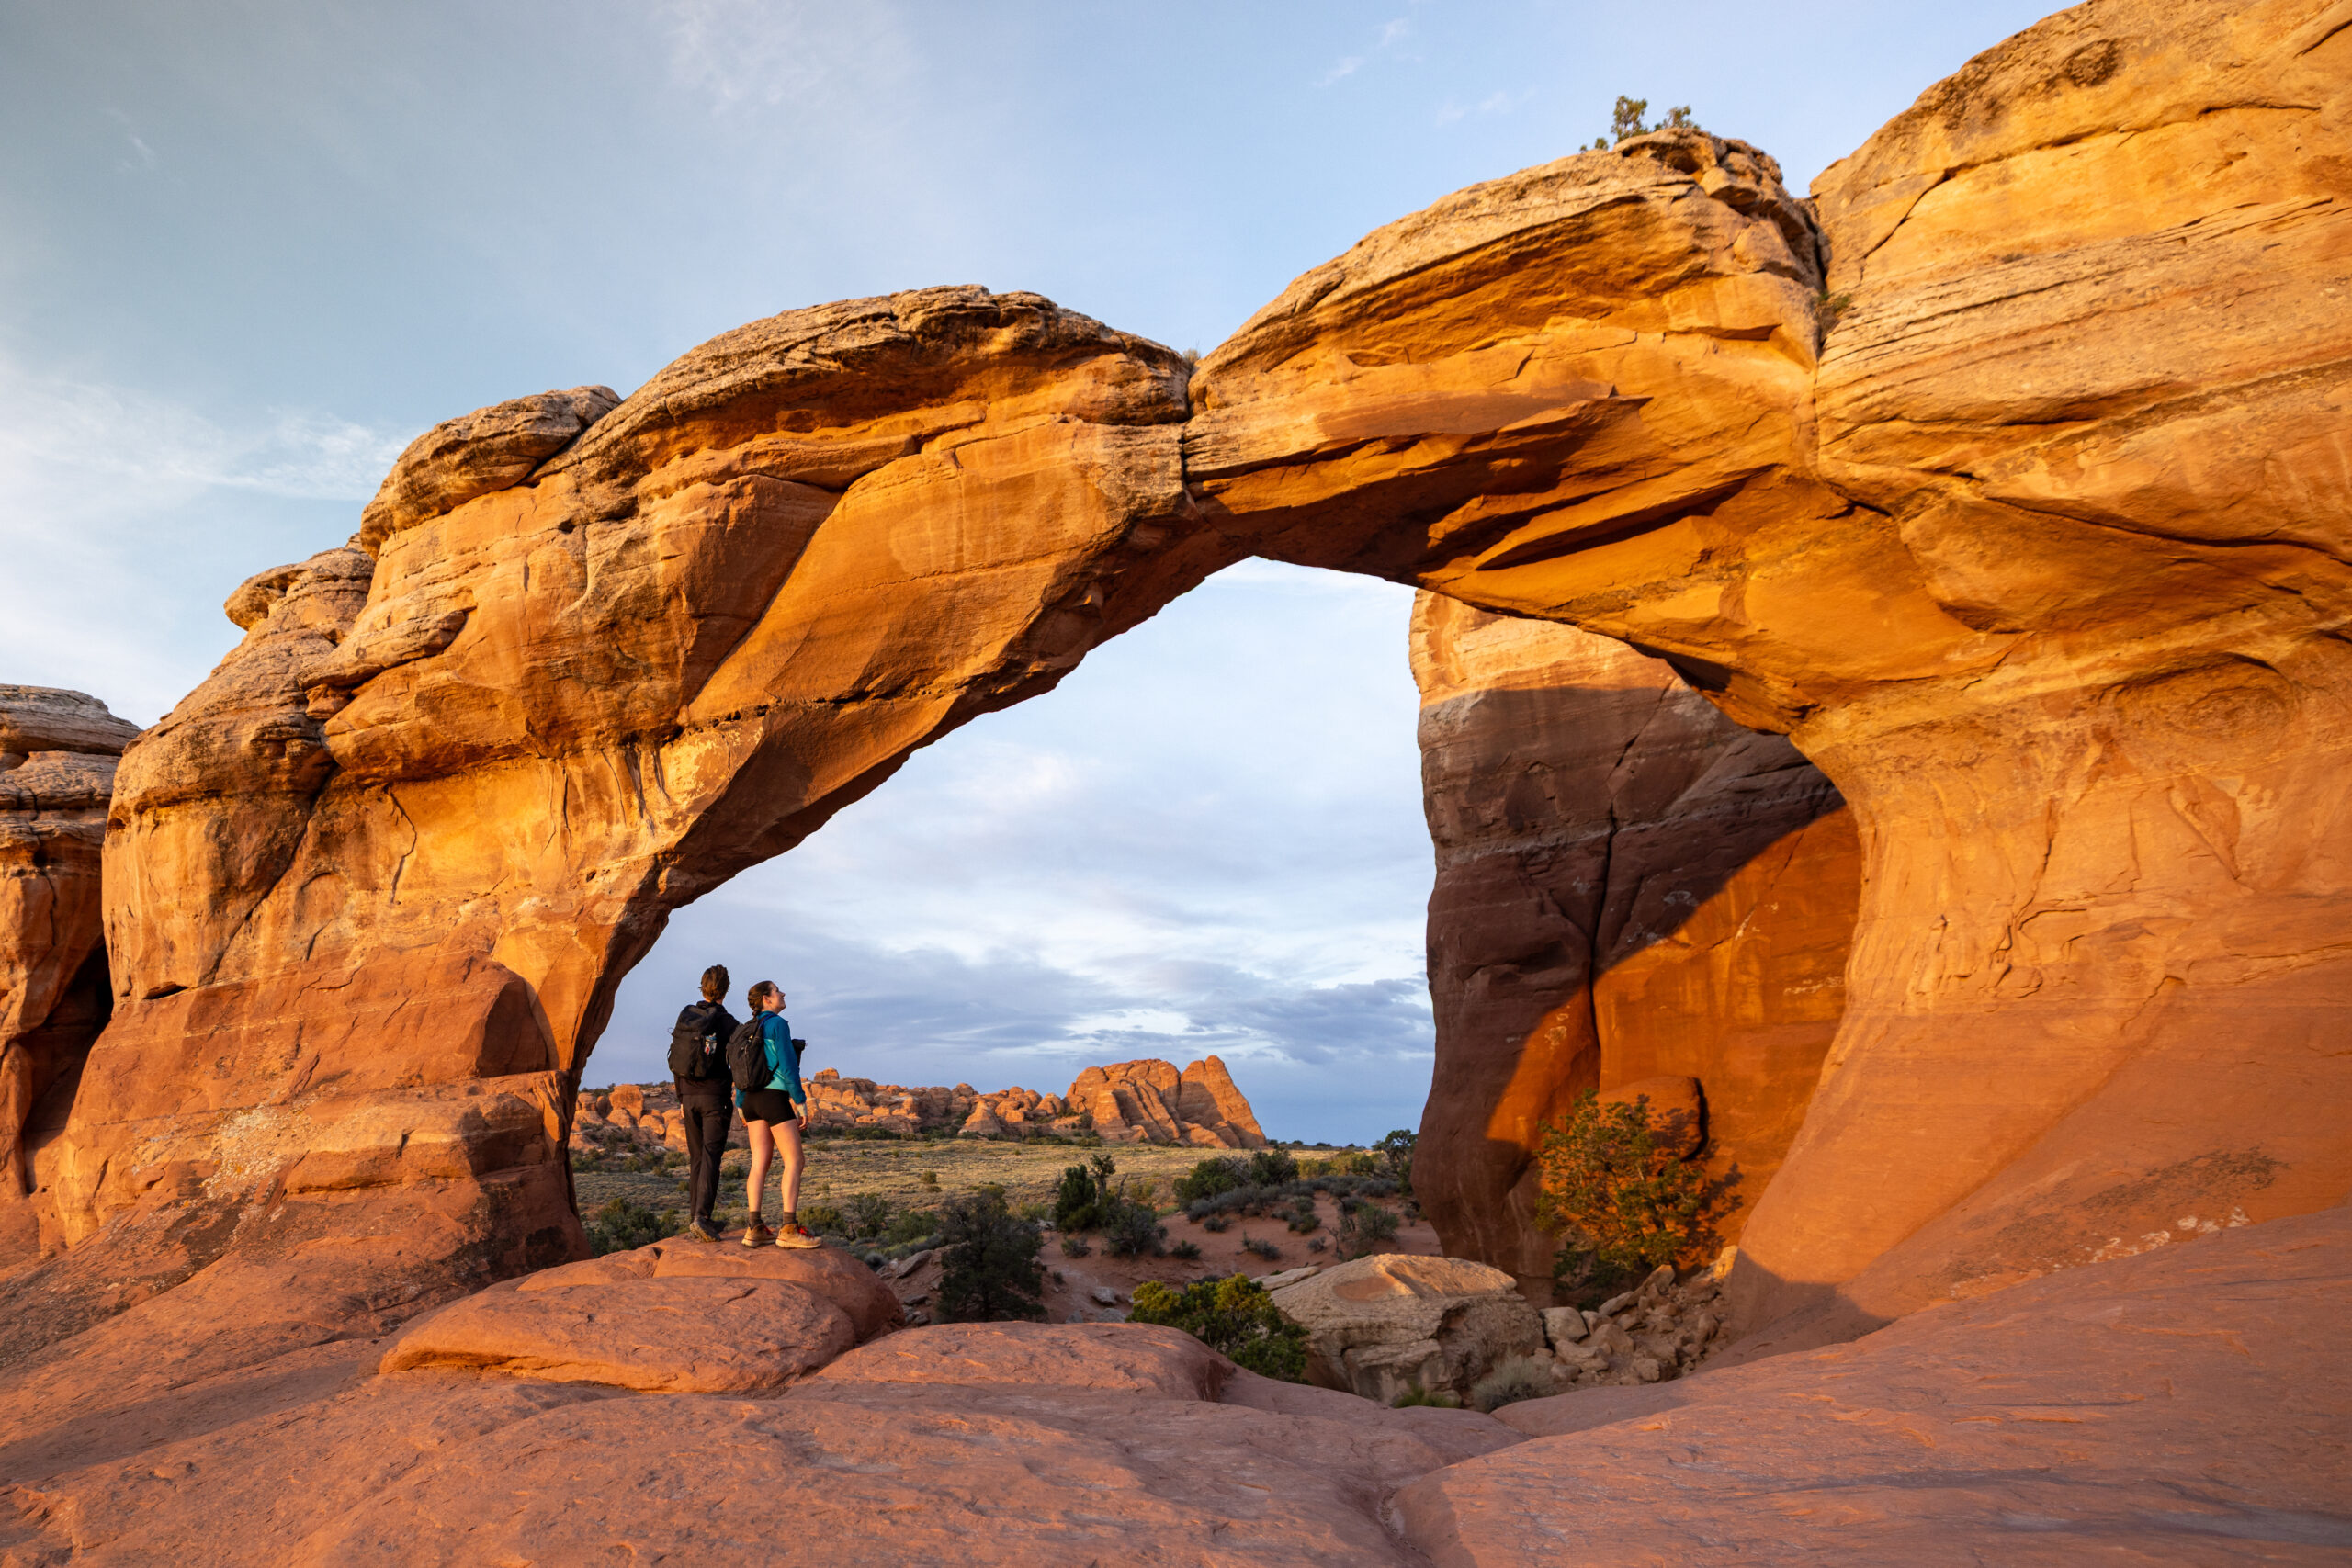
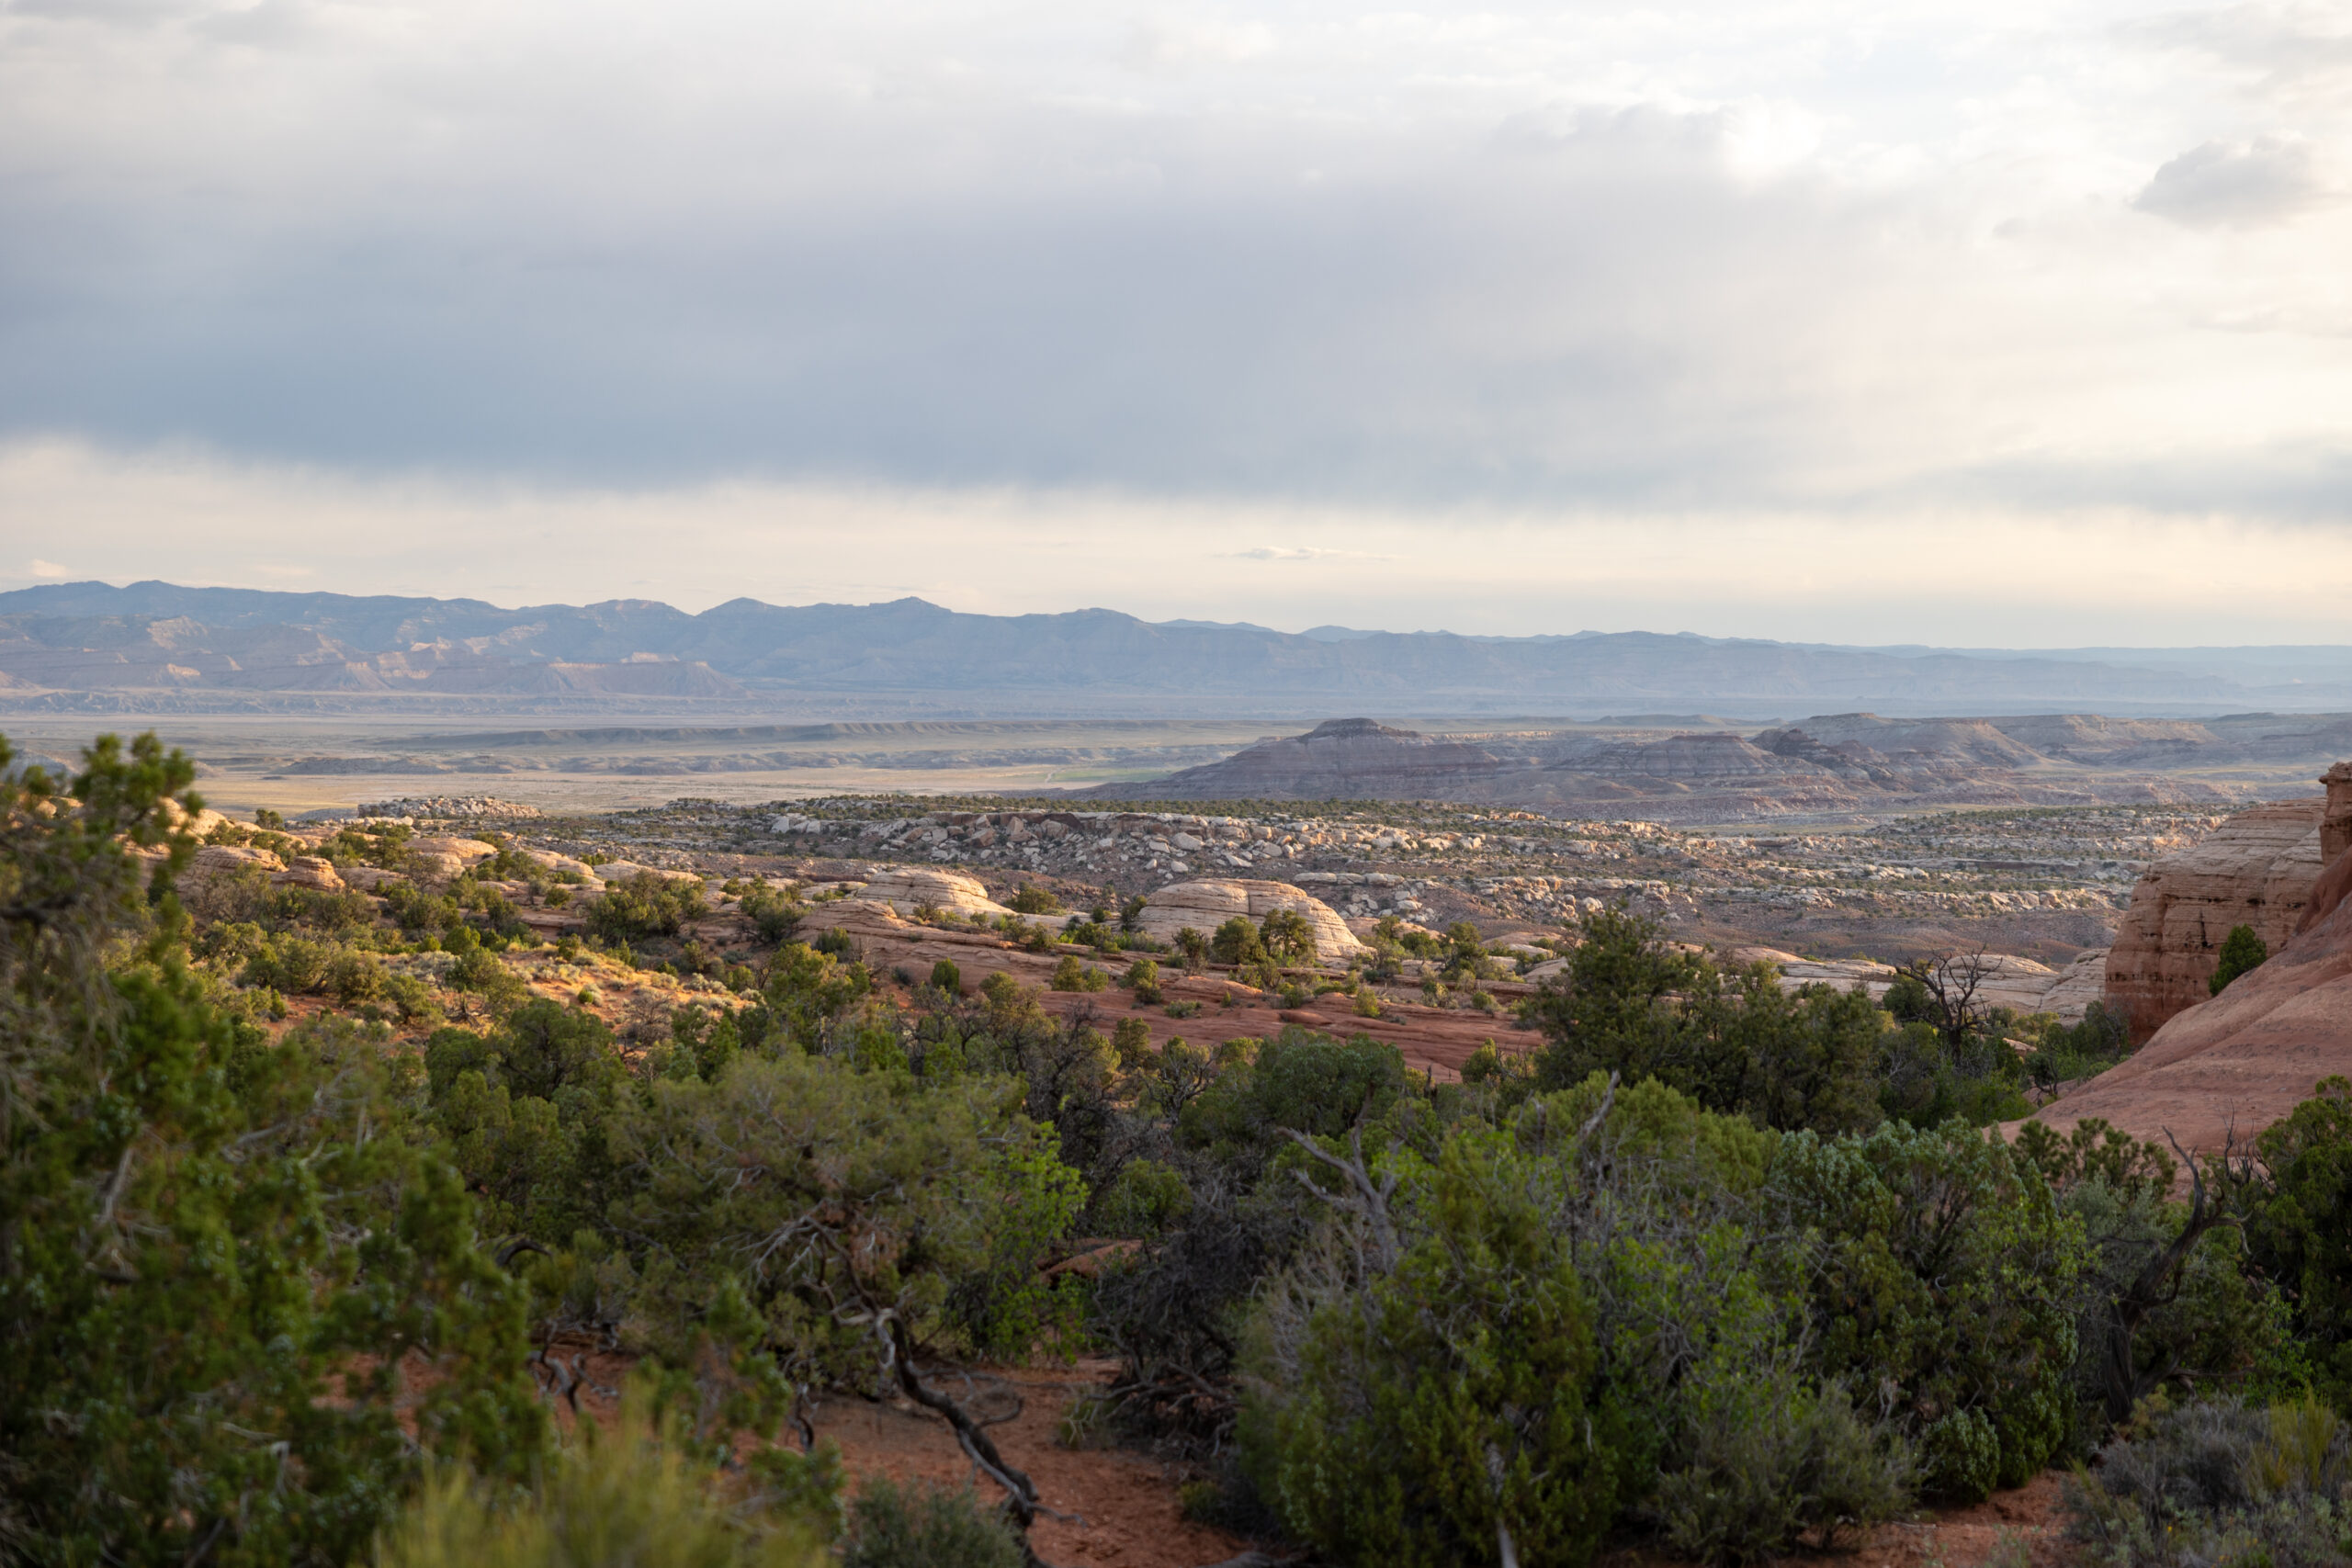
Tower Arch is hands-down our #1 favorite spot to watch the sunset in Arches National Park and #4 overall. This stunning arch frames the western landscape of Moab, Utah, creating a highly photogenic backdrop as the sun dips below the horizon. It’s also one of the largest and most easily approachable arches in the entire park!
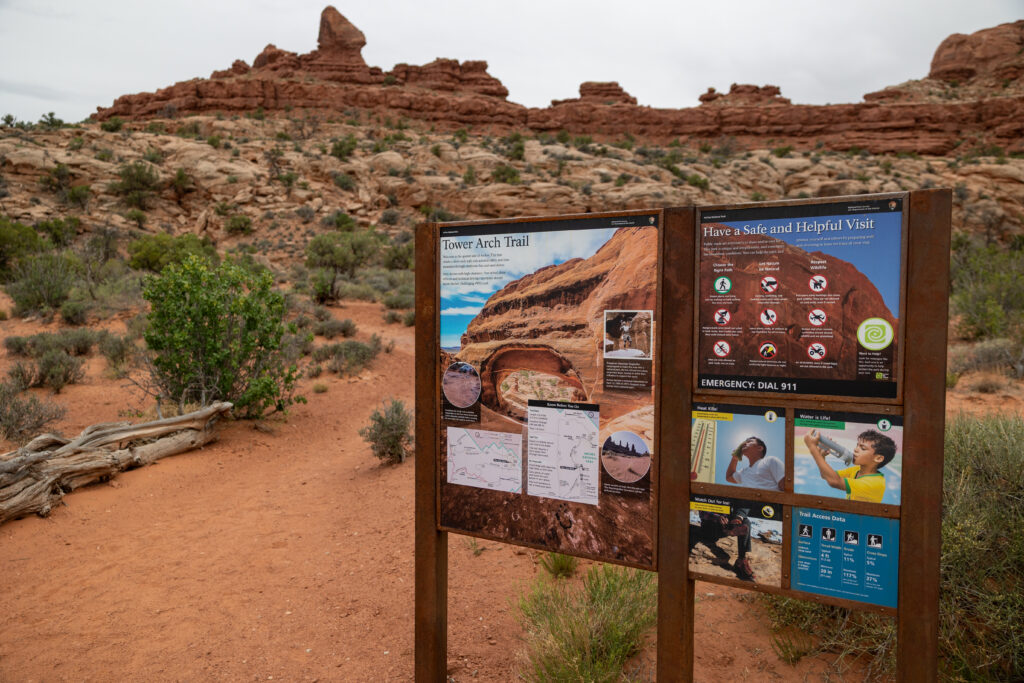
As tour buses and visitors who prefer paved routes aren’t venturing down this trail, we had this trail all to ourselves when we went. The toughest part of the hike is towards the beginning, where you have to climb up a bit of slick rock. After that, you get some incredible views and an easier rest of the trip, albeit with a short stretch of sand.
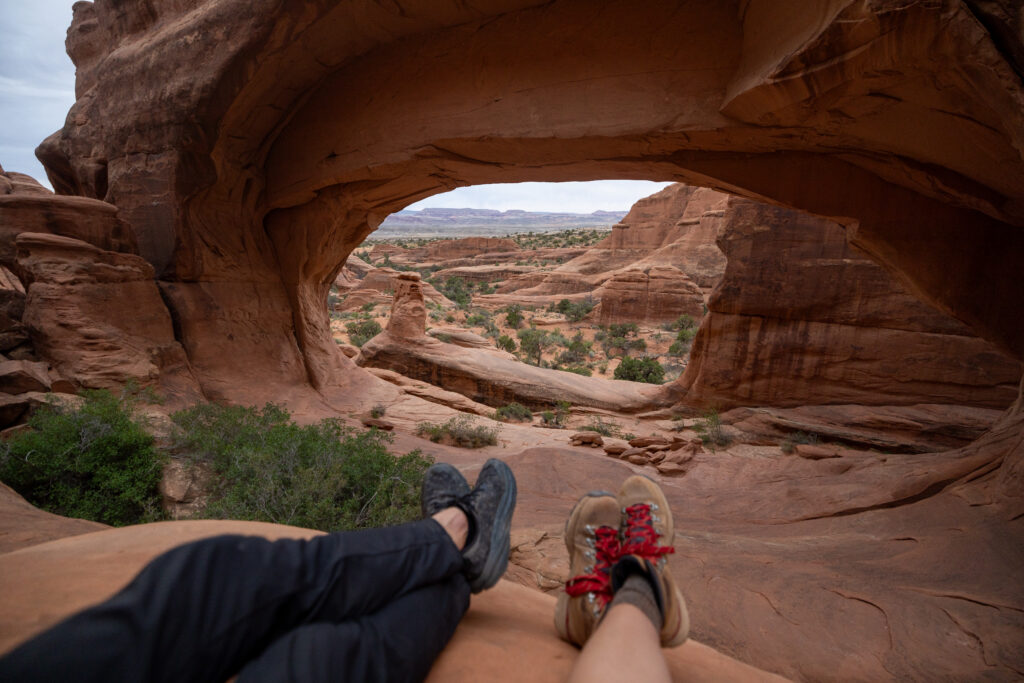
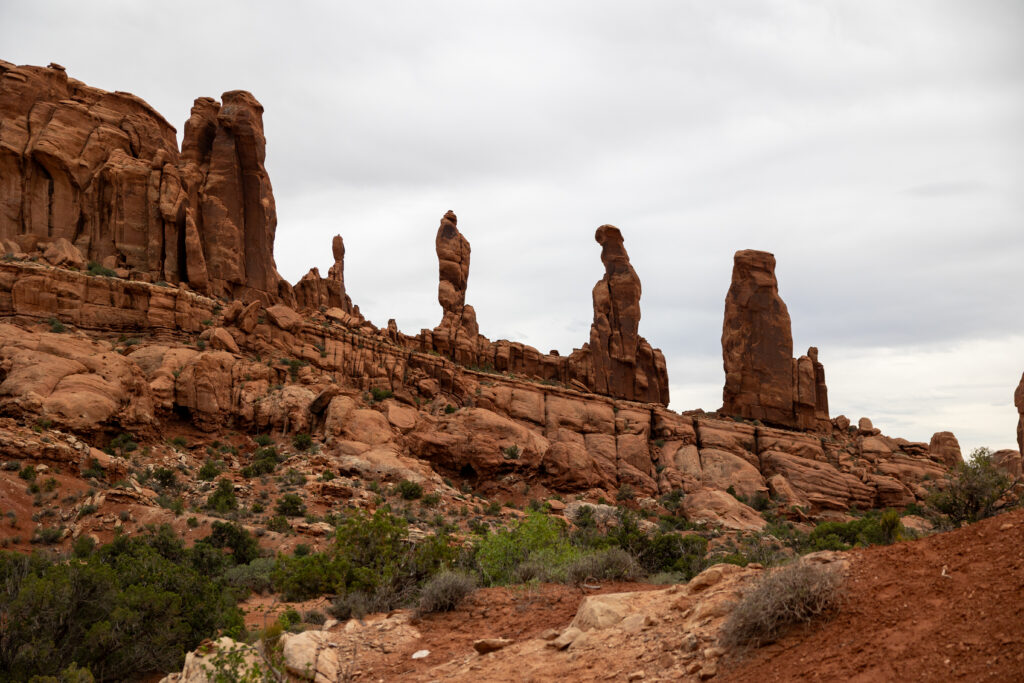
If you look to the left about halfway to Tower Arch, you’ll see the Marching Men, a unique structure composed of 3 vertical rock formations that resemble—you guessed it—three marching men! Once at Tower Arch itself, we recommend climbing up into the far back of the arch and having a snack while looking into the expansive Arches National Park. Just be careful and only climb up this slick rock if you feel it’s within your comfort level.
👂🏼 Listen for Packrats: Before turning back, we heard what we believed to be packrats making their home in the arch. If you also go in the evening, listen for them!
Estimated Time: ~2 hours
Length: 2.5 miles / 4 k
Elevation Gain: 626 ft / 191 m
Difficulty: Moderate
Type: Out-and-Back
5. Double Arch Trail
Double Arch comes in at #5 because, while the trail isn’t anything too special, Double Arch itself is gorgeous. What began as just a tiny pothole thousands of years ago has now turned into one of the most iconic arches in the park!
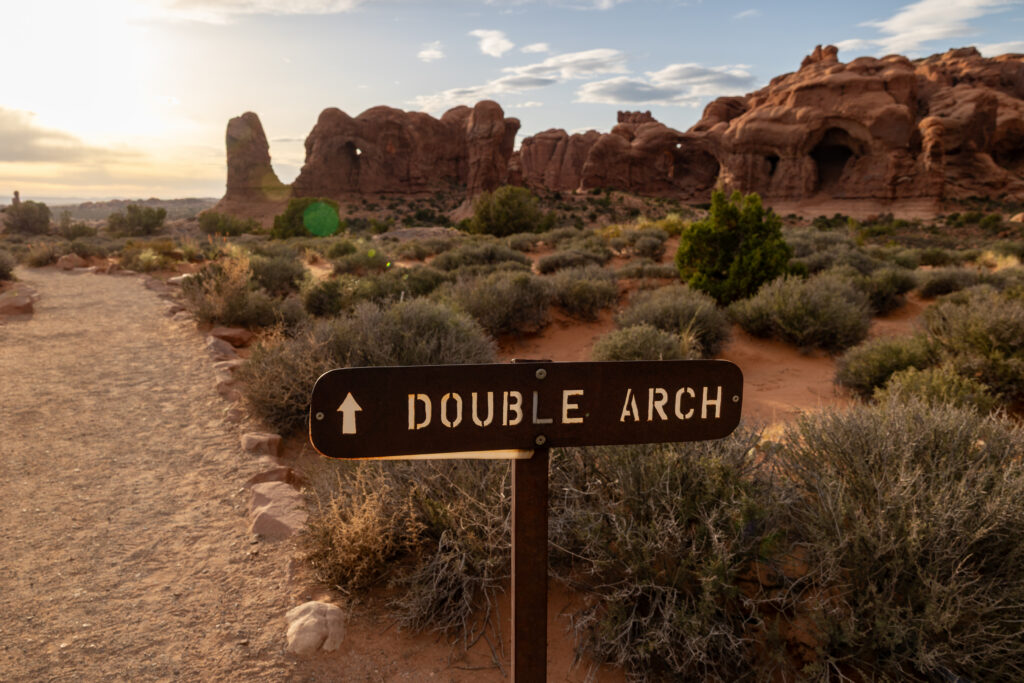
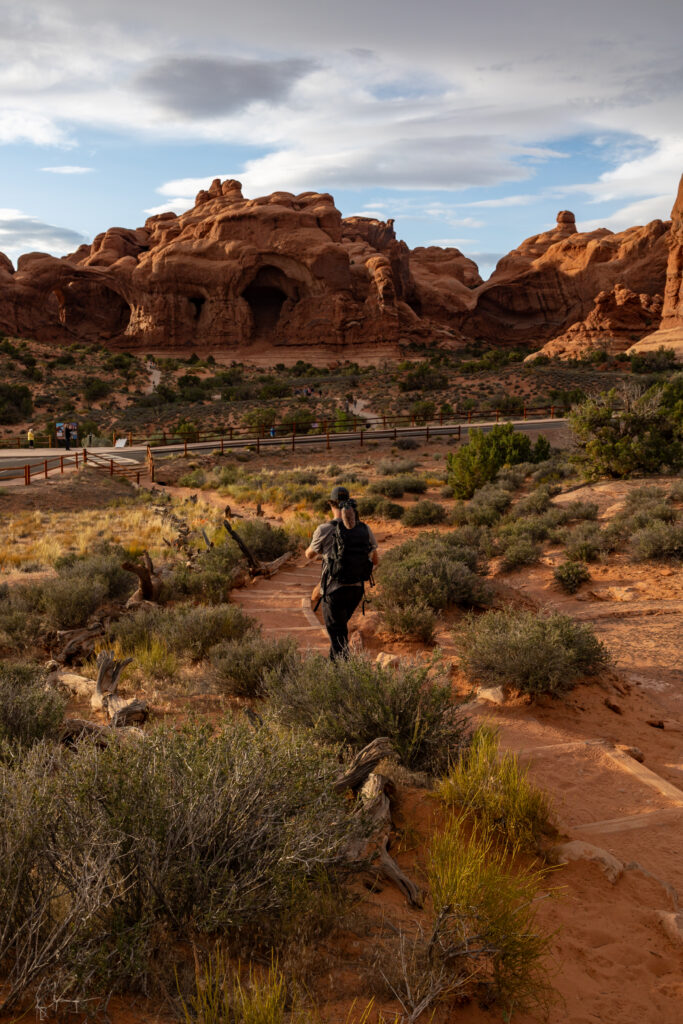
To experience the best light on Double Arch, arrive approximately 90 minutes before sunset. This will give you enough time to enjoy Double Arch’s best viewing hour before heading to the nearby Windows Trail, which we recommend for watching the actual sunset. Both of these trails share the same parking lot.
The last stretch of the hike up to Double Arch rewards you with amazing panoramic views of all of Arches National Park. That being said, this is the most challenging section and is completely optional. You can still enjoy amazing views without going all the way up to the base of Double Arch.
Estimated Time: 15-30 minutes
Length: 0.6 miles / 1 km
Elevation Gain: 52 ft / 16 m (without rock scramble)
Difficulty: Easy-Moderate
Type: Out-and-Back
With offline maps, wrong-turn alerts, and extra planning features, make the most of every outside adventure with AllTrails Plus. Get 7 days of AllTrails Plus for free!
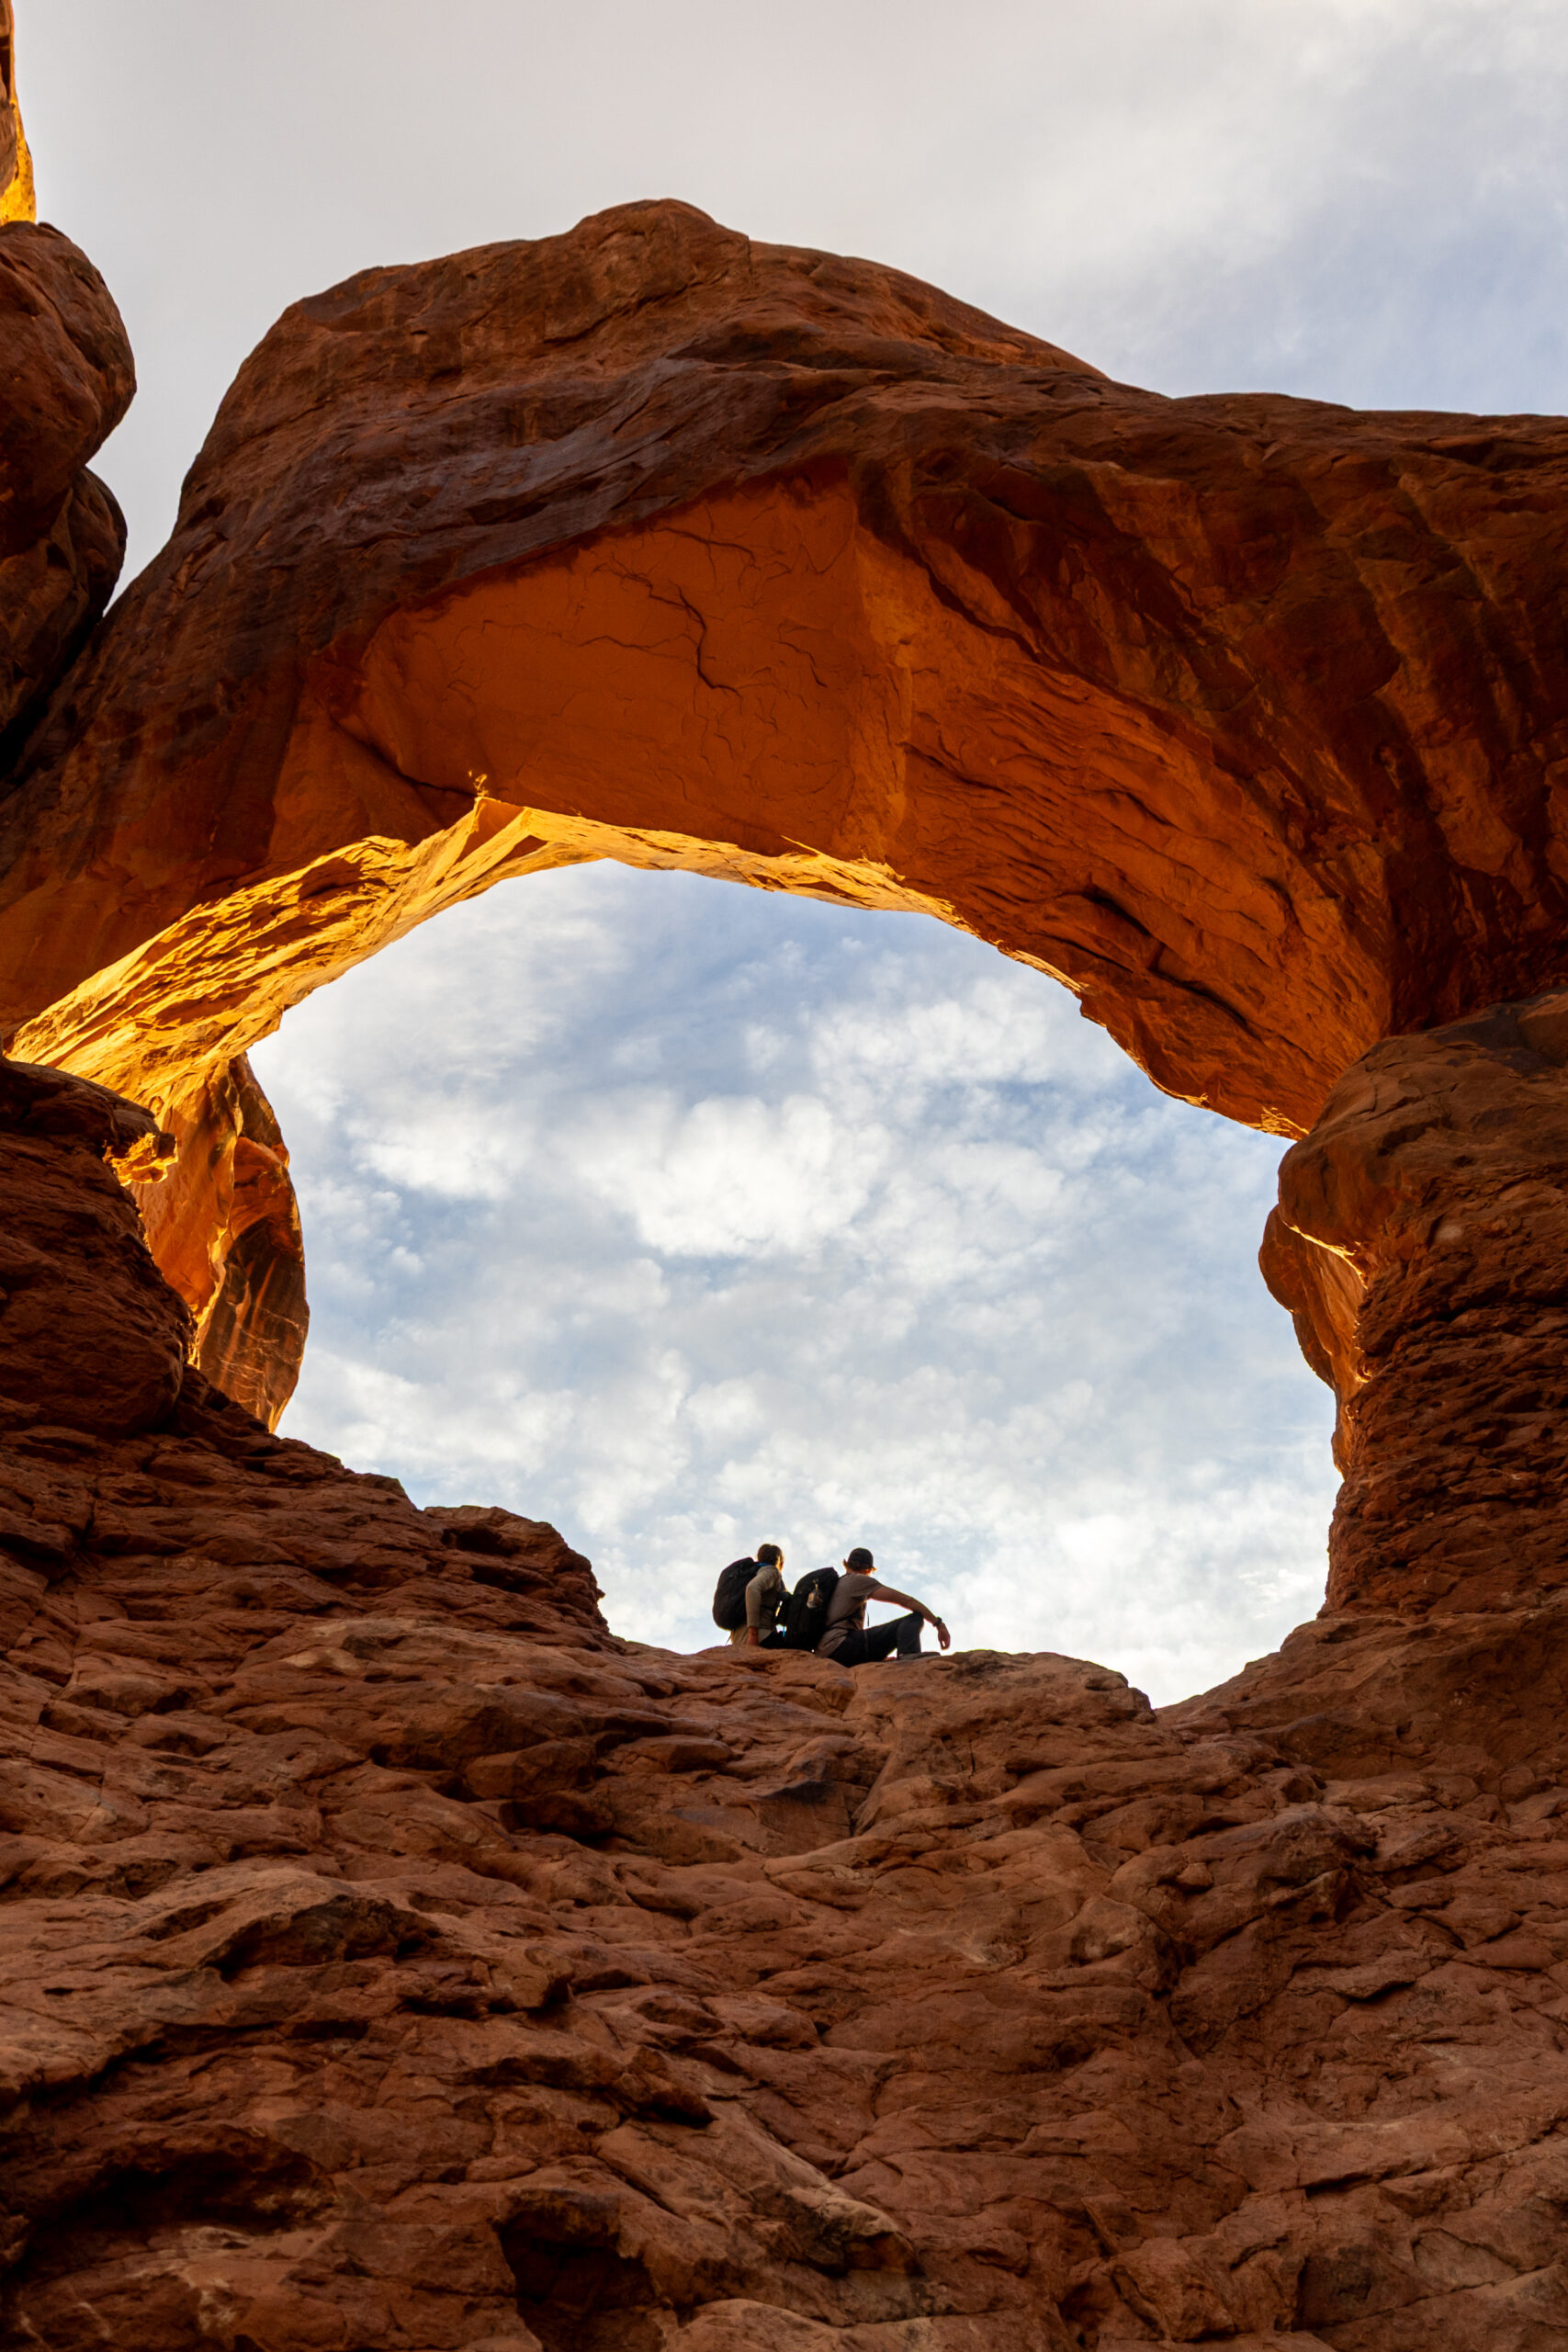
6. Windows Loop Trail
The Windows is the second most popular place to watch the sunset in Arches National Park, after Delicate Arch, so there will be some crowds in the late afternoon. Even if you don’t come during sunset, you get it all with this area—access to North Window Arch and South Window Arch, a paved trail, and an optional primitive trail out to Turret Arch.
Windows Loop Trail is long enough to get you away from the road, yet short enough that you don’t have to worry about walking back to your car in the dark if you visit for sunset. If time allows, we recommend visiting Double Arch 90 minutes before sunset, before making your way to The Windows for the actual sunset. If you only have time for one, you can stick to The Windows.
Estimated Time: 20 minutes (without hiking out to Turret Arch)
Length: 0.7 miles / 1.1 km
Elevation Gain: 128 ft / 39 m
Difficulty: Easy
Type: Loop
7. Sand Dune Arch & Broken Arch Trails
Sand Dune Arch Trail and Broken Arch Trail are two nearby trails that can easily be combined into a 1-hour-and-change hike. The first trail is a unique 15-minute route that will have you hiking through dense sand (keep this in mind if you have balance issues), while Broken Arch is a 45-minute route on a flat, dirt trail. Between these two routes, we got to see lots of birds and a rabbit, had the trail all to ourselves, and found the arches themselves to be very unique!
Unlike many other trails in Arches National Park that feature wide-open vistas, Sand Dune Arch Trail has you walking between two fins that tower above you, closing out the outside world for the duration of the trail. This route was so unique, we felt like we were worlds away from the other trails in the park!
Broken Arch Trail gets its name from a piece at the top of the arch that has broken off, making the arch appear as though it’s crumbling. Our favorite part about hiking this trail in particular was that we were able to hike underneath and even through the arch itself!
🥾 Want a 3rd Trail? If you’re looking to extend your hiking time by 15 more minutes, you can continue onto the nearby Tapestry Arch.
Estimated Time: 1 hour 15 minutes
Length: 2.5 miles / 4 km
Elevation Gain: 626 ft / 190 m
Difficulty: Easy-Moderate
Type: Out-and-Back & Loop
8. Park Avenue Viewpoint & Trail
Park Avenue Viewpoint and Trail is one of the first stops inside Arches National Park, offering an impressive introduction to this area’s towering rock formations. It was named Park Avenue because it resembles Manhattan’s Wall Street. And while you won’t be seeing arches from this viewpoint or trail, the sheer scale of the landscape is worth the stop.
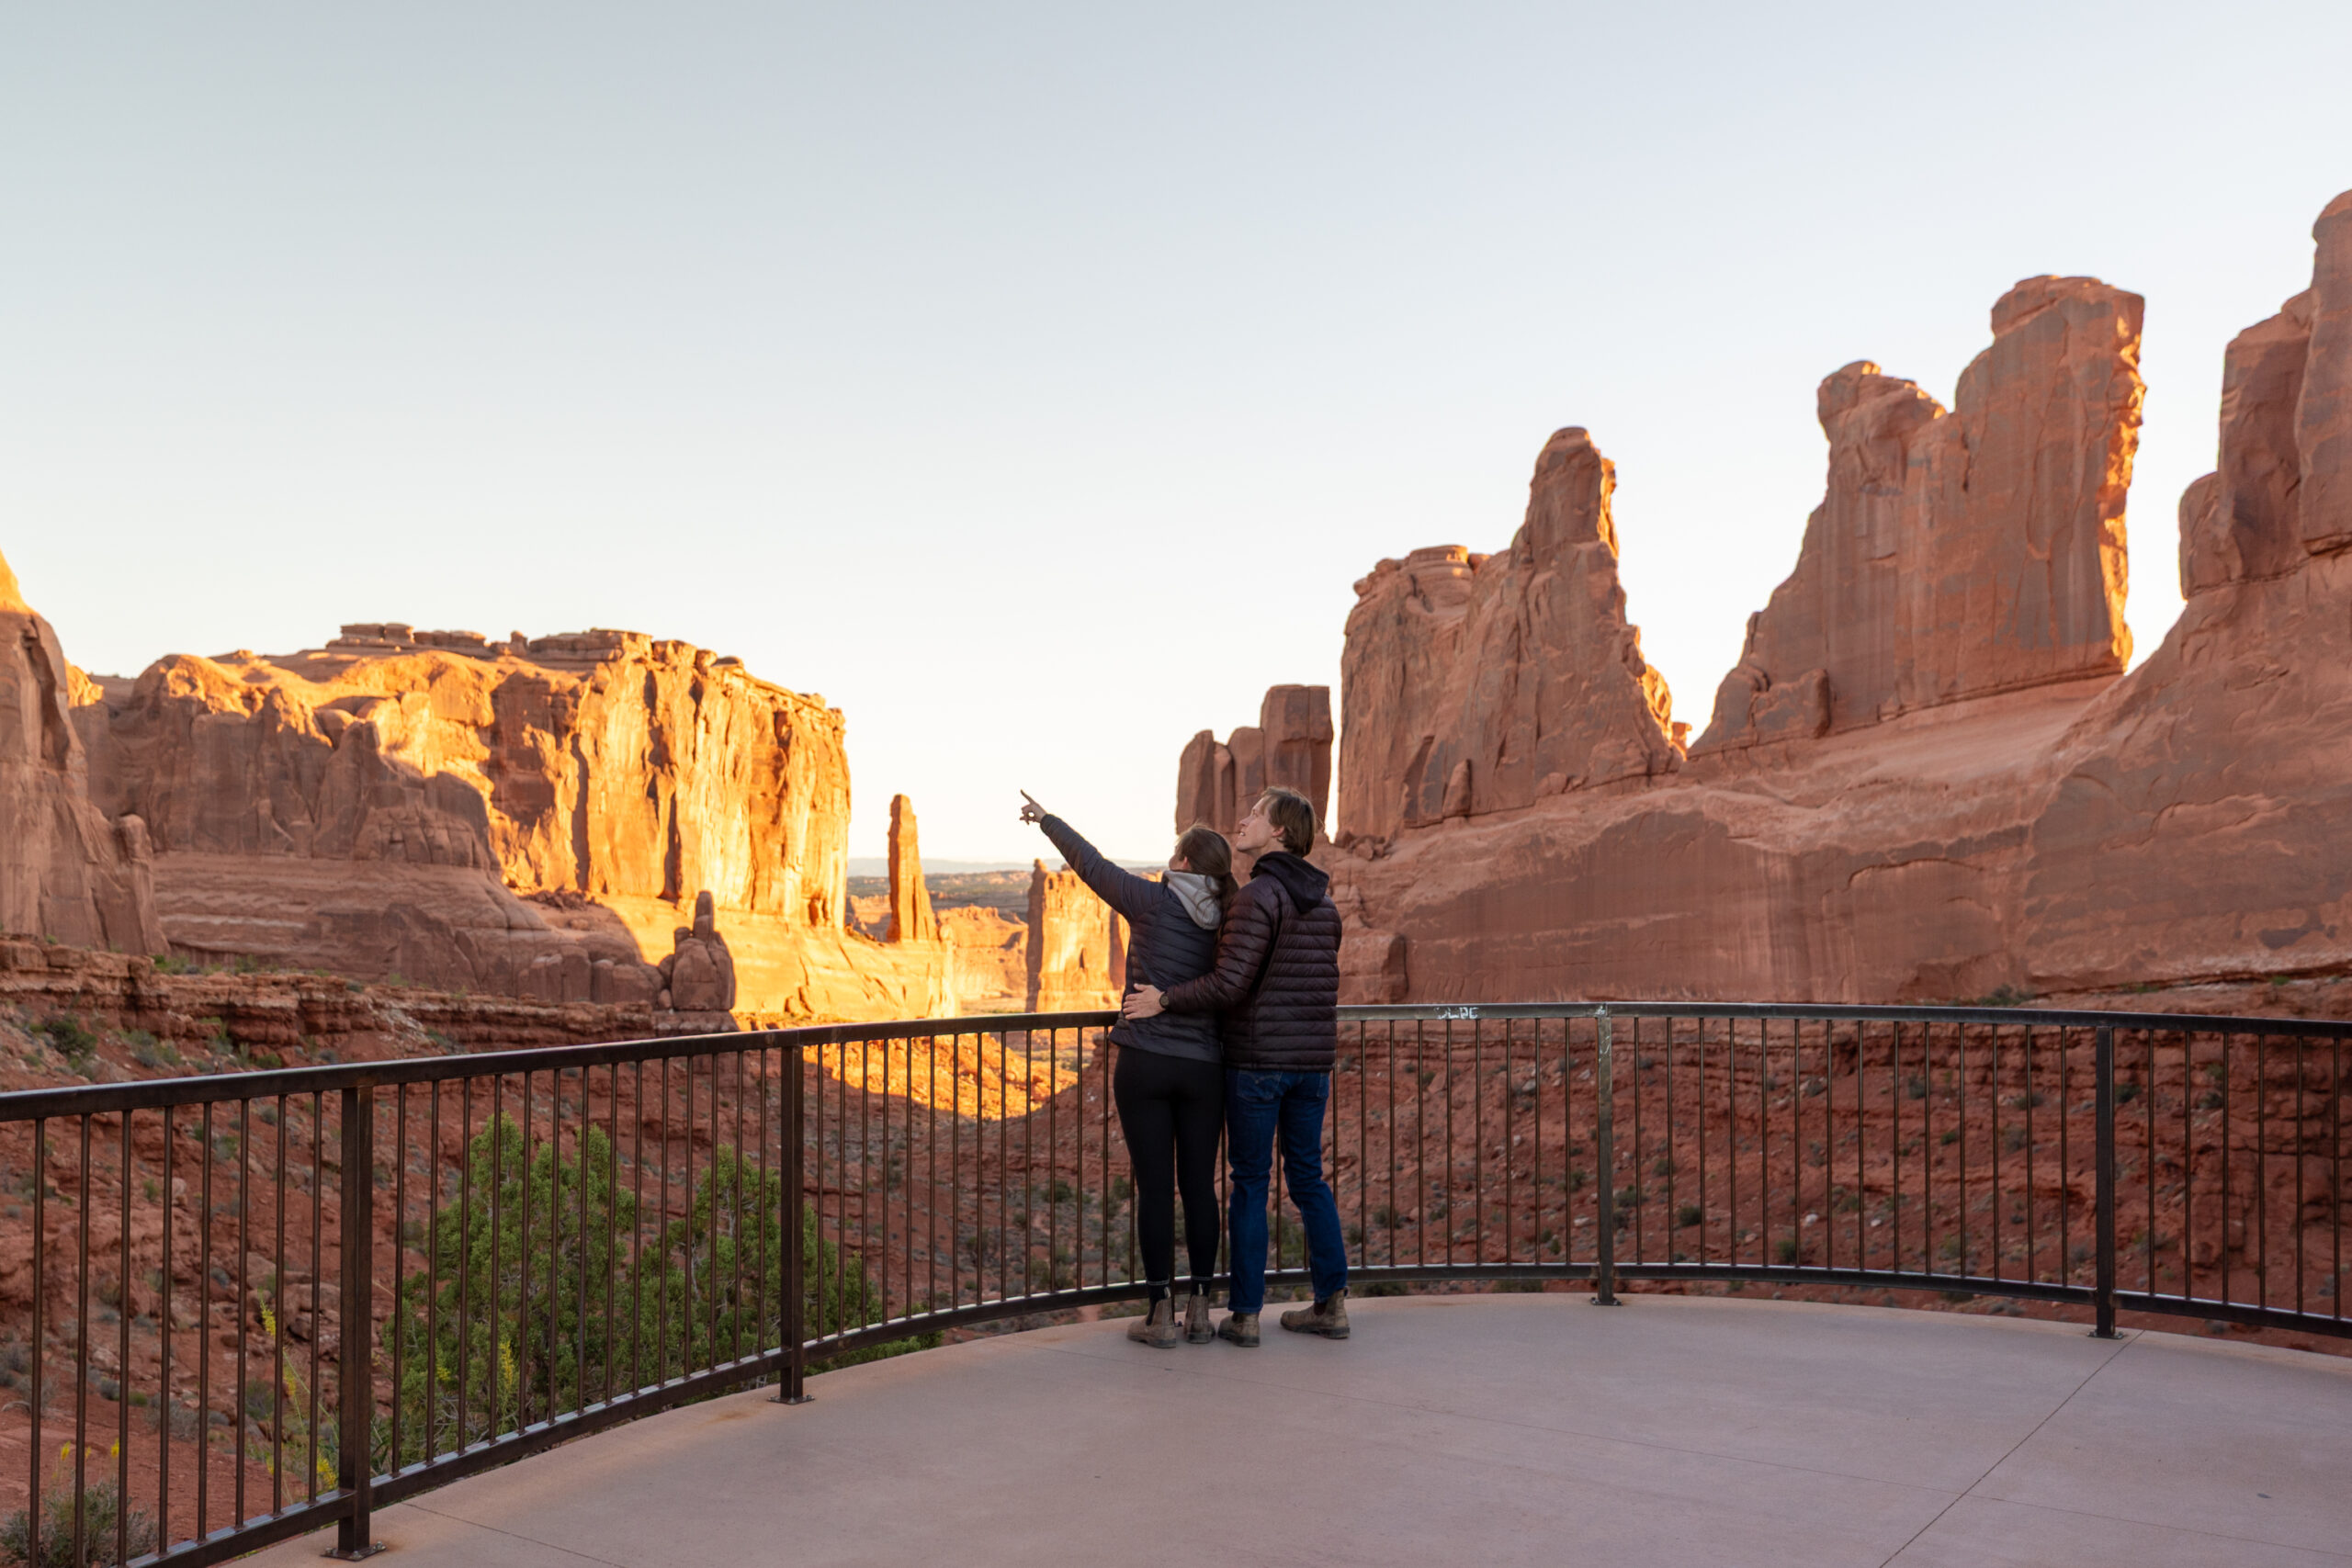
You can simply check out the viewpoint for 15 minutes, hike 30 minutes to Courthouse Towers Viewpoint, or hike the full 1-hour trip out and back. We recommend you just hit the viewpoint and move on, but if you have several days in the park, the trail does take you through a unique valley that is different from other hikes in Arches National Park.
Estimated Time: 1 hour (full trail)
Length: 1.8 miles / 2.9 km
Elevation Gain: 308 ft / 94 m
Difficulty: Easy-Moderate
Type: Out-and-Back
9. Balanced Rock Trail
Balanced Rock Loop is a beautiful, short hike that we loved. The only reason it isn’t higher up in this list is that, if you’re anything like us, you’re looking to see arches. And on this trail, although beautiful, there aren’t any. That being said, this paved trail is gorgeous any time of day and is suitable for nearly all visitors, with a quarter of the loop paved.
You can walk clockwise to the rock, which shows you about 80% of the entire trail’s beauty, then either continue the full loop around the rock and back, or simply turn back at Balanced Rock. This trail delivers both close-up views of Balanced Rock as well as impressive vistas of the surrounding landscape of Arches National Park.
Estimated Time: 10 minutes
Length: 0.3 miles / 0.5 km
Elevation Gain: 46 ft / 14 m
Difficulty: Easy
Type: Loop
10. Skyline Arch Trail
Skyline Arch Trail isn’t the most popular trail in the park, but it’s short, takes you to a unique arch, and is located right off Main Park Road. We found it convenient to stretch our legs after driving for a while. It could also be a good trail to hit if you’re staying at Devil’s Garden Campground nearby.
You can see Skyline Arch from the road if you’re driving by, but we recommend hiking the short, 10-minute out-and-back trail for a better view. When you get to the arch itself, it’s located high up above you, so you’ll be admiring it from the trail, rather than climbing up to it like some other trails.
Estimated Time: 10 minutes
Length: 0.4 miles / 0.6 km
Elevation Gain: 36 ft / 11 m
Difficulty: Easy
Type: Out-and-Back
11. Courthouse Wash Trail
Courthouse Wash is known to be the best place in Arches National Park to see wildlife—beavers in particular! We didn’t get a chance to hit this trail, but we wanted to include it for anyone looking to see wildlife up close and personal. There are also petroglyphs you can see high up on the rock walls. If you’re looking for a shorter version, the Lower Courthouse Wash Trail takes only 35 minutes, taking you 20 minutes down the longer trail before turning back.
Estimated Time: 3 hours 45 minutes (full trail)
Length: 11 miles / 17.5 km
Elevation Gain: 640 ft / 195 m
Difficulty: Moderate
Type: Out-and-Back
With offline maps, wrong-turn alerts, and extra planning features, make the most of every outside adventure with AllTrails Plus. Get 7 days of AllTrails Plus for free!
🗺️ Map of Best Hikes in Arches National Park
How to use this map: We have saved the locations from this guide on this map. You can save this map to your Google Maps by pressing the star icon. In your Google Maps, click the menu icon and then Saved Maps, where this map will appear.
Please respect the outdoors and Leave No Trace! Before embarking on your outdoor adventure, review the seven principles of Leave No Trace, which include planning ahead and preparing, traveling and camping on durable surfaces, disposing of waste properly (pack out what you pack in), leaving what you find, minimizing campfire impacts, respecting wildlife, and being considerate of others. Abiding by these principles helps keep these places beautiful so others can enjoy them for years to come!
🎒 Arches National Park Hiking Essentials
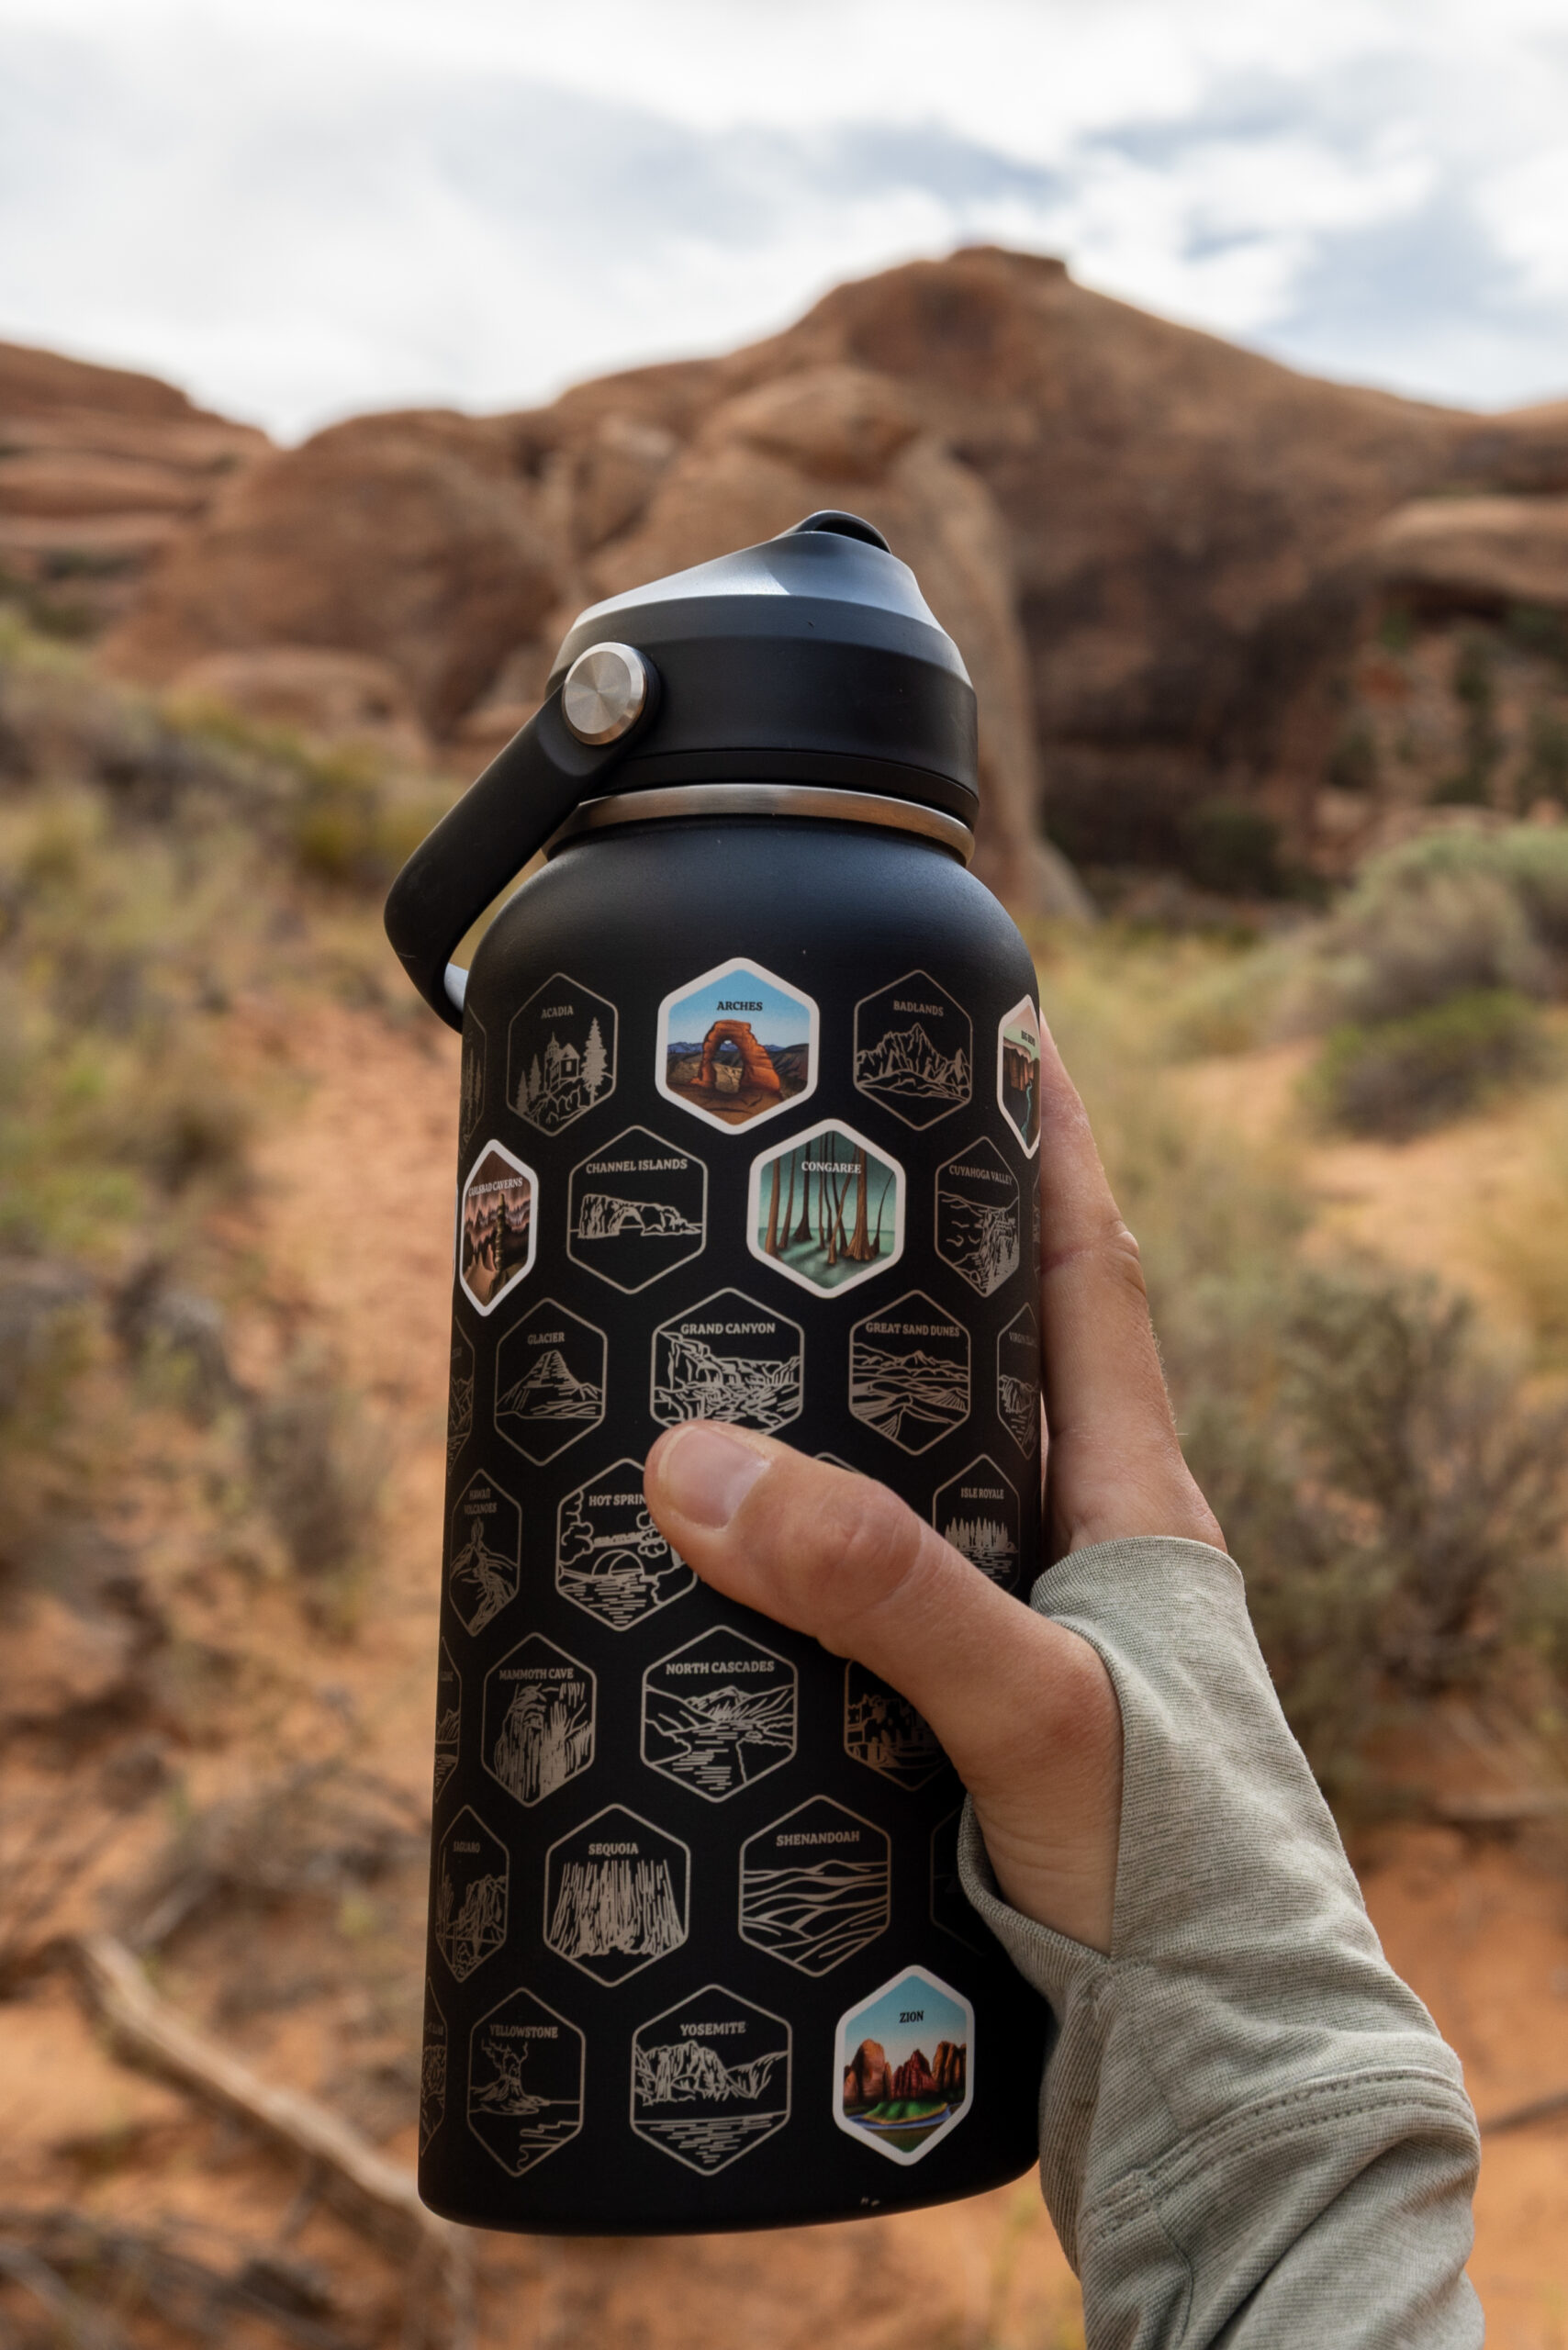
Some of the biggest essentials while hiking in Arches National Park are ample hydration and sun protection. Our favorite ways to hit both of these are by carrying water bladders with our favorite electrolytes instead of tons of heavy water bottles and wearing a mix of sunscreen, sun shirts, and wide-brimmed hats. In this section, we outline everything else that came in handy for us.
Hiking Essentials

Read next: Hiking Gear for Beginners!
Sun Protection
Safety Essentials
📅 The Best Time to Hike in Arches National Park
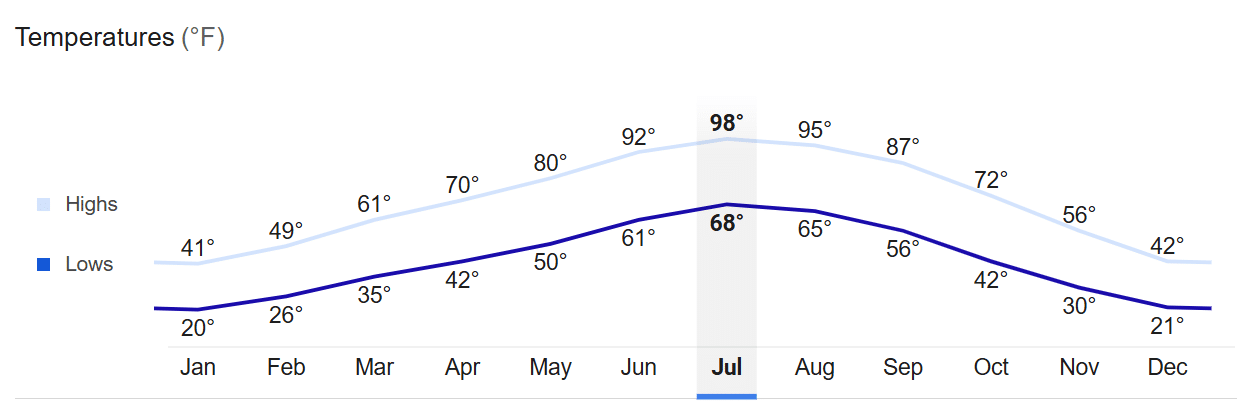
If you can swing it, October-November and March-April are the perfect months to visit Arches National Park as they tend to experience fewer crowds and more comfortable temperatures. That being said, here’s a breakdown of what you can expect from each season in Arches.
- May – October: This 6-month period experiences the highest crowds of the entire year, lots of programming, weather fit for water activities, and many hours of daylight. Downsides include crowding on popular trails, difficulty parking, extreme mid-day temps, and some potential difficulty finding lodging.
- November – February: The winter months experience low crowds with ample parking and lodging, but frigid conditions with the possibility of ice and snow. Park programming also slows down, so your experience will be mostly self-guided.
- March – April: With medium crowds mid-week and higher crowds on the weekends, Spring in Arches looks like comfortable temperatures, ample park programming, and fairly abundant lodging opportunities.

📰 Related Articles
- 11 Most Epic Sunrise Spots in Arches National Park
- How to See Arches National Park in 1, 2, or 3 Days
- 7 Gorgeous Sunset Spots in Arches National Park
- How to See Arches National Park in One Day
- 11 Best Easy Hikes in Arches National Park
- How to See Arches and Canyonlands in Just One Day
- 11 Best Easy Hikes in Canyonlands National Park
- How to Spend One Day in Canyonlands National Park
- Arches vs. Canyonlands: Which National Park is Better?
📺 Watch on YouTube
🔍 Ready to Explore Arches National Park?
Pin this guide to the best 11 hikes in Arches National Park to make your upcoming trip a breeze to plan!


Leave a Reply
You must be logged in to post a comment.