When building our Sprinter van for full-time living, we found countless ideas for the camper van subfloor. From ‘Do you even need a floor?’ to ‘You need an intricately engineered floor for all these situations’ – there’s endless advice online. We took a reductionist approach and tried to take the best pieces of advice from all the recommendations and suggestions online. After spending a year in our van, we’ll update this post to share with you how it worked and how it continues to work after living on the road full-time! We have very high standards for this luxury build. However, we are first-time builders, so we hope you learn something as we share everything that we learned about installing our camper van floor.
Note: We use affiliate links which provide us a little kickback each time you use one of our links and make a purchase, without any additional cost to you. We do not recommend products that we don’t already love or have heard great things about, so you can trust we’re only suggesting great products to you.
The Pieces of a Simple Camper Van Floor
We chose to reduce, reduce, reduce to the bare essentials of a camper van floor. This led us with three distinct layers, each attached in different ways.
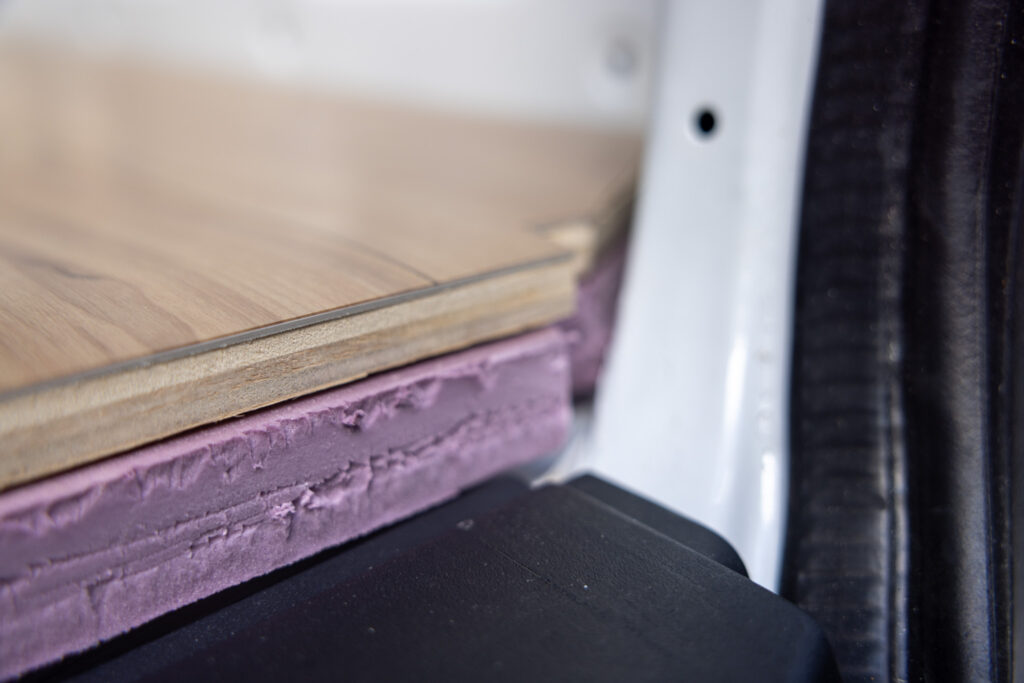
Insulation
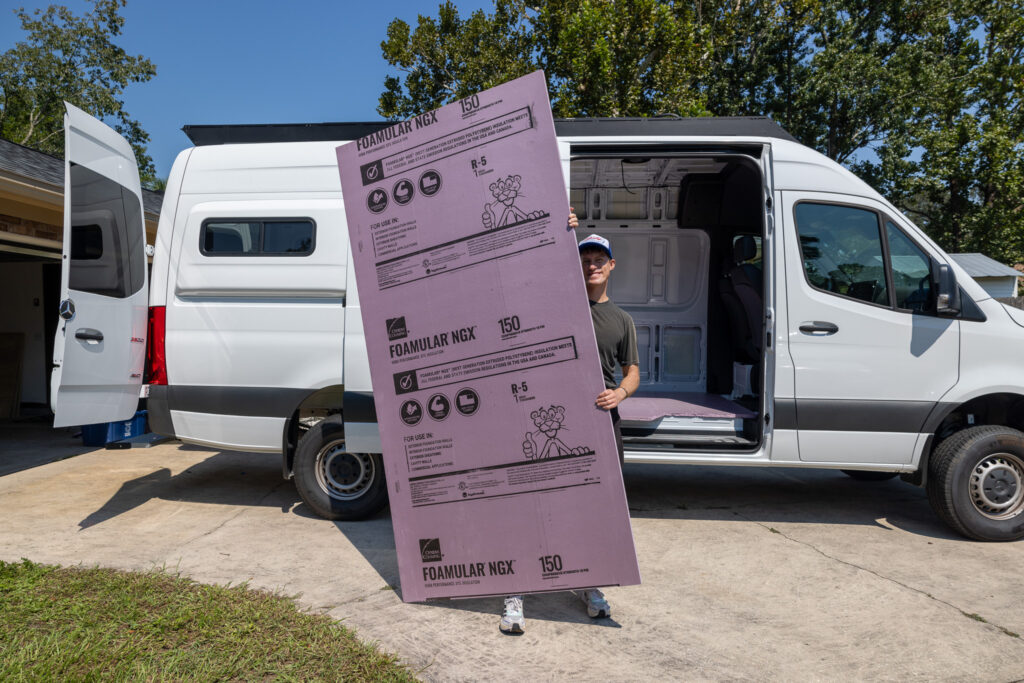
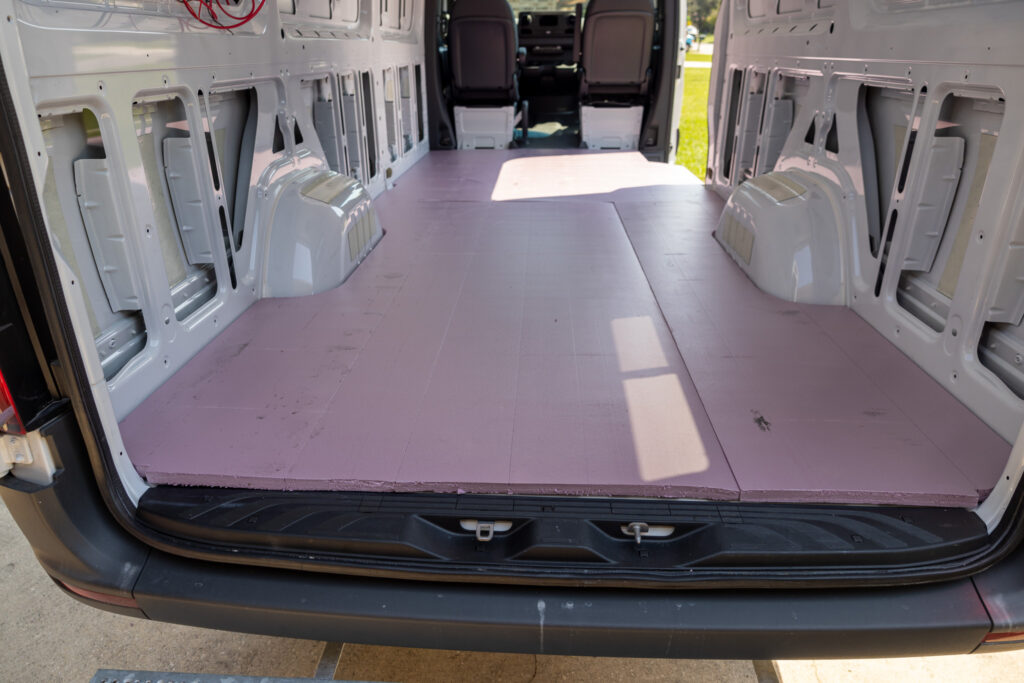
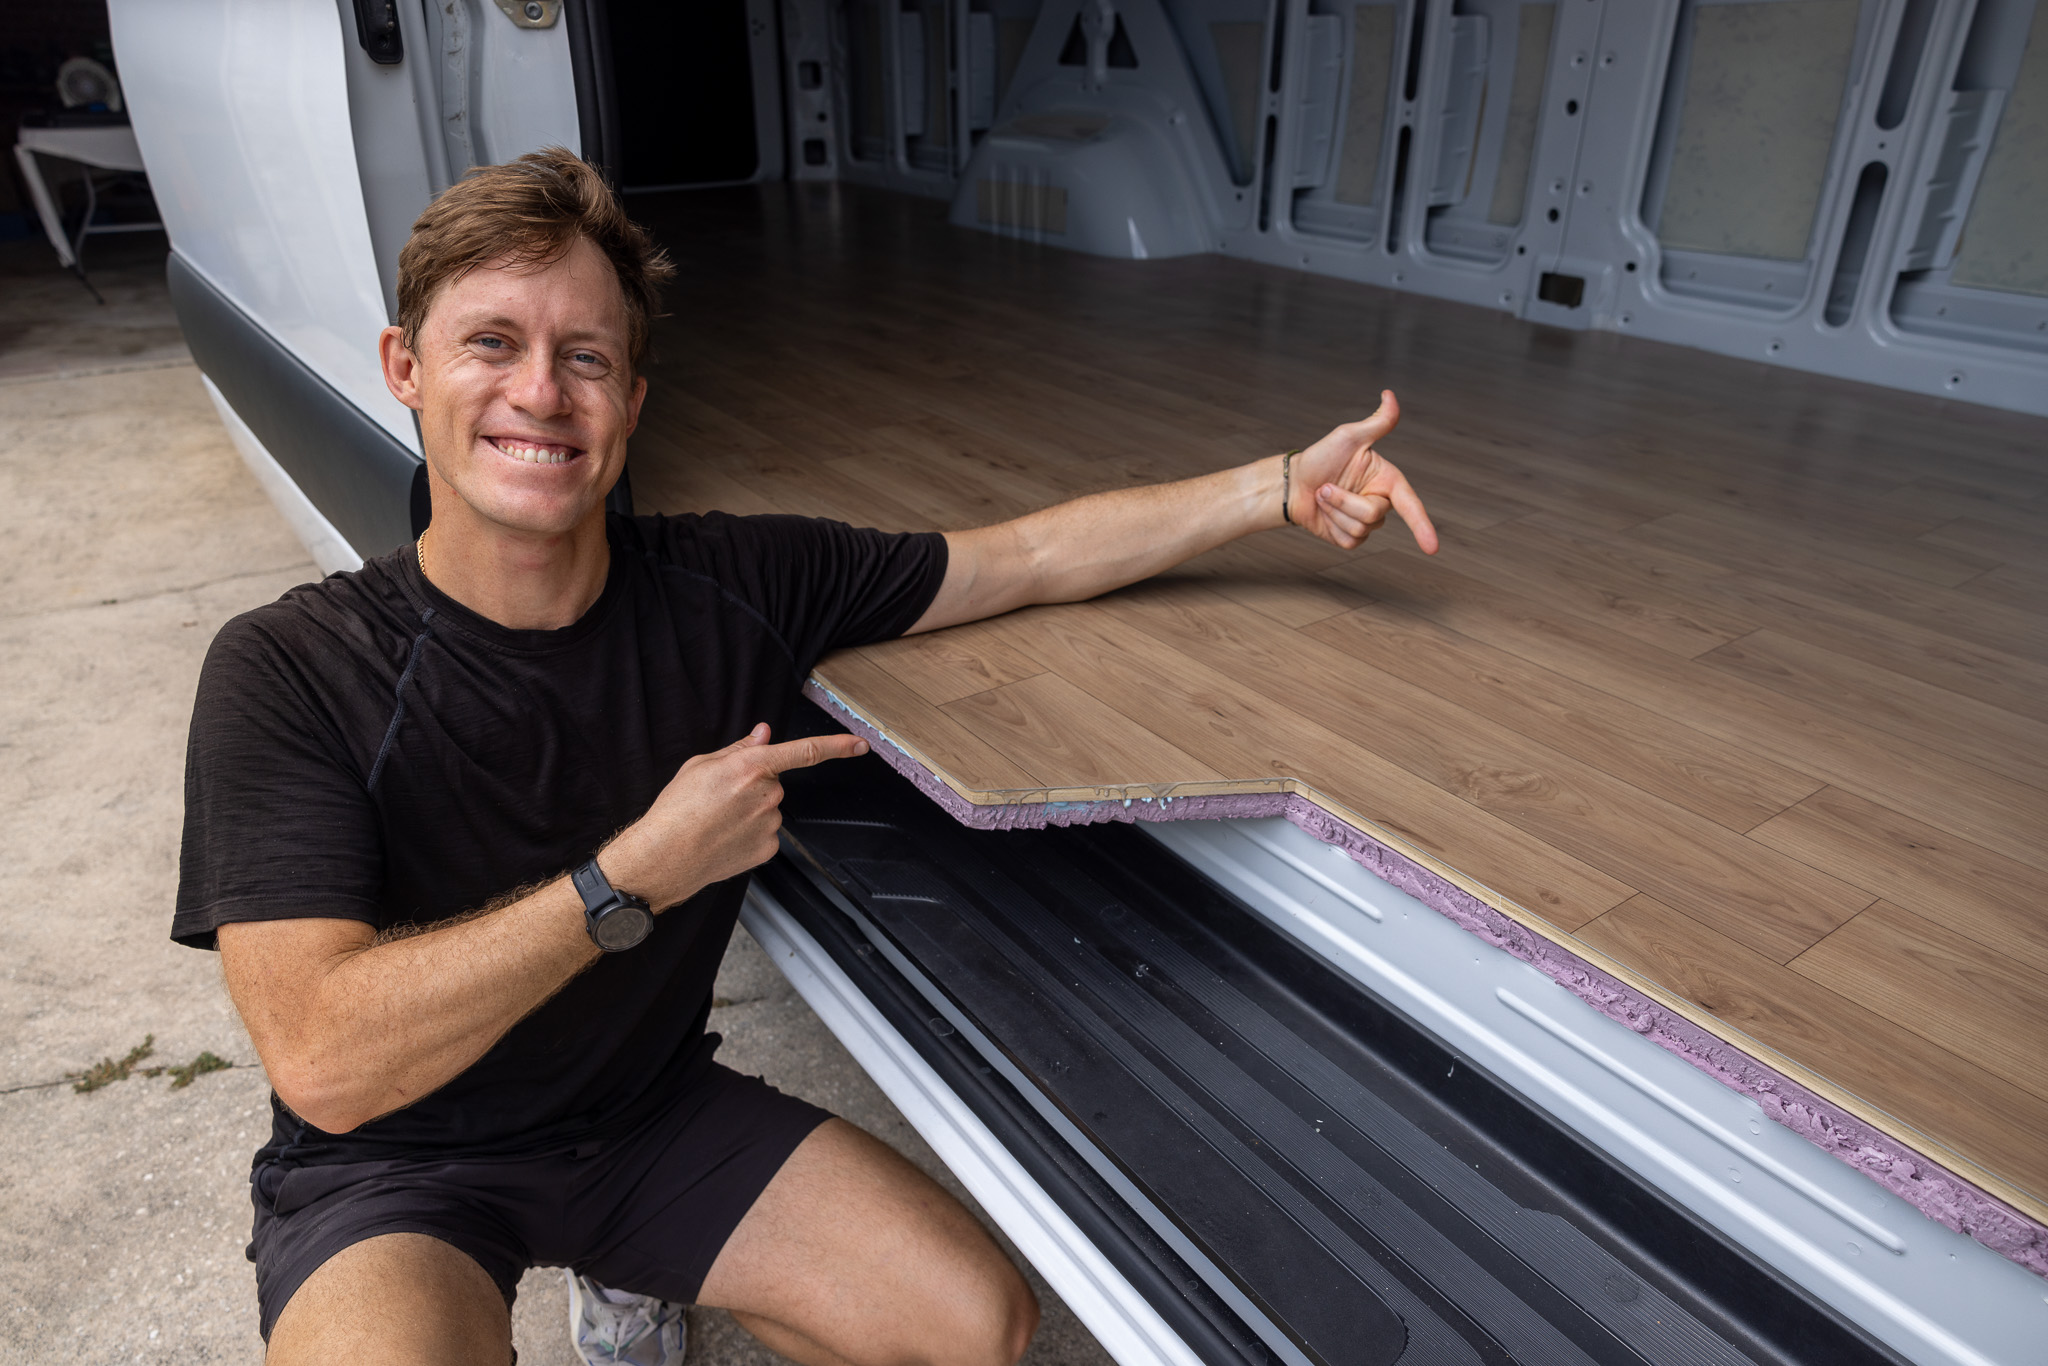
The bottom layer of our floor is insulation, which is crucial. The insulation protects the rest of your van from outside temperatures and your inside temperatures from leaving through the floor! It works both ways. We’ll discuss insulation more below, but we covered the entire floor with a layer of XPS foam.
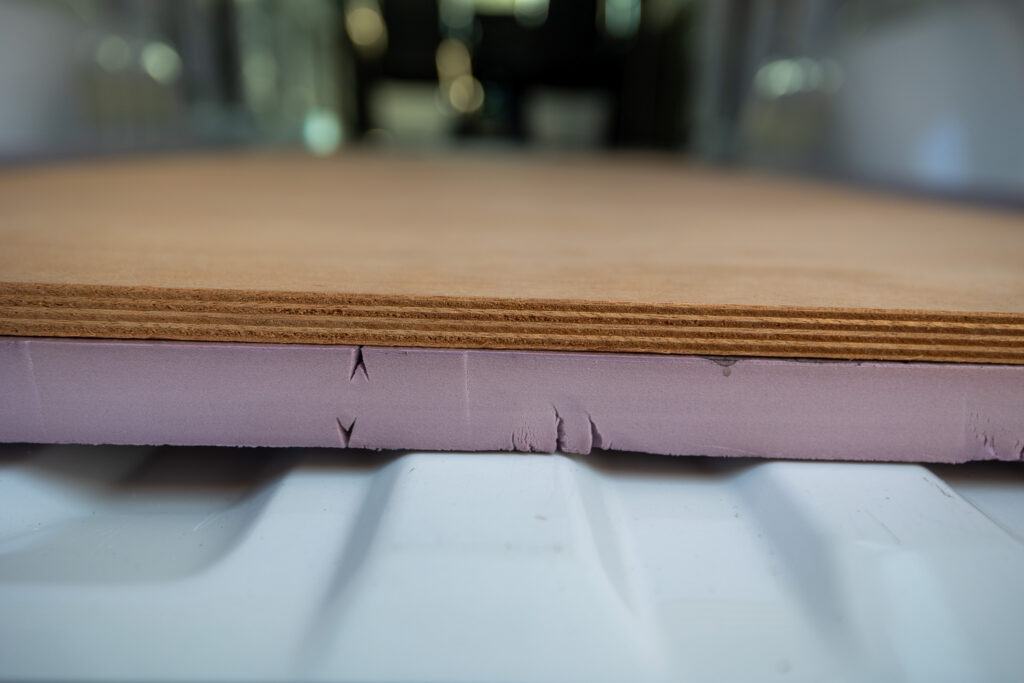
Sanded Plywood
The middle layer of our floor sandwich is what makes our floor sturdy. Our 1/2” Sanded Plywood is the structural layer of our floor. We cut it to fit, matching the insulation layer, which will support our entire build and any humans walking around! I am roughly 180 lbs, and I jumped on this layer with the insulation layer, and we had zero compression. We felt confident with that test that it would stand the test of time as our full-time adventure home!
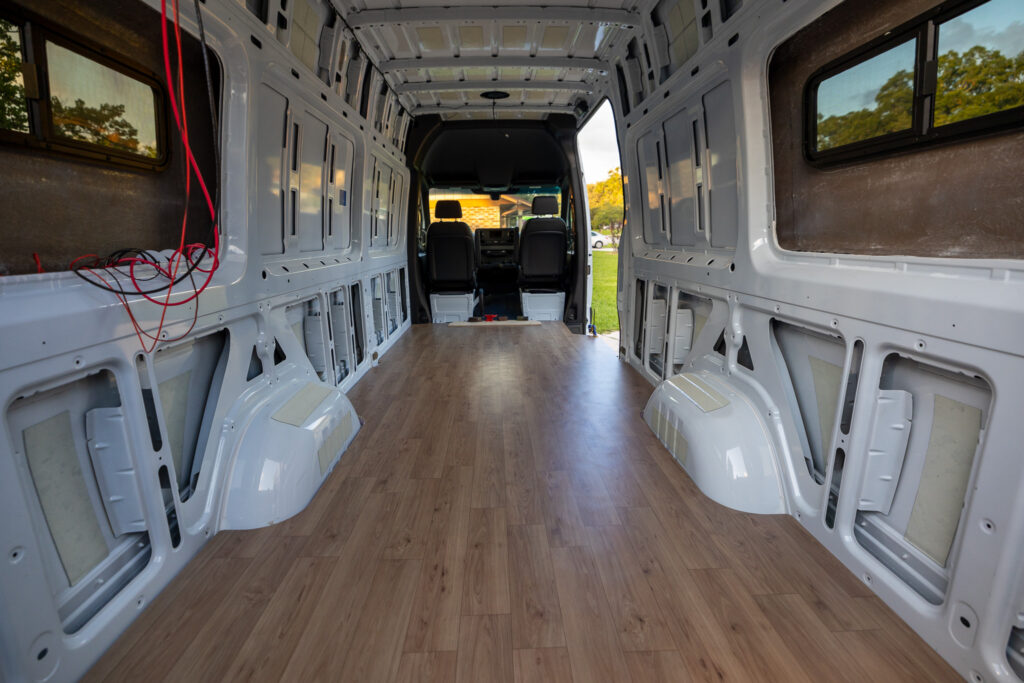
Lonseal CNC Pre-Cut Flooring Top Layer
The top layer is what makes our flooring beautiful (and resilient)! We chose Lonseal CNC Pre-Cut flooring, which looked great and saved us hours of time, as it was exactly cut out to match the interior of our van.
This Lonseal flooring is marine-grade vinyl, made to withstand rugged use. Ours has a faux wood finish that we think looks stunning. We chose Portobello as our flooring color, but Lonseal has several color variations, wood grain looks, and more to choose from at Campervan HQ. We glued it to the top of the sanded plywood, but be sure to keep reading below if you’re interested in exactly how we installed it—it was the most complicated part!
🚀 Our flooring is one part of our entire DIY Van Build project. Check out other helpful articles here.
The Insulation of our Camper Van Floor
Let’s do a deep dive into why we chose 1″ XPS as the ideal insulation for our floor. The most critical piece of information when discussing insulation is “R-Value.” We didn’t know anything about R-Values and insulation before this build, so if you’re new, keep reading, and hopefully, we can de-mystify it! The most important two pieces of information are:
- The higher the R-value, the better
- Use the correct type of insulation to get that R-Value
Number one is self-explanatory; the higher the number, the better. Our XPS flooring is R5 per inch, which is excellent. It would be best to use something similar to 5 in your build. Number two can be a little confusing, though; how are you supposed to know the “correct type” of insulation?
Some of the insulation knowledge is common sense, but you may need to do a little research on the insulation you’re looking into. An easy way to explain this is to discuss reflectix insulation, which can have an R Value of 20! At first glance, with number 1 above, this is exactly what you should use everywhere! However, this is for radiant heat, which is like what you would use in an engine compartment or attic, not as wall or flooring insulation. If you put this on your floor, you would get almost no insulation properties! XPS or Foam-based insulation is the type of insulation you’ll want to buy for your floor.
The Sturdiness of our Camper Van Floor
The pieces that make our camper van floor sturdy are a combination of the XPS foam but mainly the 1/2” of plywood!
The XPS Foam (short for Extruded Polystyrene Foam) is a foam insulator with extra structural properties. Rated in PSI they sell XPS anywhere from 10 PSI to 30 PSI. A For flooring, the more PSI the better, however we could only find 15 PSI in our local hardware store. With a flat foot step around 10 PSI we could stand on this without compression, but if we were not able to walk on it.
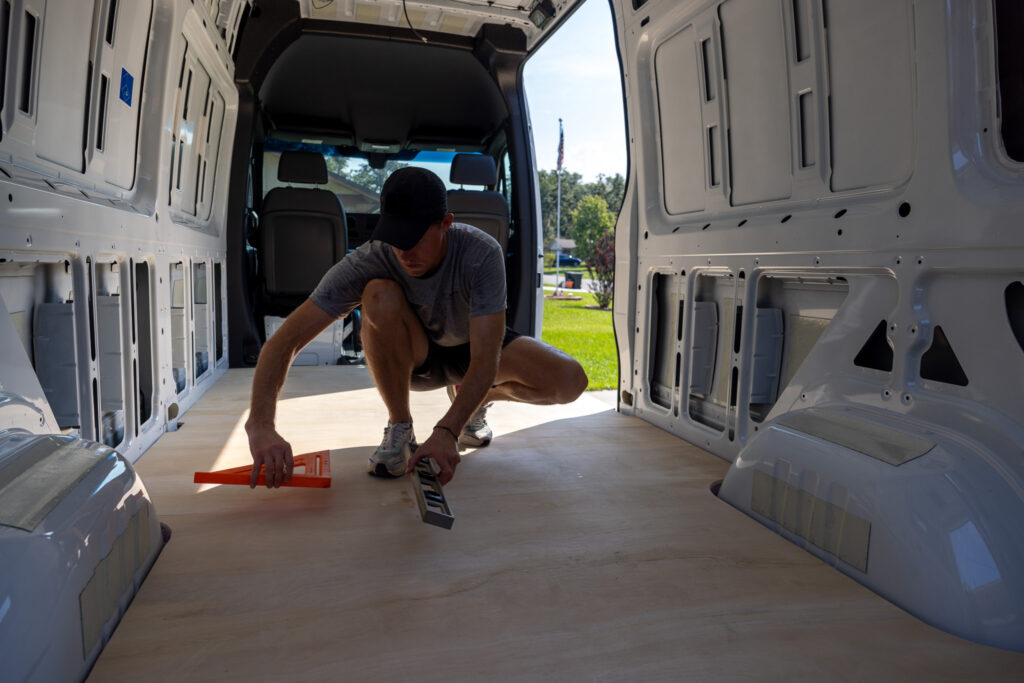
The 1/2” plywood is the main structural component of our camper van floor. We chose 1/2” because we felt the 1/4” wouldn’t be sufficient and the 3/4” would be overkill. After all, I’m 6’1”, so every inch matters in our build! Not to mention, a floor of 3/4” would add a bit of unnecessary weight.
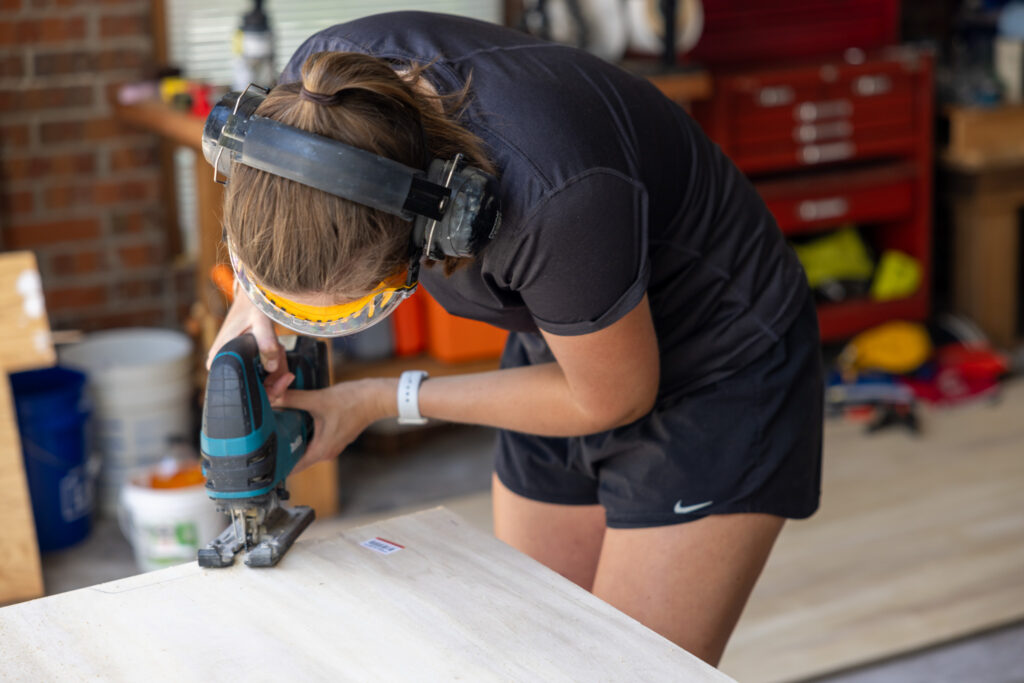
We bought four sheets of 4×8 plywood for our floor to minimize joints, even though three sheets would have worked for our 170-wheelbase sprinter. We looked at buying marine-grade plywood or the popular baltic-birch among many van builders but purchased A-grade sanded plywood for several reasons.
- Cost. Sanded Grade-A plywood was only $40 / sheet at our local hardware store, almost half the price of similar Marine Grade Ply. (Note: Wood prices often change; we saw some fluctuation from $40 to $80 overnight!)
- Smoothness. Because we purchased Grade-A plywood, it has fewer imperfections, which we don’t want when we glue our finishing layer or, unknowingly, cause a small weakness in our floor.
The Finishing of our Camper Van Floor
For the topmost layer of our camper van floor, we used CNC precut laminate by Lonseal. Lonseal has many different flooring styles to fit whatever aesthetic you are going for, and we chose faux wood flooring. Being vinyl laminate, it is sturdy and resistant to scratches. Since this is our adventure vehicle for full-time living, we wanted to make sure our flooring could stand the test of time. Be sure to read to the bottom to see if it really did live up to our one-year-later update (assuming it has been one year past September 2024 when we installed it).
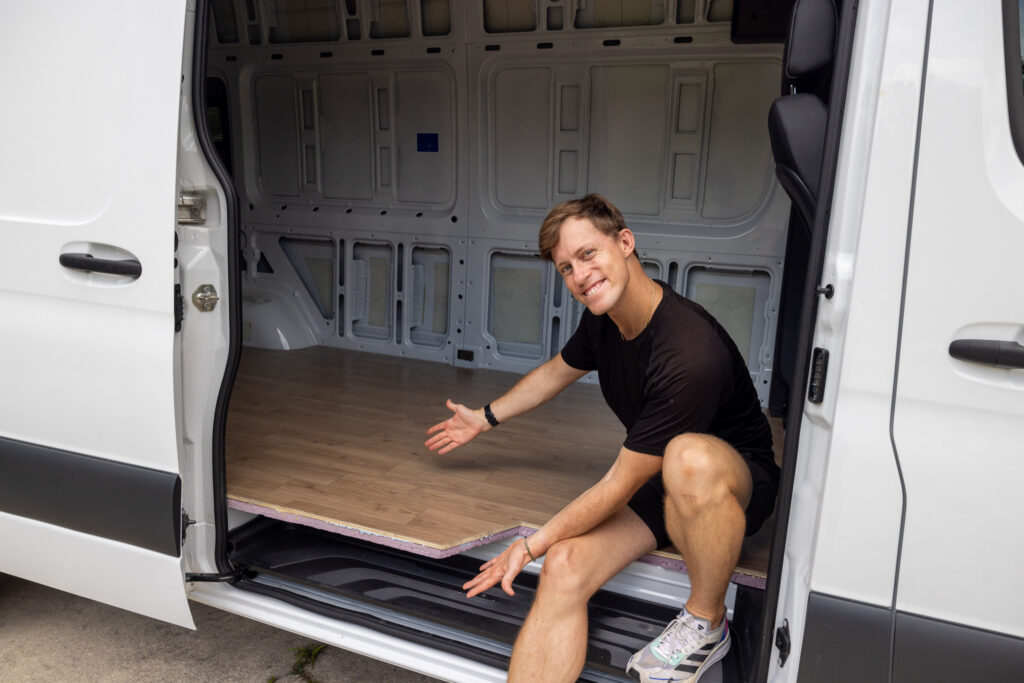
Since the Lonseal was pre-cut, we didn’t have any preparation required, so we glued this layer directly on the sanded plywood. After the epoxy hardened, the floor was permanent!
Our Guide to Installing a Camper Van Floor Like This
In the simple theme, we took our three layers above and… glued them all together! Choosing the correct adhesives was tricky, and we learned quite a bit, so keep reading to learn some gotchas if you decide on the same process. Ensure you follow the manufacturer’s advice first and foremost; our guide is supplemental!
Materials and Tools Required
One thing we’ve learned with this van build is that although the preparation step feels like a hassle, it helps ensure the project goes smoothly. By getting all of our tools out, we can avoid searching for tools as we’re in the midst of the project.
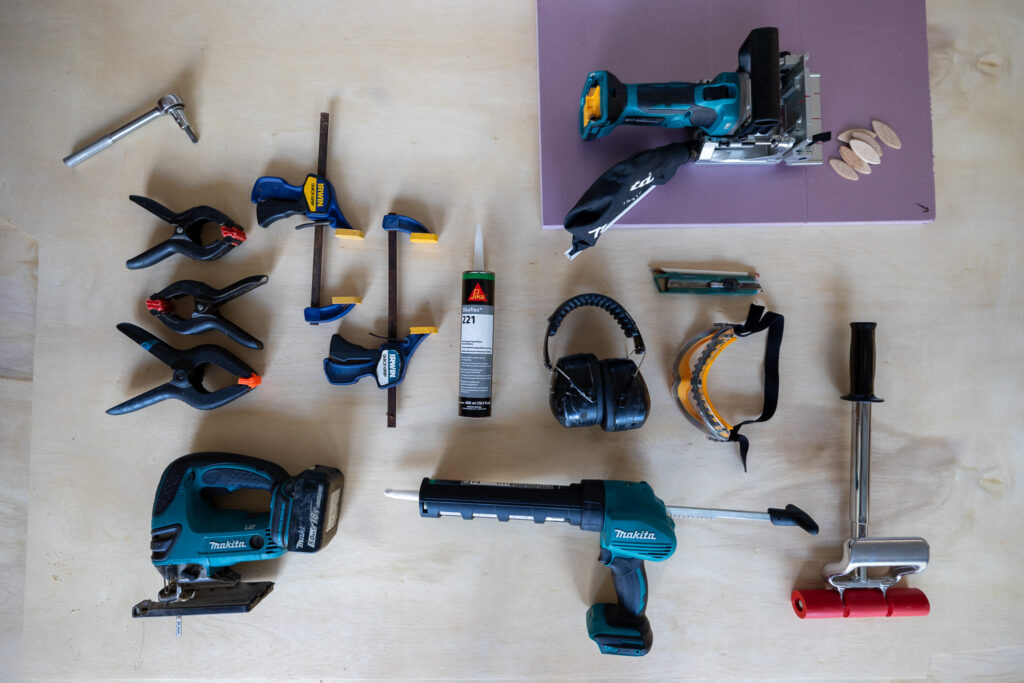
| Equipment / Material | Description |
|---|---|
| 1″ XPS Foam Board for Insulation | For gluing the XPS to the metal floor, four containers are needed. |
| 12mm or 1/2″ High-Grade Plywood | This is the main floor; we used four sheets. |
| Lonseal CNC Pre-Cut Flooring | This is the finished top part of the floor. |
| Lonseal 2-Part Epoxy | The glue for the Lonseal to wood |
| Lonseal Trowel | Any trowel will work here, but we used the one provided. |
| Sikaflex 221 or 3M 5200 | 12 containers for gluing the wood to the XPS foam |
| PL300 Loctite Foamboard Adhesive | This is to clean up dust before you lay the Lonseal. |
| Wood Glue | For joining the plywood and biscuit joints. |
| Caulking Gun | We have an electric gun which we bought for the windows, and it made this easy. |
| Orbital Sander | Used to sand any uneven sections of the floor. |
| Shop Vac | This is to clean up dust before you lay the Lonseal. |
| Jig saw | This is used for all the cuts on the plywood. |
| Biscuit Tool | Used for joining the plywood. |
| Vinyl Floor Roller | Used for rolling out any air bubbles and bumps in your floor. |
| Exacto Knife | Used for cutting the XPS Foam Board |
| PPE | Safety first! We used goggles, masks, and ear protection. |
Step 1: Cut the materials to match our pre-cut Lonseal
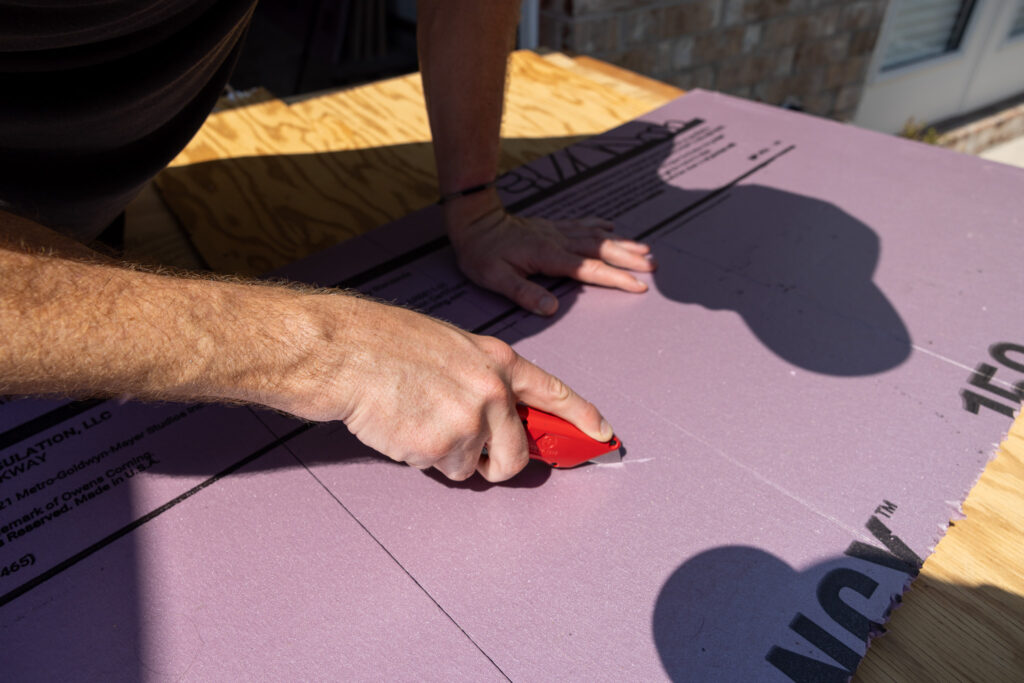
By laying the Lonseal on top of the XPS foam insulation, it was easy to match the dimensions of our 170 WB sprinter exactly. With a simple exacto knife, the foam cut pretty well. We used three pieces of XPS by combining the pieces together, but I think next time, we will just use four pieces. At only $30 per sheet, it’s not that expensive, and basically, what that does is keep your lines perpendicular to the ribs on the bottom of your van. We had one long parallel line in our XPS cut, and it sunk a little bit into the grooves. We just added a bit more adhesive there, but it would have been cleaner to use four sheets!
We kept the same process for cutting our plywood but made one change. We used the back of the Lonseal to trace our floor. This is because you typically want to cut the bottom of your plywood, not the top, for any pieces that come off the cut line. Check your plywood for the better “top side.” Many plywoods will have one grade for one side and one for the other. Ensure your better grade is on top!
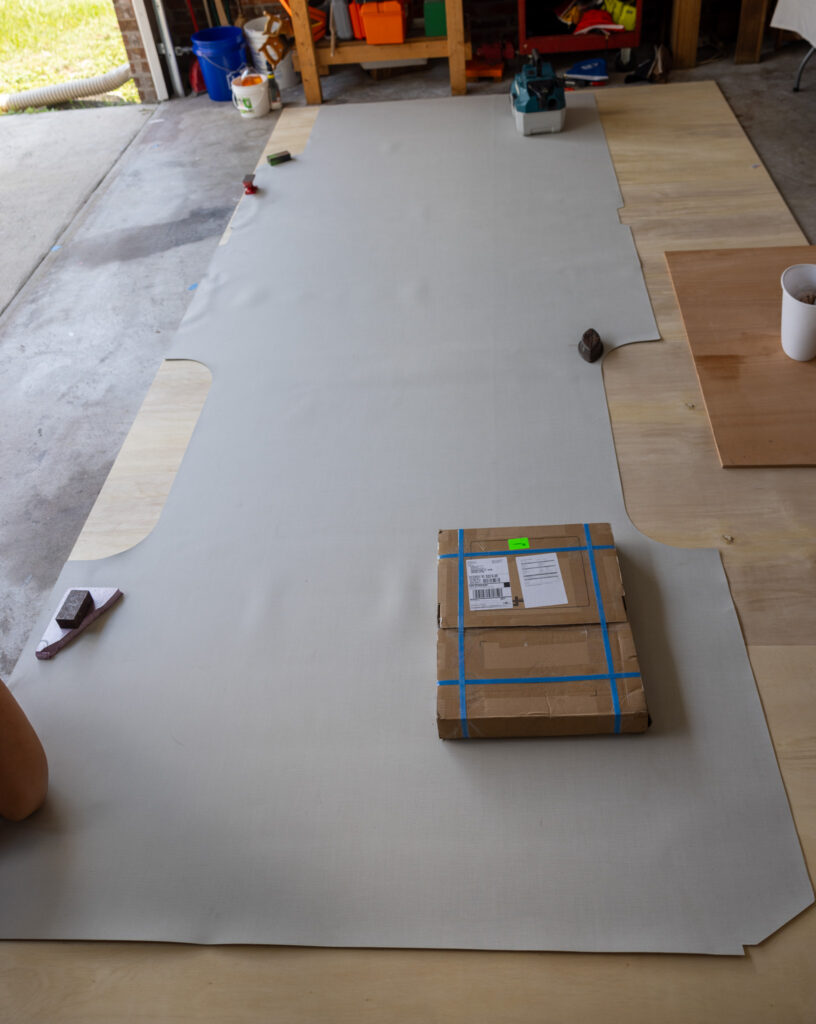
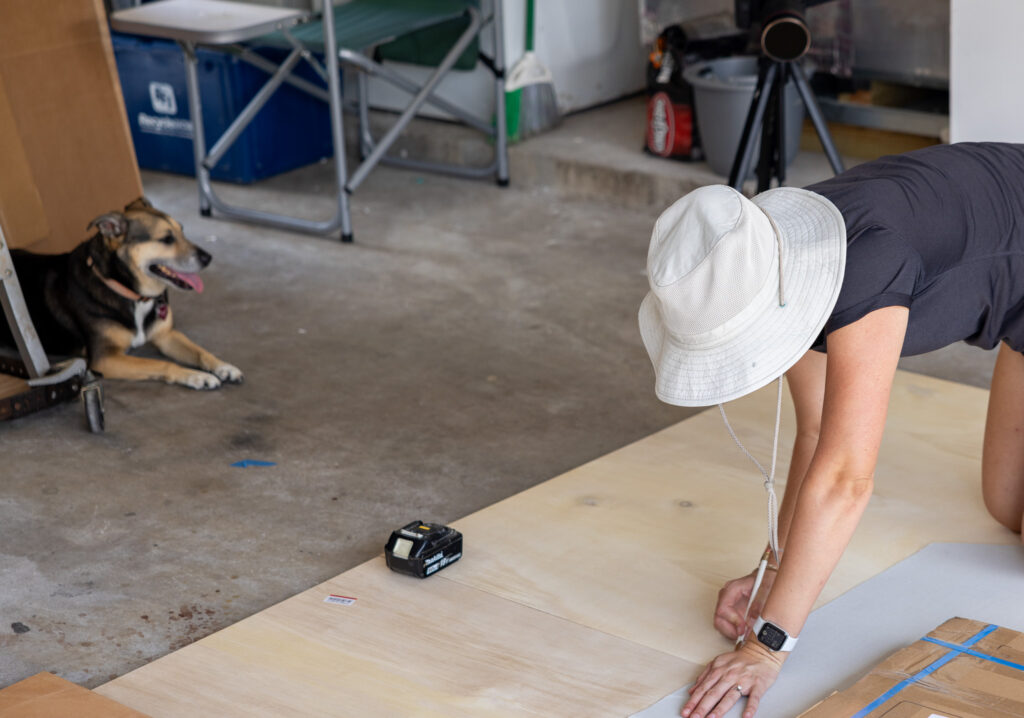
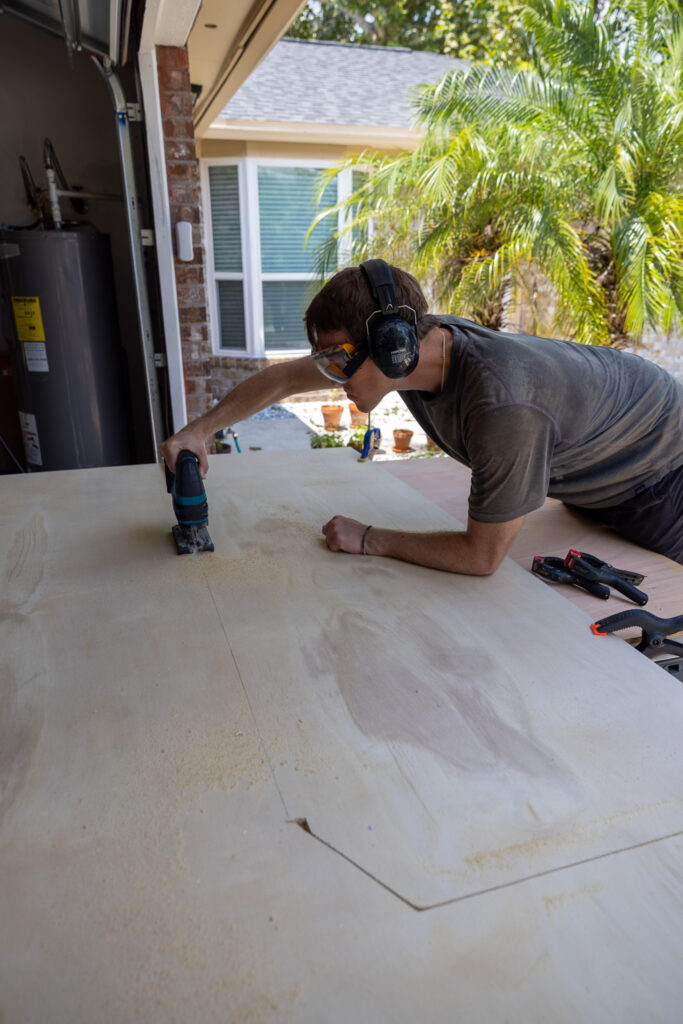
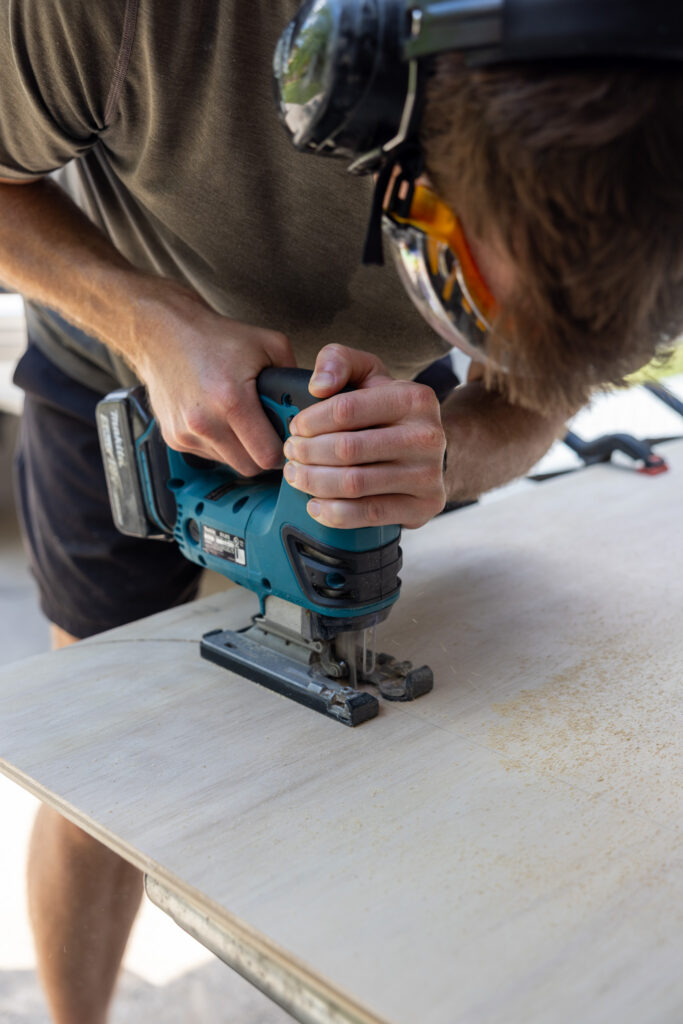

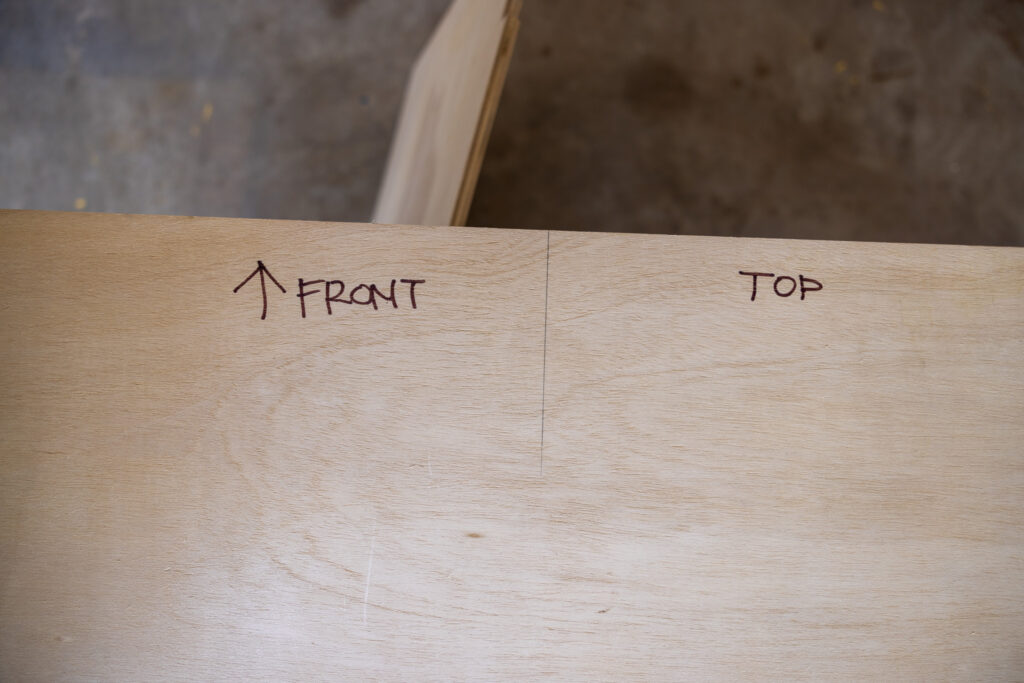
💡 Using a permanent marker write which piece of board goes where in the van with clear labels about which side is top and which side is down. A little extra thought here, ensures you don’t have an “oopsies” and flip a board around on the install 😅
Step 2: Clean and seal the floor of your van
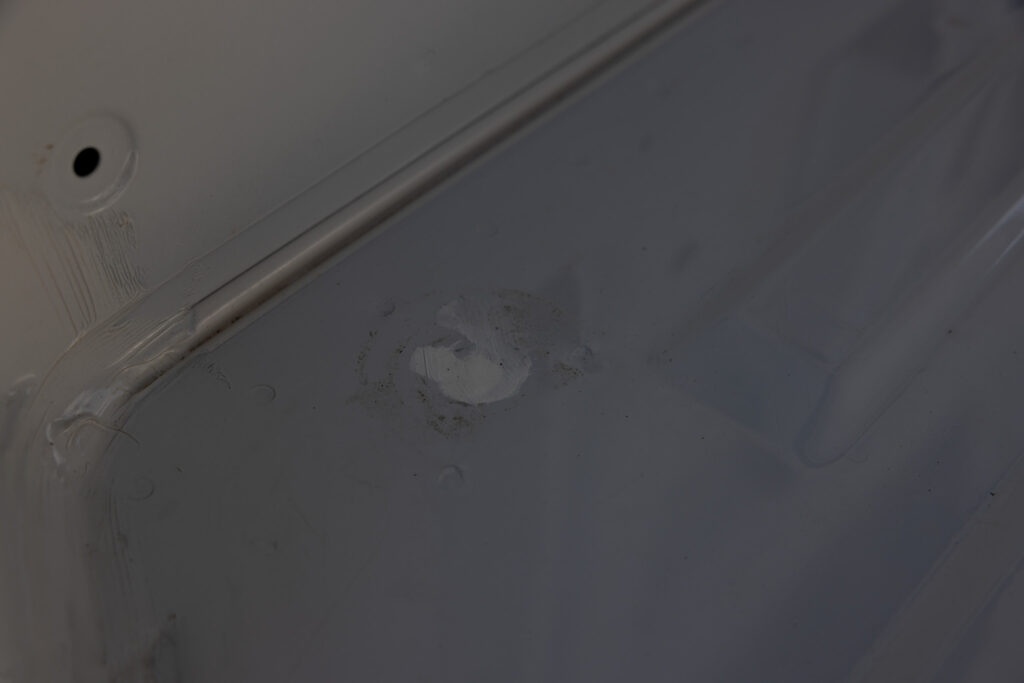
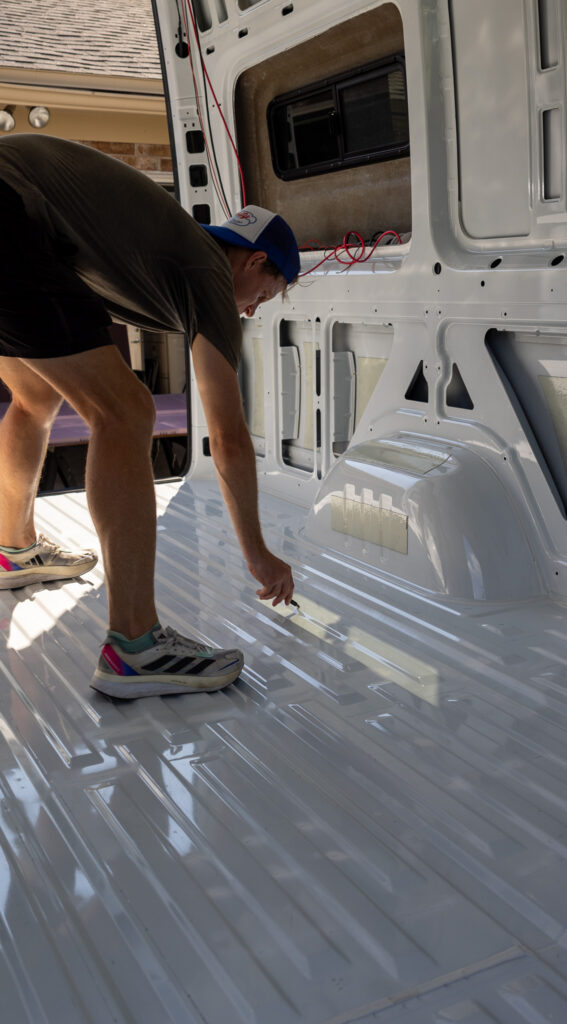
This is the last time you’ll have access to the metal floor, so do anything to clean up now! We spent a few hours doing all these cleanup items:
- Soap and water to clean any grime and dust.
- We removed all D-rings and added a blob of Sikaflex to seal them up. The D-rings made our floor unequal with the high points of the ridges, so we had to remove them!
- Added anti-rust paint to any scratches.
Step 3: Adhere the XPS foam to your floor
We adhered our XPS to our floor with Sikaflex 221 sealant adhesive. This worked okay for us, although I would probably try a more permanent adhesive in the future, like 3M 5200. It took us precisely three 10 oz to cover the high ridges, so I’d purchase four or five so you don’t run out!
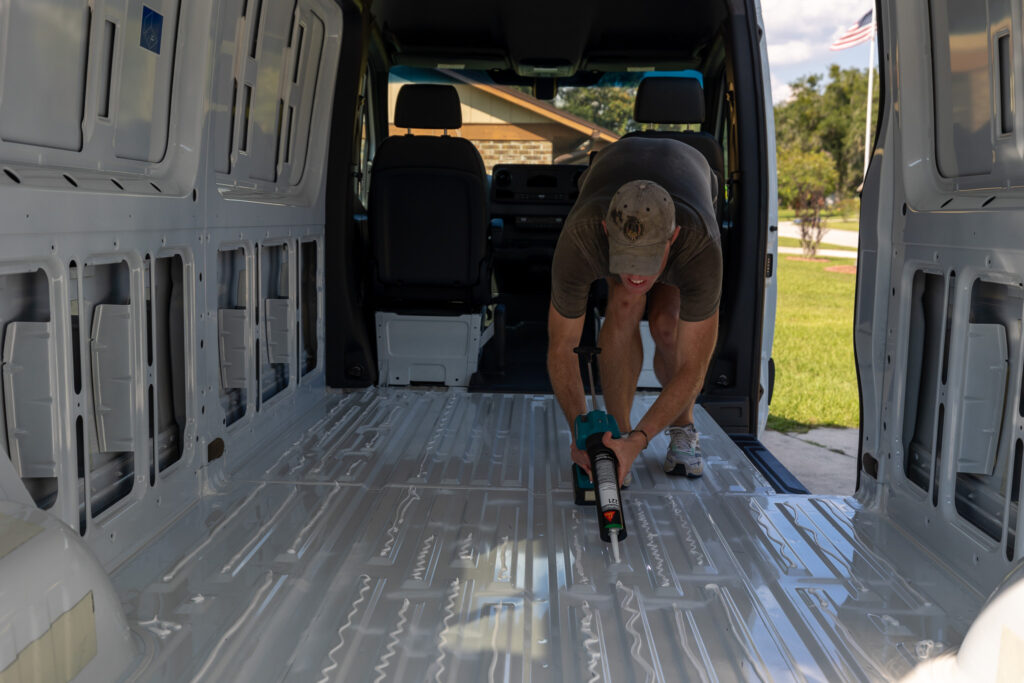
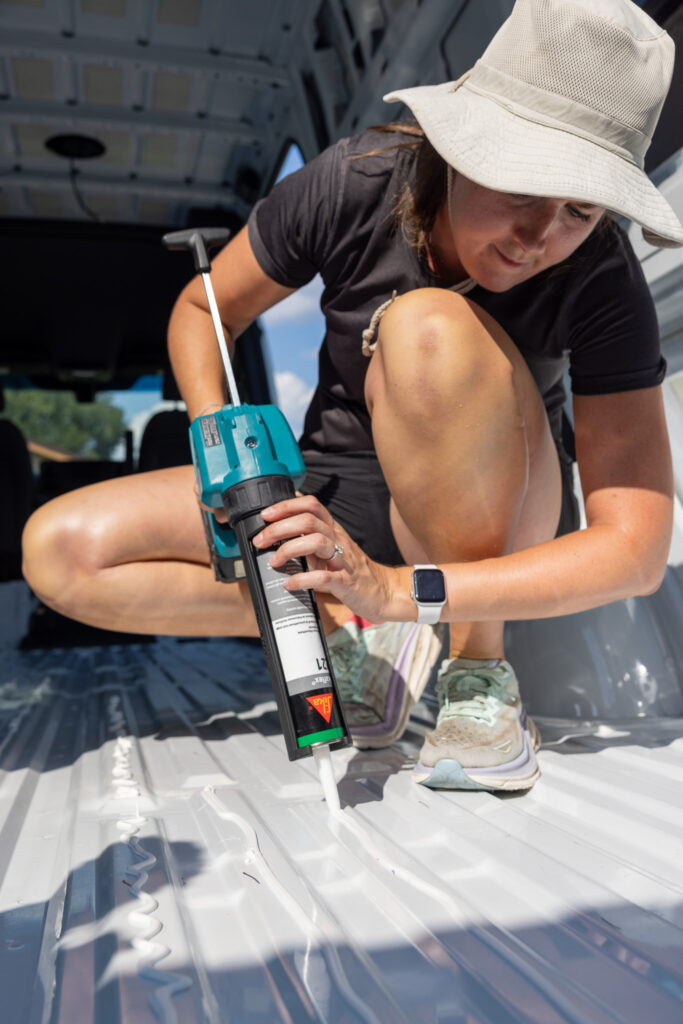
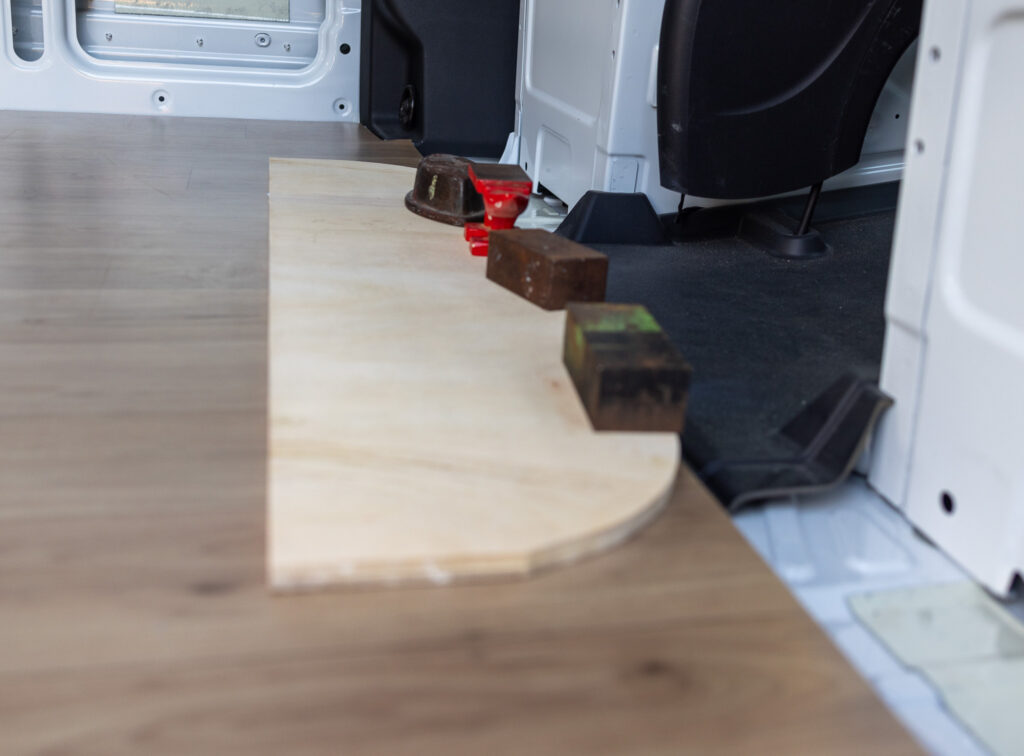
After you add this adhesive to the ridges, you’ll add the 1/2” flooring you cut and lots of weights to your floor. We took everything heavy we could find at home and could have used another 50 – 100 lbs. The more is the merrier here! You’ll want to collect your weights prior to laying the adhesive so it doesn’t begin to cure while you’re looking for weight. Make sure to lay the objects to weigh your flooring down evenly. We put the wood pieces on top of our XPS so that our weighted items would evenly weigh down the insulation. Let it cure overnight.

💡 You may worry about the gaps, and there are plenty of other pieces you can cut for the gaps. At the end of the day, we didn’t feel like they would add anything meaningful and with a slight amount of airflow any wetness down there will drain out and leave your van.
Step 4: Adhere the 1/2 Plywood to your XPS Foam
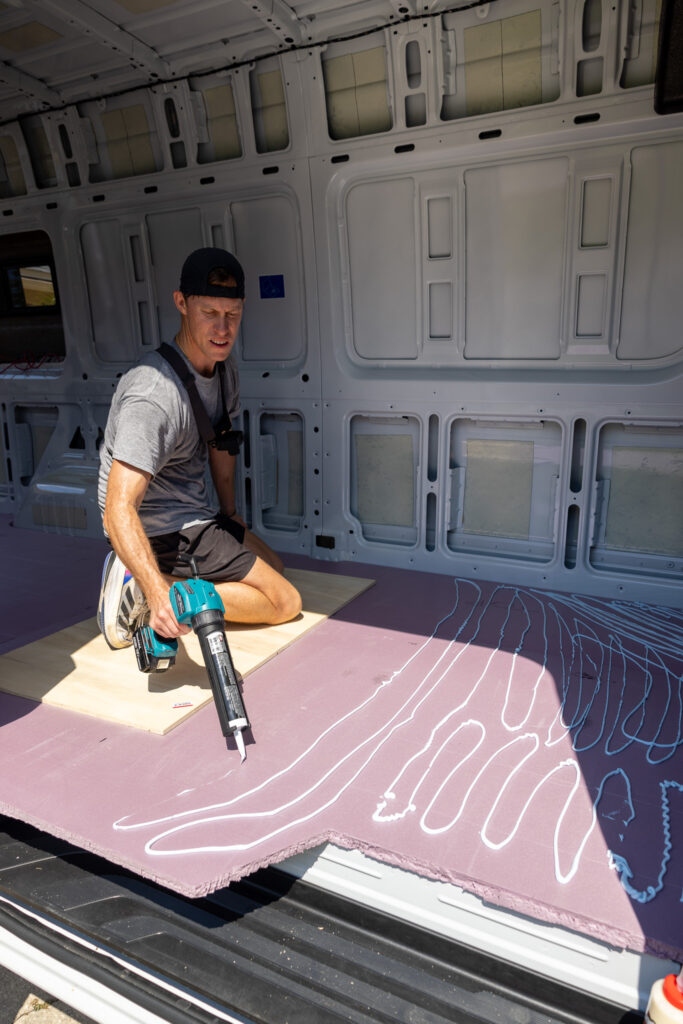
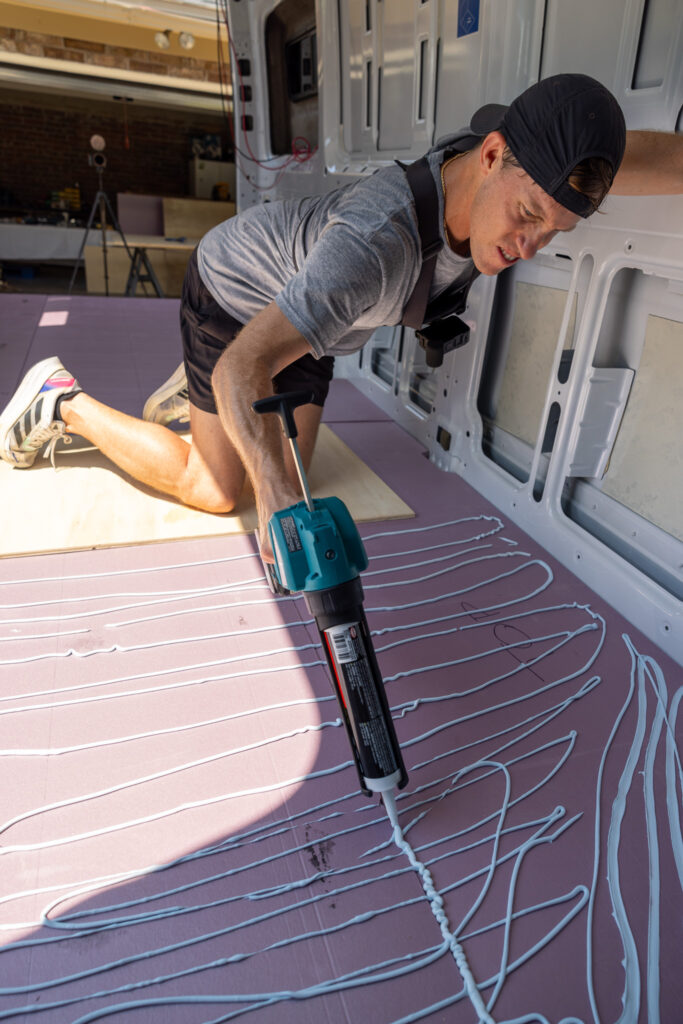
We joined our four pieces via biscuit joints for the plywood step to ensure a level floor and no gaps. I think this helped, although we will do it differently next time. We joined the pieces as we placed the floor. However, we would join the first two and the last two outside the van before connecting the two larger pieces inside the van. This is because of one main hurdle… time.
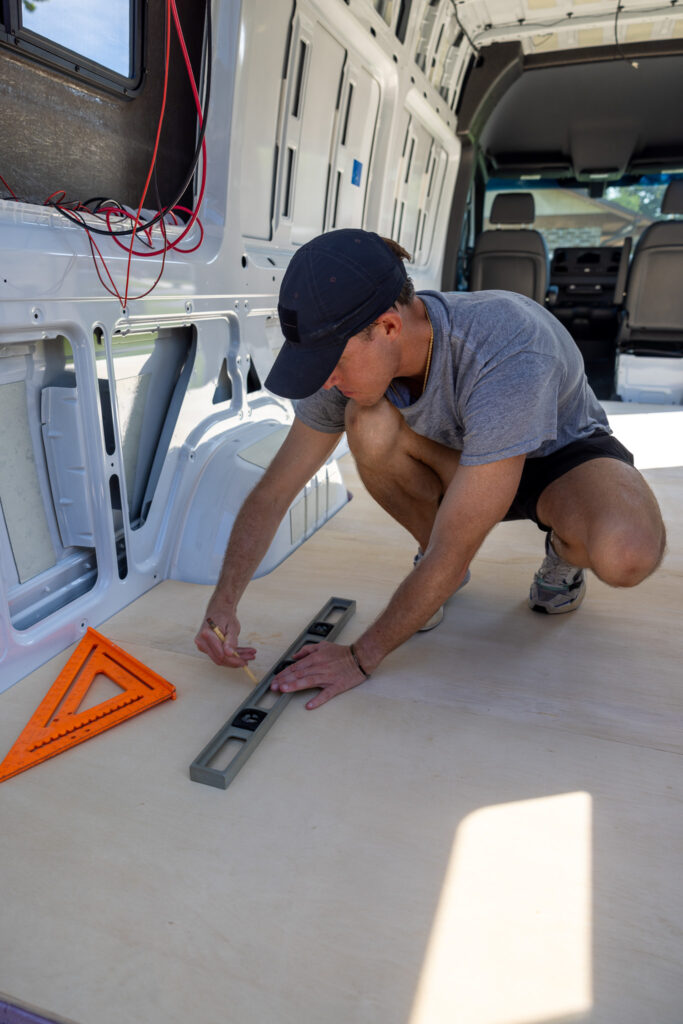
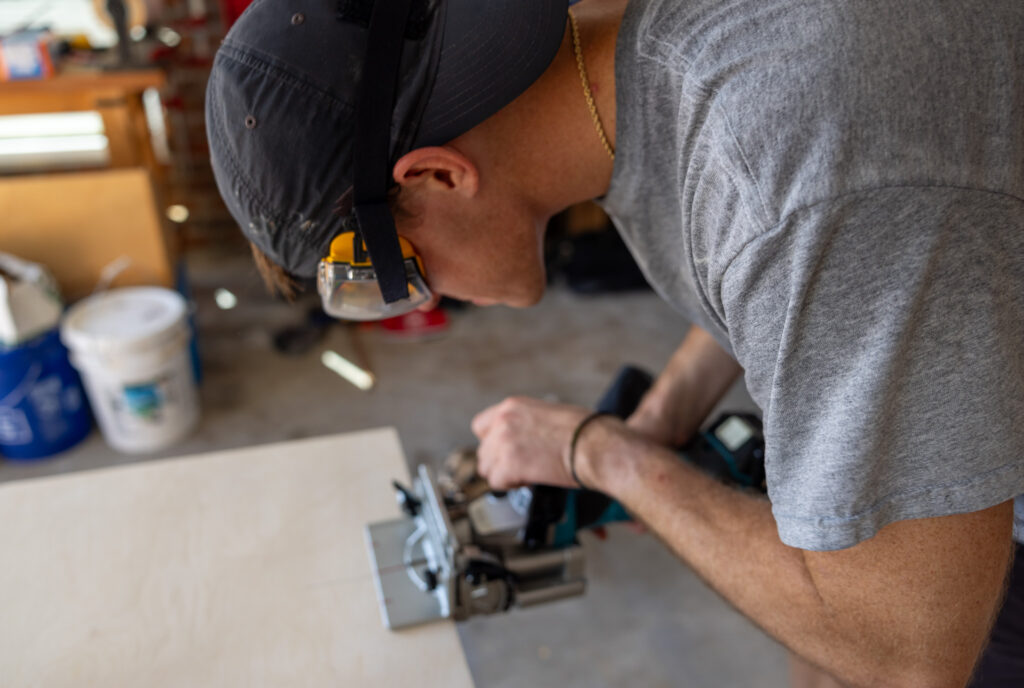
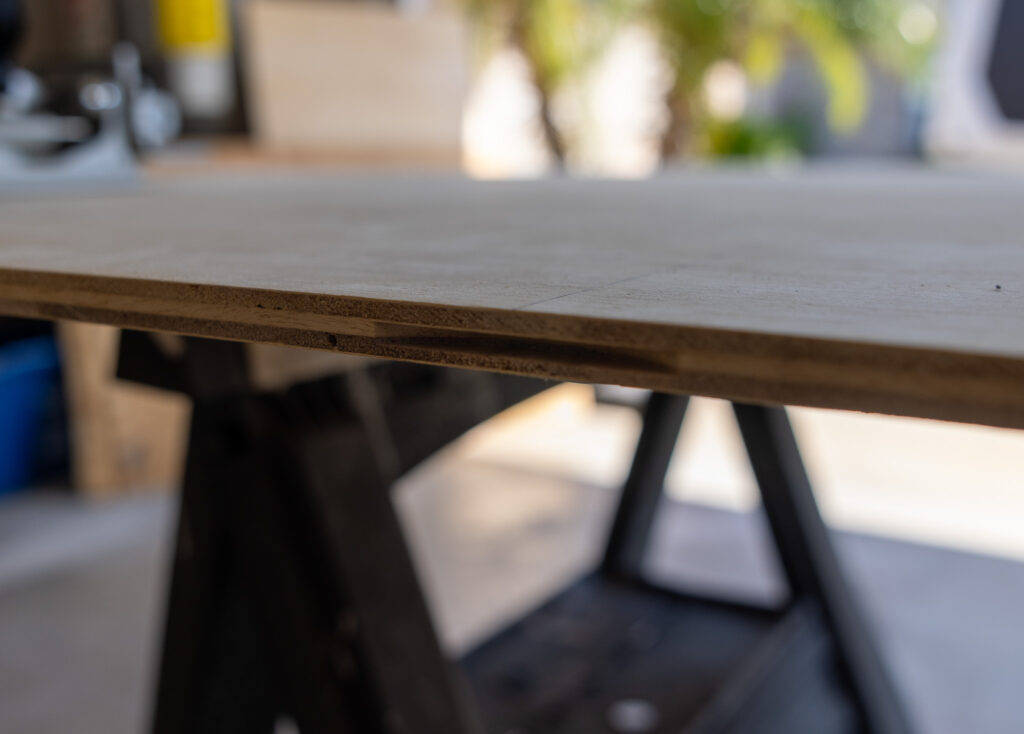
You see, all four pieces are supposed to fit precisely together, and if you place them one at a time, you may have slight angles off. A half-degree mismatch at the front of your van may lead to a few inches being off in the back! Take your time and prep, prep, prep before you begin gluing.
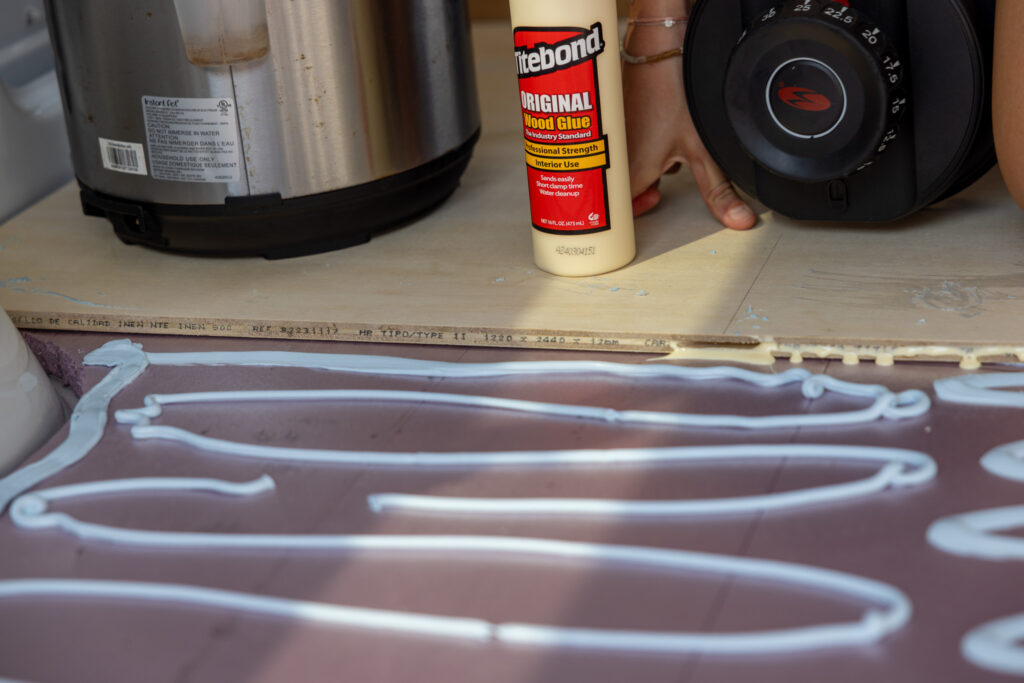
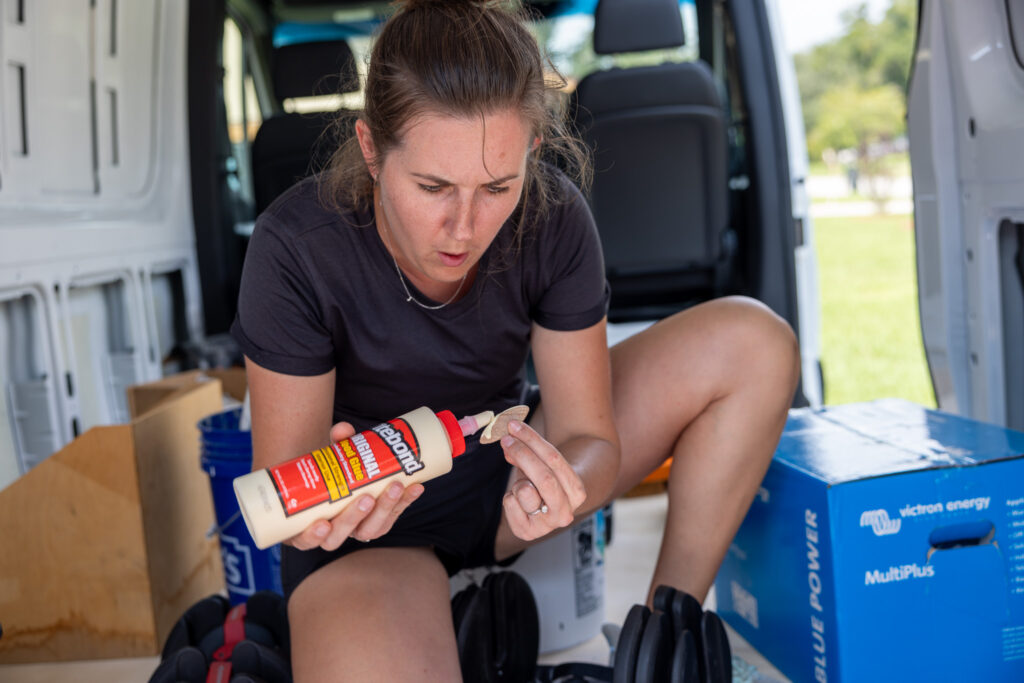
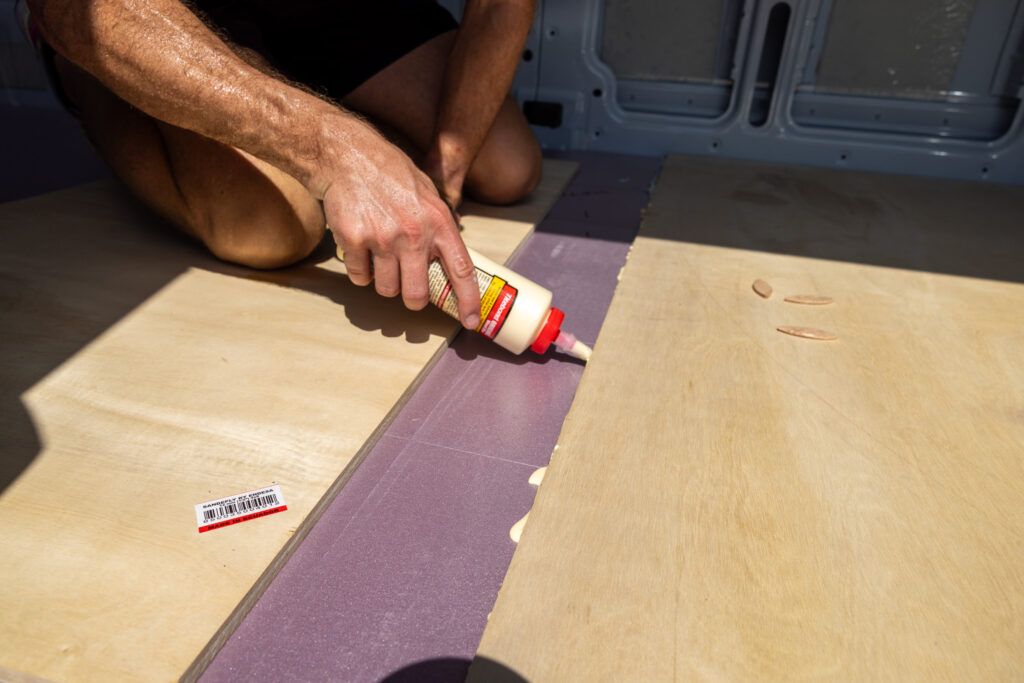
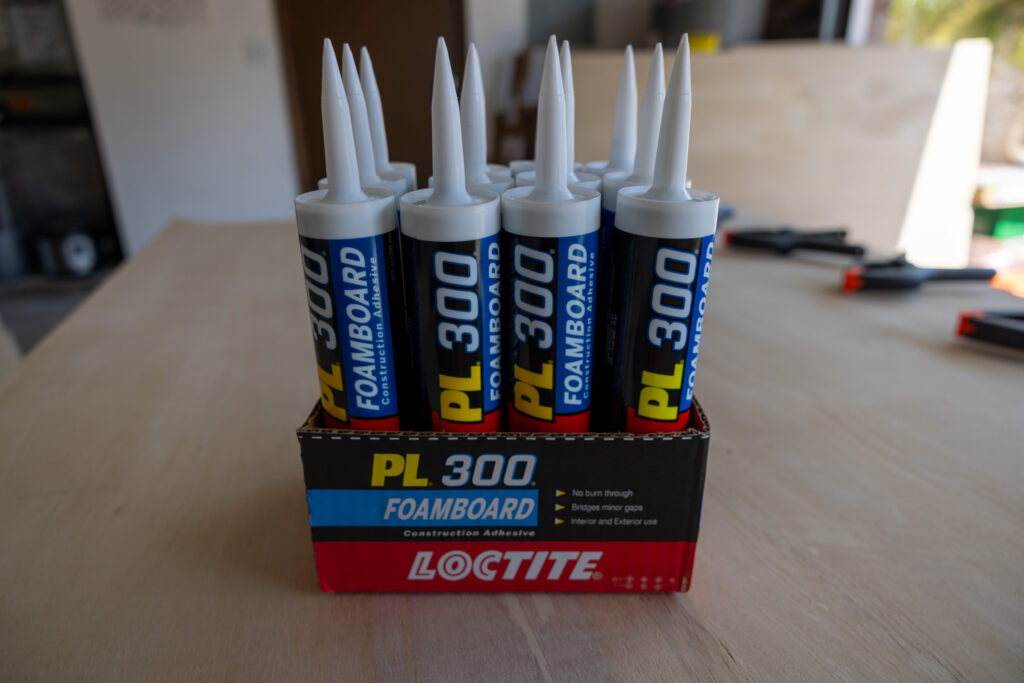
We used 12 canisters of PL 300 (Loctite foamboard adhesive), and this stuff was perfect. It fils minor gaps and was extremely fixed after we let it cure. The benefit is this adhesive is about 1/6th the price of 3M 5200! Unfortunately, since it doesn’t work well on metal, we can’t use it for step three.
☀️ When laying the plywood, try and get all four pieces in before the PL300 sets. We had about 5-10 minutes to arrange everything in 95-degree Florida, so it’s a very quick process!
Once you have your wood glued down, just like the previous step, it’s time to add lots of weights and let it cure overnight.
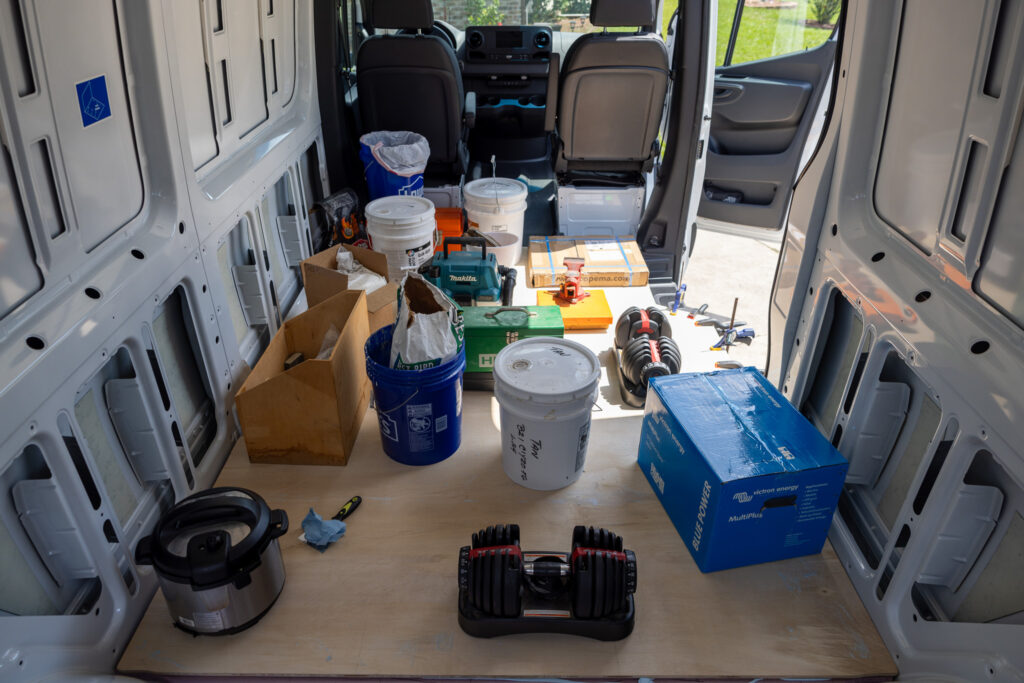
Step 5: Clean up any residue from your plywood
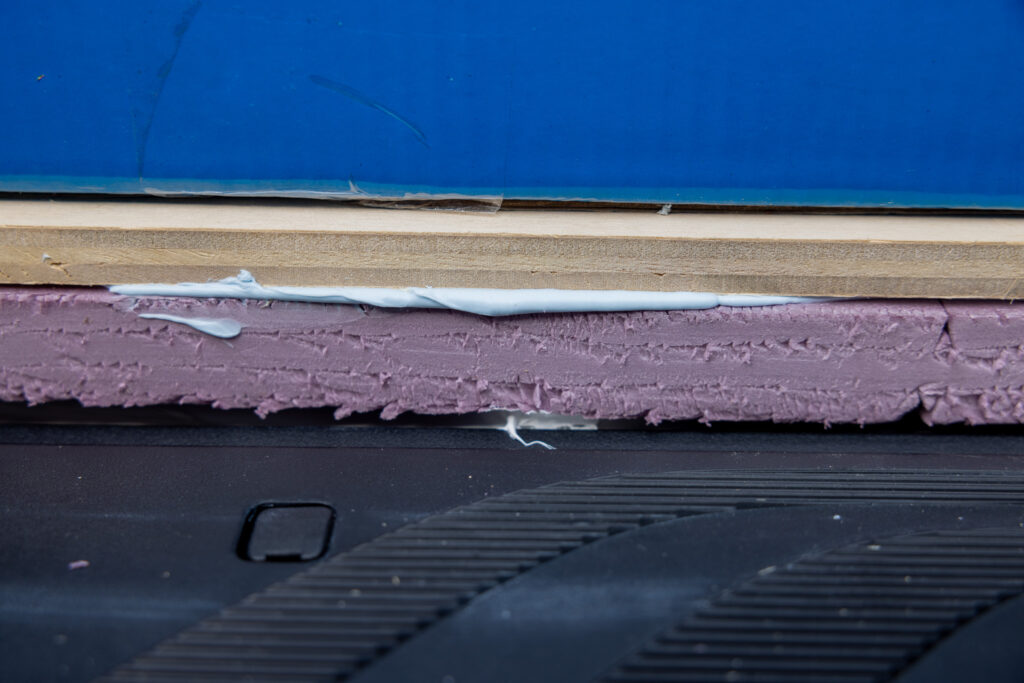
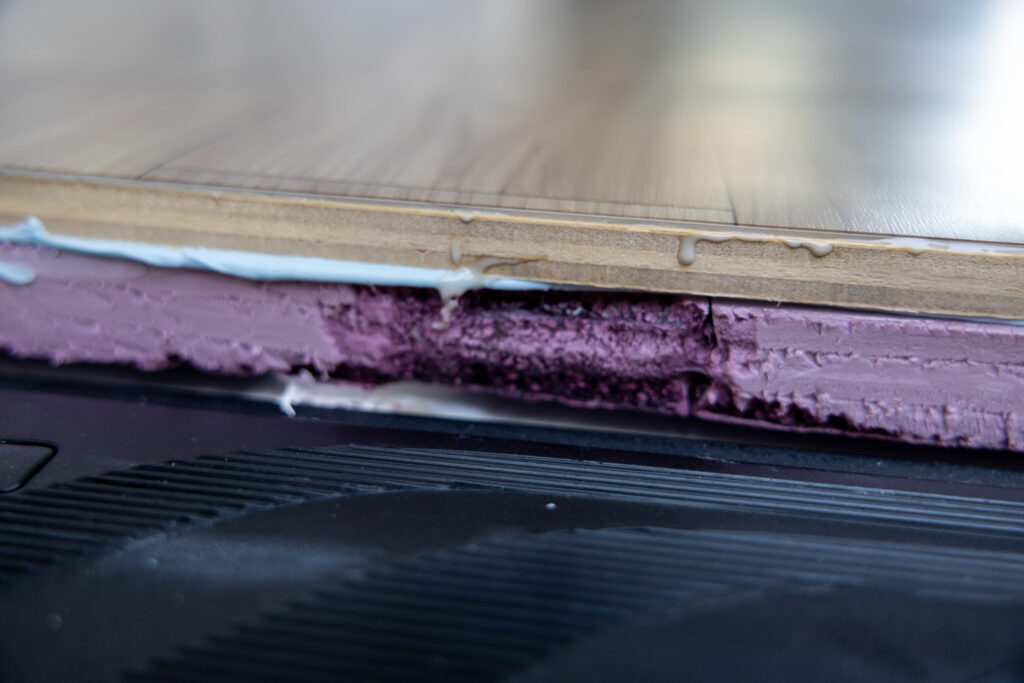
We had bits of PL 300 and wood glue from the biscuit joints that came up through the gaps as our floor cured, so we needed another round of cleanup.
Using a hand sander, an orbital sander, and a shop vacuum, we made the floor as smooth as possible for the final step.
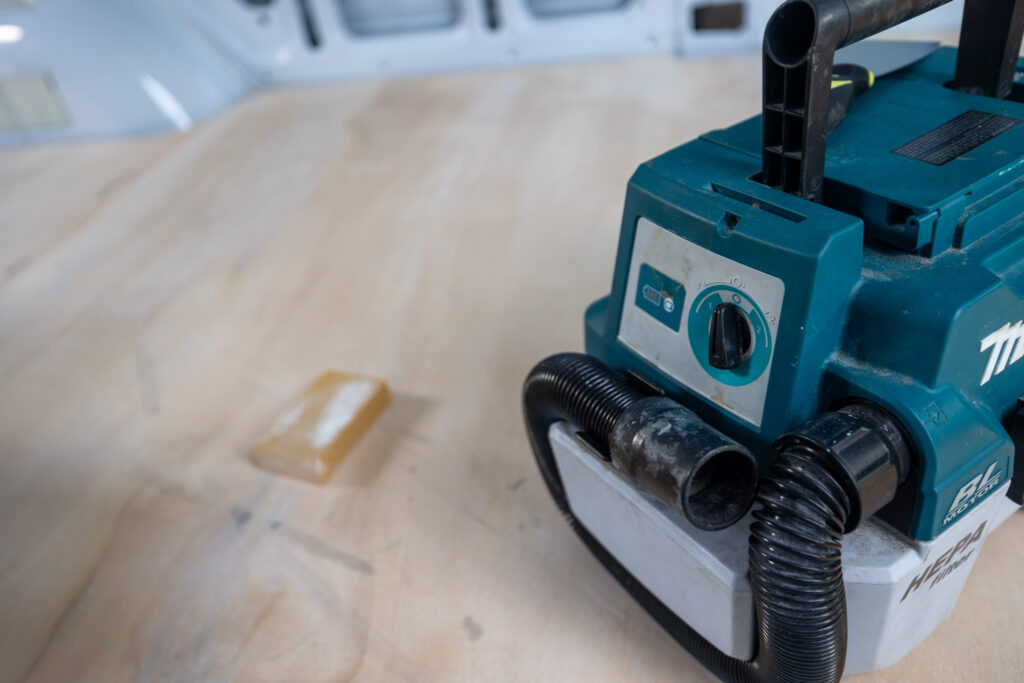
Step 6: Adhere your Lonseal Flooring to the plywood
For the final step, you’ll need to attach your Lonseal flooring to the plywood. This was a step. We have a few learning experiences, but hopefully, you can learn from our mistakes!
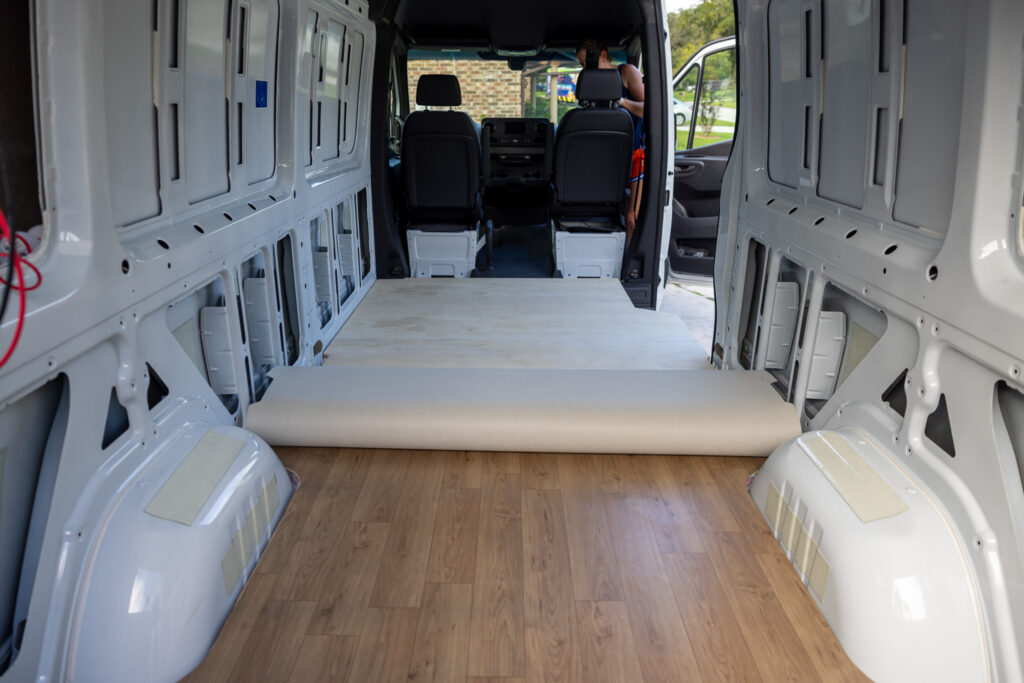
You’ll want to use the suggested two-part epoxy system to attach your flooring. This epoxy has a time limit of 30 minutes, so the clock will be ticking once you start. You’ll also want to ensure you’re well within the temperature limits for your floor. Our mixture was between 65 degrees F and 85 degrees F, so it was a relatively mild temperature.
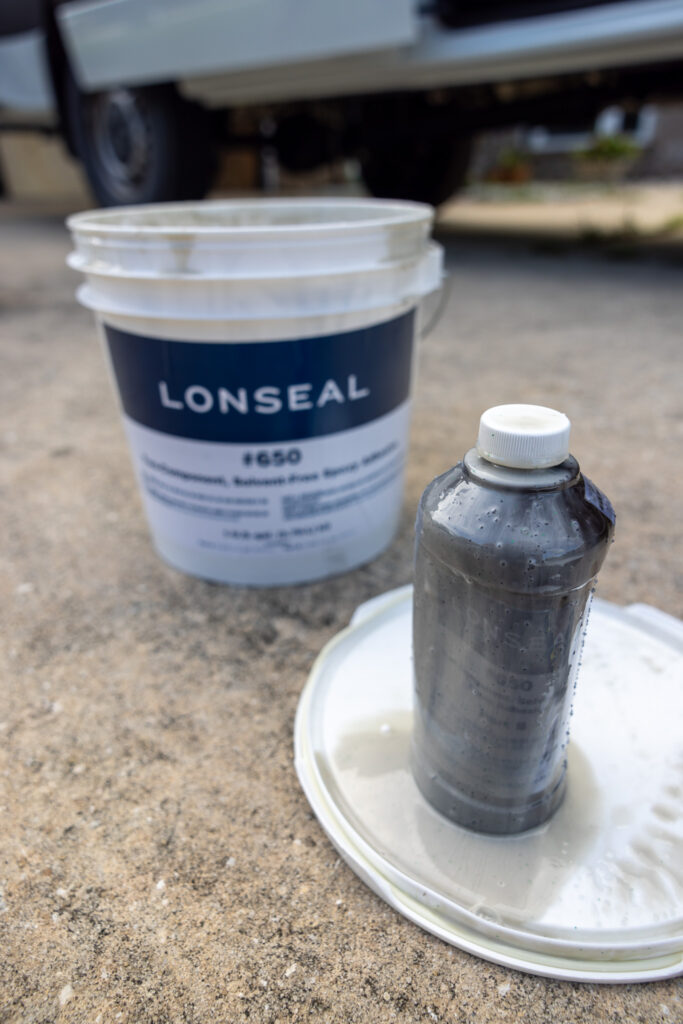
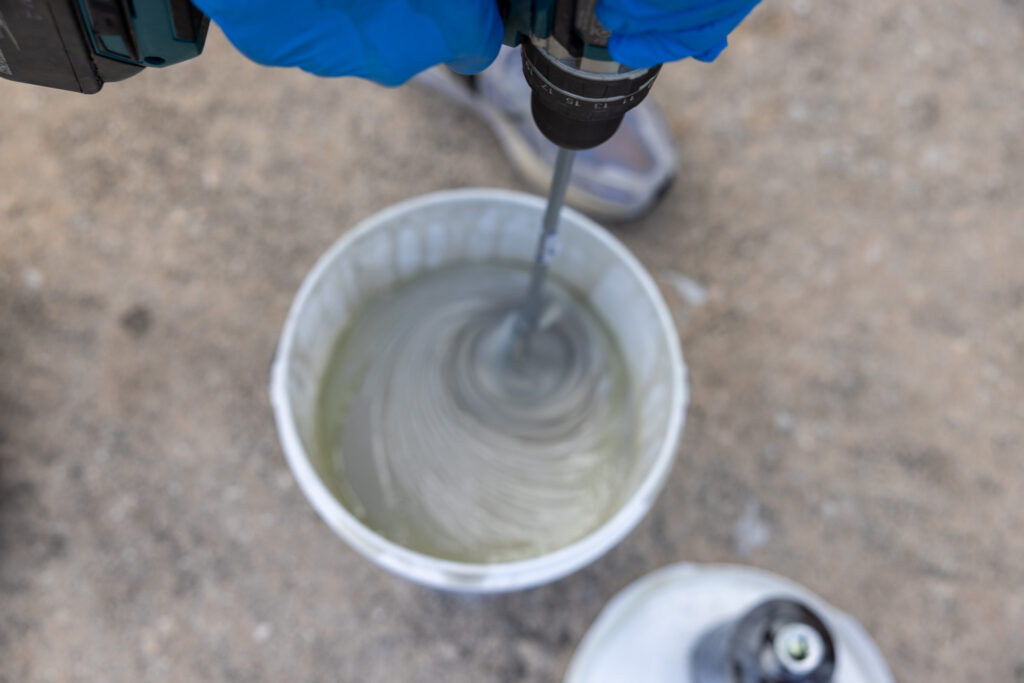
🧠 Since we installed our flooring at 85 degrees (the upper limit), the epoxy cured very fast, leaving some bumps in our floor, which are only visible in certain light. Keep in mind the conditions in which you’re installing the floor to minimize the chances of this.
Roll up the Lonseal flooring in the center of your van so you can roll it forward and backward to prepare for adhesion. Mix up the epoxy and start from front to back on your flooring. Do your van in quarters or thirds, keeping in mind your total 30-minute time limit. Pour some of the epoxy from your bucket, spread it out evenly, then lay the floor on top. Rinse and repeat until you are through your vehicle. This job is best done with two people! One person can spread or roll while the other works on other areas. 30 minutes may sound like a lot of time, but it goes by insanely fast!
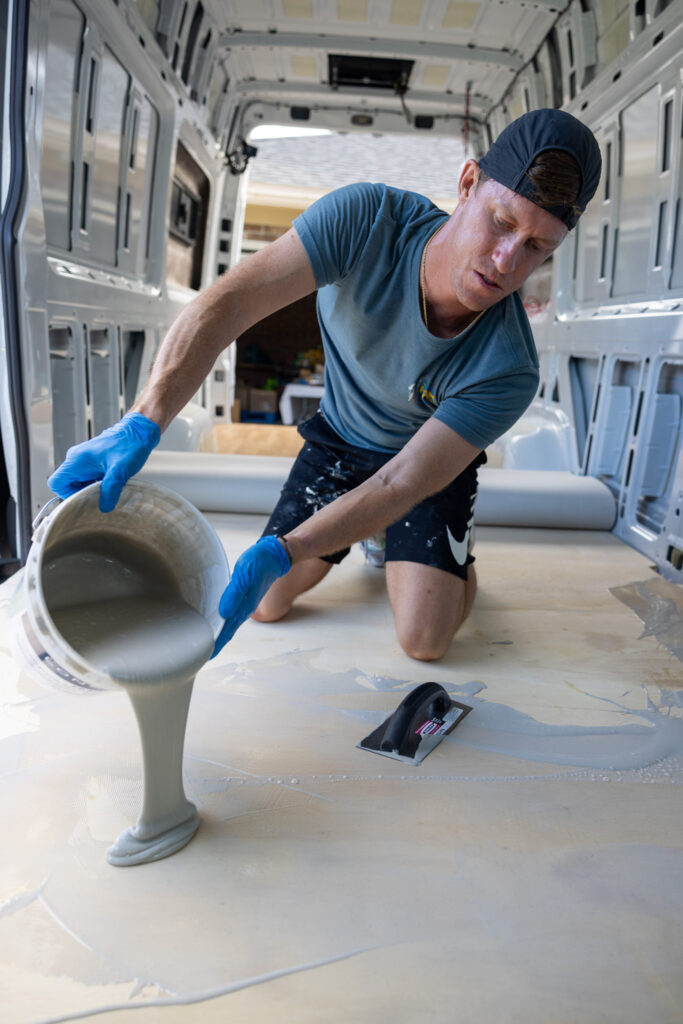
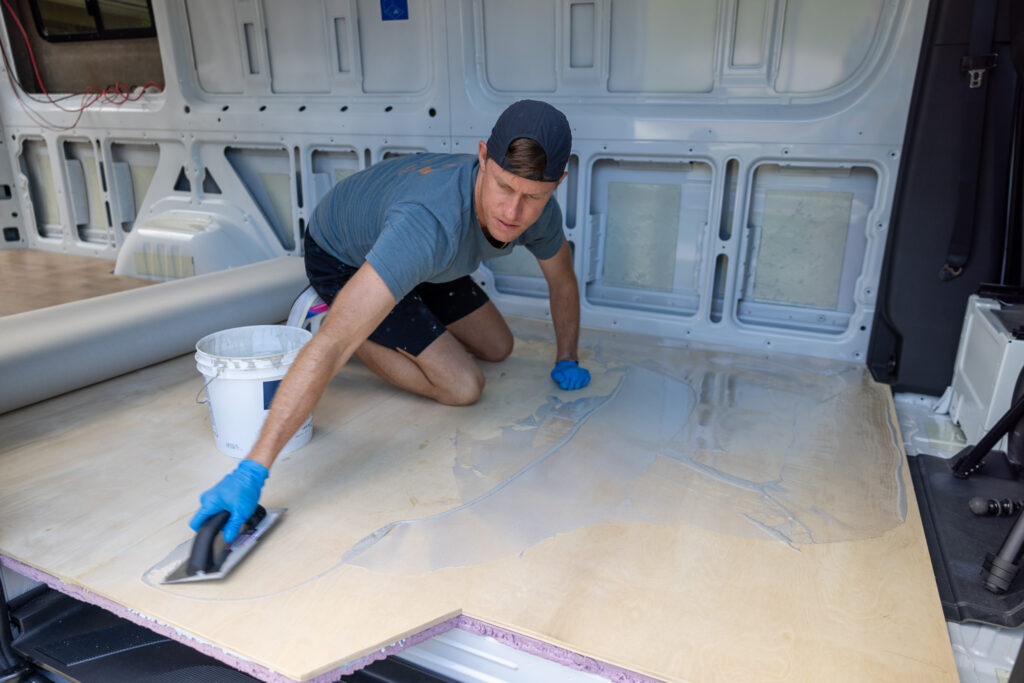
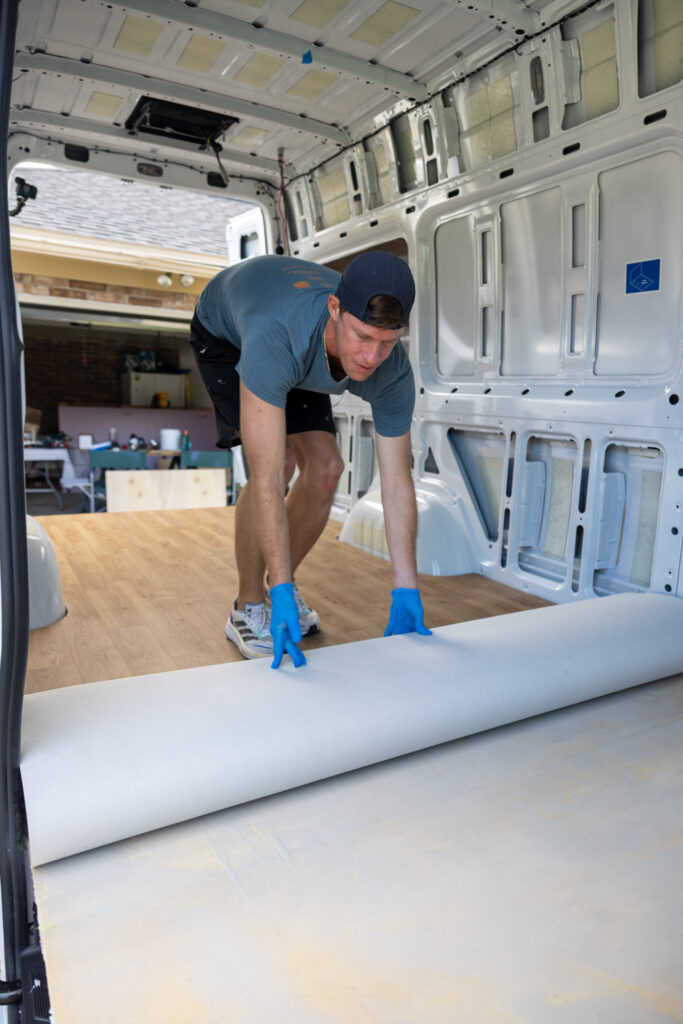
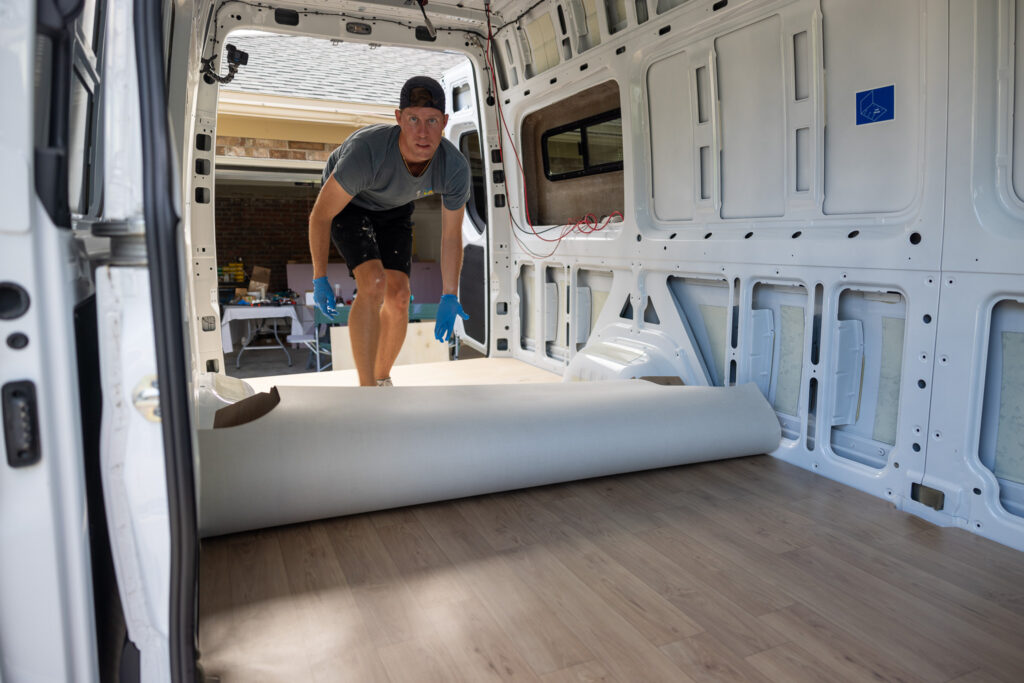
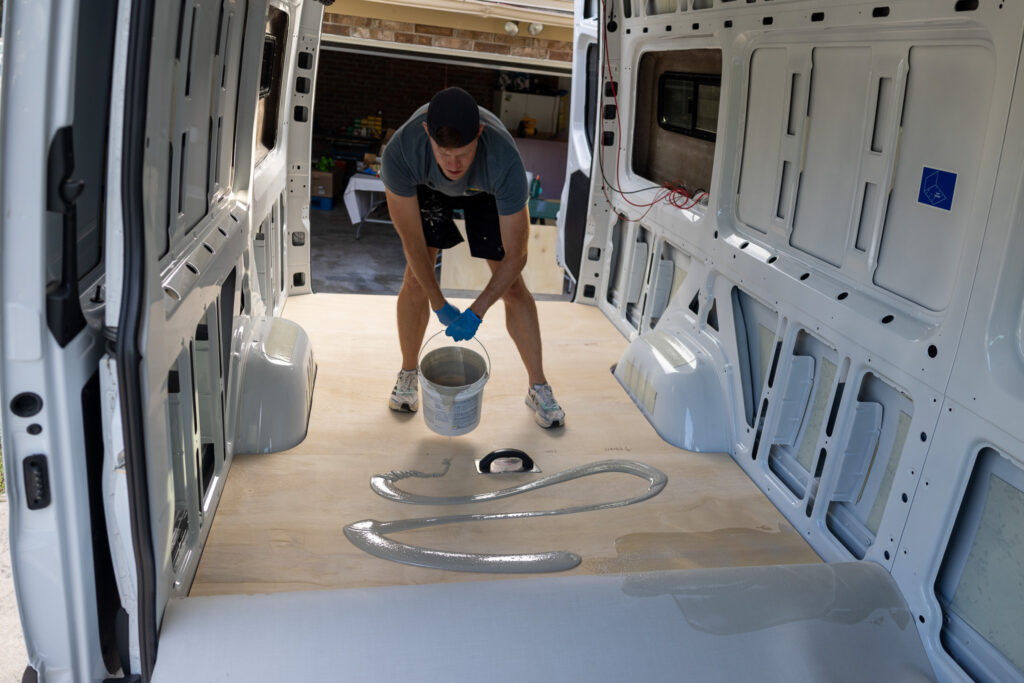
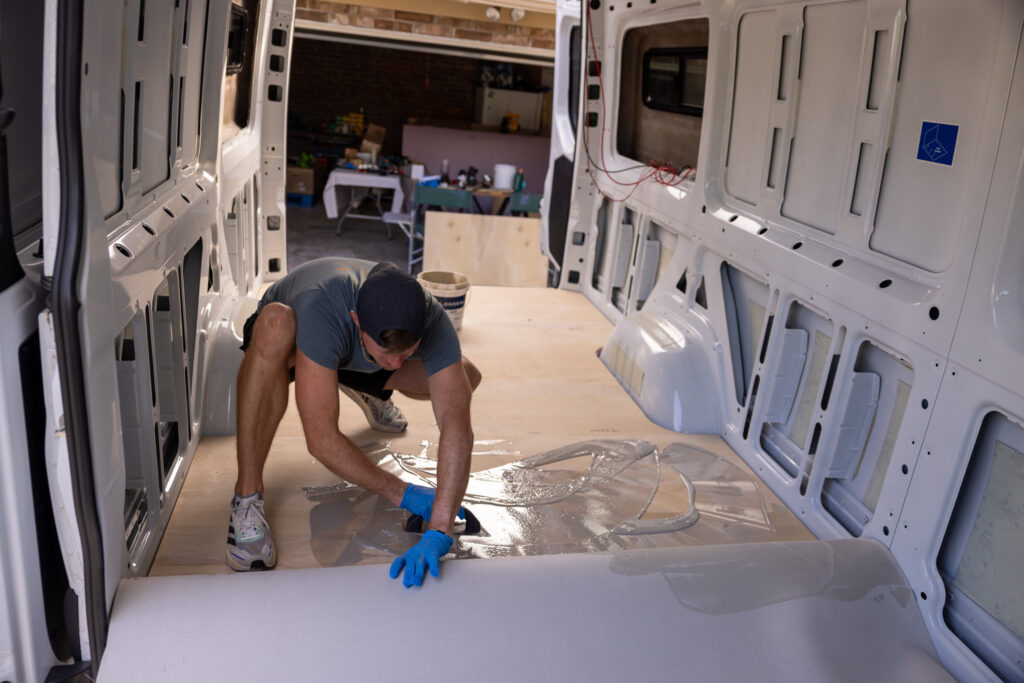
After laying the floor down, you’ll need to begin rolling it out with a heavy roller immediately. We used one on Amazon, which worked well, but I think we’d also rent the 100 lb roller from Home Depot next time to try and help more with getting out the bumps. Your main goal here is smoothing the floor and eliminating any and all air bubbles. Work your way from the center outwards and get those air bubbles out. It’s satisfying when one slides out the edge of your floor!
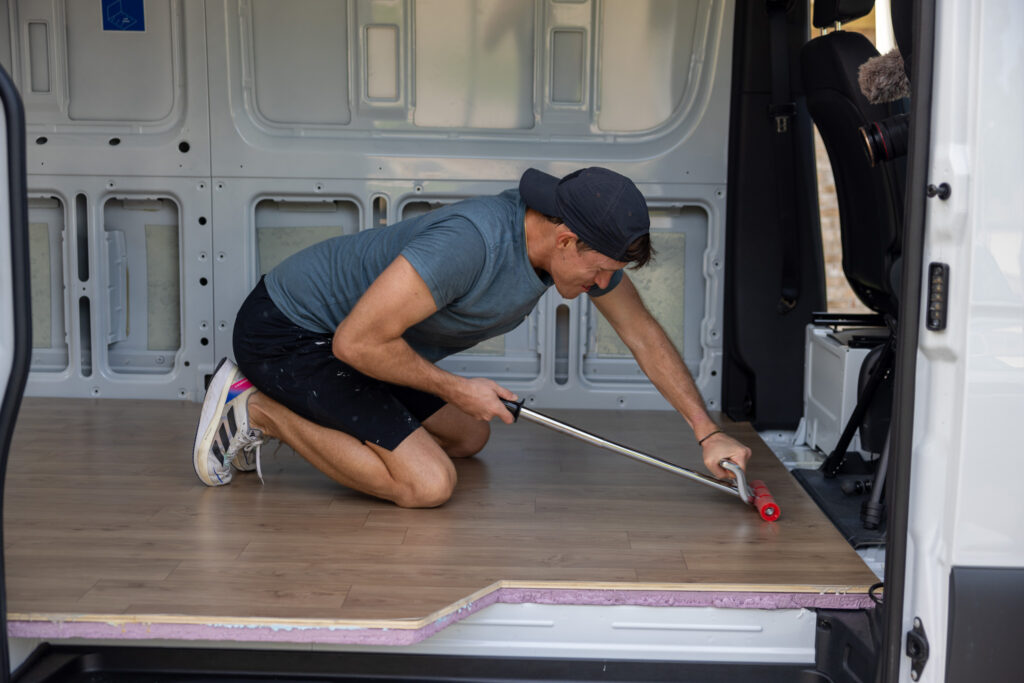
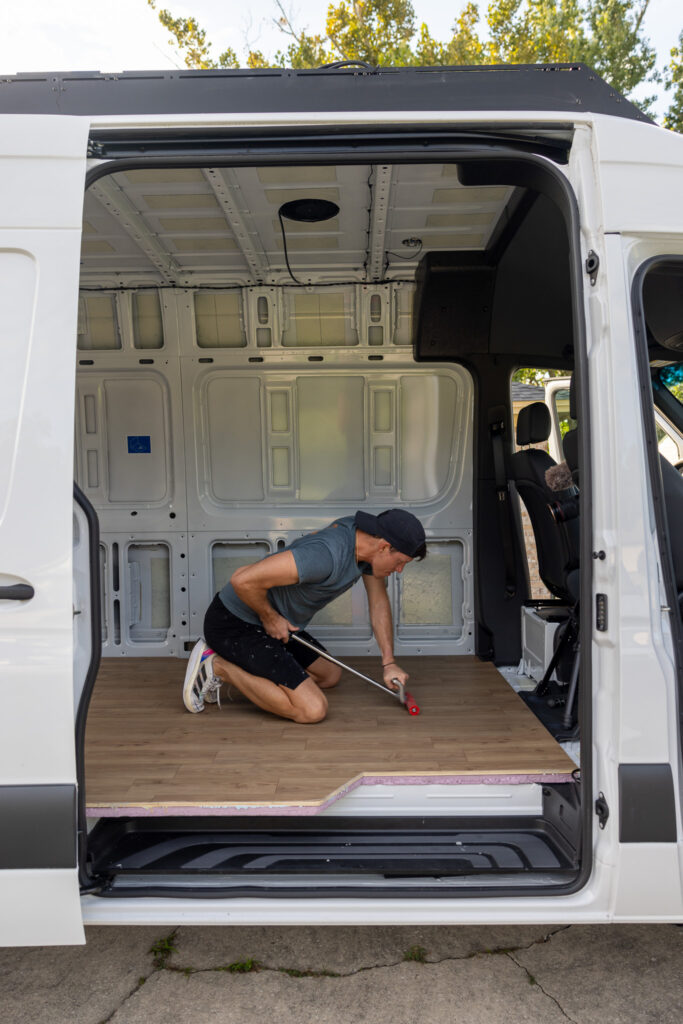
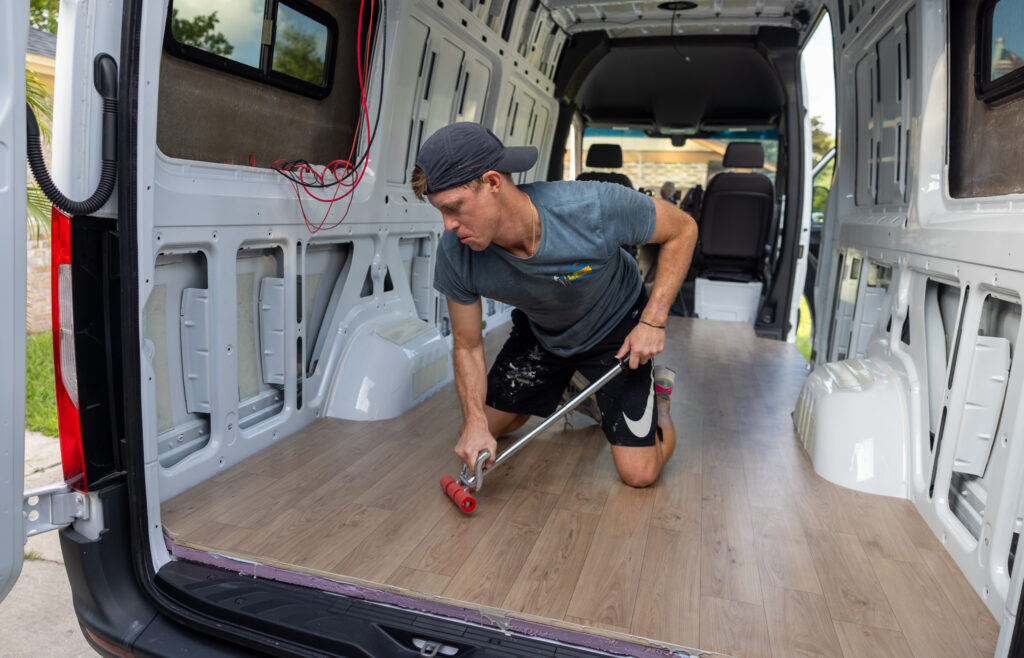
We rolled out our floor for about another 30 minutes, then two hours later for 45 minutes, and then 30 minutes later for another 15 minutes. It’s a very tiring process, but all the sweat now pays off with a flat floor in the future!
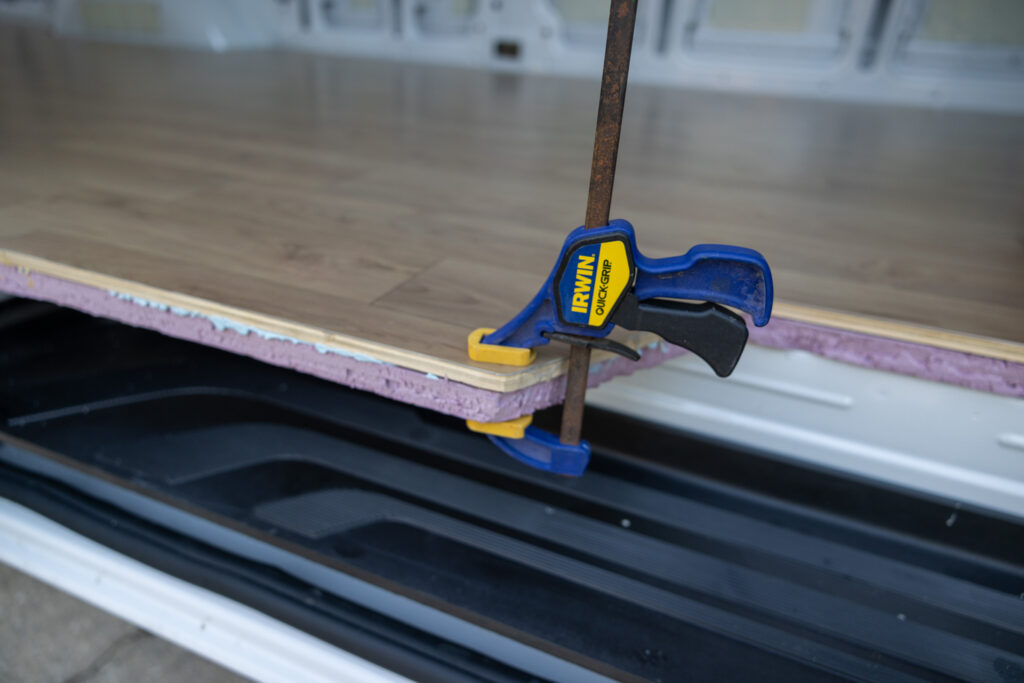
⚡️ If you use weights or clamps, we recommend taking them off after the first hour so the edges of your clamp don’t leave a lasting impression on your floor.
Step 7: Wait and Enjoy!
Now that all the hard work is done, you can sit back and enjoy a well-needed break from your van build process. If you use the Lonseal Epoxy, they recommend that there be no heavy traffic for three whole days. Enjoy some RR before you get back into the build!
Step 8: Finishing touches
After your floor is cured, you can add some finishing touches. We recommend metal trim for the outer edges and reflective insulation tape for the other edges. This little bit will help prevent any radiant heat from entering the edges.
Campervan Flooring Cost
We love transparency and a good budget! Just like we shared our monthly expenses around America’s Great Loop, we’re compiling all of the costs for our entire van build and also breaking them down project by project. Installing insulation, subflooring, and our Lonseal flooring cost us a total of $1,104.81. We typically don’t include most tools, like power drills, saws, exacto blades, etc., in this list because we use them for several projects throughout the van build.

We’ll share the total cost of our luxury van build once we’re finished. Be sure to sign up for our email list so you can be the first to know when we share it!
1 Year Later – How has our floor stood the test of miles?
Coming in October 2025. Leave us a comment with any specific questions!
Watch our Install on YouTube
Save for Later
Save this to Pinterest to read again later!



Leave a Reply
You must be logged in to post a comment.