

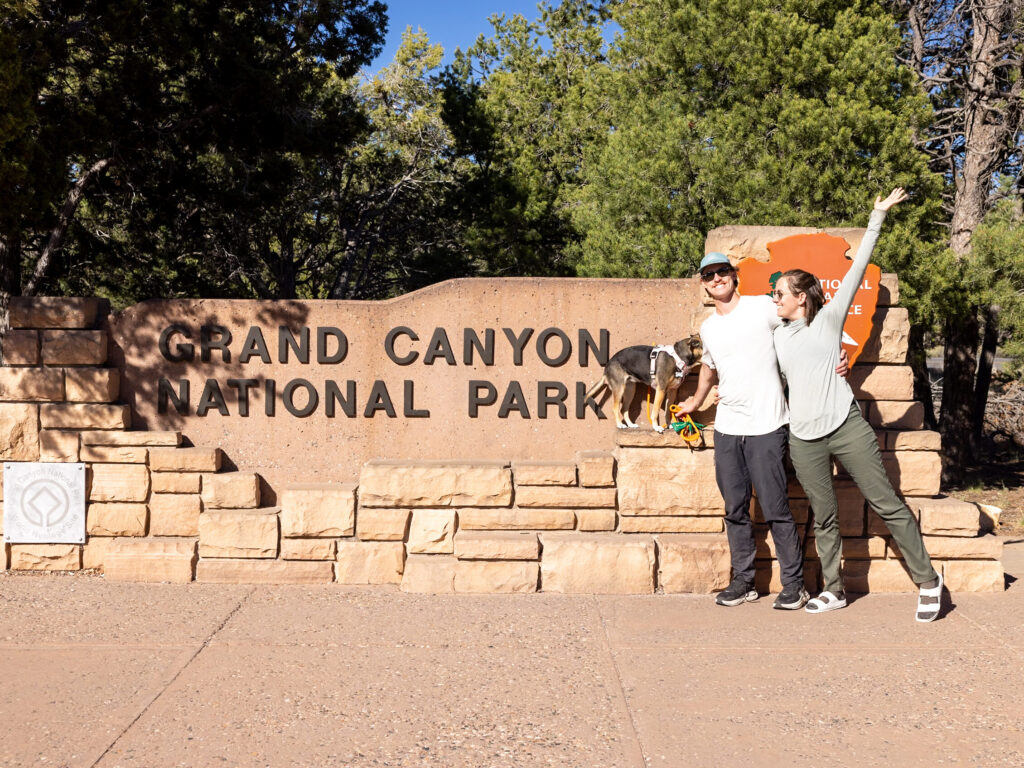
If you’re planning a trip to Grand Canyon National Park, chances are you’re going to go hiking at one point or another. And in a park as vast and challenging as the Grand Canyon, it’s essential to know what you’re getting into before starting any trail, especially when dealing with trails that go past the canyon rim.
We spent 3 weeks exploring the Grand Canyon from rim to river and east to west, ensuring that our tips are tested to give you the best recommendations.
In this article, we’ve rounded up the 15 best hikes in the Grand Canyon, including trails that start from the South Rim, the North Rim, and even a few down by the Colorado River. We’ve also sorted these hikes from easiest to hardest to help you find a trail that’s suited to your abilities and travel style. Let’s dive in!
Note: We use affiliate links which provide us a little kickback each time you use one of our links and make a purchase, without any additional cost to you. We do not recommend products that we don’t already love or have heard great things about, so you can trust we’re only suggesting great products to you.
1. Rim Trail (South Rim)
Difficulty: Easy
Distance: Up to 13 miles (20.4 km)
Time: Up to 5 hours (Point-to-Point)
Elevation Gain: Up to 577 feet (176 m)
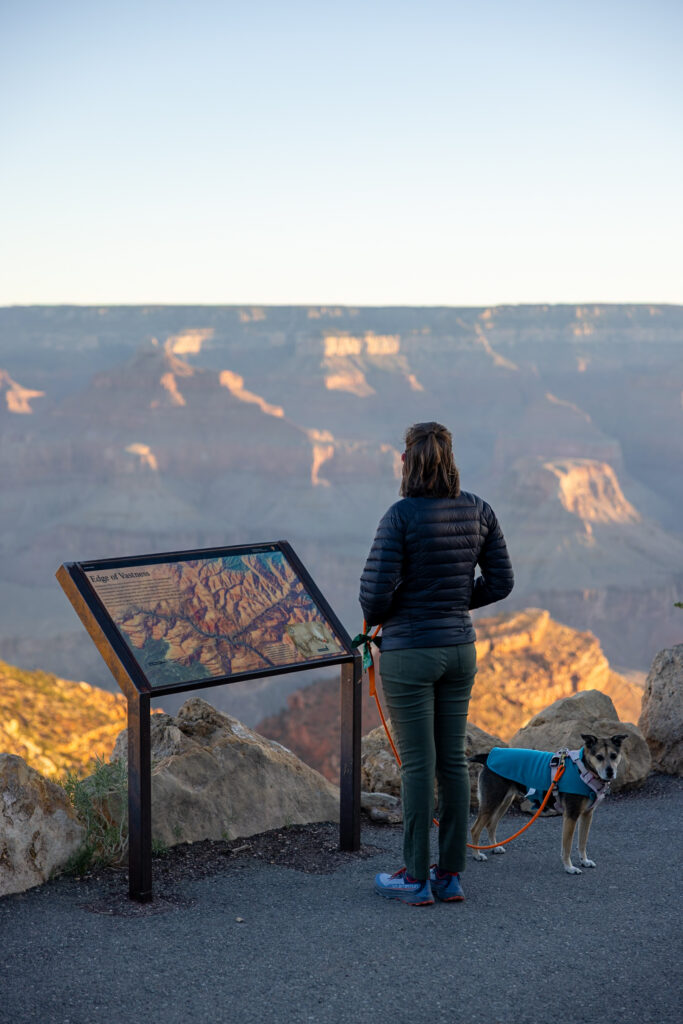
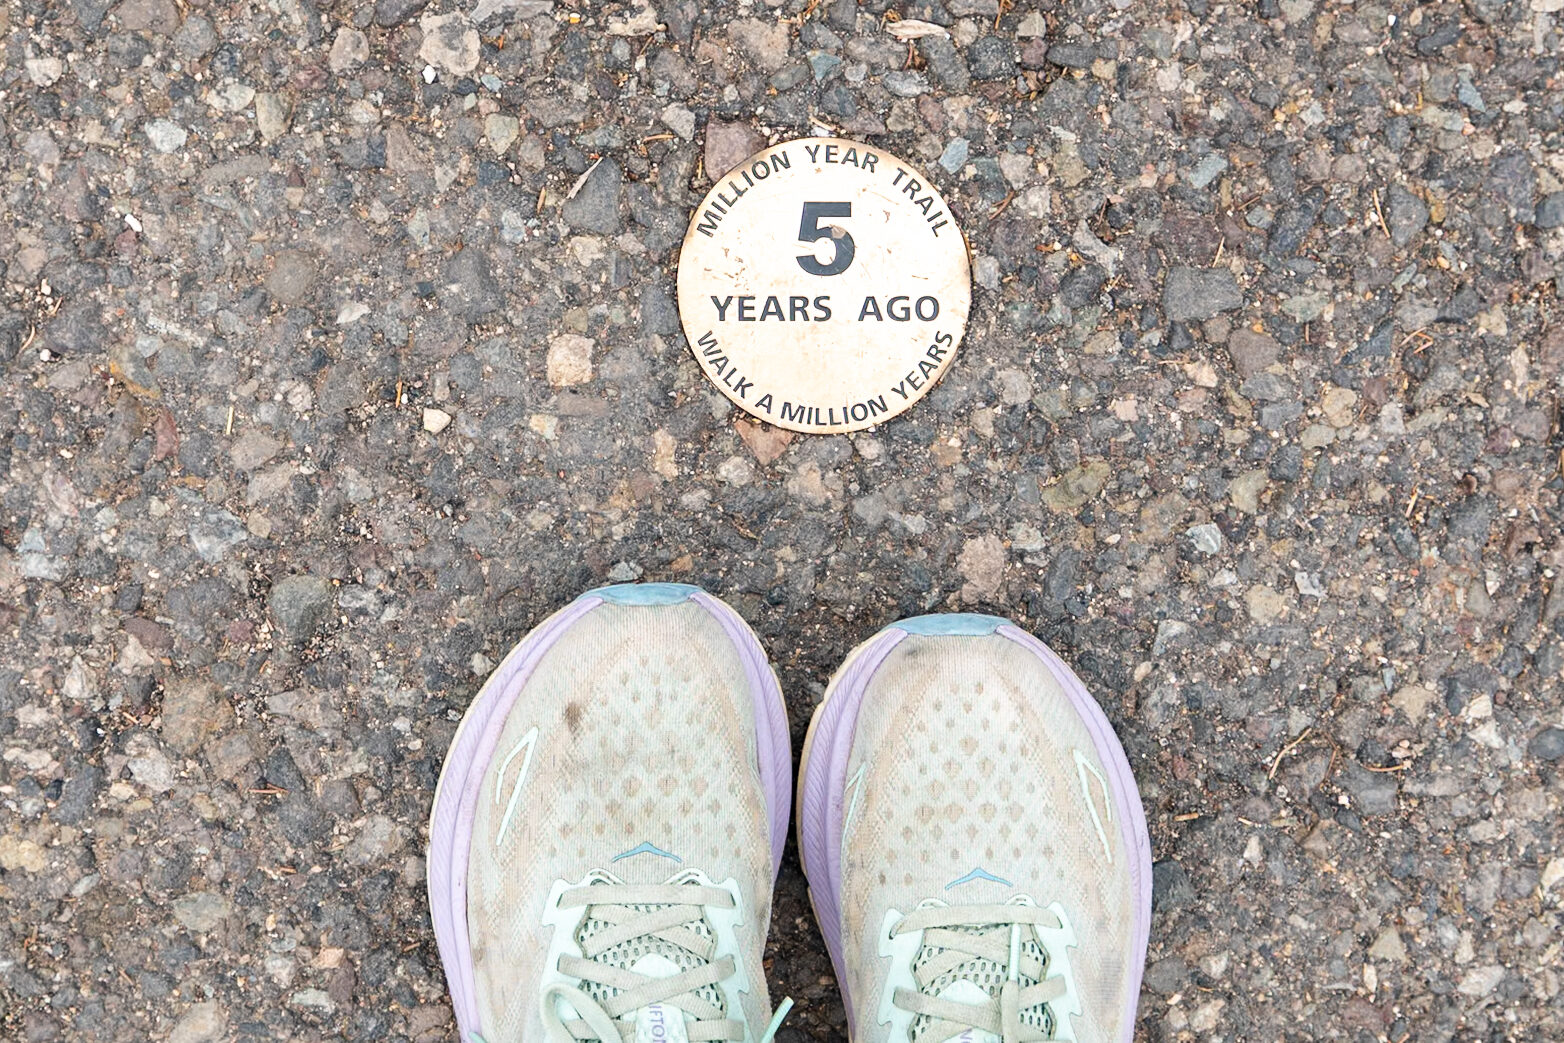
The entire Rim Trail runs for a total of almost 13 miles (20.4 km) one way along the entire paved section of the rim. Although it is just one continuous trail, most visitors pick sections of it, such as the Trail of Time, an easy, flat trail near the South Rim’s Visitor Center.
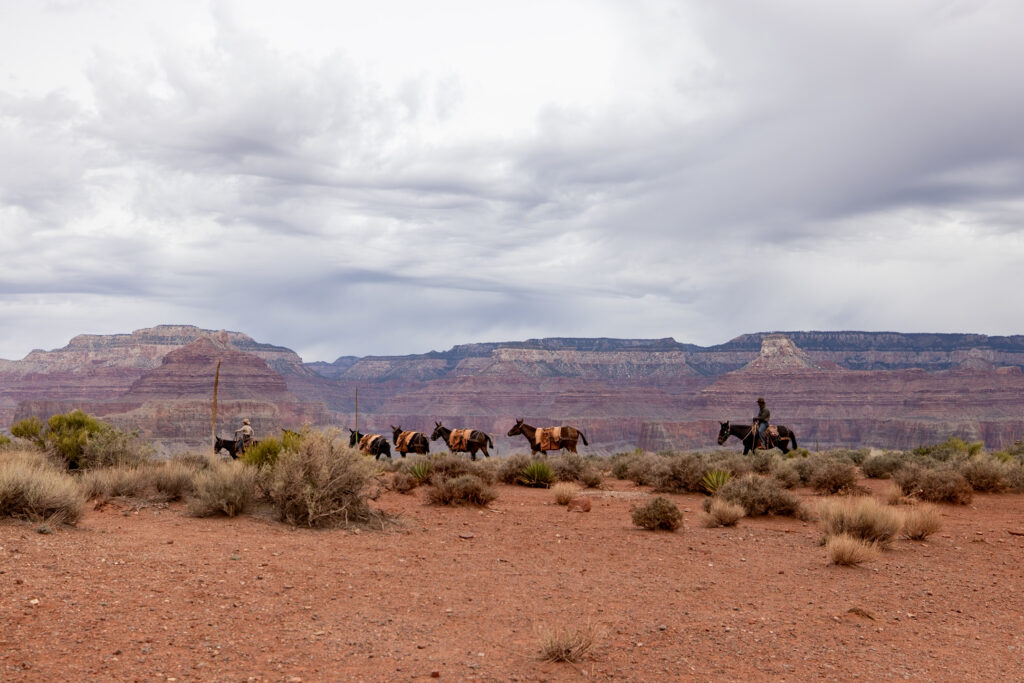
🐴 Mules First! Mules have the right of way on trails in the Grand Canyon. If a mule is approaching on the trail, find a safe place to step aside and allow them to pass.
Full of educational signs and 100% paved, this easy walk takes you along a geological timeline where every meter equals 1 million years of canyon history. We walked various sections of this trail and found it to be a pleasant introductory trail to the park! This is a great trail for geology nerds or visitors with kids who want to incorporate interactive learning.
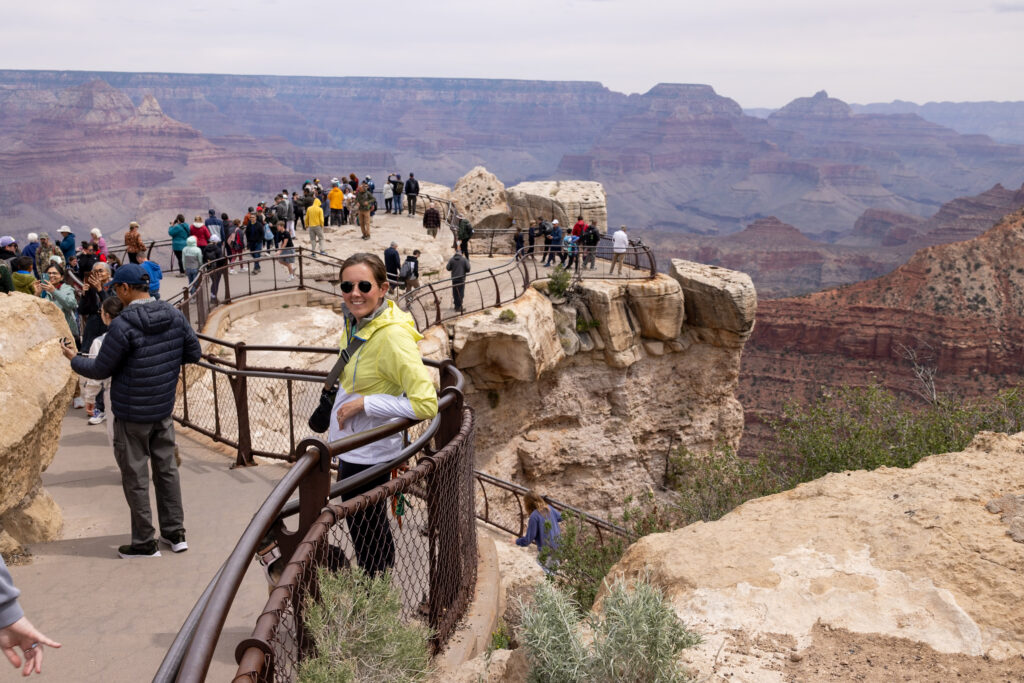
Another gorgeous and easy section you can hit is from Mather Point to Bright Angel Trailhead. This 3-mile (4.6-km) section starts from the Visitor Center and takes you past Mather Point, Yavapai Point, and a few more scenic lookouts, before dropping you off at Bright Angel Trailhead, by Grand Canyon Village.
2. Bright Angel Point Trail (North Rim)
Difficulty: Easy
Distance: 0.9 miles (1.4 km)
Time: 30 minutes
Elevation Gain: 147 feet (45 m)
Bright Angel Point Trail is an easy 30-minute trail and hands-down the most popular in the North Rim. A paved trail by the Visitor Center leads you to a spectacular view of the canyon from the north. You can pick up an informative pamphlet at a box along the trail, too! This is on the top of our list once we make it to the North Rim!
3. Greenway Trail (South Rim)
Difficulty: Easy
Distance: Up to 13 miles (20.9 km)
Time: Up to 4-5 hours
Elevation Gain: Up to 997 feet (304 m)
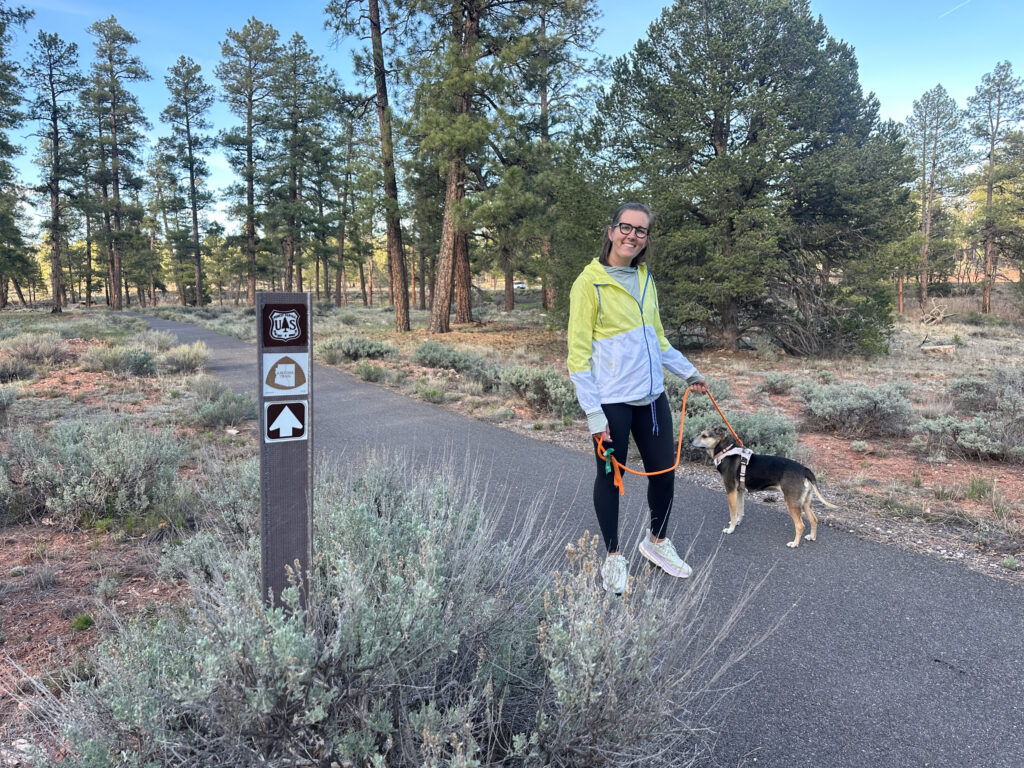
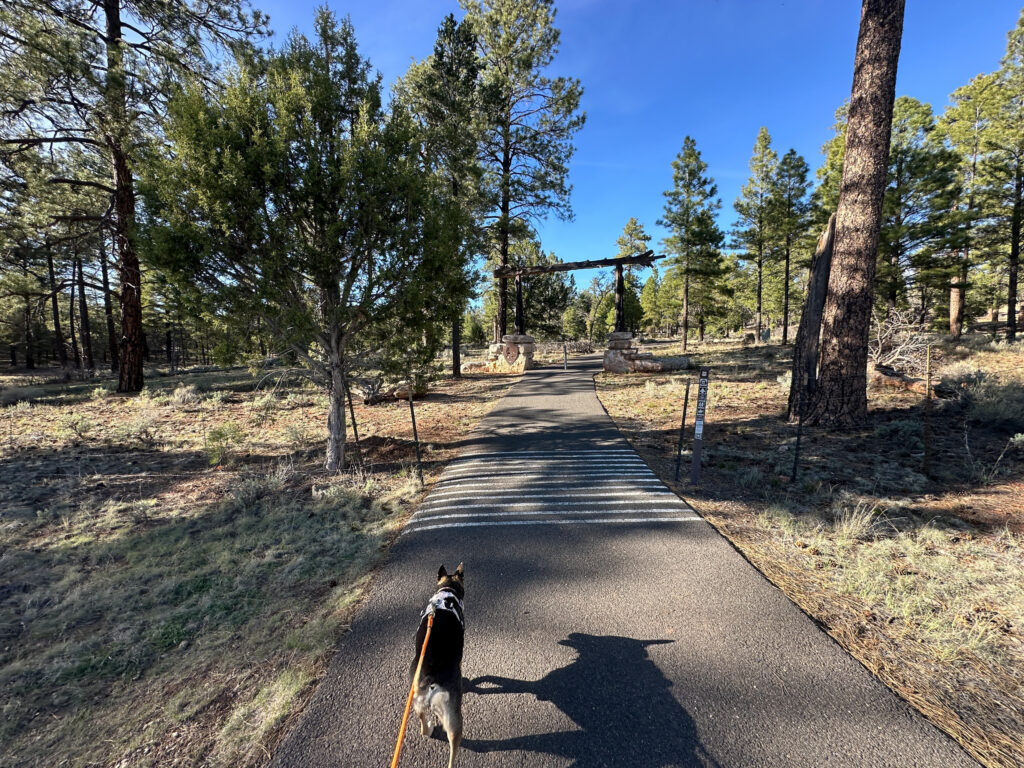
We hiked the Greenway Trail from our boondocking spot outside of the park in Kaibab National Forest. Although it isn’t a must-see in our opinion, it is dog-friendly and bike-friendly, as well as a convenient option for people coming from Tusayan or those looking to enter the park from the National Forest. It is also part of the Arizona Trail, a thru-hike across all of Arizona! You can hike just a portion of it, or take it all the way into or out of the park.
4. Shoshone Point Trail (South Rim)
Difficulty: Easy
Distance: 2.1 miles (3.4 km)
Time: 30 minutes to 1 hour
Elevation Gain: 154 feet (47 m)
The Shoshone Point Trail is another easy trail in the South Rim that takes just under an hour. Although this was the one trail we didn’t get around to, we wanted to mention it because it leads to a 270-degree viewpoint showcasing some of the most staggering formations in the Grand Canyon. Because this trail starts outside of Grand Canyon Village, it is also considerably quieter than other trails in the South Rim.
You could also hike to Shoshone Point from the South Kaibab Trail, still considered Easy, which is slightly longer at 5.2 miles (8.4 km) round-trip and takes closer to 2 hours. If you do this, you might as well take the fork to Yaki Point to see that too.
🅿️ Shoshone Point Parking! The Shoshone Point trailhead is a bit hidden, so not many people know about this route! You can park your car here to access the shorter, 2.1-mile (3.4-km) trail.

With offline maps, wrong-turn alerts, and extra planning features, make the most of every outside adventure with AllTrails Plus. Get 7 days of AllTrails Plus for free!
5. Bridle Path (North Rim)
Difficulty: Easy
Distance: 3.2 miles (5.1 km)
Time: 1-1.5 hours
Elevation Gain: 253 feet (77 m)
Bridle Path is an easy 3.2-mile (5.1-km) forest trail that follows the road near North Rim Campground and is pet and bicycle-friendly! If you’re visiting with your pup, make sure to take advantage of this trail as it’s one of the only dog-friendly ones in the North Rim. We look forward to walking Ollie here ourselves!
6. South Kaibab Trail to Ooh Aah Point (South Rim)
Difficulty: Moderate
Distance: 2 miles (3.2 km)
Time: 1-1.5 hours
Elevation Gain: 663 feet (202 m)
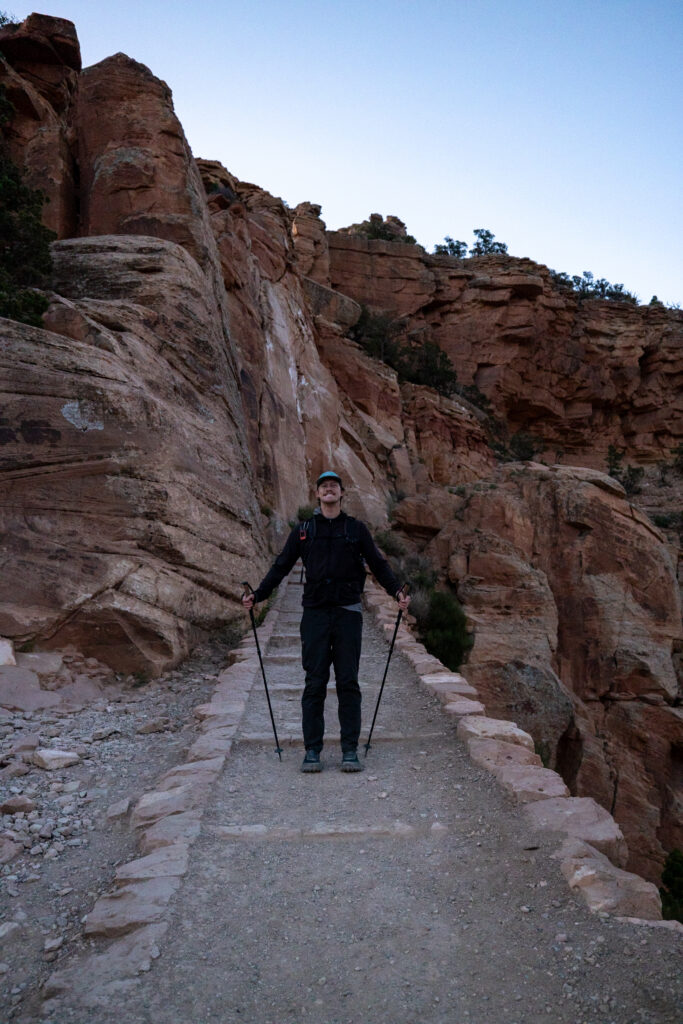
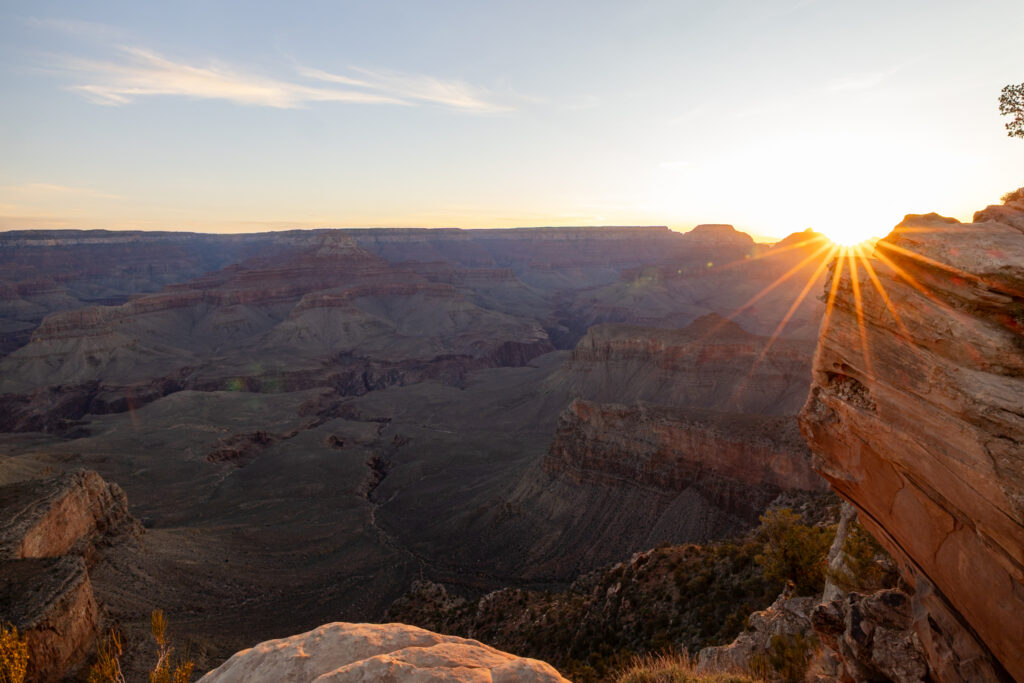
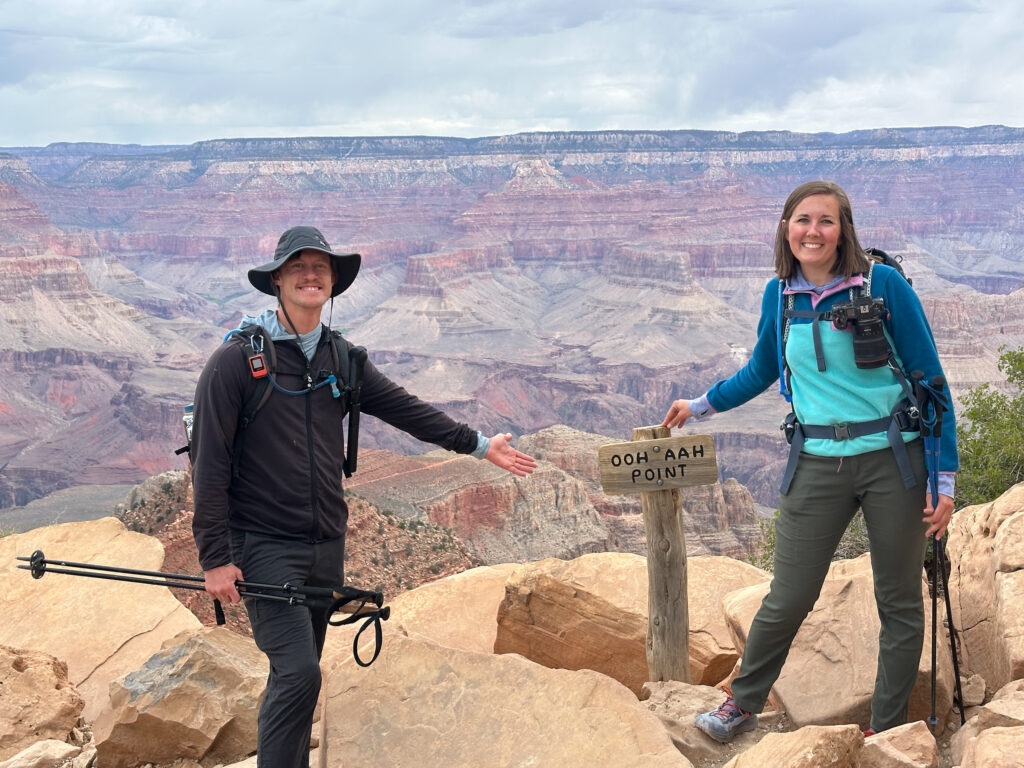
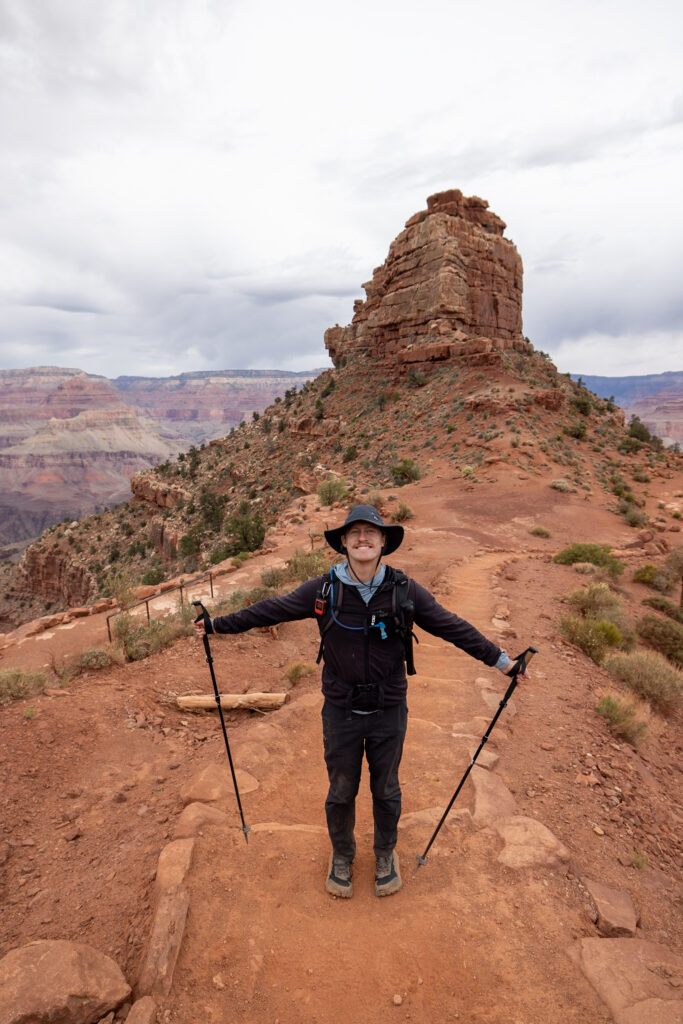
The South Kaibab Trail is one of the Grand Canyon’s most iconic, gorgeous hikes, and another super long trail that can be split up into smaller sections. For day hikers, we recommend this portion to Ooh Aah Point, which also happens to be the best spot to watch the sunrise in the park!
You’ll start this trail by descending steep switchbacks in a section called The Chimney, which winds through Kaibab limestone that’s more than 250 million years old! Once you reach Ooh Aah Point, enjoy the views and rest before making your way back up.
This section of trail was one of our favorite trails in the Grand Canyon for its ease, incredible views, and the feeling of being immersed in the canyon. If you only have time for one trail in the Grand Canyon, we would recommend this one!
7. Transept Trail (North Rim)
Difficulty: Moderate
Distance: 3.8 miles (6.1 km)
Time: 1.5-2 hours
Elevation Gain: 358 feet (109 m)
Transept Trail is a moderate 3.8-mile (6.1-km) trail that takes approximately 90 minutes to hike and follows a section of the North Rim (called the Transept) from Grand Canyon Lodge to the campground. You’ll pass through a forest as well as by an ancestral Puebloan ruin halfway to camp!
8. Maricopa, Powell, & Hopi Point via West Rim Trail (South Rim)
Difficulty: Moderate
Distance: 4.4 miles (7.1 km)
Time: 1.5-2 hours
Elevation Gain: 459 feet (140 m)
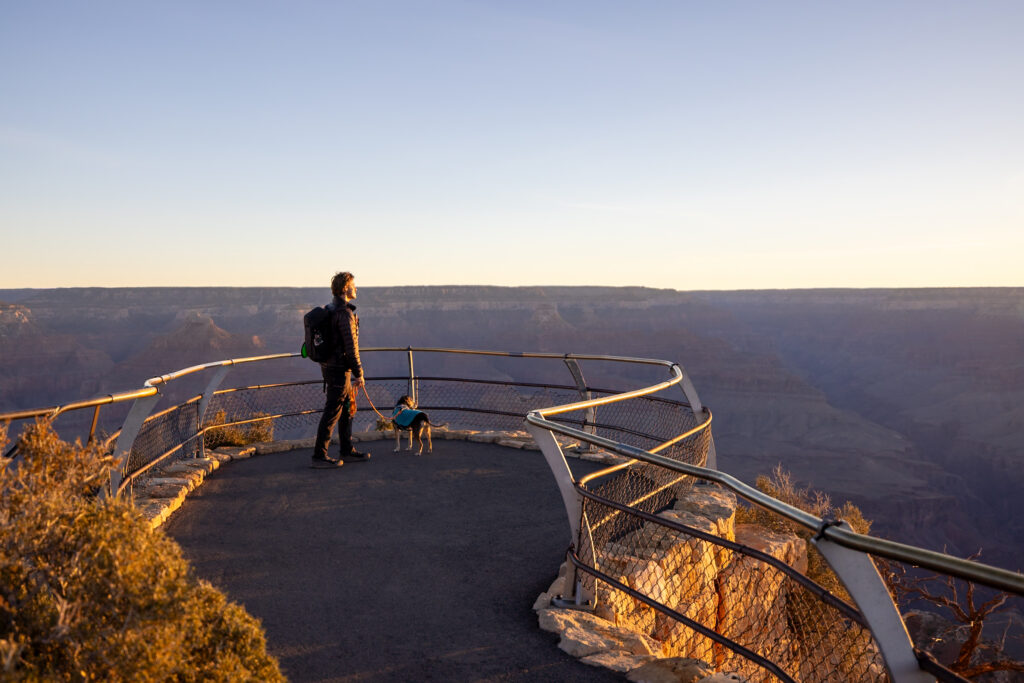
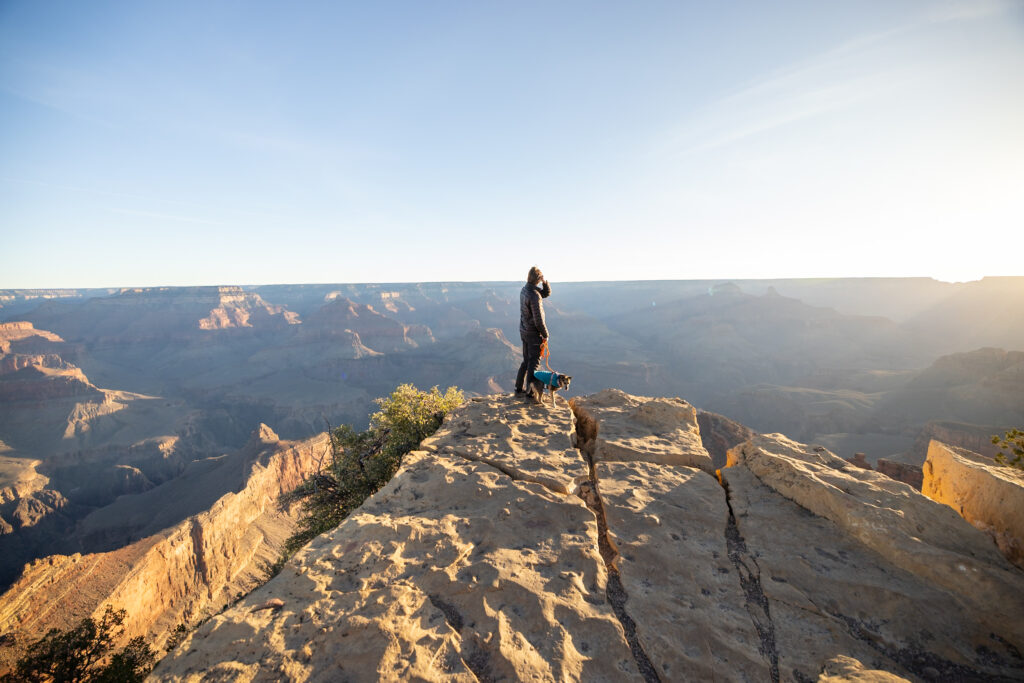
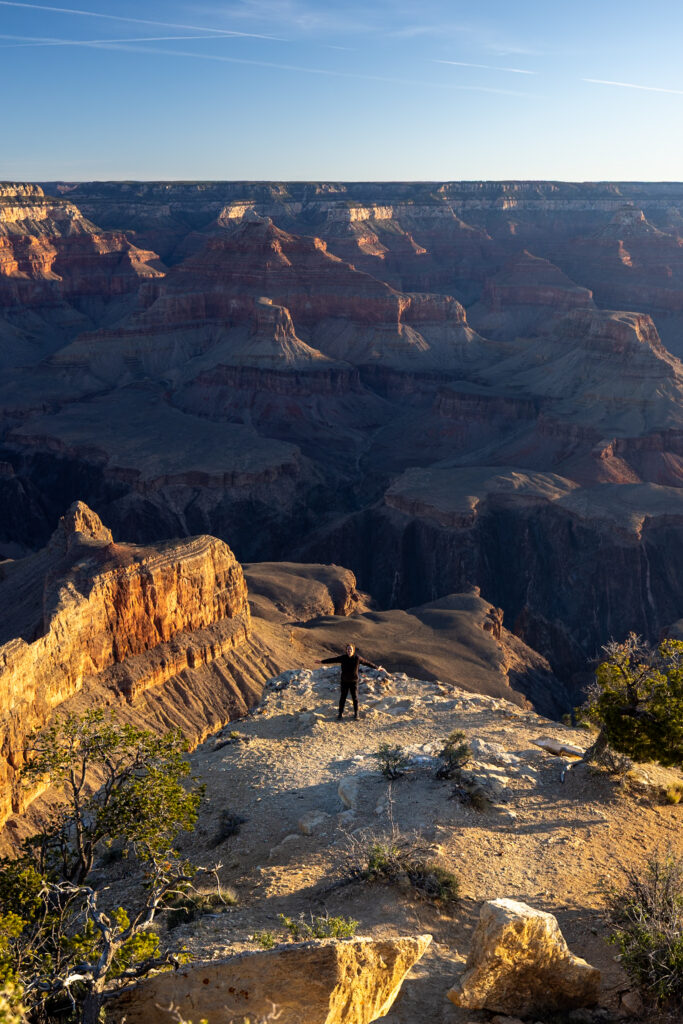
Another part of the larger Rim Trail that you can hike is the Maricopa, Powell, & Hopi Point Stretch to the West. This is the section that we most enjoyed as it was considerably quieter, given its distance from the Visitor Center.
If you want to experience the West Rim Trail at its quietest, beat the crowds by hiking before the buses start running at 8 am, catching the sunrise at Powell or Hopi Point. Sunset is also beautiful here, but since the shuttles are running by then, more people make it out to Hopi and Powell Points.
This particular stretch brings you to three iconic viewpoints located right next to each other along Hermit Road. The trailhead starts right next to the Bright Angel Trailhead, which you can park at, walk to, or even take the shuttle to. You can hike out and back, or cut the above distance in half by taking the shuttle back to Grand Canyon Village afterwards.
9. Grandview Trail (South Rim)
Difficulty: Moderate to Hard
Distance: Up to 8.5 miles (13.7 km)
Time: Up to 7 hours
Elevation Gain: Up to 2,746 feet (837 m)
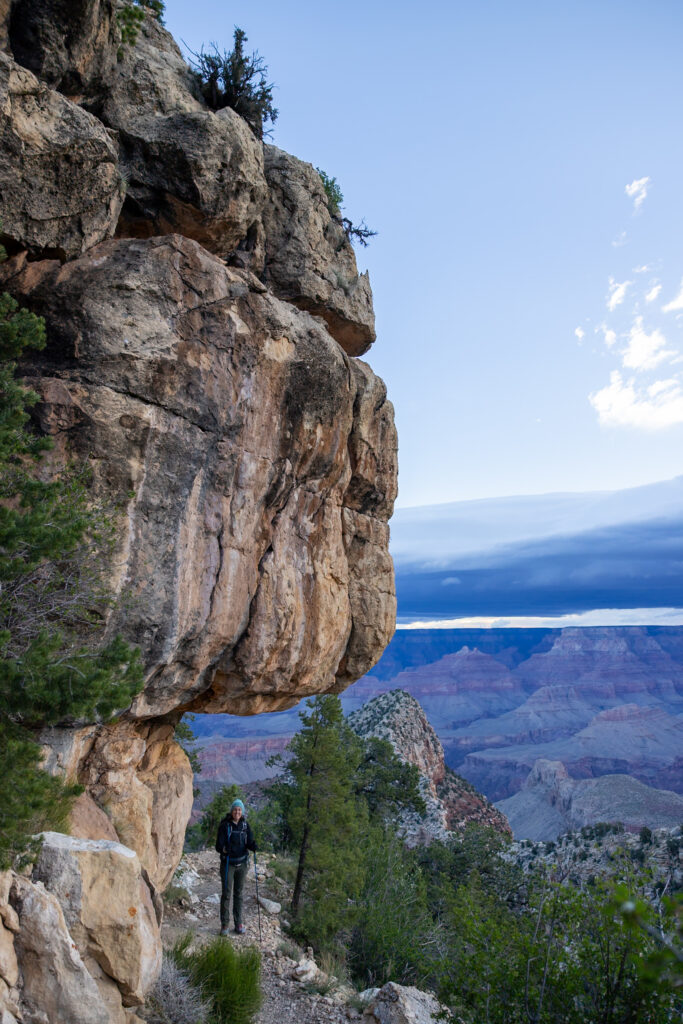
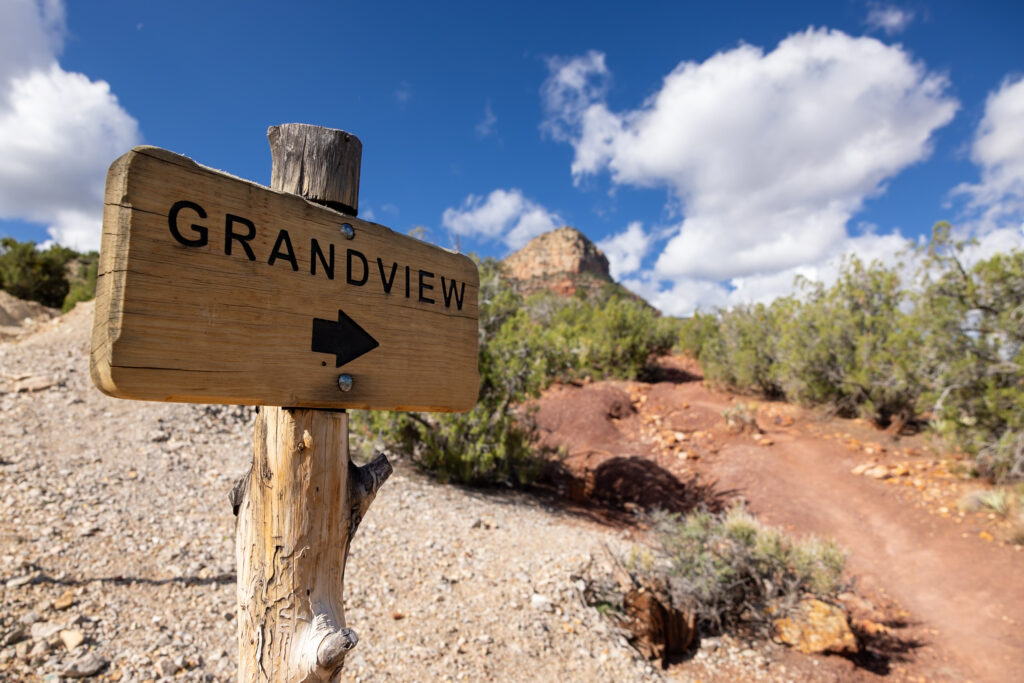
Originally built in the 1800s, Grandview Trail was created to connect the rim with copper mines at Horseshoe Mesa. You’ll see some of the original cobblestone construction along the way, which is really neat!
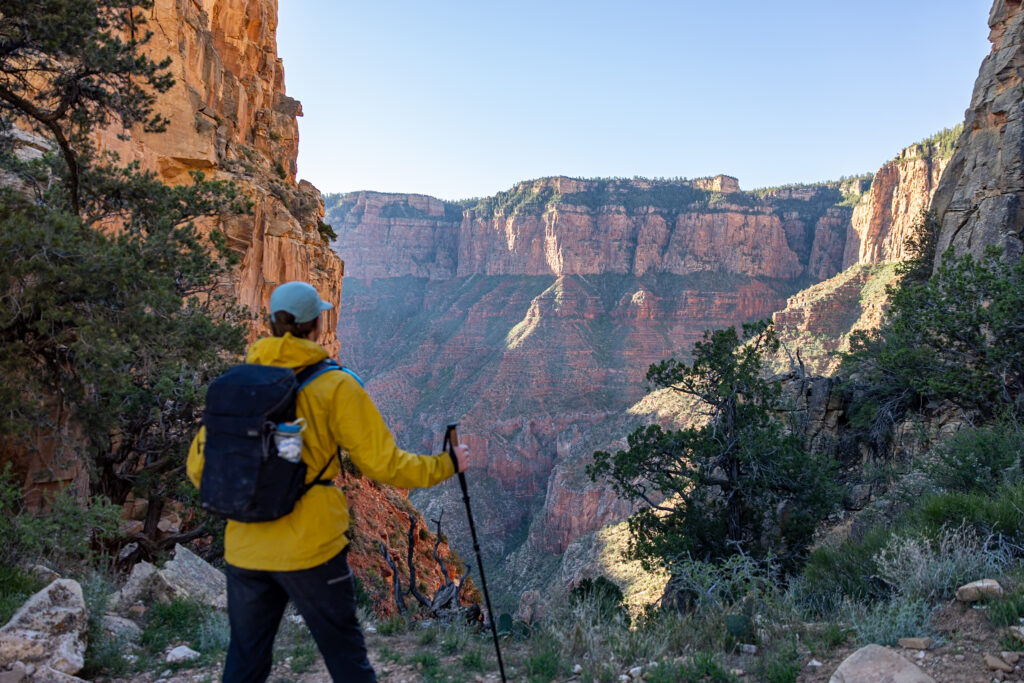
The first official turnaround point is Grandview Point to Coconino Saddle (no AllTrails map), which is only 2.2 miles (3.5 km) round trip and more Moderate than Hard. Like all trails into the canyon, this one starts by descending steep switchbacks. Once at Coconino Saddle, you’ll have a really unique view of Hance Creek Valley ahead of you!
You can also continue hiking to Horseshoe Mesa (6 miles, 9.6 km round-trip), known for its historic copper mine ruins, the Cave of the Domes, and panoramic canyon views. Or, go all the way down Grandview Trail like we did. We ate our lunch here, and it was really nice to be the only ones out there, fully surrounded by the canyon.
⚠️ Sheer Drop-offs! Be aware that the Grandview Trail is rarely maintained and has sheer drop-offs, even on the way to Coconino Saddle, so if it’s your first trip down into the canyon, or you get vertigo, we recommend checking out sections of Bright Angel or South Kaibab instead.
10. Deer Creek Trail via the Colorado River (River Hike)
Difficulty: Hard
Distance: 1.1 miles (1.8 km)
Time: 2 hours
Elevation Gain: 351 feet (107 m)
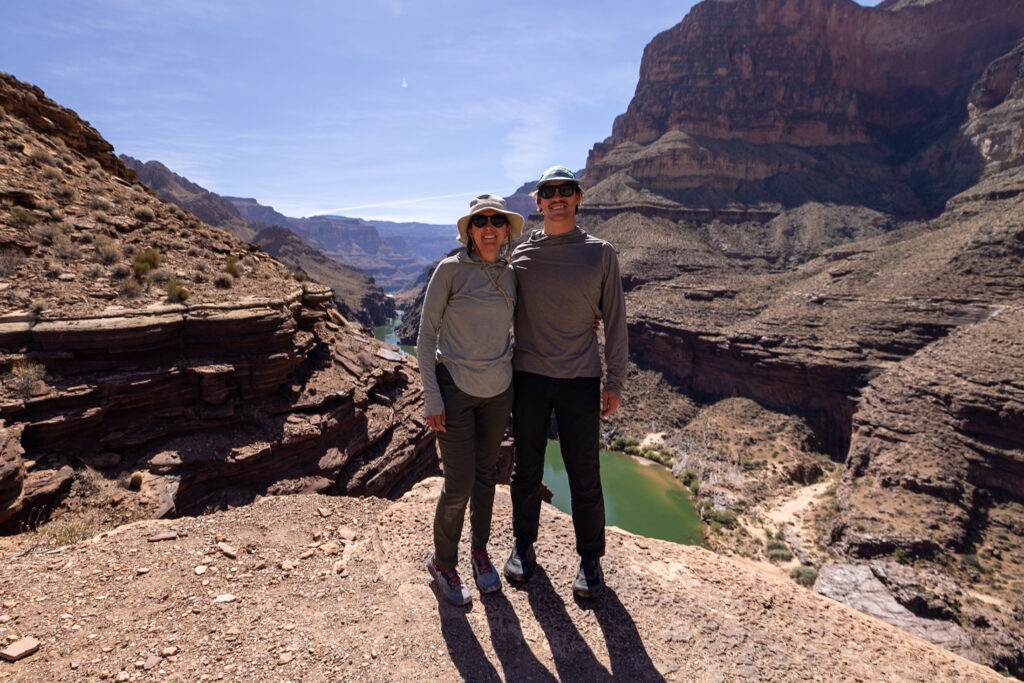
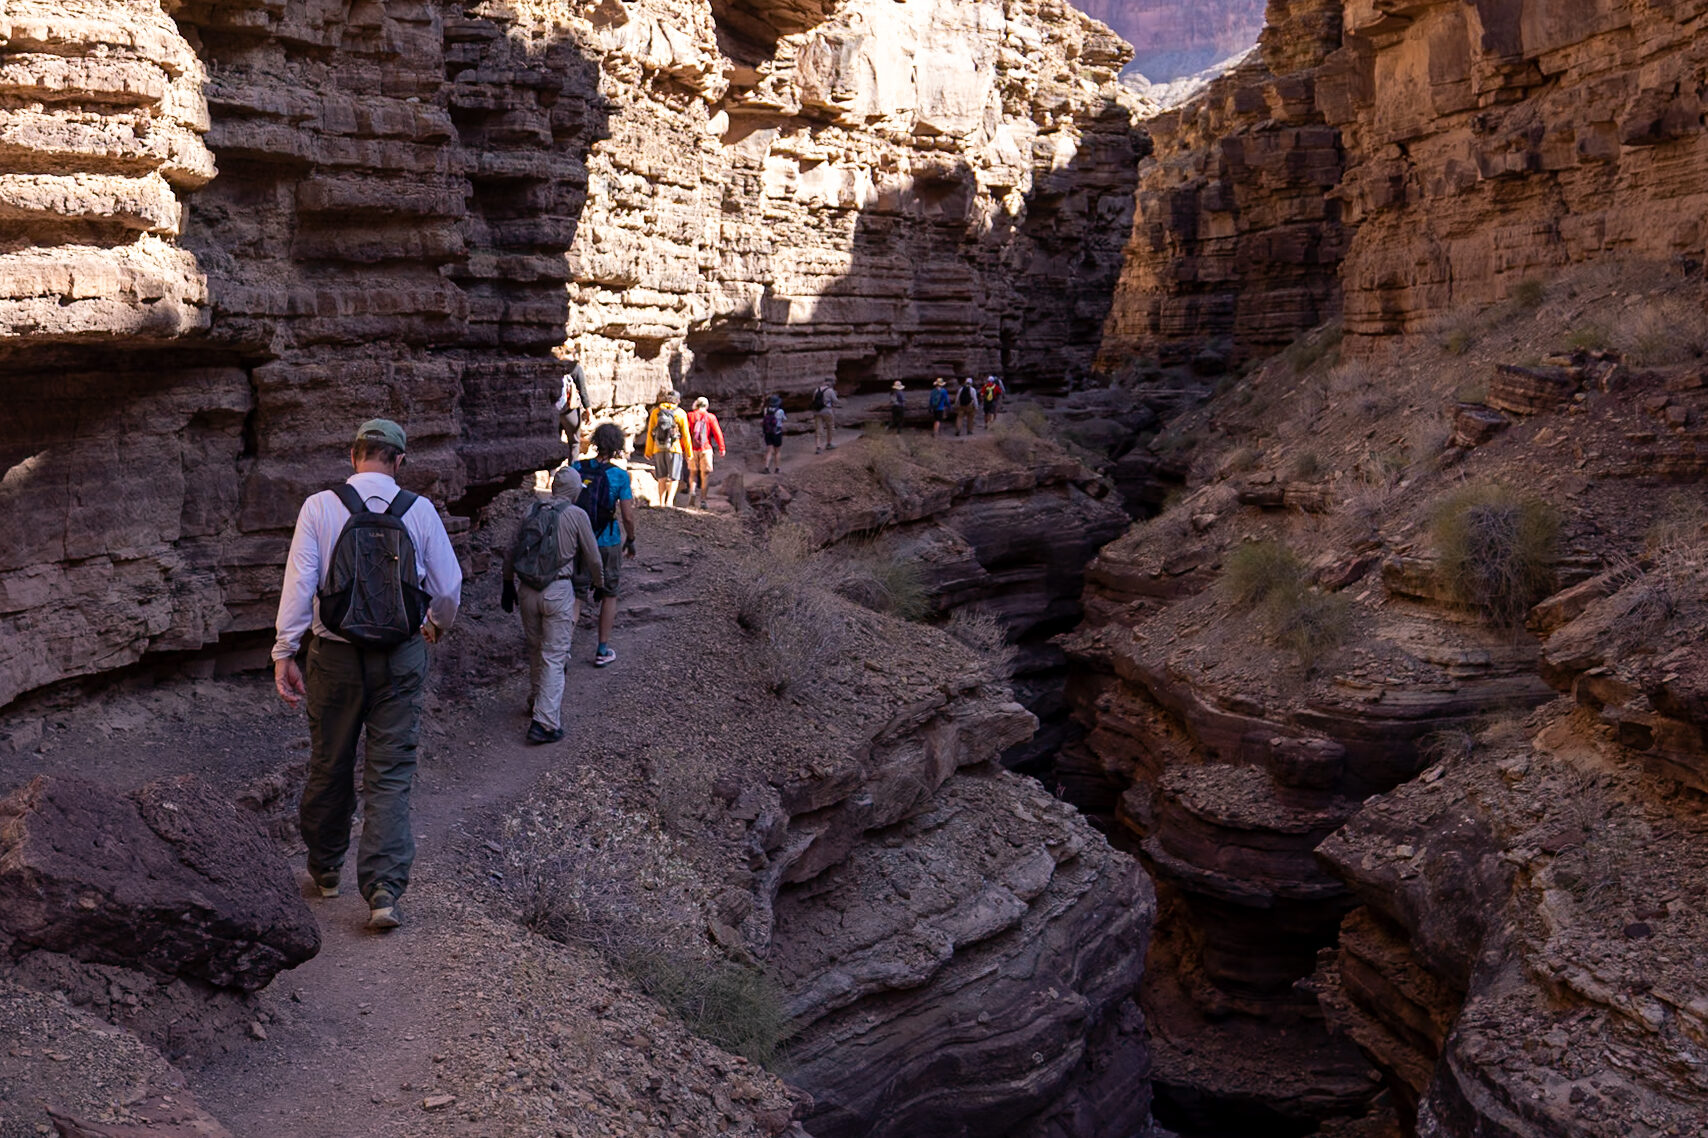
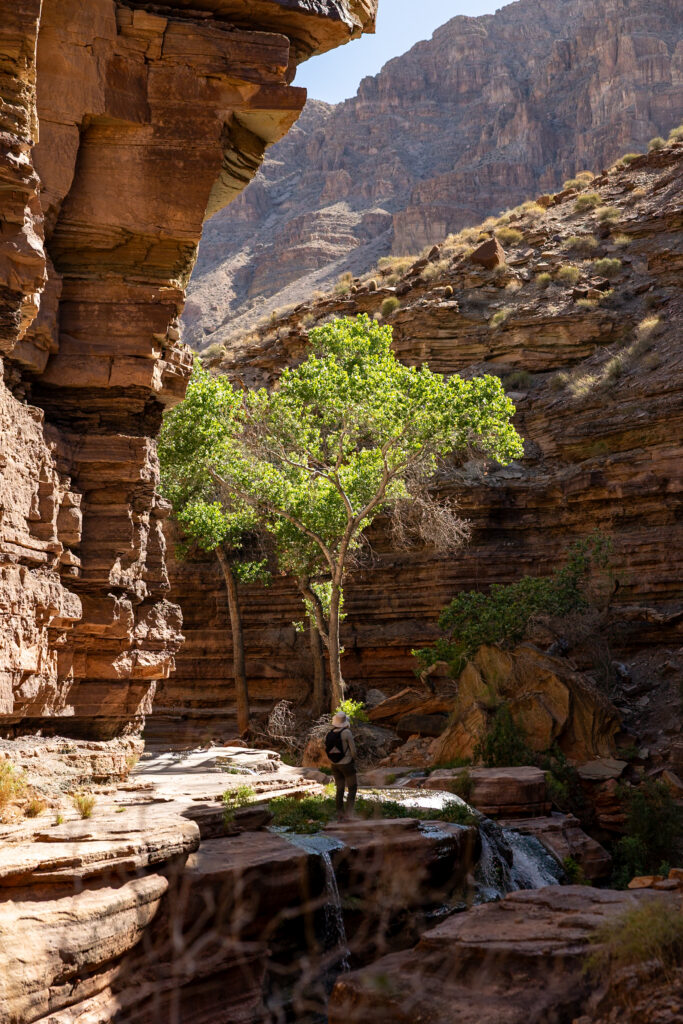
We did the Deer Creek Trail on Day 7 of our 10-Day Rafting Trip of the Grand Canyon. Our trip leader started by mooring the raft for us to admire Deer Creek Falls, a waterfall that drops 100 feet. Its water allows green vegetation to grow around it, which makes it a desert oasis. After admiring the waterfall, our group split up based on how much hiking each of us wanted to do. The majority of our group did this hike, which first takes you to an overlook with amazing views of the Colorado River.
After the overlook, you can continue to the patio, a cool spot to sit under Cottonwood trees and listen to the sound of a second waterfall. This is where the route becomes narrow and slightly harrowing. We made it there, but it was a little bit of a scary hike as the ledge is narrow with a steep drop below. While I (Jen) was walking on the ledge, my backpack rubbed against the rock wall and caught on it, pulling me back.
Overall, it was definitely a worthwhile hike, but not for people who have vertigo or a fear of falling. This area is of spiritual significance to the Southern Paiute, who believe the patio serves as a conduit for souls traveling from this life to the next.
11. Lava-Chuar Trail (River Hike)
Difficulty: Hard
Distance: 3.5 miles (5.3 km)
Time: 2 hours
Elevation Gain: 633 feet (193 meters)
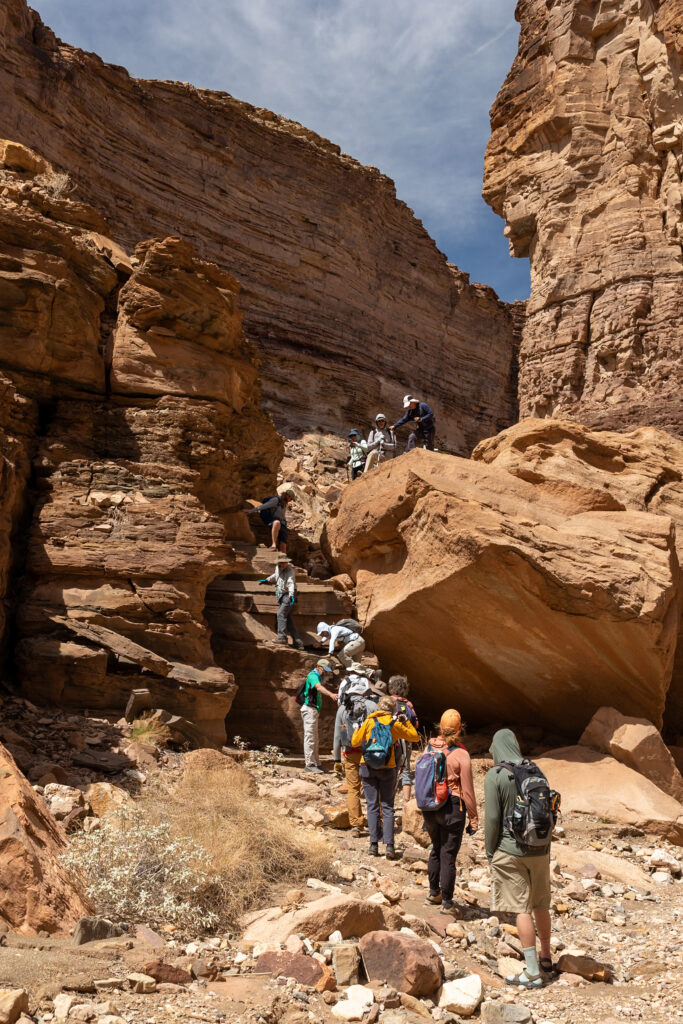
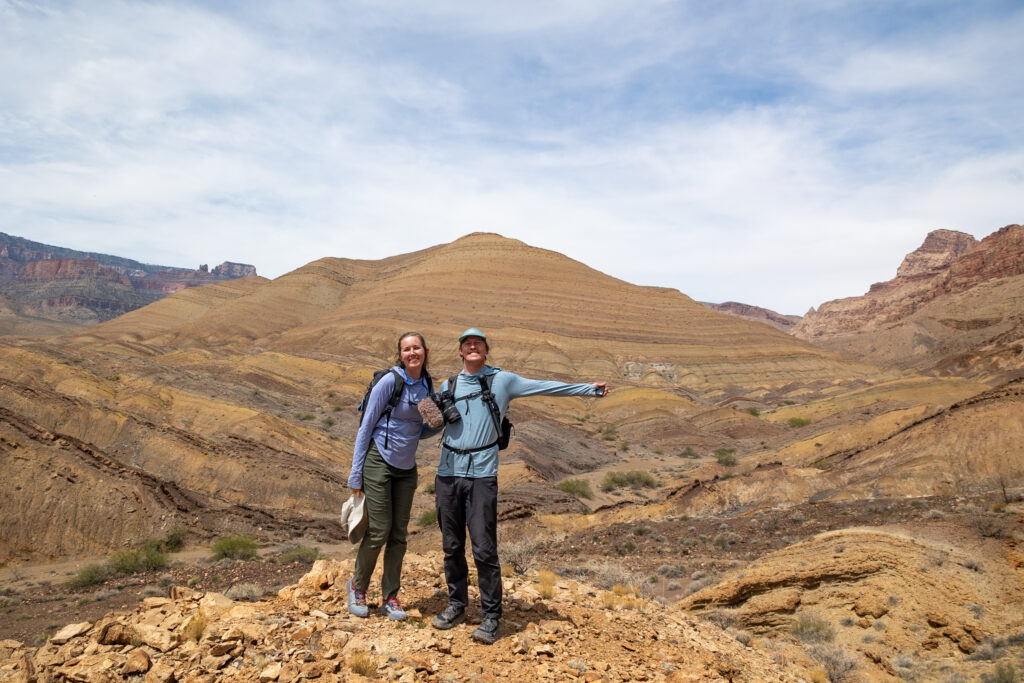
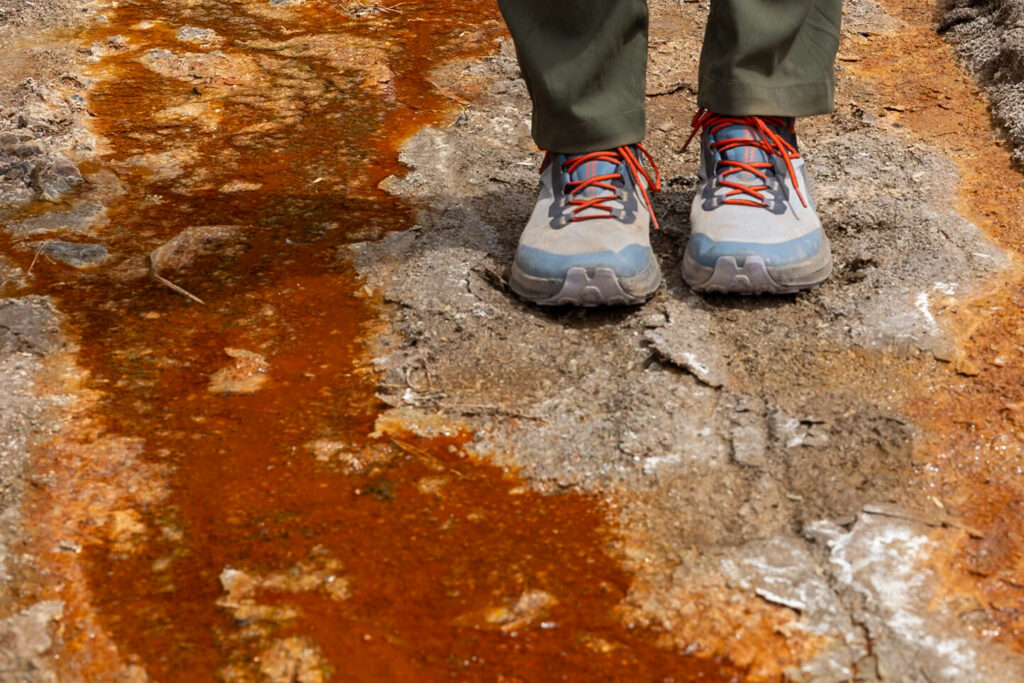
We did the Lava-Chuar Loop on Day 4 of our 10-Day Rafting Trip of the Grand Canyon. This ended up being one of our favorite hikes of the entire trip because of how fun the climbs on it were. It included some decent rock scrambling, climbs, and awesome canyon views. We could see the rare Lava Chuar rock group in Lava Canyon. We learned that Chuar Hill was named after Chuarrumpeak, a leader of the Kaibab Band of Southern Paiutes. This is a point-to-point hike, so our guides managed navigating the rafts downstream for us.
12. North Kaibab Trail to Supai Tunnel & Coconino Overlook (North Rim)
Difficulty: Hard
Distance: 3.4 miles (5.5 km)
Time: 2.5-3 hours
Elevation Gain: 1,411 feet (430 m)
North Kaibab Trail to Supai Tunnel and Coconino Overlook is a challenging 3.4-mile (5.5-km) trail and is the first segment of the longer North Kaibab Trail, the only maintained trail into the canyon from the North Rim. If you want to go further into the canyon within a day, you can continue to Roaring Springs (7-8 hours total), but beyond that is strongly discouraged.
13. Bright Angel Trail (South Rim)
Difficulty: Hard
Distance: 3.5 – 9.2 miles (5.6 – 14.8 km)
Time: 2 to 9 hours
Elevation Gain: 1,151 – 3,034 feet (350 – 925 m)
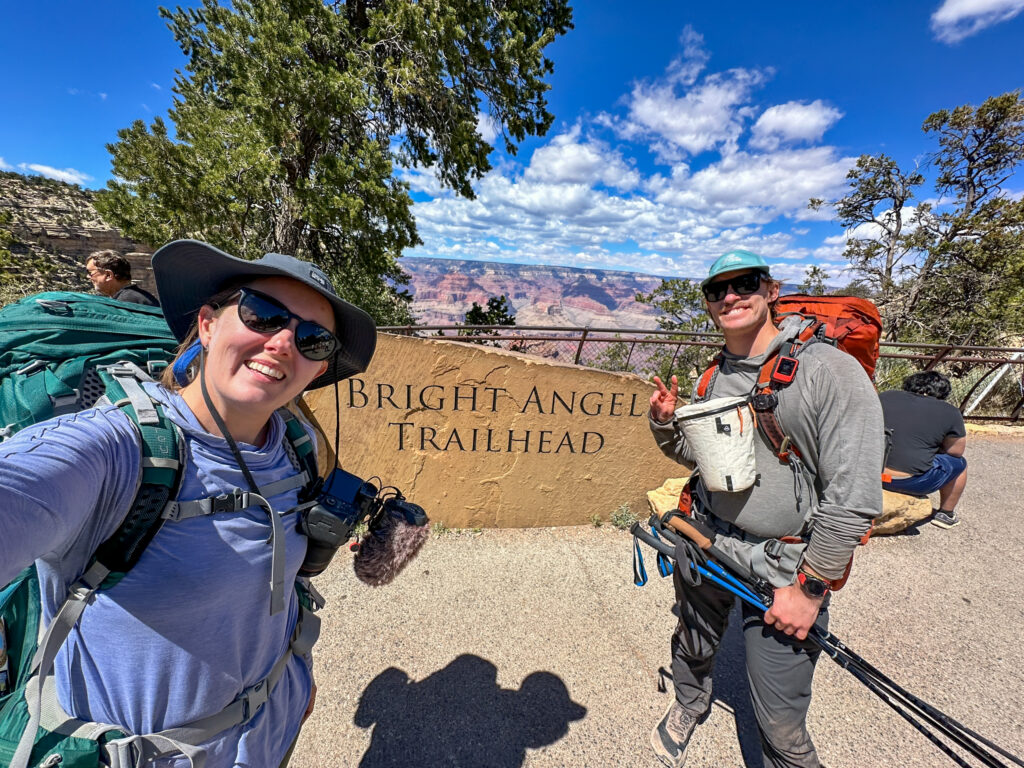
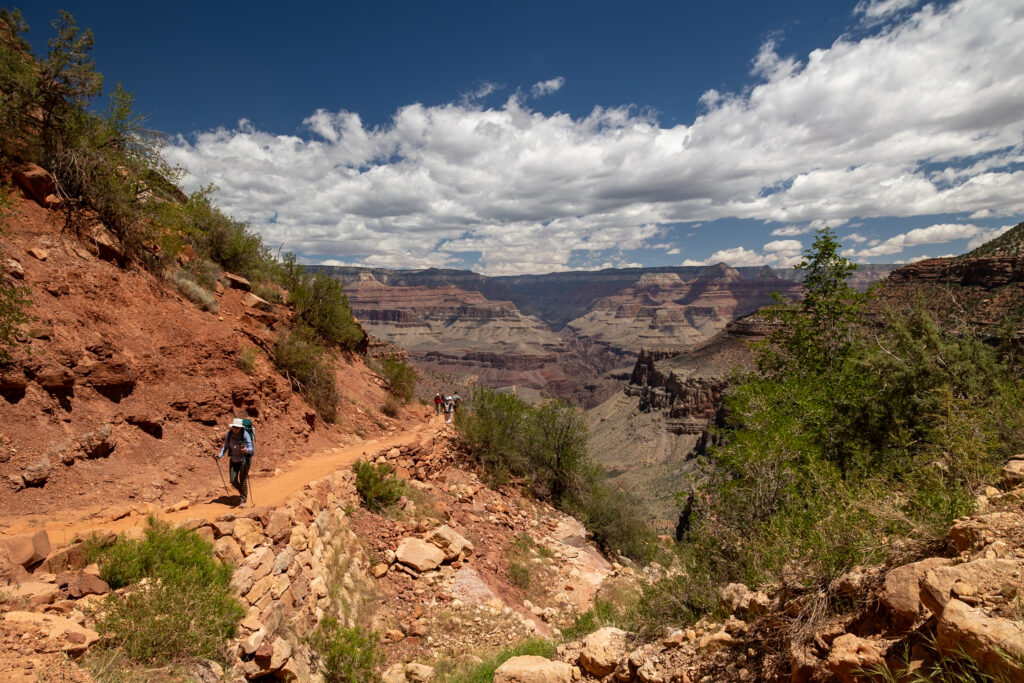
The Bright Angel Trail is the most heavily used trail at the Grand Canyon. Although you can hike it all the way to the Colorado River, most visitors turn around at one of the resthouses or Havasupai Gardens. Here are your three main options for day hikes, all considered “Hard” difficulty.
- 1.5 Mile Resthouse: This trail only takes you 1.5 miles (2.8 km) down to a resthouse with water stations, bathrooms, and a shady covering. Although short in distance, this trail is still labeled as hard due to its 1,151 feet (351 meters) of elevation gain! We hiked this trail twice; when we combined it as part of our longest day hike and then on our backpacking trip.
- 3-Mile Resthouse: You can also extend your total trip length to 6.5 miles (10.5 km) by continuing down to the 3-Mile Resthouse. This section also has access to water, a resthouse with shade and an emergency phone, as well as pit toilets. As expected, this section of the trail had fewer crowds than the 1.5-Mile Resthouse since fewer people travel lower into the canyon.
- Havasupai Gardens: The next point totals 9.2 miles (14.8 km) round trip. Havasupai Gardens is a great option if you want to stop halfway for lunch in a shady spot with picnic tables, running water, bathrooms, and lots of trees, before hiking back up. This was our favorite turnaround spot because of all the trees and the nearby stream. It’s like a little piece of heaven in the desert!
ℹ️ Want to go further? The Bright Angel Trail does go all the way down to the Colorado River, but anything beyond Havasupai Gardens isn’t recommended as a day hike by the NPS. If you are interested in hiking further down this trail, you can read about it in this article.
14. South Kaibab Trail (Hard Section) (South Rim)
Difficulty: Hard
Distance: 3.4 – 6.1 miles (5.5 – 9.8 km)
Time: 2.5-6 hours
Elevation Gain: 1,181 – 2,027 feet (360 – 618 m)
If you want to go past Ooh Aah Point on the South Kaibab Trail (and jump from a moderate to a hard hike), Cedar Ridge is the next popular turnaround. At 3.4 miles (5.5 km) round trip with 1,181 feet elevation change, this route takes 2-3 hours, offering some of the best 360-degree views in the park!
This spot also offers pit toilets (though they smelled pretty bad when we visited) and a large area for snacking and enjoying the views. It is completely exposed to the sun, so being prepared with plenty of water, the right clothes, and ample sun protection is key. There were several great viewing areas here as well!
Beyond Cedar Ridge, you could hike a total of 6.1 miles (9.8 km) round trip to Skeleton Point. This area had sweeping views of the canyon, and like most trails in the Grand Canyon, the further you go down into the canyon, the fewer people you’ll see.
ℹ️ Want to go further? The South Kaibab Trail also goes all the way down to Phantom Ranch (where you can stay the night), but anything beyond Skeleton Point isn’t recommended as a day hike by the NPS. If you are interested in hiking further down this trail, you can read about it in this article.
15. Hermit Trail to Santa Maria or Dripping Springs (South Rim)
Difficulty: Hard
Distance: 4.23 – 6.3 miles (6.8 – 10.1 km)
Time: 3-5 hours
Elevation Gain: 1,781 – 2,152 feet (543 – 656 m)
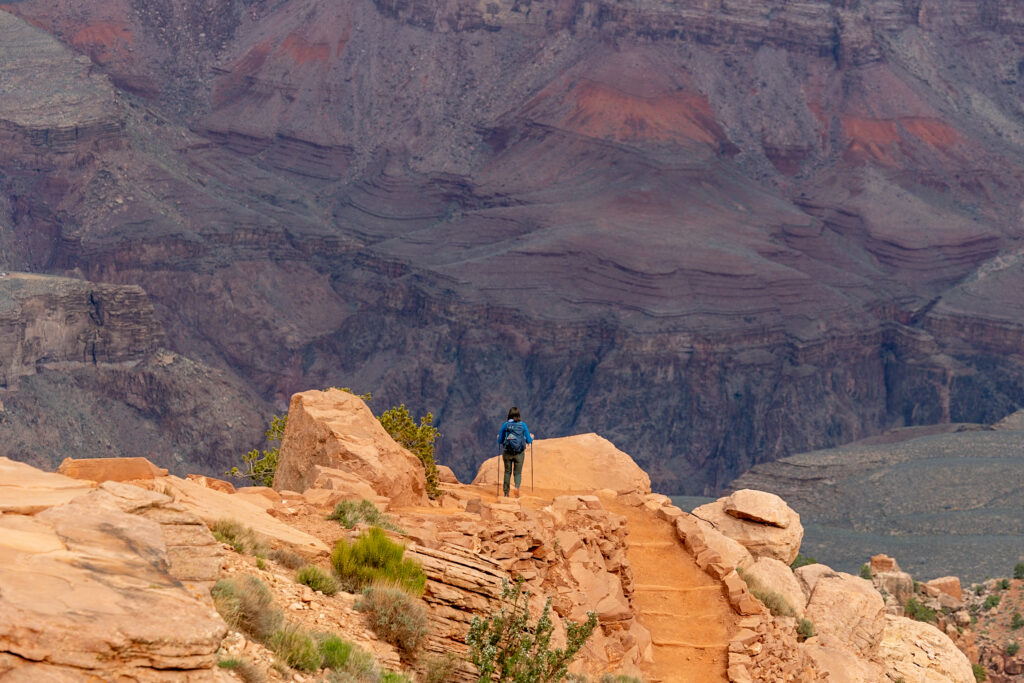
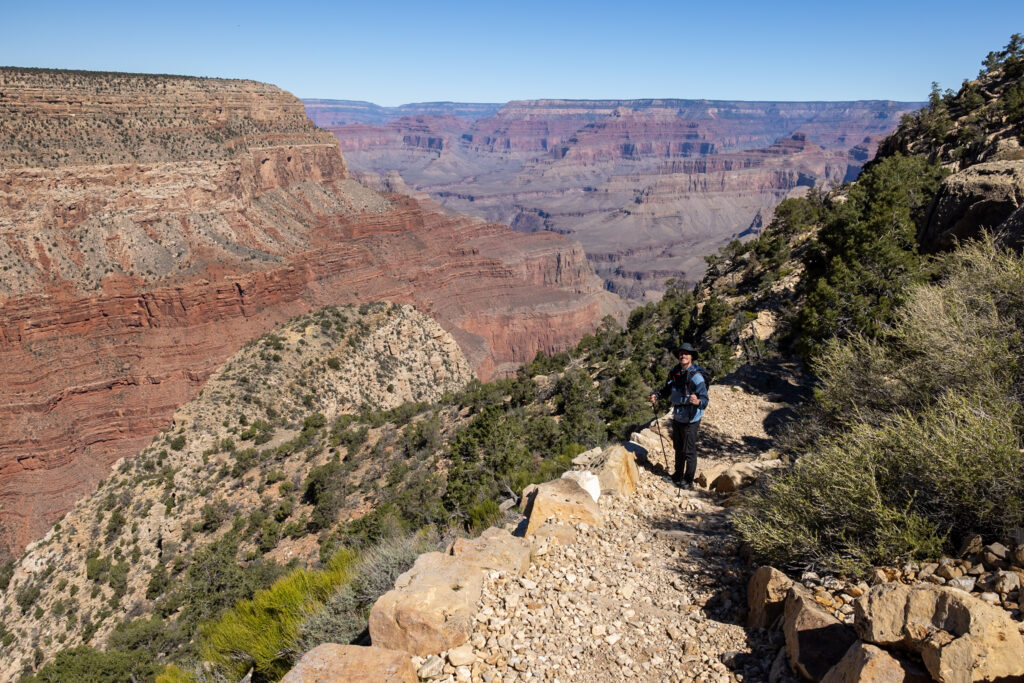
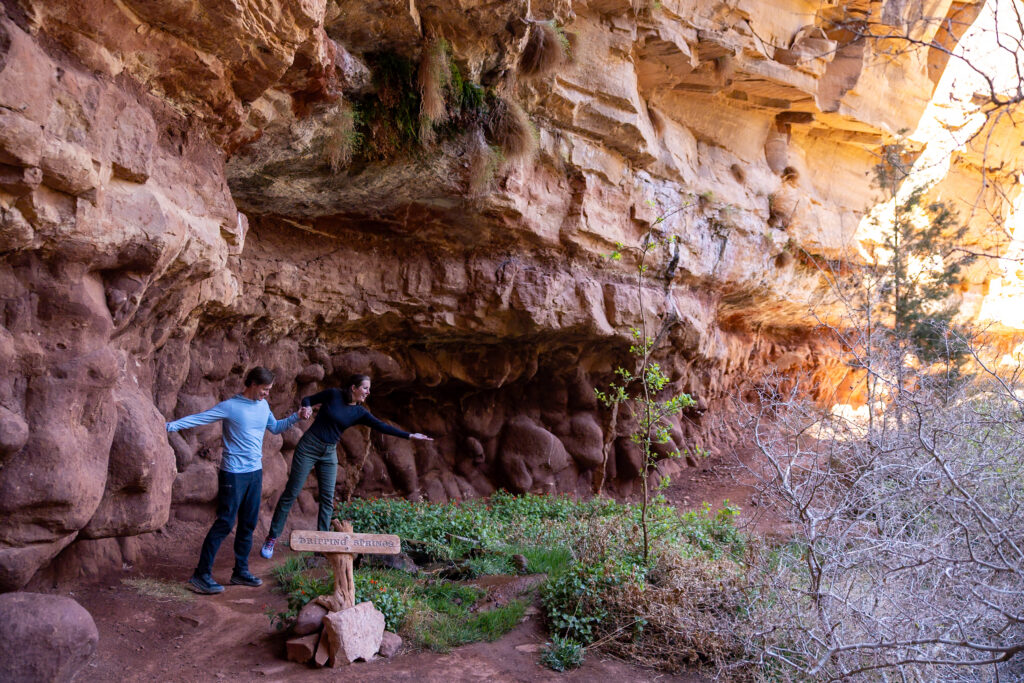
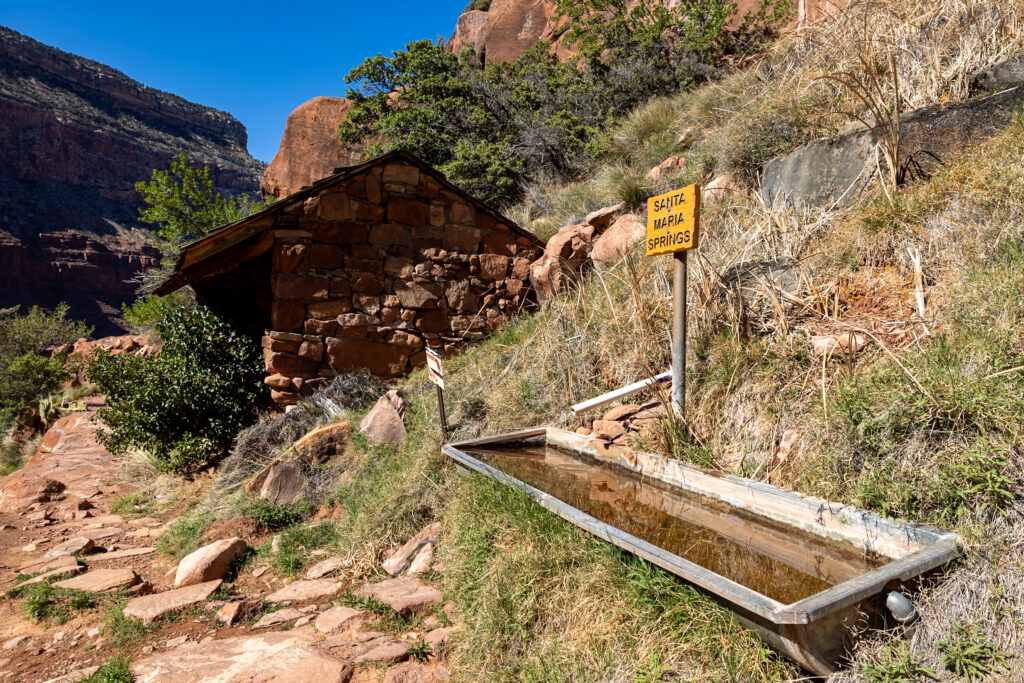
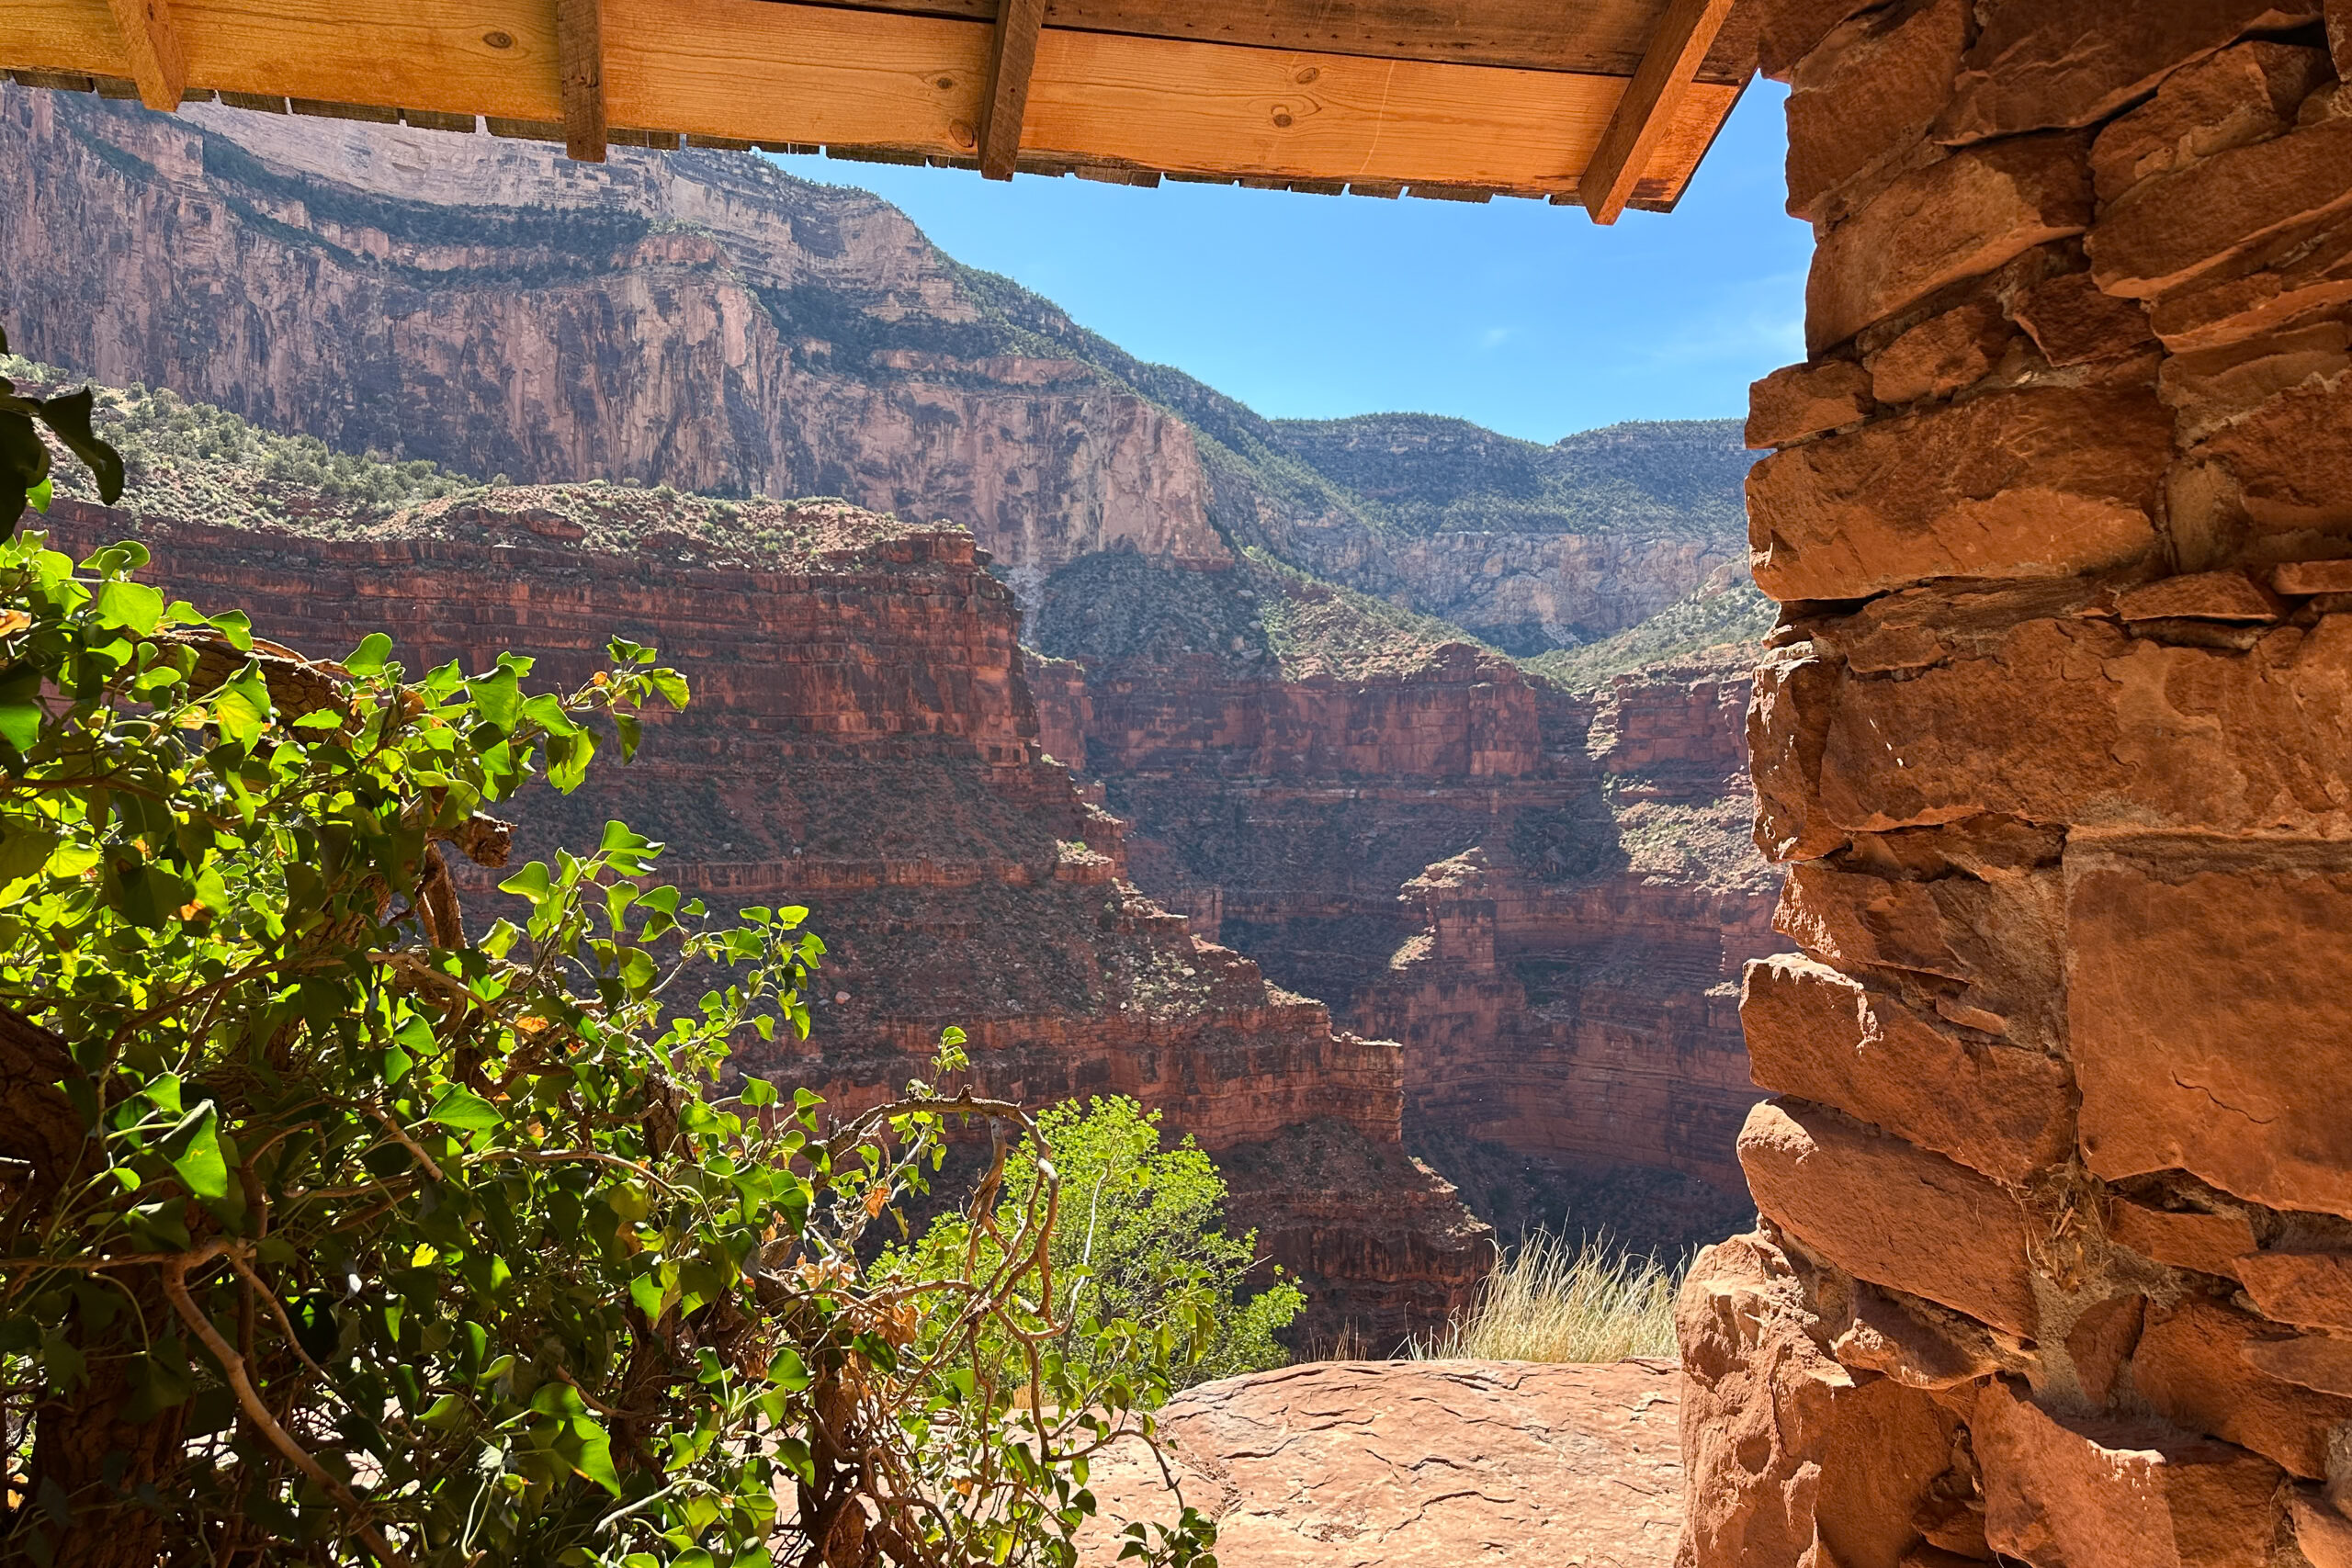
Santa Maria’s Spring via Hermit Trail follows Hermit Trail down until there’s a fork. To go to Santa Maria Spring, go to the right. Elliot went to this spot alone and found that the trail was great and had a nice shaded spot to sit with rocking chairs with an awesome view! There was water at the springs that he was able to filter, although it’s best to speak to a ranger before drinking any natural water.
If you take the fork to the left, you reach Dripping Springs, which is a bit longer at 6.3 miles in total (10.1 km). We both did this trail and enjoyed it, although it was more difficult than South Kaibab or Bright Angel, and the views aren’t as good in our opinion.
There are also some parts with narrow ledges, so it’s definitely not for the faint of heart. This trail was also much more in one of the side canyons, so if you’re looking for sweeping views of the Grand Canyon along the river corridor, this might not be the trail for you.
Map of Best Hikes in the Grand Canyon
How to use this map: We have saved the locations from this guide on this map. You can save this map to your Google Maps by pressing the star icon. In your Google Maps, click the menu icon and then Saved Maps, where this map will appear.
Grand Canyon Hiking Tips
The Grand Canyon is the deadliest national park, so bringing enough water and food and being mindful of the heat are vitally important. During hot weather, make sure to take at least 4 liters of water per person per day, as well as salty, satisfying snacks and electrolytes to reenergize.
Even if it isn’t that warm at the rim, temperatures increase as you descend into the canyon—you can typically expect a 5°F increase for every 1,000 feet of elevation gain lost. Thus, it’s important to be prepared both mentally and physically, with the proper gear, food, water, and sun protection.
It’s also generally best to start hiking earlier rather than later, especially if you’re visiting during the warmer months of the year. On top of this, the Grand Canyon can have major entry lines, so arriving early can help you avoid this!
When to Visit the Grand Canyon
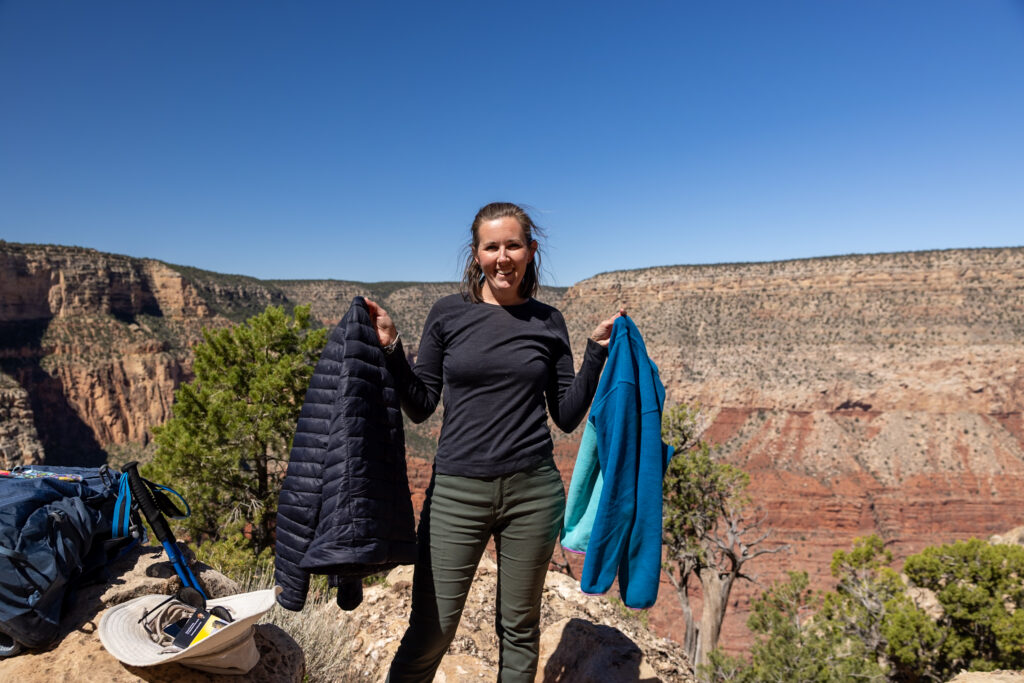
The seasons bring different weather and, therefore, experiences in the Grand Canyon. We visited in April and May 2026 and had excellent weather. As we prefer to hike in slightly cooler weather, we were able to comfortably wear pants and sun shirts during the day, having taken off our puffy jackets or fleece pullovers for the cool morning temps.
- Spring: Spring can have a mix of warm and cool days and can be windy. In our experience, it was very windy both hiking, on our rafting trip, and backpacking to Phantom Ranch. The wind is a nice reprieve from the sun, but it can be a little annoying when setting up a tent.
- Summer: During the summer, temperatures are at their highest, and there are also quite a few thunderstorms. July and August are known for monsoons. Hiking in the middle of the day is going to be quite difficult due to the hot temperatures and isn’t advised by rangers. It’s best to restrict your hiking below the rim so you’re not hiking a lot of elevation on exposed trails in the middle of the day. Summer is also peak season, so you can expect to wait for shuttles after 10 AM and have a more difficult time finding parking later in the day.
- Fall: Fall has moderate temperatures, no big winds like in spring, and is the most comfortable. When speaking with our rafting tour guides and park rangers, we found that their favorite season was always fall! It has cooler temperatures similar to spring, but a lot less wind.
- Winter: In the winter, you may have ice and snow as you enter the Canyon and cool conditions at the bottom. We plan to come back in February to backpack the Escalante Route. Winter is cold, so expect to wear many layers and for snow to be a possibility, especially near the rim.
Packing Suggestions for Grand Canyon
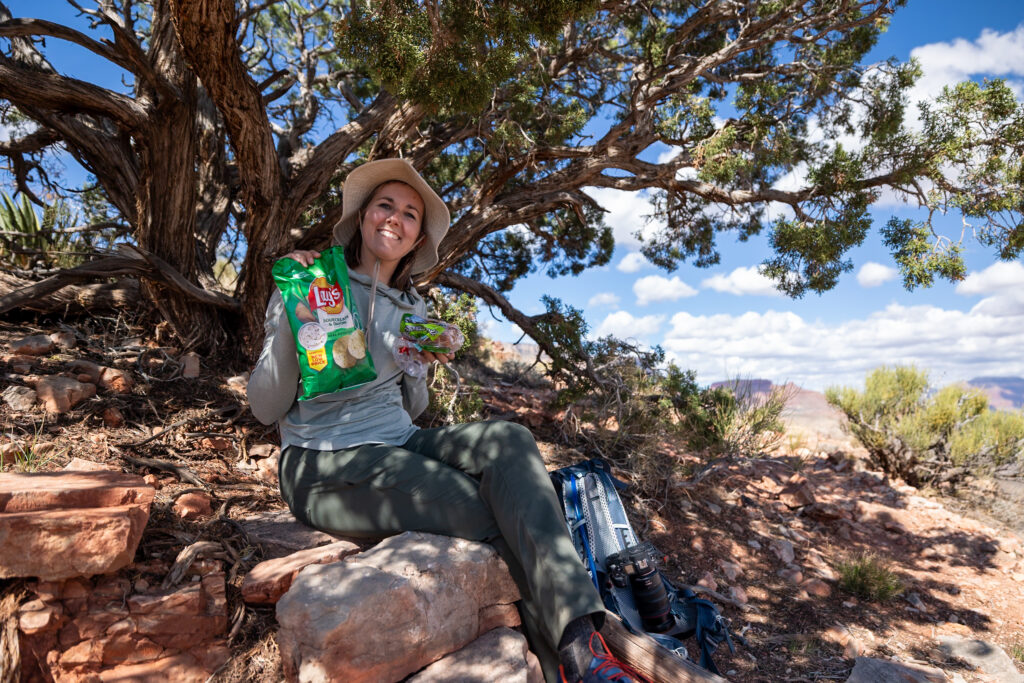
Hiking in the Grand Canyon requires visitors to be prepared! Since temperatures can vary by up to 25 degrees from the rim to the river, it’s essential to be prepared with the right clothing to keep you comfortable. Most trails in the Grand Canyon lack ample shade, so wearing and bringing proper sun protection is crucial. Lastly, packing salty snacks really does hit different in the Grand Canyon. We brought our usual snacks plus salty chips on many of our long hiking days in addition to electrolytes, and they hit the spot!
Hiking Essentials
Read next: Hiking Gear for Beginners!
Sun Protection
Safety Essentials

🎫 Consider investing in the America the Beautiful pass for $80 like we did if you’re planning on travelling to several parks within the year.
Related Articles
- EXACTLY What to Expect Rafting the Grand Canyon (Our 10-Day Motor Trip)
- 11 MUST-DO Day Hikes in the Grand Canyon
- ULTIMATE Guide to Helicopter Tours in the Grand Canyon
- 15+ BEST Grand Canyon Sunrise & Sunset Viewpoints (South Rim)
- 13 TOP Things to Do at Grand Canyon South Rim
- 19 BEST Books to Read About the Grand Canyon
- The BEST Way to Spend One Day in the Grand Canyon
- Grand Canyon Itinerary: 2 PERFECT Days in the South Rim


Leave a Reply
You must be logged in to post a comment.